Articles
How To Make Dough In Bread Machine
Modified: January 4, 2024
Learn how to make dough in a bread machine with these informative articles. Step-by-step guides and tips for perfect homemade dough every time.
(Many of the links in this article redirect to a specific reviewed product. Your purchase of these products through affiliate links helps to generate commission for Storables.com, at no extra cost. Learn more)
Introduction
When it comes to making dough, a bread machine can be a game-changer. Whether you’re a seasoned baker or a novice in the kitchen, using a bread machine to mix and knead your dough can save you time and effort while ensuring consistent and delicious results. In this article, we will guide you through the process of making dough in a bread machine, from gathering the ingredients to shaping and baking the dough.
Making dough in a bread machine is a convenient and foolproof method that guarantees a well-mixed, perfectly kneaded dough every time. The machine takes care of the labor-intensive task of kneading, allowing you to focus on other preparations or simply sit back and relax.
The process of making dough in a bread machine typically involves a sequential series of steps, including gathering the ingredients, measuring and adding them to the machine, selecting the appropriate setting, and allowing the dough to rest and rise. Once the dough is ready, you can remove it from the machine, shape it as desired, and bake it to perfection.
Whether you’re planning to make pizza dough, bread dough, or pastry dough, the steps for making dough in a bread machine remain relatively consistent. By following this step-by-step guide, you’ll be able to create homemade dough that is fresh, flavorful, and ready to be transformed into a variety of mouthwatering baked goods.
So, let’s roll up our sleeves, gather our ingredients, and dive into the wonderful world of making dough in a bread machine. Get ready to embark on a delicious journey that will have you enjoying the satisfaction of homemade dough in no time!
Key Takeaways:
- Making dough in a bread machine is a convenient and foolproof method that guarantees a well-mixed, perfectly kneaded dough every time. The machine takes care of the labor-intensive task of kneading, allowing you to focus on other preparations or simply sit back and relax.
- By following the step-by-step guide for making dough in a bread machine, you’ll be able to create homemade dough that is fresh, flavorful, and ready to be transformed into a variety of mouthwatering baked goods.
Read more: How To Make Pizza Dough In Bread Machine
Step 1: Gather the Ingredients
The first step in making dough in a bread machine is to gather all the necessary ingredients. Depending on the recipe you’re following, the ingredients may vary. However, there are a few common staples that you’ll typically need when making dough:
- All-purpose flour: This is the base ingredient for most dough recipes.
- Yeast: Choose either active dry yeast or instant yeast, depending on your preference and the recipe’s instructions.
- Sugar or honey: These sweeteners help feed the yeast and contribute to the dough’s flavor and texture.
- Salt: Salt adds flavor to the dough and helps regulate the yeast’s activity.
- Liquid: This can be water, milk, or other liquids depending on the recipe.
- Fat: Common options include butter, oil, or shortening.
Additionally, you may need other ingredients such as eggs, herbs, spices, flavorings, or nuts, depending on the specific dough recipe you’re making.
Before you begin gathering the ingredients, it’s important to read the recipe thoroughly to ensure you have everything on hand. This will help prevent any last-minute trips to the grocery store.
Once you have all the ingredients ready, measure them out accurately according to the recipe’s instructions. Precise measurements are crucial, as they can affect the dough’s consistency and ultimately the final result of your baked goods.
Now that you have everything prepared and at the ready, it’s time to move on to the next step: measuring and adding the ingredients to the bread machine.
Step 2: Measure and Add the Ingredients to the Bread Machine
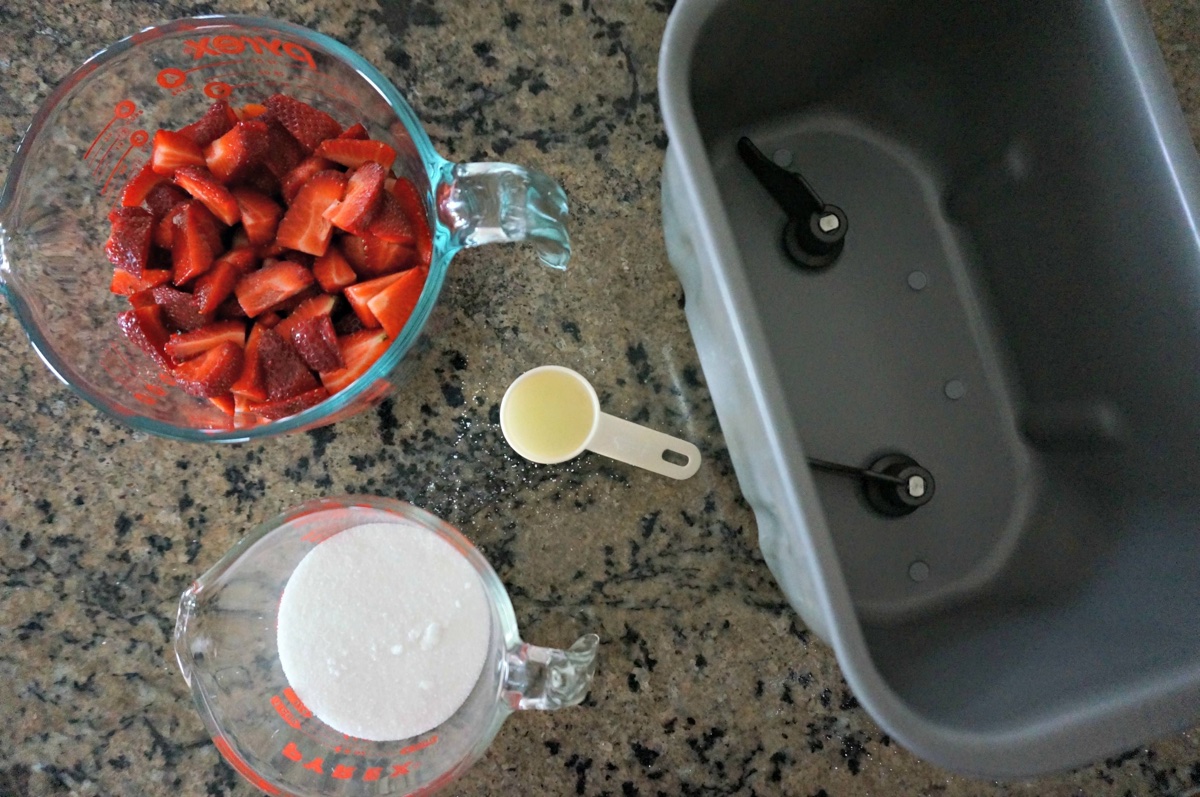
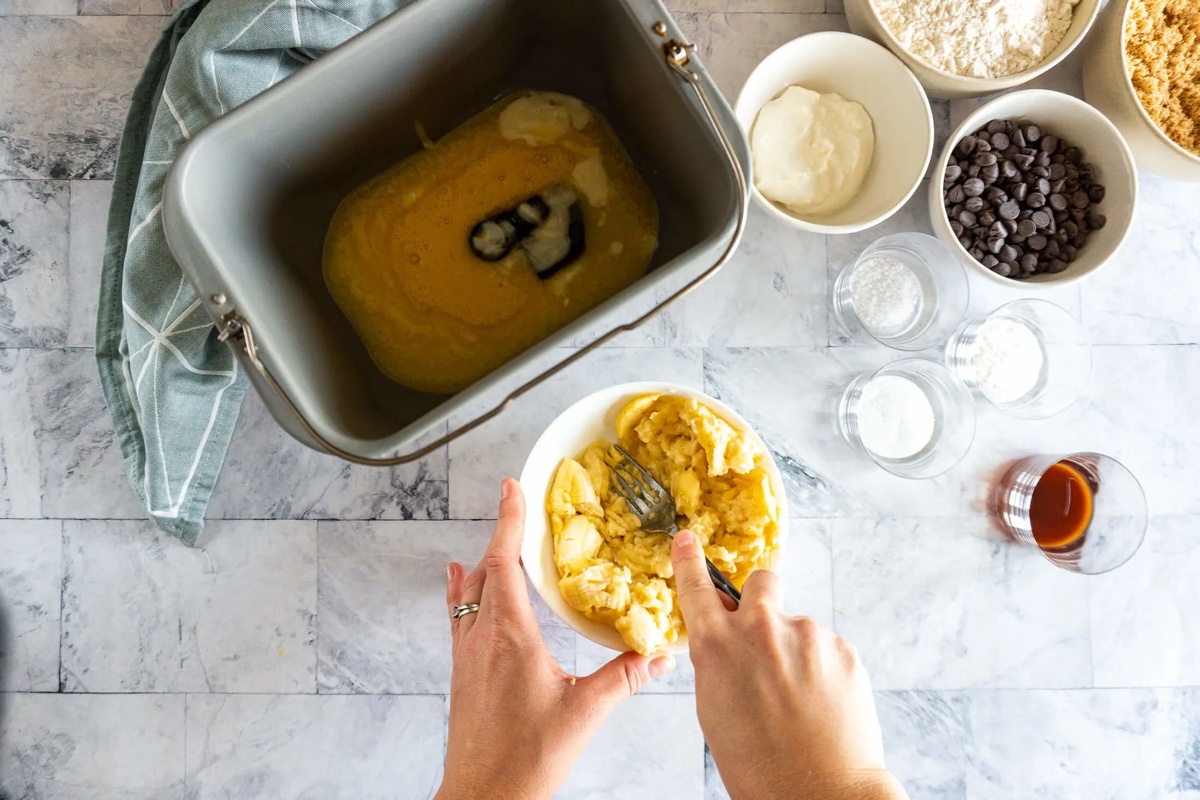
Now that you’ve gathered all the ingredients for your dough, it’s time to measure them out and add them to the bread machine. Following the recipe’s instructions, carefully measure each ingredient to ensure precise and consistent results.
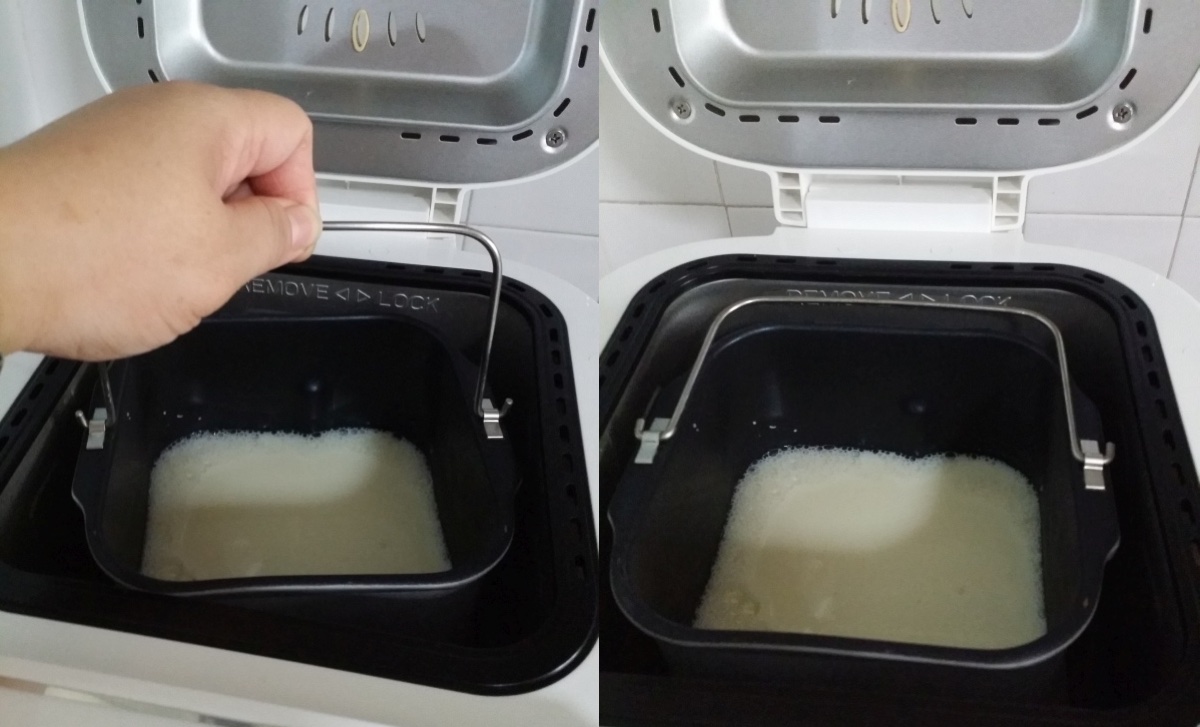
Start by adding the liquid ingredients to the bread machine’s pan. This can be water, milk, or any other liquid specified in your recipe. The liquid provides moisture to activate the yeast and helps bind the dough together.
Next, add the dry ingredients to the pan. Begin with the flour, followed by the yeast, sugar or honey, and salt. It’s important to add the ingredients in the order specified by your recipe, as this can affect how the dough rises and develops.
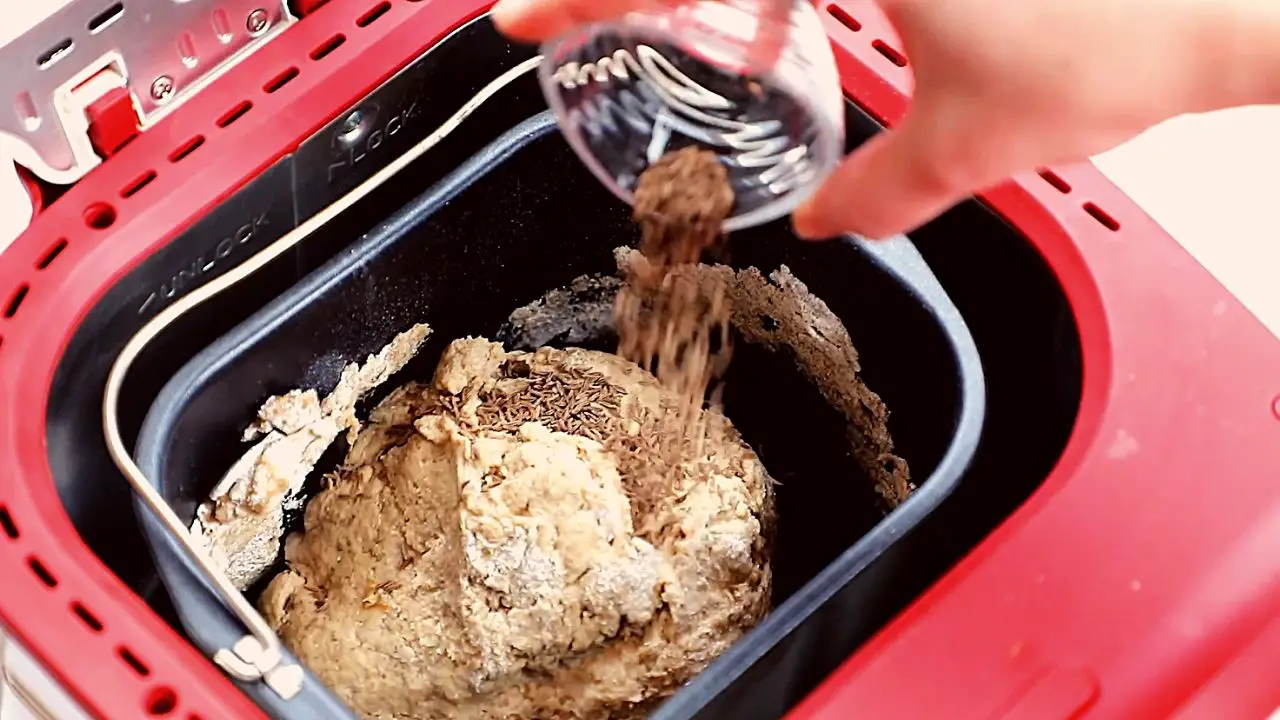
If your recipe calls for additional ingredients such as eggs, herbs, spices, or flavorings, add them to the pan at this stage as well. Be sure to distribute them evenly throughout the dry ingredients to ensure they are well incorporated into the dough.
Lastly, add the fat to the bread machine’s pan. This can be butter, oil, or shortening, depending on your recipe. The fat adds moisture and richness to the dough, resulting in a tender and flavorful final product.
Once all the ingredients are in the pan, double-check to make sure you’ve added everything according to the recipe’s instructions. It’s crucial to follow the recipe accurately to achieve the desired texture and taste of the dough.
With everything in the pan, it’s time to move on to the next step: selecting the dough setting on the bread machine.
Step 3: Select the Dough Setting on the Bread Machine
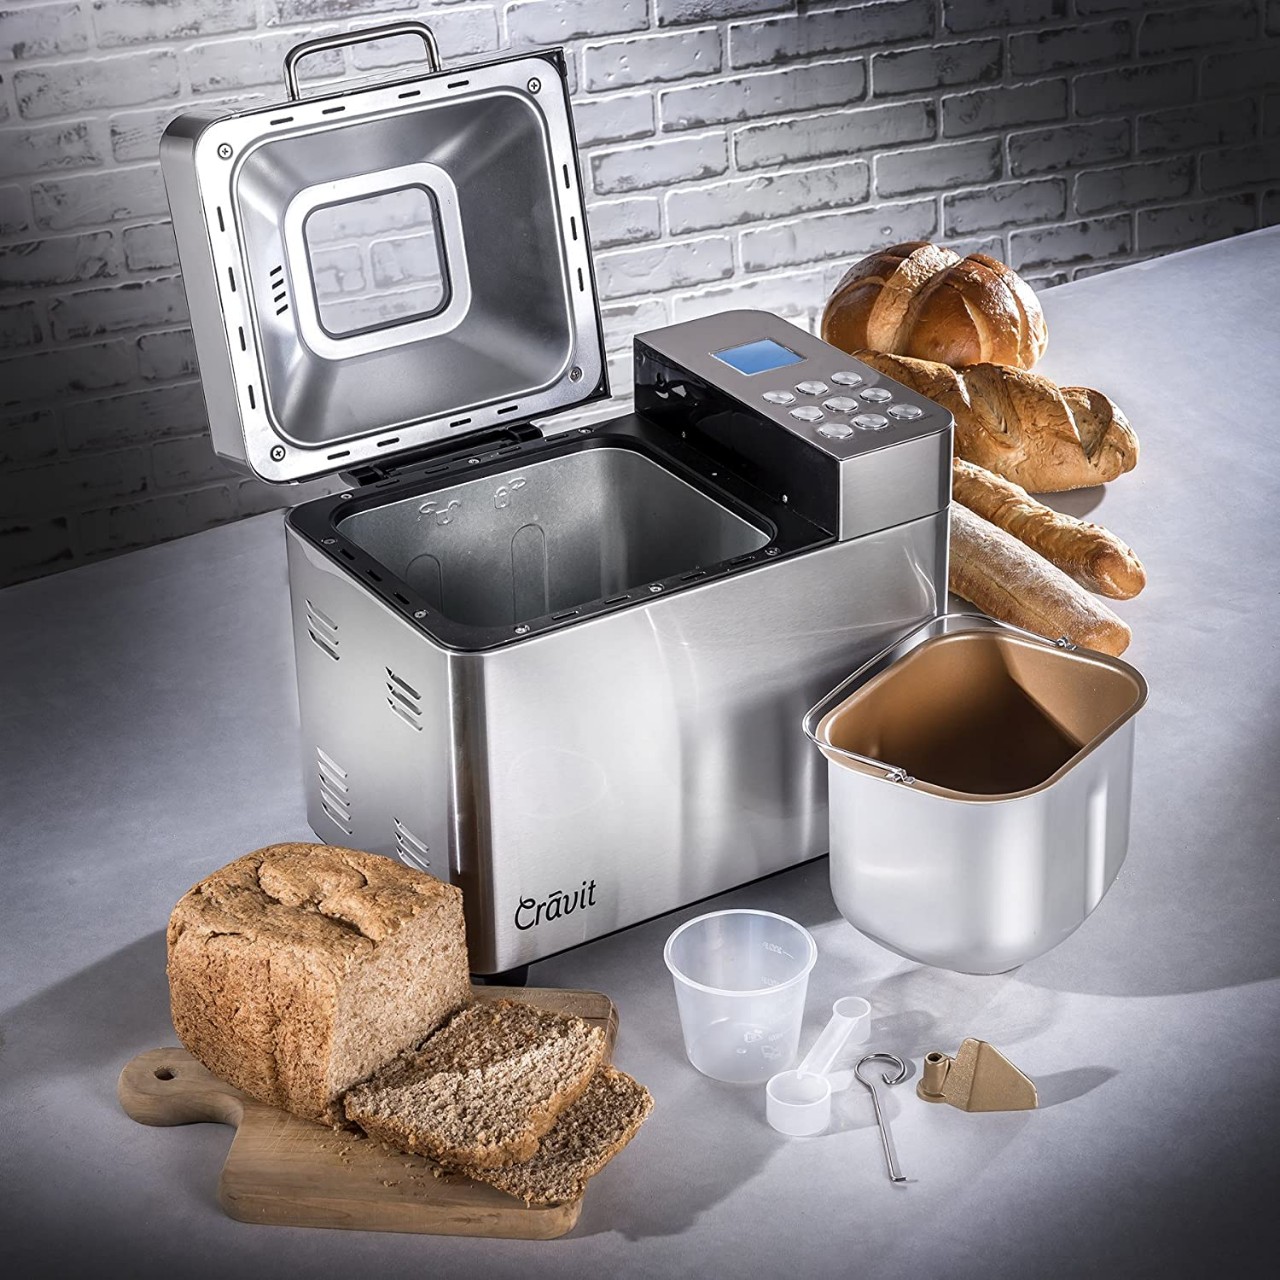
After adding all the ingredients to the bread machine, the next step is to select the appropriate dough setting. Most bread machines have multiple settings, such as basic, whole wheat, gluten-free, and dough.
To make dough, you’ll need to select the dough setting on your machine. This setting is specifically designed to mix and knead the ingredients without baking them. It allows the dough to rise and develop its gluten structure, resulting in a soft and elastic texture.
Refer to your bread machine’s manual to locate and understand the different settings. Once you have identified the dough setting, press the corresponding button to select it. The machine’s display should indicate that the dough setting is active.
Some bread machines also allow you to choose the size of the dough, typically ranging from small to large. Select the size according to your recipe’s instructions or your personal preference.
Once you have chosen the appropriate dough setting and size, you can proceed to the next step. Start the bread machine and let it mix the dough.
It’s important to note that different bread machines may have variations in their settings and operation. Familiarize yourself with your specific machine to ensure you’re using it correctly and following the manufacturer’s guidelines.
As the machine begins to mix and knead the dough, you’ll notice the ingredients coming together to form a cohesive mass. The machine’s motor will work to develop the gluten in the dough, creating the ideal texture for your baked goods.
While the machine does its magic, you can move on to the next step to ensure the dough’s consistency is just right.
Step 4: Start the Bread Machine and Let it Mix the Dough
Now that you have selected the dough setting on your bread machine, it’s time to start the machine and let it work its magic. This step involves allowing the machine to mix and knead the dough to develop its texture and structure.
With the dough ingredients in the machine’s pan and the dough setting selected, press the start button or initiate the program to begin the mixing process. Depending on your bread machine model and the specific dough recipe, this process can take anywhere from 30 minutes to a couple of hours.
As the machine starts, you’ll hear the sound of the motor activating and the paddle inside the pan churning the ingredients. This mixing stage ensures that all the ingredients are well combined and form a uniform dough.
During the mixing process, it’s important to monitor the dough’s consistency. The dough should ideally form a smooth ball that is slightly tacky to the touch. If the dough appears dry and crumbly, you may need to add a little more liquid. Conversely, if the dough is overly sticky and wet, you can sprinkle a small amount of flour to help achieve the desired consistency.
While the machine does the work, take this opportunity to prepare any toppings, fillings, or pans that you’ll be using for your baked goods. This way, you’ll be ready to dive right into the next steps once the dough is ready.
It’s important to note that different bread machine models may have variations in the mixing and kneading process. Some machines may have specific intervals or pauses during the cycle to allow the dough to rest. Refer to your specific bread machine’s manual for any additional instructions or recommendations.
Once the machine completes the mixing and kneading cycle, it will typically beep or display an indicator to signal that the dough is ready. Now it’s time to move on to the next step and check the dough’s consistency before allowing it to rest and rise.
Read more: How Long Is Dough Cycle On Bread Machine
Step 5: Check and Adjust the Dough Consistency
After the bread machine has mixed and kneaded the dough, it’s crucial to check the consistency of the dough before proceeding. The dough’s texture and moisture content are key factors in achieving bakery-quality results.
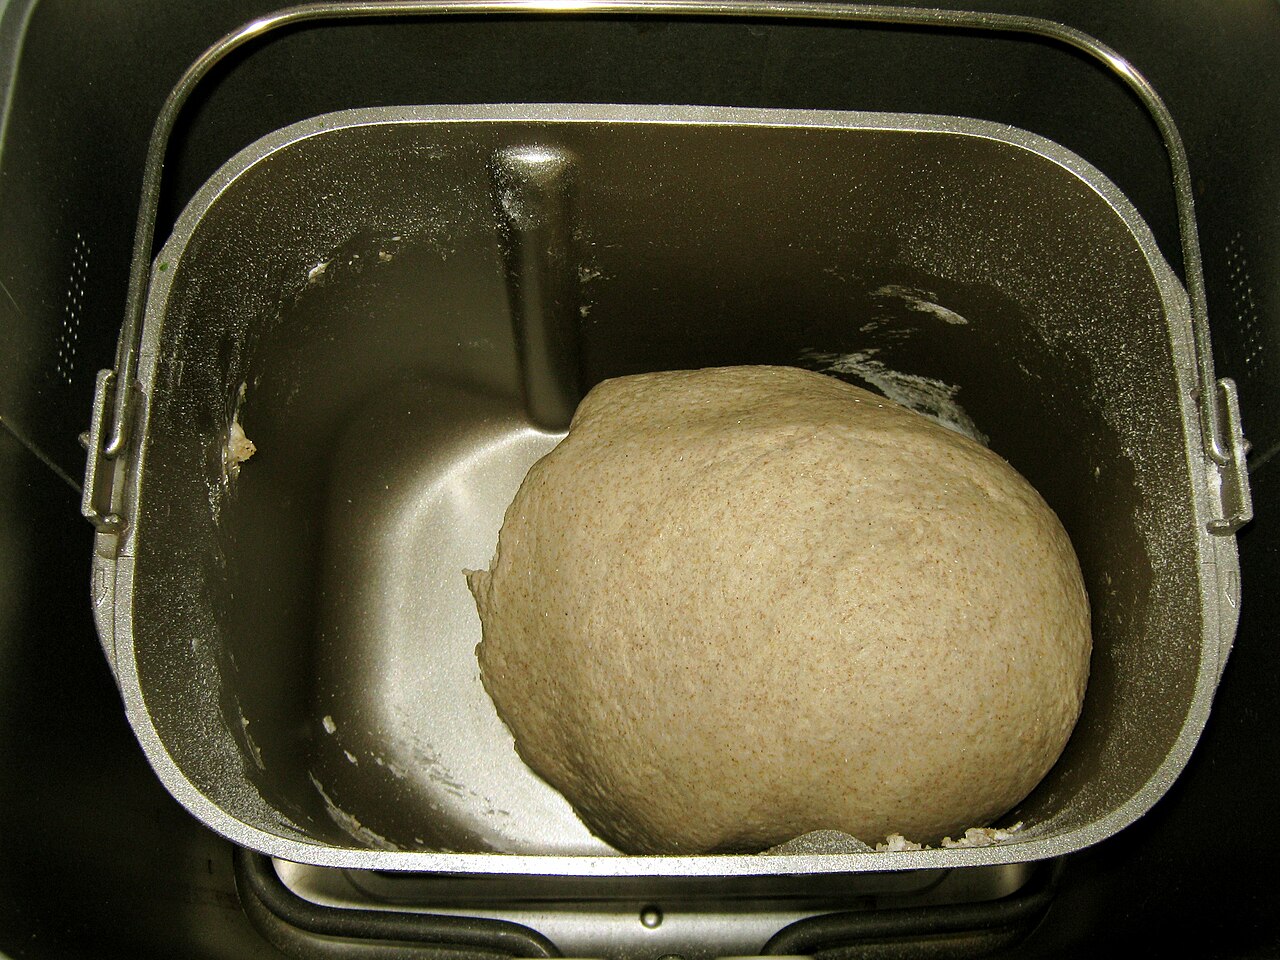
To check the dough’s consistency, open the lid of your bread machine and carefully inspect the dough. It should be slightly tacky to the touch and form a smooth ball. If the dough looks dry and crumbly, it may need additional liquid. On the other hand, if the dough appears overly sticky and wet, a small amount of flour can be added to achieve the desired consistency.
If adjustments are needed, you can add flour or liquid in small increments. Keep in mind that it’s better to start with less and gradually add more, as you can always add more flour but can’t take it away once it’s mixed into the dough. Continue adjusting and incorporating the flour or liquid until the dough reaches the desired consistency.
Remember to keep the measurements in mind when adjusting the dough’s consistency. Depending on the recipe, too much or too little moisture can affect the dough’s ability to rise properly, leading to undesirable results.
Once the dough has reached the desired consistency, gently remove it from the bread machine’s pan. Use a spatula or your hands to carefully detach the dough from the paddle if it sticks to it.
Now, it’s time to let the dough rest and rise, allowing the flavors to develop and the gluten to relax. Move on to step 6 to discover how to properly rest and rise the dough.
Add the wet ingredients first, followed by the dry ingredients, and then make a small well in the center for the yeast. This will help ensure the yeast activates properly and the dough rises evenly.
Step 6: Allow the Dough to Rest and Rise
Once you’ve achieved the desired consistency of your dough, it’s important to give it time to rest and rise. Resting allows the flavors to develop and relaxes the gluten, while rising gives the dough a chance to expand and become light and airy.
To rest and rise the dough, follow these steps:
- Prepare a clean and lightly greased bowl. This will be where you’ll transfer the dough for resting.
- Gently shape the dough into a smooth ball by folding the edges towards the bottom. Place the dough in the greased bowl and cover it with a clean kitchen towel or plastic wrap.
- Find a warm and draft-free spot for the dough to rest. This can be a turned-off oven, a countertop away from open windows, or any other area where the temperature is around 75°F (24°C). The warmth will facilitate the rising process.
- Allow the dough to rest for about 1 to 2 hours, or until it doubles in size. This resting period allows the gluten to relax and the yeast to ferment, enhancing the dough’s flavor and texture.
It’s important to note that the resting and rising time can vary depending on factors such as the recipe, room temperature, and the type of yeast used. Keep an eye on the dough throughout the process, as overproofing can cause the dough to collapse and result in a dense final product.
While the dough is resting and rising, take this time to clean up and prepare your baking surface. If you plan to bake the dough on a baking sheet, line it with parchment paper or sprinkle it lightly with flour or cornmeal. If you’re using a specific baking pan or dish, make sure it’s greased and ready to go.
Once the dough has doubled in size, it’s time to move on to the next step. Remove the dough from the resting bowl, gently press it down to release any air bubbles, and prepare it for shaping and baking.
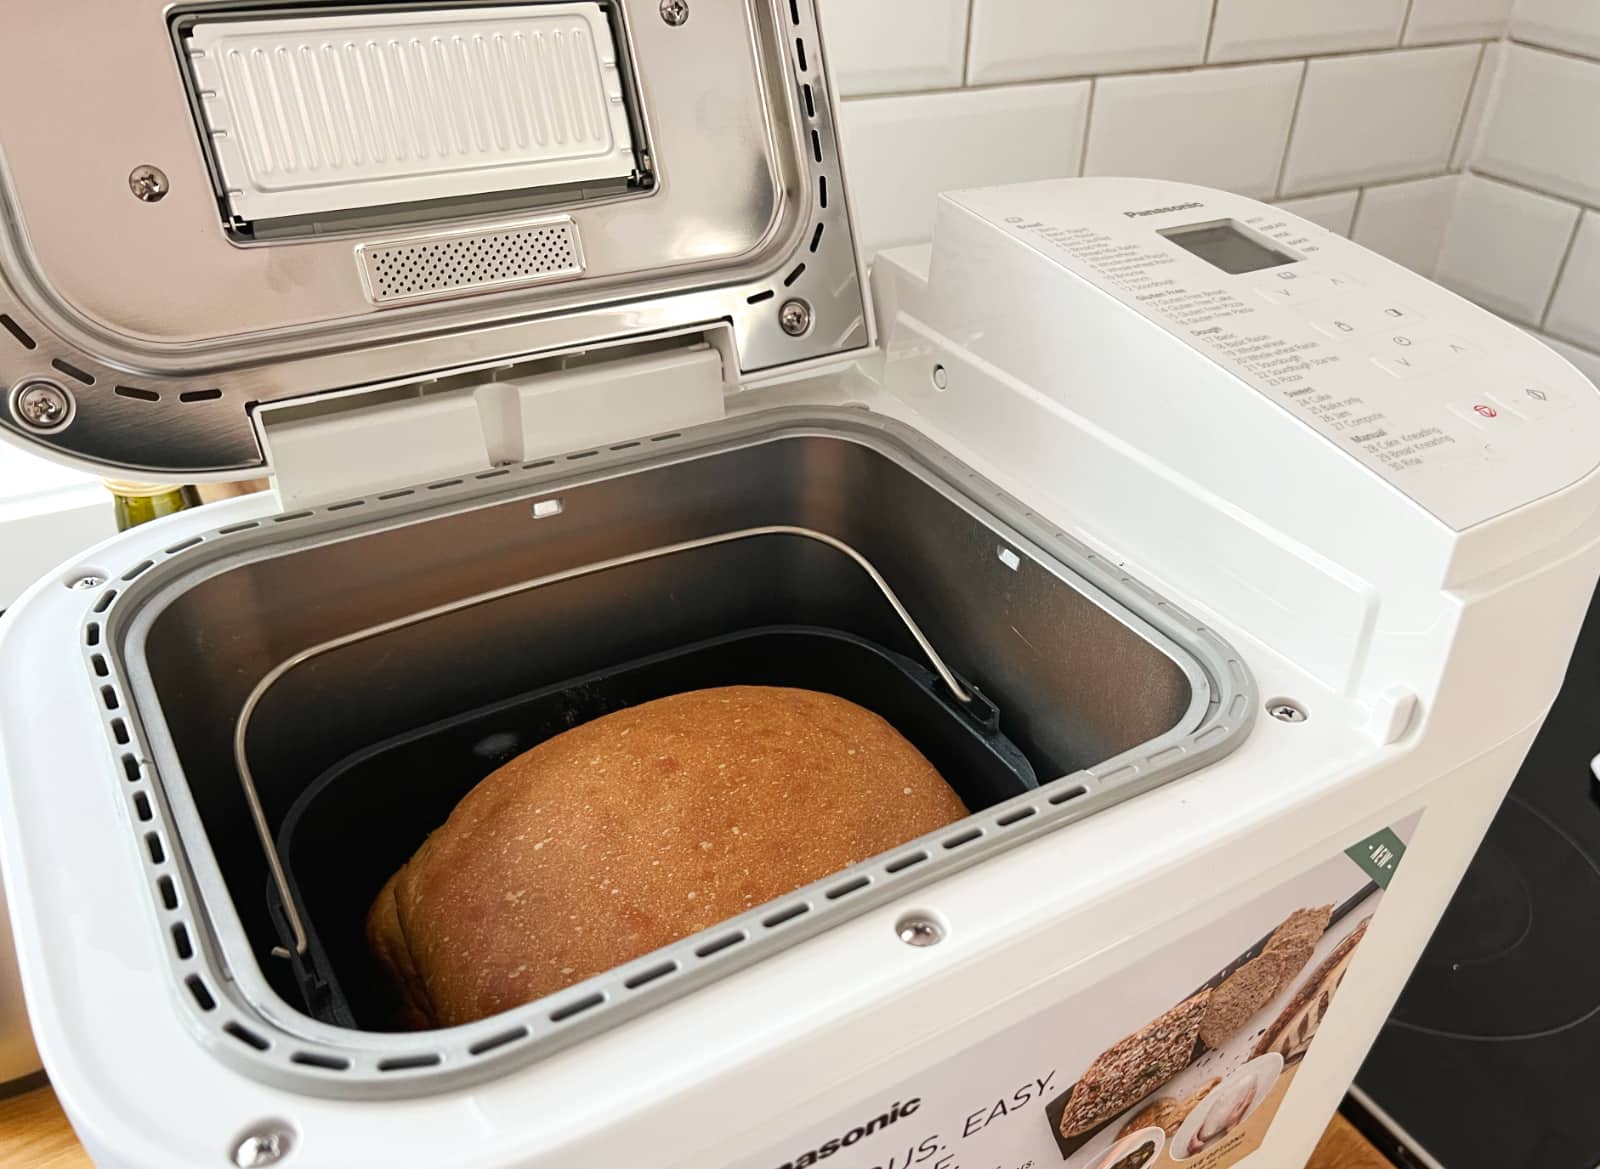
Step 7: Remove the Dough from the Bread Machine
After the dough has rested and risen to double its size, it’s time to remove it from the bread machine and prepare it for shaping and baking. Follow these steps to safely and efficiently remove the dough:
- Unplug the bread machine and carefully open the lid to access the dough.
- Using a spatula or your hands, gently loosen the edges of the dough from the bread machine’s pan. Be careful not to deflate or damage the risen dough.
- Once the edges are loosened, lift the dough out of the pan and transfer it onto a lightly floured surface. You can also use a silicone baking mat or parchment paper to prevent sticking.
- Take a moment to admire the soft and airy texture of the dough. It should feel light and elastic, ready to be shaped into the desired form.
Removing the dough from the bread machine allows you more control and flexibility in the shaping and baking process. It’s important to handle the dough gently to preserve the air bubbles and avoid deflating it.
Now that the dough is on your workspace, it’s time to move on to the next step: shaping and preparing the dough for baking.
Remember to clean the bread machine’s pan and paddle promptly to prevent any dried-on dough from becoming difficult to clean later on.
Step 8: Shape and Prepare the Dough for BakingWith the dough removed from the bread machine, it’s time to shape and prepare it for baking. This step allows you to create the desired form and size for your baked goods. Follow these steps to shape and prepare the dough:
- Start by gently pressing the dough down with your hands to release any air bubbles that may have formed during the resting and rising process.
- Divide the dough into smaller portions if necessary, depending on the recipe or your desired end products. This step may involve cutting or shaping the dough into individual pieces for rolls, loaves, or other shapes.
- To shape the dough, use your hands to gently pull and fold the edges towards the center, creating tension and securing the shape. You can also roll the dough into a log or form it into a round shape, depending on your preference.
- If desired, you can add additional toppings or fillings to the dough at this stage. This can include items like seeds, herbs, cheese, or spices to enhance the flavor and visual appeal of your baked goods.
- Transfer the shaped dough onto the prepared baking surface, such as a baking sheet or a greased baking pan. Make sure to leave enough space between the pieces for them to expand during baking.
- Cover the shaped dough with a clean kitchen towel or plastic wrap and let it rest for a short period, usually about 15-30 minutes. This resting time allows the dough to relax and aids in achieving a better texture in the final product.
While the dough is resting and the oven is preheating, you can take the time to prepare any additional steps for baking. This can include preheating the oven to the recommended temperature, gathering any additional ingredients needed for glazes or toppings, or setting up a baking stone or steam pan if desired.
Once the dough has had its short resting period, it’s time to move on to the final step: baking the dough in the oven.
Remember to handle the dough gently throughout the shaping process to preserve its structure and ensure a tasty end result.
Read more: How To Make Sourdough In Bread Machine
Step 9: Bake the Dough in the Oven
After shaping and preparing the dough, it’s finally time to bake it in the oven. The baking process will transform your dough into delicious, golden-brown baked goods. Follow these steps to ensure a successful bake:
- Preheat your oven to the temperature specified in your recipe. This step is crucial to ensure even baking and proper rise.
- While the oven is preheating, you can take this time to prepare any additional steps, such as glazing the dough or adding toppings like seeds or cheese.
- Once the oven has reached the desired temperature, carefully place the shaped dough into the oven. Use oven mitts or heat-resistant gloves to protect your hands.
- Close the oven door gently to maintain the heat and create the optimal baking environment.
- Set a timer for the recommended baking time, as indicated in your recipe. The baking time will vary depending on the type and size of the dough you’re working with.
- During the baking process, avoid opening the oven door too frequently, as this can cause temperature fluctuations and affect the bake of your dough.
- As the dough bakes, keep an eye on its progress. It should gradually turn golden brown and develop a light crust. You can perform the “tap test” by tapping the bottom of a loaf or roll to check for a hollow sound, indicating it’s done.
- Once the dough is fully baked, carefully remove it from the oven using oven mitts or heat-resistant gloves. Place it on a cooling rack to cool completely. Cooling allows the baked goods to set and develop their final texture.
While cooling, it can be tempting to dig into your freshly baked goodies, but be patient and let them cool completely before enjoying. This will give the flavors a chance to deepen and the texture to fully develop.
Once the dough is completely cooled, it’s time for the final step: savoring and enjoying your homemade dough!
Remember, baking times may vary, so it’s important to rely on visual cues and the recommended baking time in your specific recipe.
Step 10: Cool and Enjoy your Homemade Dough
Congratulations! You’ve successfully baked your homemade dough to perfection. Now it’s time to cool it down and savor the fruits of your labor. Follow these final steps to ensure the best experience:
- Allow the baked dough to cool completely on a wire rack. Cooling provides the opportunity for the flavors and textures to fully develop and stabilize.
- Resist the temptation to cut into the dough right away. Let it sit undisturbed for at least 15-30 minutes to allow the structure to set and prevent it from collapsing.
- Once the dough has cooled, you can now enjoy it in its full glory. Slice a loaf of bread, tear into a warm and fluffy roll, or indulge in a buttery pastry. The possibilities are endless!
- Pair your homemade dough with your favorite spreads, such as butter, jam, cheese, or anything that tickles your taste buds.
- Share the joy of your homemade dough with friends and family. There’s nothing quite like the satisfaction of creating delicious baked goods from scratch.
- Store any leftovers in airtight containers or resealable bags to maintain freshness. Depending on the recipe and type of dough, it can be stored at room temperature for a couple of days or in the refrigerator for longer shelf life. Consult the specific recipe for storage recommendations.
Enjoy your homemade dough as a standalone treat or use it as a base for other dishes. Whether you’re making sandwiches, toast, pizzas, or any other creations, your homemade dough will elevate your culinary adventures.
Remember, practice makes perfect. Experiment with different recipes, flavors, and shapes to discover your favorite dough creations. With time and experience, you’ll become a master at the art of making dough in a bread machine.
Now, sit back, savor the fruits of your labor, and bask in the satisfaction of creating homemade dough with your very own bread machine.
Frequently Asked Questions about How To Make Dough In Bread Machine
Was this page helpful?
At Storables.com, we guarantee accurate and reliable information. Our content, validated by Expert Board Contributors, is crafted following stringent Editorial Policies. We're committed to providing you with well-researched, expert-backed insights for all your informational needs.


0 thoughts on “How To Make Dough In Bread Machine”