Articles
How To Store Bulbs For Next Season
Modified: January 19, 2024
Learn how to store bulbs for the next season with our informative articles. Follow our step-by-step guide to ensure healthy plant growth and vibrant blooms.
(Many of the links in this article redirect to a specific reviewed product. Your purchase of these products through affiliate links helps to generate commission for Storables.com, at no extra cost. Learn more)
Introduction
Welcome to our guide on how to store bulbs for the next season. Whether you’re an avid gardener or new to the world of bulbs, knowing how to properly store them can ensure beautiful blooms year after year. Storing bulbs correctly not only helps them survive the offseason but also promotes healthy growth and vibrant colors when they’re planted again.
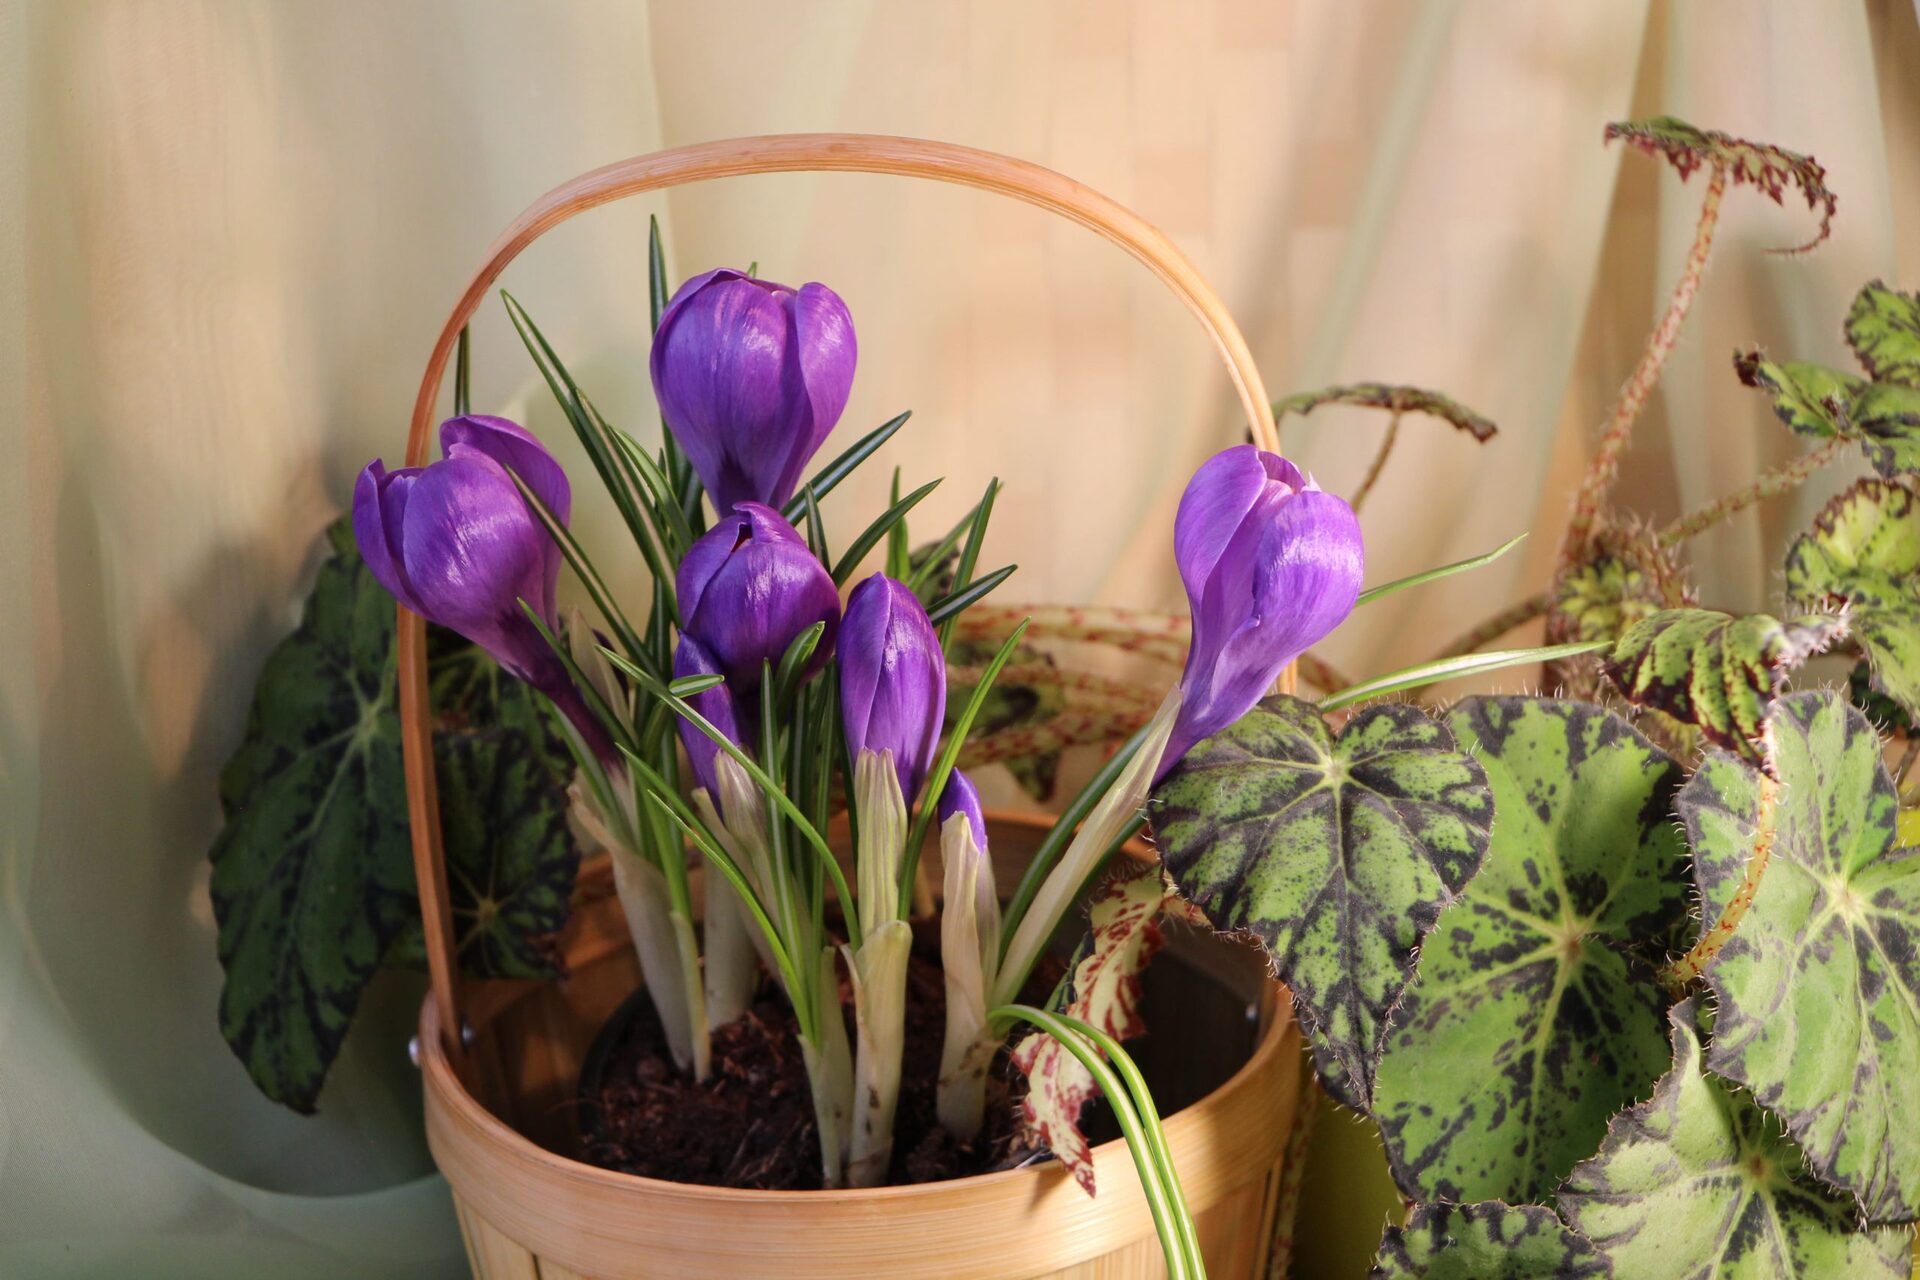
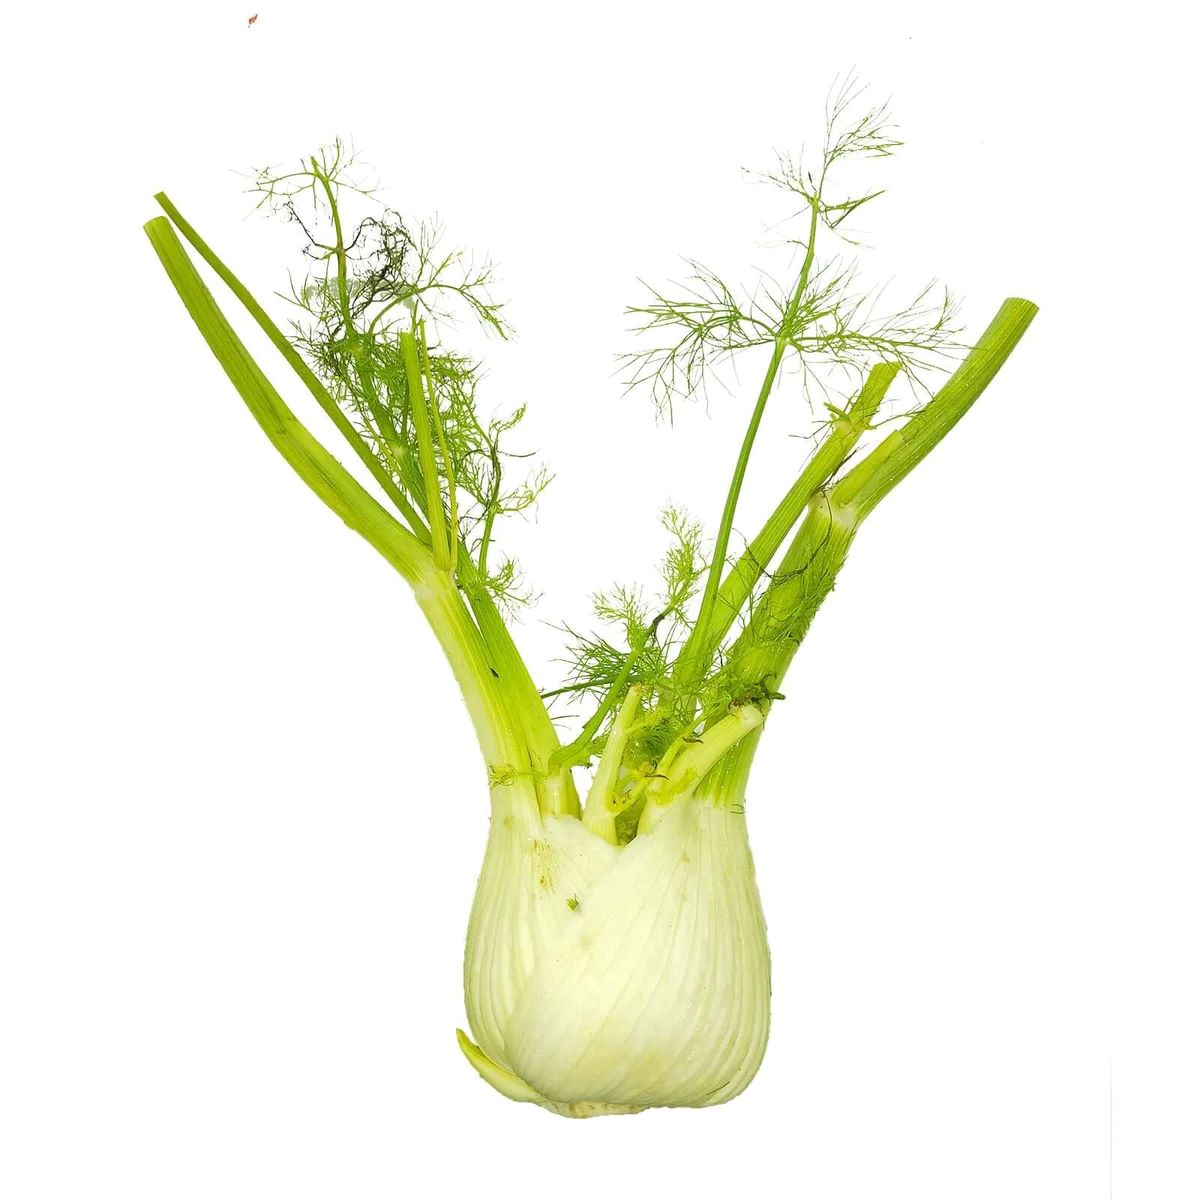
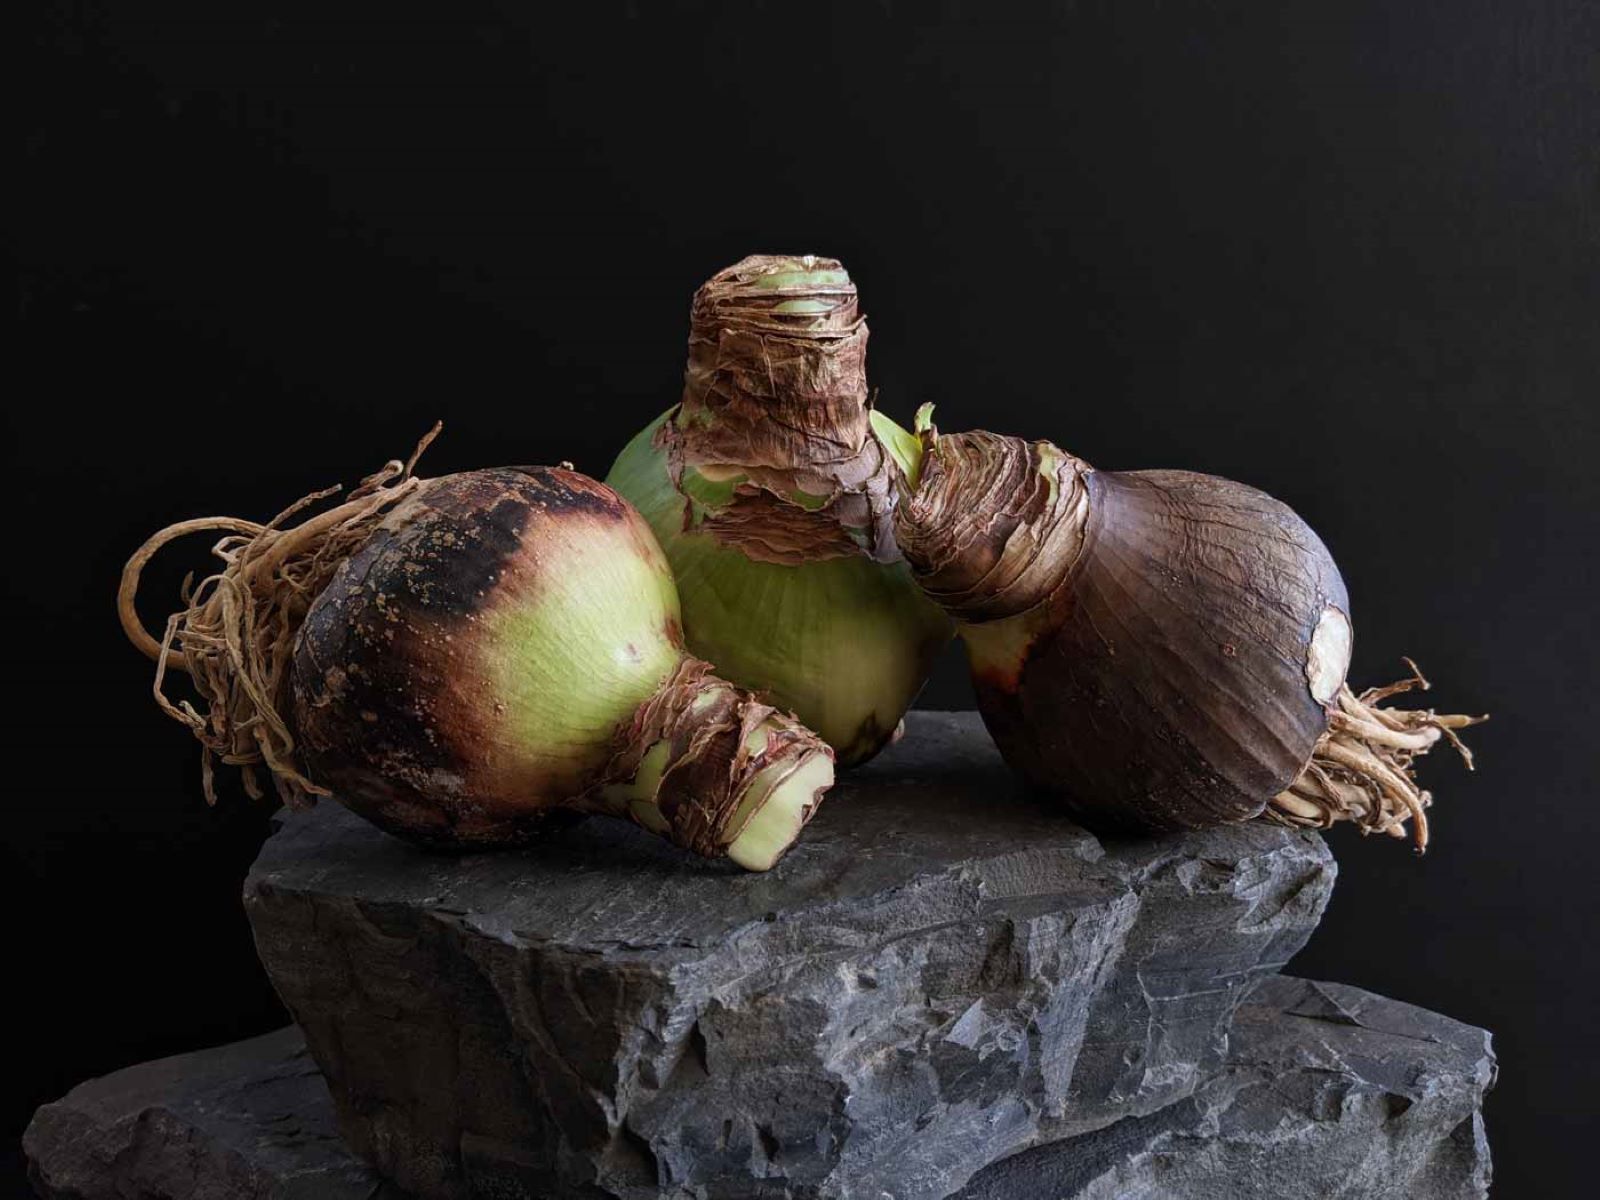
Choosing the right bulbs is the first step in successful storage. Opt for high-quality bulbs that are firm to the touch and free from any signs of rot or damage. It’s important to select bulbs that are appropriate for your climate and the specific planting location. Some common bulb varieties include tulips, daffodils, hyacinths, and crocuses.
Once you’ve chosen your bulbs, it’s time to prepare them for storage. This involves cleaning and drying them thoroughly to prevent the growth of mold or disease-causing organisms. Proper storage containers and locations also play a crucial role in preserving the bulbs’ viability over time.
In this guide, we will walk you through each step of the process, from preparing the bulbs for storage to choosing the right storage method. We will also provide tips and tricks for protecting your bulbs from pests and diseases, as well as checking on their condition during storage.
So, if you’re ready to learn how to store bulbs properly and ensure a successful gardening experience, let’s dive into the details!
Key Takeaways:
- Properly storing bulbs is essential for maintaining their health and ensuring vibrant blooms. Choose high-quality bulbs, clean and dry them thoroughly, and monitor for pests and diseases to set the stage for a successful gardening experience.
- Whether storing bulbs in containers or in the ground, create the right conditions for bulbs to enter a dormant state and preserve their viability. Regularly monitor and care for the stored bulbs, checking for pests, diseases, and necessary adjustments to storage conditions to ensure successful growth and blooming upon planting.
Read more: How To Store Zinnia Seeds For Next Season
Choosing the Right Bulbs
Choosing the right bulbs is crucial for successful storage and future blooms. Here are some tips to help you select the best bulbs:
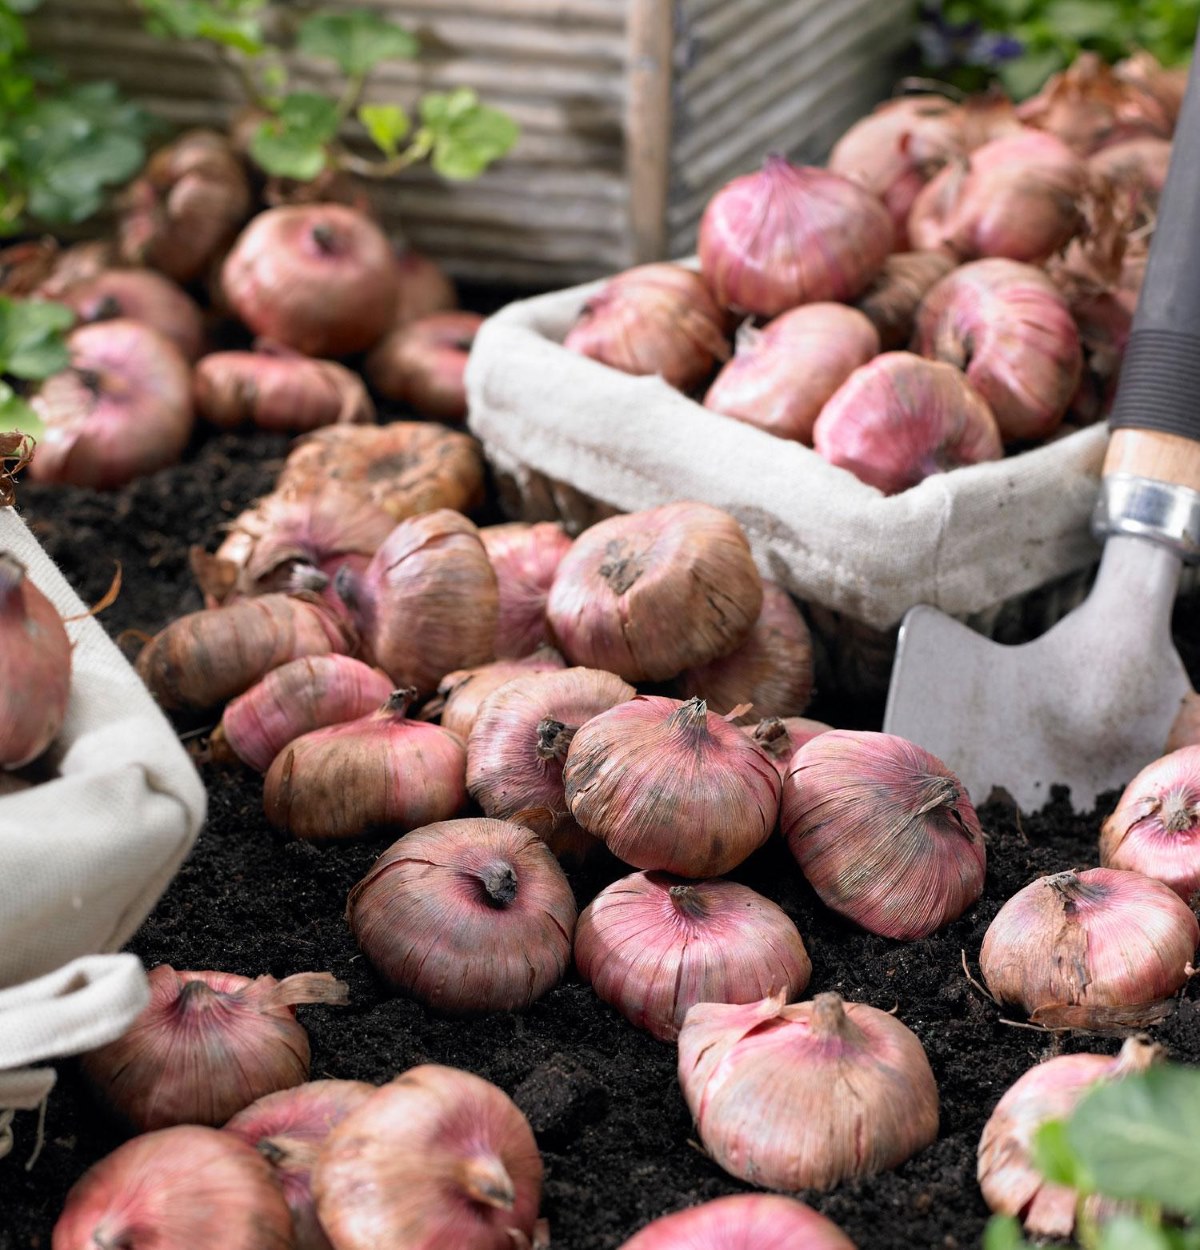
- Quality: Look for bulbs that are firm, plump, and free from any signs of damage or rot. Avoid bulbs that are soft or mushy, as they may not survive storage.
- Size: Larger bulbs tend to produce bigger and more robust blooms. When possible, opt for larger bulbs within the recommended size range for the specific variety.
- Variety: Consider the specific needs and preferences of your garden. Different bulb varieties, such as tulips, daffodils, and hyacinths, have different temperature and sunlight requirements. Choose bulbs that are suitable for your climate and planting location.
- Source: Purchase bulbs from a reputable supplier to ensure quality and authenticity. Buying from trusted nurseries or online sources known for their bulb selection can help you avoid disappointment.
- Condition: Examine the bulbs carefully for any signs of disease or pests. Avoid bulbs with visible blemishes, spots, or signs of insect damage.
Remember to plan your bulb purchases in advance. Most bulbs are available for purchase in the fall, and it’s important to buy them before they sell out. Ordering them early will give you a better selection and ensure that you receive them in time for planting.
By selecting high-quality bulbs that are suited to your garden’s conditions, you are setting the foundation for successful storage and future blooming.
Preparing Bulbs for Storage
Before you can store bulbs for the next season, it’s essential to prepare them properly. This involves cleaning and drying the bulbs to prevent the growth of mold or disease-causing organisms. Here’s how to prepare your bulbs for storage:
- Trimming Leaves: Start by trimming off the foliage of the bulbs. Gently remove any dead or yellowing leaves, but leave the healthy green leaves intact. The leaves help provide nourishment to the bulb during storage.
- Drying: After trimming the leaves, allow the bulbs to dry completely. To do this, place the bulbs in a well-ventilated area for a few days. Avoid exposing them to direct sunlight, as this can damage the bulbs.
- Removing Soil: Brush off any excess soil from the bulbs using a soft brush or your hands. Be gentle to avoid damaging the outer layer of the bulbs.
- Inspecting for Damage: Carefully examine each bulb for any signs of pest damage, rot, or disease. Discard any bulbs that show signs of damage to prevent the spread of pests or diseases to other bulbs.
It’s important to note that not all bulbs can be stored. Some varieties, such as gladiolus, dahlias, and cannas, do not store well and are better off being dug up and stored differently. Be sure to research the specific bulb variety you are working with to determine the best storage method.
Once your bulbs are cleaned, trimmed, and inspected, they are ready for storage. The next sections will cover different storage methods to help you choose the one that suits your needs best.
Cleaning and Drying Bulbs
Cleaning and drying bulbs before storage are essential steps to prevent the growth of mold and disease. Follow these guidelines to ensure your bulbs are properly cleaned and dried:
- Brush off Soil: Start by gently brushing off any excess soil from the bulbs. Use a soft brush or your hands to remove the dirt, being careful not to damage the outer layer of the bulbs.
- Rinse if Necessary: If the bulbs are particularly dirty or covered in clumps of soil, you can rinse them gently with water. Use a gentle stream of water or dip them in a bucket of water, then pat them dry with a clean towel.
- Avoid Wetting the Basal Plate: When rinsing the bulbs, avoid getting water on the basal plate, which is the bottom part of the bulb where the roots emerge. Excess moisture in this area can lead to rot.
- Dry Thoroughly: After cleaning, it’s important to let the bulbs air dry completely before storing them. Place them in a well-ventilated area with good air circulation, away from direct sunlight. This will prevent moisture buildup and reduce the risk of fungal growth.
- Ensure Proper Ventilation: Avoid overcrowding the bulbs during the drying process. Give them enough space to breathe and ensure they are not touching each other. This will help prevent the spread of moisture and potential disease.
- Avoid Artificial Drying Methods: While it may be tempting to speed up the drying process using artificial methods like heat or a fan, it’s best to let the bulbs dry naturally. Artificial drying methods can cause the bulbs to dry out too quickly or unevenly, resulting in damage or reduced storage viability.
By taking the time to clean and dry your bulbs properly, you can ensure their health and viability during storage. Remember to handle the bulbs gently to avoid any unnecessary damage and store them in appropriate containers or locations, which will be discussed in the following sections.
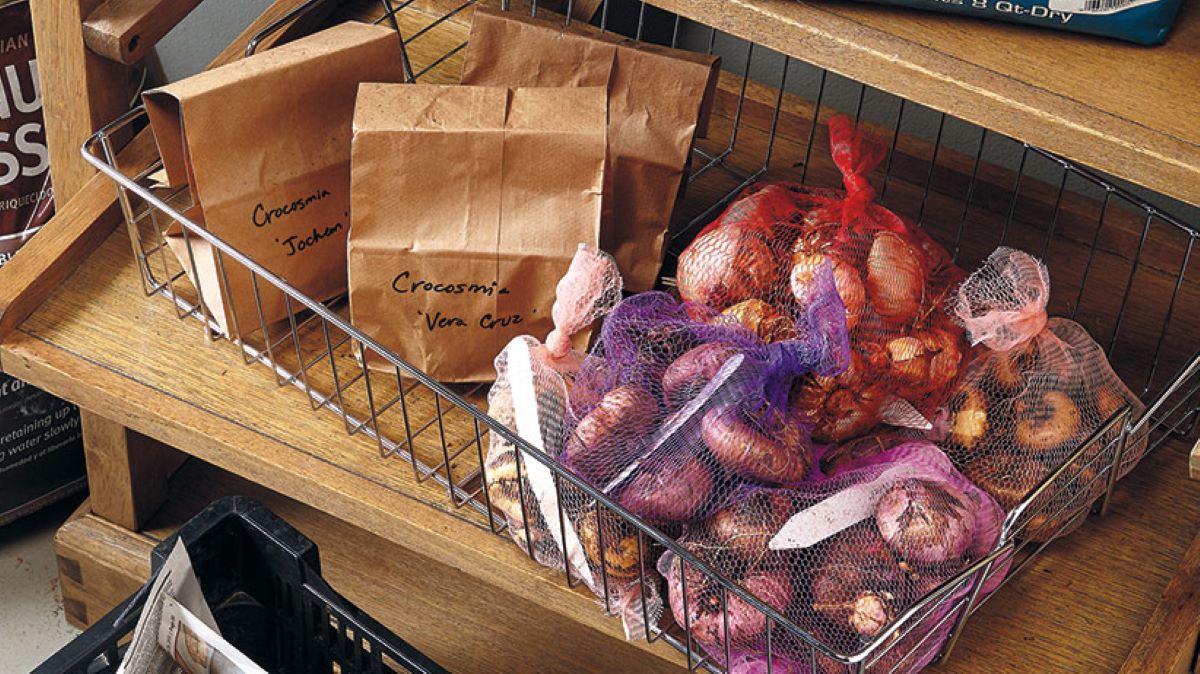
Storing Bulbs in Containers
Storing bulbs in containers is a popular method that provides convenience and flexibility. This method allows you to easily access and monitor the bulbs during the offseason. Here’s how to store bulbs in containers:
- Selecting Containers: Choose containers that are clean, dry, and have adequate drainage. Clay or plastic pots, wooden crates, or ventilated mesh bags are all suitable options. Make sure the containers are large enough to accommodate the bulbs without overcrowding.
- Creating a Bedding Layer: Line the bottom of each container with a layer of peat moss, vermiculite, or a well-draining potting mix. This will help provide insulation and maintain the bulbs’ moisture levels.
- Arranging bulbs: Place the bulbs on top of the bedding layer, spacing them out in a single layer. Avoid stacking or layering the bulbs, as this can lead to damage or increased risk of disease.
- Adding additional layers: If you have multiple layers of bulbs, separate each layer with a thin layer of the bedding material to prevent the bulbs from touching each other directly. This will help reduce the risk of disease spread if one bulb is affected.
- Labeling: It’s important to label each container to keep track of the bulb variety, color, and planting information. This will make it easier when it’s time to plant them again in the future.
- Covering and storing: Once the bulbs are arranged in the containers, cover them with a layer of the bedding material. Place the containers in a cool, dark, and dry location, such as a basement or a garage. Avoid areas prone to extreme temperatures or fluctuations.
- Monitoring: Regularly check on the bulbs during storage. Inspect for signs of mold, disease, or pests. Remove any bulbs showing signs of damage to prevent it from spreading to the others.
Storing bulbs in containers provides easy access and allows you to maintain a close eye on their condition. Just remember to store them in a suitable environment and practice regular monitoring to ensure successful storage and future blooming.
After the bulbs have finished flowering, allow the foliage to die back naturally. Once the foliage has turned yellow and withered, carefully dig up the bulbs, remove any excess soil, and store them in a cool, dry place until the next planting season.
Read more: How To Save Seeds For Planting Next Season
Storing Bulbs in the Ground
Storing bulbs in the ground is an alternative method that works well for hardy bulbs that can withstand winter conditions. This method is especially useful when you have limited storage space or prefer a more natural approach. Here’s how to store bulbs in the ground:
- Choosing a Location: Select a suitable planting area in your garden that provides the ideal growing conditions for the specific bulb variety. Consider factors such as sunlight exposure, soil drainage, and protection from extreme weather conditions.
- Preparing the Soil: Ensure the planting area has well-drained soil. If the soil is heavy or has poor drainage, amend it with organic matter, such as compost or peat moss, to improve its structure.
- Preparing the Bulbs: Clean and dry the bulbs following the methods mentioned earlier. Trim any excess foliage, leaving only the healthy green leaves intact.
- Planting: Dig a hole or trench in the prepared planting area that is deep enough to accommodate the bulbs. Place the bulbs in the hole, keeping an appropriate spacing between them according to the bulb variety’s requirements.
- Covering: Once the bulbs are placed in the hole, cover them with soil, ensuring they are at the appropriate depth. Refer to the specific bulb variety’s planting instructions for the correct depth measurement.
- Adding Mulch: After covering the bulbs with soil, add a layer of organic mulch, such as straw or shredded leaves, to provide insulation and protect the bulbs from frost or extreme temperature fluctuations.
- Marking: It’s essential to mark the planting area so that you can locate and identify the bulbs in the future. Use stakes, labels, or other markers to indicate the bulb variety and planting location.
- Monitoring: Check on the bulbs periodically during the offseason. Ensure the soil remains adequately moist but not waterlogged. Remove any weeds that may compete with the bulbs for nutrients or space.
This method allows the bulbs to go through their natural dormancy period while being protected by the soil. However, it’s important to note that this method may not be suitable for all bulb varieties, especially those that require specific storage conditions. It’s best to research the specific bulb variety and its storage requirements before opting for this method.
Storing bulbs in the ground can be a convenient and hassle-free option, especially for hardy bulbs that can withstand winter conditions. Just make sure to choose a suitable location, prepare the bulbs properly, and monitor their progress during the offseason.
Protecting Bulbs from Pests and Diseases
Protecting bulbs from pests and diseases is crucial for successful storage and future blooming. Here are some measures you can take to prevent common issues:
- Cleaning and Inspecting: Before storing the bulbs, carefully clean and inspect each one for signs of damage, disease, or pest infestation. Discard any bulbs that show signs of rot, mold, or insect damage to prevent the spread of pests or diseases to other bulbs.
- Storage Location: Choose a storage location that is cool, dry, and well-ventilated. Pests and diseases thrive in warm and humid environments, so ensuring proper airflow and moisture control can help minimize these risks.
- Use Pest Control: Consider using organic pest control methods, such as introducing beneficial insects or applying natural repellents, to deter pests from infesting the stored bulbs. Neem oil and diatomaceous earth are examples of natural remedies that can be effective against common bulb pests.
- Prevent Moisture Buildup: Excess moisture can create a favorable environment for fungal growth and disease development. Make sure the storage containers or ground planting area have adequate drainage and avoid overwatering or exposing the bulbs to excessive moisture during storage.
- Avoid Overcrowding: Proper spacing and ventilation are essential to prevent the spread of diseases or pests. Avoid overcrowding bulbs during storage, as this can lead to increased humidity and easier transmission of diseases.
- Regular Inspections: Monitor the stored bulbs periodically to check for any signs of pest or disease activity. Look for mold, discolored patches, or unusual growth. Early detection can help you take necessary measures to prevent further damage.
- Keep Storage Areas Clean: Regularly clean the storage containers or planting areas to remove any debris or fallen leaves that may harbor pests or fungi. Maintaining a clean storage environment reduces the risk of infestation or disease development.
By following these preventative measures, you can minimize the risk of pests and diseases affecting your stored bulbs. It’s important to be proactive and take necessary actions at the first signs of trouble to ensure the bulbs remain healthy and ready for planting in the next season.
Checking Bulbs During Storage
Regularly checking on the condition of your stored bulbs is essential to ensure their health and viability. Here are some key steps to take while inspecting bulbs during storage:
- Visual Inspection: Carefully examine the bulbs for any signs of mold, rot, or disease. Look for discoloration, soft spots, or unusual growth on the bulbs. If you notice any abnormalities, remove the affected bulbs immediately to prevent the spread of disease to other bulbs.
- Moisture Check: Check the moisture level in the storage containers or ground planting area. Bulbs should be stored in a cool, dry environment to prevent the growth of mold or rot. If the storage area feels excessively moist, consider enhancing ventilation or adjusting the storage conditions accordingly.
- Sprouting Bulbs: Some bulbs may begin to sprout during storage due to exposure to warmth or light. While this is not always a cause for concern, it’s important to monitor sprouting bulbs. If the sprouts appear weak or elongated, it may indicate insufficient light or excessive warmth. Adjust the storage conditions as needed to ensure the sprouts remain healthy.
- Removing Debris: Regularly clear away any fallen leaves, debris, or pests that may have accumulated around the stored bulbs. Maintaining cleanliness helps prevent the development of diseases and discourages pests from infesting the bulbs.
- Rotating Bulbs: If you have stored bulbs in containers, periodically rotate the containers to ensure even exposure to light and airflow. This helps prevent bulbs from becoming misshapen or growing towards the light source unevenly.
- Reassessing Storage Conditions: Take this opportunity to evaluate the storage conditions and make any necessary adjustments. If the storage area has become too warm or humid, consider moving the bulbs to a cooler and drier location. Ensure that the storage containers or planting area have adequate drainage, ventilation, and protection from extreme temperatures.
Regularly checking on your stored bulbs allows you to catch any issues early on and take appropriate actions to preserve their health. By staying vigilant, you can ensure that your bulbs remain in optimal condition, ready for planting and producing beautiful blooms in the next season.
Tips for Successful Bulb Storage
To ensure successful bulb storage and maintain their health and viability, here are some valuable tips to keep in mind:
- Choose the Right Storage Method: Select a storage method that best suits the specific bulb variety and your available space. Whether it’s storing bulbs in containers or in the ground, ensure you have the necessary conditions and environment for their successful preservation.
- Label and Organize: Properly label each storage container or marked area in the garden to keep track of the bulb variety, planting information, and storage date. This will make it easier to retrieve and plant the bulbs when the time comes.
- Monitor Temperature: Ideally, bulbs should be stored in a cool location with temperatures ranging from 35°F to 50°F (2°C to 10°C). Avoid storing them in areas prone to extreme temperature fluctuations or heat sources, as this can impact their viability.
- Avoid Exposure to Light: Bulbs should be stored in a dark or low-light environment to discourage premature sprouting. Exposure to light can trigger growth and deplete the bulbs’ energy reserves.
- Prevent Pest Infestation: Keep pests at bay by regularly inspecting the bulbs for signs of infestation and using natural pest control methods if necessary. Keeping storage areas clean and free from debris also helps deter pests.
- Monitor Moisture Levels: Ensure that the storage containers or ground planting area have proper drainage and airflow to prevent excess moisture buildup. Bulbs should be stored in a dry environment to avoid rot or fungal growth.
- Check on Bulbs Periodically: Regularly inspect the stored bulbs for any signs of disease, rot, or pest activity. Remove any affected bulbs promptly to prevent the spread of issues to other bulbs.
- Keep It Dry: Before storing bulbs, ensure they are completely dry. Moisture can lead to mold or rot, compromising the bulbs’ health. Allow bulbs to air dry thoroughly before placing them in storage.
- Plan Ahead for Planting: As you store your bulbs, consider planning ahead for their future planting. Research the ideal planting time and conditions for each variety, so you can be prepared for a successful growing season when the time comes.
- Regularly Refresh Bulbs: Over time, the stored bulbs may lose their viability or vigor. It’s a good practice to refresh your bulb collection every few years by purchasing new bulbs and incorporating them into your planting regimen.
By following these tips, you can ensure the successful storage of your bulbs, and they will be ready to dazzle your garden with their vibrant blooms in the next growing season.
Read more: How To Save Tomato Seeds For Next Season
Conclusion
Properly storing bulbs for the next season is vital for maintaining their health and ensuring beautiful blooms year after year. By following the guidelines and tips provided in this guide, you can effectively store bulbs and set the stage for a successful gardening experience. Whether you choose to store them in containers or in the ground, the key is to create the right conditions for bulbs to enter a dormant state and preserve their viability.
Remember to choose high-quality bulbs, clean and dry them thoroughly, and inspect for any signs of damage or disease before storing. Consider the storage location carefully, opting for cool and well-ventilated spaces with appropriate temperature and moisture levels. Regularly monitor and care for the stored bulbs, checking for pests, diseases, and any necessary adjustments to the storage conditions.
By taking the necessary steps to protect your bulbs from pests and diseases and providing them with the right storage conditions, you increase the chances of their successful growth and blooming upon planting them again. Proper bulb storage ensures the preservation of their energy and nutrients, allowing them to thrive and bring color and beauty to your garden in the upcoming season.
So, with the knowledge and tips shared in this guide, you’re now equipped to store your bulbs with confidence, ensuring their longevity and setting the stage for a vibrant and flourishing garden in the seasons to come.
Frequently Asked Questions about How To Store Bulbs For Next Season
Was this page helpful?
At Storables.com, we guarantee accurate and reliable information. Our content, validated by Expert Board Contributors, is crafted following stringent Editorial Policies. We're committed to providing you with well-researched, expert-backed insights for all your informational needs.

0 thoughts on “How To Store Bulbs For Next Season”