Articles
How To Store Bulbs For Next Year
Modified: January 6, 2024
Learn how to store bulbs for next year with our informative articles. Find tips and tricks to ensure your bulbs stay healthy and ready for the next growing season.
(Many of the links in this article redirect to a specific reviewed product. Your purchase of these products through affiliate links helps to generate commission for Storables.com, at no extra cost. Learn more)
Introduction
Bulbs are a popular choice for creating beautiful and vibrant gardens. However, many gardeners find themselves wondering what to do with their bulbs once the blooming season is over. Fortunately, storing bulbs for the next year is a simple and effective way to ensure their longevity and maximize their potential for future growth and beauty.
In this article, we will explore the importance of selecting the right bulbs for storage, the necessary steps to prepare bulbs for storage, and the various storage methods that can be utilized. Whether you are an experienced gardener or a novice, by following the guidelines outlined in this article, you will be equipped with the knowledge and techniques to store bulbs successfully.
So, let’s delve into the world of bulb storage and discover how to preserve these botanical treasures for future gardening endeavors.
Key Takeaways:
- Preserve the beauty of your garden by selecting high-quality bulbs, preparing them properly, and providing the right storage conditions. Enjoy a bountiful and vibrant garden year after year with these essential techniques.
- Whether storing bulbs in containers or in the ground, maintaining a cool temperature, proper moisture levels, and good air circulation are key to their well-being. Regularly inspecting the bulbs for damage, disease, or pests allows you to address any issues promptly, ensuring the health of the stored bulbs.
Read more: How To Store Tulip Bulbs For Next Year
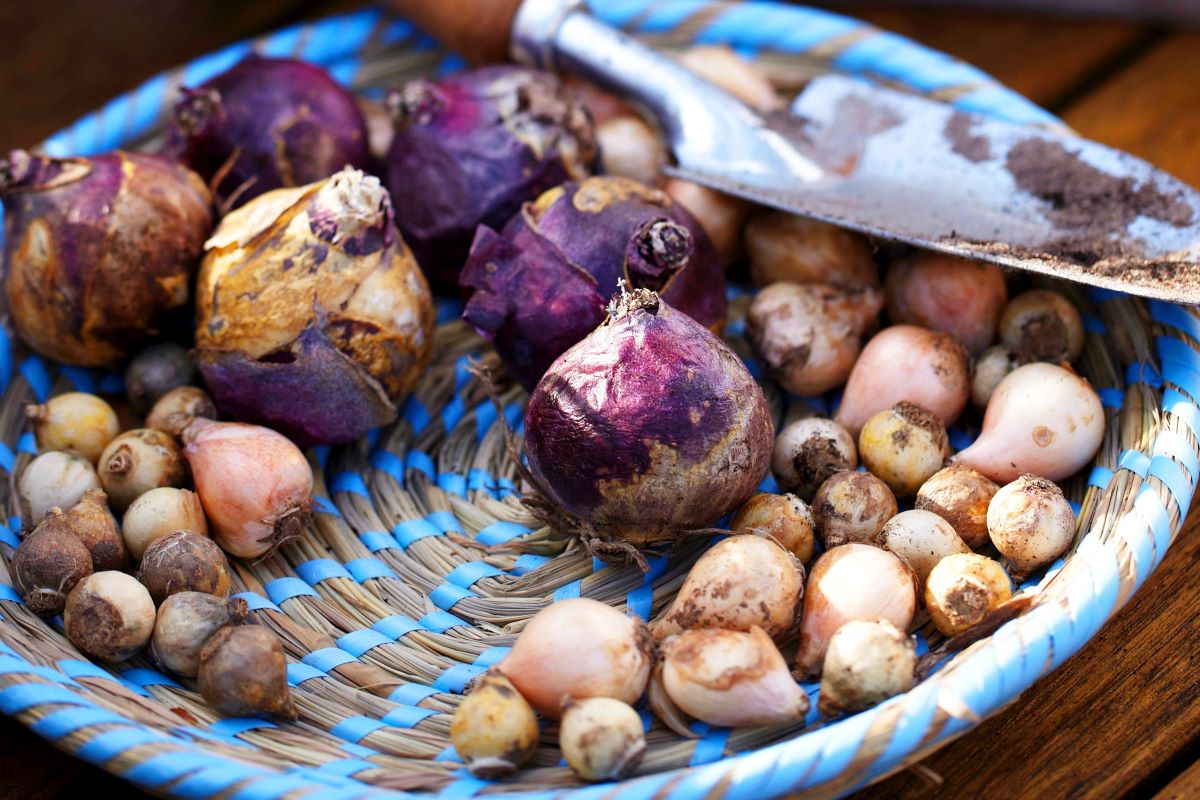
Selecting the Right Bulbs for Storage
When it comes to storing bulbs for the next year, one of the key factors to consider is selecting the right bulbs. Not all bulbs are suitable for storage, and choosing the wrong ones can lead to disappointment when it comes time to plant them again. Here are some important factors to consider when selecting bulbs for storage:
- Quality: Choose bulbs that are in good condition, free from any damage or disease. Look for bulbs that are firm and plump, with no soft spots or signs of rot. Avoid bulbs that are shriveled or moldy, as they may not survive storage.
- Size: Select bulbs that are of average size, neither too small nor too large. Bulbs that are too small may not have enough energy reserves to survive in storage, while bulbs that are too large may have difficulty storing properly.
- Variety: Consider the specific variety of bulb and its storage requirements. Different bulb types, such as tulips, daffodils, or lilies, have varying storage needs. Refer to reliable gardening resources or consult with local experts to determine the ideal storage conditions for each bulb variety.
- Freshness: It is best to store bulbs that have been recently dug up or purchased. Fresh bulbs have a higher chance of surviving storage and reblooming successfully. Avoid storing bulbs that have been sitting around for too long or have been stored improperly.
By selecting high-quality bulbs that are the right size, specific variety, and fresh, you are setting yourself up for success in storing bulbs for the next year. Remember, healthy bulbs are more likely to store well and produce beautiful blooms in the future.
Preparing Bulbs for Storage
Properly preparing bulbs for storage is crucial to their survival and future growth. By taking the time to prepare bulbs before storing them, you can help prevent disease, promote dormancy, and ensure they are in optimal condition for planting the following year. Here are the steps to prepare your bulbs for storage:
- Cleaning: Gently remove any excess soil or debris from the bulbs. You can use a soft brush or your hands to carefully clean the bulbs. Avoid washing them, as excessive moisture can promote rotting.
- Drying: Allow the bulbs to dry completely before storing them. Place them in a well-ventilated area or on a tray lined with paper towels or newspaper. This drying process helps remove any moisture and prevents the growth of mold or fungi. It is important to note that some bulbs, like onions or garlic, may require specific drying methods, so be sure to research the specific requirements for each bulb type.
- Inspecting: Take the time to inspect each bulb for any signs of damage or disease. Discard any bulbs that show signs of rot, mold, or pest infestation. It is essential to remove any infected bulbs to prevent the spread of disease to the healthy bulbs in storage.
- Cutting Back Foliage: If your bulbs have foliage, such as tulips or daffodils, it is recommended to cut back the foliage to about an inch above the bulb. This helps divert energy into the bulb and promotes proper dormancy.
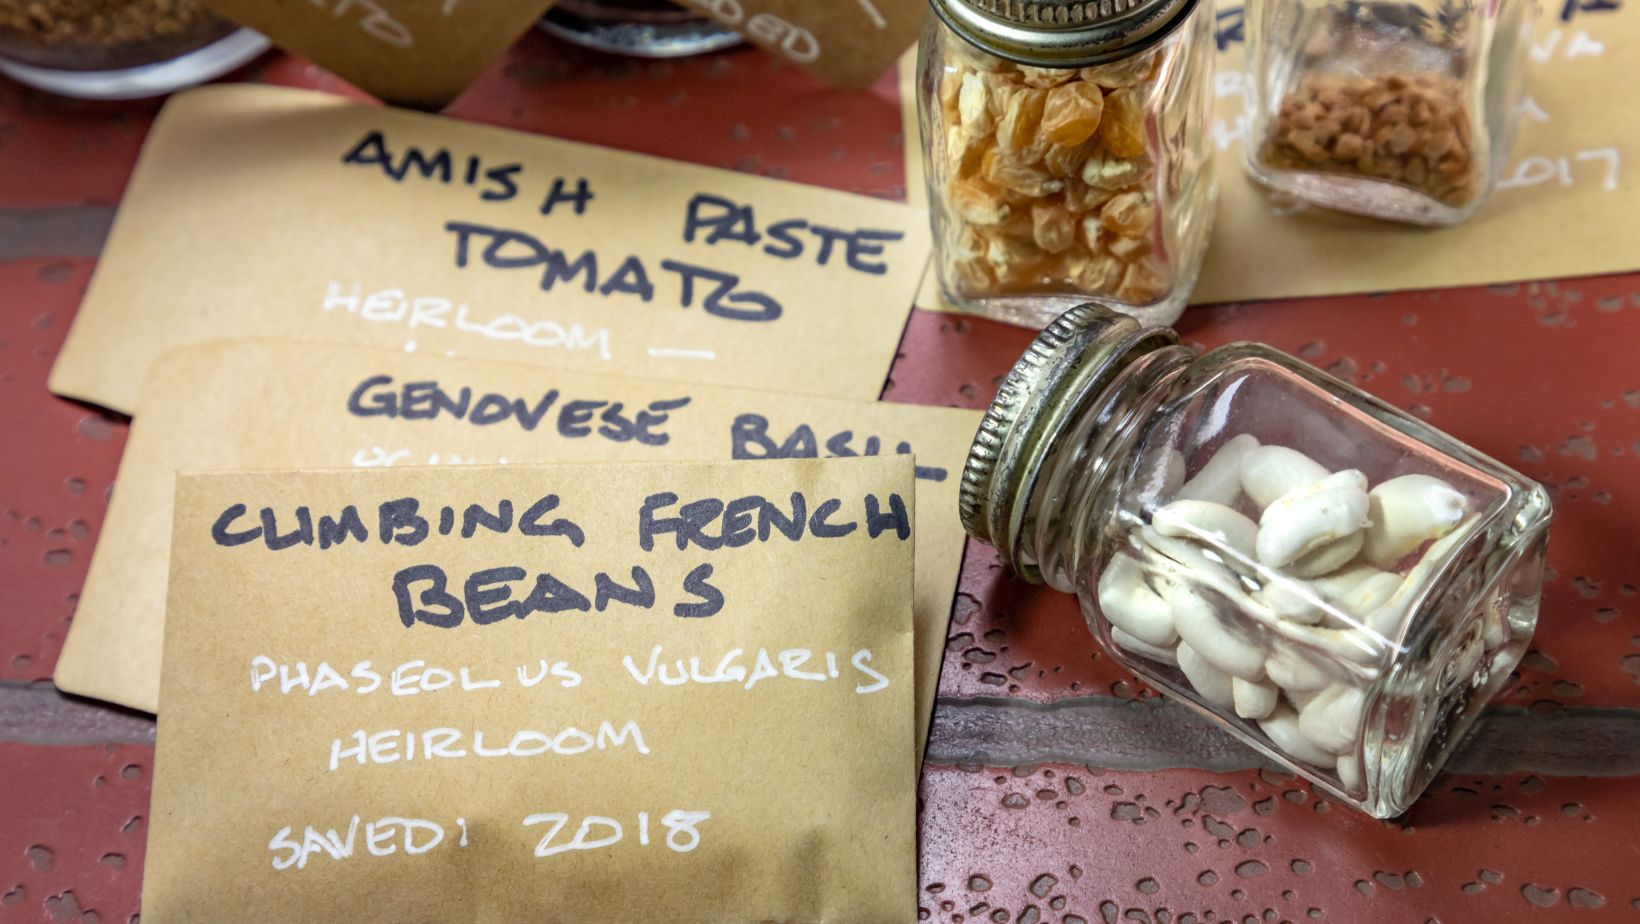
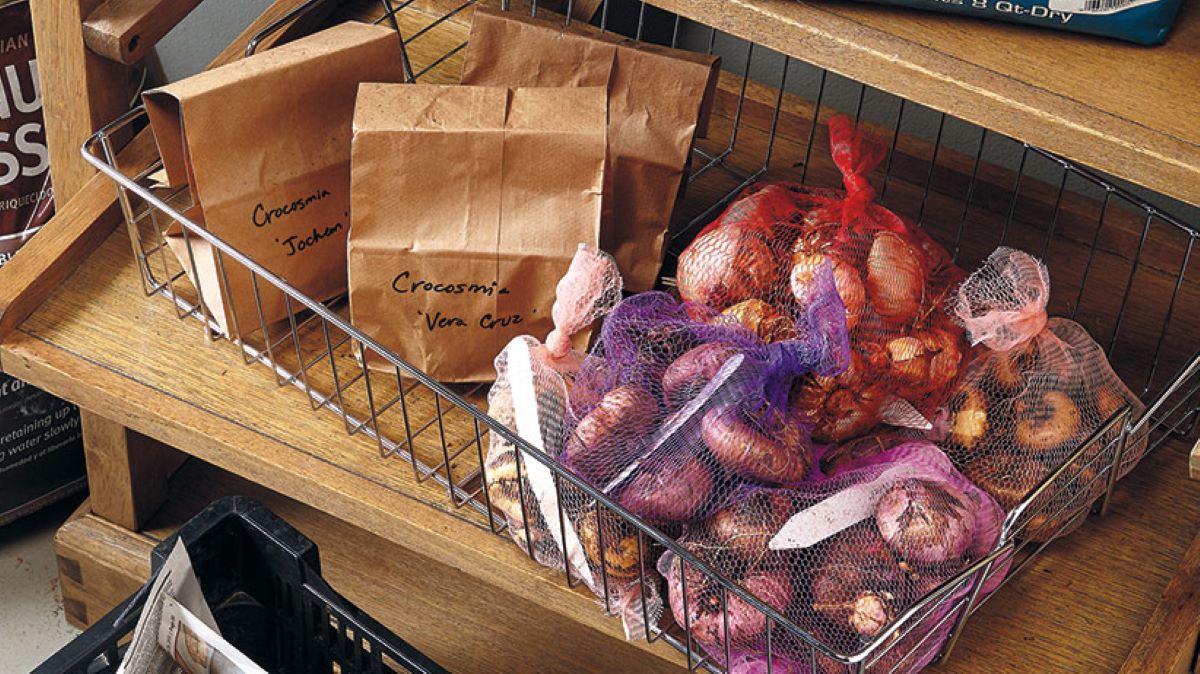
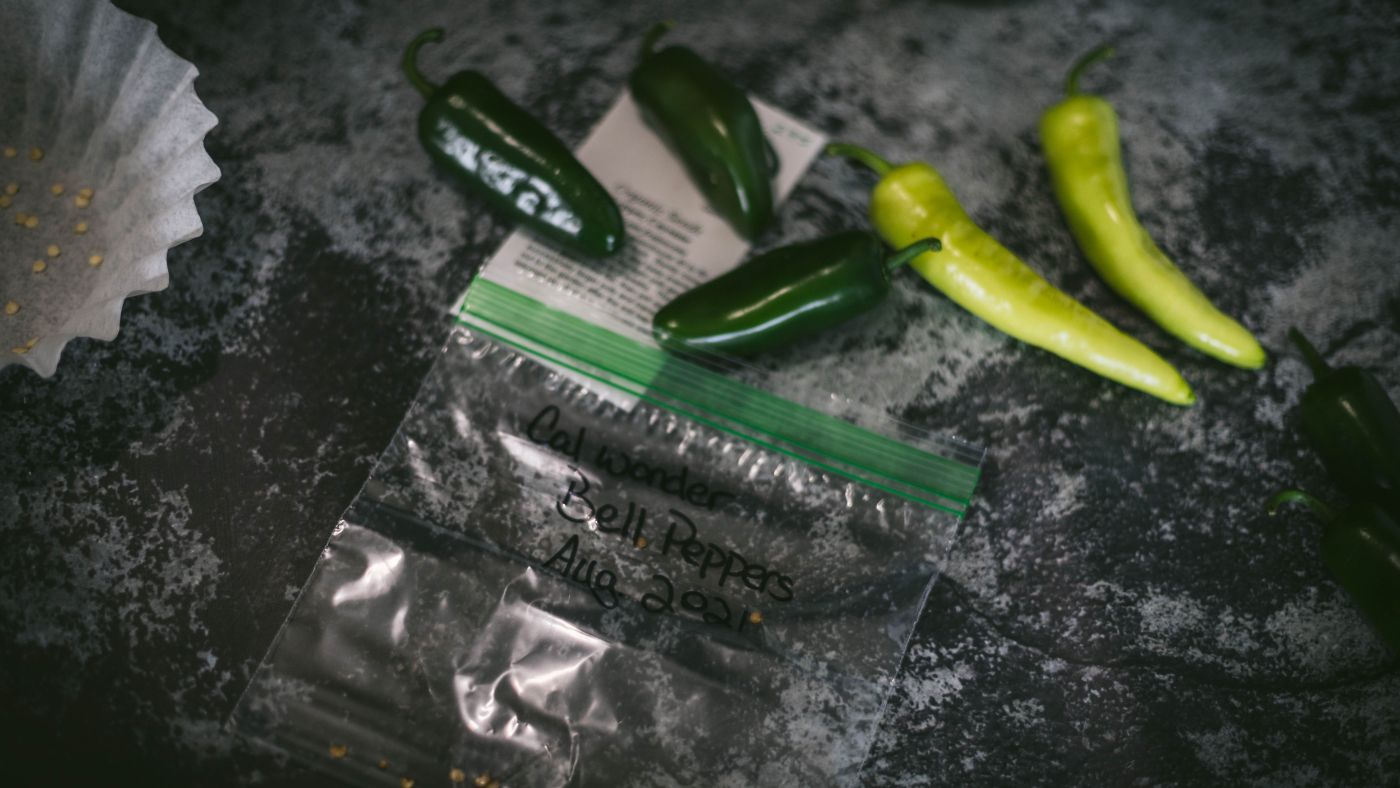
- Labeling: It is crucial to label your bulbs before storing them, especially if you are storing different bulb varieties. Use permanent markers or labels to indicate the type of bulb and any relevant information, such as color or bloom time. This will ensure you know what bulbs you have stored and make it easier to plan for future planting.
By following these preparation steps, you are setting your bulbs up for success in storage. Taking the time to clean, dry, inspect, cut back foliage, and label your bulbs will significantly increase their chances of surviving storage and thriving when planted again in the future.
Choosing the Ideal Storage Location
The success of storing bulbs for the next year greatly depends on choosing the right storage location. Bulbs have specific temperature and humidity requirements that need to be met to ensure their survival and proper dormancy. Here are some factors to consider when selecting the ideal storage location for your bulbs:
- Temperature: Most bulbs require a cool temperature to maintain their dormancy. The ideal temperature range for bulb storage is typically between 35°F (2°C) and 50°F (10°C). Avoid storing bulbs in areas that experience freezing temperatures, as this can damage the bulbs. Find a location in your home or garden shed that remains consistently cool throughout the storage period.
- Humidity: While bulbs prefer a cool environment, they also need some level of humidity to prevent them from drying out. Aim for a humidity level between 50% and 60%. To maintain the desired humidity, you can place a container with water near the stored bulbs or use a hygrometer to monitor and regulate the moisture levels.
- Light: Bulbs prefer a dark environment during storage. Exposure to light can interfere with their dormancy and cause premature sprouting. Find a storage location that is dark and shielded from any natural or artificial light sources.
- Ventilation: Adequate air circulation is essential to prevent the buildup of excess moisture and to allow for proper gas exchange. Choose a storage location that provides some ventilation to avoid stagnant air. However, ensure that the airflow is not excessively dry or drafty, as this can cause the bulbs to dry out or become damaged.
- Pest Control: Take precautions to prevent pests, such as rodents or insects, from accessing your stored bulbs. Use sealed containers or sacks that are impervious to pests. Additionally, periodically inspect the storage area for any signs of infestation and take appropriate pest control measures if necessary.
By considering the temperature, humidity, light, ventilation, and pest control factors, you can select an ideal storage location that will meet the specific needs of your bulbs. Remember, providing the right conditions during storage plays a vital role in ensuring the bulbs remain healthy and ready for planting in the following year.
Storing Bulbs in Containers
Storing bulbs in containers is a convenient and efficient method, especially if you have limited space or need to transport them easily. Here are the steps to follow when storing bulbs in containers:
- Select the right containers: Choose containers that are clean, dry, and provide adequate space for the bulbs. Avoid using containers that have previously held chemicals or substances that may contaminate the bulbs. Opt for containers with good drainage holes to prevent excess moisture buildup.
- Layer the containers: Place a layer of soil or a suitable bulb storage medium at the bottom of the containers. This allows for proper ventilation and helps maintain the appropriate moisture levels.
- Arrange the bulbs: Place the bulbs in the containers, making sure to space them adequately to allow for proper airflow. Avoid overcrowding, as this can lead to excess moisture and potential rotting.
- Add another layer: Once the bulbs are arranged, add another layer of soil or storage medium to cover them. This layer provides insulation and helps regulate moisture levels.
- Label the containers: Don’t forget to label the containers with the type of bulbs and any relevant information. This will make it easier to identify and organize the stored bulbs.
- Store in the appropriate location: Place the containers in a cool, dark, and well-ventilated storage area, following the guidelines outlined in the previous section. Ensure the containers are secure and won’t be disturbed during storage.
- Monitor periodically: Check on the stored bulbs periodically, especially if the storage period is longer. Look for any signs of mold, rot, or pests. If necessary, adjust the conditions or take preventive measures to ensure the bulbs remain healthy.
Storing bulbs in containers offers the advantage of easy accessibility and organized storage. However, it is essential to keep a watchful eye on the moisture levels and ensure proper ventilation to prevent any issues during storage. By following these steps, you can effectively store your bulbs in containers and enjoy a successful planting season in the following year.
After the bulbs have finished flowering, allow the foliage to die back naturally. Once the foliage has turned yellow and withered, carefully dig up the bulbs, remove any excess soil, and store them in a cool, dry place until the next planting season.
Read more: How To Store Seeds For Next Year
Storing Bulbs in the Ground
Storing bulbs in the ground is a natural and straightforward method, particularly for perennial bulbs that thrive in the ground. This method is suitable for areas with mild winters or if you prefer to let nature take its course. Here are the steps to follow when storing bulbs in the ground:
- Choose the right location: Select a suitable area in your garden that receives adequate sunlight and has well-draining soil. Avoid areas prone to excessive moisture or standing water, as this can cause the bulbs to rot.
- Prepare the soil: Before planting the bulbs, make sure the soil is loose, fertile, and free from weeds. Amend the soil with compost or organic matter to improve its texture and nutrient content.
- Dig and plant the bulbs: Dig planting holes for the bulbs according to their specific planting depth, as recommended on the bulb packaging or gardening resources. Place the bulbs in the holes with the pointed end facing up. Space the bulbs accordingly, following the recommended planting distance for each bulb variety.
- Cover and protect: After placing the bulbs in the ground, cover them with soil, ensuring they are adequately buried at the recommended depth. Add a layer of mulch to protect the bulbs from extreme temperature fluctuations and to provide insulation during winter.
- Mark the planting area: To easily locate the stored bulbs in the following year, mark the planting area with garden stakes or labels. This will help you avoid accidentally digging up the bulbs or disturbing them during gardening activities.
- Maintain soil moisture: During the storage period, it is important to keep the soil slightly moist to prevent the bulbs from drying out. However, be cautious not to overwater, as this can lead to rotting. Monitor the soil moisture regularly and adjust watering as needed.
- Monitor bulb condition: Periodically check on the bulbs throughout the storage period. Look for any signs of disease, pests, or damage. Take appropriate measures if any issues arise to ensure the bulbs remain healthy and viable for the next growing season.
Storing bulbs in the ground provides a natural environment for them, allowing them to go through their natural dormancy period. With proper planting, soil preparation, and periodic monitoring, storing bulbs in the ground can be a successful and low-maintenance storage option.
Maintaining Bulbs During Storage
Proper maintenance of bulbs during storage is crucial to ensure their survival and readiness for planting in the following year. By following these tips, you can help maintain the health and vitality of your stored bulbs:
- Temperature control: Keep the storage location at a cool and consistent temperature within the recommended range for each bulb variety. Avoid extreme temperature fluctuations that can disturb the bulbs’ dormancy. Regularly check the storage area to ensure it remains at the ideal temperature.
- Moisture control: Bulbs require a certain level of moisture during storage to prevent them from drying out. However, it is important to strike a balance and avoid excess moisture that can lead to rot. Check the storage medium or soil regularly to ensure it remains slightly moist but not overly wet. Adjust the moisture levels as needed.
- Air circulation: Proper ventilation is essential to prevent the buildup of excess moisture and to promote gas exchange. Ensure that the storage area has some airflow, but avoid excessively dry or drafty conditions that can cause the bulbs to dry out or become damaged. Regularly check the storage area to ensure there is adequate air circulation.
- Pest prevention: Take measures to prevent pests, such as rodents or insects, from accessing your stored bulbs. Seal containers tightly or use pest-resistant packaging if storing bulbs in containers. Regularly inspect the storage area for any signs of infestation and take appropriate pest control measures if necessary.
- Periodic inspection: Regularly inspect your stored bulbs for any signs of mold, rot, or disease. Remove any bulbs showing signs of damage to prevent the spread of disease to the healthy bulbs. Check for any changes in the bulbs’ texture or appearance and address any issues promptly.
- Labeling and organization: Ensure that your stored bulbs are labeled properly, indicating the type, color, and any other relevant information. This will help you keep track of the bulbs and make it easier for planning and planting in the future. Organize the storage area to easily locate and access the bulbs when needed.
By maintaining proper temperature and moisture levels, ensuring adequate air circulation, preventing pests, conducting regular inspections, and maintaining organization, you can increase the chances of your stored bulbs remaining healthy and ready for planting in the following year. Paying attention to these important factors will contribute to the success of your stored bulbs and future garden blooms.
Inspecting and Sorting Bulbs for Planting
Before planting the stored bulbs, it is essential to inspect and sort them to ensure their health and readiness for planting. By following these steps, you can select the best bulbs and prepare them for a successful planting season:
- Remove from storage: Carefully remove the bulbs from the storage containers or ground. Handle them gently to avoid causing any damage.
- Inspect for signs of damage: Examine each bulb for any signs of damage, disease, or pest infestation. Discard any bulbs showing signs of rot, mold, or other damage to prevent the spread of disease to the healthy bulbs.
- Clean the bulbs: If necessary, gently clean the bulbs to remove any soil or debris. Use a soft brush or your hands to remove any loose dirt. Avoid washing the bulbs, as excessive moisture can be detrimental to their health.
- Sort by size: Sort the bulbs by size, placing similar-sized bulbs together. This will help ensure an even planting depth and promote uniform growth and blooming.
- Sort by variety: If you stored different bulb varieties together, identify and separate them by their specific types. This will allow you to plan and arrange your garden more effectively, taking into account the different bloom times and colors.
- Inspect for sprouting: Check if any bulbs have started to sprout or show signs of early growth. These bulbs may require special attention or immediate planting to prevent them from further sprouting or drying out.
- Prepare for planting: If the planting time has arrived, prepare the bulbs for planting according to the specific instructions for each variety. Follow the recommended planting depth and spacing to provide the bulbs with optimal growing conditions.
- Discard any unhealthy bulbs: Once you have sorted and inspected the bulbs, discard any that appear unhealthy or damaged. Planting only the healthiest bulbs will give you the best chances of successful growth and beautiful blooms.
Inspecting and sorting bulbs before planting ensures that only the best and healthiest bulbs make it into your garden. By carefully examining each bulb, cleaning them if necessary, sorting them by size and variety, and discarding any damaged bulbs, you can set the stage for a successful planting season and enjoy the beauty of your bulbs in full bloom.
Conclusion
Storing bulbs for the next year is a rewarding and practical practice that allows you to preserve the beauty of your garden and ensure the longevity of your favorite bulb varieties. By following the guidelines outlined in this article, you have learned the importance of selecting the right bulbs, preparing them for storage, choosing the ideal storage location, and using containers or the ground for storage. Additionally, you have gained insights on maintaining bulbs during storage, as well as inspecting and sorting them for planting.
Remember, selecting high-quality bulbs, preparing them properly, and providing the right storage conditions are essential for their survival and successful reblooming. By following these steps, you can enjoy a bountiful and vibrant garden year after year.
Whether you choose to store bulbs in containers or in the ground, maintaining a cool temperature, proper moisture levels, and good air circulation are key to their well-being. Regularly inspecting the bulbs for damage, disease, or pests allows you to address any issues promptly, ensuring the health of the stored bulbs.
When it’s time for planting, carefully sort and clean the bulbs, discarding any that do not meet the criteria for healthy and viable growth. This process sets the stage for a successful planting season and the opportunity to witness the beauty of your bulbs come to life.
Remember to label your stored bulbs for easy identification and organization. This will assist you in planning and arranging your garden based on the different types, colors, and bloom times of your bulbs.
Storing bulbs for the next year requires a little effort and attention, but the results are well worth it. By following the proper techniques and maintaining optimal conditions, you can ensure the survival and vitality of your bulbs, bringing joy and beauty to your garden each year.
Now, armed with the knowledge and techniques you have gained, it’s time to embrace the art of storing bulbs and take your gardening to new heights. Happy gardening!
Frequently Asked Questions about How To Store Bulbs For Next Year
Was this page helpful?
At Storables.com, we guarantee accurate and reliable information. Our content, validated by Expert Board Contributors, is crafted following stringent Editorial Policies. We're committed to providing you with well-researched, expert-backed insights for all your informational needs.


0 thoughts on “How To Store Bulbs For Next Year”