Articles
How To Store Tulip Bulbs For Next Year
Modified: December 7, 2023
Learn how to store tulip bulbs for next year in this informative article. Find out the best methods and tips to keep your bulbs in perfect condition for a beautiful display next spring.
(Many of the links in this article redirect to a specific reviewed product. Your purchase of these products through affiliate links helps to generate commission for Storables.com, at no extra cost. Learn more)
Introduction
Spring is the season of vibrant colors and blooming flowers, and tulips are among the most beloved flowers during this time. Known for their elegance and variety of hues, tulips can add a touch of beauty to any garden or landscape. If you’re a tulip enthusiast, you may want to store your tulip bulbs properly to ensure their survival for the next year. In this article, we will guide you through the process of storing tulip bulbs, so you can enjoy their beauty year after year.
Storing tulip bulbs is a crucial step in the gardening process. It allows the bulbs to remain dormant and protected during the non-growing season, so they can regain their strength and vitality for the following year. By following the right techniques and providing the ideal conditions for storage, you can ensure that your tulip bulbs stay healthy and ready to bloom again in the spring.
Before we delve into the specifics of storing tulip bulbs, it’s important to mention that not all tulip bulbs are suitable for storage. Some tulip varieties, such as species tulips, are better left in the ground year-round, as they prefer natural environmental conditions. However, most hybrid tulips, which are commonly available at nurseries and garden centers, can benefit from proper storage.
In the sections below, we’ll cover everything you need to know about selecting the right tulip bulbs, preparing them for storage, choosing the ideal storage location, cleaning and drying the bulbs, properly storing them, monitoring their condition, and finally, preparing them for planting in the following year. Let’s dive in!
Key Takeaways:
- Choose high-quality, firm tulip bulbs for storage, discarding any damaged ones. Properly clean, dry, and store them in a cool, dark, well-ventilated location to ensure vibrant blooms next year.
- Regularly monitor stored tulip bulbs for moisture, mold, disease, and sprouting. Prepare them for planting by inspecting, soaking, and caring for them to enjoy a stunning display of colorful tulips in the upcoming season.
Read more: How To Store Bulbs For Next Year
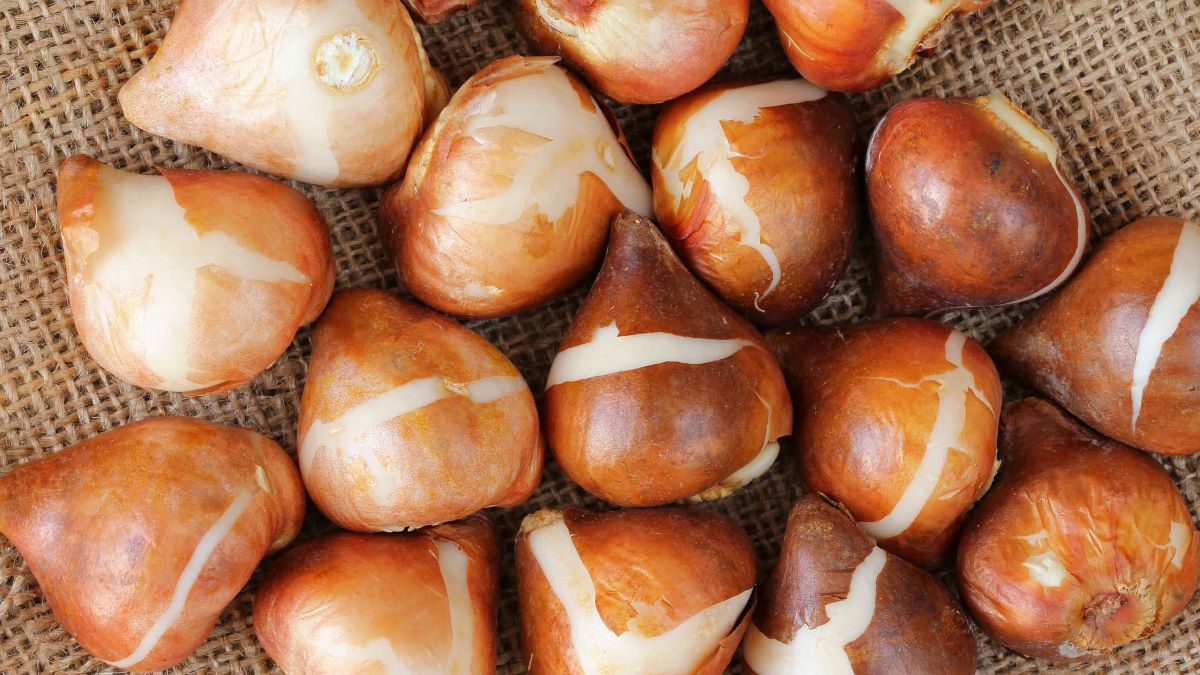
Choosing the Right Tulip Bulbs
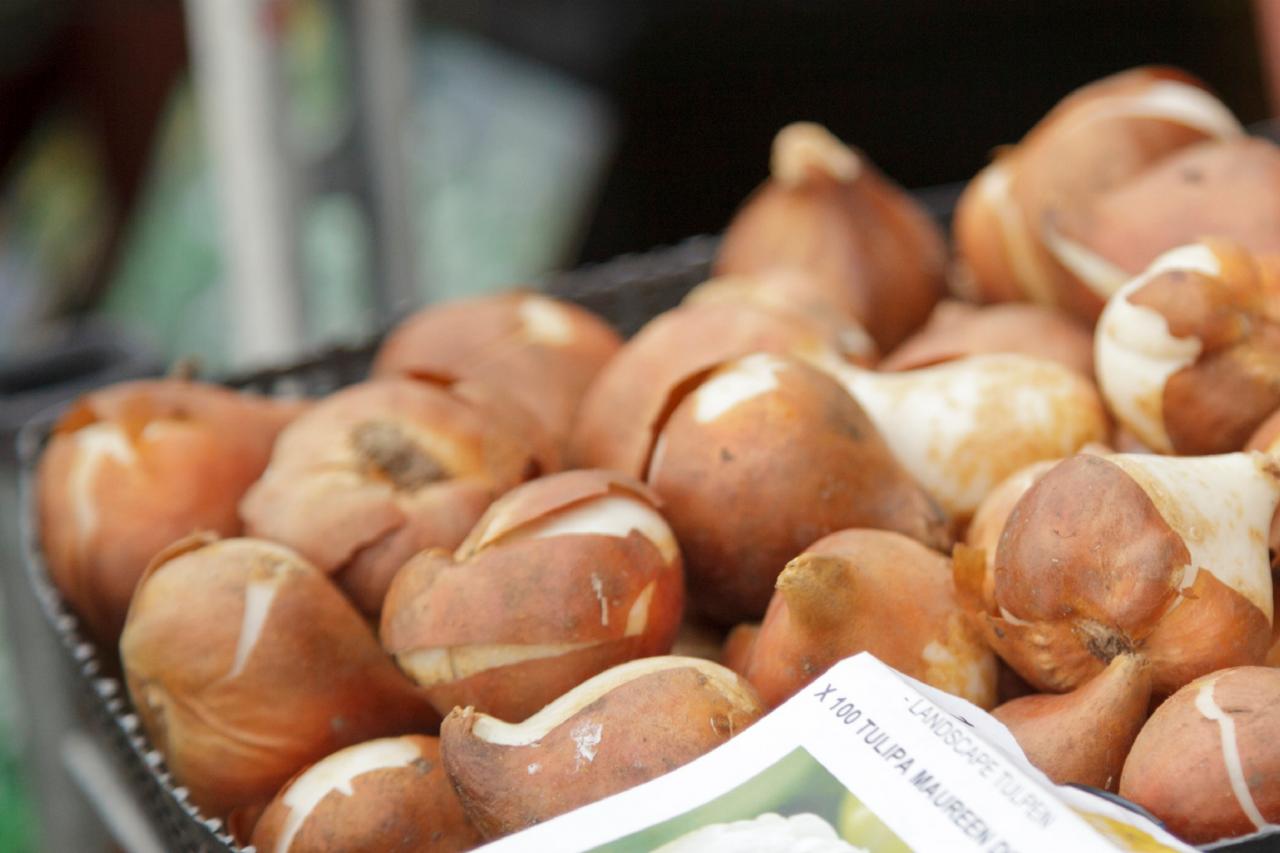
When it comes to storing tulip bulbs, selecting the right bulbs is essential. Choosing high-quality bulbs will ensure a successful storage period and increase the chances of healthy growth and vibrant blooms in the next season. Here are some key factors to consider when selecting tulip bulbs for storage:
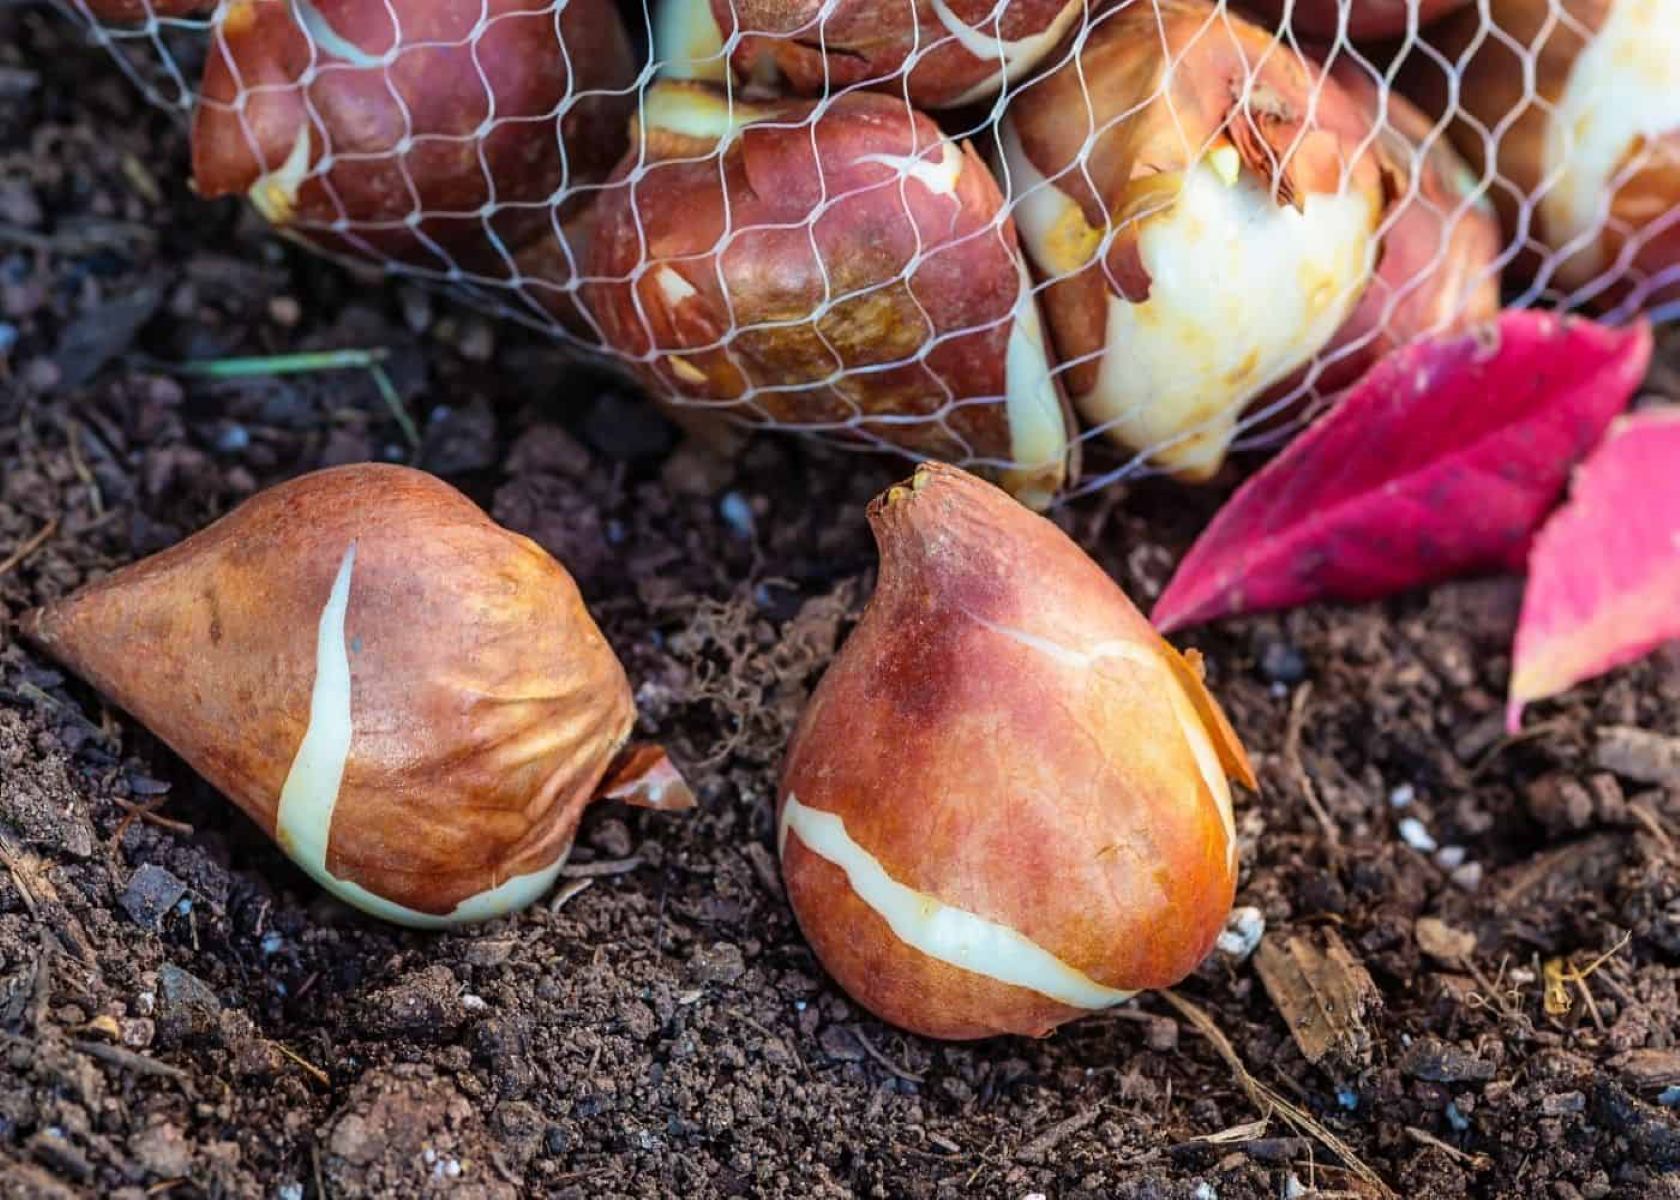
- Bulb Size: Larger bulbs are generally more mature and have a higher energy reserve. They are the best candidates for successful storage and blooming in the following year. Look for bulbs that are firm and plump, as these indicate a healthy and robust bulb.
- Bulb Quality: Inspect the bulbs for any signs of damage, disease, or mold. Avoid bulbs that are soft, mushy, or discolored, as these may not survive the storage period or may transmit diseases to other bulbs in storage.
- Bulb Varieties: Certain tulip varieties are better suited for storage than others. Hybrid tulips, such as Darwin tulips, Triumph tulips, and Single Late tulips, are generally the most suitable for storage. It’s important to check the specific requirements for each variety, as some may require specialized storage conditions.
- Growing Conditions: Consider the climate and growing conditions in your region when choosing tulip bulbs for storage. Some tulip varieties are better adapted to specific climates, so it’s important to select bulbs that are suited to your local environment.
- Vendor Reputation: Purchase your tulip bulbs from reputable vendors or nurseries that offer high-quality bulbs. This ensures that you are getting healthy, disease-free bulbs that are more likely to thrive during storage and produce beautiful blooms in the following season.
Remember, the quality of the tulip bulbs you choose will directly impact their viability and success during storage. Take the time to carefully select the best bulbs available, and you’ll be on your way to enjoying a stunning display of tulips in the coming spring!
Preparing the Bulbs for Storage
Once you have selected the right tulip bulbs for storage, it’s important to properly prepare them before they are placed in storage. This preparation helps to prevent diseases and ensures that the bulbs remain healthy and ready for planting in the following year. Follow these steps to prepare your tulip bulbs for storage:
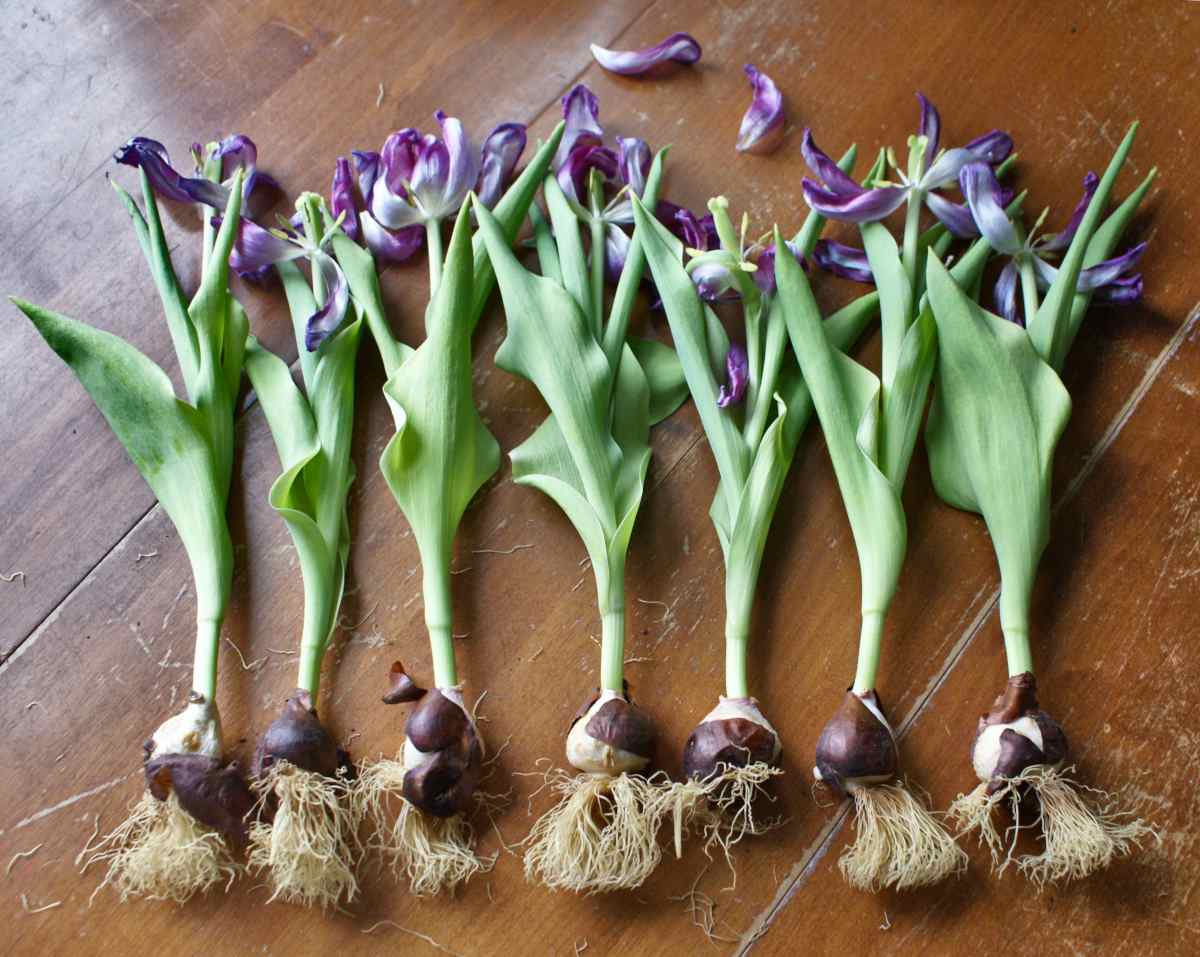
- Trimming: Start by trimming the foliage of the bulbs. Cut off any remaining green leaves and stems, leaving about an inch of the stem attached to the bulb. This will help to redirect the energy of the bulb towards growth and development for the next year.
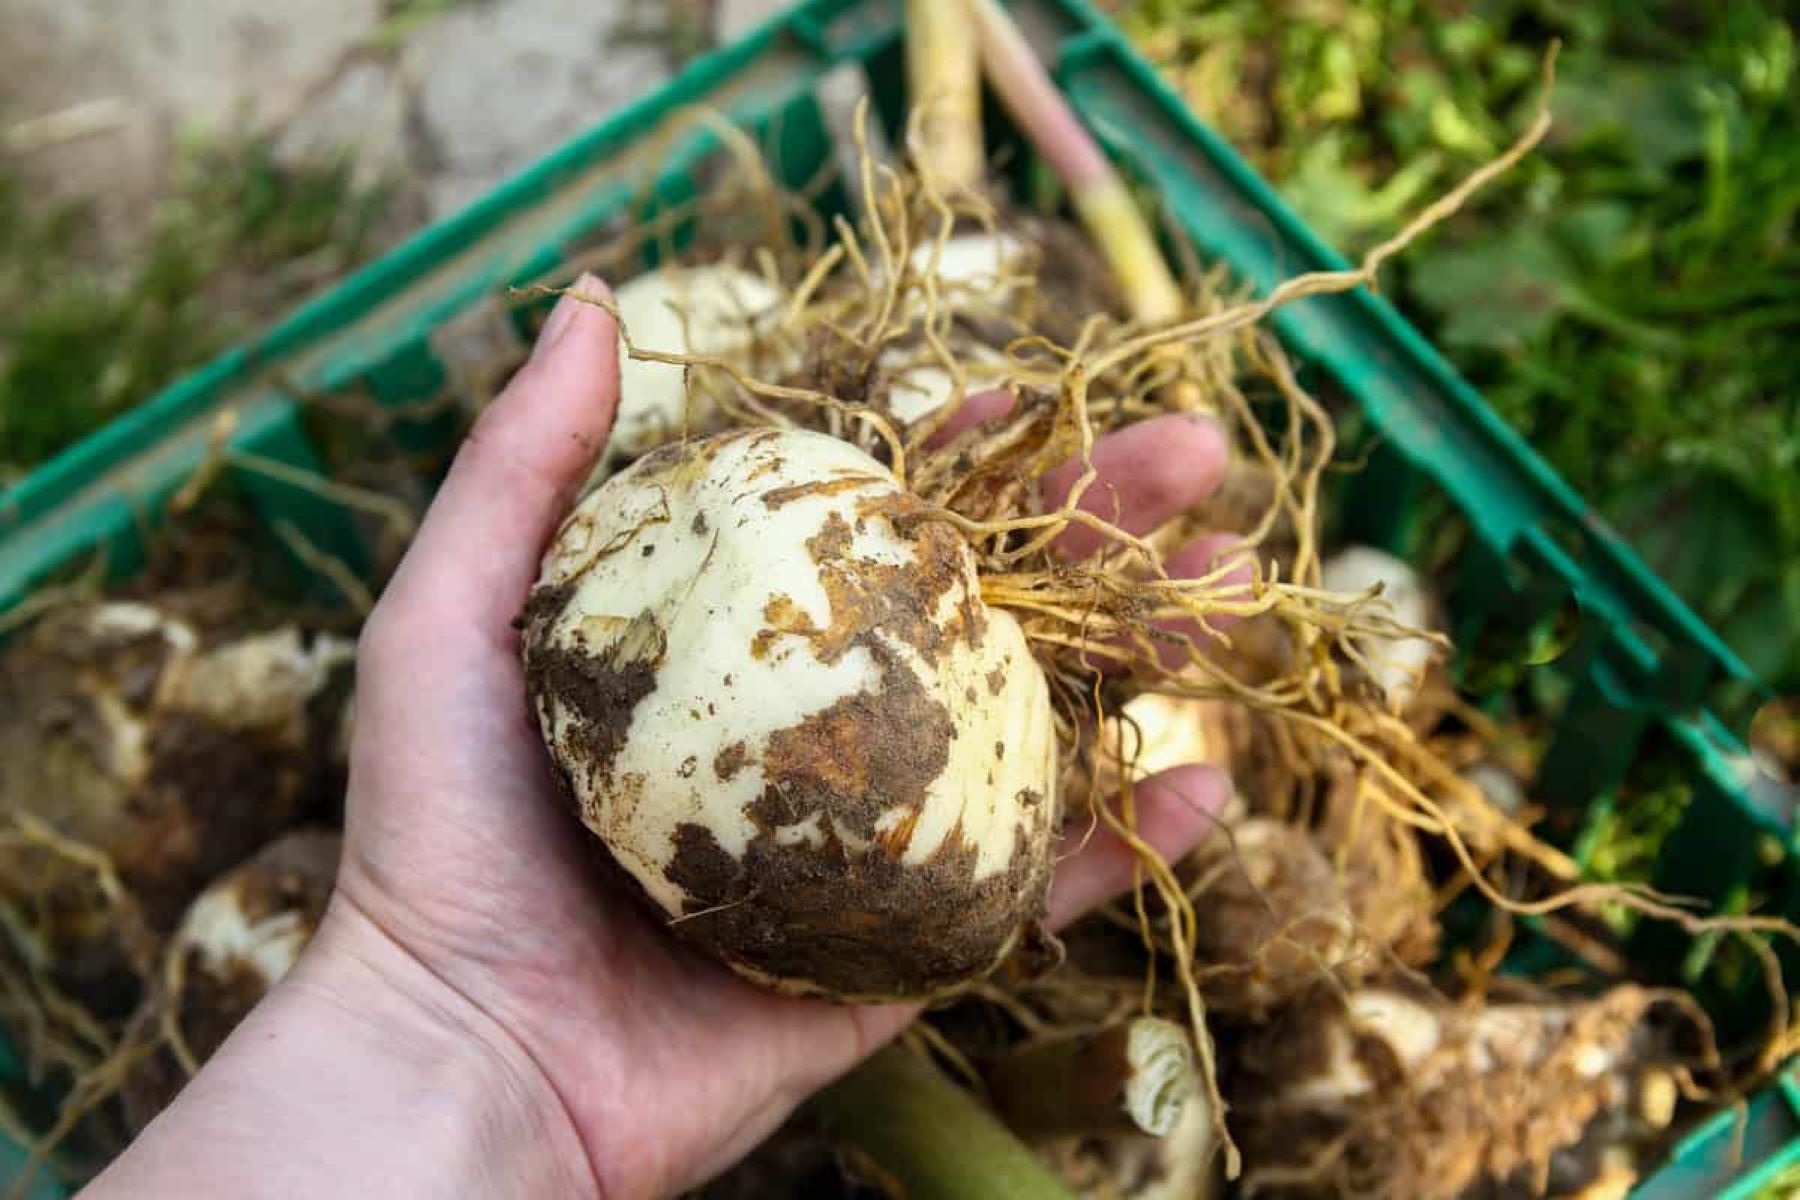
- Cleaning: Remove any dirt or debris from the bulbs. Gently brush off the soil using a soft brush or cloth. Be careful not to damage the outer layers of the bulb in the process.
- Inspecting: Take the time to thoroughly inspect each bulb for any signs of disease or damage. Discard any bulbs that show signs of rot or disease to prevent them from infecting other bulbs in storage.
- Treating: Consider treating your bulbs with a fungicide or insecticide before storage. This precautionary step can help prevent the development of common bulb diseases or deter pests that may damage the bulbs during storage. Follow the instructions provided by the product manufacturer for the proper application.
- Drying: Allow the bulbs to dry completely before placing them in storage. Lay them out in a well-ventilated area, preferably on a mesh or newspaper, and let them air dry for a few days. This step helps to prevent the growth of mold or mildew during storage.
By following these preparation steps, you are ensuring that your tulip bulbs are in prime condition for storage. Properly trimmed, cleaned, inspected, treated, and dried bulbs have a higher chance of surviving the storage period and producing beautiful blooms in the next growing season.
Selecting the Right Storage Location
Choosing the right storage location for your tulip bulbs is crucial to their long-term health and success. The storage conditions should be cool, dark, and well-ventilated to ensure the bulbs remain dormant and protected from external elements. Here are some factors to consider when selecting the storage location for your tulip bulbs:
- Temperature: Tulip bulbs require a cool and consistent temperature during storage. The ideal temperature range is between 35°F (2°C) and 50°F (10°C). Avoid storing the bulbs in areas where the temperature fluctuates dramatically or reaches extremes.
- Light Exposure: It’s important to keep tulip bulbs in a dark storage environment. Exposure to light can trigger premature sprouting, which depletes the energy reserves of the bulbs. Find a storage location that is free from direct sunlight, such as a closet or basement.
- Humidity: High humidity can lead to the development of mold or rot on the bulbs. Choose a storage location that has low humidity levels, around 50% or lower, to prevent moisture-related issues.
- Air Circulation: Proper ventilation is essential to prevent the build-up of moisture and maintain a stable environment for the bulbs. Make sure the storage area has good air circulation, either through natural ventilation or by using a fan or ventilation system.
- Pest Control: Ensure that the storage area is free from pests, such as rodents or insects, that may damage or feed on the bulbs. Use traps or other appropriate methods to keep the storage space pest-free.
When considering the storage location, it’s important to keep in mind that tulip bulbs are best stored in a location where they won’t be disturbed or jostled. Excessive movement can cause damage to the bulbs or disrupt their dormant state.
If you plan to store a large number of tulip bulbs, you may consider using containers or crates to keep them organized and protect them from accidental damage. Label the containers with the tulip variety to easily identify them during the planting season.
By selecting the right storage location, you are providing the optimal conditions for the tulip bulbs to remain dormant and healthy. This sets the stage for successful storage and ensures that your bulbs will be ready for planting and blooming in the following year.
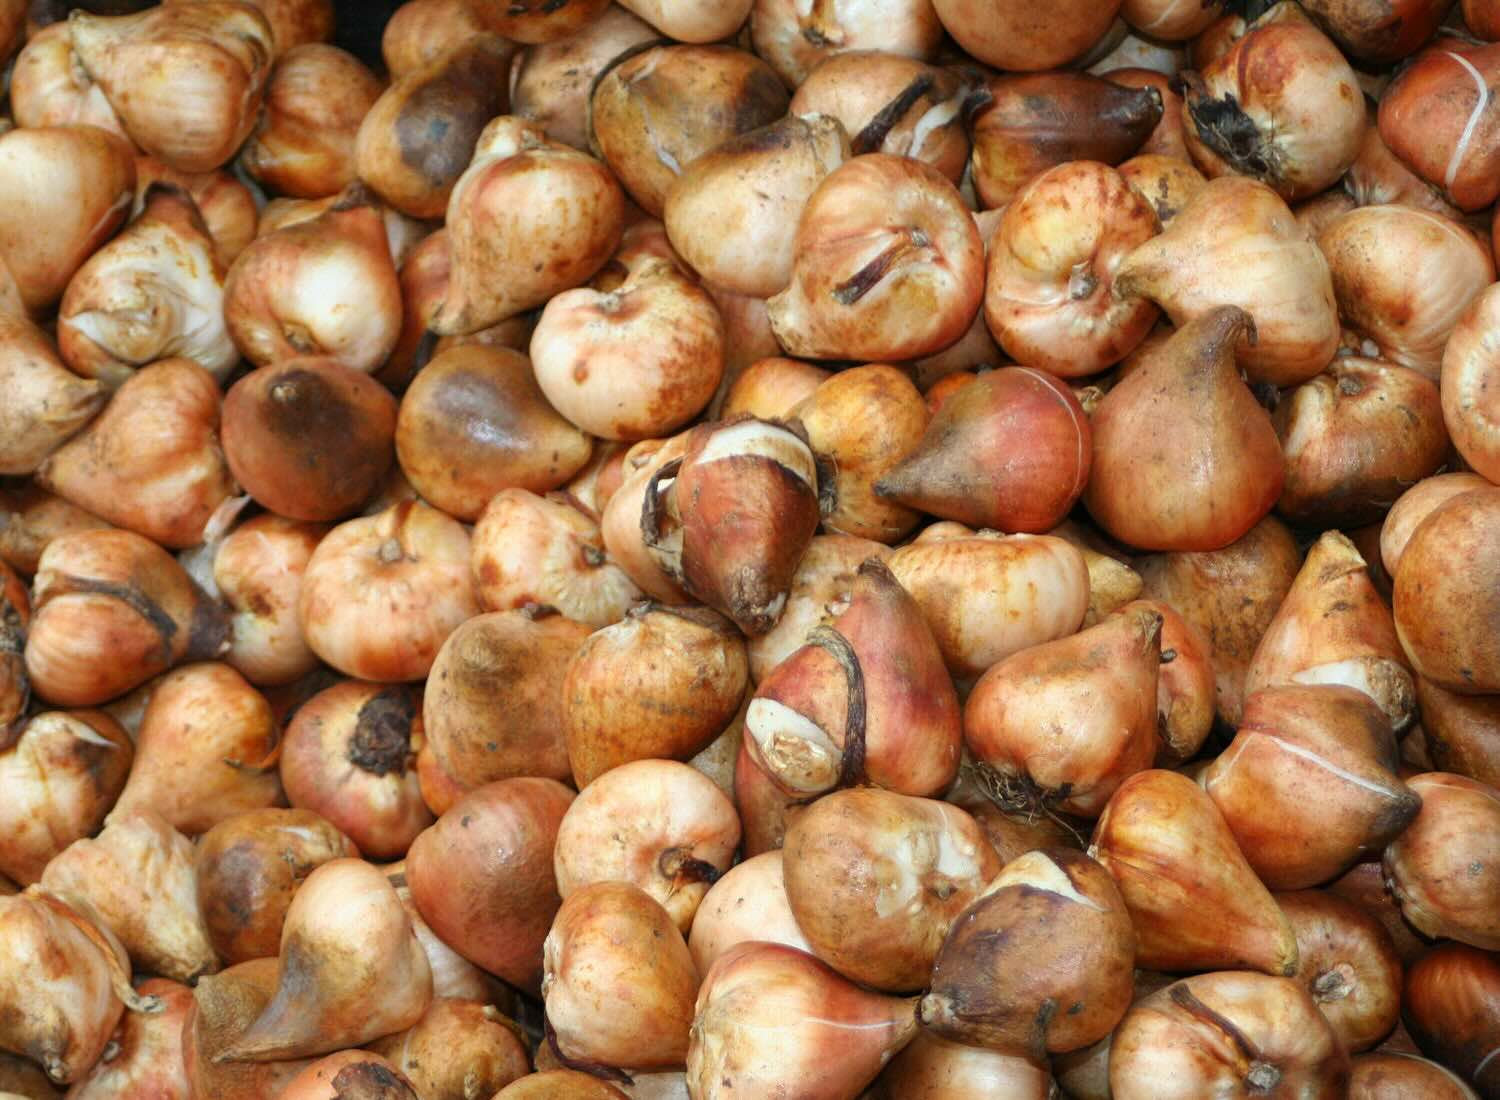
Cleaning and Drying the Bulbs
Before storing your tulip bulbs, it is essential to properly clean and dry them. Cleaning removes any dirt, debris, or potential sources of disease, while drying helps prevent the growth of mold or rot during storage. Follow these steps to effectively clean and dry your tulip bulbs:
- Shake off Excess Soil: Begin by gently shaking off any loose soil from the tulip bulbs. This will help remove most of the dirt and debris on the surface of the bulbs.
- Rinse with Water (Optional): If necessary, you can rinse the bulbs with water to remove any stubborn soil or dirt particles. Use a gentle stream of water and be careful not to damage the bulbs.
- Dry Bulbs Individually: After cleaning, lay the tulip bulbs out in a single layer to dry. It’s important to dry them individually to prevent the spread of diseases or moisture between the bulbs. Place them on a clean, dry surface such as a newspaper or a mesh drying rack.
- Air Dry in a Cool, Ventilated Area: Choose a well-ventilated area with good air circulation for drying the bulbs. Avoid direct sunlight or areas with high humidity, as these conditions can lengthen the drying process or promote mold growth.
- Allow Sufficient Drying Time: The drying process usually takes about one to two weeks. During this time, periodically check the bulbs to ensure they are drying properly and not developing any signs of rot or mold. If any bulbs show signs of damage or decay, remove them from the drying area.
- Check for Completely Dry Bulbs: Before storing, make sure the bulbs are completely dry. They should feel firm and lightweight to the touch. If any bulbs still feel damp or have a soft texture, give them more time to dry before proceeding to storage.
Properly cleaning and drying your tulip bulbs helps to maintain their integrity and reduces the risk of disease or damage during storage. It ensures that the bulbs remain in optimal condition for planting, promoting healthy growth and vibrant blooms in the next growing season.
Remember to handle the bulbs with care during the cleaning and drying process, avoiding any excessive force or rough handling that could cause damage. By following these steps, you are taking important measures to prepare your tulip bulbs for successful storage.
After the tulip bulbs have finished flowering, allow the foliage to die back naturally. Once the foliage has turned yellow, carefully dig up the bulbs and store them in a cool, dry place until planting them again in the fall.
Read more: How To Store Seeds For Next Year
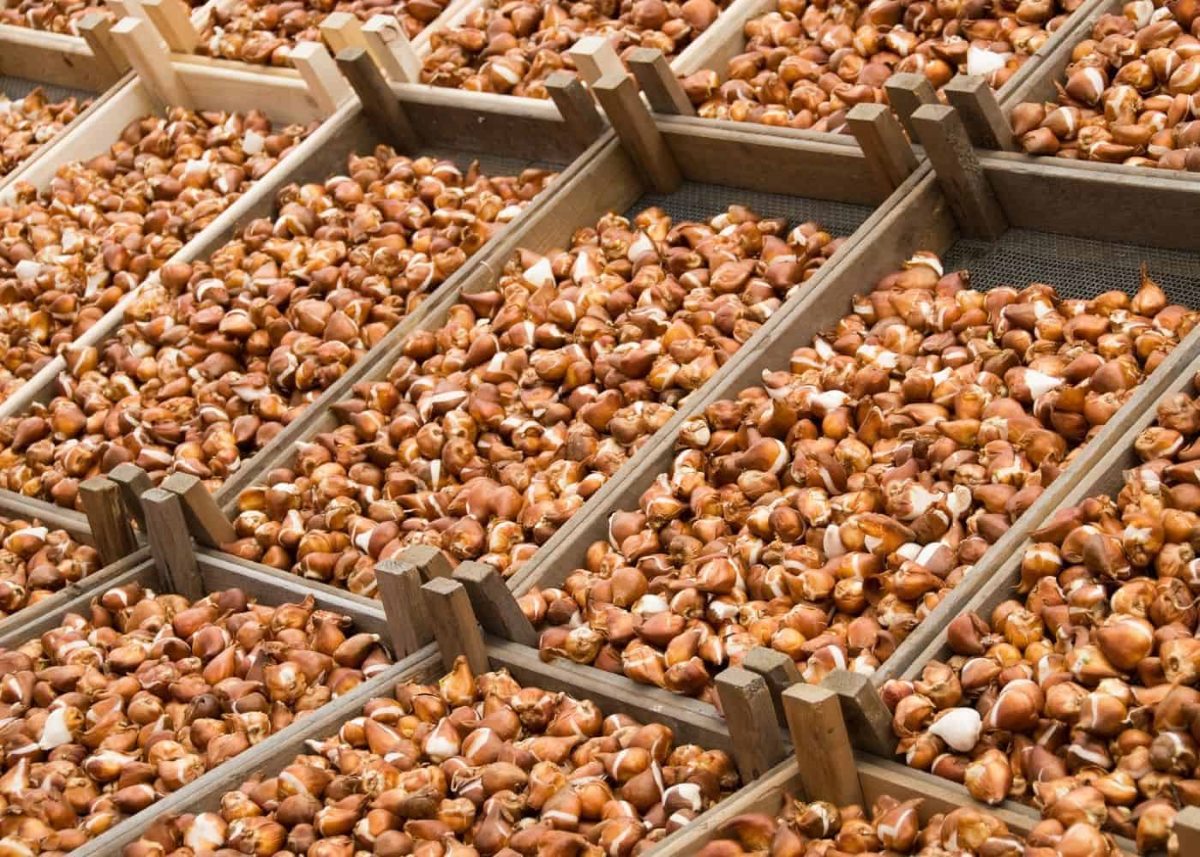
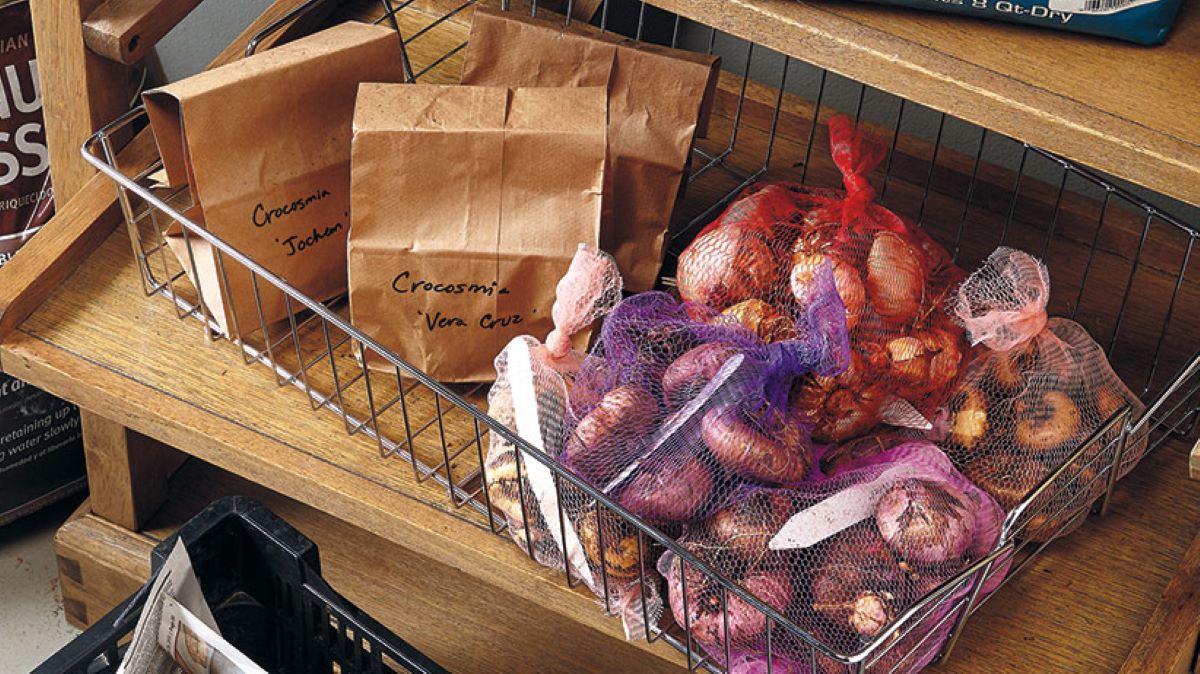
Storing Tulip Bulbs
Once your tulip bulbs have been properly cleaned and dried, it’s time to store them in a suitable environment that will preserve their quality and vitality. Follow these steps to ensure proper storage of your tulip bulbs:
- Choose the Right Container: Select a container that is well-ventilated and allows for air circulation. Avoid using airtight containers, as these can trap moisture and lead to bulb rot. Suitable options include mesh bags, paper bags, or open crates.
- Add a Bulb Storage Medium: Place a layer of bulb storage medium in the bottom of the container. This can be a mix of peat moss, vermiculite, or dry sand. The storage medium helps to maintain a stable environment and provides a barrier against moisture.
- Organize the Bulbs: Arrange the tulip bulbs in a single layer on top of the bulb storage medium, making sure they are not touching each other. This prevents the spread of disease and allows for adequate airflow around each bulb.
- Layer Bulbs if Needed: If you have a large number of bulbs to store, you can create multiple layers separated by additional layers of bulb storage medium. Make sure each layer is properly labeled and easily accessible for future use.
- Store in a Cool, Dark Location: Place the container of tulip bulbs in a cool, dark storage area. The ideal temperature range for storage is between 35°F (2°C) and 50°F (10°C). Avoid storing the bulbs near heat sources or in areas that experience temperature fluctuations.
- Regularly Check for Moisture and Disease: Periodically check the stored bulbs for any signs of moisture, mold, or disease. If you notice any problems, remove the affected bulb immediately to prevent it from spreading to others.
- Avoid Disturbing the Bulbs: While the bulbs are in storage, it is important to minimize movement or disturbance to prevent damage. Handle the containers with care and avoid unnecessary shaking or jostling.
By following these storage steps, you can ensure that your tulip bulbs are protected and maintained in a dormant state until the planting season arrives. Remember to mark the container with the tulip variety and the date of storage for easy reference in the future.
With proper storage, your tulip bulbs will be primed for successful planting and will reward you with a stunning display of colorful blooms in the upcoming season.
Monitoring Bulbs During Storage
While your tulip bulbs are in storage, it’s important to regularly monitor them to ensure they remain healthy and free from any issues. Monitoring allows you to catch any potential problems early on and take corrective actions to prevent damage. Follow these tips to effectively monitor your tulip bulbs during storage:
- Inspect for Signs of Moisture: Check the stored bulbs regularly for any signs of moisture or condensation inside the container. Excessive moisture can lead to rot or fungal growth, which can damage the bulbs. If you notice moisture, remove the affected bulbs and allow the storage area to dry out.
- Look for Signs of Mold or Disease: Carefully inspect the bulbs for any signs of mold, fungus, or disease. If you notice any discolored spots, softness, or unusual growth on the bulbs, remove them immediately to prevent the spread of the issue to other bulbs. Dispose of the affected bulbs properly.
- Check for Sprouting: Occasionally check the stored bulbs for any signs of premature sprouting or elongated shoots. If you notice any sprouting, it indicates that the bulbs have been exposed to warmth or light. Remove the sprouted bulbs and adjust the storage conditions to prevent further sprouting.
- Assess the Bulb Condition: Regularly assess the overall condition of the stored bulbs. They should remain plump and firm to the touch. Any bulbs that feel wrinkled, shriveled, or show signs of deterioration should be discarded to ensure only healthy bulbs are planted in the future.
- Check for Pest Infestations: Inspect the stored bulbs for any signs of pest infestations, such as insects or rodents. Look for chew marks, droppings, or unusual activity around the storage area. If you suspect a pest problem, take appropriate measures to eradicate the pests and prevent further damage to the bulbs.
- Adjust Storage Conditions if Needed: If you notice any issues during monitoring, such as excess moisture or signs of sprouting, take immediate action to adjust the storage conditions. This may include relocating the storage container to a cooler area, improving ventilation, or making changes to the bulb storage medium.
Regular monitoring of your stored tulip bulbs ensures that any issues can be addressed promptly, helping to maintain the quality and viability of the bulbs. The goal is to provide the best possible conditions for the bulbs to remain dormant and healthy until they are ready for planting in the next season.
Remember, a little vigilance and proactive care during storage can go a long way in ensuring successful growth and beautiful blooms when the planting season arrives.
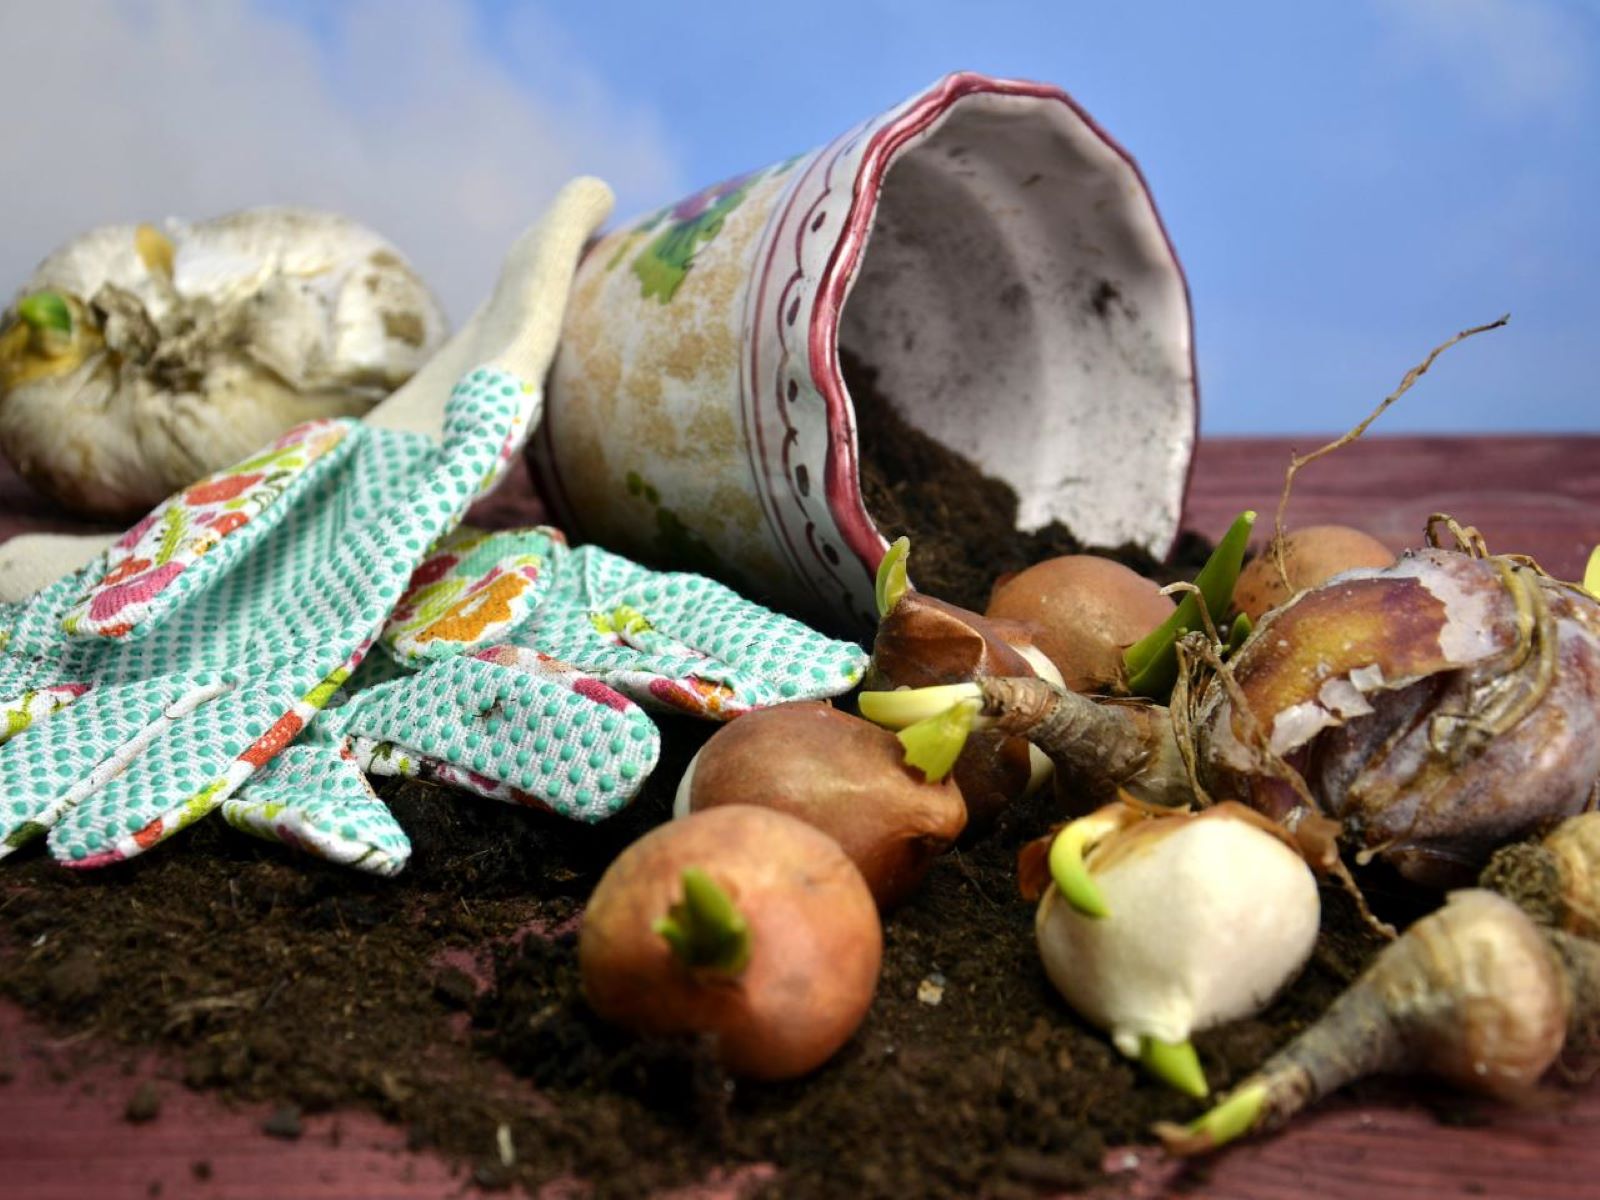
Preparing Bulbs for Planting Next Year
As the next planting season approaches, it’s important to properly prepare your stored tulip bulbs for planting to ensure their successful growth and blooming. Follow these steps to prepare your bulbs for planting next year:
- Inspect the Bulbs: Before planting, carefully inspect each bulb for any signs of damage, disease, or rot. Discard any bulbs that appear unhealthy or compromised to prevent them from affecting the overall health of the planting.
- Soak the Bulbs: Prior to planting, you can soak the tulip bulbs in a solution of water and fungicide for about 15 minutes. This helps to protect them from soil-borne diseases and gives them an extra layer of defense against potential issues in the soil.
- Prepare the Planting Area: Choose a well-draining planting site with fertile soil and exposure to adequate sunlight. Clear any weeds or debris from the area and amend the soil if necessary to ensure proper drainage and nutrient levels.
- Plant at the Right Depth: When planting the tulip bulbs, make sure to plant them at the appropriate depth. As a general rule of thumb, plant bulbs at a depth that is three times the height of the bulb. This ensures they are adequately covered and protected during the growing process.
- Provide Water and Mulch: After planting, water the bulbs thoroughly to settle the soil and encourage root development. Apply a layer of mulch, such as straw or wood chips, to help retain moisture and insulate the bulbs during cold weather.
- Monitor and Care for New Growth: Once the bulbs begin to sprout, monitor their growth and provide regular care. Water them consistently, ensuring the soil remains moist but not waterlogged. Remove any weeds or competing vegetation that may hinder their growth.
- Fertilize as Needed: Depending on your soil conditions and the nutrient requirements of your tulips, you may consider fertilizing them during their growing season. Use a balanced fertilizer specifically formulated for bulbs and follow the instructions for application and dosage.
- Protect from Pests and Diseases: Watch out for any signs of pest infestations or diseases affecting the bulbs or foliage. Take appropriate measures to deter pests and treat any diseases promptly to prevent further damage and promote the health of the tulips.
By following these steps and providing proper care, your stored tulip bulbs will have the best chance of thriving and producing beautiful blooms in the coming season. Remember to follow the specific instructions for the tulip variety you are planting, as different varieties may have unique requirements.
With patience, care, and a bit of preparation, you’ll be able to enjoy a stunning display of tulips in your garden when the next spring arrives.
Conclusion
Storing tulip bulbs for the next year requires careful planning and attention to detail, but it is well worth the effort when you see the vibrant blooms in your garden. By choosing the right tulip bulbs, preparing them properly, selecting the ideal storage location, cleaning and drying them thoroughly, and monitoring them during storage, you can ensure their health and vitality for the upcoming planting season.
Remember to select high-quality bulbs that are firm and plump, discarding any damaged or diseased bulbs. Cleaning and drying the bulbs removes dirt and debris while preventing mold or rot. Choosing a cool, dark, and well-ventilated storage location is vital for maintaining the bulbs’ dormancy and preserving their energy reserves.
Regularly monitor the stored bulbs for signs of moisture, mold, disease, sprouting, or pest infestations. Taking immediate action to address any issues will help prevent damage to the bulbs and ensure their optimum condition for planting.
When the time comes to plant your stored tulip bulbs, inspect them for any damage or disease, soak them in a water and fungicide solution, and prepare the planting area properly. Plant the bulbs at the appropriate depth, provide water and mulch, and monitor their growth, caring for them as needed.
With these steps in mind, you’re well on your way to enjoying the beauty of tulip blooms year after year. Remember to adapt the storage and planting techniques to the specific requirements of different tulip varieties, as each may have unique preferences and needs.
By following these guidelines and giving your tulip bulbs the care and attention they deserve, you’ll be rewarded with a breathtaking display of colorful tulips that will brighten your garden and bring joy to your heart each spring!
Frequently Asked Questions about How To Store Tulip Bulbs For Next Year
Was this page helpful?
At Storables.com, we guarantee accurate and reliable information. Our content, validated by Expert Board Contributors, is crafted following stringent Editorial Policies. We're committed to providing you with well-researched, expert-backed insights for all your informational needs.

0 thoughts on “How To Store Tulip Bulbs For Next Year”