Home>Garden Essentials>How To Dry Squash Seeds For Planting Next Year
Garden Essentials
How To Dry Squash Seeds For Planting Next Year
Modified: March 24, 2024
Learn how to dry squash seeds from your garden and save them for planting next year. Perfect for gardeners wanting to continue their squash harvest.
(Many of the links in this article redirect to a specific reviewed product. Your purchase of these products through affiliate links helps to generate commission for Storables.com, at no extra cost. Learn more)
Introduction
Gardening is a rewarding and fulfilling hobby that allows us to connect with nature and enjoy the beauty of the outdoors. One aspect of gardening that brings particular joy is the ability to save and replant seeds from our favorite plants. Not only does this practice save us money, but it also allows us to have a continuous supply of plants year after year. In this article, we will focus on one such plant – squash.
Squash is a versatile and delicious vegetable that comes in a variety of shapes, sizes, and colors. From the classic zucchini to the beautiful butternut squash, these plants provide us with bountiful harvests. To ensure that we can continue growing squash in our gardens, it is important to learn how to properly harvest and save their seeds for planting next year. This process involves a few simple steps that we will explore in detail below.
By following these steps, you can save and dry squash seeds, ensuring a successful harvest in the upcoming gardening season. So, let’s dive in and discover how to dry squash seeds for planting next year!
Key Takeaways:
- Harvest mature, healthy squash, scoop out the seeds, soak and separate them from the flesh. Clean and dry the seeds thoroughly to ensure successful germination in the next planting season.
- Store dried squash seeds in a cool, dark place with low humidity. Label containers, check for moisture or mold, and enjoy a continuous supply of squash plants year after year. Happy gardening!
Read more: How To Save Pepper Seeds For Next Year
Step 1: Harvesting Squash Seeds
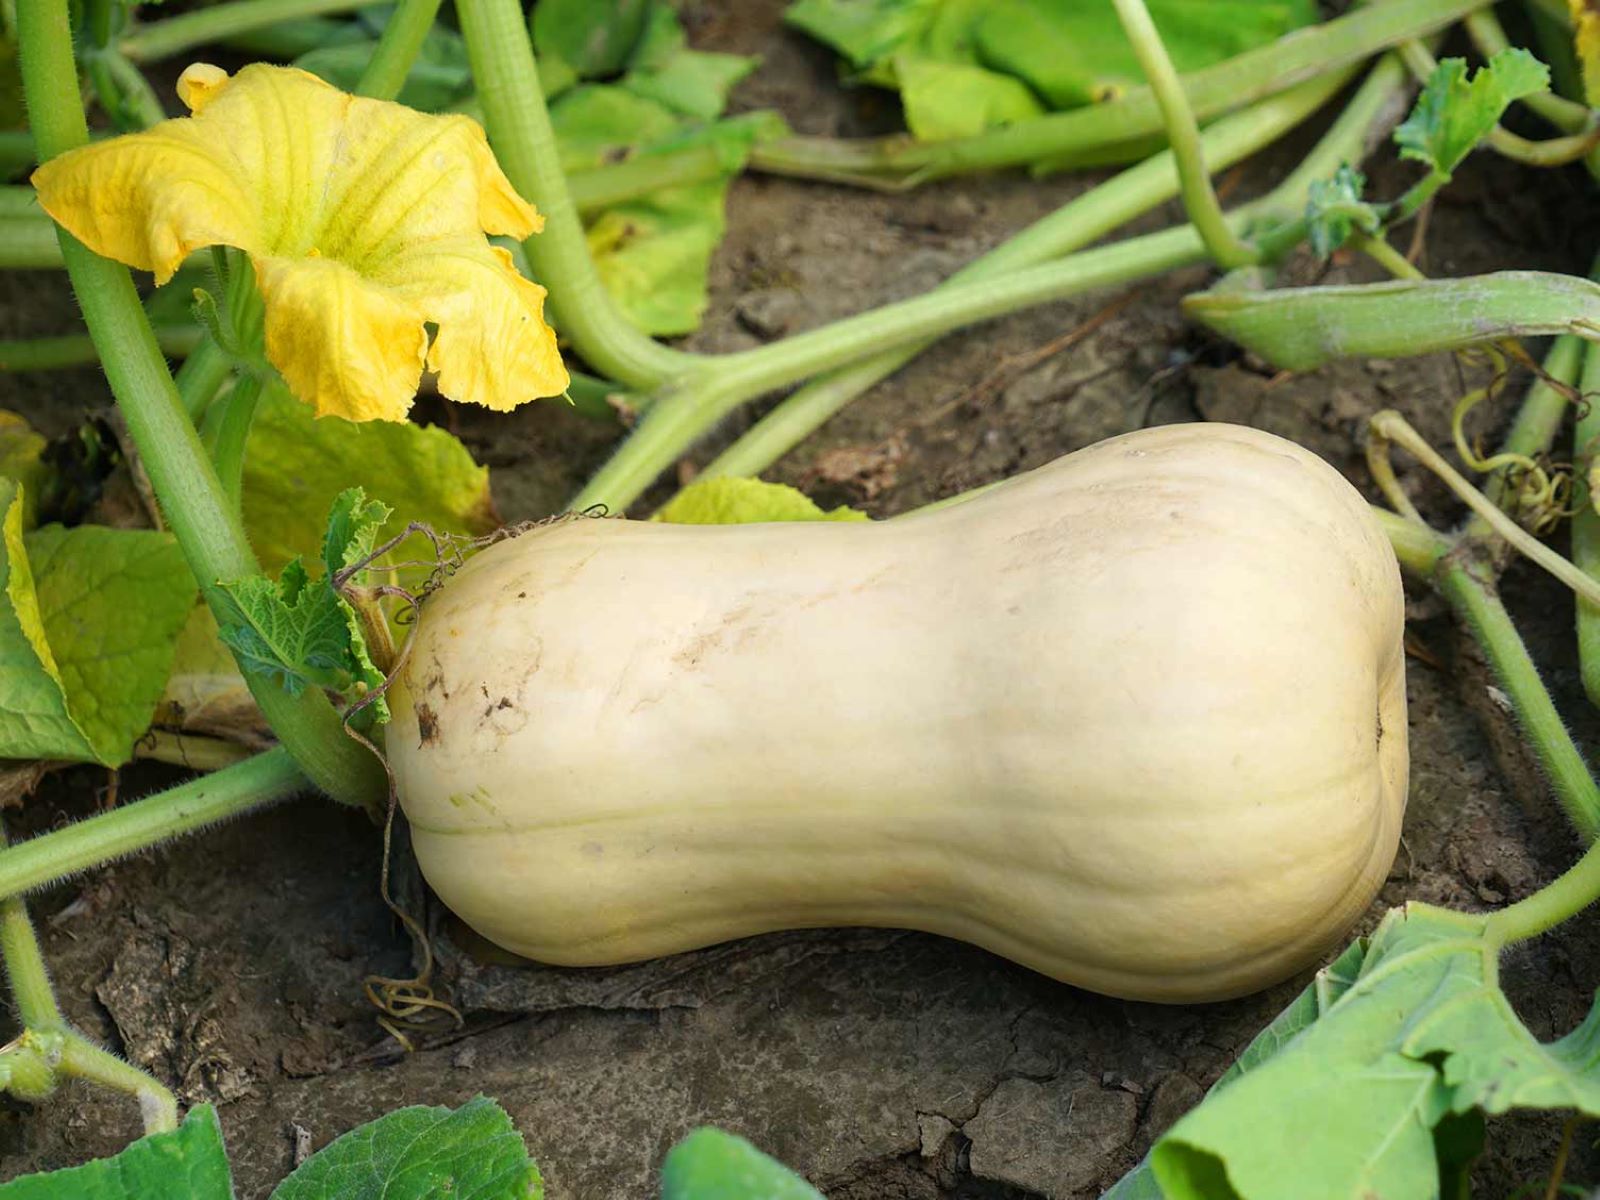
The first step in the process of drying squash seeds is to harvest them from the mature fruits. To determine if a squash is ready for seed harvesting, it should be fully matured and ripe. The skin of the squash should be firm and tough, exhibiting its characteristic color and pattern.
Start by selecting the healthiest and most robust squash from your garden. Look for fruits that are fully matured and have reached their peak flavor. Avoid selecting squash that are damaged, infected, or overripe, as this can affect the quality of the seeds.
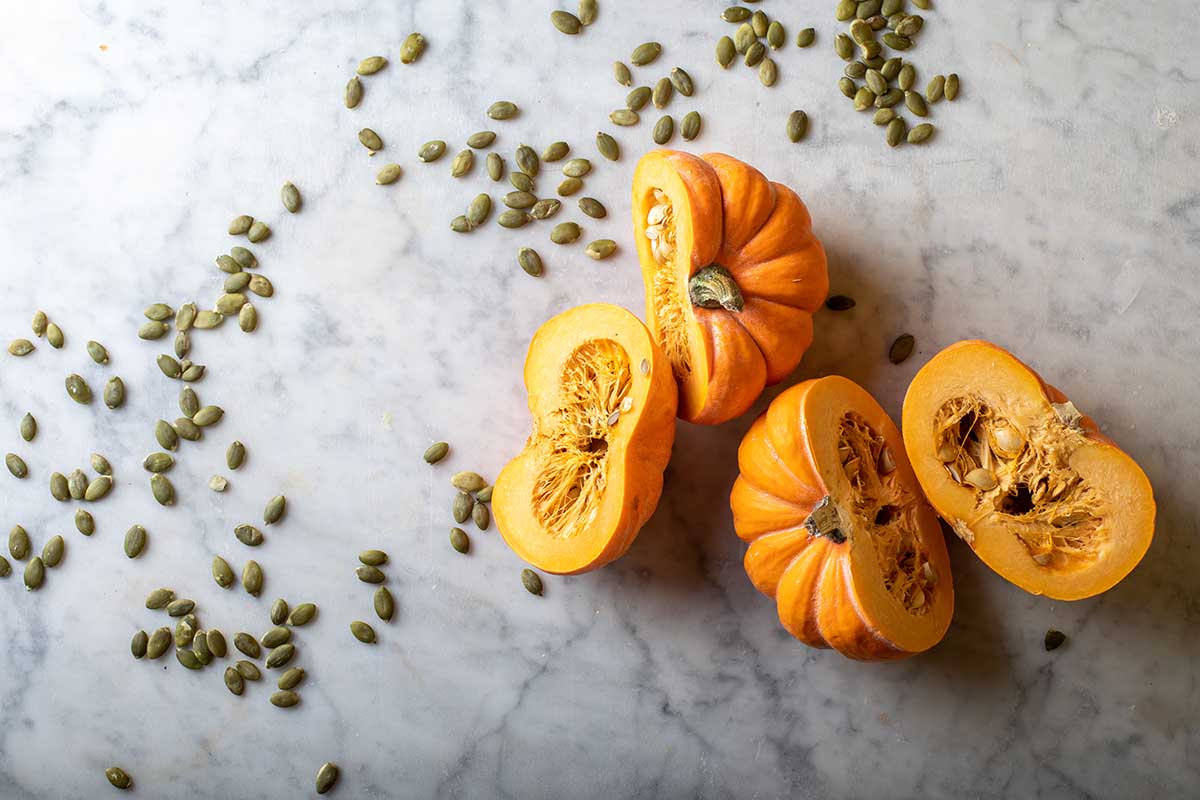
Once you have selected the ideal squash, it’s time to harvest the seeds. Begin by cutting the squash open using a sharp knife. Use caution to prevent any injuries. Inside, you will find the seed cavity, which contains the seeds surrounded by the flesh.
With a spoon or your fingers, scoop out the seeds and place them in a bowl or container. Try to separate the seeds from the flesh as much as possible, but don’t worry if a bit of flesh remains attached to the seeds.
Continue this process until you have harvested all the seeds from the squash. It’s important to note that different varieties of squash may have different amounts of seeds. Some may have just a few seeds, while others may have an abundant supply. Collect as many seeds as possible, as you can always share extras with fellow gardeners or save them for future use.
Once you have harvested the seeds, move on to the next step – extracting the squash seeds from the surrounding flesh.
Step 2: Extracting Squash Seeds
After harvesting the squash seeds, the next step is to extract them from the surrounding flesh. This process helps separate the seeds from any remaining pulp or debris and prepares them for further cleaning and drying.
To begin, transfer the newly harvested seeds into a large container or bowl. Fill the container with water, using enough to cover the seeds. Allow the seeds to soak in the water for a few hours or overnight. This soaking process helps soften the flesh and makes it easier to separate the seeds.
After the soaking period, you will notice that the water has become murky or cloudy. This is an indication that the flesh has started to break down, making it easier to remove. Using your hands or a spoon, agitate the seeds in the water, gently rubbing them together. As you do this, the flesh should separate from the seeds, floating to the top.
Once the flesh has risen to the surface, carefully pour off the water, taking care to retain the seeds at the bottom of the container. You may need to repeat this process a few times to ensure that all the flesh has been removed.
At this point, you can proceed to the next step of cleaning and preparing the squash seeds for drying. It is crucial to remove as much pulp and debris as possible to prevent the seeds from rotting or developing mold during the drying process.
With the seeds separated from the flesh, we can now move on to the cleaning process in Step 3.
Step 3: Cleaning and Preparing Squash Seeds
Now that you have extracted the squash seeds from the flesh, it is important to clean and prepare them before drying. This step ensures that the seeds are free from any remaining debris, mold, or pathogens that could affect their viability.
Start by transferring the seeds into a fine-mesh strainer or colander. Rinse the seeds under running water, gently rubbing them with your fingers to remove any remaining pulp or residue. This process helps to further separate the seeds and remove any clinging debris.
After rinsing, you can also consider using a diluted bleach solution to disinfect the seeds. Make a mixture of one part bleach to ten parts water and soak the seeds for about ten minutes. Then, rinse them thoroughly to remove any traces of bleach. This step can help eliminate any potential pathogens on the seed surface.
Once the seeds are clean, spread them out on a paper towel or a clean, dry surface. Allow them to air dry for a few days or until they are completely dry. Make sure the area is well-ventilated and away from direct sunlight. The drying process ensures that the seeds are ready for long-term storage, as moisture can contribute to mold growth.
During the drying period, it is crucial to stir the seeds or flip them periodically to prevent them from sticking together or developing mold on the surface. This ensures that all sides of the seeds have an equal opportunity to dry thoroughly.
After the squash seeds have dried completely, you can move on to the final step of storing them for future use. Proper storage will help maintain the viability of the seeds and ensure successful germination in the next planting season.
So, with the squash seeds clean and dry, let’s learn how to store them in Step 4.
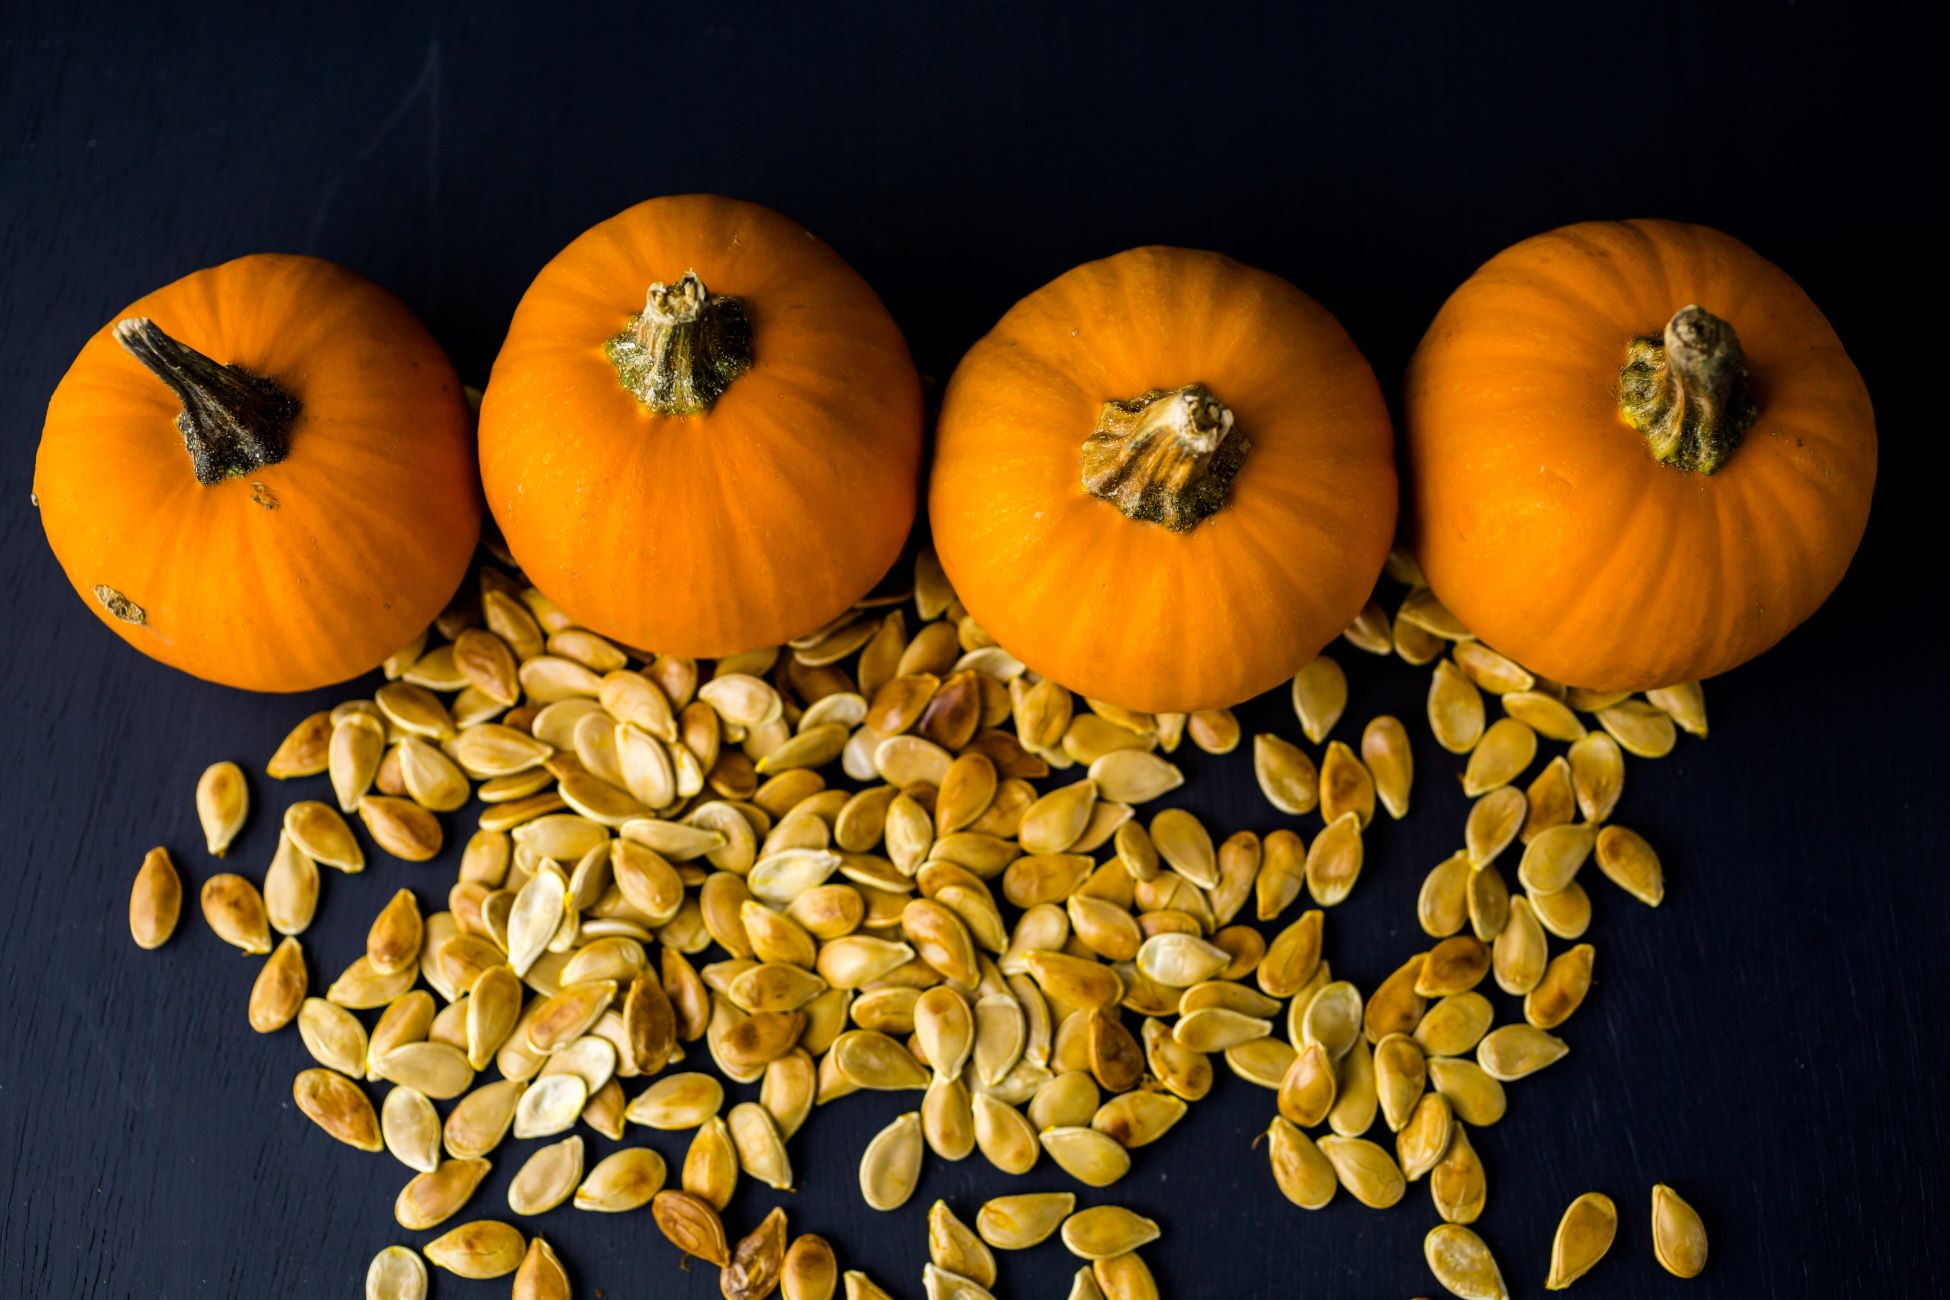
After removing the seeds from the squash, rinse off any pulp and lay them out to dry on a paper towel for 1-2 weeks. Once completely dry, store in a cool, dry place until ready for planting.
Step 4: Drying Squash Seeds
Once you have cleaned the squash seeds, it is important to ensure that they are completely dry before storing them. Properly dried seeds have a significantly longer shelf life and a higher chance of successful germination when planted.
To dry the squash seeds, start by spreading them out in a single layer on a clean and dry surface. You can use a plate, a tray, or a piece of paper towel. Avoid using plastic or metal surfaces, as they can retain moisture and hinder the drying process.
Place the seeds in a well-ventilated area away from direct sunlight. It’s essential for the seeds to dry slowly and naturally to avoid any damage or loss of viability. Make sure the room has good air circulation, as stagnant air can lead to mold or rot.
Throughout the drying process, it is important to monitor the seeds regularly. Gently stir or flip them daily to ensure that all sides of the seeds are exposed to the air and dry evenly. This helps prevent the seeds from clumping together or developing mold on the surface.
The drying time for squash seeds can vary depending on the humidity levels in your location. On average, it can take anywhere from one to three weeks for the seeds to dry completely. You can test the dryness of the seeds by pressing them between your fingernails. If they are firm and do not dent, they are likely dry and ready for storage.
Once the squash seeds are fully dried, you can move on to the final step – storing them for future planting.
Next, see Step 5 for instructions on how to store dried squash seeds.
Read more: How To Plant Squash Seeds
Step 5: Storing Dried Squash Seeds
After the squash seeds have dried thoroughly, it is crucial to store them properly to maintain their viability until the next planting season. With the right storage conditions, you can ensure that the seeds remain dormant and ready for germination when the time comes.
The key to storing dried squash seeds successfully is to keep them in a cool, dry, and dark place. Ideally, the storage area should have a temperature between 32°F (0°C) and 41°F (5°C) with humidity levels below 50%. Such conditions help prevent moisture buildup and minimize the risk of mold or rot.
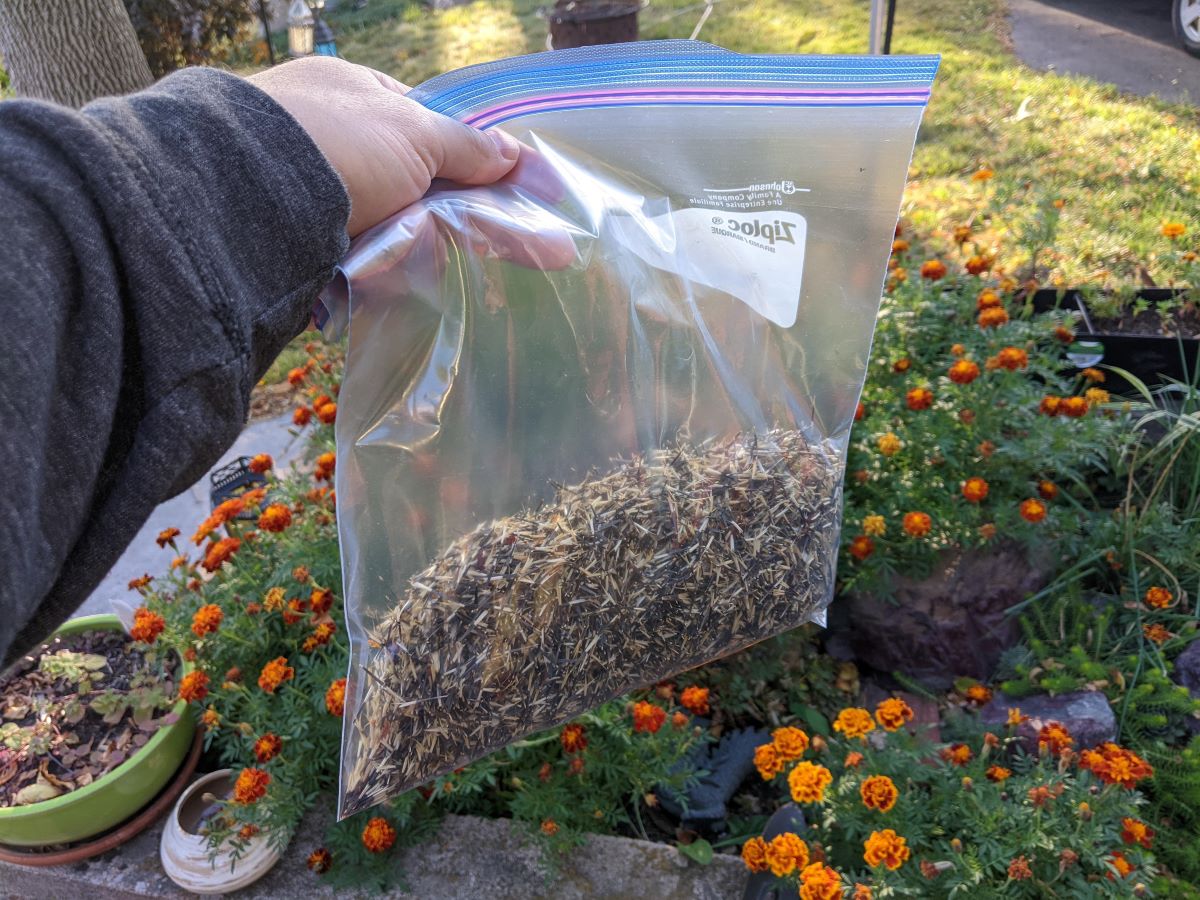
There are various containers that you can use for seed storage, such as glass jars, envelopes, or small, airtight plastic bags. Ensure that the containers are clean, dry, and free from any residual moisture or contaminants that could impact the seeds’ longevity.
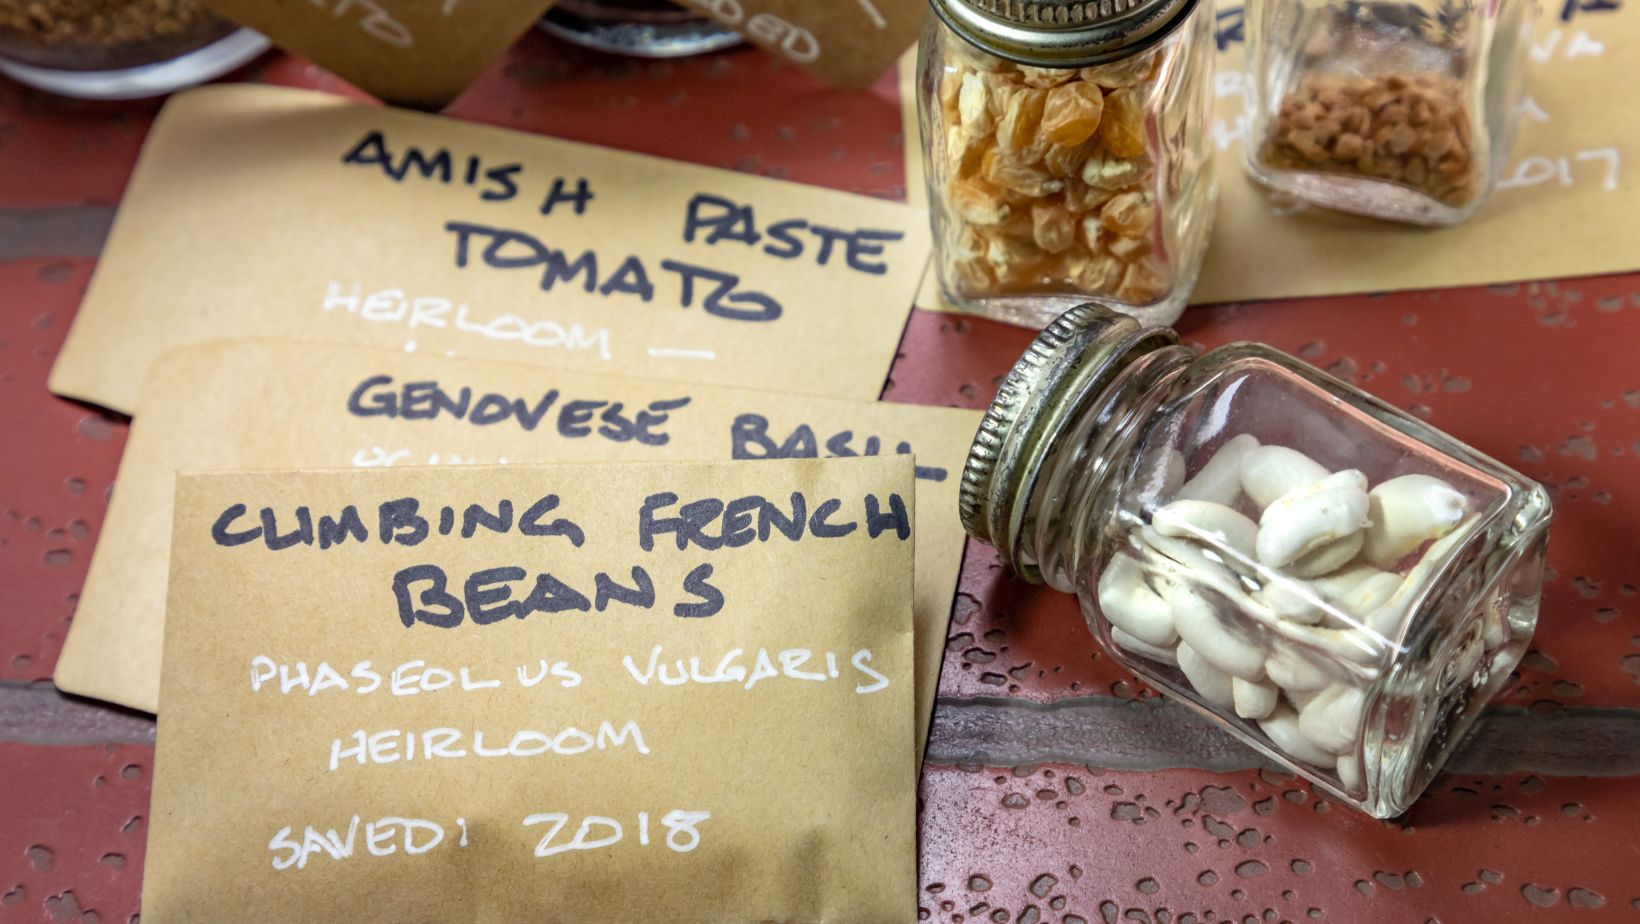
Before storing the seeds, it’s a good practice to label each container with the variety and date of harvest. This will help you keep track of the seeds and maintain a proper rotation system within your collection.
Place the dried squash seeds inside the chosen container and seal it tightly. You can also consider adding a desiccant sachet or a small packet of silica gel to absorb any remaining moisture and maintain the seeds’ dryness.
Store the containers in a cool and dark location, such as the refrigerator or a cellar. Avoid storing them in areas prone to temperature fluctuations, such as a garage or near a heating source. Additionally, keep the seeds away from any ethylene-producing fruits or vegetables, as this can affect their quality.
Periodically check the stored seeds for signs of moisture or mold. If you notice any condensation or signs of decay, remove the affected seeds immediately to prevent them from spreading to the rest of the stored collection.
With proper storage, squash seeds can remain viable for up to 3-5 years. However, it’s important to note that germination rates may decrease over time, so it’s always a good idea to test the germination of stored seeds before planting them on a larger scale.
By following these steps and adopting good seed storage practices, you can enjoy the benefits of saving and replanting your own squash seeds for years to come.
Now that you have learned how to dry squash seeds for planting next year, you are ready to embark on your seed-saving journey. Happy gardening!
Conclusion
Saving and replanting squash seeds is not only a cost-effective way to continue growing your favorite varieties but also a rewarding process that allows you to participate in the life cycle of your plants. By following the steps outlined in this guide, you can successfully harvest, extract, clean, dry, and store squash seeds for planting in the next gardening season.
Remember to choose fully matured and healthy squash fruits for seed harvesting. Extract the seeds carefully, separating them from the surrounding flesh. Clean the seeds thoroughly to remove any remaining pulp or debris, and consider disinfecting them with a diluted bleach solution to eliminate potential pathogens.
After cleaning, allow the seeds to air dry in a well-ventilated area away from direct sunlight. Stir or flip them regularly to ensure even drying and prevent mold or clumping. Once fully dried, store the seeds in a cool, dry, and dark place, such as the refrigerator or cellar. Label the containers for easy identification and periodically check for any signs of moisture or mold.
By following these steps and proper storage practices, you can enjoy a continuous supply of squash plants year after year. The joy of watching your own seeds germinate and grow into healthy plants is truly satisfying and adds a personal touch to your gardening experience.
So, whether you’re a seasoned gardener or just starting out, don’t hesitate to save and dry squash seeds for planting next year. It’s a simple yet valuable practice that connects you to the rich cycle of nature and gives you the opportunity to nurture and grow your own plants from start to finish.
Embrace the world of seed-saving, and enjoy the abundance and beauty that squash plants can bring to your garden. Happy gardening and happy seed saving!
Frequently Asked Questions about How To Dry Squash Seeds For Planting Next Year
Was this page helpful?
At Storables.com, we guarantee accurate and reliable information. Our content, validated by Expert Board Contributors, is crafted following stringent Editorial Policies. We're committed to providing you with well-researched, expert-backed insights for all your informational needs.


0 thoughts on “How To Dry Squash Seeds For Planting Next Year”