Articles
How To Store Vegetable Seeds For Next Year
Modified: January 9, 2024
Learn how to store vegetable seeds for next year with our informative articles. Gain valuable knowledge and tips to ensure successful seed saving and storage.
(Many of the links in this article redirect to a specific reviewed product. Your purchase of these products through affiliate links helps to generate commission for Storables.com, at no extra cost. Learn more)
Introduction
As a gardening enthusiast, you know the joy of growing your own vegetables. Aside from the delicious produce, gardening also gives you an opportunity to save money and become more self-sufficient. One way to extend the benefits of your garden is by saving and storing vegetable seeds for the next year.
Storing vegetable seeds allows you to preserve the best performing varieties from your garden, ensuring you have a steady supply of high-quality seeds for future planting seasons. It also allows you to experiment with different varieties and tailor your garden to your specific needs and preferences.
In this article, we will guide you through the process of properly storing vegetable seeds. From choosing the right seeds to checking viability and organizing them for long-term storage, we will provide you with all the information you need to successfully store vegetable seeds for the next year and beyond.
So, let’s dive right in and learn how to store your vegetable seeds effectively.
Key Takeaways:
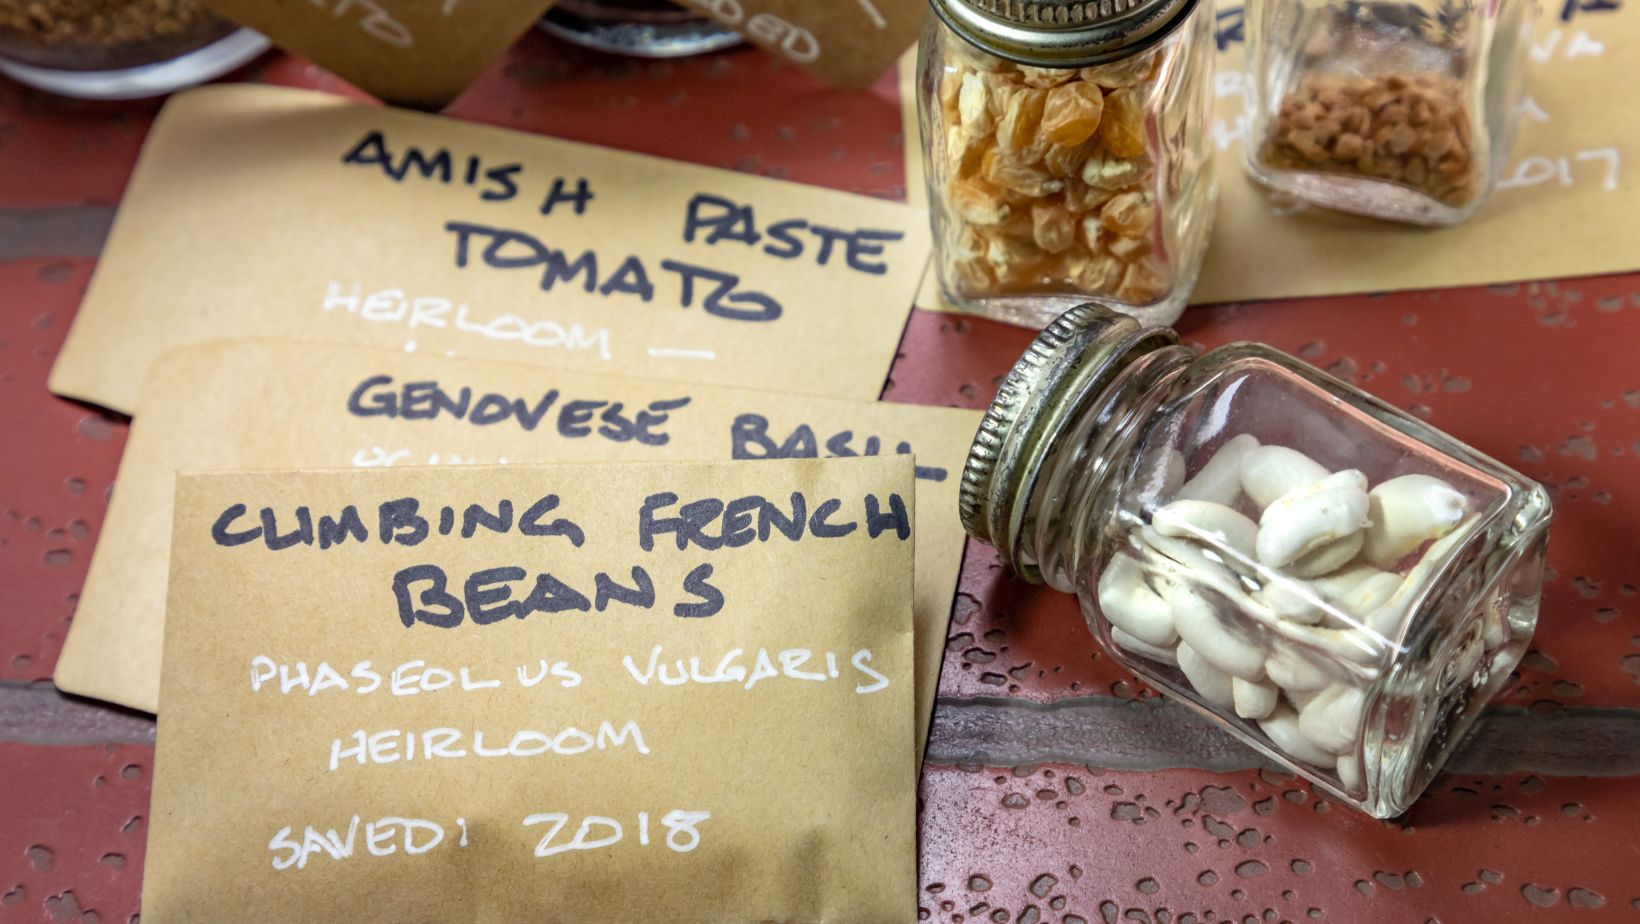
- Preserve the best performing vegetable varieties by storing open-pollinated or heirloom seeds. Select, harvest, clean, and dry seeds carefully to ensure optimal germination rates and maintain genetic diversity for future gardening success.
- Properly store vegetable seeds in airtight containers, maintain cool and dark conditions, and regularly check seed viability. Label and organize seeds systematically for easy access and prioritize older seeds for planting.
Read more: How To Store Corn Seeds For Next Year
Choosing the Right Seeds
The first step in storing vegetable seeds for the next year is selecting the right seeds to save. It’s important to choose open-pollinated or heirloom vegetable varieties, as hybrid or genetically modified seeds may not produce true-to-type plants in subsequent generations.
Open-pollinated seeds are pollinated by natural mechanisms like wind, insects, or birds, resulting in plants that have similar traits to the parent plant. Heirloom seeds, on the other hand, have been passed down for generations and are known for their distinct characteristics and flavors.
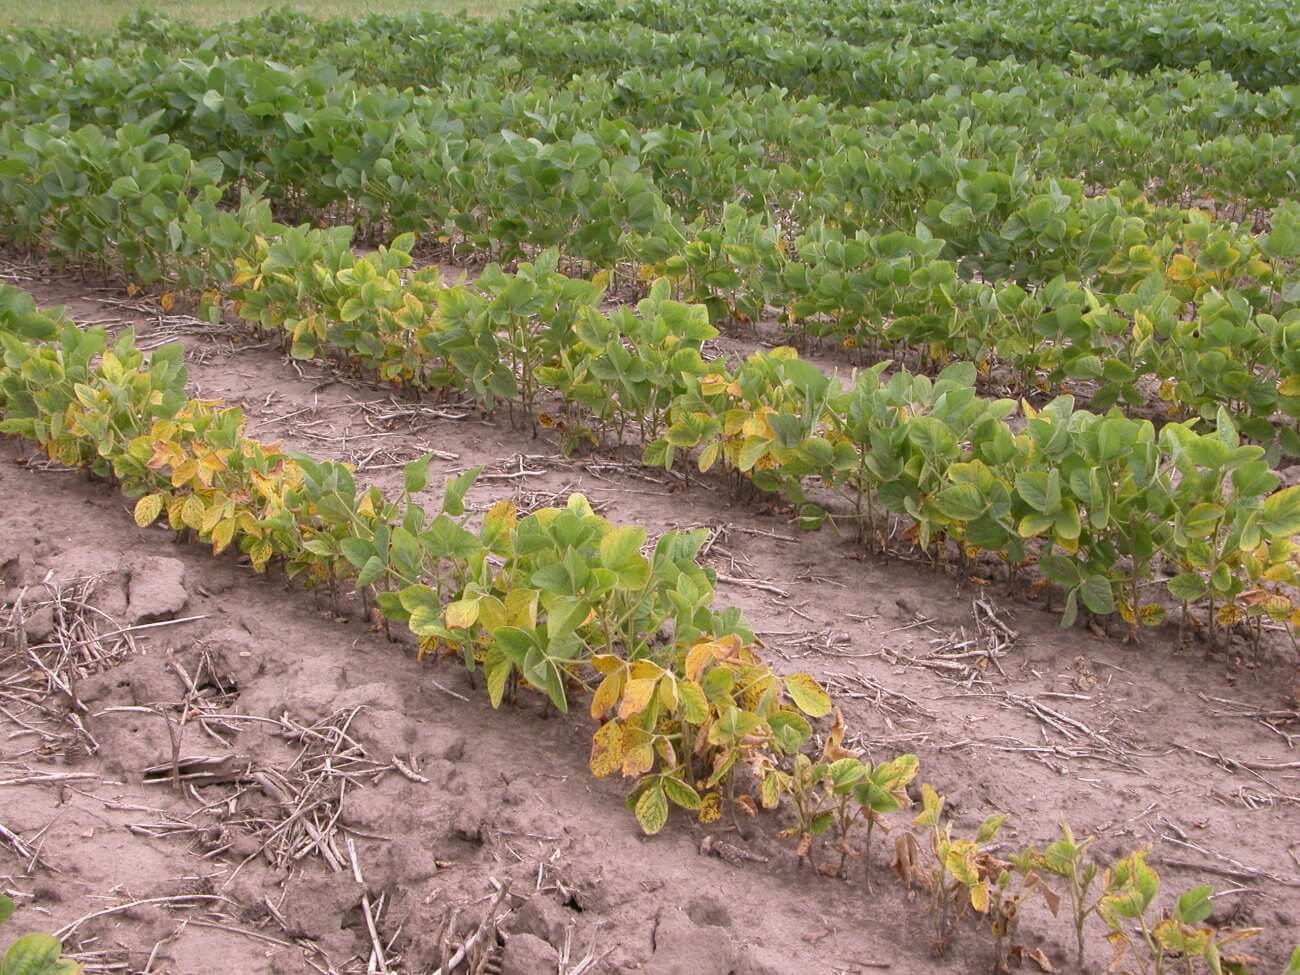
When selecting the vegetables to save seeds from, choose the healthiest and most productive plants. Look for plants with strong growth, disease resistance, and desirable traits like flavor, color, and size. By saving seeds from the best-performing plants, you’ll be preserving their superior genetics for future generations.
Additionally, consider the seed maturity and harvest timing. Seeds should be fully mature before harvesting to ensure optimal germination rates. For example, tomatoes are often harvested when they’re ripe, but for seed saving, they should be left on the vine until fully mature and slightly overripe.
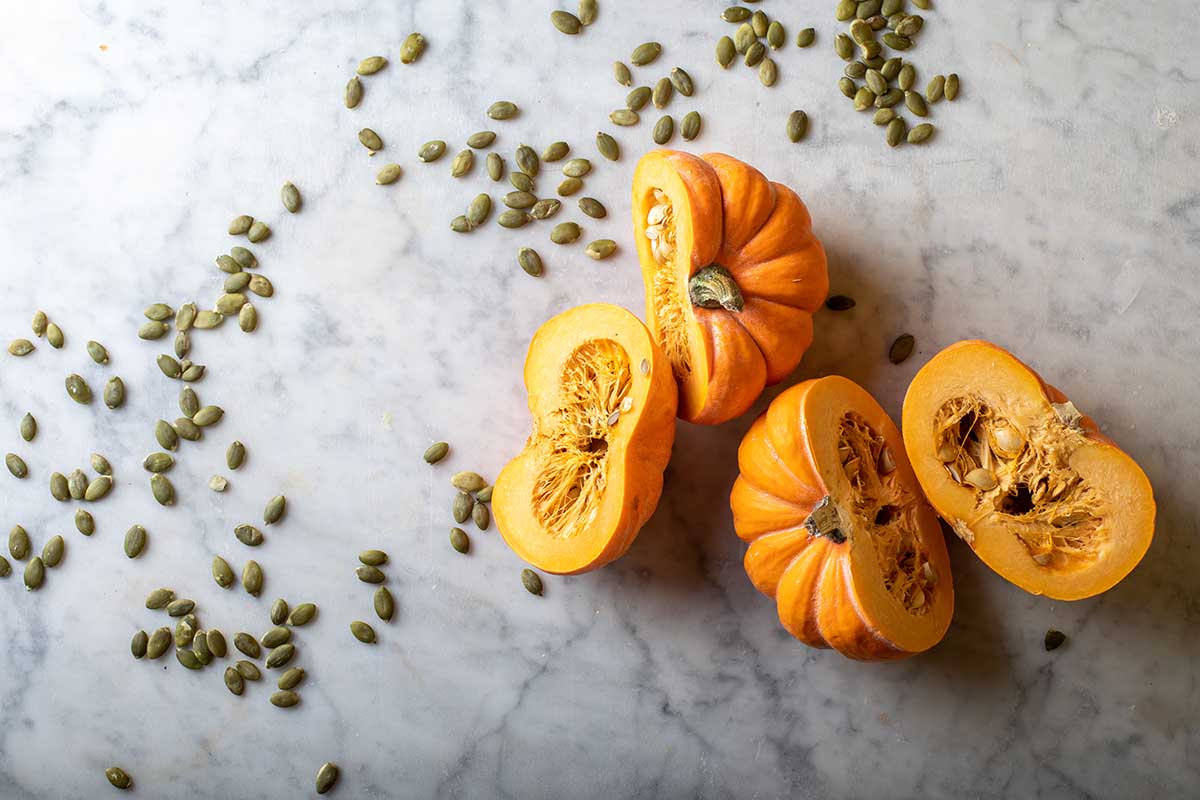
Lastly, remember to avoid saving seeds from plants that have cross-pollinated with other varieties. Some vegetables, like squash and pumpkins, are prone to cross-pollination by insects. To prevent cross-pollination, either grow only one variety of that vegetable or isolate different varieties by distance or by using physical barriers like mesh bags or row covers.
By carefully selecting the right seeds, you’ll ensure that the seeds you store for the next year will give you the best chance of success in your future gardening endeavors.
Harvesting Seeds from Vegetables
Once you have chosen the vegetables with the best traits and have allowed them to mature fully, it’s time to harvest the seeds. Harvesting seeds from vegetables is a process that requires some patience and attention to detail.
For most vegetables, the seeds can be found inside the fruits or vegetables themselves. Here are some common vegetables and the steps to harvest their seeds:
- Tomatoes: Cut the tomato in half and scoop out the seeds and the surrounding gelatinous substance. Place them in a container and add water. Allow the mixture to ferment for a few days, stirring occasionally. The fermentation process helps remove the gel coating on the seeds, making them easier to clean and dry.
- Cucumbers and Melons: Scoop out the seeds along with the surrounding flesh. Rinse the seeds thoroughly with water to remove any remaining flesh.
- Squash and Pumpkins: Cut open the squash or pumpkin and scoop out the seeds. Rinse them thoroughly to remove any pulp or stringy bits.
- Peppers: Allow the peppers to fully ripen on the plant before harvesting them. Cut open the peppers and remove the seeds. Rinse them well to remove any remaining pepper debris.
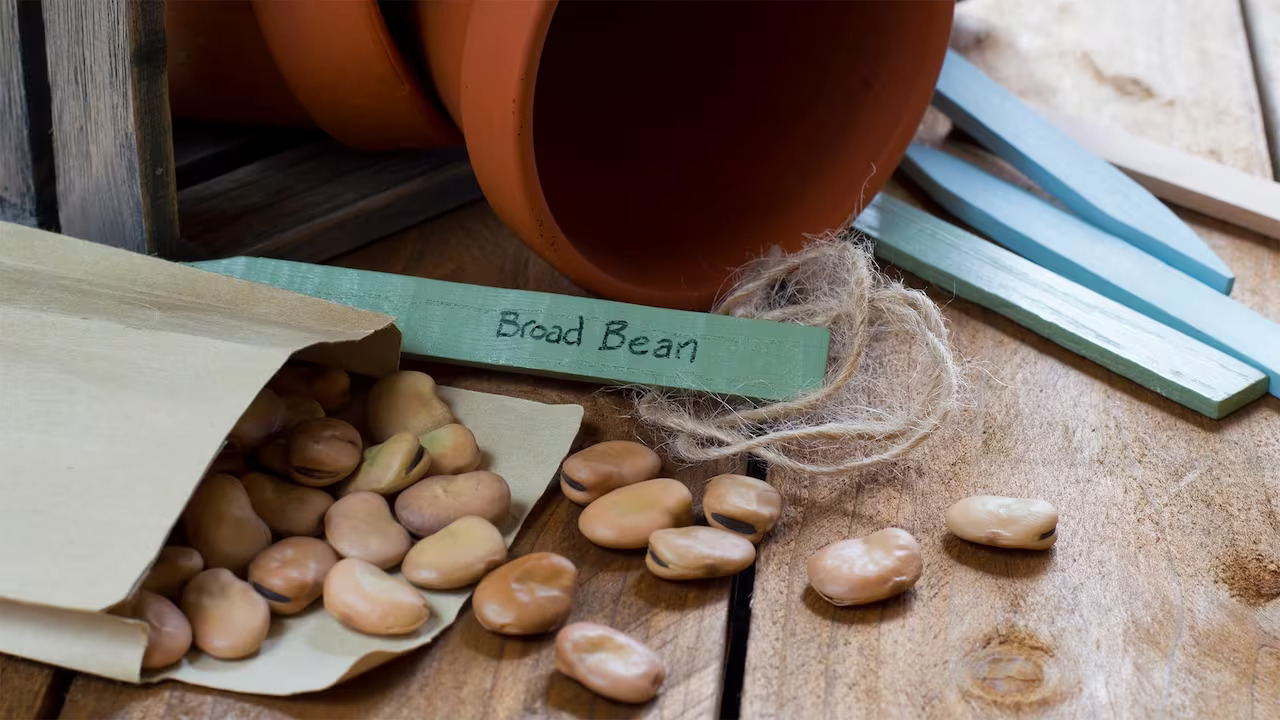
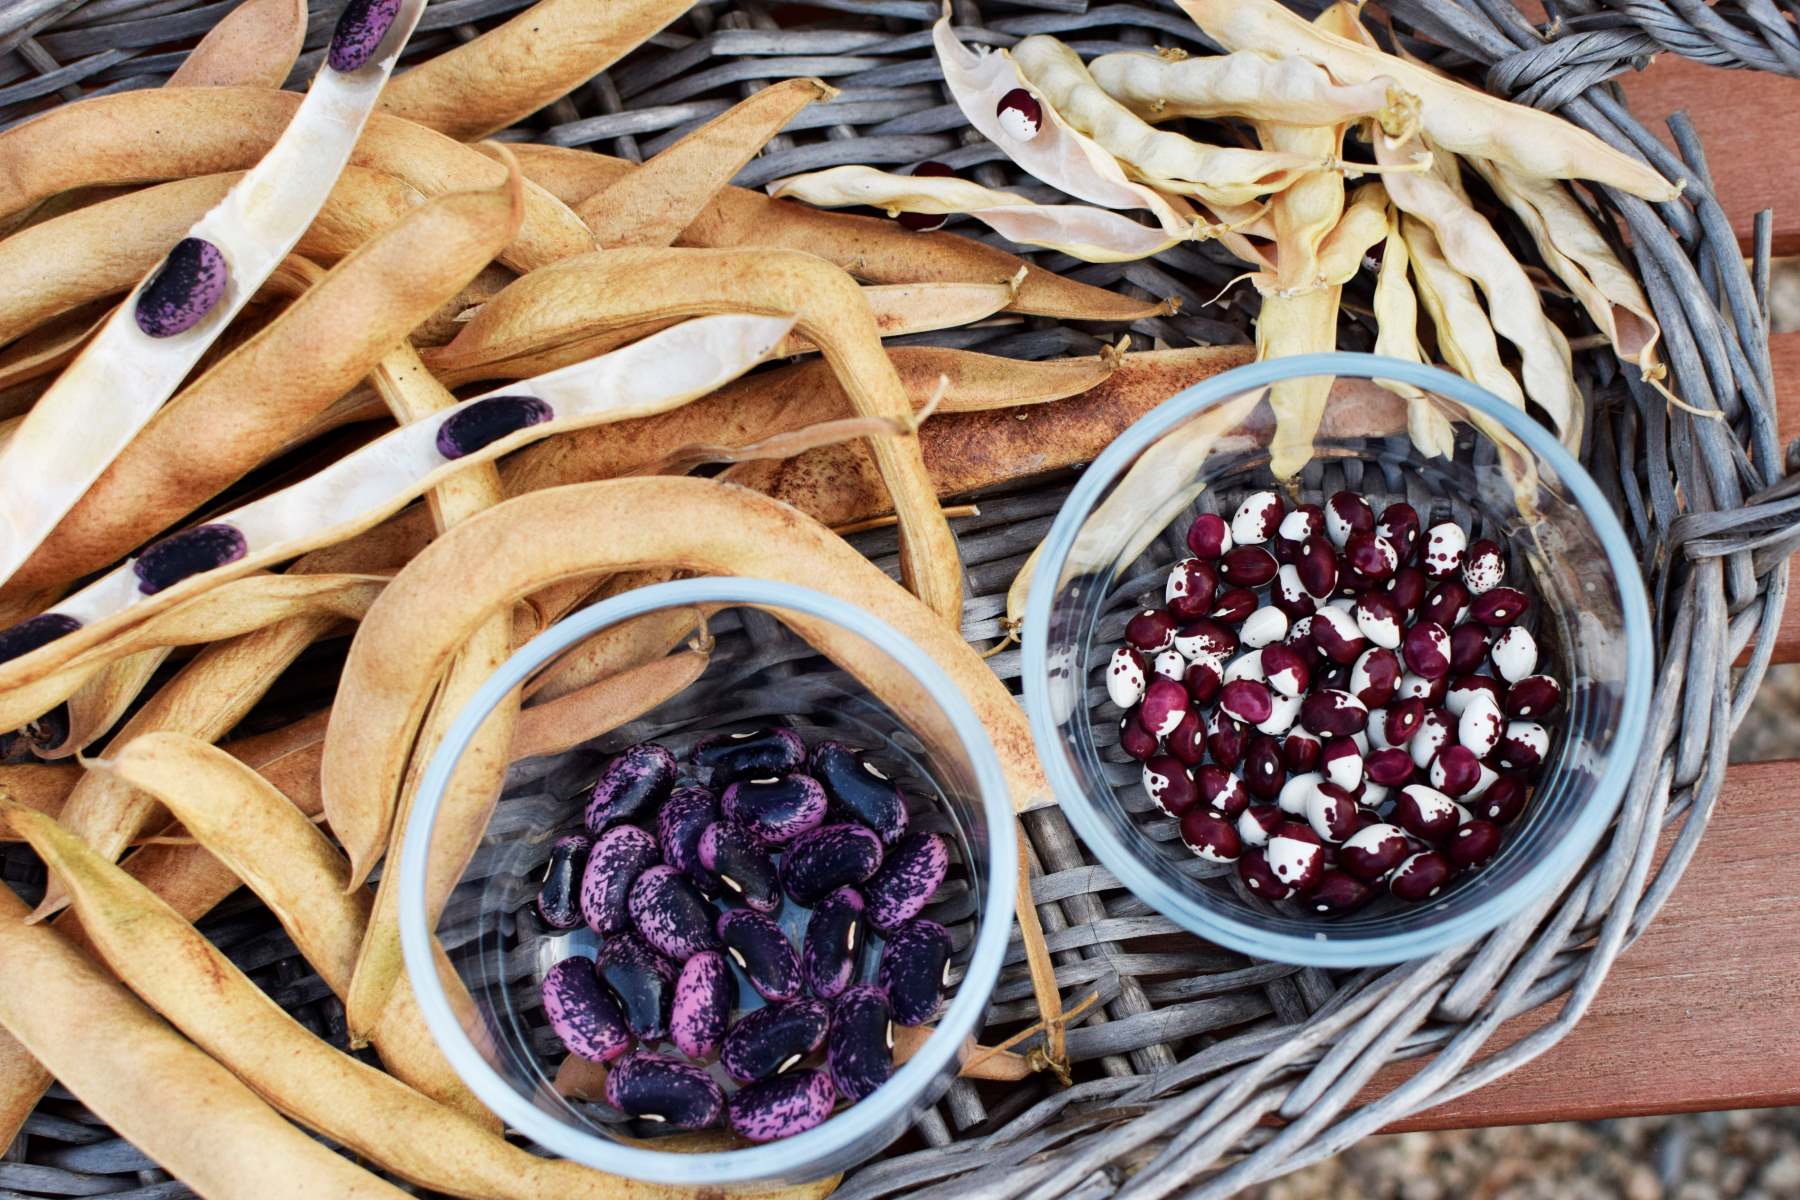
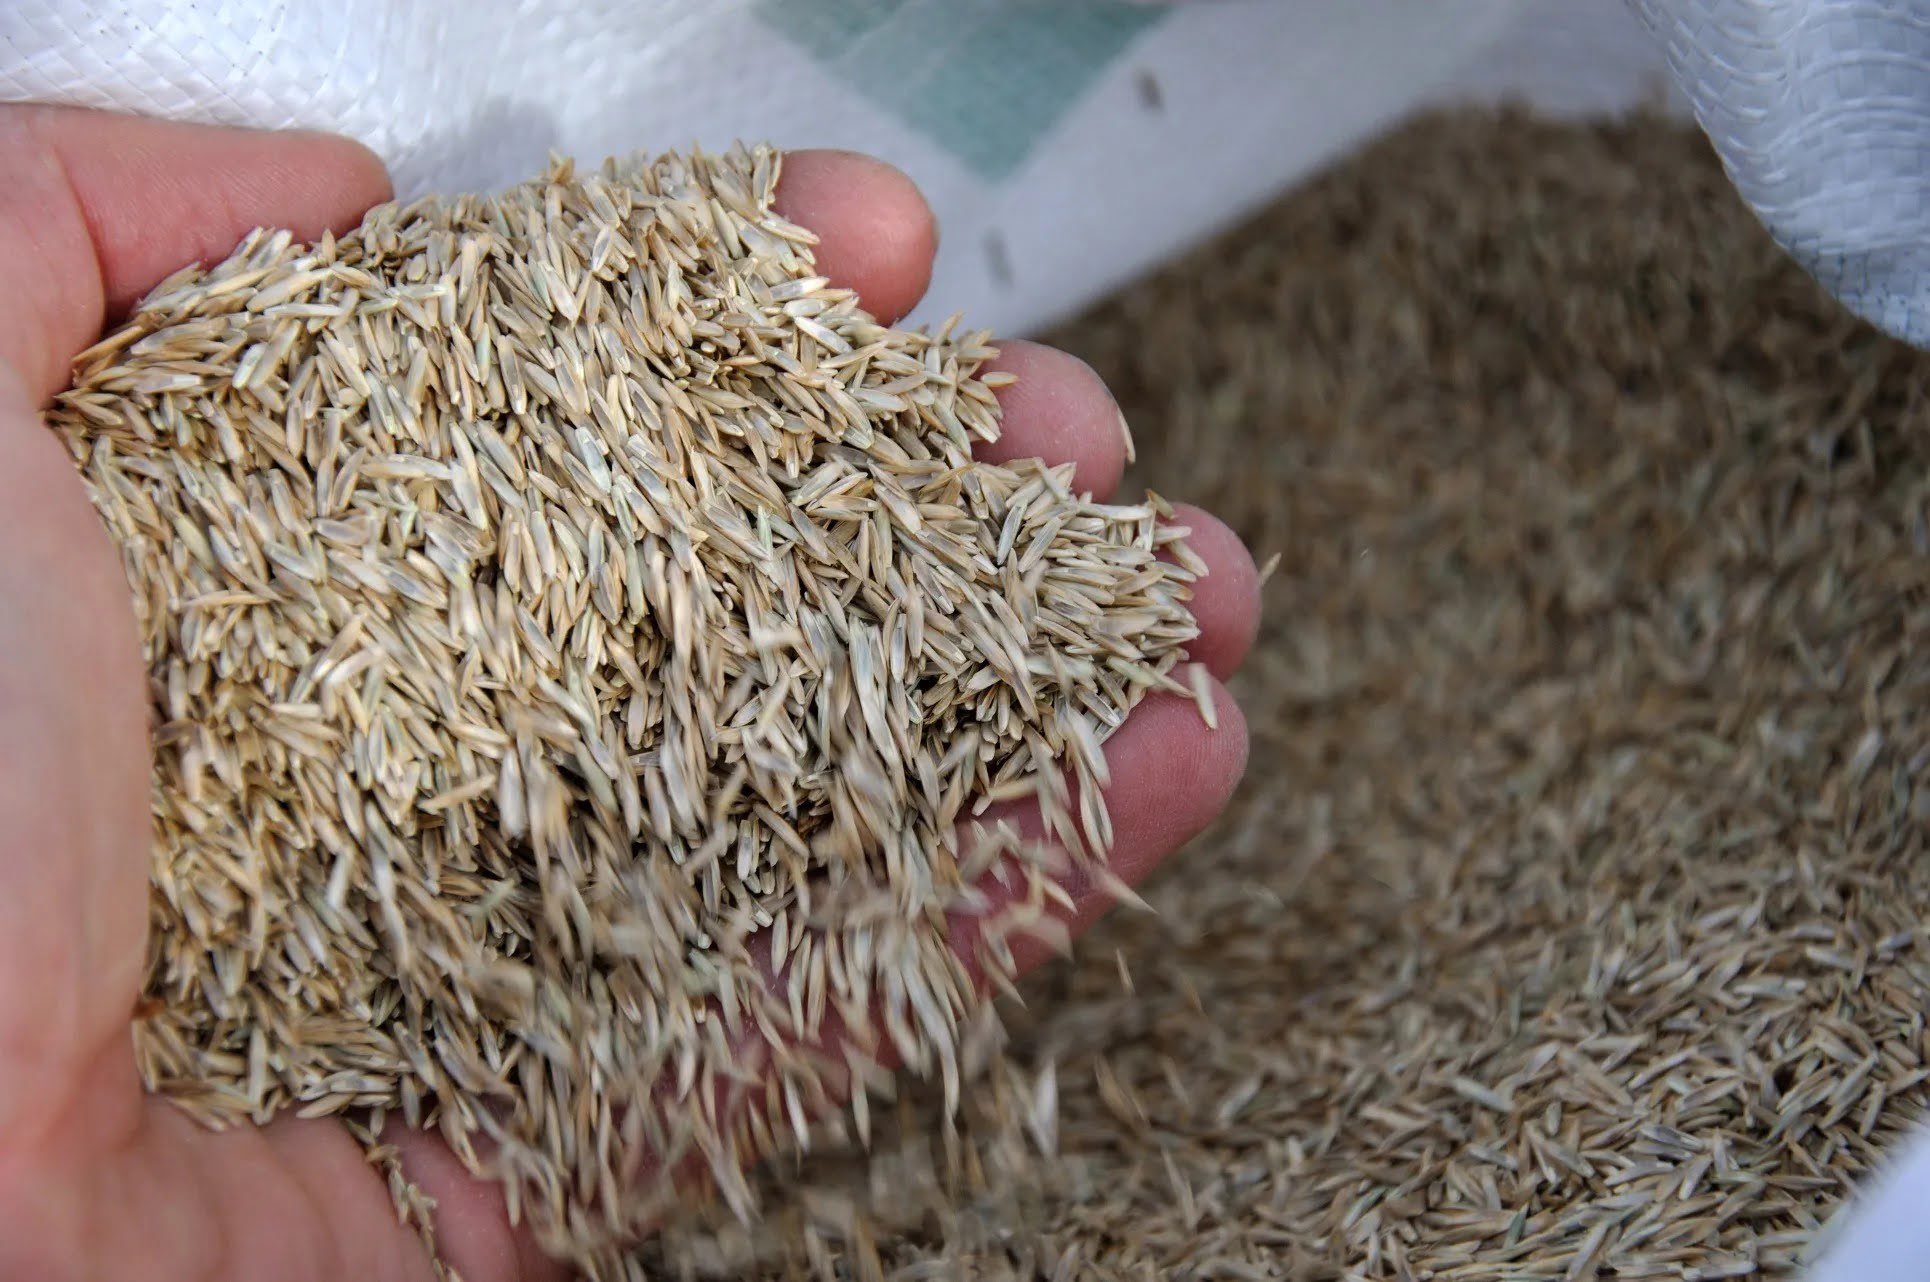
- Beans and Peas: Allow the pods to fully mature and dry on the plant. Once the pods are dry and brittle, remove them from the plant and shell the beans or peas. Collect the seeds and discard any damaged or discolored ones.
Remember to handle the seeds with care to avoid damaging them. It’s best to work with one vegetable type at a time and keep the different varieties separated to maintain the purity of the seeds.
After harvesting the seeds, it’s important to clean and dry them thoroughly before storing. This will help prevent the growth of mold or fungus and ensure the longevity of the seeds.
In the next section, we will explore the steps to clean and dry the seeds properly.
Cleaning and Drying Seeds
Once you have harvested the seeds from your vegetables, it’s essential to clean and dry them properly before storing them. Cleaning the seeds helps remove any remaining pulp, flesh, or debris, while drying them ensures that they are free from moisture, preventing the growth of mold or fungi.
Here’s a step-by-step guide on how to clean and dry your vegetable seeds:
- Tomato Seeds: After fermenting the tomato seeds, pour the mixture into a fine-mesh sieve or strainer. Rinse the seeds under running water, gently rubbing them to remove any remaining gel. Spread the clean seeds on a paper towel or a fine sieve to dry.
- Cucumber, Melon, and Squash Seeds: Rinse the seeds thoroughly under running water to remove any remaining flesh. Spread them on a flat surface, such as a tray or a clean towel, and allow them to air dry. Make sure to separate seeds to prevent them from sticking together.
- Pepper Seeds: Rinse the pepper seeds under running water, gently rubbing them to remove any debris. Spread them out on a paper towel or a fine sieve to dry.
- Bean and Pea Seeds: Remove the beans or peas from the pods and rinse them under running water. Place them on a paper towel or a tray, and allow them to air dry completely.
It’s important to ensure that the seeds are completely dry before moving on to the next step. Damp seeds can lead to mold growth during storage, which can render them unusable.
Air drying is generally the preferred method for seed drying, as it allows for natural evaporation of moisture. Place the seeds in a well-ventilated area away from direct sunlight and humidity. Stir or turn the seeds occasionally to ensure even drying.
Depending on the vegetable and environmental conditions, the seeds may take anywhere from a few days to a few weeks to dry completely. You can also use a fan or a dehydrator on the lowest setting to speed up the drying process, but be cautious not to subject the seeds to excessive heat.
Once the seeds are dried, they are ready to be prepared for storage. In the next section, we will discuss the steps to prepare your seeds for proper storage.
Preparing for Storage
After cleaning and drying your vegetable seeds, it’s important to properly prepare them for storage. This will ensure that the seeds remain viable and in good condition for future planting seasons. Here are the steps to prepare your seeds for storage:
- Remove Any Remaining Debris: Take a close look at the seeds and remove any remaining debris or stray plant material. This can include bits of stems, leaves, or seed casings that may have been missed during the cleaning process.
- Sort and Discard Damaged Seeds: Carefully examine the seeds and separate any damaged or discolored ones from the healthy ones. Damaged seeds may be discolored, cracked, or misshapen. It’s best to discard them, as they are unlikely to germinate and may rot or introduce disease to your seed collection.
- Ensure Seeds Are Completely Dry: Check that your seeds are thoroughly dried. They should be crisp and brittle, not soft or pliable. Any remaining moisture can lead to mold or fungal growth during storage.
- Consider Seed Treatment (optional): Some gardeners choose to treat their seeds with fungicides or other treatments to prevent disease and pests. This step is optional and depends on your personal preference and gardening practices. If you decide to treat your seeds, carefully follow the instructions on the product label and allow the treated seeds to dry completely before proceeding.
By following these steps, you’ll ensure that your vegetable seeds are clean, free from debris, and in the best possible condition for long-term storage. The next section will discuss the proper methods for storing your seeds to maintain their viability.
Store vegetable seeds in a cool, dry place in airtight containers, such as glass jars or plastic bags. Label each container with the seed type and date collected for easy identification next year.
Read more: How To Save Pepper Seeds For Next Year
Storing Seeds Properly
Proper storage is key to maintaining the viability of your vegetable seeds. When stored correctly, seeds can remain viable for several years, allowing you to use them in future gardening seasons. Here are some essential tips for storing seeds properly:
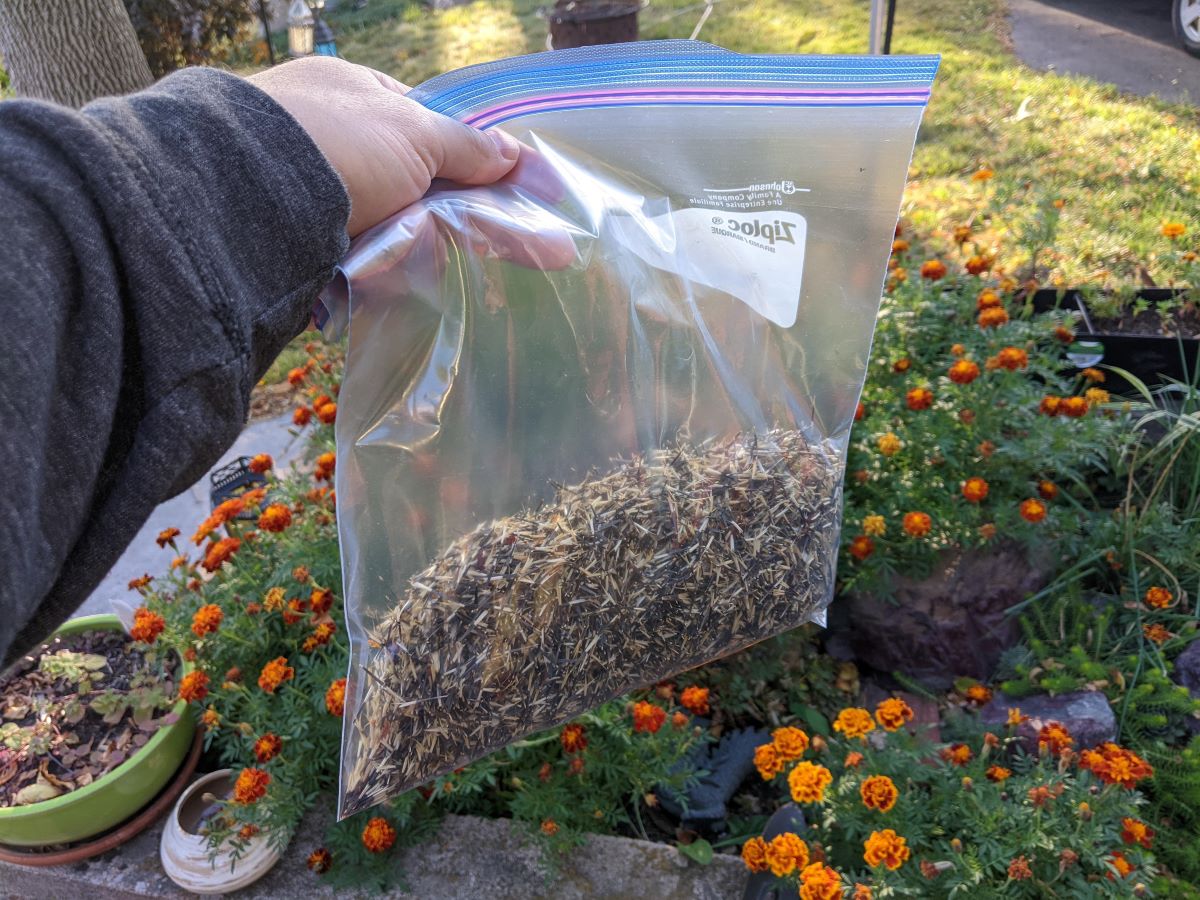
- Choose the Right Containers: Use airtight containers that are moisture-resistant to store your seeds. Glass jars with tight-fitting lids, plastic containers, or seed storage envelopes are all suitable options. Avoid using paper envelopes or bags, as they may allow moisture to seep in.
- Keep Seeds in Cool and Dark Conditions: Store your seeds in a cool, dark, and dry place. A temperature range of 32-41°F (0-5°C) is ideal. Avoid storing seeds in areas that are subject to temperature fluctuations or high humidity, such as the kitchen or the bathroom.
- Avoid Exposure to Light: Light can degrade the viability of seeds over time. Store your seed containers in a dark location or opt for opaque containers that block out light.
- Use Desiccant Packs: To further reduce moisture, you can add desiccant packs to your seed storage containers. Desiccant packs absorb excess moisture and help maintain the dryness of the seeds. You can find desiccant packs online or repurpose ones from food packaging, such as silica gel packs.
- Consider Refrigeration or Freezing: For longer-term seed storage, some gardeners choose to refrigerate or freeze their seeds. However, it’s crucial to use moisture-proof storage containers and allow the seeds to come to room temperature before opening the container to prevent condensation.
Remember to label your seed containers with the name of the vegetable variety, the date of collection, and any other pertinent information. This will help you keep track of your seed inventory and ensure that you’re using the oldest seeds first.
Regularly check on your stored seeds to ensure there is no moisture or signs of mold or pests. If you notice any issues, promptly discard or replace affected seeds.
Now that you know how to store your seeds properly, the next section will explain how to check the viability of your stored seeds.
Checking Seed Viability
Before planting seeds that have been stored for a while, it’s important to check their viability. Seed viability refers to the ability of a seed to germinate and produce healthy plants. By conducting a viability test, you can determine if your stored seeds are still viable and worth planting.
Here are a few methods to check the viability of your stored seeds:
- Germination Test: This is the most common method for seed viability testing. Take a handful of seeds and place them on damp paper towels or a moistened layer of vermiculite. Cover the seeds with another layer of damp paper towels or vermiculite. Keep the seeds in a warm location with consistent moisture. Check the seeds regularly, and after a week or two, assess the percentage of seeds that have germinated. If a high percentage of seeds have sprouted, it indicates good viability.
- Seed Float Test: This simple test can be used for larger seeds like beans and peas. Fill a container with water and place the seeds into it. Observe which seeds sink to the bottom and which float on the surface. Healthy seeds will sink, while non-viable ones are more likely to float.
- Seedling Vigor Test: Plant a few seeds from each variety in a small seed tray or individual pots. Provide optimal growing conditions, including adequate moisture, light, and warmth. Compare the growth and vigor of the seedlings from different varieties. Strong and healthy seedlings indicate good viability.
- Seed Scarification Test: Some seeds have hard coats that prevent germination. Scarification involves mechanically breaking down the hard coat to promote germination. Lightly nick the seed coat with a file or sandpaper before sowing. If scarified seeds show signs of germination, it indicates that they are viable.
By conducting viability tests, you can determine the quality of your stored seeds and make informed decisions about which seeds to use for planting.
Label the tested seeds carefully, noting the percentage of germination or any other relevant observations. This information will be useful for future reference.
Now that you have checked the viability of your seeds, it’s time to organize and label them for easy access and future planting.
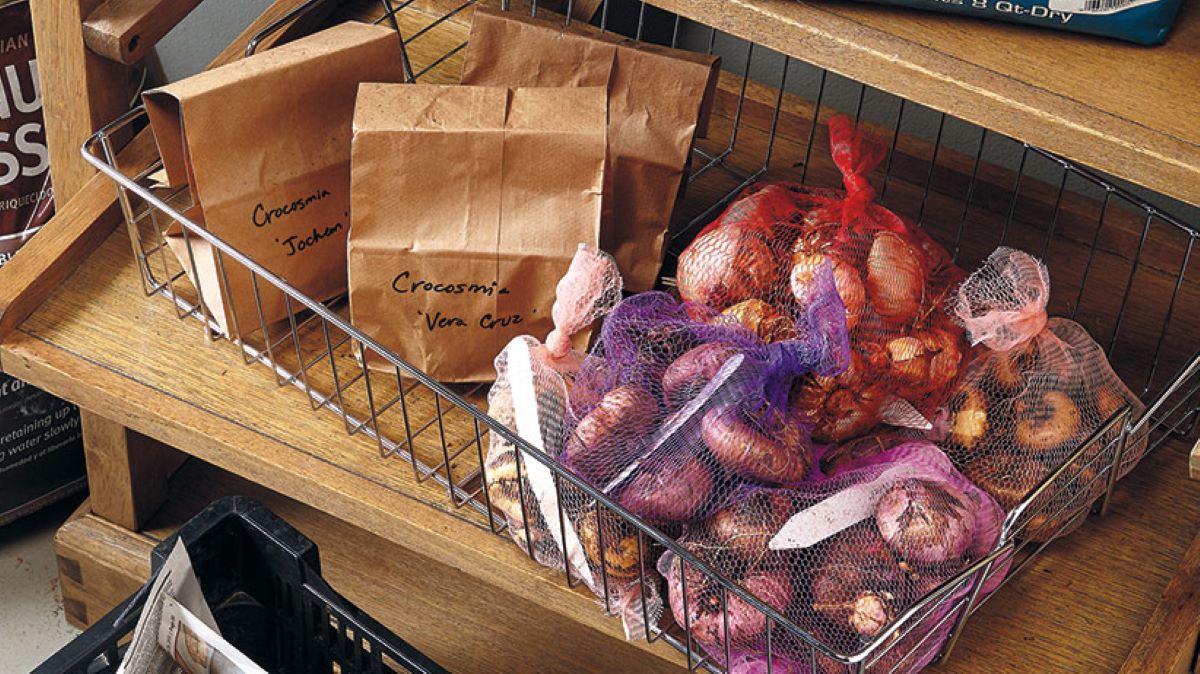
Labeling and Organizing Seeds
Properly labeling and organizing your stored seeds is crucial for easy retrieval and future planting success. By implementing a systematic approach, you can keep track of the different seed varieties and their specific details. Here are some tips for labeling and organizing your seeds:
- Use Clear and Waterproof Labels: Make sure to use labels that are clear, waterproof, and resistant to smudging. This will ensure that the labels remain legible over time, even in storage conditions that may involve moisture or handling.
- Include Essential Information: Label each seed container with the name of the vegetable variety, the date of collection, and any other important details such as the source of the seeds or specific growing requirements. This information will help you identify and prioritize which seeds to use first.
- Organize Seeds by Type: Group your seeds by type or plant family. For example, keep all the tomato seeds together, followed by peppers, cucumbers, or beans. This organization makes it easier to locate specific seeds when needed.
- Store Seeds in Alphabetical Order: Arrange the containers in alphabetical order to further streamline the seed organization process. This makes it quicker to find the desired seeds without having to search through multiple containers.
- Maintain a Seed Inventory List: Create a separate inventory list or spreadsheet to track the seeds you have stored. Include details such as the vegetable variety, the quantity of seeds, and any additional notes or observations. Regularly update the inventory list as you use or replenish your seed collection.
- Consider Digital Storage: For those who prefer digital organization, you can create a digital file or spreadsheet to store your seed inventory. This provides the convenience of easy searching and sorting options, as well as the ability to back up your data.
By labeling and organizing your seeds effectively, you’ll save time and reduce frustration when it comes to finding and utilizing your stored seeds. It also helps you stay organized and ensure you make the most of your seed collection.
In the next section, we will provide some additional tips for long-term seed storage.
Tips for Long-Term Seed Storage
To ensure the longevity and viability of your stored seeds, it’s important to follow some additional tips for long-term seed storage. These strategies will help protect your seeds from deterioration and maintain their quality over an extended period. Here are some key tips:
- Rotate Your Seed Stock: While some seeds can remain viable for several years, it’s best to use the oldest seeds first. Rotate your seed stock by using older seeds and replenishing with fresh ones. This ensures that your seeds are always relatively fresh and have higher chances of germination.
- Practice Proper Seed Saving Techniques: When saving seeds from your garden, make sure to harvest them at the right stage of maturity. Improperly harvested or immature seeds may not store well and have lower viability. Follow seed saving guidelines specific to each vegetable to ensure optimal seed quality.
- Control Moisture Levels: Moisture is the enemy of seed storage. Keep your seeds dry by using desiccant packs, airtight containers, and storing them in a cool, dry location. Avoid exposing seeds to high humidity or drastic temperature fluctuations, as these conditions can lead to moisture accumulation and seed damage.
- Be Mindful of Temperature: While most seeds prefer cool storage temperatures, some may require slightly different conditions. Research the ideal temperature range for each vegetable variety you are storing and try to maintain those conditions as closely as possible.
- Monitor for Pests: Regularly check your stored seeds for any signs of pests, such as insects or rodents. Pests can damage or infest your seed collection, rendering them unusable. If you detect any pests, take immediate action to address the issue and consider discarding affected seeds.
- Consider Backup Storage: To further protect your seed collection, consider creating a duplicate set of seeds and storing them in a separate location. This helps safeguard against the risk of loss due to unforeseen circumstances such as natural disasters or accidents.
By implementing these tips, you can maximize the longevity and viability of your stored seeds, ensuring that you have a reliable supply of seeds for future planting seasons.
Remember to periodically check the viability of your stored seeds and update your inventory list accordingly. This will allow you to manage and use your seed collection more effectively.
Now that you’re armed with the knowledge of seed storage and preservation, you can confidently store your vegetable seeds for the next year and beyond!
Read more: How To Store Bulbs For Next Year
Conclusion
Storing vegetable seeds for the next year is a great way to ensure a continuous supply of high-quality seeds for your gardening endeavors. By carefully selecting, harvesting, cleaning, and drying your seeds, you can preserve their viability and use them for future plantings. Properly storing your seeds in a cool, dark, and dry environment, along with effective labeling and organization, will make it easier to access and utilize your seed collection.
Regularly checking the viability of your stored seeds and rotating your seed stock will help you prioritize the use of older seeds and maintain a fresh supply. Practicing proper seed saving techniques and controlling moisture levels are vital for long-term seed storage success.
Remember, the joy of gardening extends beyond the current growing season. By storing your vegetable seeds and planning ahead, you can continue enjoying the benefits of homegrown produce year after year.
So, go ahead and embark on the journey of storing your vegetable seeds for the next year. With the knowledge and tips provided in this article, you are well-equipped to preserve and protect your seeds, ensuring a bountiful and successful garden in the seasons to come.
Frequently Asked Questions about How To Store Vegetable Seeds For Next Year
Was this page helpful?
At Storables.com, we guarantee accurate and reliable information. Our content, validated by Expert Board Contributors, is crafted following stringent Editorial Policies. We're committed to providing you with well-researched, expert-backed insights for all your informational needs.


0 thoughts on “How To Store Vegetable Seeds For Next Year”