Articles
How To Store Cleaning Rags
Modified: November 2, 2024
Learn the best techniques for storing articles such as cleaning rags to maintain their quality and effectiveness. Store your articles properly to maximize their lifespan.
(Many of the links in this article redirect to a specific reviewed product. Your purchase of these products through affiliate links helps to generate commission for Storables.com, at no extra cost. Learn more)
Introduction
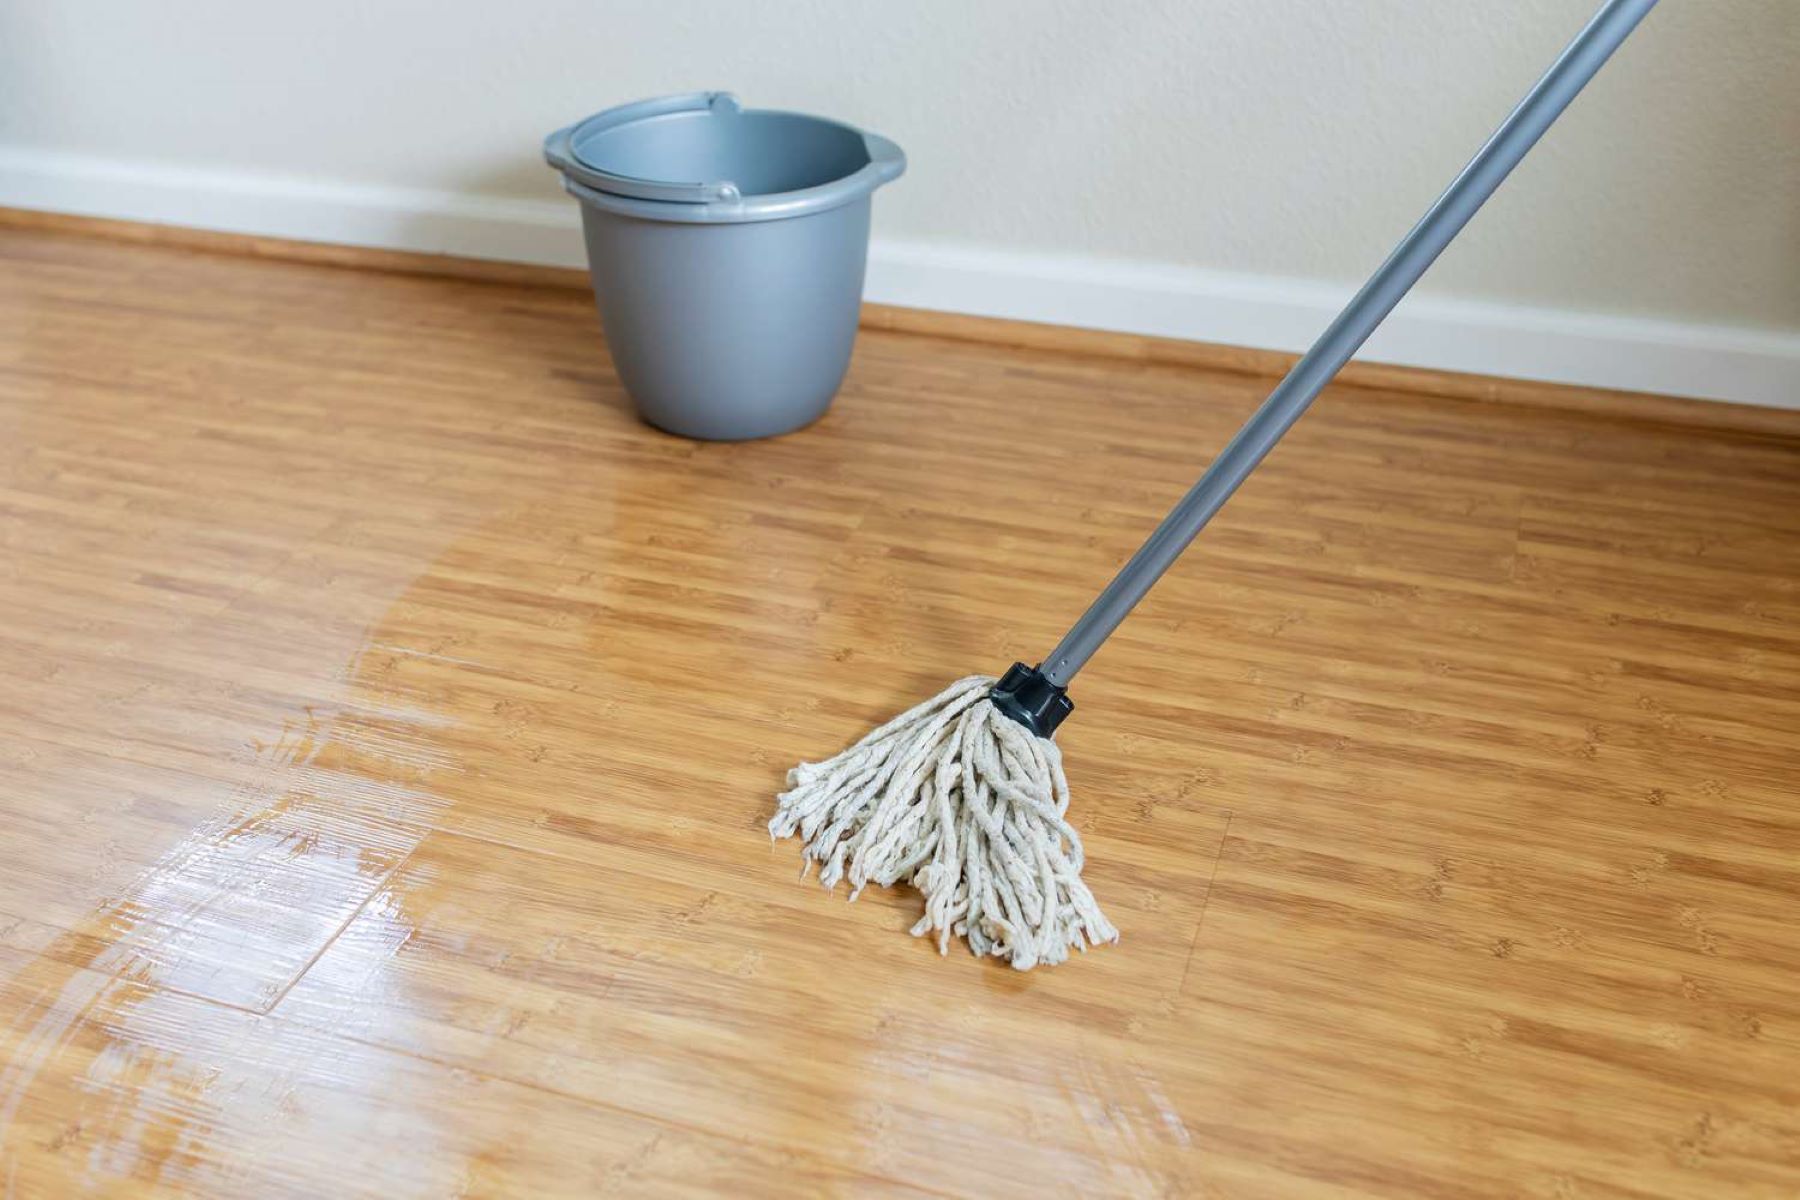
Cleaning rags are essential tools for maintaining a clean and tidy space. Whether you use them for dusting surfaces, wiping countertops, or tackling tough stains, keeping your cleaning rags properly stored is essential for their longevity and effectiveness. In this article, we will provide you with a step-by-step guide on how to store your cleaning rags effectively and ensure they are ready to use whenever you need them.
Proper storage of cleaning rags not only helps to keep them clean and organized but also extends their lifespan. When cleaning rags are stored correctly, it prevents mold, mildew, and odors from developing, ensuring that they are ready whenever you need them. In addition, having a well-organized system will save you time and make the cleaning process more efficient.
Before we dive into the steps of storing cleaning rags, it’s important to understand the different types of cleaning rags and the materials you will need to gather for the storage process.
Types of Cleaning Rags:
There are various types of cleaning rags, each with its own specific purpose and preferred usage. The most common types include:
- Microfiber cloths: Ideal for dusting and cleaning surfaces
- Cotton rags: Suitable for general cleaning tasks
- Terry cloth towels: Perfect for absorbing liquids and spills
- Lint-free cloths: Used for delicate cleaning such as glass or electronics
Depending on your cleaning needs, you may have a combination of these different types of cleaning rags. It’s essential to sort and separate them properly to ensure maximum efficiency during the cleaning process.
Materials You Will Need:
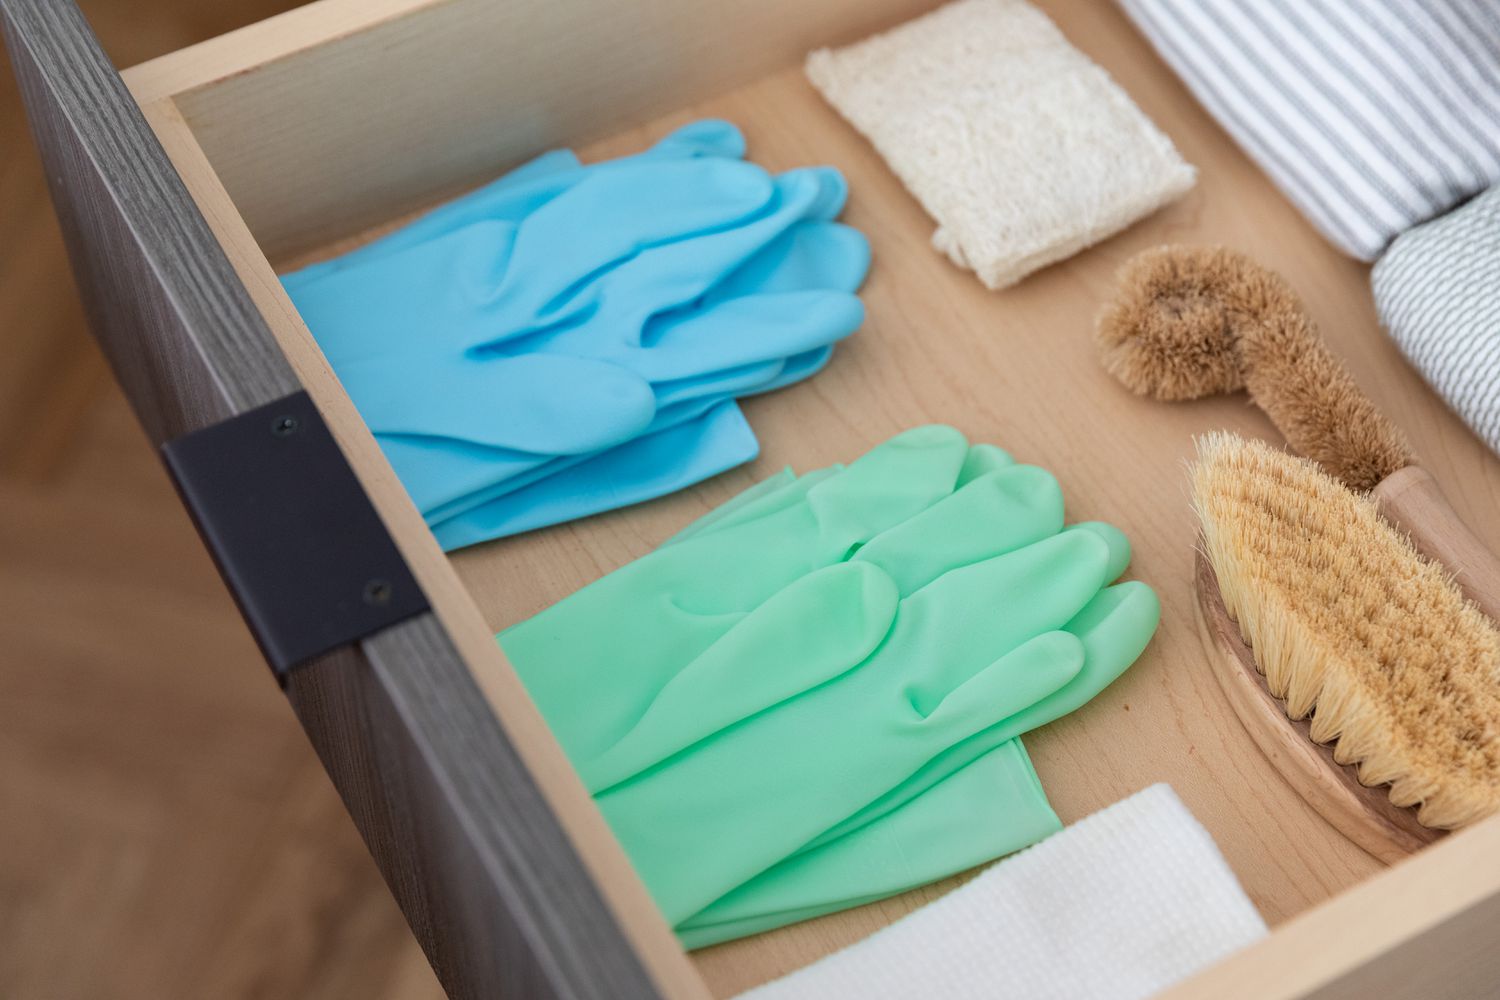
In addition to your cleaning rags, there are a few other materials that will be helpful for the storage process:
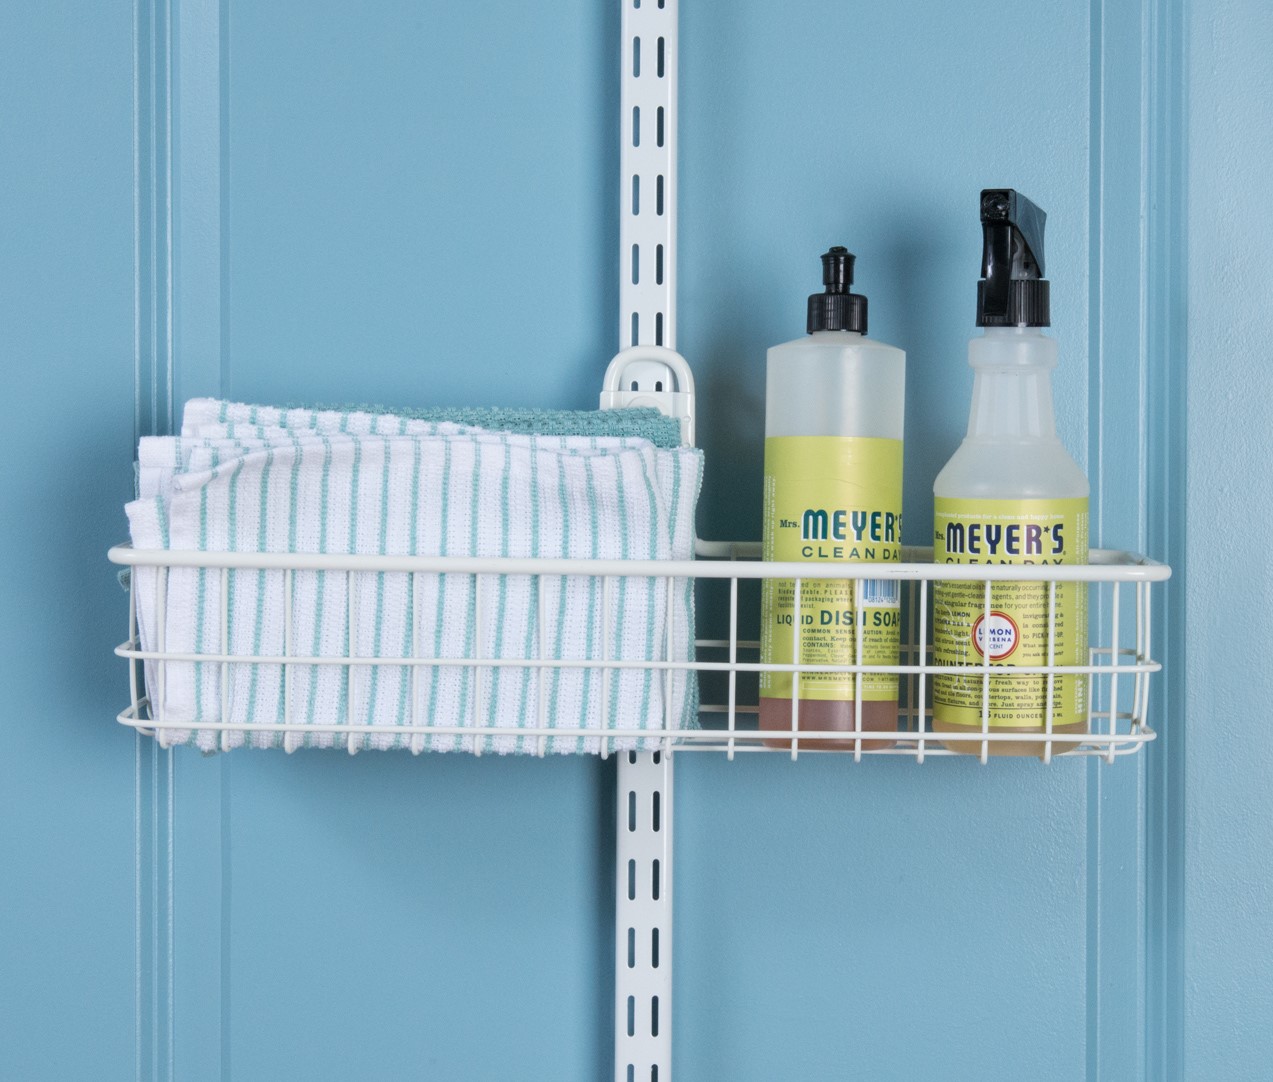
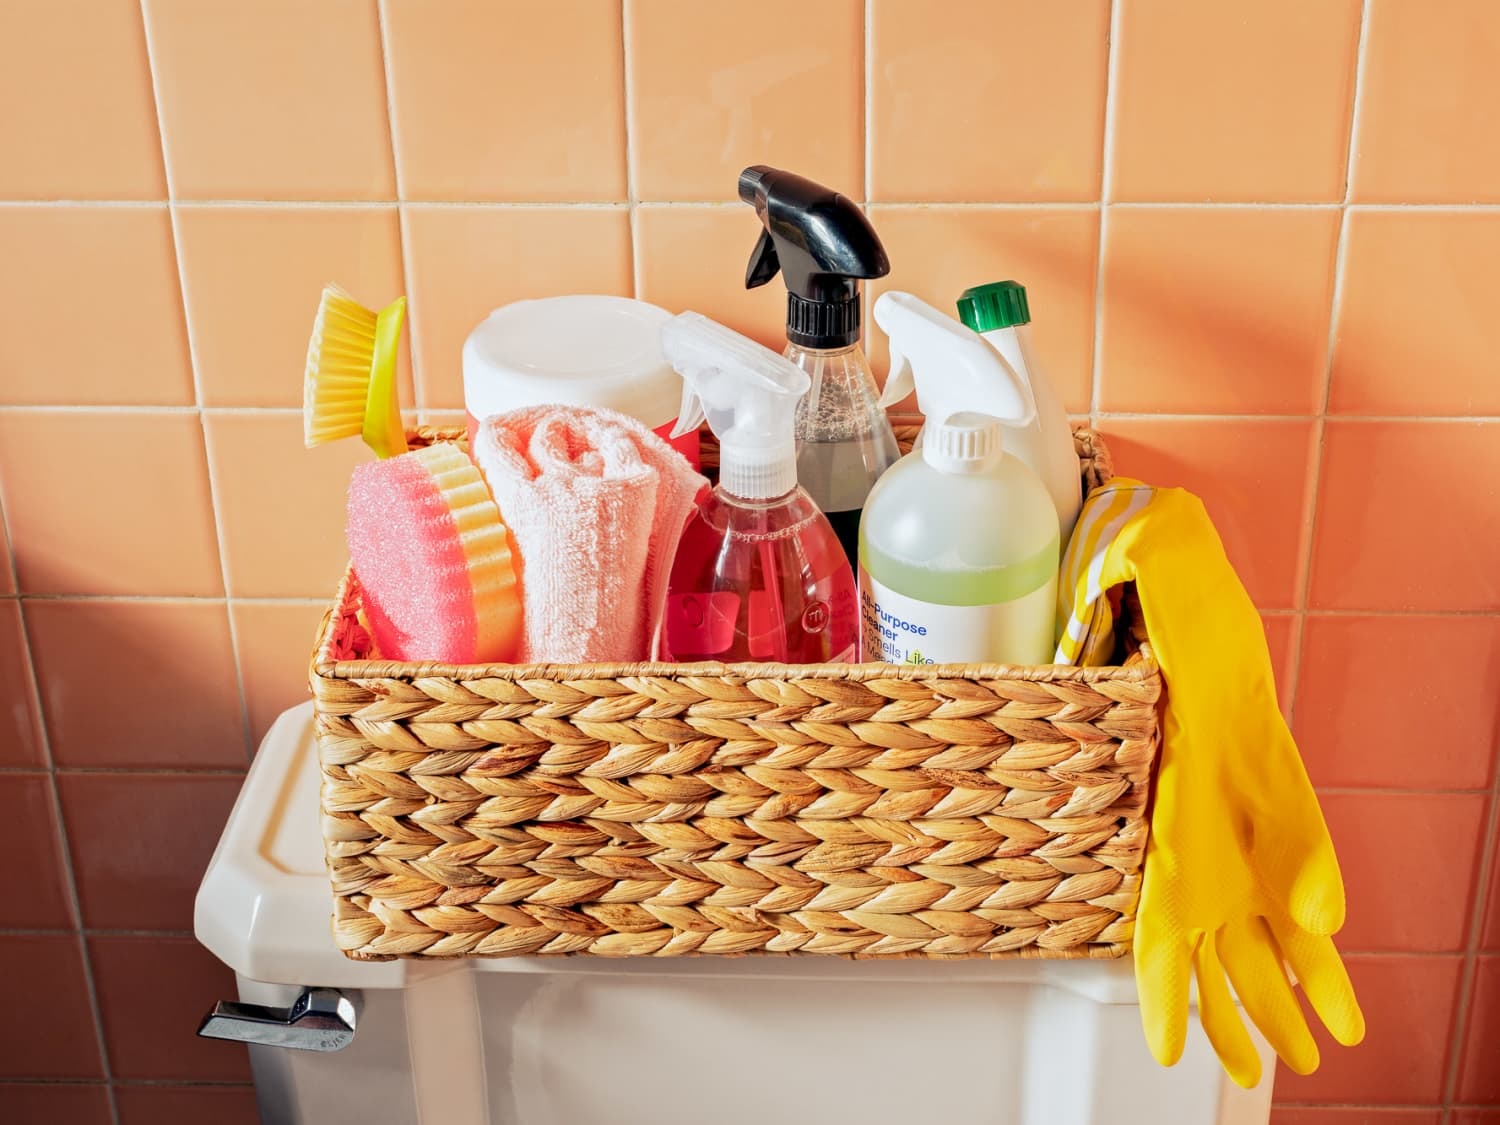
- Airtight containers or storage bins
- Labels or markers for labeling containers
- Laundry detergent and stain remover
- Hangers or hooks for hanging larger rags
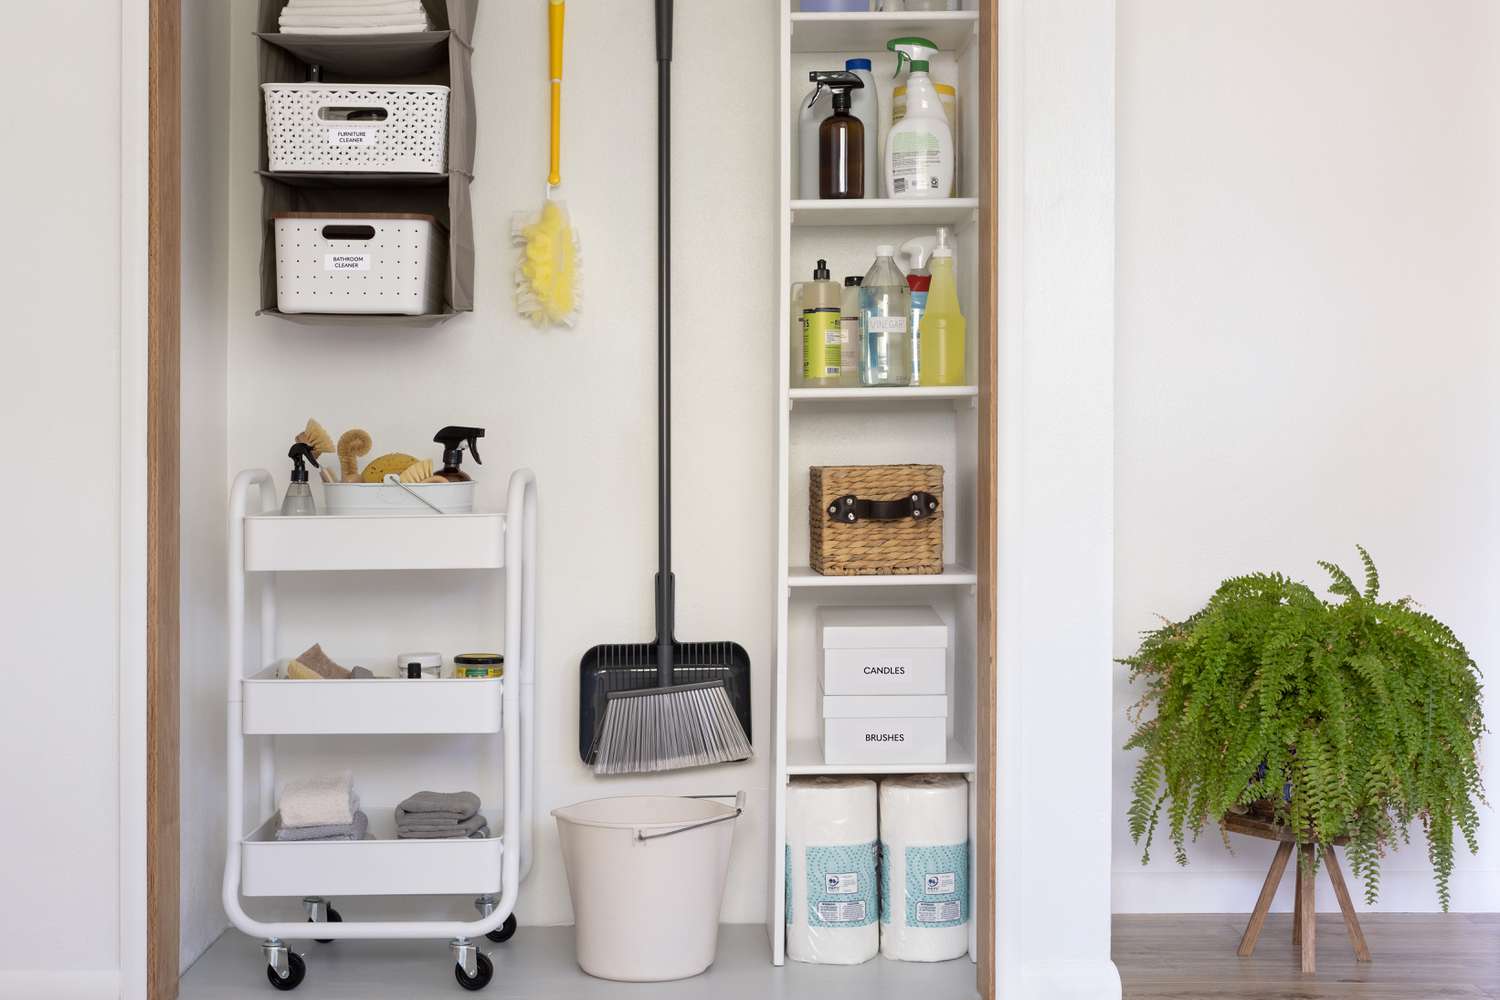
- Shelving units or storage racks
Now that you have a clear understanding of the different types of cleaning rags and the materials you’ll need, let’s move on to the step-by-step process of storing your cleaning rags effectively.
Key Takeaways:
- Properly storing and maintaining cleaning rags is essential for their longevity and effectiveness. By following a comprehensive step-by-step guide, you can ensure that your cleaning rags remain clean, fresh, and ready to use whenever needed.
- Organizing cleaning rags based on usage, pre-treating heavily soiled rags, and choosing the right storage solution are crucial steps in maintaining the cleanliness and effectiveness of your cleaning rags. Regular inspection, washing, and proper storage are ongoing processes that ensure your cleaning rags are always ready for use.
Read more: How To Store Oily Rags
Step 1: Gather the necessary materials
Before you start storing your cleaning rags, it’s important to gather all the necessary materials. This will ensure that you have everything you need to complete the process smoothly. Here are two key aspects of this step:
Choosing the right type of cleaning rags
As mentioned earlier, there are different types of cleaning rags available, each suited for different cleaning tasks. Consider the surfaces and areas you intend to clean to determine the most appropriate type of cleaning rags to use. For example, if you have delicate surfaces such as glass or electronics, lint-free cloths would be a better choice to prevent scratches or streaks.
It’s a good idea to have a mix of different cleaning rags on hand. This will allow you to tackle various cleaning tasks efficiently. Consider investing in microfiber cloths, cotton rags, terry cloth towels, and lint-free cloths, so you have the right tool for every job.
Additional materials you may need
In addition to the cleaning rags, there are a few other materials that will come in handy during the storage process:
- Airtight containers or storage bins: These containers will help keep your cleaning rags protected from dust, moisture, and pests. Opt for containers with a tight seal to maintain the cleanliness and freshness of the rags.
- Labels or markers: Labels or markers are essential for labeling the containers to easily identify the type of cleaning rags inside. This will make it easier to locate the specific rag you need when cleaning.
- Laundry detergent and stain remover: It’s important to have suitable laundry detergent and stain remover on hand for cleaning heavily soiled rags before storage. This will help remove any stubborn stains and dirt, ensuring that the rags are clean and fresh when you use them again.
- Hangers or hooks: If you have larger cleaning rags, such as terry cloth towels, consider using hangers or hooks to hang them. This will prevent them from getting folded and creased, ensuring they maintain their absorbent properties.
- Shelving units or storage racks: Depending on the number of cleaning rags you have, you may need shelving units or storage racks to neatly organize and store them. This will make it easier to access the rags when needed and keep your storage area clutter-free.
By gathering these materials beforehand, you’ll be well-prepared to store your cleaning rags effectively. Once you have everything you need, you can proceed to the next steps of sorting and preparing the rags for storage.
Step 2: Sort and separate the rags
Now that you have gathered all the necessary materials, it’s time to sort and separate your cleaning rags. This step is crucial to ensure that you can easily locate and use the appropriate rag for different cleaning tasks. Here are two key aspects of this step:
Read more: How To Make A Rag Quilt
Sorting based on usage and type of cleaning product
Start by sorting the cleaning rags based on their intended usage. You may have different rags dedicated to specific cleaning tasks, such as dusting, wiping surfaces, or tackling tougher stains. By grouping the rags according to their purpose, you’ll be able to quickly find the right rag for the job.
Additionally, consider sorting the rags based on the type of cleaning product they are compatible with. Some cleaning rags may be more suitable for use with certain cleaners, while others may be better for general-purpose cleaning. This sorting method will prevent cross-contamination and ensure that each rag is effectively used with the appropriate cleaning product.
Separating heavily soiled rags from lightly soiled ones
Once you have sorted the rags based on usage and type of cleaning product, it’s time to further separate them based on their level of soiling. Heavily soiled rags may have accumulated dirt, stains, or grime that require special attention during the cleaning process. Separating heavily soiled rags from lightly soiled ones will help prevent the spread of dirt and ensure that each rag receives the necessary cleaning treatment.
Set aside the heavily soiled rags and consider pre-treating them before proceeding to wash and store them. This may involve applying a stain remover or washing them separately using a stronger detergent. By giving these rags extra attention, you can restore their cleanliness and freshness, readying them for future use.
Sorting and separating your cleaning rags not only facilitates easy access but also helps maintain the overall cleanliness of your storage area. By organizing them according to usage and soiling level, you’ll have an efficient system that ensures your cleaning rags are readily available when you need them. With the sorting and separation process completed, you can move on to the next step: pre-treating heavily soiled rags.
Step 3: Pre-treat heavily soiled rags
Before storing your cleaning rags, it’s important to pre-treat heavily soiled rags to remove stains and dirt effectively. This step will ensure that the rags are thoroughly cleaned and fresh when you use them again. Here are some tips for pre-treating heavily soiled rags:
Identify the stains and dirt
Inspect each heavily soiled rag and identify the specific stains and dirt present. This will help determine the appropriate pre-treatment method to use. Common types of stains on cleaning rags include grease, oil, food, or ink. By knowing the type of stain, you can choose the most effective stain removal method and product.
Read more: How To Make A Denim Rag Quilt
Apply a stain remover
If the heavily soiled rags have specific stains that require extra attention, apply a stain remover directly to the affected areas. There are various stain remover products available on the market, ranging from general-purpose stain removers to specialized ones for specific types of stains. Follow the instructions on the stain remover product to effectively treat the stains.
Soak the rags
If the heavily soiled rags have accumulated dirt and grime that cannot be easily removed with a stain remover, consider soaking them in a mixture of water and laundry detergent. This soaking process will help loosen the dirt and allow for easier removal during the washing stage.
Scrub or agitate the rags
For particularly stubborn stains or dirt, gently scrub or agitate the heavily soiled rags using a soft brush or toothbrush. This will help dislodge the stains and dirt particles, making them easier to remove during the washing process. Be careful not to damage the fabric or cause excessive wear while scrubbing.
Allow time for pre-treatment
After applying a stain remover or soaking the rags, allow them some time to sit and allow the pre-treatment to take effect. This will help ensure that the stains are effectively treated before proceeding to the washing stage.
Once you have pre-treated the heavily soiled rags, they are ready to be washed and stored. Pre-treating them beforehand ensures that any stains and dirt are removed, guaranteeing that your cleaning rags are clean and fresh for their next use. The next step will cover proper washing instructions for different types of cleaning rags.
Read more: How To Make A Strip Rag Quilt
Step 4: Washing and drying the rags
Now that you have pre-treated the heavily soiled rags, it’s time to wash and dry them properly. This step is crucial to ensure that your cleaning rags are clean, fresh, and ready to use. Here are some guidelines for washing and drying different types of cleaning rags:
Proper washing instructions for different types of cleaning rags
It’s important to follow the proper washing instructions for each type of cleaning rag to ensure optimal cleanliness and maintain their quality. Here are some general guidelines:
- Microfiber cloths: Microfiber cloths usually require gentle washing using mild laundry detergent. Avoid using fabric softeners or bleach, as they can reduce the effectiveness of the microfibers.
- Cotton rags: Cotton rags can be washed in hot water with regular laundry detergent. Adding a small amount of bleach to the wash cycle can help remove stubborn stains and odors.
- Terry cloth towels: Terry cloth towels can be washed in warm or hot water using regular laundry detergent. Avoid using fabric softeners, as they can reduce the absorbency of the towels over time.
- Lint-free cloths: Lint-free cloths are delicate and should be washed separately using a gentle cycle and mild detergent. Avoid mixing them with other items that can produce lint.
Always refer to the care labels on the cleaning rags for specific washing instructions, as different brands and materials may have slight variations.
Tips for drying the rags
Once the cleaning rags have been washed, it’s important to dry them properly to prevent mold, mildew, and unpleasant odors. Here are some tips for drying your cleaning rags:
- Hang drying: If weather permits, hang the rags outside to air dry. This method allows for natural drying and helps maintain the freshness of the rags.
- Tumble drying: If using a dryer, select a low heat setting to prevent shrinkage or damage to the cleaning rags. Adding a couple of clean tennis balls or dryer balls to the dryer can help fluff up the rags and reduce drying time.
- Avoid excessive drying: Overdrying the cleaning rags can cause them to become stiff and less absorbent. Remove them from the dryer once they are completely dry but still slightly damp.
- Sunlight exposure: If you are drying white or light-colored cleaning rags, you can place them in direct sunlight. The sun’s UV rays can help remove any remaining stains and brighten the fabric.
Once the cleaning rags are dry, it’s time to move on to the next step: folding and organizing them for efficient storage.
Step 5: Folding and organizing your rags
Now that your cleaning rags are clean and dry, it’s crucial to fold and organize them properly for efficient storage. This step will help you maintain a tidy and organized space while ensuring easy access to the rags when needed. Here are two key aspects of this step:
Read more: How To Make Gypsy Rag Curtains
Various folding methods for efficient storage
There are different folding methods you can use to maximize storage space and keep your cleaning rags neat and compact:
- Rectangle fold: Lay the cleaning rag flat and fold it in half lengthwise. Then, fold it in half again, making a rectangle shape. This is a simple folding method that works well for most types of cleaning rags.
- Rolling fold: Another space-saving method is to roll the cleaning rags. Lay the rag flat and fold it into a long strip, then roll it tightly from one end to the other. This method works especially well for smaller cleaning rags or when you have limited storage space.
- Stacking fold: For larger cleaning rags, such as terry cloth towels, you can fold them into squares and stack them neatly on top of each other. This method allows for easy retrieval of individual towels without disturbing the rest of the stack.
Choose the folding method that works best for your storage space and the type of cleaning rags you have. Experiment with different techniques to find the most efficient and visually appealing folding method.
Organizing rags based on usage and accessibility
When organizing your cleaning rags, consider grouping them based on their usage and accessibility:
- Group by purpose: Keep similar types of cleaning rags together, such as microfiber cloths, cotton rags, or lint-free cloths. This will make it easier to find the right rag for a specific cleaning task.
- Organize by accessibility: Arrange the cleaning rags in a way that allows for easy access to the ones you use most frequently. Store frequently used rags in a more accessible location, such as at the front of a storage bin or on a lower shelf.
- Label the containers: To further enhance organization, consider labeling your containers or shelves with the types of cleaning rags stored within. This will make it even easier to locate the specific rag you need.
By folding and organizing your cleaning rags in this manner, you’ll create an efficient and visually appealing storage system. This will make it effortless to find and retrieve the appropriate rag for any cleaning task, saving you time and hassle.
With the rags neatly folded and organized, it’s time to move on to the next step: choosing the right storage solution.
Step 6: Choosing the right storage solution
Now that your cleaning rags are folded and organized, it’s important to choose the right storage solution to keep them in their best condition and easily accessible. Here are two key aspects to consider when selecting containers or shelves for storing your cleaning rags:
Factors to consider when selecting containers or shelves
When choosing a storage solution for your cleaning rags, consider the following factors:
- Size and capacity: Measure the space available for storage and determine the number of cleaning rags you have. This will help you choose containers or shelves that can accommodate your rags without crowding the storage area.
- Material and durability: Opt for containers or shelves that are made of sturdy and durable materials. This ensures that they can withstand the weight of the cleaning rags and resist any potential damage or wear over time.
- Accessibility: Choose storage solutions that allow for easy access to your cleaning rags. Consider containers with lids that can be easily opened and closed or shelves that allow for smooth movement and retrieval of the rags.
- Visibility: If you prefer to see the contents of your storage, opt for containers with transparent sides or open shelves. This allows you to quickly locate the specific rag you need without having to open multiple containers or search through a cluttered space.
By considering these factors, you can select storage containers or shelves that suit your specific needs and preferences.
Read more: How To Make Shaggy Rag Rugs
Different options for storing cleaning rags
There are several options available for storing your cleaning rags, depending on your space and personal preference:
- Airtight containers: Airtight containers with lids are a great option for keeping your cleaning rags clean and protected from dust, moisture, and pests. They provide a secure and organized storage solution.
- Bins or baskets: Large plastic bins or baskets can be a convenient option for storing your cleaning rags. Line them up on shelves or stack them neatly to save space.
- Open shelves: If you prefer a more visible and accessible storage solution, open shelves provide a convenient option. You can arrange your folded cleaning rags neatly on the shelves, making it easy to see and retrieve the rag you need.
- Hanging storage: For larger cleaning rags or if you have limited shelf space, consider using hanging storage such as hooks or hangers. This keeps the rags easily accessible and prevents them from getting folded or creased.
Consider the available space in your storage area, the quantity of cleaning rags you have, and your personal preferences when deciding on the best storage option for your needs.
With the storage solution chosen and your cleaning rags neatly stored, it’s time to move on to the final step: maintaining the cleanliness of your stored rags.
Step 7: Maintaining the cleanliness of stored rags
Now that your cleaning rags are properly stored, it’s important to maintain their cleanliness to ensure they stay fresh and ready to use. Here are some tips for regular cleaning and maintenance of your stored rags:
Regularly inspect and rotate
Periodically inspect your stored rags to ensure they are still in good condition. Check for any signs of damage or wear, as well as the presence of any odors or mildew. If you notice any issues, remove and replace those rags to maintain the cleanliness of the rest.
Additionally, it’s a good practice to rotate your cleaning rags regularly. By using a first-in, first-out approach, you can prevent any rags from sitting unused for too long, which can lead to mustiness or deterioration.
Wash on a regular basis
Even though the cleaning rags are stored properly, it’s necessary to wash them on a regular basis to maintain their cleanliness. Set a schedule for washing the rags, depending on your usage and the types of cleaning tasks they are used for. This could be weekly, bi-weekly, or monthly.
Make sure to follow the proper washing instructions for each type of cleaning rag, as mentioned in Step 4. This will ensure thorough cleaning, removing any dirt, stains, or odors that may have accumulated during storage.
Read also: 15 Incredible Rag Rugs for 2025
Handle stains promptly
If you notice any fresh stains on your cleaning rags, address them promptly. Treat the stains using appropriate stain removal methods or products before washing the rags. Prompt attention to stains can prevent them from setting in and becoming more difficult to remove.
Keep separate storage for heavily soiled rags
If you have rags that are heavily soiled or used specifically for tougher cleaning tasks, consider keeping them separate from your other cleaning rags. This prevents any potential transfer of dirt or stains to the rest of the rags, ensuring they remain clean and in good condition.
Store in a clean and dry environment
Ensure that the area where your cleaning rags are stored remains clean and dry. Regularly clean the storage containers or shelves to prevent any dust, dirt, or pests from accumulating. Additionally, check for any signs of moisture or humidity, as excessive moisture can lead to the development of mold and mildew on the rags.
By following these regular cleaning and maintenance tips, you can ensure the cleanliness and longevity of your stored cleaning rags. Proper maintenance will guarantee that your rags are always ready to tackle any cleaning task effectively.
With the maintenance tips covered, you have successfully completed all the steps required to store and maintain your cleaning rags. By following this comprehensive guide, you can enhance the longevity and effectiveness of your cleaning rags, ensuring a clean and tidy space for years to come.
Happy cleaning!
Conclusion
Storing your cleaning rags properly is essential for maintaining their cleanliness, extending their lifespan, and ensuring they are ready to use whenever you need them. By following the step-by-step guide provided in this article, you can effectively store and maintain your cleaning rags for optimal performance. Let’s recap the key points:
– In the beginning, it is important to gather the necessary materials, including the different types of cleaning rags and additional materials like airtight containers, labels, and laundry detergent.
– Sorting and separating your cleaning rags based on usage, type of cleaning product, and level of soiling will help you quickly locate the right rag for the task at hand.
– Pre-treating heavily soiled rags by removing stains and dirt before storage ensures that your cleaning rags are fresh and ready for future use.
– Washing the rags according to their specific care instructions and drying them properly, whether by hang drying or using a dryer, helps maintain their cleanliness and prevents odors.
– Folding and organizing your rags using various folding methods and organizing them based on usage and accessibility allows for efficient storage and easy access.
– Choosing the right storage solution, considering factors like size, durability, accessibility, and visibility, helps keep your cleaning rags in their best condition.
– Maintaining the cleanliness of your stored rags through regular inspections, cleaning, handling stains promptly, and storing them in a clean and dry environment ensures their longevity and effectiveness.
By following these steps, you can create a well-organized system that makes cleaning tasks more efficient and keeps your cleaning rags in excellent condition. Not only will this save you time and effort, but it will also save you money in the long run, as properly stored and maintained cleaning rags will need to be replaced less frequently.
Remember, maintaining the cleanliness of your cleaning rags is an ongoing process. Regularly inspect, wash, and properly store them to ensure their optimal performance. By doing so, you will always have clean, fresh, and ready-to-use rags at your fingertips, allowing you to tackle any cleaning task with ease.
So, go ahead and implement these storage and maintenance strategies for your cleaning rags and enjoy a clean and tidy space!
Frequently Asked Questions about How To Store Cleaning Rags
Was this page helpful?
At Storables.com, we guarantee accurate and reliable information. Our content, validated by Expert Board Contributors, is crafted following stringent Editorial Policies. We're committed to providing you with well-researched, expert-backed insights for all your informational needs.


0 thoughts on “How To Store Cleaning Rags”