Articles
How To Store Crypto On A Usb
Modified: December 7, 2023
Learn how to securely store your crypto assets on a USB, keep them safe and easily accessible. Read our informative articles on crypto storage techniques.
(Many of the links in this article redirect to a specific reviewed product. Your purchase of these products through affiliate links helps to generate commission for Storables.com, at no extra cost. Learn more)
Introduction
Welcome to the world of cryptocurrency, where digital assets can be securely stored and accessed through various means. While online wallets and exchanges offer convenience, they also pose risks such as hacking and theft. For those seeking an extra layer of security, storing crypto on a USB device is a popular and effective solution.
In this article, we will guide you through the process of storing your cryptocurrency on a USB device, ensuring that your digital assets are safe and accessible whenever you need them. So let’s get started!
Key Takeaways:
- Securely store cryptocurrency on a USB by choosing the right device, formatting it, creating a wallet, transferring funds, and implementing robust security measures. Safeguard your digital assets with offline storage and regular backups.
- Storing cryptocurrency on a USB device offers enhanced security, but it’s essential to prioritize physical and digital protection. Safely eject the USB, store it discreetly, and stay informed about evolving security practices.
Read more: How To Store Crypto
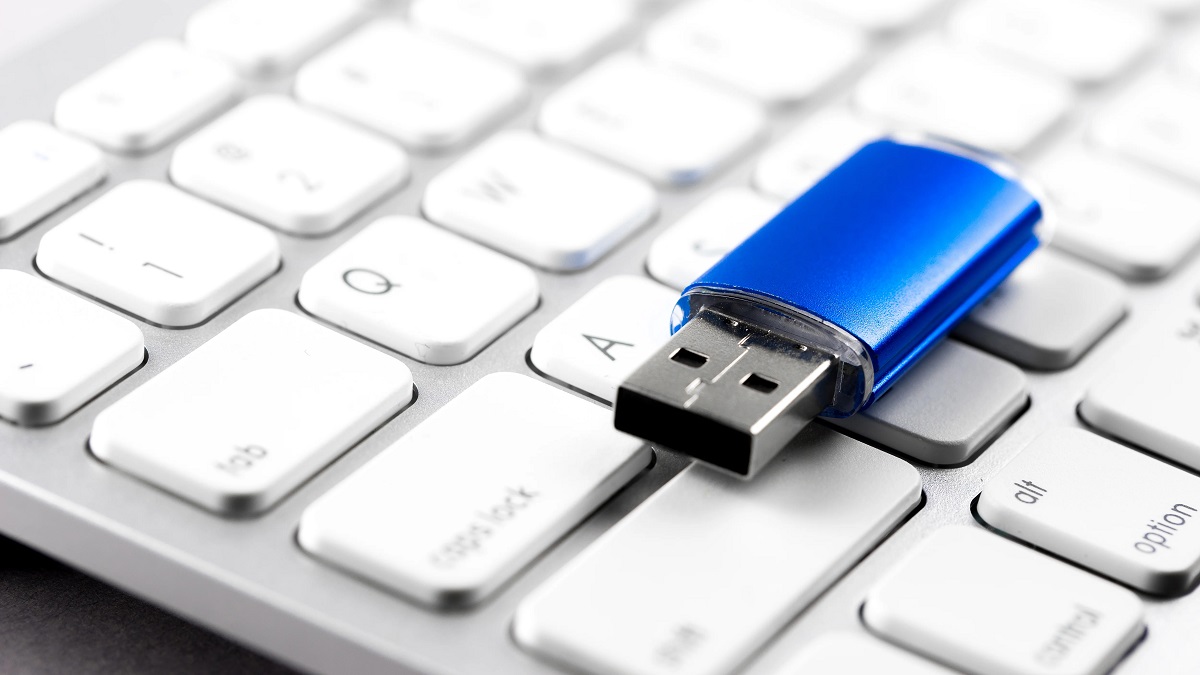
Step 1: Choosing the Right USB Device
When it comes to storing cryptocurrency on a USB device, choosing the right one is crucial. Not all USB devices are created equal, and you’ll want to ensure that the device you choose meets certain criteria to guarantee the security of your digital assets.
- Storage Capacity: Select a USB device with ample storage capacity to accommodate your cryptocurrency holdings. Consider not only your current assets but also any future investments you may make.
- Security Features: Look for USB devices that offer built-in encryption and password protection. These features will add an extra layer of security and help prevent unauthorized access to your cryptocurrency.
- Compatibility: Make sure the USB device is compatible with your computer or the device you plan to use for accessing your cryptocurrency. Check the specifications and ensure it supports the operating system you’re using.
- Brands and Reviews: Research reputable brands known for producing high-quality USB devices. Read reviews and testimonials to get a sense of the device’s reliability and performance.
- Price: Consider your budget when choosing a USB device. While you want to prioritize security, it’s also essential to find a device that fits within your financial means.
By carefully considering these factors, you can select a USB device that provides the necessary storage capacity, security features, compatibility, and affordability for storing your cryptocurrency.
Step 2: Formatting the USB Device
Once you have chosen the right USB device for storing your cryptocurrency, the next step is to format the device properly. Formatting ensures that the USB device is ready to receive and store your digital assets securely.
Before formatting the USB device, it’s important to note that this process will erase all existing data on the device. Therefore, make sure you have a backup of any important files before proceeding.
To format the USB device, follow these steps:
- Insert the USB device into your computer’s USB port.
- Open the file explorer on your computer and locate the USB device.
- Right-click on the USB device and select the “Format” option from the context menu.
- A formatting window will appear. Choose the file system format that is compatible with your operating system. For Windows, select NTFS or exFAT. For macOS, choose Mac OS Extended (Journaled).
- Click on the “Start” button to begin the formatting process.
- Wait for the formatting process to complete. This may take a few minutes depending on the size of the USB device.
After the formatting process is complete, your USB device will be ready to use for storing your cryptocurrency. It is now a blank canvas where you can create a wallet and transfer your digital assets securely. Remember to keep the USB device in a safe place and handle it with care to avoid any physical damage.
Now that your USB device is formatted, let’s move on to the next step: creating a wallet for your cryptocurrency.
Step 3: Creating a Wallet
Now that your USB device is formatted and ready, it’s time to create a wallet to securely store your cryptocurrency. A wallet is essentially a digital container that holds your private keys, which are needed to access and manage your digital assets.
There are different types of wallets available, including:
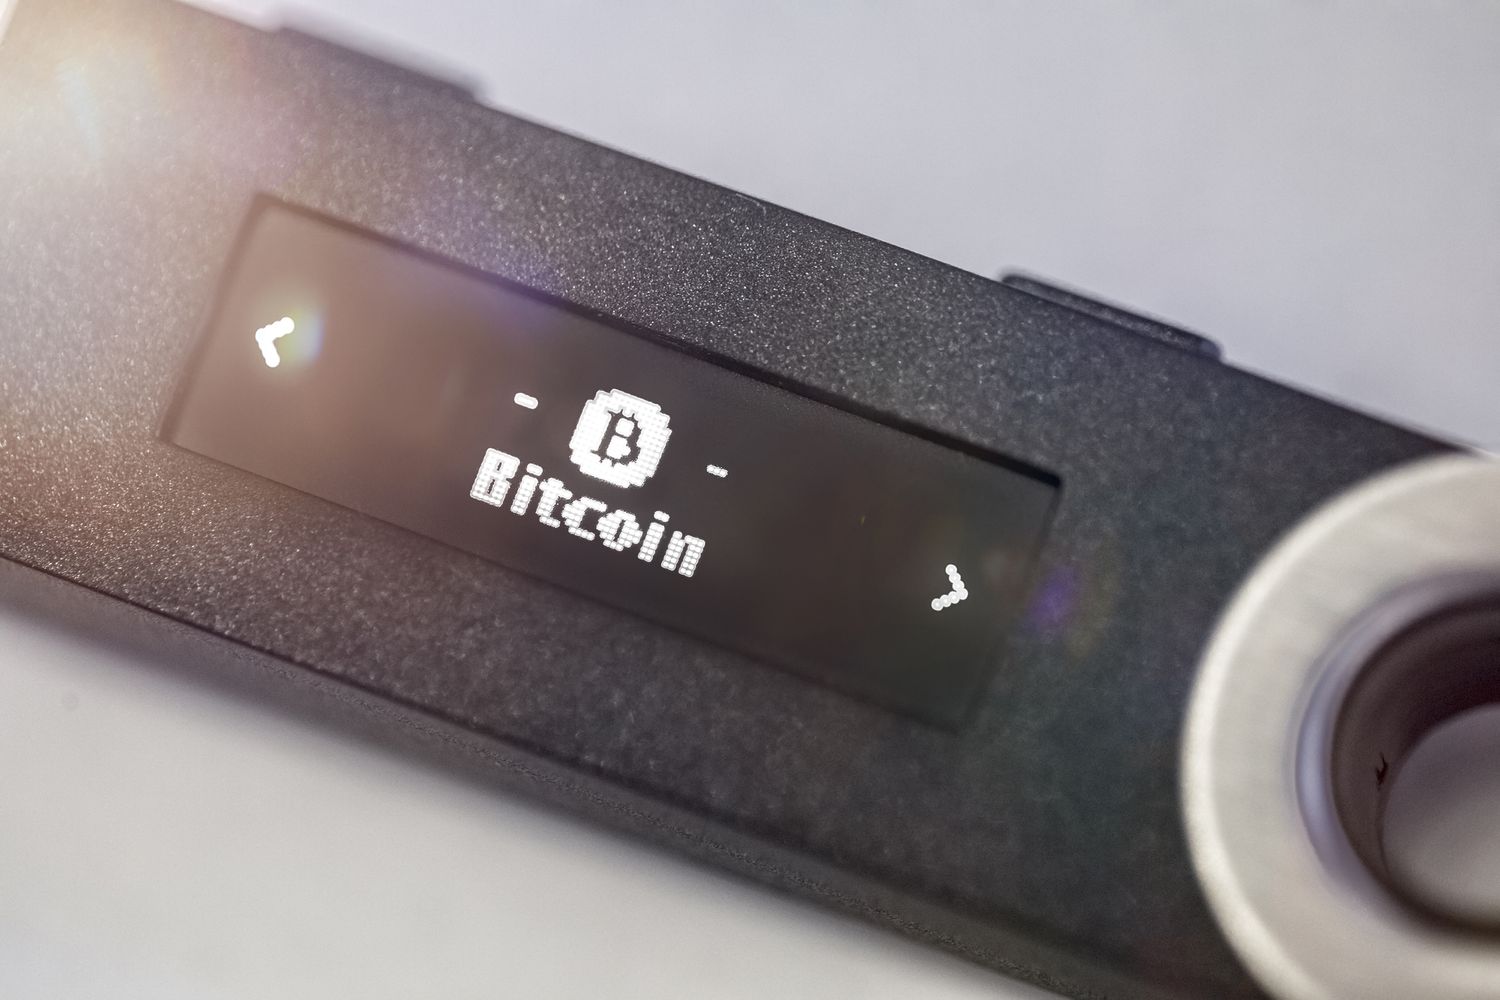
- Hardware Wallets: These are physical devices specifically designed to securely store cryptocurrency. They offer a high level of offline security and protection against hacking.
- Software Wallets: These are mobile or desktop applications that can be installed on your computer or smartphone. They provide convenient access to your cryptocurrency, but may be more prone to online security risks.
- Online Wallets: These are web-based wallets that allow you to access your cryptocurrency through a browser. While they offer convenience, they are also more vulnerable to hacking.
To create a wallet on your USB device, you will typically follow these steps:
- Visit the website or download the software of the preferred wallet provider.
- Follow the prompts to create a new wallet.
- Choose the option to create a new wallet on your USB device.
- Generate a strong password for your wallet. Make sure it is unique and not easily guessable.
- Follow the instructions to complete the wallet creation process.
Once your wallet is created, you will be provided with a unique public address and a private key. The public address is used for receiving cryptocurrency, while the private key should be kept secret as it grants access to your digital assets.
Now that you have successfully created a wallet on your USB device, it’s time to transfer your cryptocurrency to it. Proceed to the next step to learn how to securely transfer your digital assets.
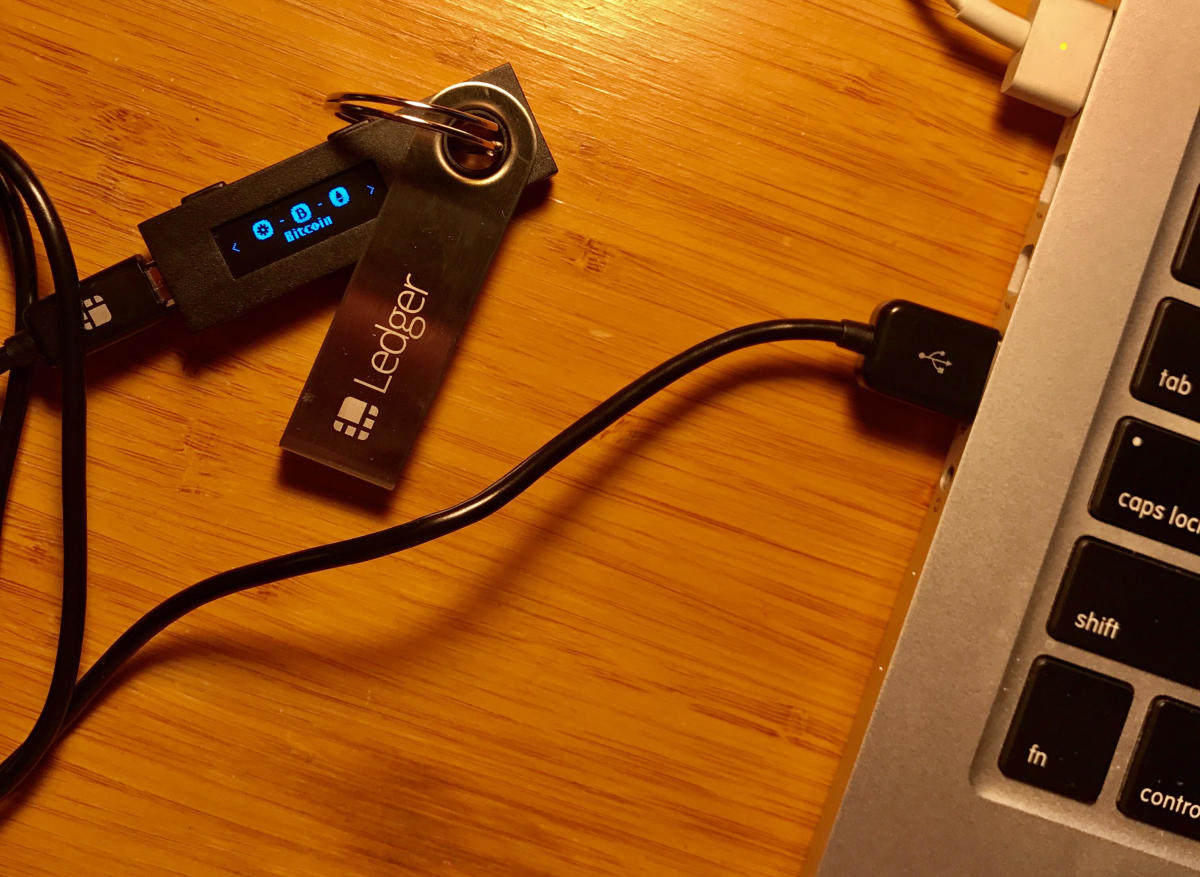
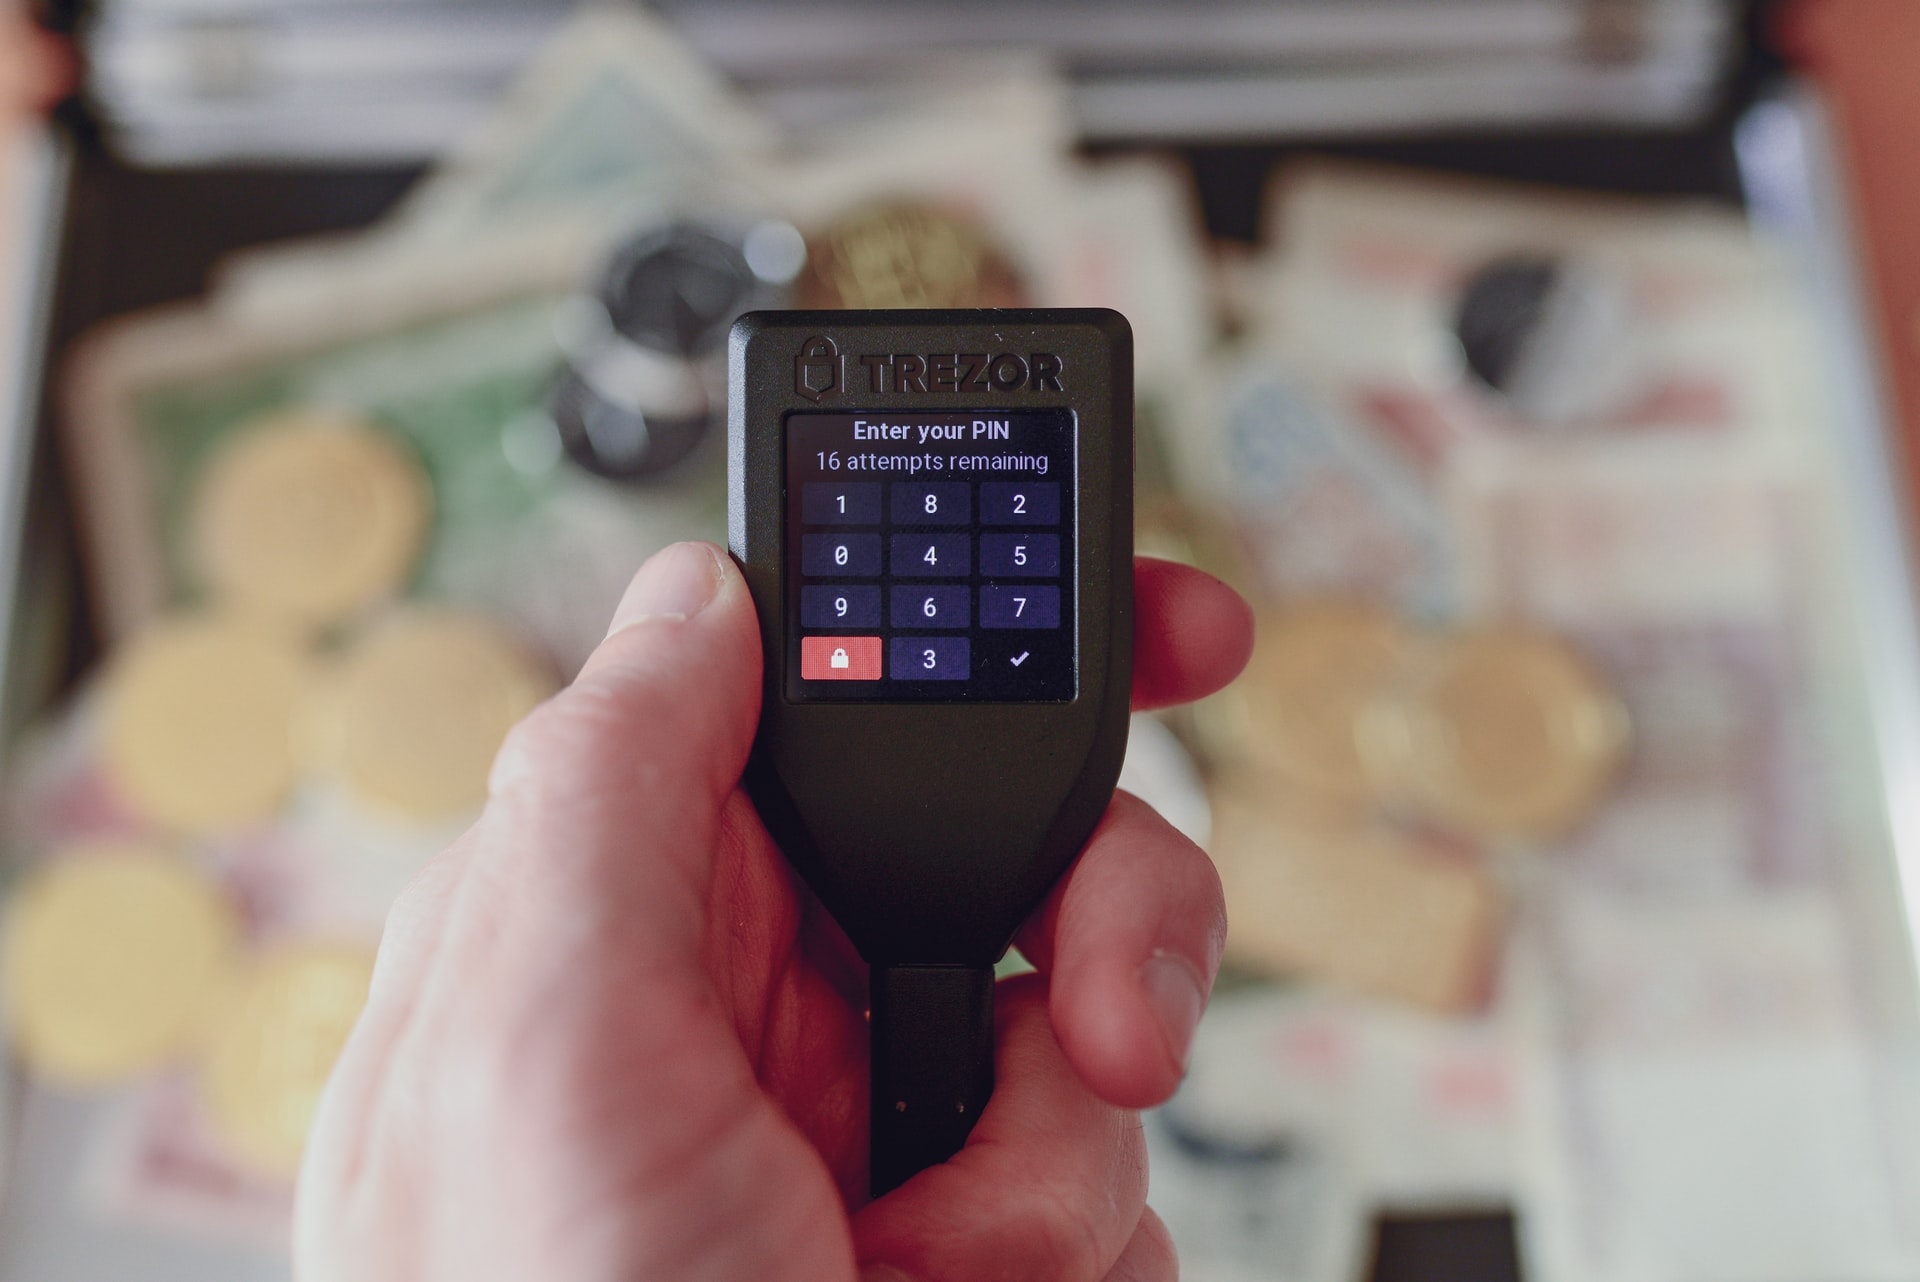
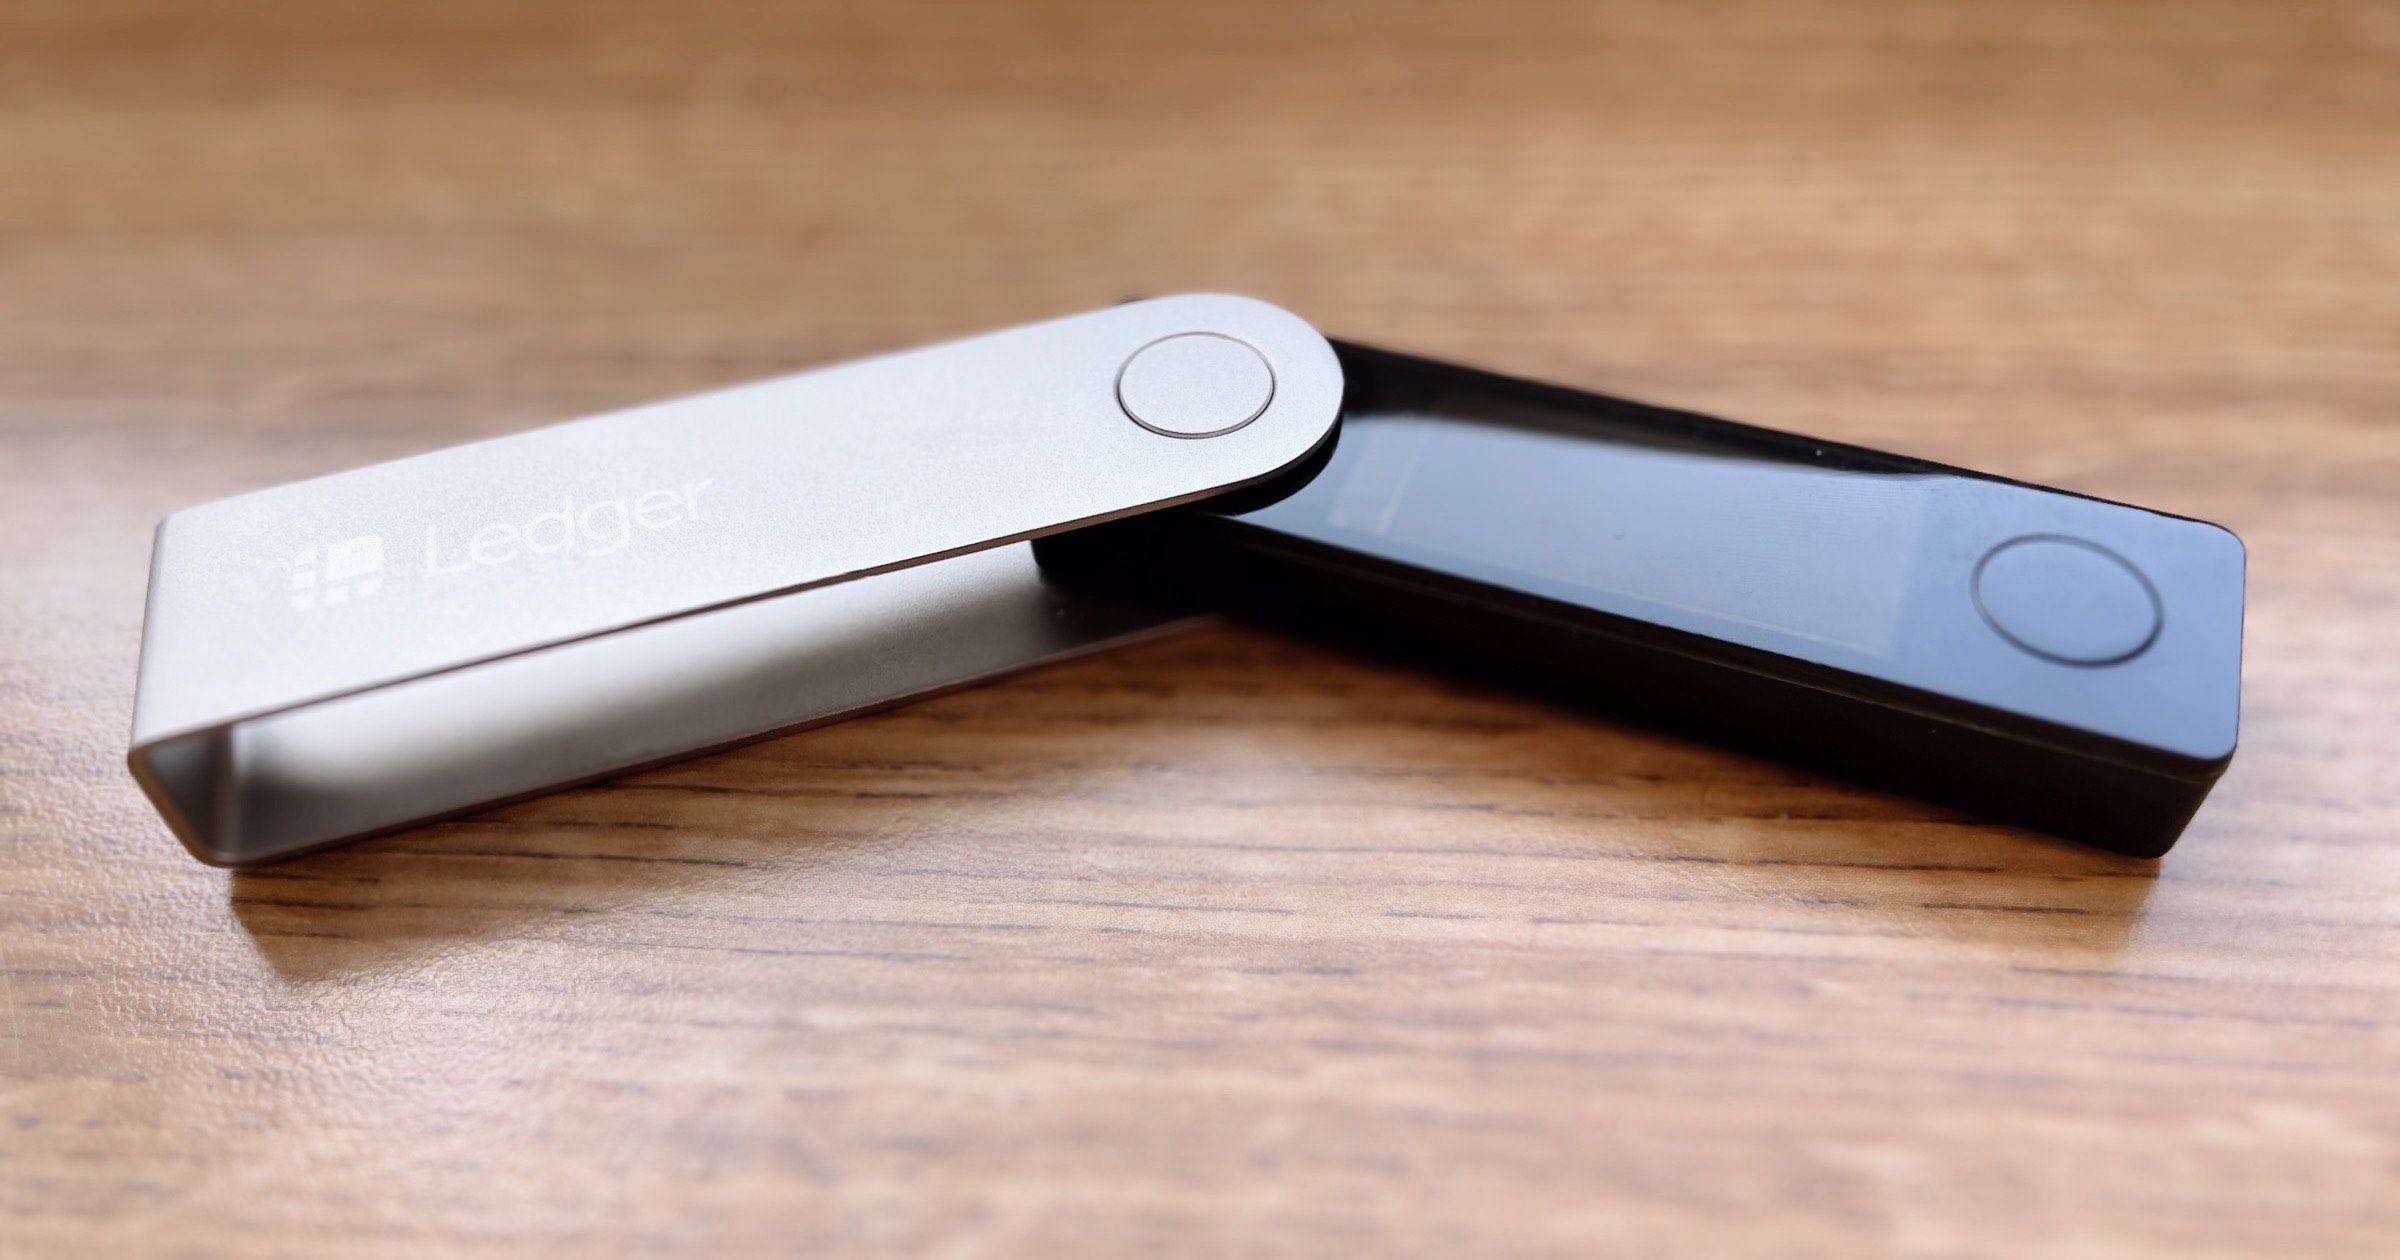
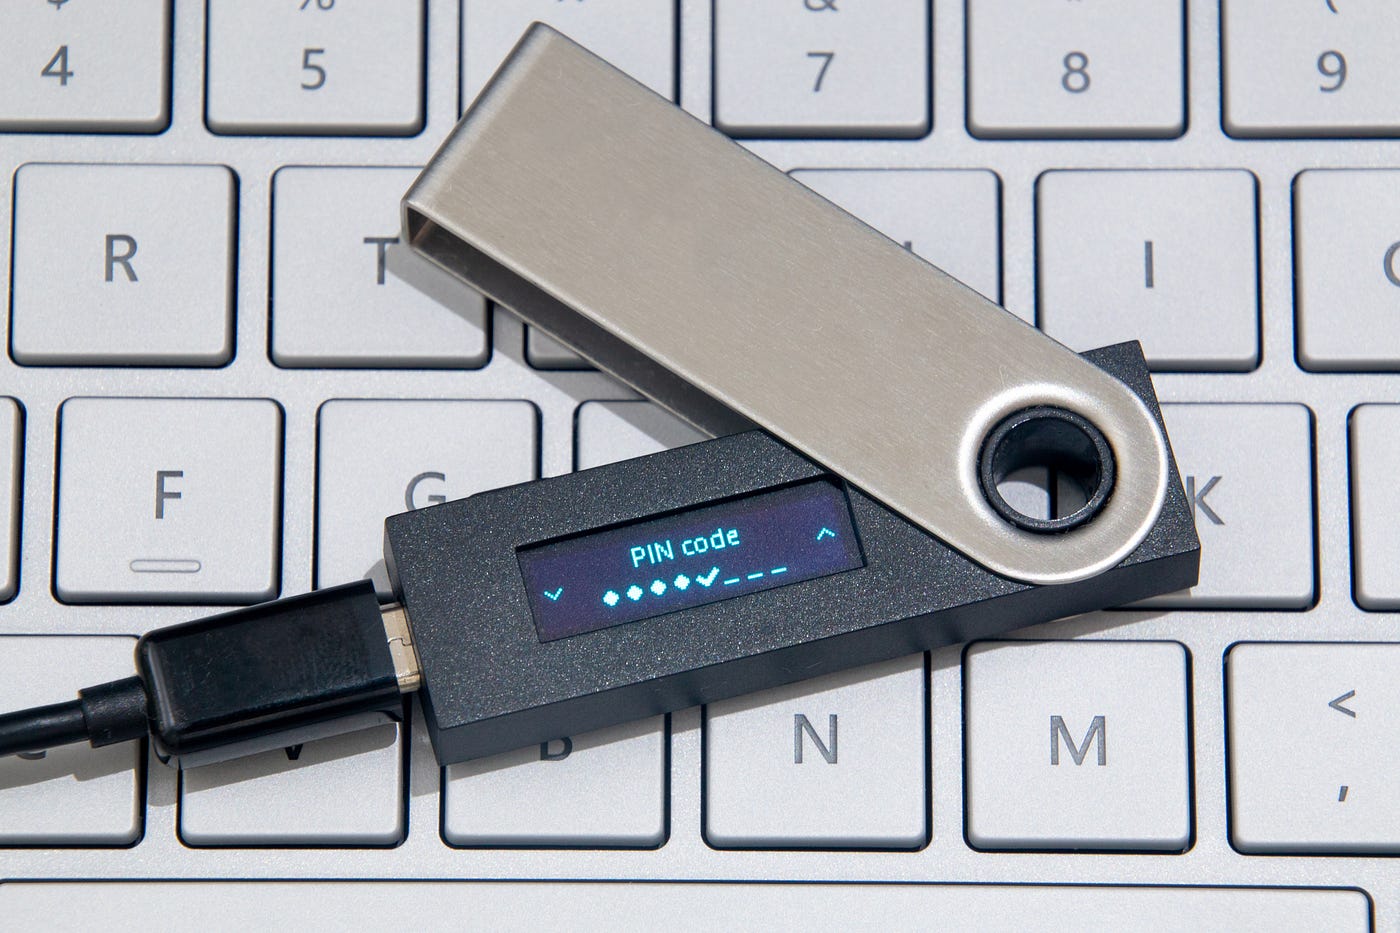
When storing crypto on a USB, make sure to use a hardware wallet like Ledger or Trezor for added security. Always keep multiple backups of your wallet and store them in separate, secure locations.
Step 4: Transferring Crypto to the USB
With your wallet created on the USB device, you’re now ready to transfer your cryptocurrency securely. The process may vary depending on the specific wallet you’re using, but the general steps are as follows:
- Open your wallet application or access the wallet website.
- Log in to your wallet using your password or other authentication methods.
- Look for the “Send” or “Withdraw” option within the wallet interface.
- Enter the recipient’s public address, which is the address of your USB device’s wallet.
- Specify the amount of cryptocurrency you want to transfer.
- Review the transaction details and confirm the transfer.
- Depending on the cryptocurrency and the network’s congestion, it may take some time for the transfer to be completed.
Ensure that you have entered the correct public address to avoid any accidental loss of funds. Double-check the address to be certain before confirming the transaction.
Once the transfer is completed, your cryptocurrency will be securely stored on your USB device. It is important to note that the USB device does not store the actual coins but rather the private keys that grant access to your funds.
Remember to keep your USB device in a safe place and handle it with care. Treat it as you would treat valuable physical possessions, like cash or jewelry.
Now that you have successfully transferred your cryptocurrency to the USB device, proceed to the next step to learn how to safely eject the device.
Read more: How To Store Crypto Offline
Step 5: Safely Ejecting the USB
After transferring your cryptocurrency to the USB device, it’s important to follow the proper procedure to safely eject the device from your computer. This will help prevent any potential data corruption or loss.
Here are the steps to safely eject your USB device:
- Make sure all the applications and files related to the USB device are closed.
- Locate the USB device icon on your computer’s taskbar or system tray.
- Right-click on the USB device icon and select the “Eject” or “Safely Remove” option from the context menu.
- Wait for the computer to notify you that it is safe to remove the USB device.
- Once you receive the notification, gently remove the USB device from the USB port.
It’s essential to properly eject the USB device to ensure that all data is written and saved before disconnecting it. Skipping this step may result in data corruption or loss of your cryptocurrency.
Remember, your cryptocurrency is only accessible through the USB device and the corresponding private keys. Make sure to keep your USB device in a secure location and avoid exposing it to potential physical or digital threats.
Now that you have safely ejected the USB device, let’s move on to the final step: storing the USB securely.
Step 6: Storing the USB Securely
Now that you have successfully stored your cryptocurrency on a USB device, it’s important to prioritize the security of the device itself. Remember, the USB device contains the private keys necessary to access and manage your digital assets. Here are some key considerations for securely storing the USB device:
- Offline Storage: Keeping the USB device offline, disconnected from the internet, greatly reduces the risk of unauthorized access or hacking attempts.
- Physical Security: Store the USB device in a safe and secure location. Consider using a locked drawer or a safe deposit box to protect it from physical theft or damage.
- Backups: Make regular backups of the USB device and store them in separate physical locations. This ensures redundancy and safeguards against potential loss or damage to the original device.
- Password Protection: Set a strong password for the USB device itself, if that feature is available. This adds an extra layer of security in case the device falls into the wrong hands.
- Discretion: Avoid discussing or disclosing the existence of the USB device and its contents to anyone unnecessarily. Storing cryptocurrency should be kept private to minimize the risk of targeted attacks.
By implementing these security measures, you can ensure that your USB device remains safe and your cryptocurrency holdings are well-protected.
Remember to periodically check on the integrity and functionality of the USB device. In case of any signs of degradation or malfunction, it’s advisable to transfer your cryptocurrency to a new, reliable USB device and safely dispose of the old one.
Congratulations! You have successfully completed all the steps to store your cryptocurrency on a USB device securely. By following these guidelines and practicing good security habits, you can have peace of mind knowing that your digital assets are stored in a safe and controlled manner.
Thank you for reading, and happy safeguarding of your cryptocurrency!
Conclusion
Storing your cryptocurrency on a USB device is a smart and secure way to retain control over your digital assets. By following the steps outlined in this guide, you can ensure that your cryptocurrency is safe from online threats and unauthorized access.
Choosing the right USB device with sufficient storage capacity and security features is the first crucial step. Formatting the USB device properly prepares it for storing your cryptocurrency securely.
Creating a wallet on the USB device provides you with a dedicated space for storing your private keys and accessing your digital assets. Transferring your cryptocurrency to the USB device allows you to have offline control over your funds.
It’s important to remember to safely eject the USB device from your computer to prevent data corruption or loss. Properly storing the USB device in a secure location, such as a safe deposit box, enhances its physical security.
By implementing additional security measures like password protection and backup solutions, you can further safeguard your cryptocurrency holdings. Maintaining discretion and regularly checking the integrity of the USB device are essential for long-term security.
Remember, while storing cryptocurrency on a USB device offers enhanced security, it does not eliminate all risks. Stay informed about the latest security practices, keep your software up to date, and remain vigilant against potential threats.
Now that you have learned how to store cryptocurrency on a USB device securely, you can confidently take control of your digital assets. Enjoy the peace of mind that comes with knowing your cryptocurrency is protected.
Thank you for reading, and happy storing of your cryptocurrency on a USB device!
Frequently Asked Questions about How To Store Crypto On A Usb
Was this page helpful?
At Storables.com, we guarantee accurate and reliable information. Our content, validated by Expert Board Contributors, is crafted following stringent Editorial Policies. We're committed to providing you with well-researched, expert-backed insights for all your informational needs.


0 thoughts on “How To Store Crypto On A Usb”