
Articles
How To Store Blink Clips On Usb
Modified: January 21, 2024
Learn how to store your Blink clips on a USB drive easily with these step-by-step articles. Preserve your videos and save space on your device!
(Many of the links in this article redirect to a specific reviewed product. Your purchase of these products through affiliate links helps to generate commission for Storables.com, at no extra cost. Learn more)
Introduction
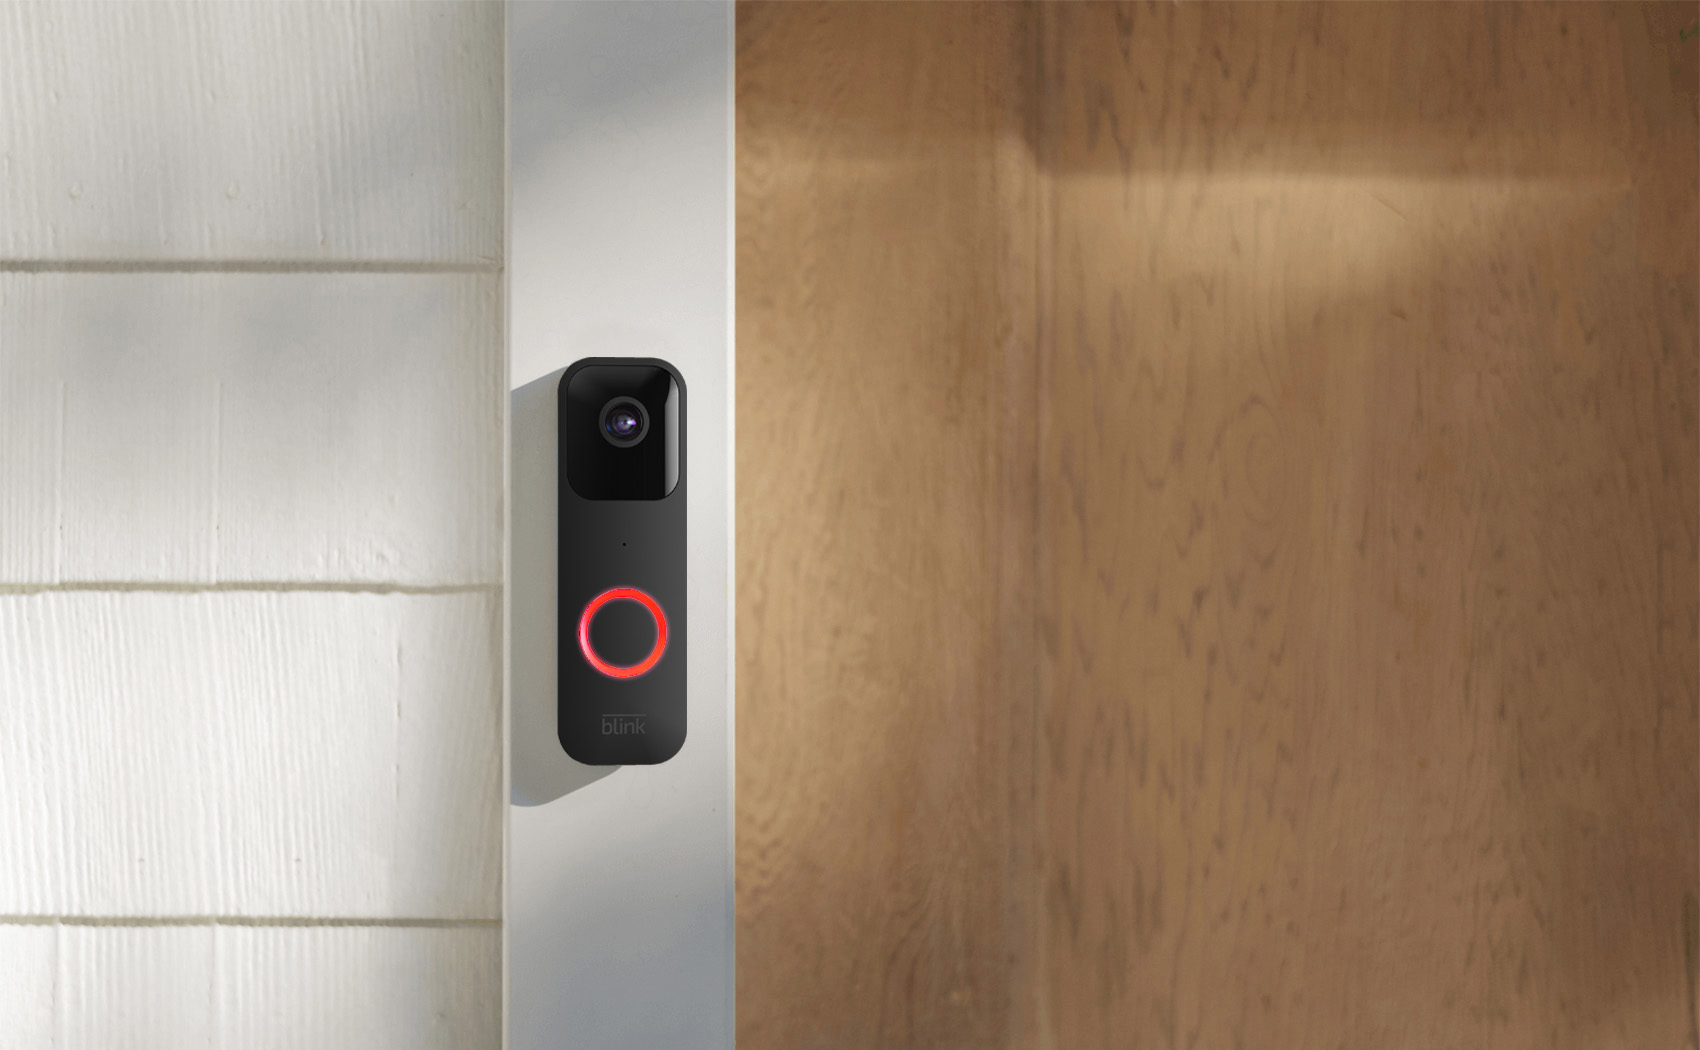
As a Blink camera user, you know the importance of capturing and storing video clips from your security cameras. While the Blink system offers cloud storage options, you may prefer the convenience and control of storing your clips locally on a USB drive. By doing so, you can access and manage your clips directly without relying on an internet connection or worrying about monthly subscription fees.
In this article, we will guide you through the process of storing your Blink clips on a USB drive. We will cover everything from gathering the necessary materials to configuring your Blink camera settings and accessing the stored clips. So, grab your USB drive and let’s get started!
Key Takeaways:
- Takeaway 1: Take control of your Blink camera footage by storing clips on a USB drive. Enjoy easy access, no reliance on cloud storage, and peace of mind without monthly subscription fees.
- Takeaway 2: Manage your USB drive storage space to ensure room for future recordings. Review, delete, and backup clips for convenient and secure local storage.
Read more: How To Store Binder Clips
Step 1: Gathering the Necessary Materials
Before you can start storing your Blink clips on a USB drive, you’ll need to gather some essential materials. Here’s what you’ll need:
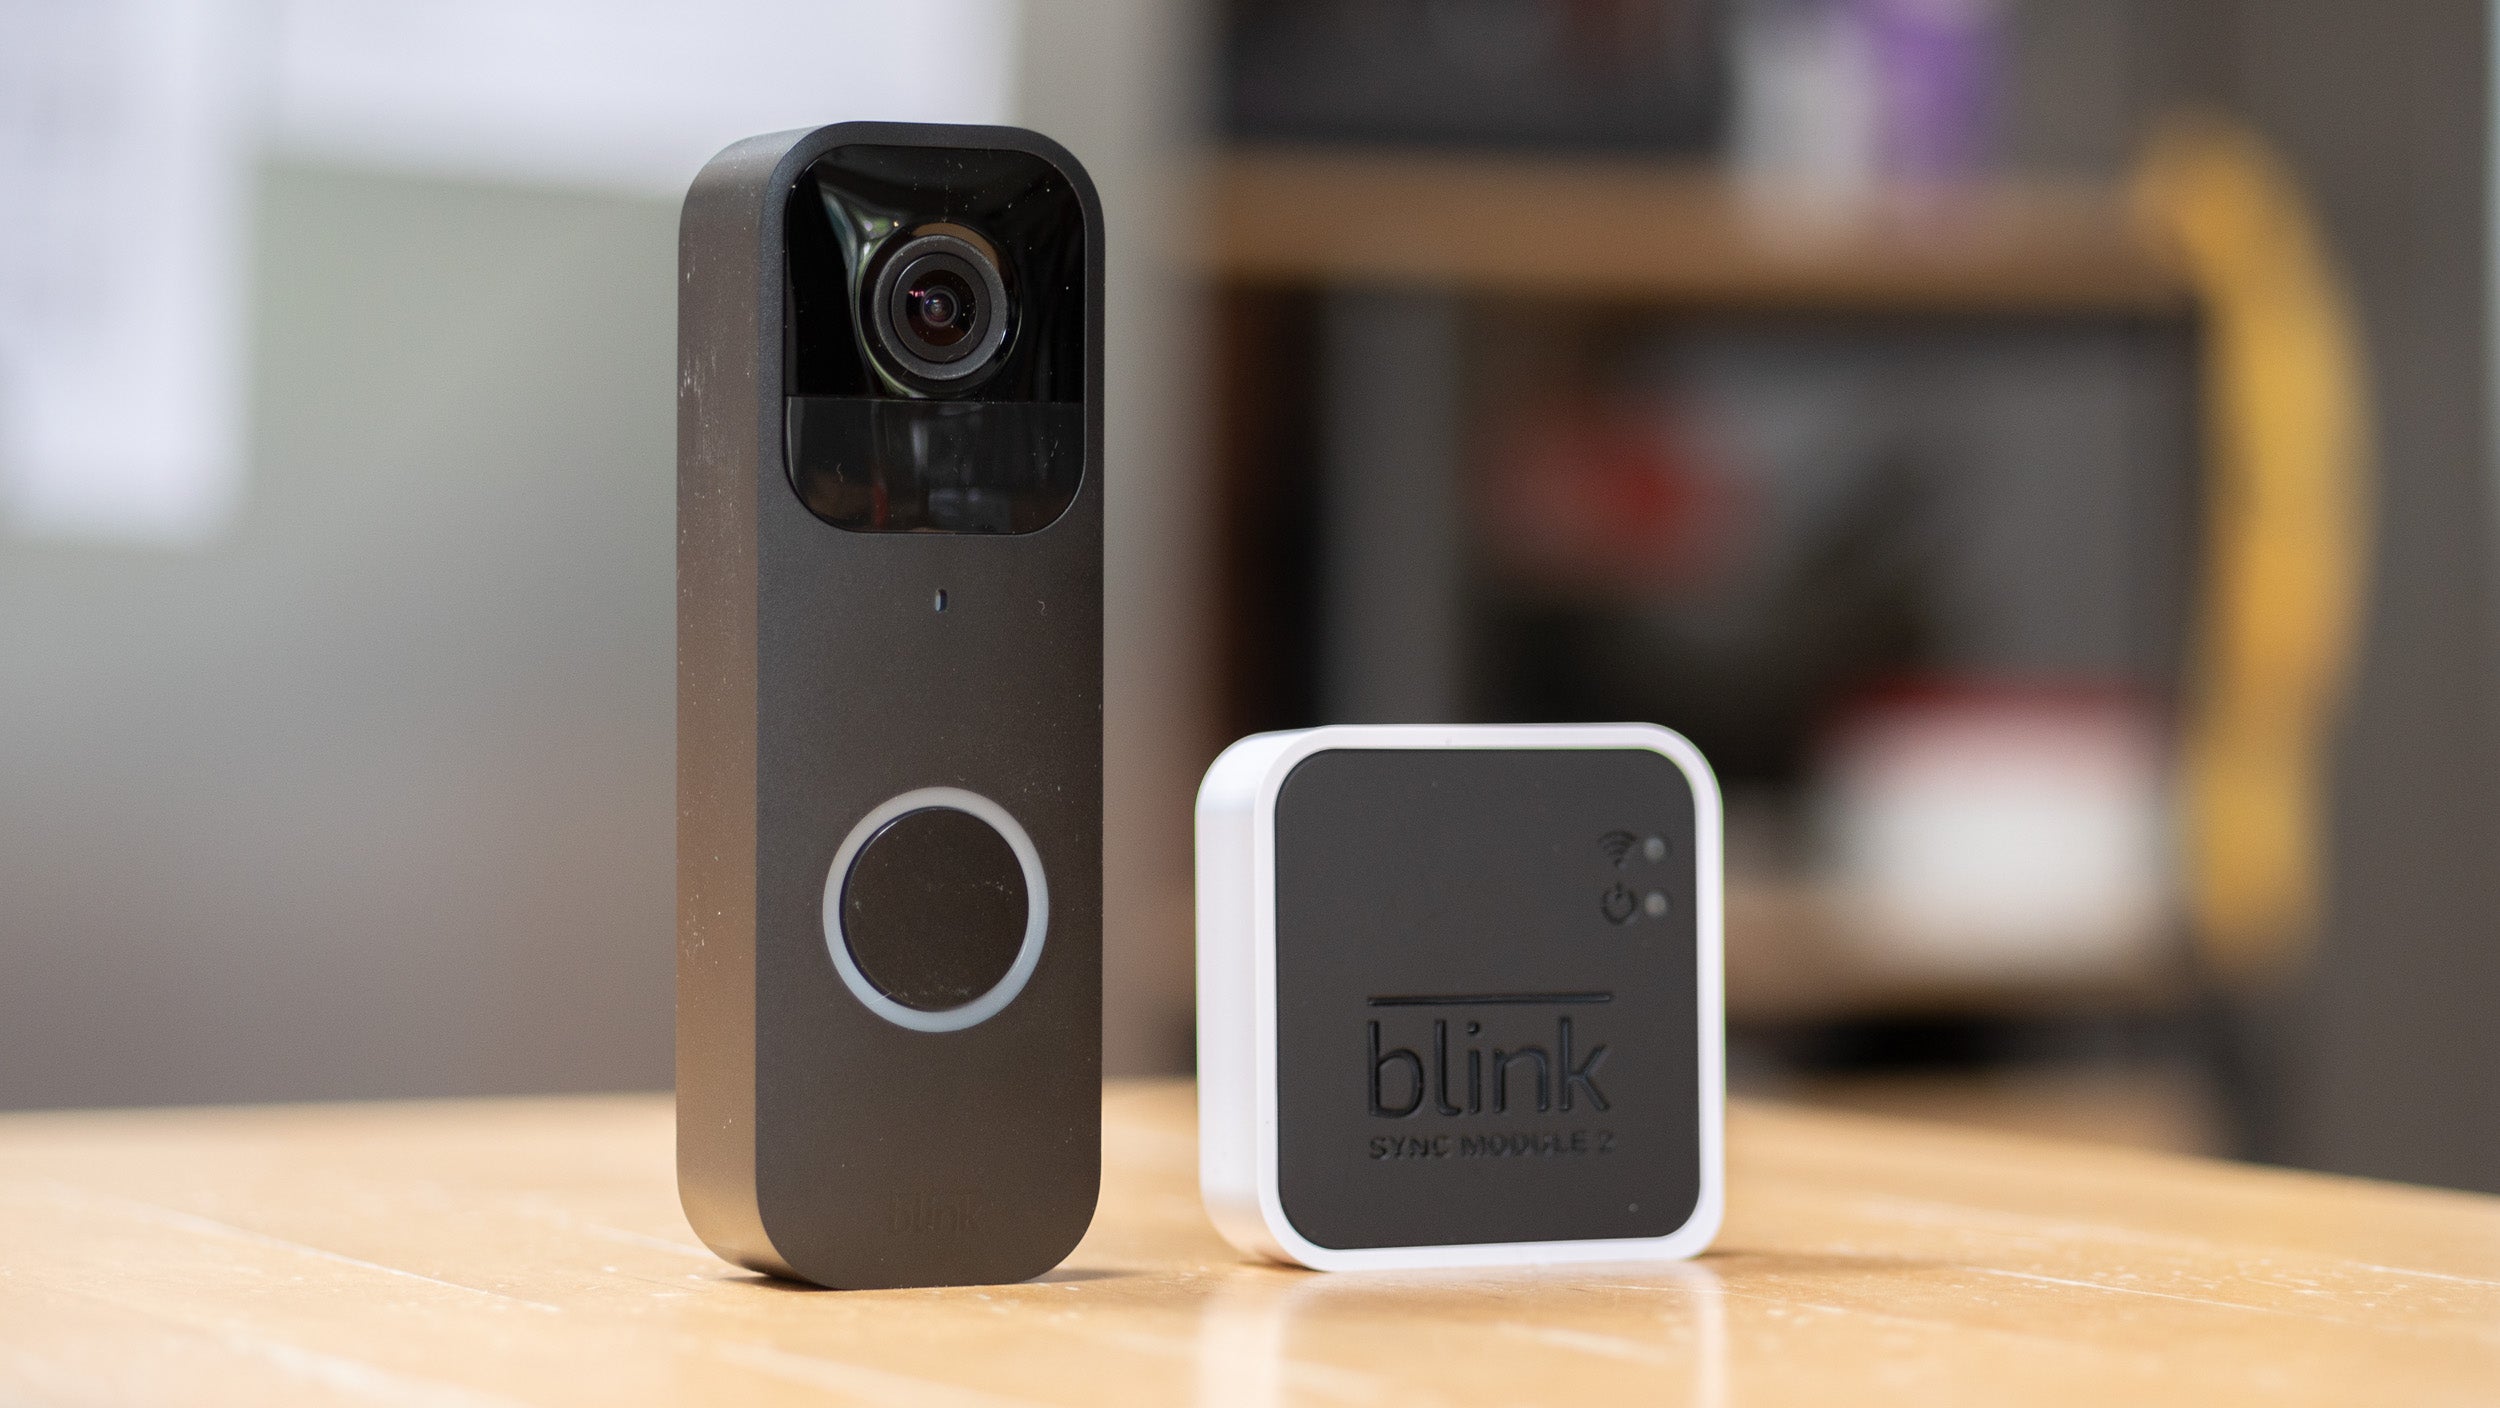
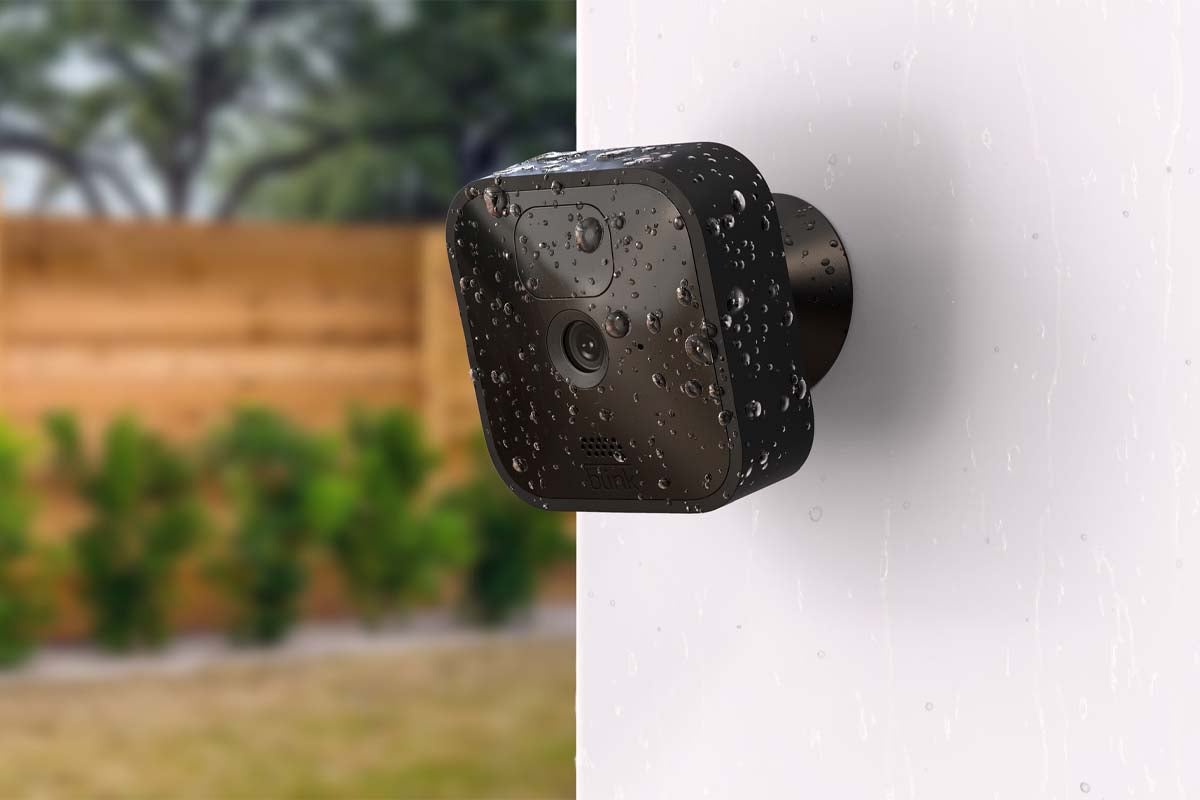
- A compatible Blink camera: Ensure you have a Blink camera model that supports local storage. Not all Blink cameras have this capability, so it’s important to check your camera’s specifications or consult the Blink website for compatibility.
- A USB flash drive: Choose a USB drive with sufficient storage capacity to hold your Blink video clips. It’s recommended to use a USB 3.0 drive for faster data transfer speeds.
- A computer or laptop: You’ll need a computer or laptop with a USB port to connect the USB drive.
- The Blink mobile app or web interface: To configure your Blink camera settings and access the stored clips, make sure you have the Blink mobile app installed on your smartphone or access to the Blink web interface on your computer.
Once you have gathered all the necessary materials, you’re ready to move on to the next step: preparing the USB drive.
Step 2: Preparing the USB Drive
Before you can connect your Blink camera to the USB drive, you need to prepare the USB drive itself. Here’s how:
- Format the USB drive: Plug the USB drive into your computer’s USB port. Open the file explorer or disk utility on your computer, locate the USB drive, right-click on it, and select the “Format” option. Choose the file system format as “FAT32” or “exFAT” to ensure compatibility with both the Blink camera and your computer.
- Create a new folder: Once the USB drive is formatted, create a new folder on the USB drive and give it a descriptive name like “Blink Clips” or “Camera Footage.” This will serve as the destination folder for storing your Blink video clips.
- Eject the USB drive: Safely eject the USB drive from your computer to ensure that all data is saved and no files are left open. This step ensures the integrity of the USB drive and prevents data corruption.
Now that your USB drive is prepared, it’s time to move on to the next step: connecting your Blink camera to the USB drive.
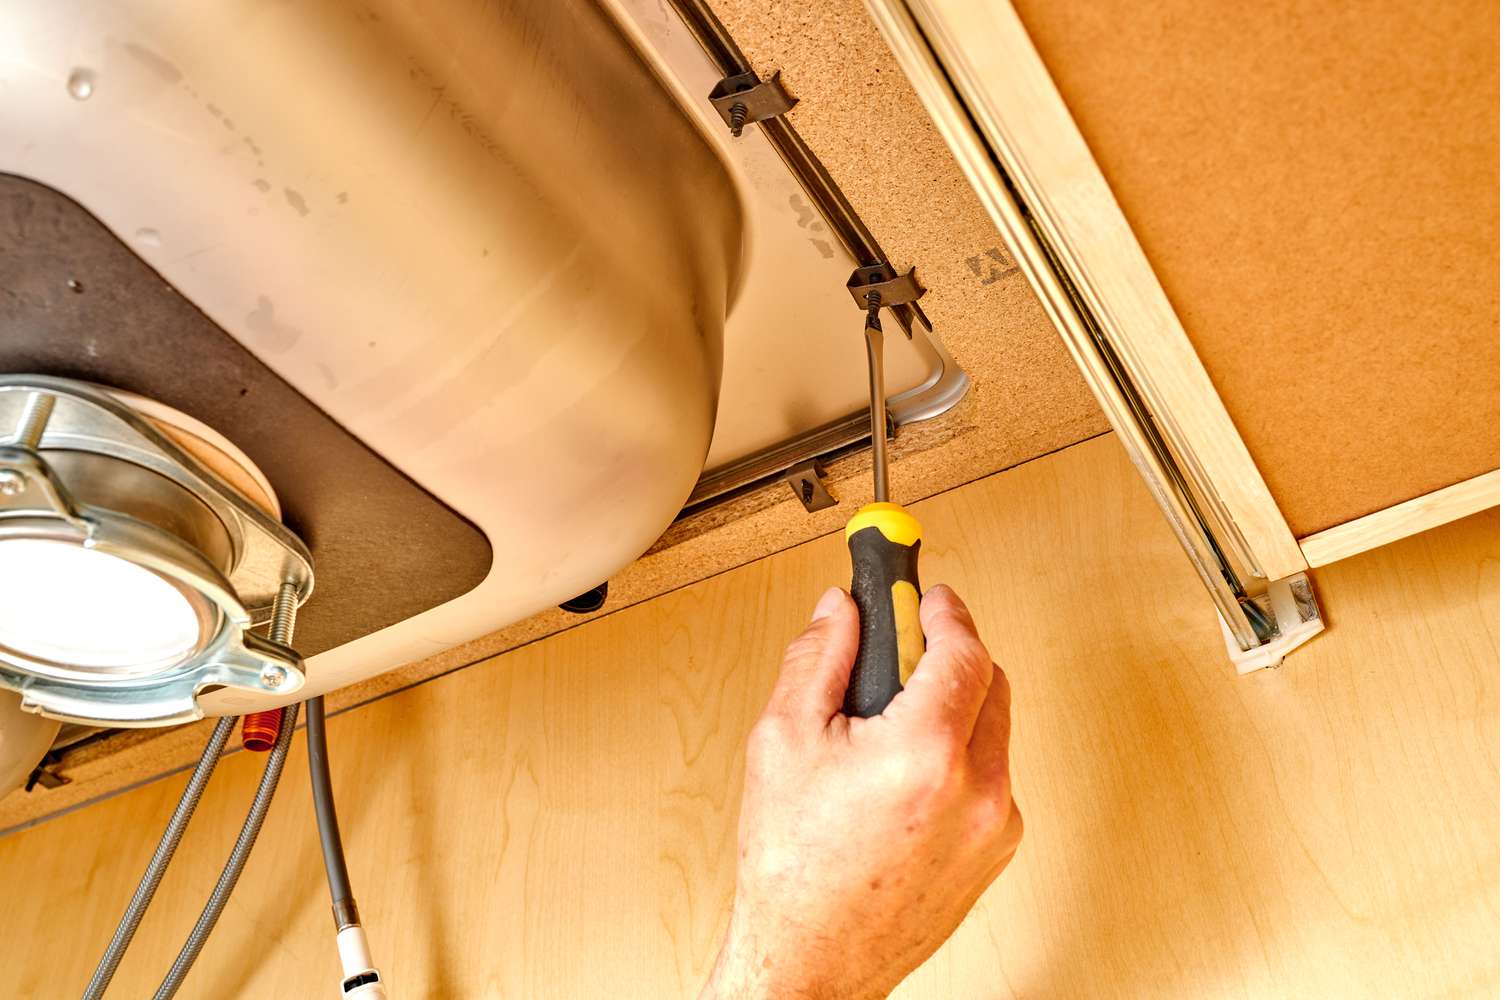
Step 3: Connecting Blink Camera to USB Drive
Now that your USB drive is ready, it’s time to connect your Blink camera to the USB drive. Follow these steps:
- Locate the USB port on your Blink camera: Depending on the model, the USB port may be located on the back or side of the camera. Refer to the user manual or check the camera’s specifications to find the USB port.
- Insert the USB drive into the camera: Carefully insert the USB drive into the USB port of the Blink camera. Make sure it is securely inserted to avoid any connection issues.
- Power on your Blink camera: Connect the Blink camera to a power source or insert fresh batteries and power it on. Wait for the camera to initialize and establish a connection.
- Check USB storage settings: Use the Blink mobile app or web interface to access your camera’s settings. Navigate to the camera settings and look for the storage options. Make sure the camera is set to store clips locally on the USB drive.
Once you have connected the USB drive to your Blink camera and ensured that the storage settings are configured correctly, you’re ready to move on to the next step: configuring the Blink camera settings.
Step 4: Configuring the Blink Camera Settings
Configuring the settings on your Blink camera is crucial to ensure that your video clips are captured and stored properly. Follow these steps to configure the Blink camera settings:
- Access the Blink mobile app or web interface: Launch the Blink mobile app on your smartphone or access the Blink web interface on your computer. Sign in to your Blink account to gain access to your camera settings.
- Select the camera: If you have multiple Blink cameras, select the one that you have connected to the USB drive.
- Adjust clip length and quality: In the camera settings, you can adjust the clip length and quality settings according to your preference. The clip length determines how long each video clip will be, while the quality setting determines the resolution of the video.
- Enable motion detection: Motion detection is an important feature of Blink cameras. Make sure that motion detection is enabled so that the camera captures video clips when it detects movement.
- Set the storage destination: In the camera settings, locate the storage settings and select the USB drive as the storage destination. This will ensure that the camera stores the video clips on the USB drive rather than the cloud.
Once you have configured the settings on your Blink camera, you’re now ready for the next step: storing Blink clips on the USB drive.
When storing Blink clips on a USB, make sure to organize them into folders by date or event to easily locate specific footage. Additionally, consider using a USB with a large storage capacity to accommodate all the clips.
Read more: How To Store Hair Clips
Step 5: Storing Blink Clips on the USB Drive
With your Blink camera settings configured, it’s time to start storing the video clips directly onto the USB drive. Follow these steps to store Blink clips on the USB drive:
- Start recording: Activate your Blink camera by either manually triggering a recording through the Blink mobile app or web interface or by allowing the camera’s motion detection to automatically capture video clips.
- Wait for recordings to complete: Once the camera starts recording, it will capture video clips based on the configured settings, such as clip length and motion detection sensitivity. Allow the camera to finish recording before proceeding to the next step.
- Review and save the clips: After the camera completes recording, navigate to the Blink mobile app or web interface and access the recorded clips. You can review each clip and choose to save it to the USB drive by selecting the appropriate option. Make sure to save the clips to the designated folder on the USB drive.
- Continue monitoring and saving clips: Repeat the process for as long as you want to capture and store Blink video clips. The USB drive will continue to store the recorded clips in the designated folder until you remove the drive or the storage space fills up.
By following these steps, you can successfully store your Blink clips directly onto the USB drive, giving you easy access to your footage without relying on cloud storage or internet connectivity.
Next, let’s move on to step 6, where we discuss how to access the stored Blink clips.
Step 6: Accessing the Stored Blink Clips
After storing your Blink video clips on the USB drive, you might be wondering how you can access and view them. Here’s how you can easily access the stored Blink clips:
- Eject the USB drive: Before disconnecting the USB drive from the Blink camera or computer, make sure to safely eject it. This step ensures that all data is saved and prevents any potential data corruption.
- Remove the USB drive from the Blink camera: Carefully remove the USB drive from the USB port of the Blink camera. Ensure that no clips are being recorded or transferred at the time of removal.
- Connect the USB drive to your computer: Plug the USB drive into a USB port on your computer. Allow the computer to detect and recognize the USB drive.
- Open the USB drive: Use the file explorer or any appropriate file management software to open the USB drive. Navigate to the folder where you stored the Blink clips.
- View the stored Blink clips: Double-click on the Blink clips to open and view them. Depending on the format of the clips, you might need video player software that supports the file format.
By following these steps, you can easily access and view the stored Blink clips on your computer. You can also create backups or edit the clips as desired.
Lastly, let’s move on to step 7, where we discuss managing storage space on the USB drive.
Step 7: Managing Storage Space on the USB Drive
As you continue to store Blink clips on your USB drive, it’s important to manage the available storage space to ensure that you have enough room for future recordings. Here are some tips for managing storage space on the USB drive:
- Regularly review and delete unwanted clips: Periodically go through the stored Blink clips and delete any footage that is no longer needed. This helps to free up space on the USB drive and keeps it organized.
- Consider the USB drive capacity: Keep an eye on the available storage space on your USB drive. As the drive starts to fill up, you may need to either transfer the clips to another storage device or delete older clips to make room for new recordings.
- Backup important clips: If you have clips that are particularly important or valuable, consider creating backups on another storage device or cloud storage. This provides an extra layer of protection for your footage in case of loss or damage to the USB drive.
- Use a larger capacity USB drive: If you frequently capture a large number of Blink clips or need to store footage for an extended period, consider using a USB drive with a larger storage capacity. This allows you to store more clips without having to worry about running out of space.
By managing the storage space on your USB drive, you can continue to store new Blink clips while ensuring that you have enough room for future recordings.
Congratulations! You have successfully learned how to store Blink clips on a USB drive. By following these steps, you can take control of your video storage and have easy access to your footage whenever you need it.
Feel free to share this article with other Blink camera users who might benefit from storing their clips on a USB drive. Stay safe and enjoy the peace of mind that comes with having your video clips stored locally!
Conclusion
In this article, we have explored the process of storing Blink clips on a USB drive. By taking advantage of local storage, you can have more control over your video footage and access it without relying on the cloud or internet connectivity.
We started by gathering the necessary materials, including a compatible Blink camera, USB drive, computer, and the Blink mobile app or web interface. After preparing the USB drive and connecting it to the Blink camera, we moved on to configuring the camera settings, ensuring that it would store the video clips on the USB drive.
With the camera settings in place, we learned how to start recording and store Blink clips on the USB drive. By reviewing and saving the clips through the Blink mobile app or web interface, we can easily manage and access the stored footage.
Once the clips are stored on the USB drive, we discussed the process of accessing them by ejecting the drive from the camera and connecting it to a computer. By opening the USB drive and double-clicking on the clips, we can view them using appropriate video player software.
Finally, we emphasized the importance of managing storage space on the USB drive. By regularly reviewing and deleting unwanted footage, considering the capacity of the USB drive, and creating backups for important clips, we can ensure that we have enough space for future recordings.
By following these steps, you can take control of your Blink camera footage and have peace of mind knowing that your video clips are stored locally on a USB drive. This gives you convenient access to your footage without relying on cloud storage or an internet connection.
So, gather your materials, prepare your USB drive, and start storing your Blink clips today. Enjoy the convenience and control of having your video footage at your fingertips!
Frequently Asked Questions about How To Store Blink Clips On Usb
Was this page helpful?
At Storables.com, we guarantee accurate and reliable information. Our content, validated by Expert Board Contributors, is crafted following stringent Editorial Policies. We're committed to providing you with well-researched, expert-backed insights for all your informational needs.


0 thoughts on “How To Store Blink Clips On Usb”