Articles
How To Store DVDs On Hard Drive
Modified: December 7, 2023
Looking for a convenient way to store your DVD collection? Our articles will guide you on how to transfer and store DVDs on your hard drive.
(Many of the links in this article redirect to a specific reviewed product. Your purchase of these products through affiliate links helps to generate commission for Storables.com, at no extra cost. Learn more)
Introduction
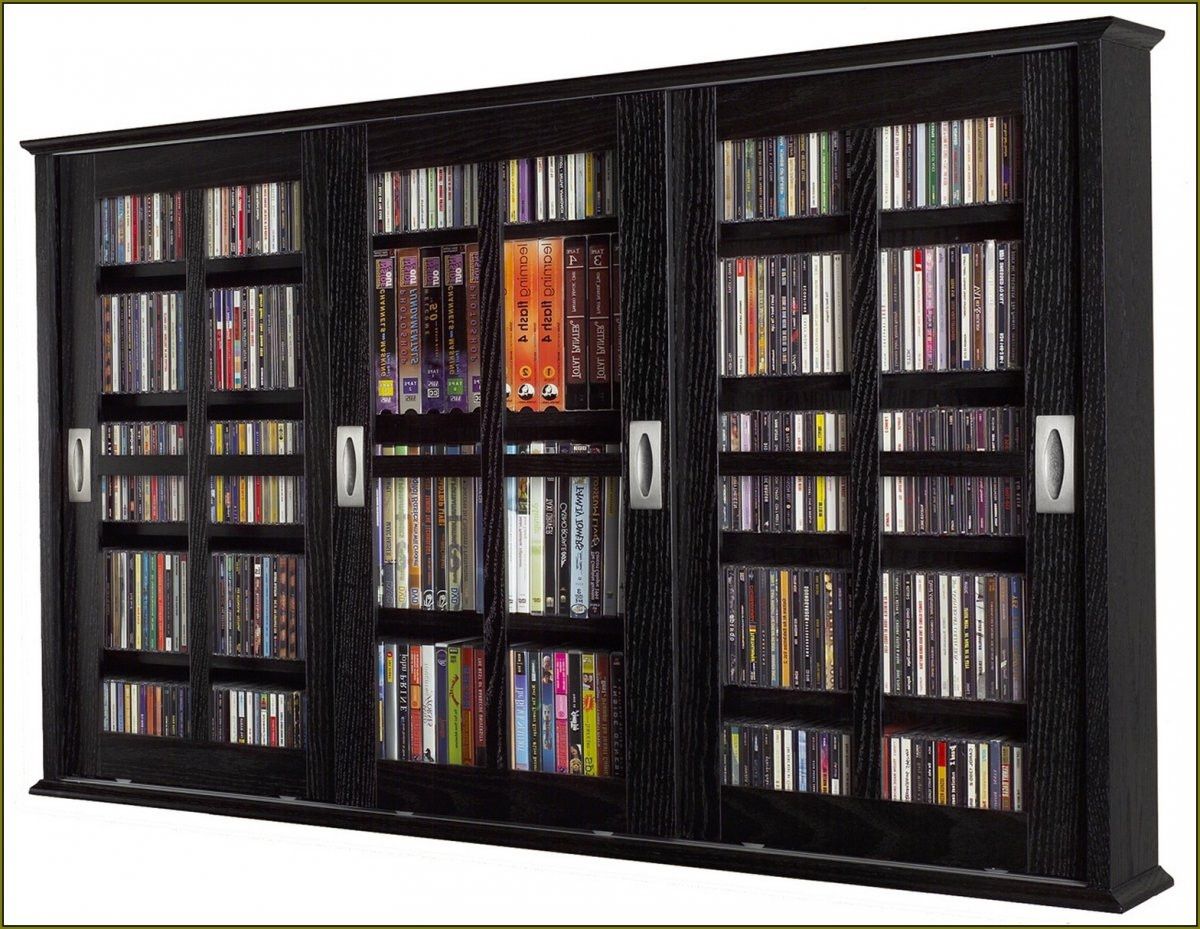
In today’s digital age, physical media such as DVDs are becoming less common as we increasingly rely on digital formats for our entertainment needs. Instead of cluttering our shelves with stacks of DVDs, many people are opting to store their DVD collections on a hard drive. Not only does this free up physical space, but it also allows for easy access and portability of our favorite movies and TV shows.
Storing DVDs on a hard drive offers several advantages. Firstly, it eliminates the need to handle physical discs, which can often get scratched or damaged over time. By converting your DVDs into digital files, you can preserve their quality and enjoy them without worrying about wear and tear.
Additionally, having your DVD collection on a hard drive allows for convenient organization and quick access. You can create customized folders, arrange movies by genre or title, and easily search for specific titles using keywords. This saves you from sifting through stacks of DVDs to find the one you want to watch.
In this article, we will guide you through the process of storing DVDs on a hard drive. From choosing the right hard drive to ripping and organizing your digital collection, we will cover every step necessary to create a streamlined and easily accessible digital DVD library.
Key Takeaways:
- Storing DVDs on a hard drive offers convenience, space-saving, and easy accessibility. Choose the right hard drive, rip DVDs, organize files, and enjoy a clutter-free digital library with seamless viewing experiences.
- Transform your DVD collection into a compact, organized, and accessible virtual library on your hard drive. Embrace the digital age, eliminate clutter, and enjoy the freedom of a well-managed digital DVD collection.
Read more: How To Store Hard Drives Long Term
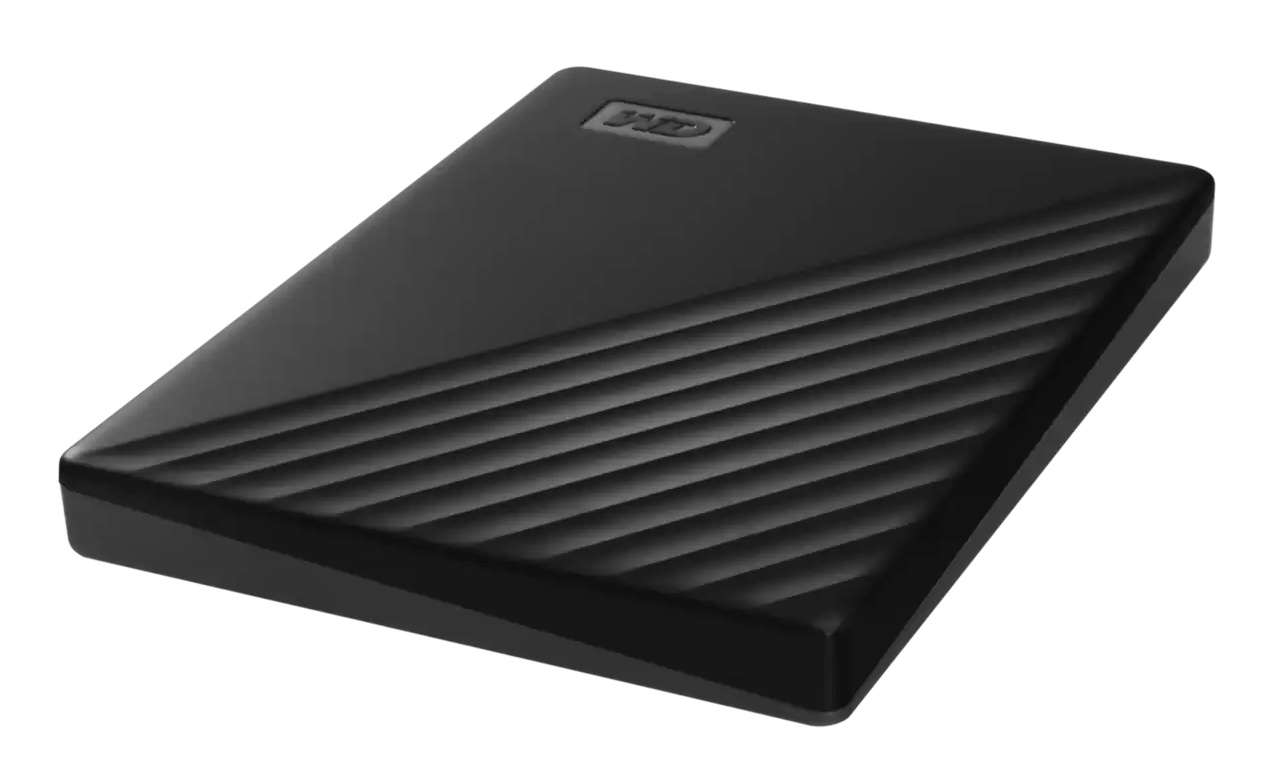
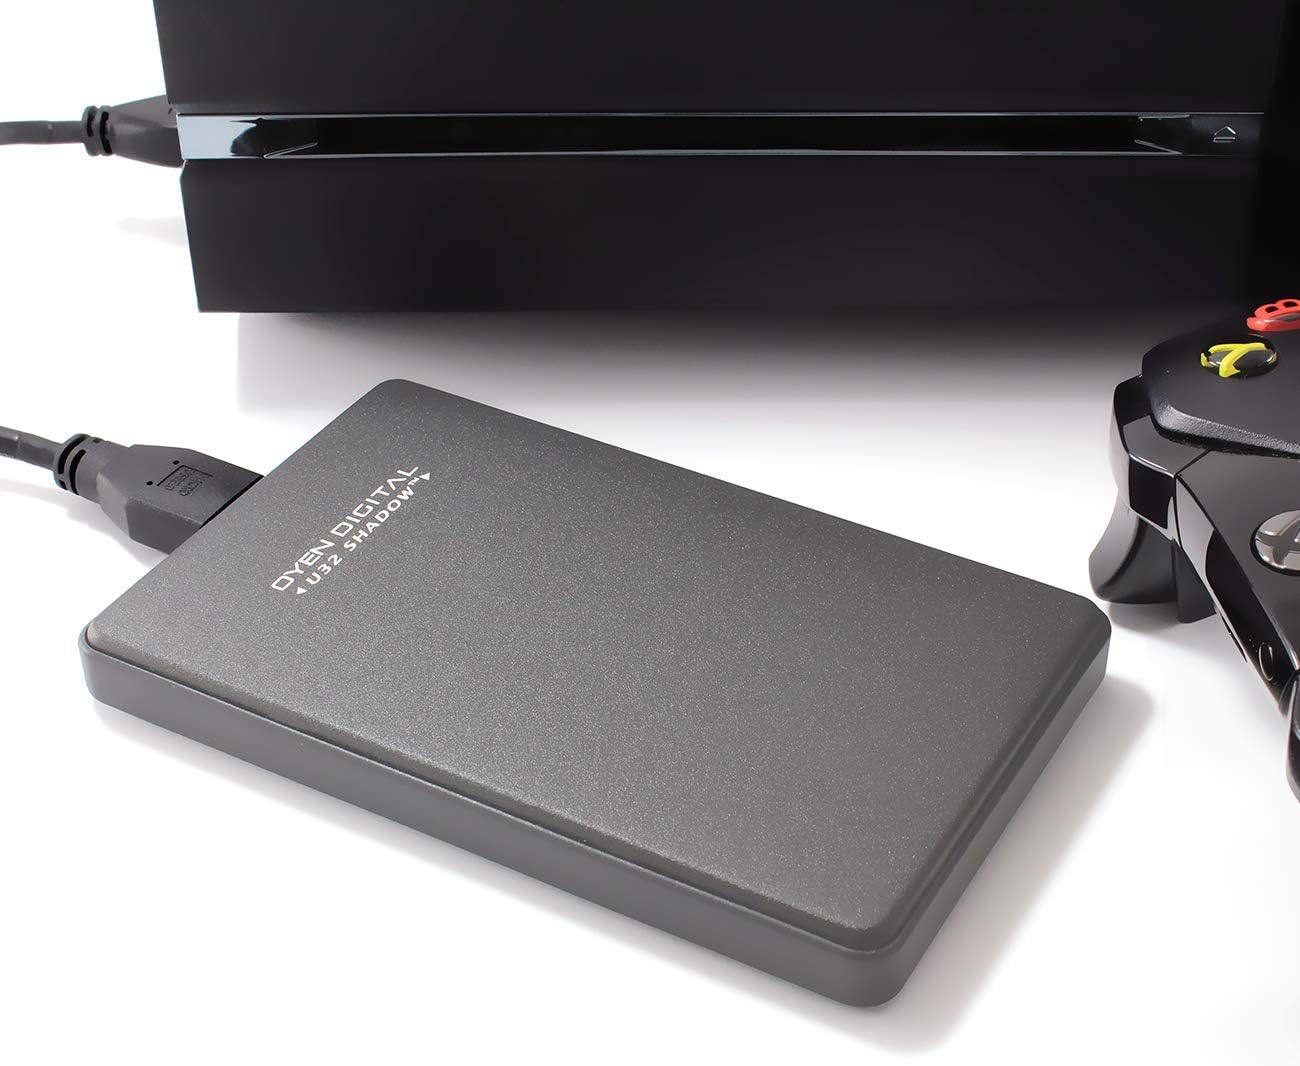
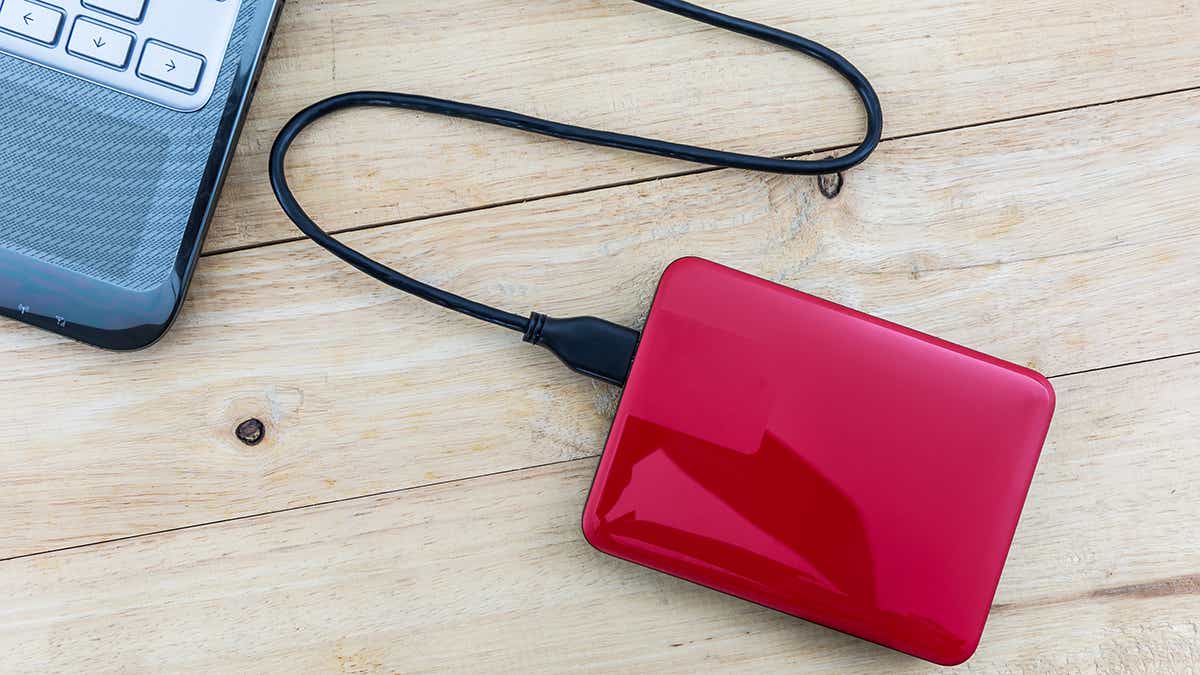
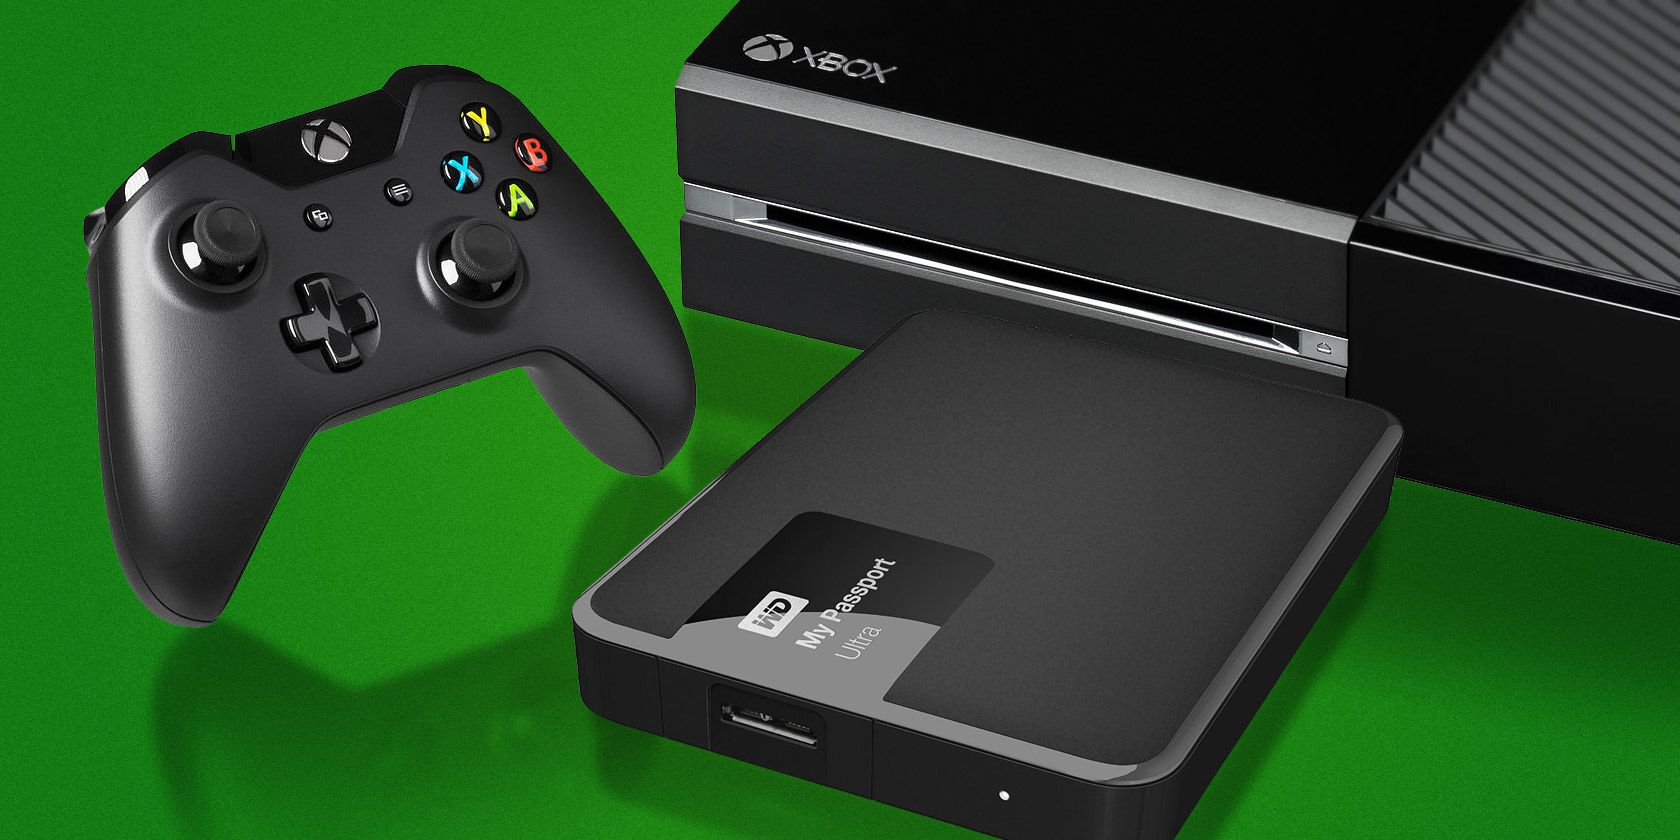
Step 1: Choosing the right hard drive
When it comes to storing your DVD collection on a hard drive, selecting the right device is crucial. Here are a few factors to consider when choosing the perfect hard drive:
- Storage Capacity: DVDs can take up a significant amount of space, so it’s important to opt for a hard drive with ample storage capacity. Consider the size of your DVD collection and any future additions you may make. A good rule of thumb is to choose a hard drive with at least 1 terabyte (TB) of storage.
- Connectivity: Depending on your needs and preferences, you can choose between different types of hard drives with various connectivity options. The most common choices are USB 2.0, USB 3.0, and Thunderbolt. USB 3.0 is recommended for faster data transfer speeds.
- Portability: If you plan to carry your hard drive with you or connect it to different devices, consider opting for a portable hard drive. These are usually smaller in size and lightweight, making them convenient for travel.
- Reliability: Look for a reputable brand and read reviews to ensure that the hard drive you select is reliable and durable. You want a device that will safeguard your digital DVD collection and last for years to come.
- Backup Options: It’s essential to have a backup plan in case of data loss. Some hard drives come with built-in backup software or offer cloud storage options. Consider whether you want an additional layer of protection for your digital DVD library.
Once you have considered these factors, compare different models and brands to find the best fit for your needs. Don’t forget to check the warranty and customer support options provided by the manufacturer, as these can be vital in case of any technical issues.
Choosing the right hard drive sets the foundation for a smooth and efficient process of storing your DVD collection digitally. Once you have made your selection, you can proceed to the next step of preparing the hard drive for storing your DVDs.
Step 2: Preparing the hard drive
Before you begin storing your DVDs on the hard drive, it’s essential to prepare the device for optimal performance and organization. Follow these steps to ensure your hard drive is ready:
- Format the Hard Drive: Connect your hard drive to your computer and format it using the appropriate file system. For Windows, the recommended file system is NTFS, while macOS users should use Mac OS Extended (Journaled). Formatting will erase any existing data on the hard drive, so make sure to back up any important files before proceeding.
- Create Folders: Once the hard drive is formatted, create folders to organize your digital DVD collection. You can create folders based on genres, TV shows, or any other criteria you prefer. This will make it easier to navigate and locate specific movies or TV series.
- Label Folders: To further enhance organization, label each folder with the corresponding movie or TV show title. This will help you quickly locate the content you want to access without having to open each folder individually.
- Set Metadata and Thumbnails: To make your digital DVD collection visually appealing, you can add metadata and thumbnails to your movie files. This information includes details such as the movie title, actors, release date, and a brief description. Thumbnails, or cover images, can be added to each movie file to make the collection visually appealing and easy to navigate.
- Organize Subfolders: If you have TV series in your collection, create subfolders within the main TV show folder to organize each season. Label each subfolder with the season number for easy navigation.
By following these steps, you will have a well-organized and visually appealing digital DVD library on your hard drive. Now it’s time to move on to the next step: ripping the DVDs.
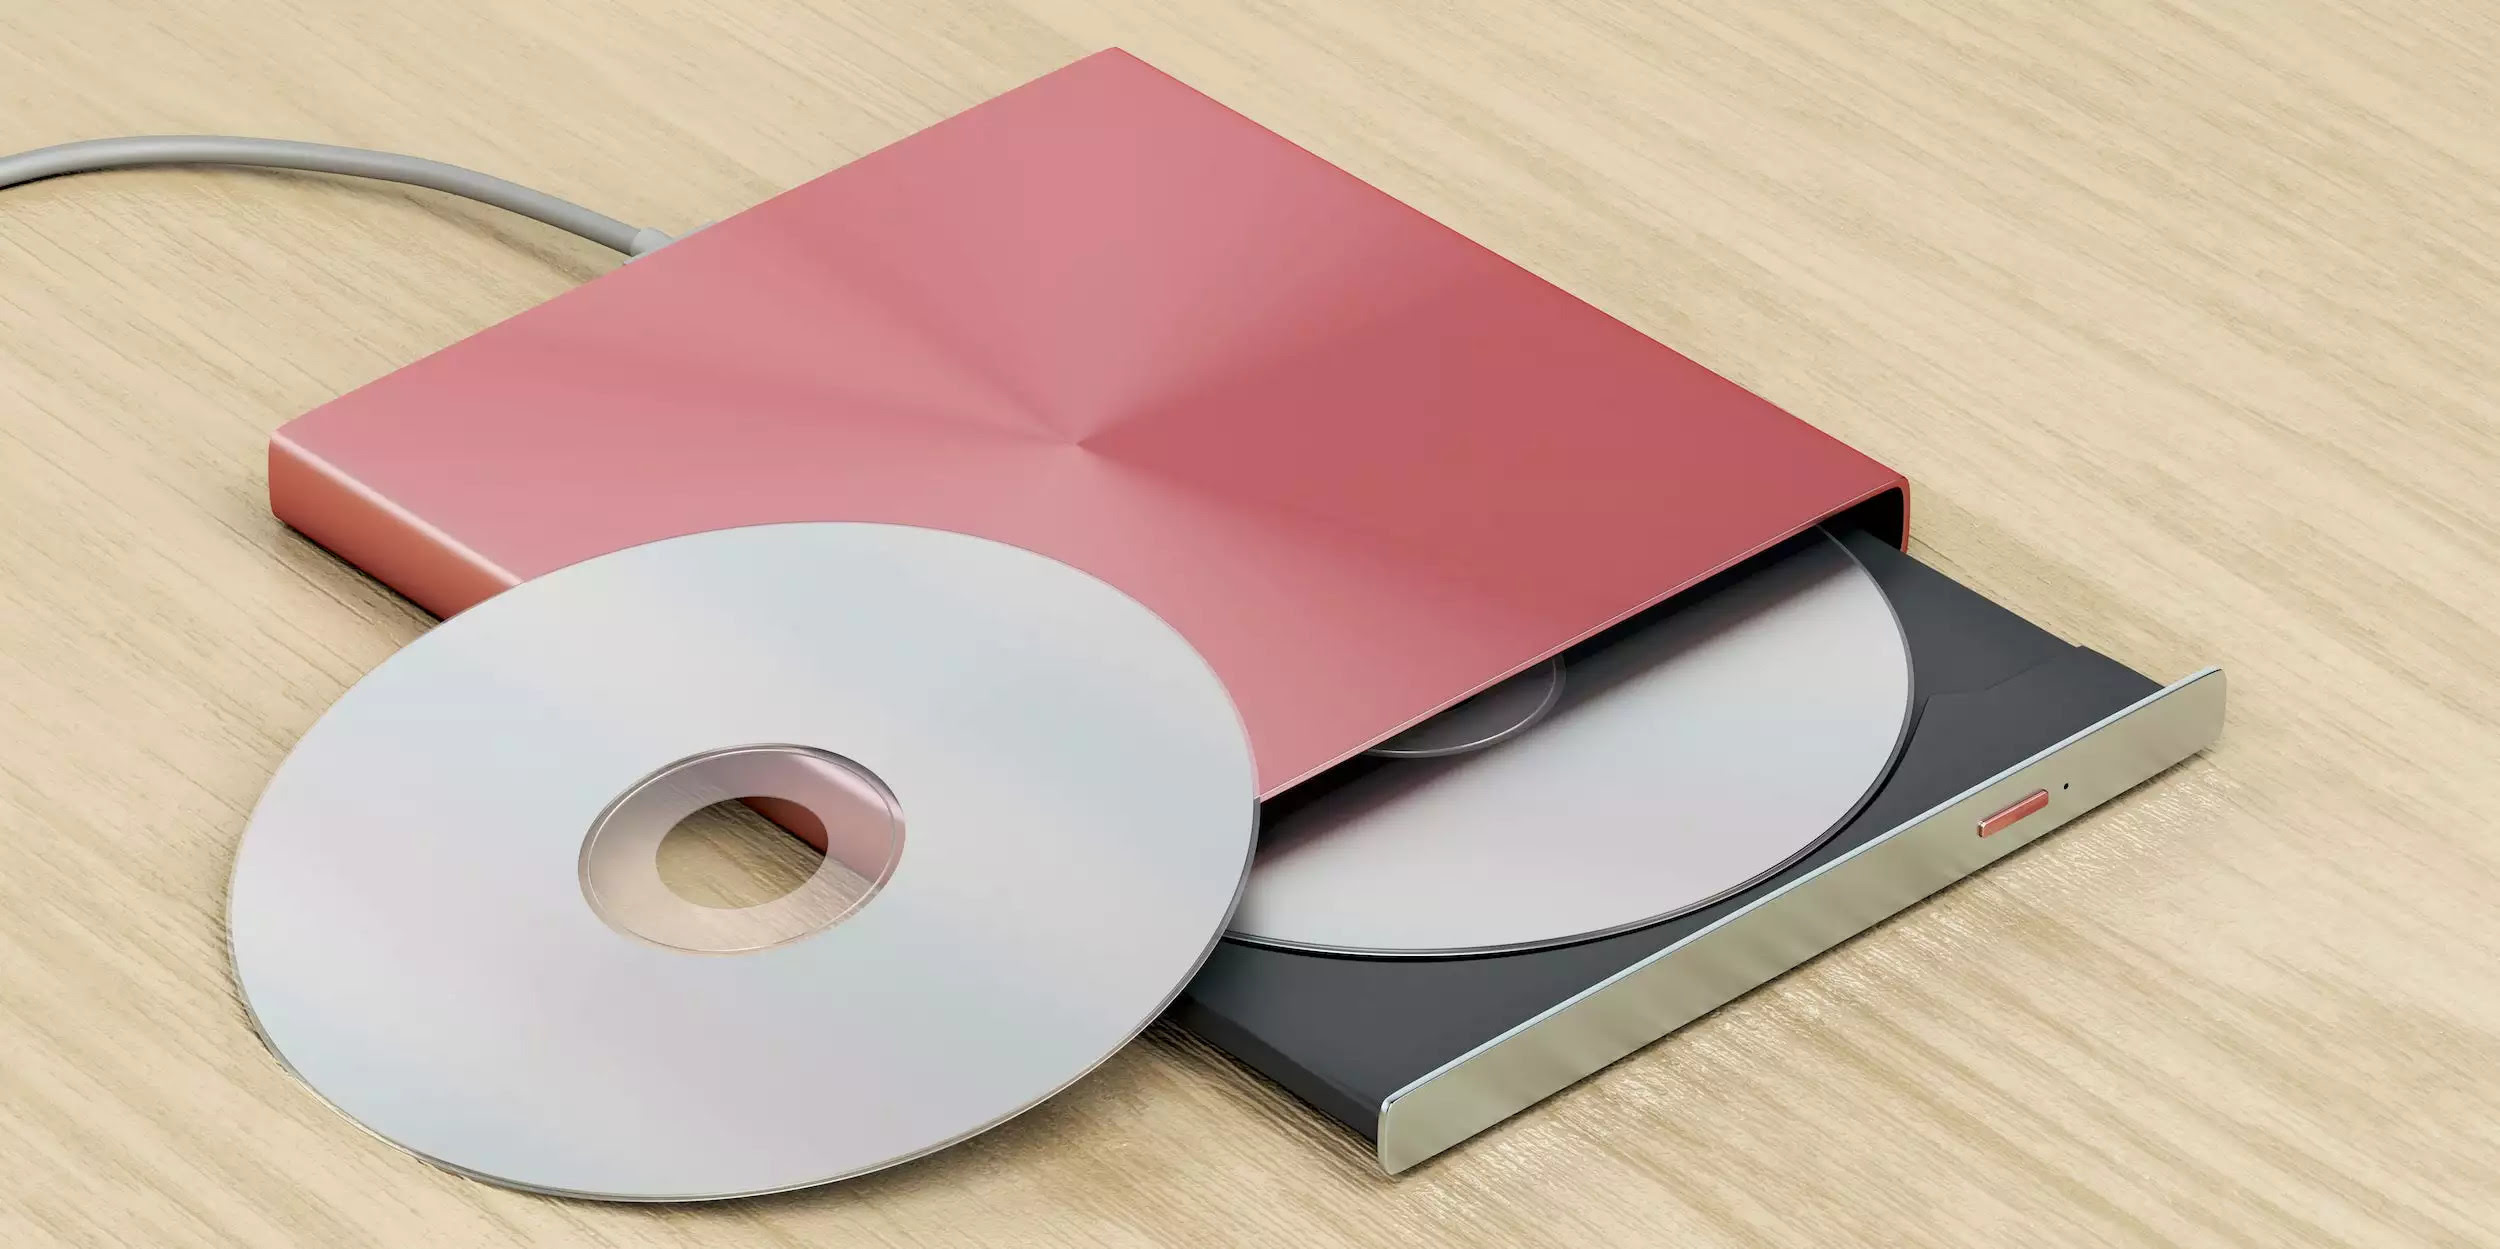
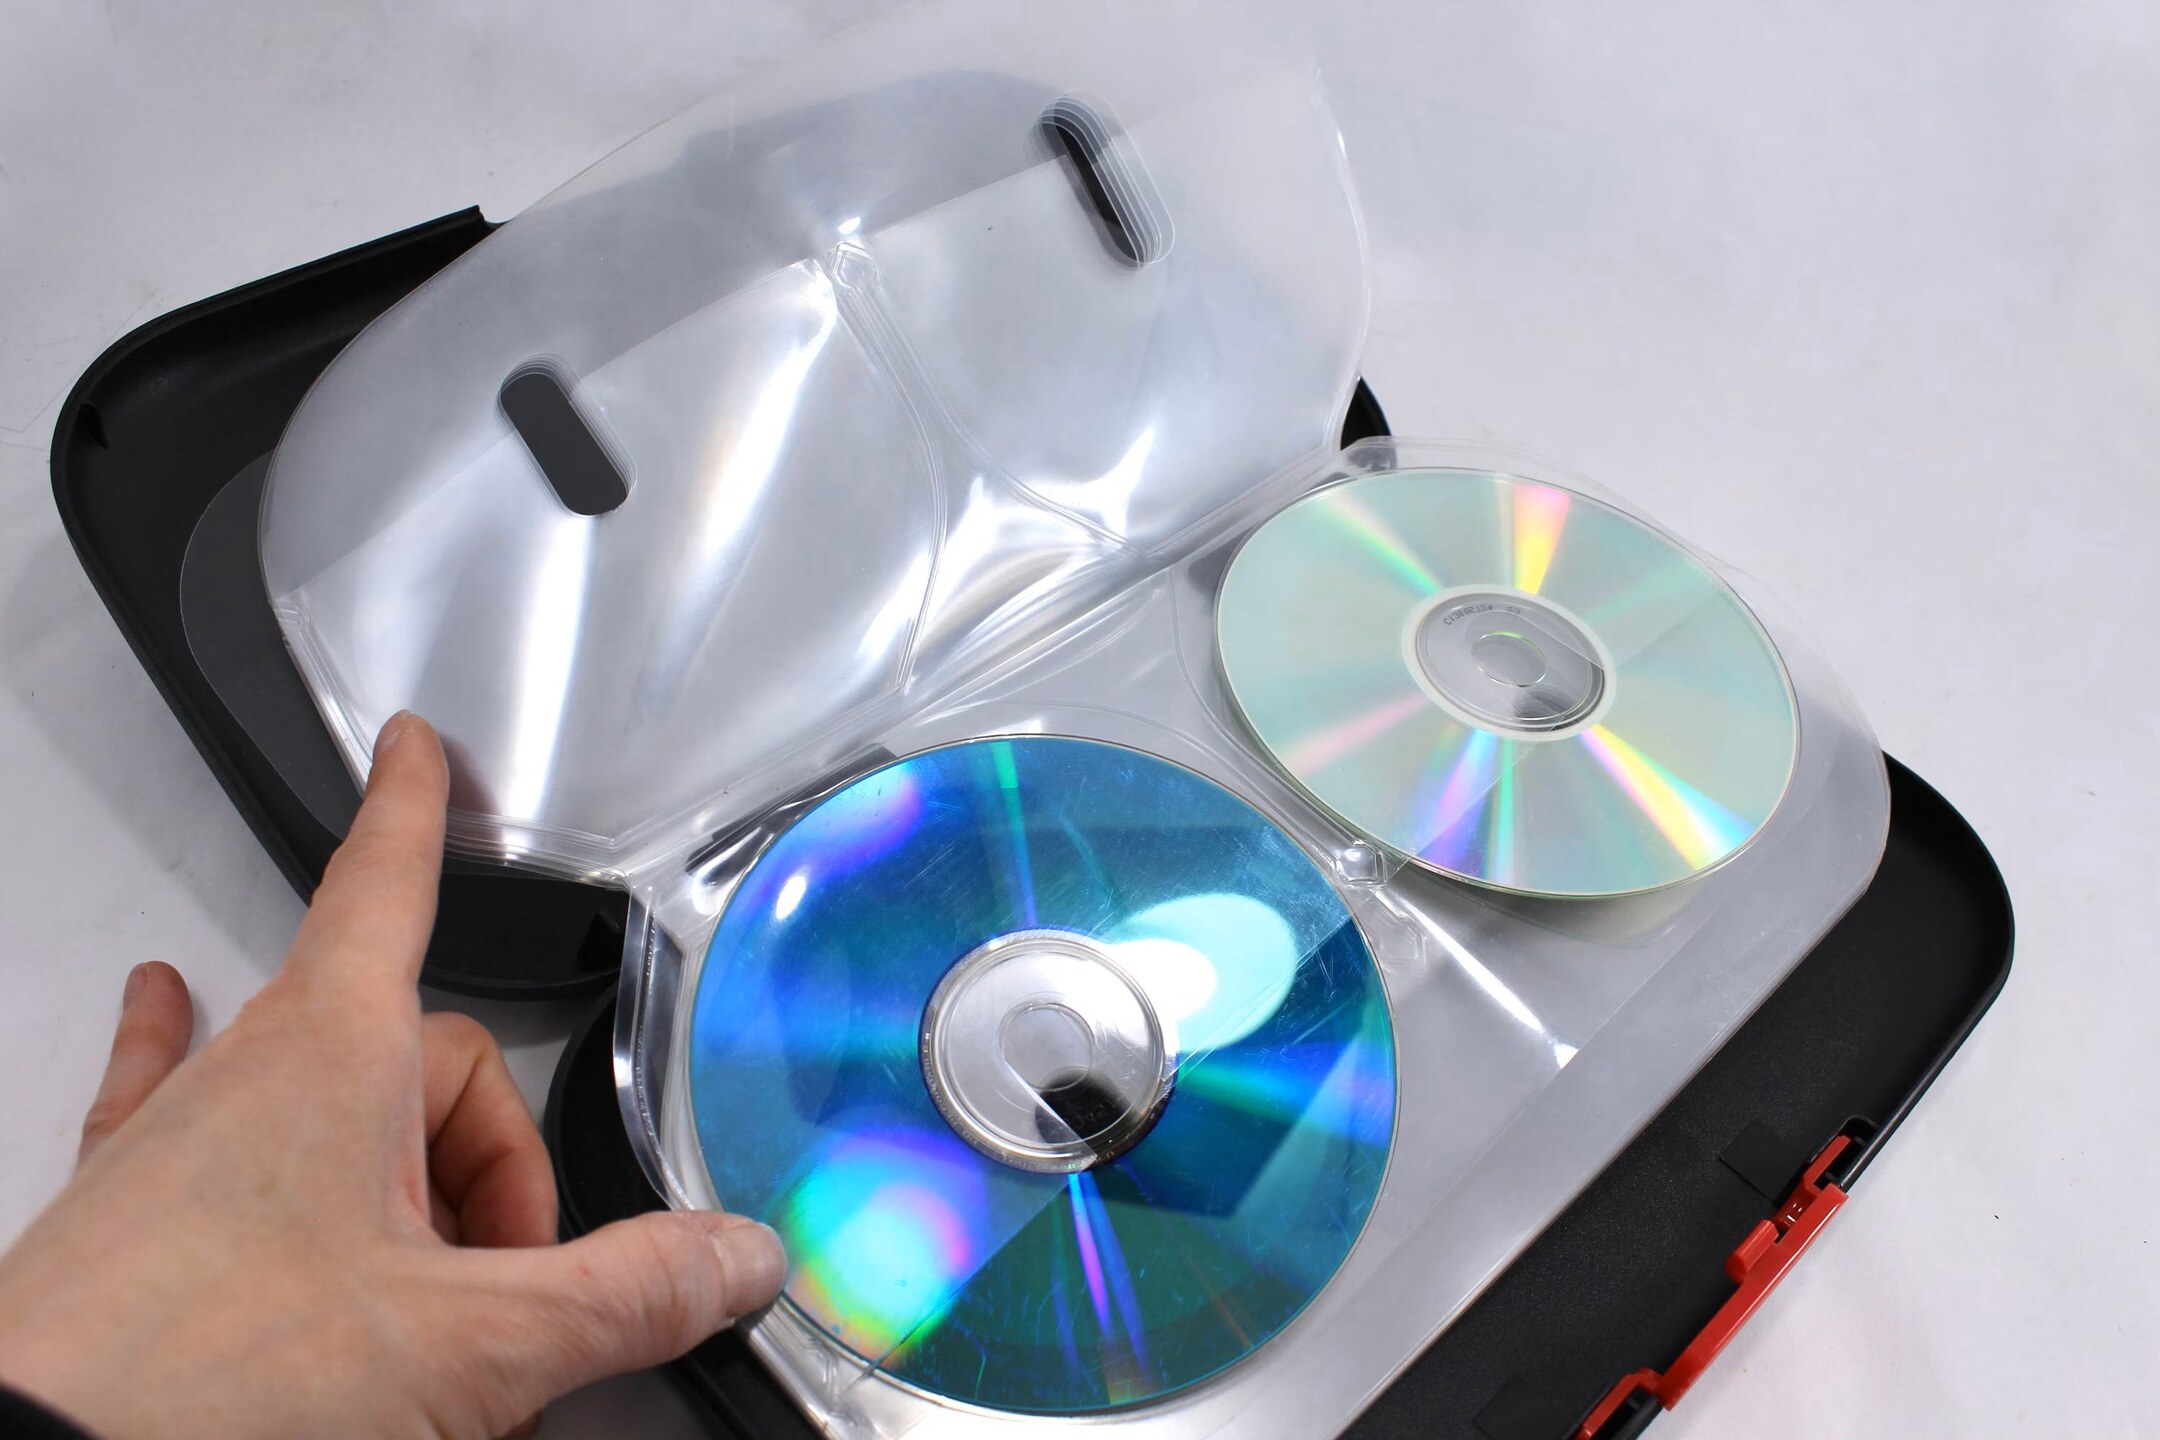
Step 3: Ripping the DVDs
Ripping the DVDs is the process of converting the content from the physical discs into digital files that can be stored on your hard drive. Here’s how you can accomplish this:
- Choose a DVD Ripping Software: There are various DVD ripping software options available, both free and paid. Make sure to choose a reliable and reputable software that allows you to rip your DVDs with ease. Popular choices include HandBrake, MakeMKV, and WinX DVD Ripper.
- Install and Set up the Software: Download and install the chosen DVD ripping software onto your computer. Follow the on-screen instructions to set up the software and ensure it is ready to rip your DVDs.
- Insert the DVD: Insert the DVD you want to rip into your computer’s DVD drive.
- Select Output Format: Within the DVD ripping software, choose the desired output format for your ripped files. Common options include MP4, MKV, and AVI. Consider the compatibility of the format with your devices and desired video quality.
- Choose Target Folder: Select the folder on your hard drive where you want the ripped files to be saved. This should be the folder you created and labeled in the previous step.
- Start the Ripping Process: Click the “Start” or “Rip” button in the software to begin the ripping process. This may take some time, depending on the length of the DVD and the speed of your computer.
- Repeat for Each DVD: Repeat the process for each DVD in your collection, ensuring that you save each file in the appropriate folder.
Once you have finished ripping all your DVDs, you will now have digital files that can be stored on your hard drive. These files retain the audio and video quality of the original DVDs while allowing for easier accessibility and organization.
With the DVDs successfully ripped, let’s move on to the next step: organizing your digital DVD collection on the hard drive.
When storing DVDs on a hard drive, use a reliable software to rip the DVDs and store the files in a well-organized folder structure to easily locate and access them in the future.
Step 4: Organizing the digital DVD collection
Now that you have successfully ripped your DVDs and saved the digital files on your hard drive, it’s time to organize your digital DVD collection for easy navigation and a seamless viewing experience. Follow these steps to effectively organize your collection:
- Use Descriptive File Names: Rename the ripped files with clear and descriptive names that reflect the movie title or TV show name. This will make it easier to identify and locate specific content.
- Tagging and Metadata: Add metadata to your digital files, including movie title, director, actors, and genre. This information can be added manually or automatically if your chosen software supports it. Metadata helps in searching for specific movies or sorting them by genre.
- Create Playlists: If your media player or software supports playlists, create playlists for different genres or themes. This allows you to group similar movies together and play them in a continuous sequence.
- Sort by Category: Create subfolders within your main DVD collection folder based on different categories, such as movies, TV series, and documentaries. This makes it easier to locate specific types of content.
- Organize TV Series: If you have TV shows in your digital DVD collection, create separate folders for each TV show and subfolders for each season. Label them accordingly so you can easily navigate and find specific episodes.
- Include Extras: If desired, create additional folders within each movie or TV show folder to store extras like behind-the-scenes footage, interviews, or alternate versions of the content.
- Consider Ratings and Reviews: If you want to go the extra mile, you can include ratings and reviews for the movies or TV shows in your collection. This can be done by adding text files or utilizing software that allows you to add your own ratings and reviews.
By following these steps, you can create a well-organized and easily accessible digital DVD collection on your hard drive. Whether you want to browse by genre, search by title, or simply enjoy a movie marathon, your organized library will ensure a smooth and enjoyable experience.
Now that your digital DVD collection is organized, it’s time to move on to the next step: storing the ripped DVDs on the hard drive.
Read more: How To Organize A Hard Drive
Step 5: Storing the ripped DVDs on the hard drive
With your digital DVD collection organized and ready, it’s time to store the ripped files on your hard drive. Follow these steps to ensure proper storage of your digital DVD library:
- Create a Dedicated Folder: Start by creating a dedicated folder on your hard drive to store all the ripped DVD files. This will serve as the main directory for your digital collection.
- Transfer the Ripped Files: Copy or move the ripped files from their current location to the dedicated folder on your hard drive. Ensure that you maintain the folder structure and organization you established in the previous steps.
- Verify File Integrity: After transferring the files, take a moment to verify that all the ripped files are intact and playable. Double-check that the file names and folder organization match your desired layout.
- Backup the Ripped Files: Since your digital DVD collection is precious, it’s wise to create a backup of the ripped files. Consider making a copy of the files and storing them on an external hard drive, cloud storage, or another backup solution of your choice.
- Free Up Space: Once you have confirmed the integrity and backup of your ripped files, you can consider freeing up space on your computer’s hard drive by deleting the original DVD files. This ensures that you are maximizing the storage capacity of your computer while keeping your digital DVD collection safe on the dedicated hard drive.
By following these steps, you have successfully stored your ripped DVD files on your hard drive, ensuring they are organized, accessible, and safe from loss or damage.
Now that you have accomplished this step, let’s move on to the final step: managing and accessing your digital DVD library.
Step 6: Managing and accessing the digital DVD library
Now that you have your ripped DVD collection stored on your hard drive, it’s time to manage and access your digital library efficiently. Follow these steps to make the most of your digital DVD collection:
- Choose a Media Player: Select a media player that suits your preferences and supports the file formats of your ripped DVD files. Popular options include VLC Media Player, Kodi, and Plex. Install and set up the media player on your computer or any other device you plan to use.
- Import the Digital DVD Files: Use the media player’s library or file management feature to import the digital DVD files from your hard drive. This will allow the media player to catalog and display your collection in a user-friendly interface.
- Customize Display and Settings: Explore the settings and customization options of your chosen media player. Adjust preferences such as display layout, thumbnail size, and metadata details. This will enhance the visual appeal and usability of your digital DVD library.
- Sync with Other Devices: If you have multiple devices, consider syncing your digital DVD library across them. This will allow you to access your collection from different devices, such as smartphones, tablets, or smart TVs, providing flexibility in where and how you enjoy your movies and TV shows.
- Explore Additional Features: Many media players come with additional features that can enhance your viewing experience. Explore features such as playlist creation, subtitle support, and advanced search options to make the most of your digital DVD library.
- Regular Updates and Maintenance: Keep your digital DVD library up to date by adding new titles as you acquire them and removing any duplicates or outdated files. Regularly update metadata and thumbnails to ensure your collection remains organized and visually appealing.
By following these steps, you can effectively manage and access your digital DVD library. Enjoy the convenience and flexibility of being able to watch your favorite movies and TV shows anytime and anywhere, all from your hard drive and preferred media player.
Congratulations! You have successfully completed all the necessary steps to store your DVDs on a hard drive and create a streamlined and easily accessible digital DVD library. Say goodbye to cluttered shelves and enjoy the convenience of a digital collection that is both organized and portable.
With these steps in mind, you can now embark on the journey of transforming your DVD collection into a digital treasure trove.
Conclusion
Storing DVDs on a hard drive offers a convenient and space-saving solution for organizing and accessing your movie and TV show collections. By following the steps outlined in this article, you can successfully convert your physical DVDs into digital files and create a well-organized digital DVD library.
The process begins with choosing the right hard drive based on storage capacity, connectivity options, portability, reliability, and backup options. Once you have selected the ideal hard drive, you need to prepare it by formatting it and creating folders for organizing your digital DVD collection.
Next, you’ll need to use DVD ripping software to convert your physical discs into digital files. Choose reliable software, install it, and follow the steps to rip each DVD to your desired digital format. Organize the ripped files by renaming them, adding metadata, and creating playlists or subfolders for TV series.
After organizing your collection, it’s time to store the ripped files on your hard drive. Create a dedicated folder, transfer the files, verify their integrity, and consider creating backups to ensure the safety of your digital DVD library.
Once your collection is stored on the hard drive, you can manage and access it with a media player of your choice. Import the digital DVD files, customize the display and settings, and explore additional features offered by the media player. Consider syncing your library across devices for added convenience.
In conclusion, storing DVDs on a hard drive eliminates the need for physical storage and provides easy accessibility to your favorite movies and TV shows. It allows for efficient organization, customization, and a seamless viewing experience. Enjoy the benefits of a clutter-free space and the convenience of a well-managed digital DVD library.
Embrace the digital age and transform your DVD collection into a compact, organized, and accessible virtual library on your hard drive. Say goodbye to DVD clutter and embrace the freedom and flexibility of a digital DVD collection.
Frequently Asked Questions about How To Store DVDs On Hard Drive
Was this page helpful?
At Storables.com, we guarantee accurate and reliable information. Our content, validated by Expert Board Contributors, is crafted following stringent Editorial Policies. We're committed to providing you with well-researched, expert-backed insights for all your informational needs.


0 thoughts on “How To Store DVDs On Hard Drive”