Home>Articles>How To Store IPhone Photos On External Hard Drive
Articles
How To Store IPhone Photos On External Hard Drive
Modified: October 20, 2024
Learn how to store iPhone photos on an external hard drive with our comprehensive articles. Safeguard your memories and free up space on your device.
(Many of the links in this article redirect to a specific reviewed product. Your purchase of these products through affiliate links helps to generate commission for Storables.com, at no extra cost. Learn more)
Introduction
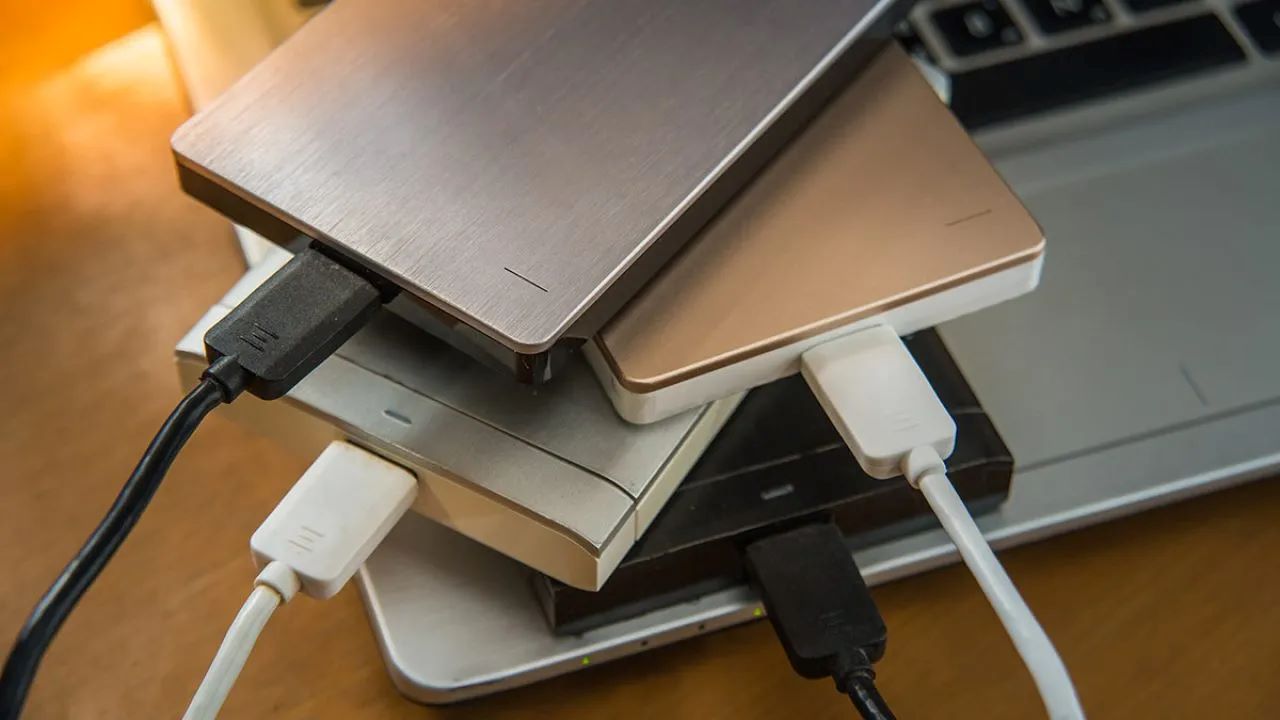
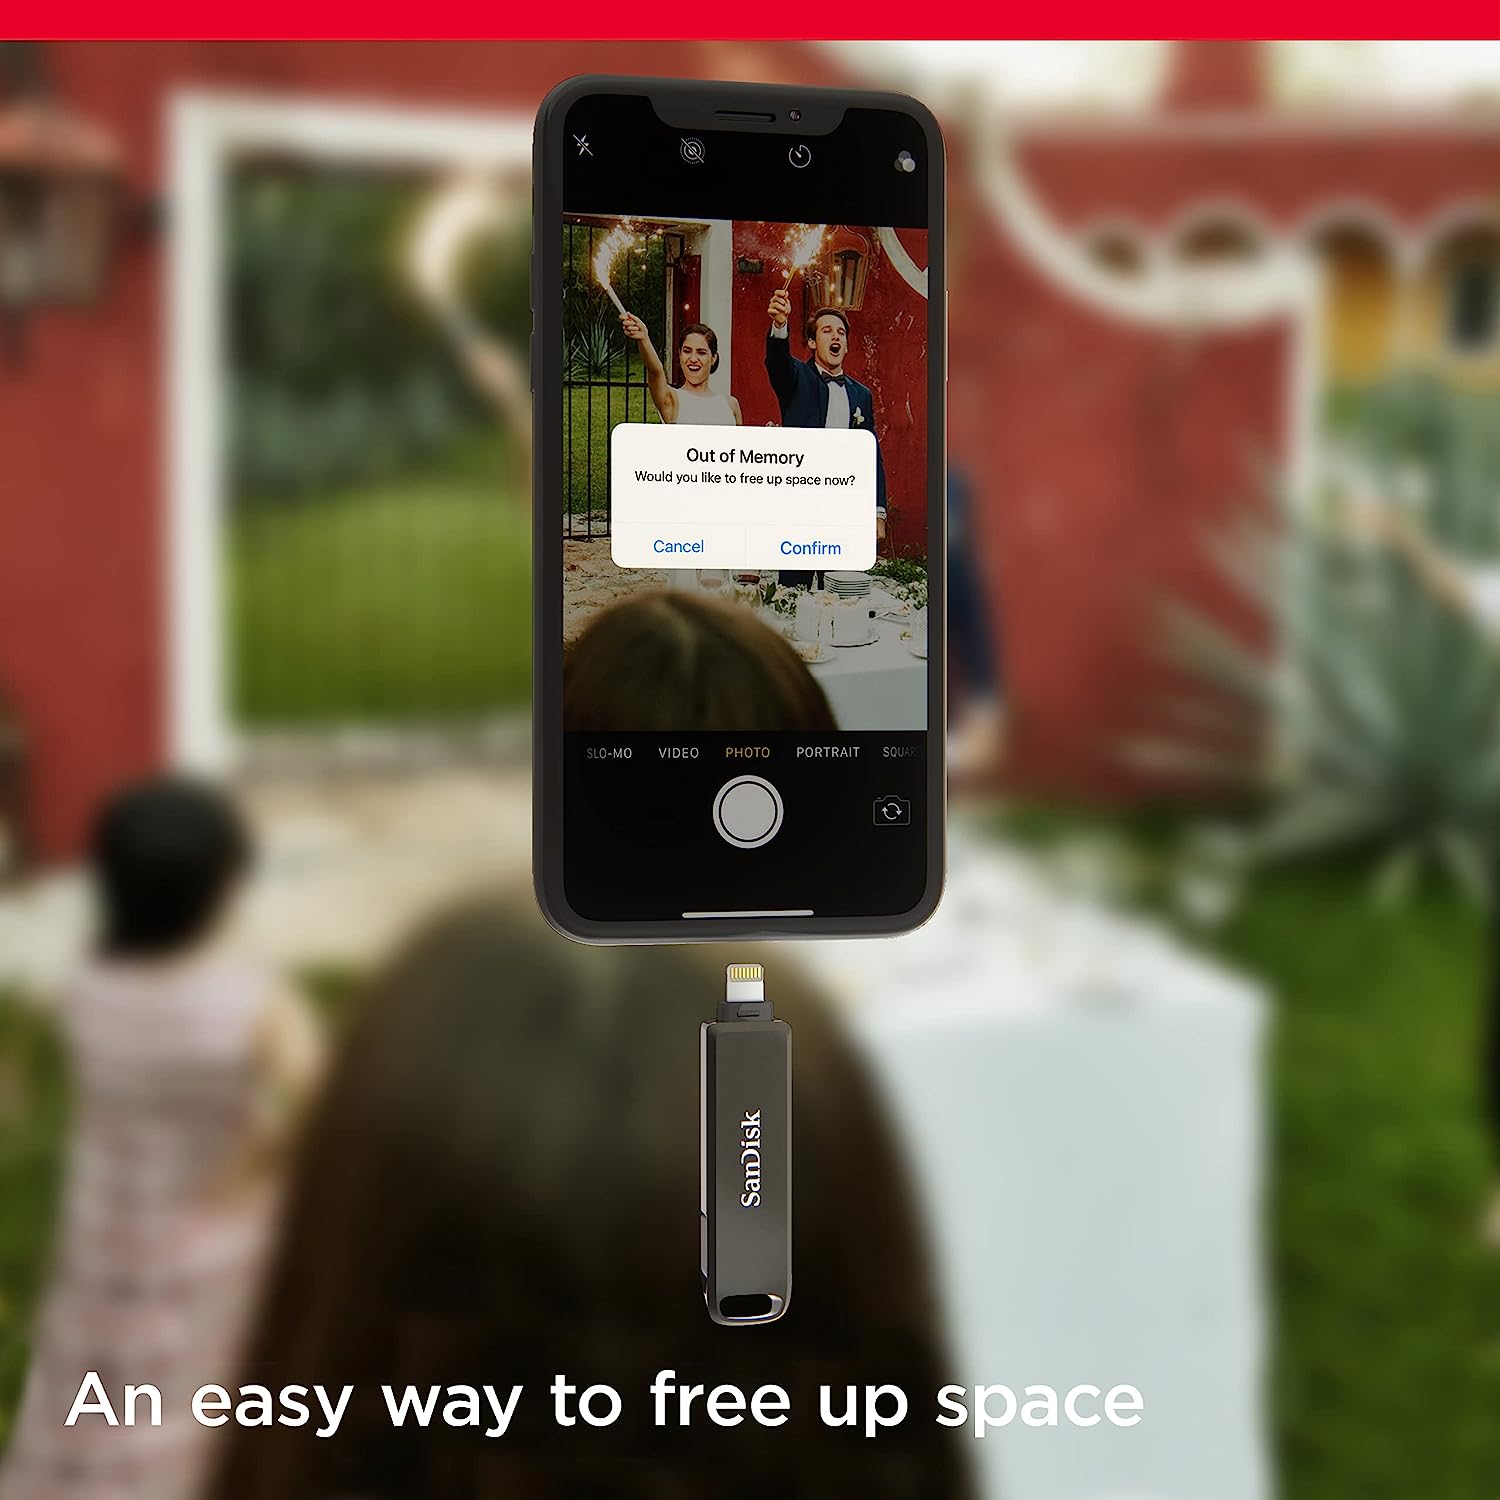
With the advancement of technology and the increasing capabilities of smartphones, we have become prolific photographers, capturing countless photos with our iPhones. However, as we continue to accumulate these precious memories, the limited storage space on our devices becomes a challenge. This is where external hard drives come to the rescue!
External hard drives provide a convenient and secure way to store and backup our iPhone photos, freeing up precious space on our devices. In this article, we will explore various methods to store our iPhone photos on external hard drives. Whether you have a Windows PC or a Mac, these methods will help you safely store your photos and ensure they are easily accessible whenever you need them.
Before we dive into the methods, it is important to note that backing up your iPhone photos regularly is essential to prevent loss of data. External hard drives offer an additional layer of protection against accidental deletion, device damage, or loss. Let’s explore the different methods you can use to store your iPhone photos on an external hard drive.
Key Takeaways:
- Safely store and back up iPhone photos on external hard drives using the Files app, third-party apps, iCloud Drive, or iTunes. Free up device space and ensure precious memories are easily accessible and protected against loss or damage.
- Explore various methods to transfer iPhone photos to external hard drives, catering to different preferences and storage needs. Choose the most suitable approach to safeguard and organize your memories while optimizing device storage.
Read also: 14 Best External Hard Drive Storage For 2025
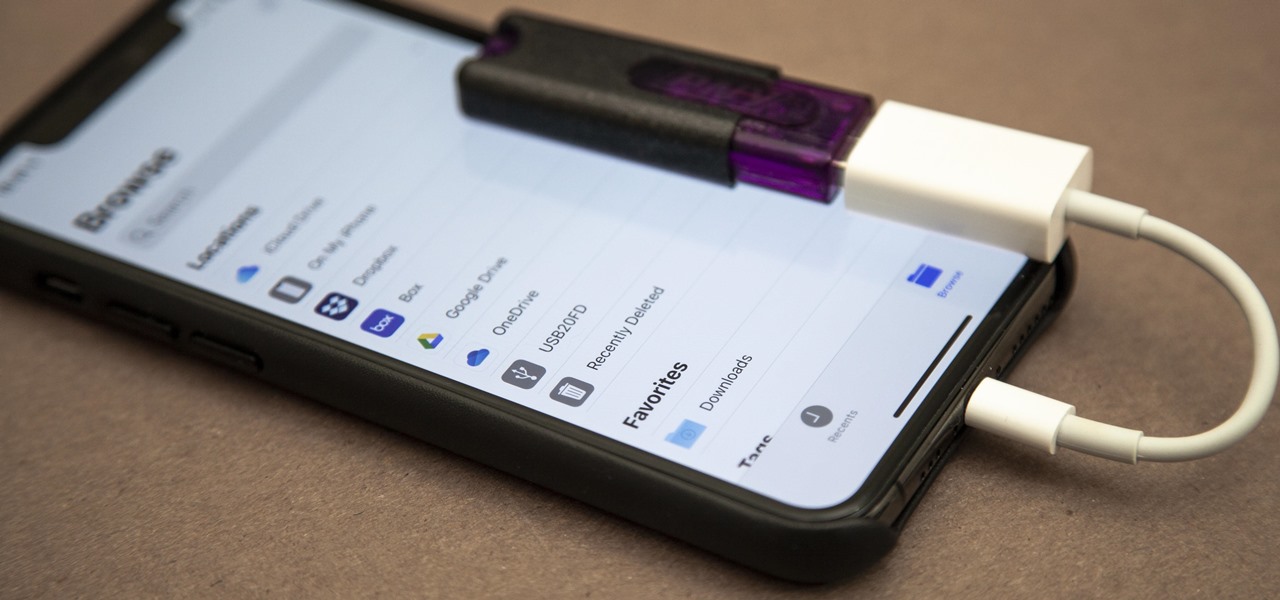
Method 1: Using the Files App
The Files app is an essential tool built into iOS that allows you to manage and organize files on your iPhone. It also provides the ability to transfer files to external storage devices, including external hard drives. Here’s how you can use the Files app to store your iPhone photos on an external hard drive:
- Connect your external hard drive to your iPhone using the appropriate adapter or cable.
- Open the Files app on your iPhone. If you can’t find it on your home screen, swipe down from the middle of the screen and type “Files” in the search bar.
- Navigate to the folder where your photos are stored. This could be the Photos app album or other third-party photo apps.
- Select the photos you want to transfer to the external hard drive by tapping on them. You can select multiple photos by tapping and dragging your finger or using the select button at the top right corner.
- Tap the “Share” icon, which looks like a square with an arrow pointing upward.
- Scroll through the app suggestions and tap “Save to Files.” If you don’t see this option, scroll all the way to the right and tap “More” to enable it.
- Choose the location where you want to save the photos. Select your external hard drive from the available locations.
- Tap “Save” to transfer the selected photos to the external hard drive.
Once the transfer is complete, you can safely disconnect the external hard drive from your iPhone. Your photos are now stored on the external hard drive, ensuring you have extra space on your iPhone and a backup of your precious memories.
It’s worth noting that the Files app may have limitations depending on the model and storage capacity of your iPhone. If you encounter any issues or the transfer process is slow, consider using alternative methods or apps that specialize in photo transfers.
Method 2: Using Third-Party Apps
If you prefer a more specialized approach to storing your iPhone photos on an external hard drive, you can explore the use of third-party apps. These apps are specifically designed to provide seamless file transfer and organization capabilities. Here’s how you can use third-party apps to store your iPhone photos on an external hard drive:
- Search and download a third-party app that supports file transfer and external storage. Some popular options include Documents by Readdle, FileExplorer, or iMazing.
- Install the app on your iPhone and launch it.
- Connect your external hard drive to your iPhone using the appropriate adapter or cable.
- Follow the app’s instructions to access the external hard drive within the app. This may involve granting permissions or performing specific setup steps.
- Navigate to the folder where your photos are stored. This could be the Photos app album or other third-party photo apps.
- Select the photos you want to transfer to the external hard drive by tapping on them.
- Look for an option to “Export” or “Move” the selected photos to the external hard drive. This may be represented by an icon or a menu option.
- Choose your external hard drive as the destination for the photos and initiate the transfer.
- Wait for the transfer to complete. This process may take some time depending on the size and number of photos being transferred.
Once the transfer is finished, you can safely disconnect the external hard drive from your iPhone. Your photos are now securely stored on the external hard drive, giving you extra space on your device and peace of mind knowing that your memories are backed up.
Remember to regularly check for updates from the selected third-party app to ensure compatibility and optimize functionality. These apps often provide additional features, such as file organization, encryption, and syncing capabilities, that can enhance your overall photo storage and management experience.
While third-party apps can offer more flexibility and features, it’s essential to choose a reputable app from the App Store and read reviews before downloading. This ensures you are using a reliable and secure solution for storing your iPhone photos on an external hard drive.
You can store iPhone photos on an external hard drive by using a computer to transfer the photos from your iPhone to the external hard drive. Simply connect your iPhone to the computer, transfer the photos to a folder on the hard drive, and safely eject the hard drive.
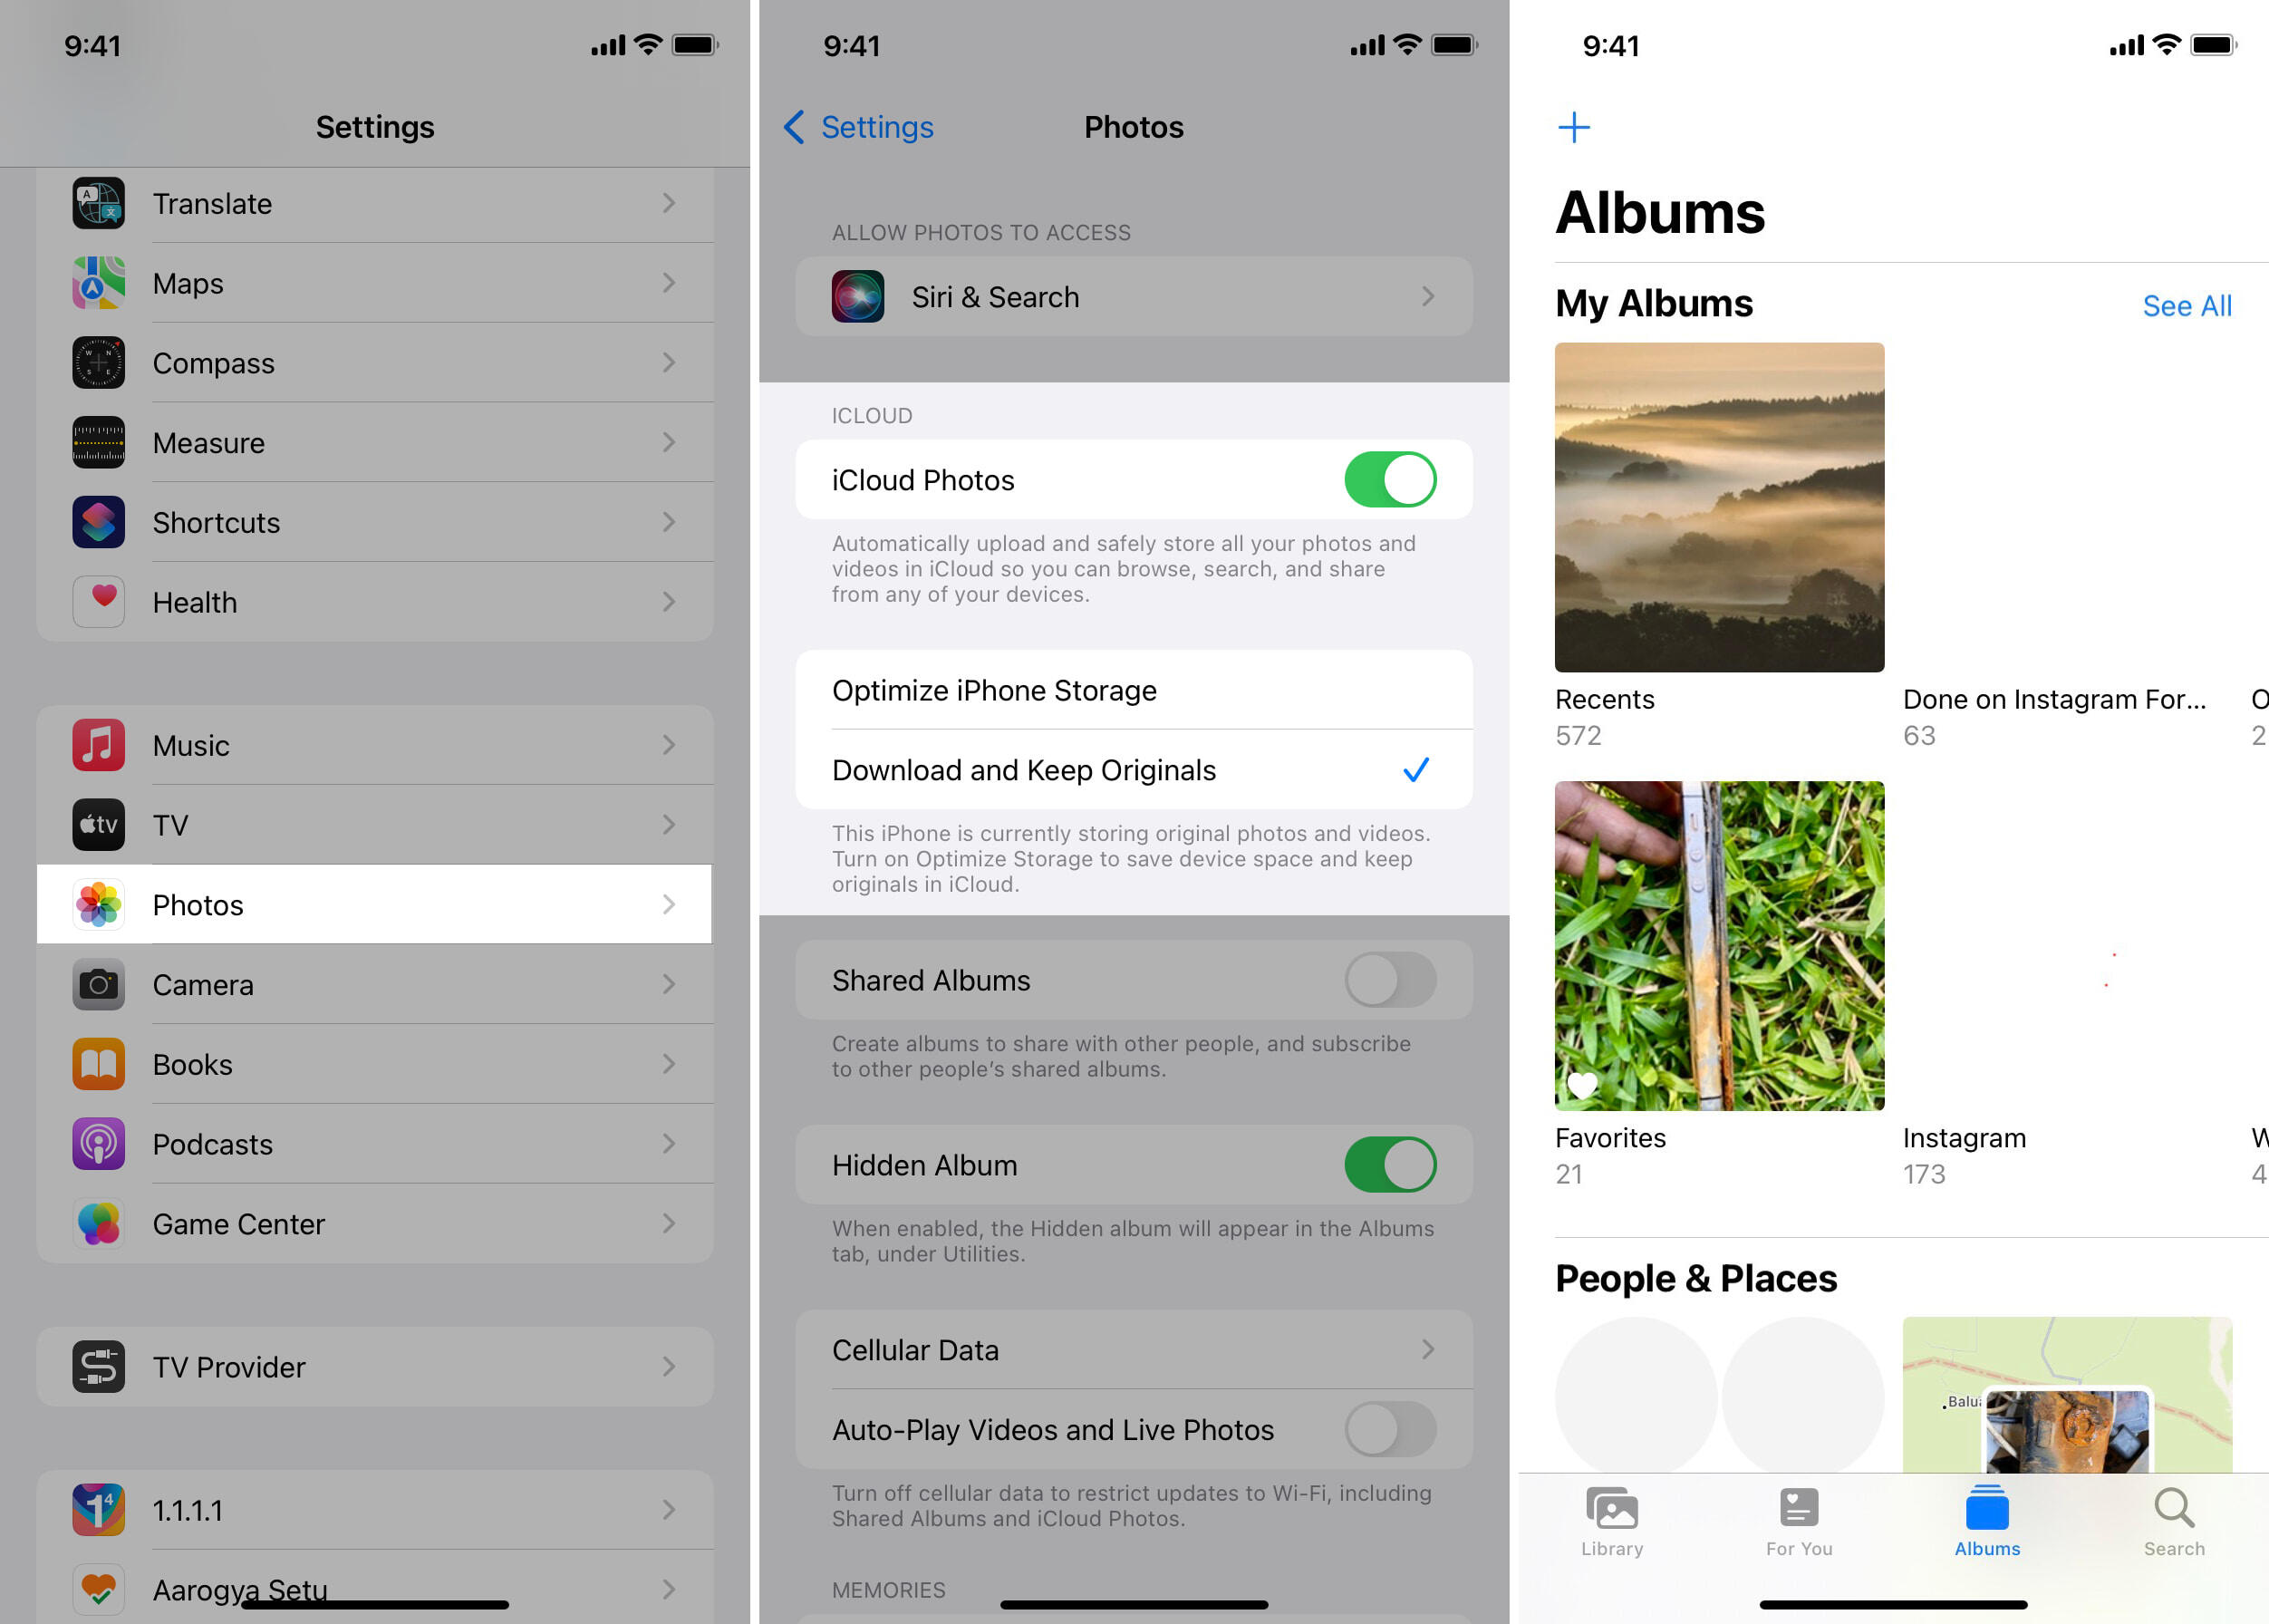
Method 3: Using the iCloud Drive
If you are subscribed to Apple’s iCloud storage service, you can take advantage of the iCloud Drive to store your iPhone photos on the cloud and access them from any device, including external hard drives. Here’s how you can use the iCloud Drive to store your iPhone photos:
- Make sure your iPhone is connected to a stable Wi-Fi network.
- Open the Settings app on your iPhone and tap on your name at the top of the screen.
- Select “iCloud” from the menu.
- Tap on “Manage Storage” or “iCloud Storage,” depending on your iOS version.
- Tap on “Photos” and toggle on “iCloud Photos” or “iCloud Photo Library” if it’s not already enabled.
- Wait for your iPhone to sync your photos to iCloud. This process may take some time depending on the number of photos and your internet connection.
- On your computer, open a web browser and visit https://www.icloud.com.
- Sign in with your Apple ID and password.
- Click on the “Photos” icon to access your iCloud Photo Library.
- Select the photos you want to transfer to your external hard drive by clicking on them.
- Click on the “Download” button represented by a cloud with a down arrow. This will download the selected photos to your computer.
- Connect your external hard drive to your computer.
- Navigate to the folder where you want to store your iPhone photos on your external hard drive.
- Copy and paste the downloaded photos from your computer to the external hard drive.
Once the transfer is complete, you can safely disconnect the external hard drive from your computer. Your iPhone photos are now stored on the external hard drive through the iCloud Drive, providing you with an additional backup and easy access to your photos whenever you need them.
Keep in mind that using the iCloud Drive may require a paid subscription, depending on the amount of storage you require. Additionally, ensure you have sufficient space available on your iCloud storage to accommodate your iPhone photos.
Method 4: Using iTunes
If you prefer to use a more traditional method and have access to a computer, you can utilize iTunes to store your iPhone photos on an external hard drive. By taking advantage of iTunes’ backup and sync capabilities, you can easily transfer your photos to your computer and subsequently to the external hard drive. Here’s how you can use iTunes to store your iPhone photos:
- Connect your iPhone to your computer using a USB cable.
- Open iTunes on your computer. If it doesn’t open automatically, launch it manually.
- Click on the device icon that appears in the upper-left corner of the iTunes window. This will take you to the Summary page.
- Under the “Backups” section, click on “This computer” to ensure your iPhone backups are stored locally on your computer.
- Click on the “Back Up Now” button to initiate a backup of your iPhone to your computer. This will include your photos in the backup file.
- Wait for the backup process to complete. This may take several minutes depending on the size of your backup and the speed of your computer.
- Once the backup is finished, navigate to the backup location on your computer. The default backup location varies depending on your operating system:
- Windows: C:Users[Your Username]AppDataRoamingApple ComputerMobileSyncBackup
- Mac: ~/Library/Application Support/MobileSync/Backup
- Locate the backup folder with a recent timestamp representing your iPhone backup.
- Copy the backup folder to your external hard drive.
By backing up your iPhone and copying the backup folder to your external hard drive, you are ensuring that your iPhone photos are safely stored and easily accessible, both on your computer and the external hard drive.
It’s important to note that when restoring your iPhone from an iTunes backup, the photos will be restored to your iPhone, but they will no longer be accessible directly from the external hard drive. Therefore, it’s recommended to regularly update your backup to include any new photos you have taken.
Additionally, ensure that you have enough storage space available on your computer and external hard drive to accommodate the backup files and your iPhone photos.
With these methods at your disposal, you can choose the one that best suits your needs and preferences to store your iPhone photos on an external hard drive. By utilizing external storage, you can free up space on your device while keeping your precious memories safe and easily accessible.
Read more: Is It Worth Buying SSD External Hard Drive?
Conclusion
As our iPhones continue to evolve into powerful devices capable of capturing stunning photos, the need for additional storage becomes apparent. By utilizing external hard drives, we can free up space on our devices while ensuring our precious memories are securely stored and easily accessible. In this article, we explored four methods to store iPhone photos on external hard drives: using the Files app, utilizing third-party apps, leveraging the iCloud Drive, and utilizing iTunes.
The Files app provides a built-in solution for transferring photos to external hard drives directly from your iPhone. It offers a simple and straightforward process for managing and organizing files. Additionally, third-party apps offer specialized features and functionality for file transfer and organization, catering to specific user preferences. These apps provide a more comprehensive solution for managing and storing iPhone photos on external hard drives.
The iCloud Drive, if you subscribe to Apple’s iCloud storage service, offers seamless integration with your iPhone, allowing you to store and access your photos across multiple devices. The cloud-based approach ensures that your photos are safely stored and readily available wherever you go. Lastly, using iTunes provides a more traditional method for backing up and syncing your iPhone photos to your computer and subsequently to the external hard drive.
Regardless of the method you choose, it is crucial to regularly back up your iPhone photos to prevent any accidental loss or damage. External hard drives offer an additional layer of protection, ensuring your memories are safe and accessible for years to come. Consider your storage requirements, preferences, and device compatibility when selecting the most suitable method for storing your iPhone photos on an external hard drive.
In conclusion, taking advantage of external hard drives as a storage solution for iPhone photos not only frees up valuable space on your device but also provides a secure backup of your memories. Explore the methods mentioned in this article and find the one that fits your needs best. Preserve and cherish your photos while enjoying the flexibility and convenience of additional storage options.
Frequently Asked Questions about How To Store IPhone Photos On External Hard Drive
Was this page helpful?
At Storables.com, we guarantee accurate and reliable information. Our content, validated by Expert Board Contributors, is crafted following stringent Editorial Policies. We're committed to providing you with well-researched, expert-backed insights for all your informational needs.


0 thoughts on “How To Store IPhone Photos On External Hard Drive”