
Articles
How To Store Garden Vegetables Long-Term
Modified: August 17, 2024
Learn how to store garden vegetables long-term with these helpful articles. Discover the best methods to keep your produce fresh and delicious.
(Many of the links in this article redirect to a specific reviewed product. Your purchase of these products through affiliate links helps to generate commission for Storables.com, at no extra cost. Learn more)
Introduction
When it comes to gardening, there’s nothing quite as satisfying as harvesting your own delicious vegetables. However, if you find yourself with an abundance of produce, it can be challenging to consume it all before it spoils. The good news is that with proper storage techniques, you can enjoy your garden vegetables long after the growing season is over.
In this article, we will explore various methods for storing garden vegetables long-term, ensuring that you can savor the taste of your homegrown produce throughout the year. Whether you have a root cellar, basement, garage, refrigerator, or freezer, there’s a storage solution for everyone. We’ll also cover dehydrating and canning methods for preserving vegetables and provide some helpful tips for maintaining the quality of your stored produce.
So, let’s dig in and discover the secrets to keeping your garden vegetables fresh and flavorful for months to come.
Key Takeaways:
- Proper storage of garden vegetables allows year-round enjoyment of homegrown produce. From root cellars to canning, various methods cater to different vegetables’ needs, ensuring freshness and flavor preservation.
- Harvesting and handling techniques, along with suitable storage methods, are crucial for maintaining the quality of garden vegetables. Understanding the specific requirements of each vegetable ensures long-term enjoyment of the harvest.
Read more: How To Store Apples Long-Term
Types of Garden Vegetables that can be Stored Long-Term
Not all garden vegetables are suitable for long-term storage. Some vegetables are more perishable and require specific conditions to stay fresh for an extended period. However, there are several types of vegetables that are resilient and can be stored for months if properly handled.
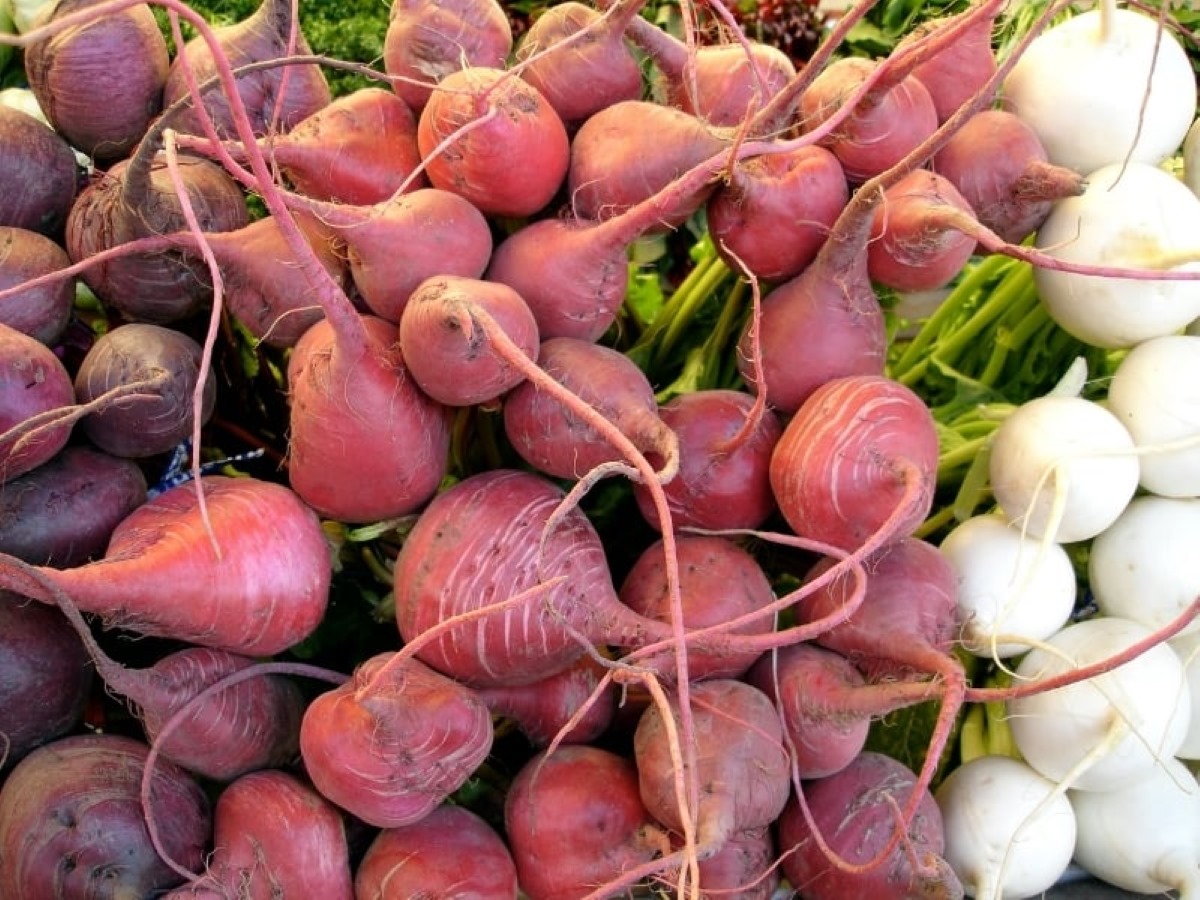
1. Root Vegetables: Root vegetables like carrots, beets, turnips, and radishes have a high storage potential. They can be stored in a cool and dark place, such as a root cellar or refrigerator, by removing the greens and keeping them in a plastic bag or container with damp sand or sawdust to maintain moisture.
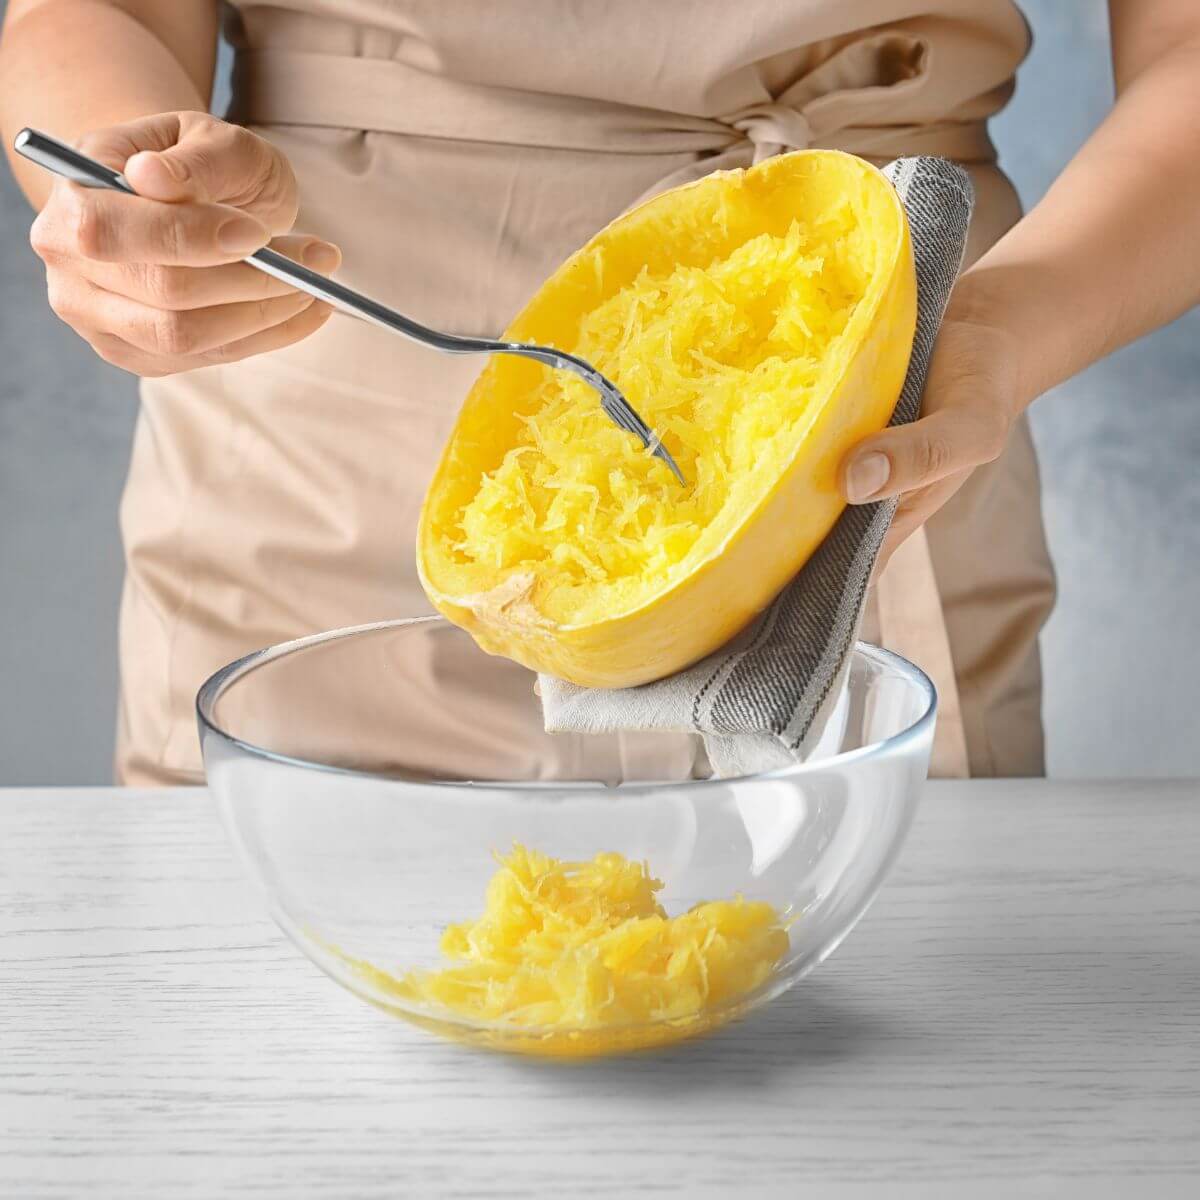
2. Winter Squash: Varieties such as butternut, acorn, and spaghetti squash have a hard outer shell, making them great candidates for long-term storage. Store them in a cool and dry place, like a basement or garage, with good ventilation to prevent mold or rot.
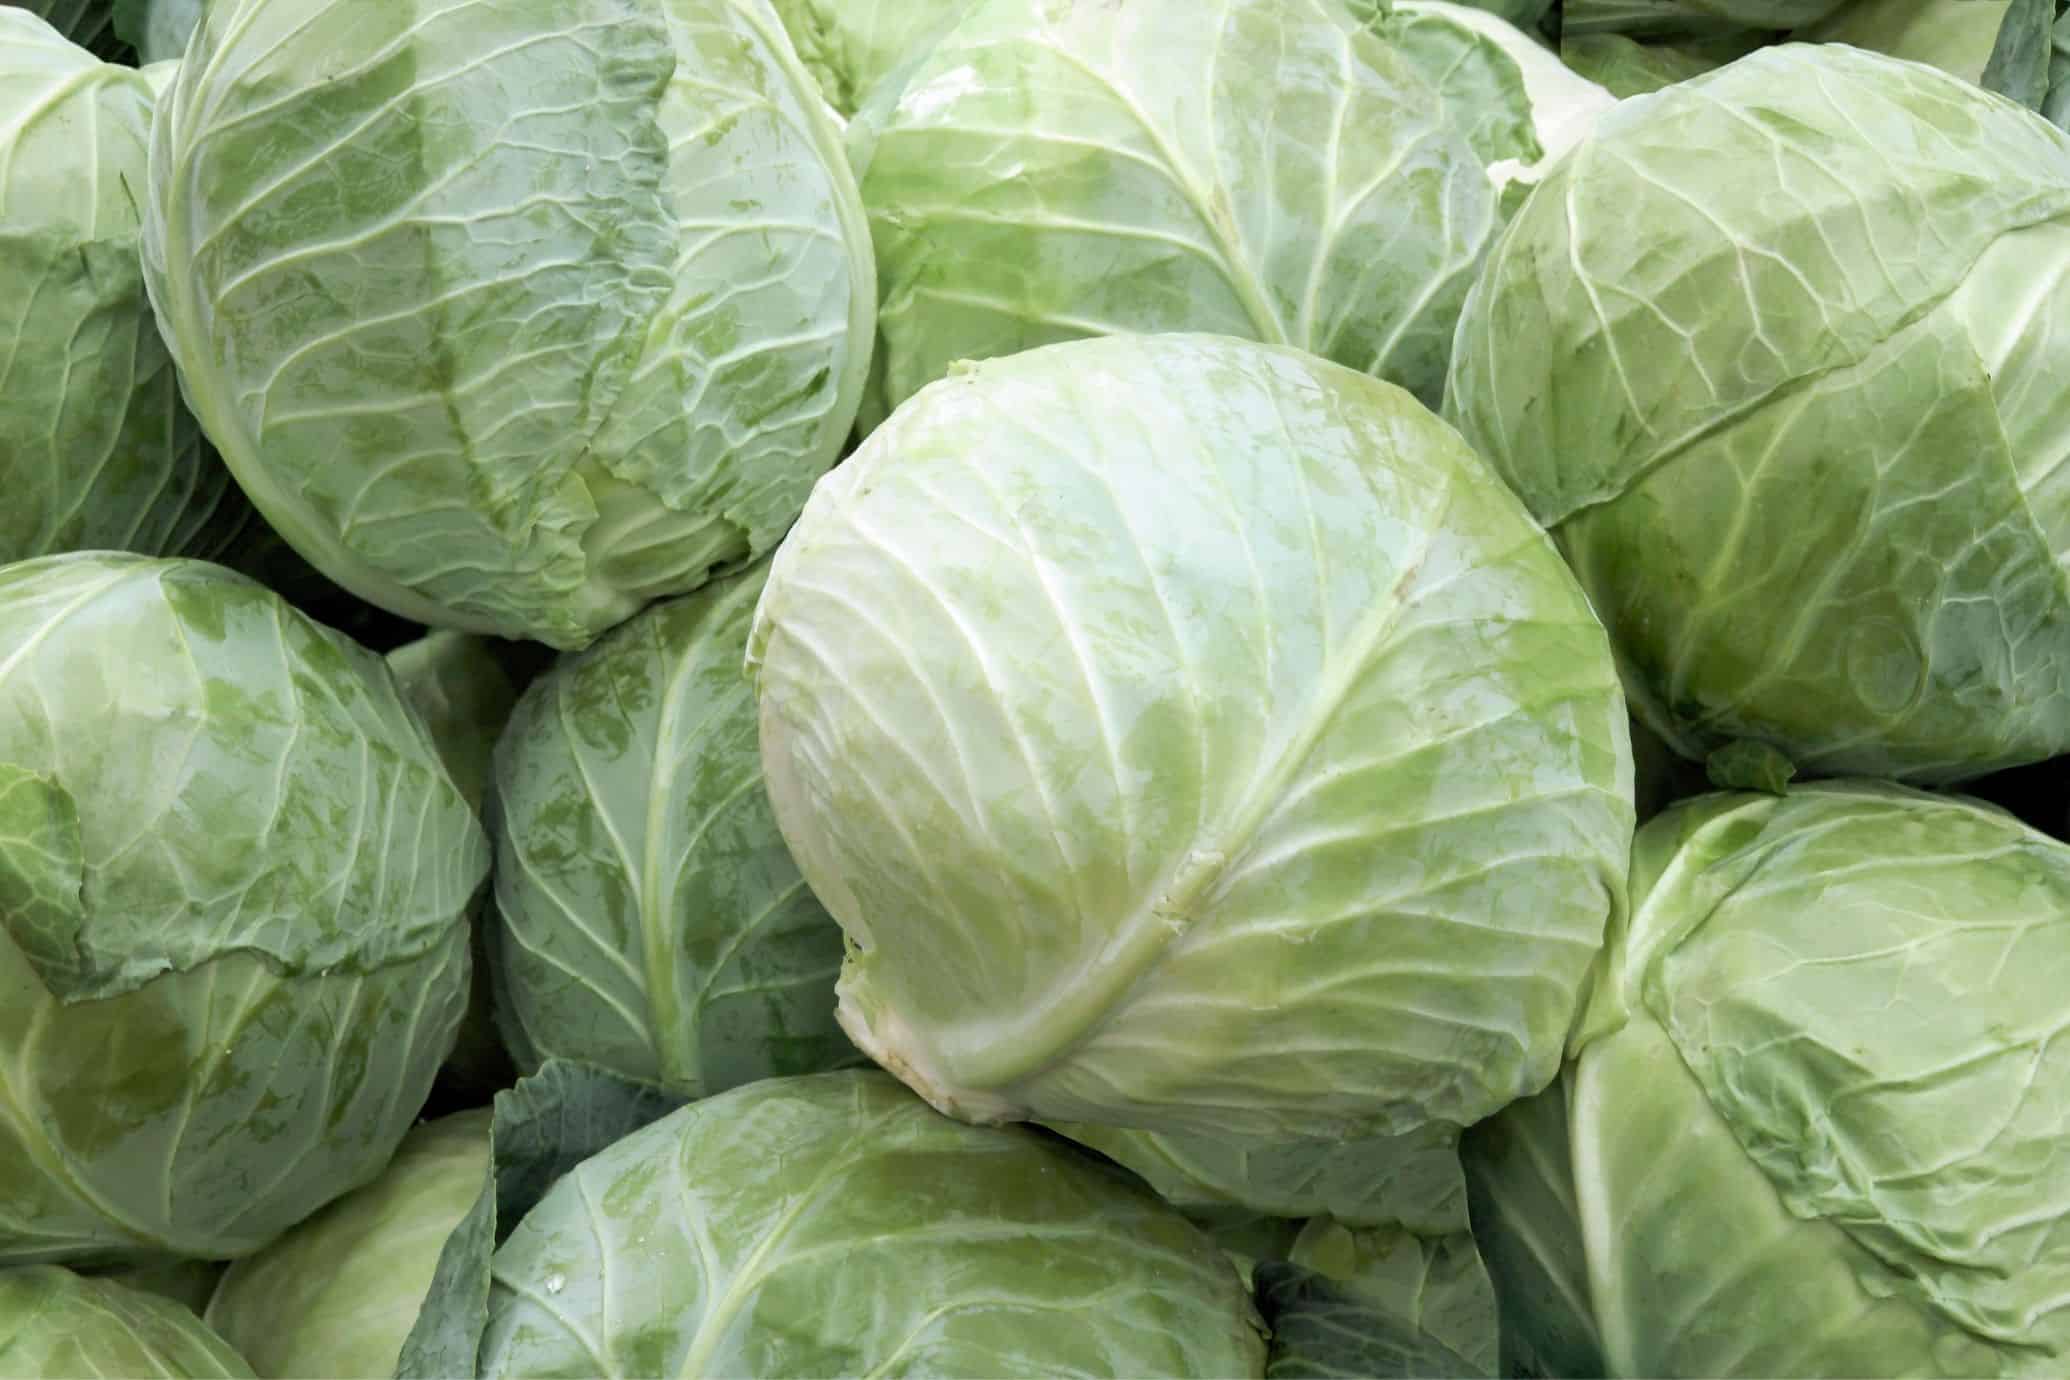
3. Cabbage Family: Cabbage, kale, Brussels sprouts, and other members of the cabbage family can be stored for several months. Remove any damaged or yellow leaves and keep them in a cool, humid environment to prevent wilting.
4. Potatoes: Potatoes can last for months if stored correctly. Store them in a cool, dark, and well-ventilated area, away from onions and other vegetables that produce ethylene gas, which can cause them to sprout prematurely.
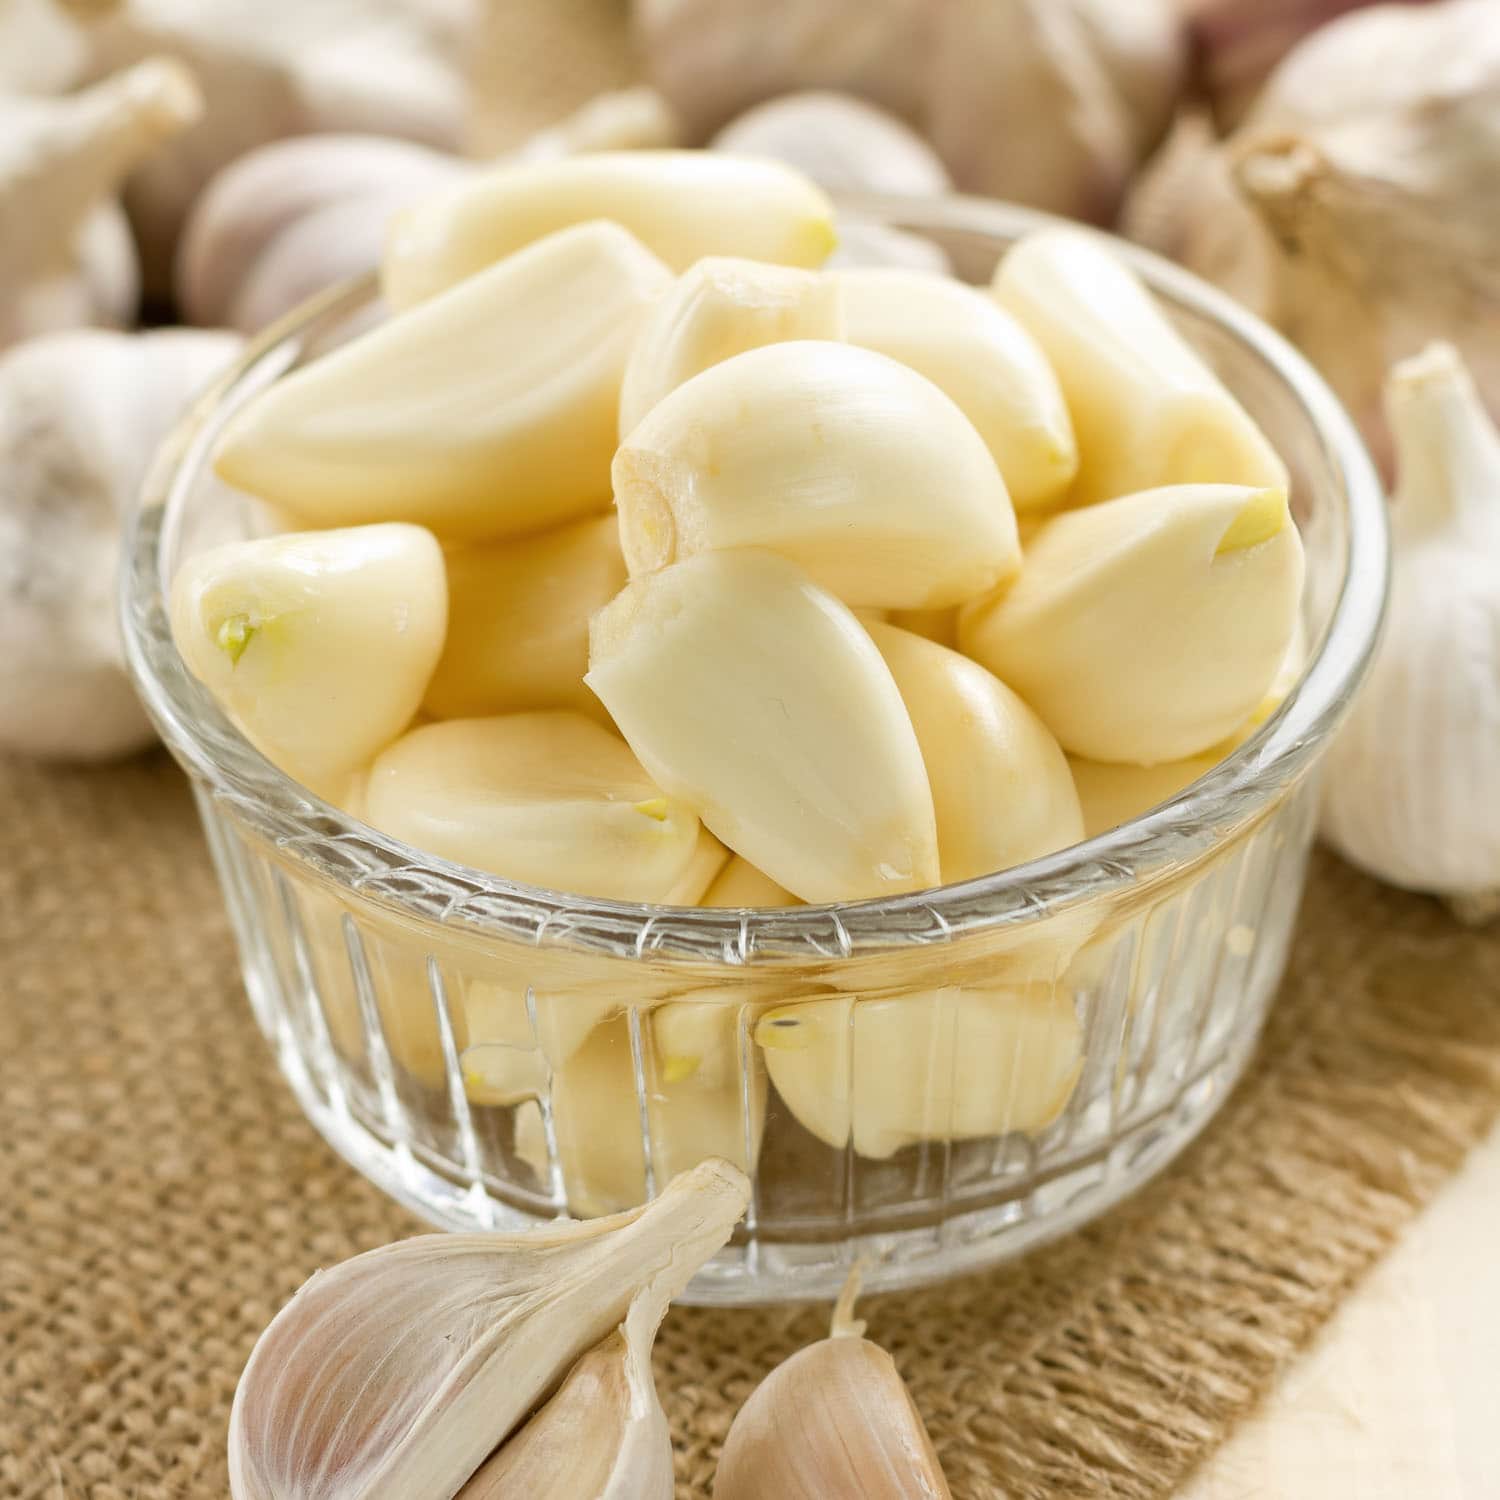
5. Onions and Garlic: Onions and garlic prefer a cool, dry, and well-ventilated environment. Ideally, they should be stored in a mesh or wire basket to allow for proper air circulation, preventing them from becoming soft or moldy.
6. Winter Greens: Hardy greens like kale, Swiss chard, and collard greens can be stored for a short duration. Wrap them loosely in a damp paper towel and place them in a plastic bag in the refrigerator.
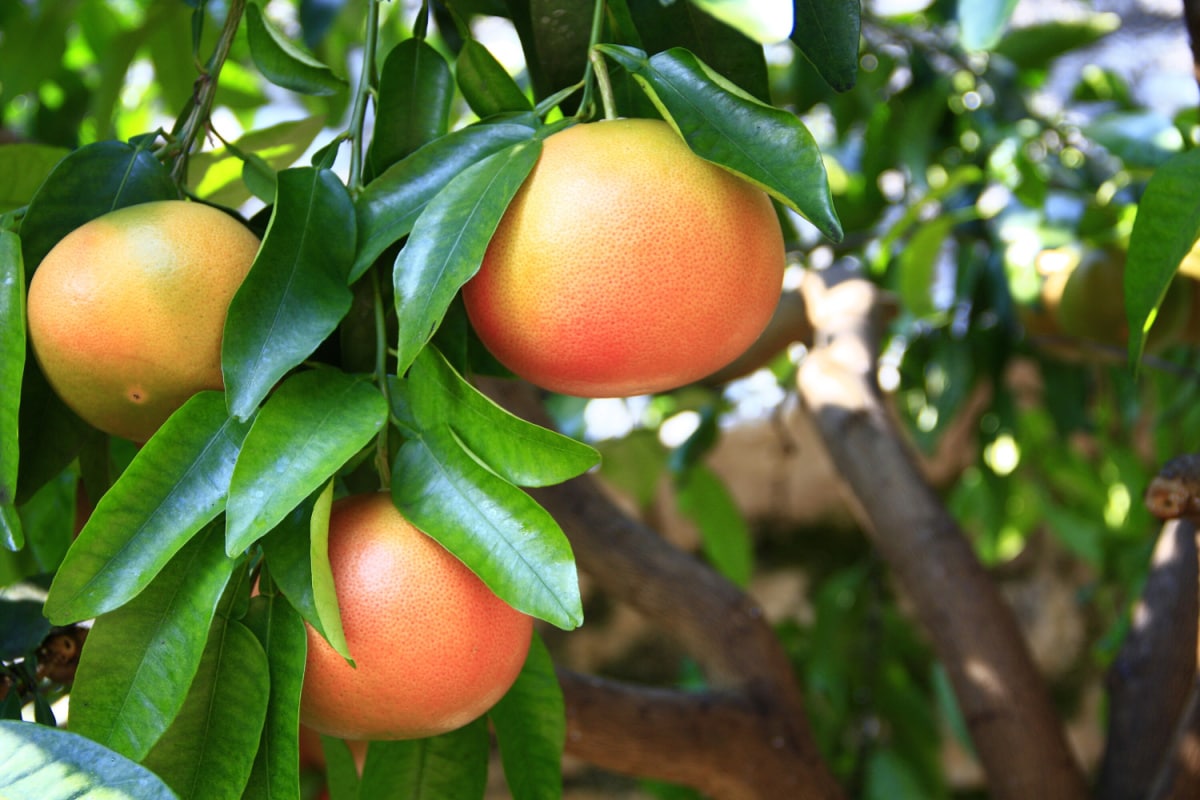
7. Pumpkins: With their thick skins, pumpkins can last for several months in a cool and dry area. Just make sure to avoid storing them directly on the ground to prevent rotting.
Remember, it’s crucial to inspect your vegetables before storing them. Discard any bruised, damaged, or diseased produce, as they can spoil the entire batch during storage.
By focusing on these resilient vegetables, you can ensure a bountiful supply of fresh produce throughout the year.
Harvesting Garden Vegetables for Storage
The key to successful long-term storage of garden vegetables starts with proper harvesting techniques. Harvesting at the right time and handling vegetables carefully will help maximize their storage potential.
1. Timing: Harvest your vegetables at their peak of ripeness. Each vegetable has its own harvesting window, so refer to seed packets or gardening resources to determine the optimal time for harvesting. Generally, harvesting in the morning when temperatures are cooler can help maximize freshness.
2. Handle with Care: When harvesting, handle vegetables gently to avoid bruising or damaging them. Use a sharp knife or pruning shears to cut the produce from the plant, leaving a small portion of the stem intact.
3. Remove Excess Soil: Gently brush off any excess soil from the vegetables. Avoid washing them before storage, as moisture can lead to decay. However, if your vegetables are exceptionally dirty, you can lightly rinse and dry them before storing.
4. Sort and Inspect: Sort your harvested vegetables, separating any damaged, diseased, or overripe ones. These should not be stored as they can spoil the entire batch. Only select vegetables in their prime condition for storage.
5. Cure Certain Vegetables: Some vegetables require curing before storage to enhance their flavor and extend their shelf life. Examples of vegetables that benefit from curing include winter squash, onions, and garlic. To cure them, leave them in a warm, dry, and well-ventilated area for a few weeks until their skin thickens and hardens.
6. Trim Excess Greens: For root vegetables like carrots and beets, remove the green tops before storing. The greens draw moisture from the vegetable, causing them to wilt quickly.
7. Properly Package: Choose the appropriate packaging method for each vegetable. Some can be stored in containers, while others require bags or wrappers. Keep in mind that good air circulation is essential for most vegetables to prevent rotting. Use breathable materials like paper or mesh to allow for ventilation.
By following these harvesting guidelines, you can ensure that your homegrown vegetables are harvested at their peak and are ready for long-term storage.
Preparing Garden Vegetables for Long-Term Storage
Before storing your garden vegetables long-term, it’s essential to properly prepare them to maintain their freshness and quality. Taking the time to prepare your produce will help prolong their shelf life and ensure they taste their best when you’re ready to enjoy them.
1. Cleaning: Give your vegetables a gentle cleaning to remove any dirt or debris. Use a soft brush or cloth to gently scrub the surface if necessary. For root crops like carrots and potatoes, avoid washing them to prevent moisture retention.
2. Drying: After cleaning, make sure your vegetables are completely dry. Excess moisture can lead to mold or rot. Pat them dry with a paper towel or let them air dry before storing.
3. Trimming: Remove any excess foliage or stalks from your vegetables. For leafy greens or herbs, trim off any wilted or yellowed leaves. This will help prevent the spread of moisture and decay.
4. Curing: Certain vegetables like onions and winter squash benefit from curing, as mentioned earlier. Allow these vegetables to cure in a warm and well-ventilated area for a few weeks to toughen their skins and improve their flavor.
5. Sorting: Sort your vegetables by size and ripeness. This will help you prioritize which ones to use first and prevent any overripe or spoiled vegetables from affecting the rest.
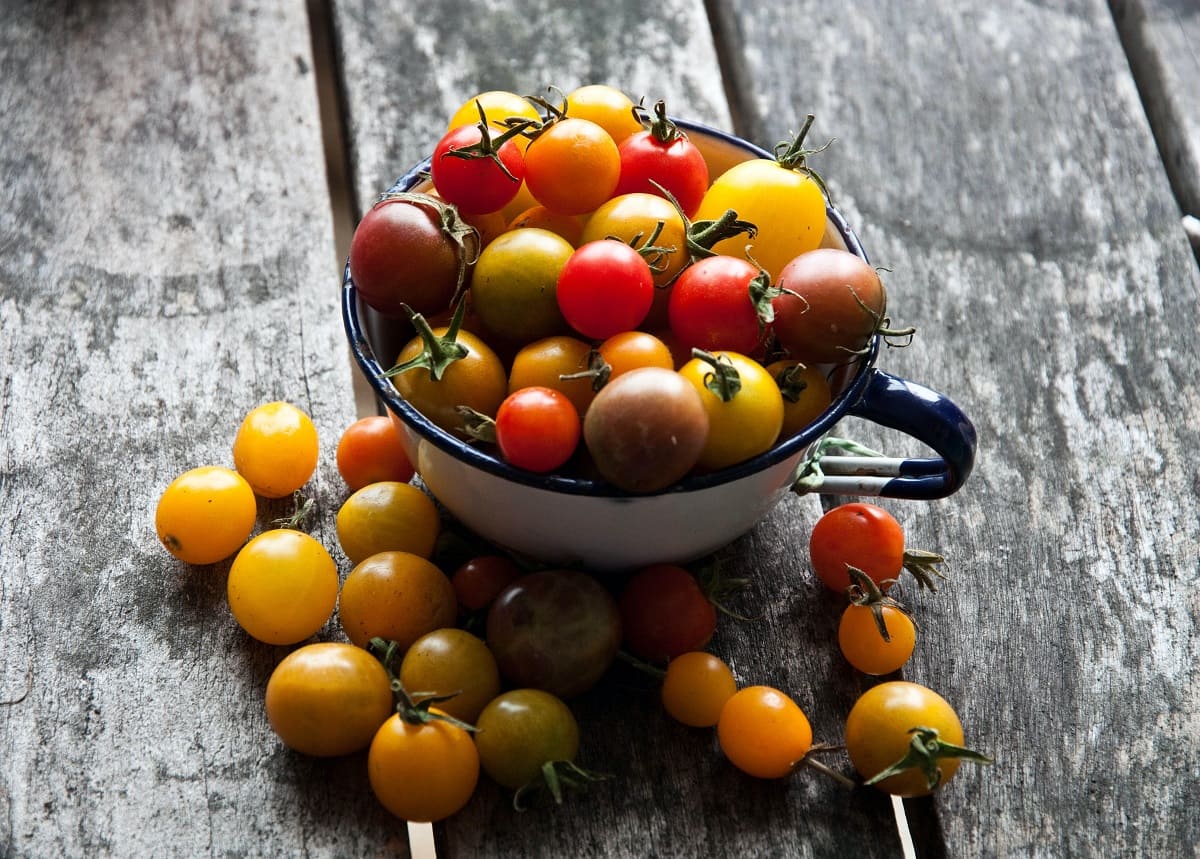
6. Pre-cooling: Some vegetables, particularly those with a high water content like cucumbers and tomatoes, benefit from pre-cooling. Place them in the refrigerator before storing to lower their temperature and extend their shelf life.
7. Preservation Methods: Consider different preservation methods like blanching and freezing, dehydrating, or canning to further extend the storage life of your vegetables. These methods involve preparing your vegetables in specific ways to retain their flavor and texture during storage.
By following these preparation steps, you’ll ensure that your garden vegetables are ready for long-term storage and maintain their quality for months to come.
Storing Garden Vegetables in a Root Cellar
A root cellar is a traditional method of storing garden vegetables that utilizes the cool and dark environment found underground. If you have a root cellar or a cool basement, you can create an ideal storage space for your produce.
1. Clean and Prepare the Root Cellar: Make sure your root cellar is clean, free from dirt, and well-ventilated. Remove any debris or spoiled vegetables from previous seasons. Check for any signs of mold or pests and address them before storing the new harvest.
2. Temperature and Humidity Control: Maintain a temperature between 32-40°F (0-4°C) in the root cellar. The humidity level should be around 90-95%, which helps prevent vegetables from drying out. Monitoring temperature and humidity levels using a hygrometer is recommended.
3. Storage Containers: Use appropriate containers for storing vegetables in the root cellar. Options include wooden crates, baskets, breathable mesh bags, or ventilated plastic bins. Avoid using airtight containers, as proper airflow is crucial to prevent rotting.
4. Arrange Vegetables Properly: Place vegetables in individual containers or separate sections of the root cellar based on their storage requirements. Ensure there’s enough space between them for air circulation. Store root vegetables like carrots and beets in boxes or baskets filled with slightly damp sand, sawdust, or shredded newspaper to maintain moisture.
5. Check Regularly: Regularly inspect your stored vegetables for signs of spoilage. Remove any decaying or damaged vegetables promptly to prevent them from affecting the others. Use the “first in, first out” method, consuming the vegetables that are closest to spoiling first.
6. Pest Control: Take measures to prevent pests from infesting your root cellar. They can damage your stored vegetables and contaminate the area. Keep the root cellar clean and seal any possible entry points to minimize the risk of pests.
7. Vegetables Suitable for Root Cellar: Root vegetables like potatoes, carrots, beets, turnips, and onions are well-suited for root cellar storage. Winter squash, cabbage, and apples can also thrive in this environment.
By utilizing a root cellar, you can create an optimal storage environment for your garden vegetables, ensuring they remain fresh and flavorful for an extended period.
Read more: How To Store Persimmons Long Term
Storing Garden Vegetables in a Basement or Garage
If you don’t have access to a root cellar, you can still store your garden vegetables in a cool basement or garage. With proper organization and temperature control, you can create a suitable storage environment for your produce.
1. Temperature and Ventilation: Choose the coolest area of your basement or garage to store the vegetables. The ideal temperature range is between 32-50°F (0-10°C). Ensure there is good air circulation in the space to prevent condensation and mold growth.
2. Storage Containers: Select appropriate storage containers based on the type and quantity of vegetables you have. Use cardboard boxes, wooden crates, or plastic bins with ventilation holes to allow for airflow. Avoid using plastic bags, as they can promote moisture retention and lead to decay.
3. Organization: Organize your vegetables by type and ripeness to easily locate and use them as needed. Keep different varieties separated to prevent cross-contamination. Label individual containers or shelves to avoid confusion.
4. Ethylene Gas: Be aware that some vegetables release ethylene gas as they ripen, which can accelerate spoilage in other vegetables. Keep ethylene-producing vegetables like tomatoes, apples, and peppers separate from ethylene-sensitive ones, such as potatoes and carrots.
5. Suitable Vegetables: Many vegetables can be successfully stored in a basement or garage. Root vegetables like potatoes, carrots, beets, and onions, as well as winter squash, can withstand storage in these conditions. Cool-loving vegetables such as cabbage, Brussels sprouts, and broccoli can also fare well.
6. Regular Checking: Regularly inspect your stored vegetables for any signs of spoilage. Remove any damaged or rotten vegetables to prevent them from affecting the others. Use the “first in, first out” method and consume the vegetables that are closest to spoiling first.
7. Pest Prevention: Take precautions to prevent pests from accessing your stored produce. Keep the storage area clean and free of any food debris. Seal any potential entry points to minimize the risk of pests infiltrating and damaging your vegetables.
By utilizing your basement or garage for vegetable storage and following these guidelines, you can effectively preserve your garden produce for an extended period, even without a dedicated root cellar.
To store garden vegetables long-term, ensure they are completely dry before storing to prevent mold. Store in a cool, dark, and well-ventilated place to extend their shelf life.
Storing Garden Vegetables in a Refrigerator
If you’re looking for a convenient and readily available storage option for your garden vegetables, utilizing a refrigerator can be an excellent choice. While not all vegetables are suitable for refrigerator storage, many can benefit from the cool and controlled environment it provides.
1. Temperature Control: Set your refrigerator to an optimal temperature for vegetable storage, which is around 32-40°F (0-4°C). Avoid storing produce in the coldest section of the refrigerator, such as the back of the bottom shelf, as it may cause freezing.
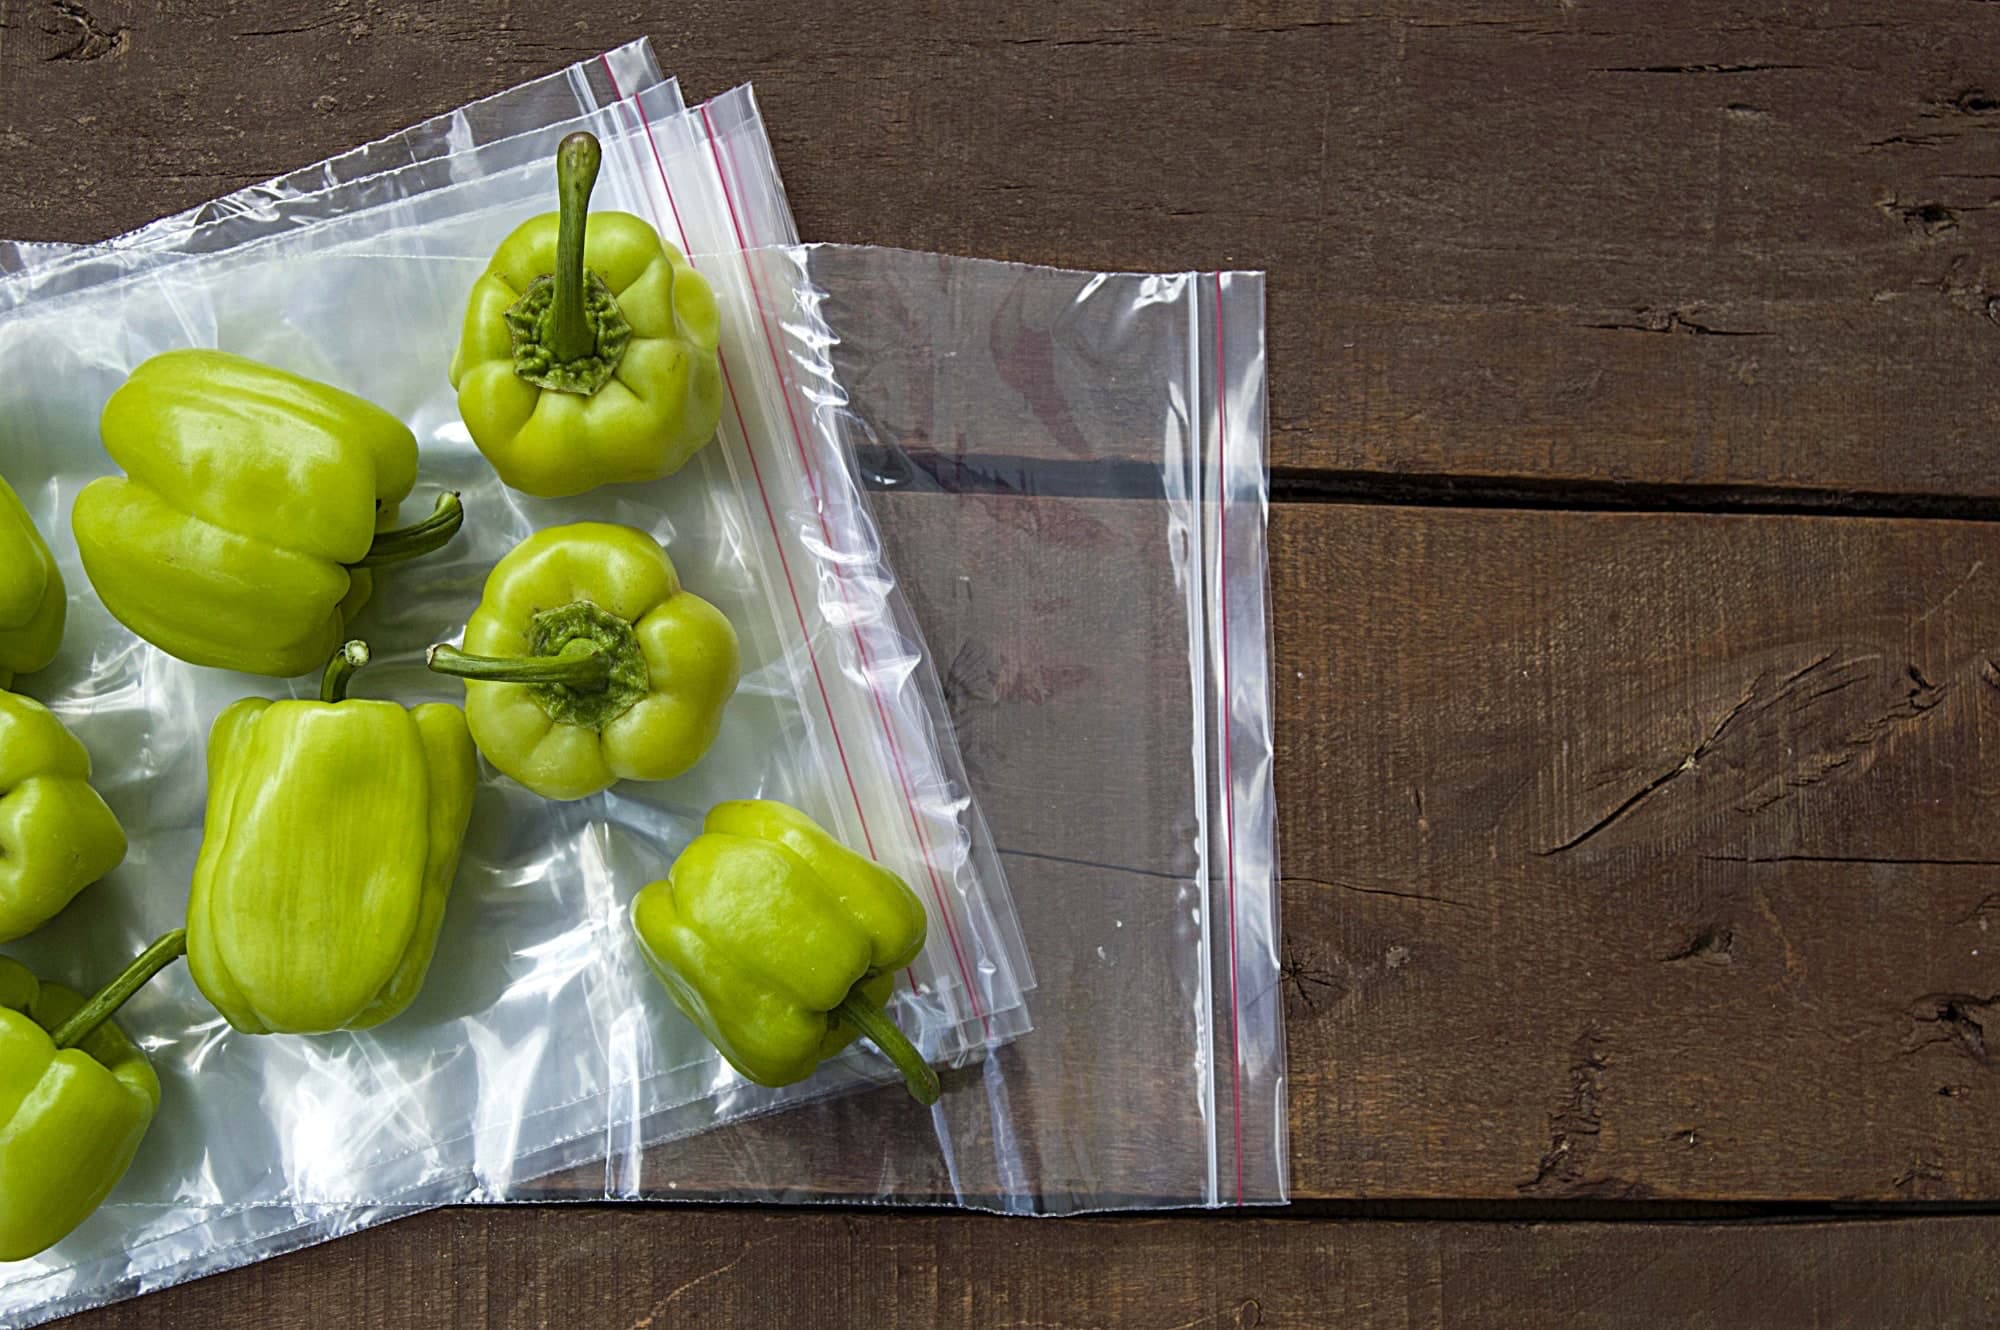
2. Storage Containers: Place your vegetables in breathable containers or perforated plastic bags to maintain proper airflow and prevent excess moisture buildup. Avoid using airtight containers, as some vegetables require airflow to stay fresh.
3. Separate and Package Appropriately: Store different vegetables separately to maintain their individual flavors and prevent cross-contamination. Leafy greens, herbs, and delicate vegetables like asparagus should be stored in airtight bags or containers to retain moisture. Sturdier vegetables like carrots and cucumbers can be stored loose or in open containers.
4. Ethylene Gas: Be cautious of ethylene gas. Some vegetables, such as tomatoes, apples, and bananas, release ethylene gas naturally, which can accelerate the ripening and spoilage of other vegetables. Keep ethylene producers separate from ethylene-sensitive vegetables if stored together.
5. Suitable Vegetables: Certain vegetables are well-suited for refrigerator storage. Leafy greens, like lettuce and spinach, should be washed, thoroughly dried, and stored in airtight bags or containers. Carrots, radishes, bell peppers, cucumbers, and broccoli can also be stored in the refrigerator.
6. Regular Check-Up: Periodically check your stored vegetables for signs of spoilage. Remove any rotting or damaged vegetables promptly to prevent them from affecting others. Use the “first in, first out” method to prioritize the use of older vegetables before fresher ones.
7. Humidity Control: Adjust the humidity setting in your refrigerator’s crisper drawers. Leafy greens prefer higher humidity levels, while fruits and vegetables like carrots and peppers require lower humidity. Consult your refrigerator’s manual for guidance on adjusting the humidity controls.
By utilizing your refrigerator for storage and following these tips, you can prolong the freshness and quality of your garden vegetables for an extended period.
Storing Garden Vegetables in a Freezer
If you have excess garden vegetables and want to preserve them for an extended period, freezing is a reliable method. Freezing vegetables helps retain their flavor, texture, and nutritional value, allowing you to enjoy the taste of your garden long after the growing season has ended.
1. Preparation: Start by washing and properly preparing the vegetables. Remove any bruised or damaged parts and cut them into appropriate sizes for freezing. Blanching is often recommended before freezing to help preserve color, texture, and flavor. Blanching involves quickly boiling vegetables for a short time and then immediately plunging them into ice water to stop the cooking process.
2. Packaging: Use freezer-safe containers or bags to store your vegetables. Remove as much air as possible from the packaging to prevent freezer burn. Label each package with the vegetable type and date of freezing for easy identification later on. Ensure that the containers are tightly sealed to maintain quality and prevent freezer odors from affecting the vegetables.
3. Freezer Temperature: Set your freezer at or below 0°F (-18°C) for optimal storage. Maintaining a consistent and cold temperature is crucial to preserving the quality of your frozen vegetables.
4. Suitable Vegetables: Many vegetables are suitable for freezing. Some common examples include carrots, peas, green beans, corn, broccoli, cauliflower, spinach, and bell peppers. However, certain vegetables like lettuce, cucumbers, and radishes do not freeze well due to their high water content and may become mushy when thawed.
5. Freezing Shelf Life: Different vegetables have varying shelf lives in the freezer. Generally, most vegetables can be stored for up to 8-12 months, but it’s best to consume them within 3-6 months for the best quality.
6. Thawing and Cooking: When you’re ready to use the frozen vegetables, thaw them in the refrigerator overnight or use the defrost setting on your microwave. Avoid thawing vegetables at room temperature to reduce the risk of bacteria growth. Cook the vegetables as desired, either by steaming, sautéing, stir-frying, or incorporating them into soups and stews.
7. Proper portions: Freeze vegetables in portion sizes that are convenient for your needs. This allows you to defrost only the necessary amount and avoid unnecessary waste.
By properly preparing and freezing your garden vegetables, you can conveniently enjoy their flavors and nutritional benefits throughout the year.
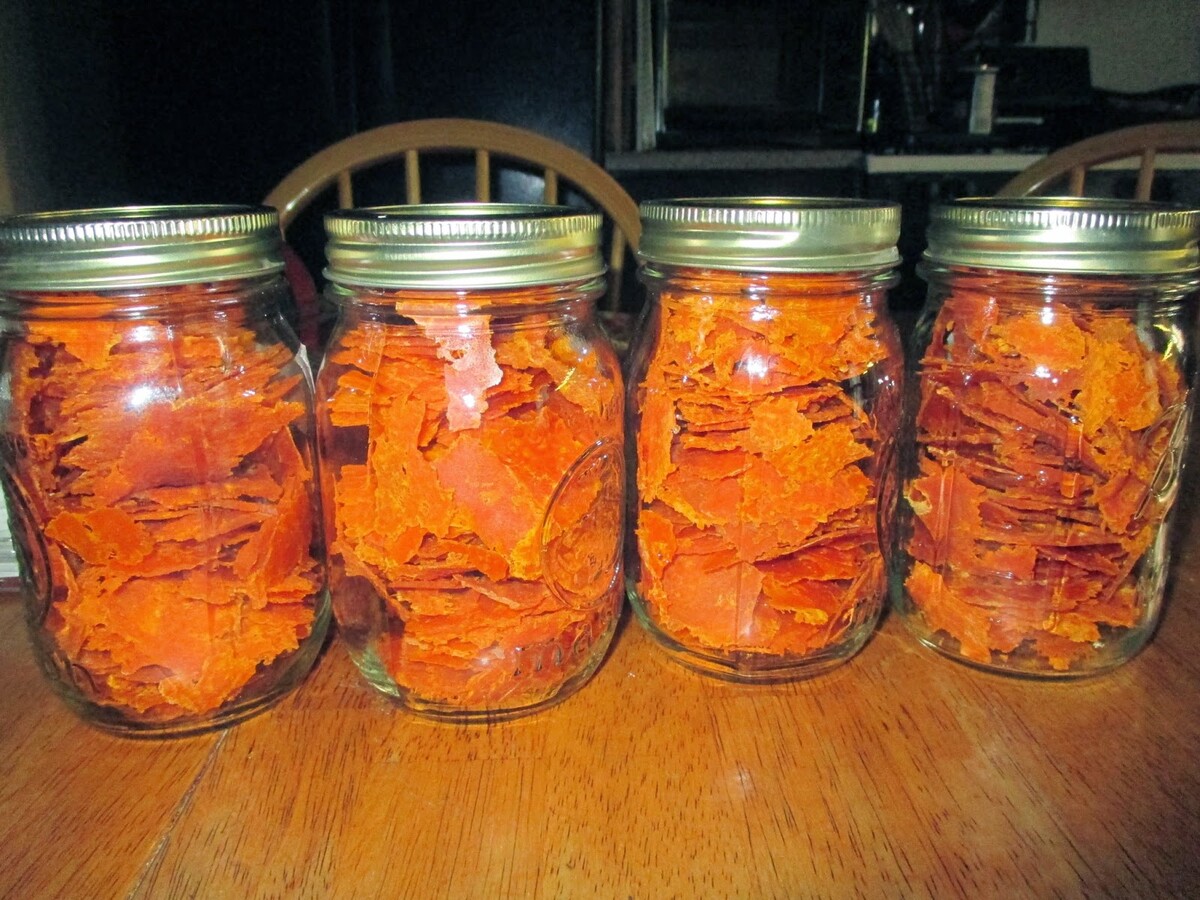
Dehydrating Garden Vegetables for Long-Term Storage
Dehydrating your garden vegetables is a fantastic way to preserve them for long-term storage. By removing their moisture content, you can extend their shelf life while retaining many of their nutrients and flavors. Dehydrated vegetables are compact, lightweight, and can be easily rehydrated when needed.
1. Preparation: Begin by washing and properly preparing the vegetables. Slice them into consistent, thin pieces to ensure even drying. Remove any excess moisture using a clean kitchen towel or paper towels.
2. Dehydrator: Use a food dehydrator to dry your vegetables. Arrange the vegetable slices in a single layer on the dehydrator trays, ensuring proper airflow between them. Follow the manufacturer’s instructions for the appropriate temperature and drying time for each type of vegetable.
3. Oven-drying alternative: If you don’t have a dehydrator, you can use your oven as an alternative. Set the oven to its lowest temperature, usually around 140-170°F (60-75°C). Place the vegetable slices on a baking sheet lined with parchment paper and leave the oven door slightly ajar to allow for airflow.
4. Drying time: The drying time varies depending on the type and thickness of the vegetables, as well as the drying method used. It can range from a few hours to overnight. It’s important to monitor the drying process to ensure that the vegetables are fully dried but not over-dried or burned.
5. Storage: Once the vegetables are completely dehydrated, allow them to cool to room temperature before storing. Store them in airtight containers or resealable bags, removing as much air as possible. Label each container with the vegetable’s name and the date of dehydration.
6. Proper storage conditions: To maintain the quality of your dehydrated vegetables, store them in a cool, dark, and dry place. A pantry or cabinet away from direct sunlight or heat sources is suitable. Avoid exposure to moisture, as it can cause the vegetables to reabsorb moisture and spoil.
7. Rehydration: When you’re ready to use the dehydrated vegetables, rehydrate them by soaking them in water or cooking them in liquid. The time required for rehydration will vary depending on the vegetable and desired texture.
Dehydrated vegetables are a versatile ingredient that can be used in soups, stews, stir-fries, salads, and more. They offer a convenient and nutritious option for long-term storage, making them a valuable addition to your pantry.
Read more: How To Store Eggplant Long Term
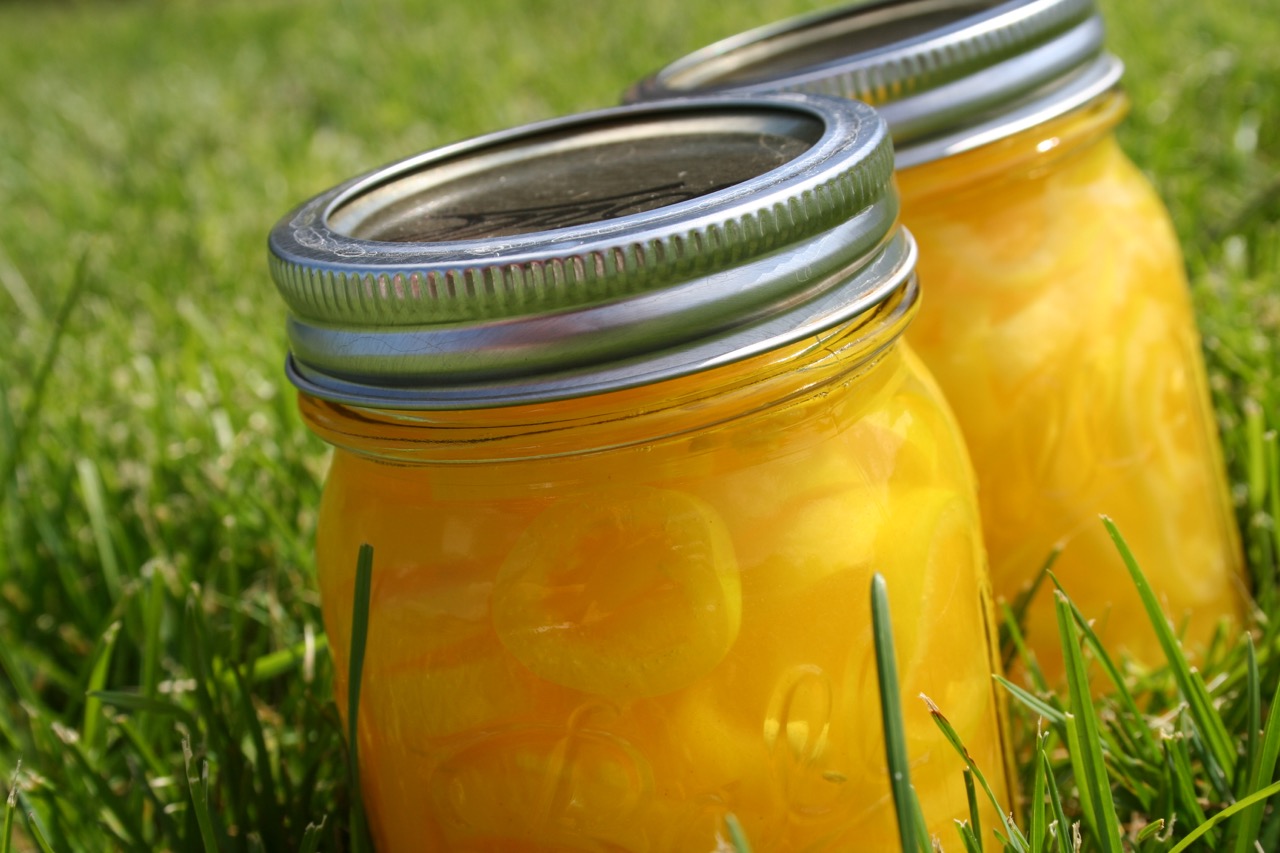
Canning Garden Vegetables for Long-Term Storage
Canning is a traditional method of preserving garden vegetables that allows you to enjoy their flavors and nutrients throughout the year. By properly sealing vegetables in jars, you create a vacuum-sealed environment that inhibits the growth of bacteria and extends their shelf life.
1. Choose the Right Vegetables: While not all vegetables are suitable for canning, many can be successfully preserved using this method. Popular vegetables for canning include tomatoes, green beans, corn, carrots, beets, and pickles. Ensure that the vegetables you choose are fresh, firm, and of high quality.
2. Gather the Required Equipment: To can your vegetables, you will need canning jars, lids, and bands. Ensure that all equipment is clean and in good condition. You will also need a large pot or pressure canner for processing the jars.
3. Prepare the Vegetables: Wash and prepare the vegetables according to your desired canning recipe. Remove any bruises, blemishes, or insect damage. Some vegetables may require blanching or precooking before canning, so refer to tested recipes or resources to determine the appropriate method for each vegetable.
4. Prepare the Jars and Lids: Wash the canning jars, lids, and bands with hot soapy water, rinse well, and place them in a pot of simmering water to sterilize. Keep the jars hot until you’re ready to fill them to prevent them from cracking when adding hot vegetables.
5. Fill the Jars: Fill the hot, sterilized jars with the prepared vegetables, leaving the recommended headspace specified in your canning recipe. Wipe the rims of the jars clean with a damp cloth to ensure a proper seal.
6. Seal the Jars: Place the lids on the jars and tighten the bands until they are just fingertip tight. Follow the specific instructions for your canning method – either water bath or pressure canning – to process the jars and achieve a safe seal.
7. Store and Date the Jars: Once the jars have sealed and cooled, check the seals to ensure they are secure. Label the jars with the contents and the date of canning. Store the sealed jars in a cool, dark place away from direct sunlight and extreme temperatures.
Canned vegetables can last for up to 1-2 years if properly processed and stored. Before consuming, always check for signs of spoilage like bulging lids, hissing sounds, or any off odors or colors. If you notice any of these signs, discard the jar to avoid the risk of foodborne illness.
By canning your garden vegetables, you can enjoy the taste of your summer harvest all year round and have a ready supply of nutritious ingredients for your favorite recipes.
Tips for Properly Storing Garden Vegetables
Proper storage techniques are essential for maintaining the freshness, flavor, and nutritional value of garden vegetables. Follow these tips to ensure that your harvested produce stays in optimal condition for as long as possible:
1. Harvest at the Right Time: Pick vegetables at their peak of ripeness for the best flavor and quality. Avoid harvesting when the vegetables are overripe or stressed, as they will not store well.
2. Handle with Care: Treat your vegetables gently during harvesting, cleaning, and preparation to prevent bruising or damage. Excessive handling can lead to decay and spoilage.
3. Remove Excess Soil: Clean off excess dirt and soil from your vegetables before storage. This reduces the chance of rot and helps keep them clean and fresh.
4. Sort and Inspect: Sort your vegetables and discard any damaged, diseased, or overripe ones. Remove any pests or insects that may be present to avoid further contamination.
5. Avoid Mixing Strongly Scented Vegetables: Vegetables like onions and garlic have strong aromas that can affect nearby produce. Keep them separate from other vegetables to avoid transferring their flavors and odors.
6. Optimal Storage Conditions: Different vegetables have specific storage requirements. Some prefer cool and dry conditions, while others thrive in cool and humid environments. Store each vegetable according to its ideal temperature, humidity, and light requirements.
7. Check and Rotate: Regularly inspect your stored vegetables for any signs of spoilage. Remove any rotting vegetables promptly to prevent them from affecting the others. Use the “first in, first out” method to consume the older produce before using the fresher ones.
8. Keep Moisture in Check: Excess moisture can lead to mold and decay. Ensure that your storage area has proper ventilation and that vegetables are dry before storing them.
9. Avoid Ethylene Gas Exposure: Ethylene gas can accelerate the ripening and spoilage of certain vegetables. Keep ethylene-producing vegetables like tomatoes and apples separate from ethylene-sensitive ones like potatoes and carrots.
10. Utilize Different Storage Methods: Depending on the vegetable, you may choose to store them in a root cellar, basement, refrigerator, freezer, or by using preservation methods like dehydrating or canning. Explore the options that best suit the vegetables you want to store.
By following these tips, you can prolong the shelf life and quality of your garden vegetables and enjoy their freshness and flavors long after they’ve been harvested.
Conclusion
Properly storing garden vegetables for long-term storage ensures that you can enjoy the fruits of your labor even after the growing season has ended. Whether you have access to a root cellar, basement, refrigerator, freezer, or prefer preservation methods like dehydration or canning, there are various options available to suit your needs.
By understanding the specific storage requirements of different vegetables, you can create an optimal environment to maintain their freshness, flavor, and nutritional value. Taking care during the harvesting and preparation process, such as handling vegetables gently and sorting out any damaged produce, is crucial to prevent spoilage.
For those with a root cellar, it offers a traditional and efficient method of storing root vegetables and other sturdy crops. Basements or garages can serve as alternative storage spaces, provided they are cool and well-ventilated. Meanwhile, refrigerators are convenient for short-term storage of select vegetables, while freezers are excellent for preserving a wide range of produce.
If you’re looking for versatile and compact storage options, dehydrating your vegetables retains their flavors and nutritional content while providing an easy and space-saving solution. Alternatively, canning provides a long-term storage option that allows you to enjoy your garden vegetables in jars throughout the year.
Remember to follow the specific guidelines for each storage method to ensure the best results. Regularly check and monitor your stored vegetables for signs of spoilage, using the “first in, first out” approach to prioritize consumption of older produce.
With these storage techniques and tips, you can savor the taste of your garden vegetables long after harvest. Enjoy the bounty of your garden year-round and feel the satisfaction of knowing that your efforts are well preserved.
Frequently Asked Questions about How To Store Garden Vegetables Long-Term
Was this page helpful?
At Storables.com, we guarantee accurate and reliable information. Our content, validated by Expert Board Contributors, is crafted following stringent Editorial Policies. We're committed to providing you with well-researched, expert-backed insights for all your informational needs.


0 thoughts on “How To Store Garden Vegetables Long-Term”