
Articles
How To Store Garlic From The Garden
Modified: March 2, 2024
Learn the best methods for storing garlic from your garden in our informative articles. Keep your garlic fresh and flavorful for months to come!
(Many of the links in this article redirect to a specific reviewed product. Your purchase of these products through affiliate links helps to generate commission for Storables.com, at no extra cost. Learn more)
Introduction
Welcome to the wonderful world of gardening, where you can grow your own fresh produce right in your backyard. Among the many plants you can cultivate, garlic stands out as a versatile and flavorful addition to any dish. The best part is that you can easily store the garlic you harvest from your garden so that it lasts for months.
In this article, we will guide you through the process of storing garlic from the garden. From harvesting the garlic bulbs to preparing them for storage, we will cover all the steps you need to take to ensure the longevity and quality of your harvest. Whether you have a small herb garden or a large plot dedicated to growing vegetables, these tips will help you preserve the flavor and freshness of your garlic.
Growing your own garlic has numerous benefits. Not only does it allow you to have a constant supply of this aromatic ingredient, but it also guarantees that you are using organic and pesticide-free produce in your cooking. Plus, you’ll save money by not having to buy garlic from the store!
Now, let’s dive into the details of harvesting and storing garlic from the garden.
Key Takeaways:
- Store freshly harvested garlic in a dry, well-ventilated environment to prevent mold and decay. Mesh bags, hanging braids, or wooden crates are ideal options for maintaining the garlic’s flavor and longevity.
- Utilize fresh garlic from your garden to elevate your culinary creations with its unmatched flavor and aroma. Experiment with peeling, chopping, roasting, and freezing techniques to fully appreciate the taste of homegrown garlic.
Read more: How To Store Garlic Before Planting
Harvesting Garlic from the Garden
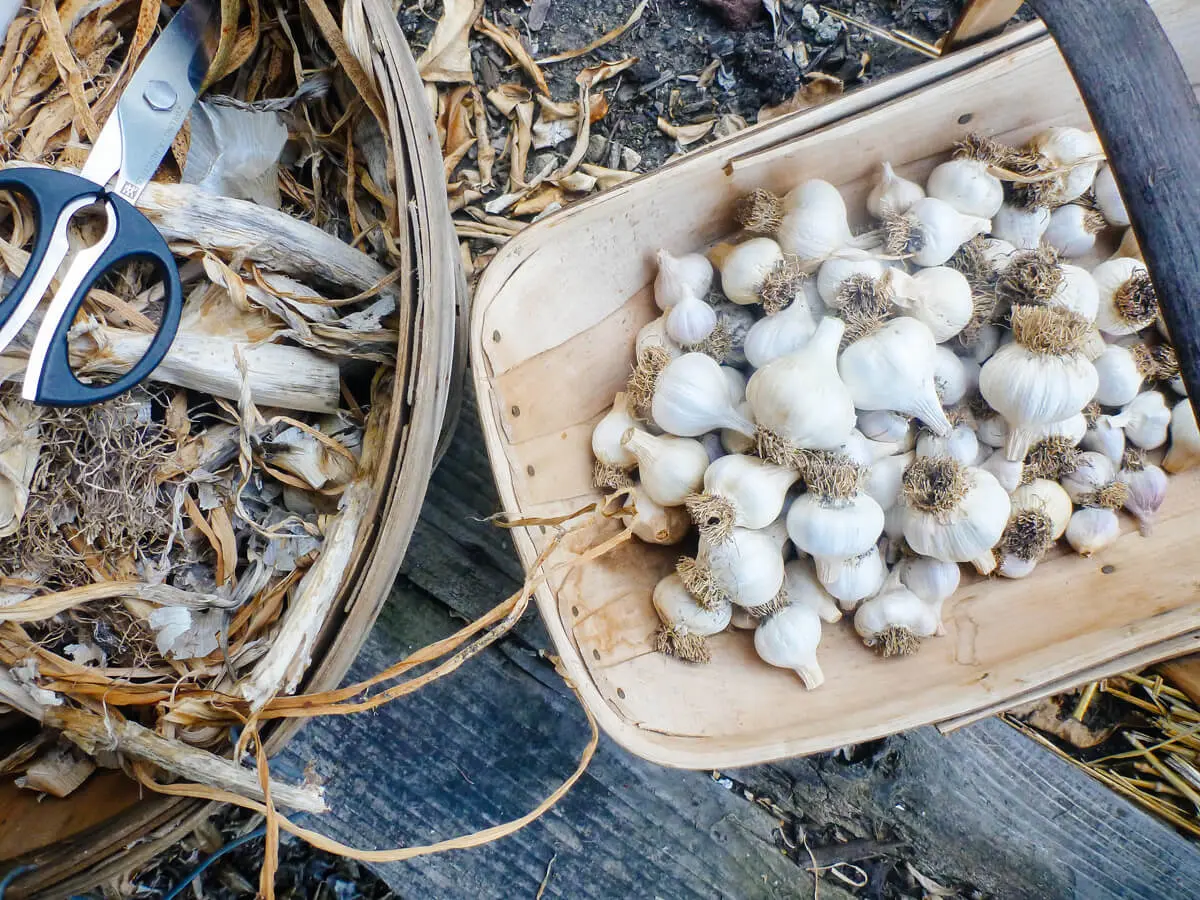
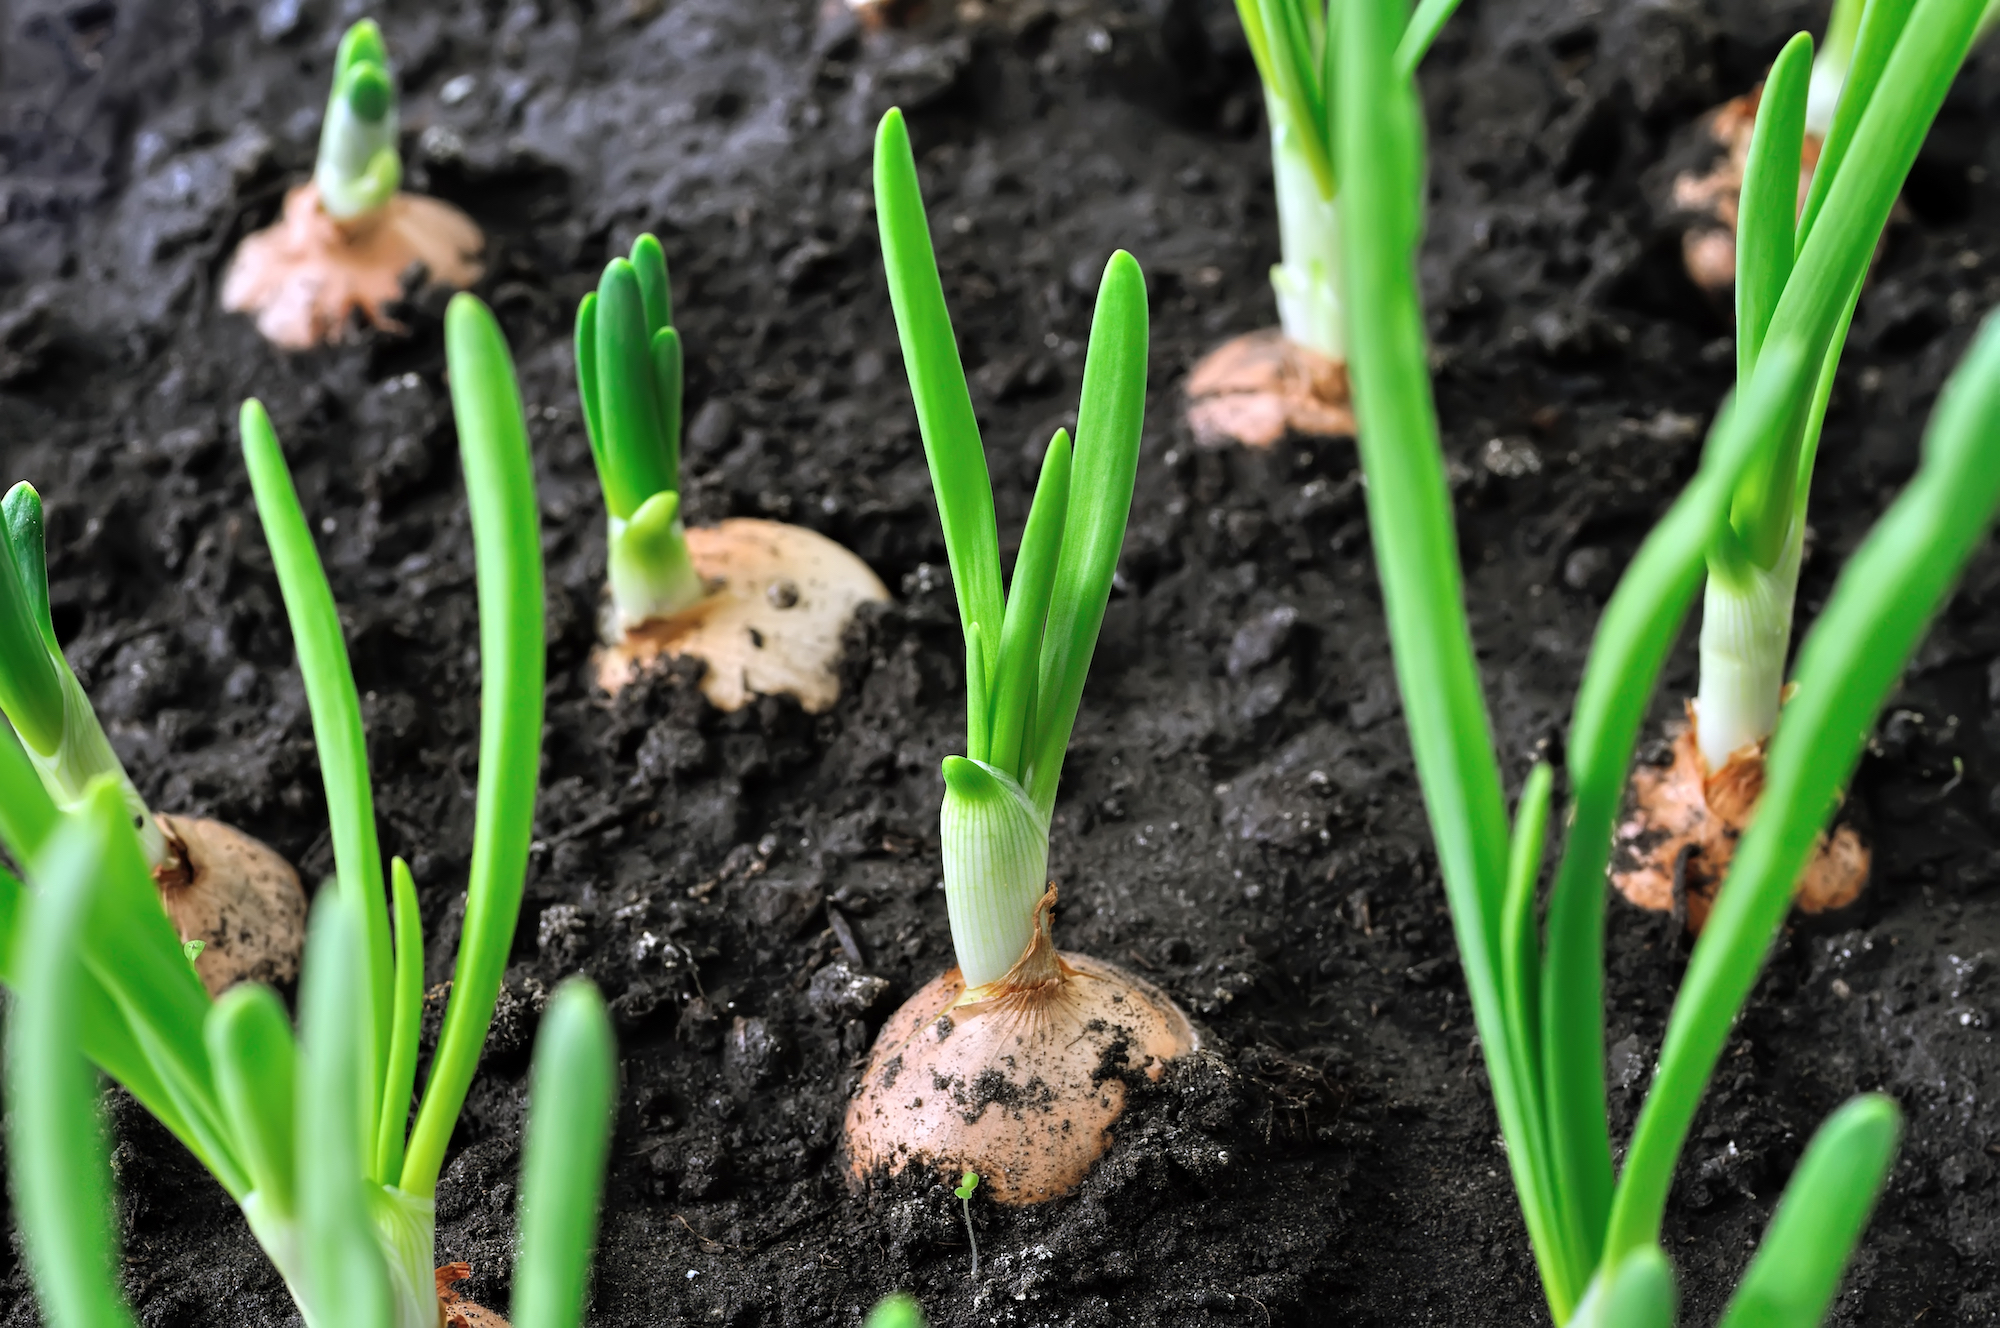
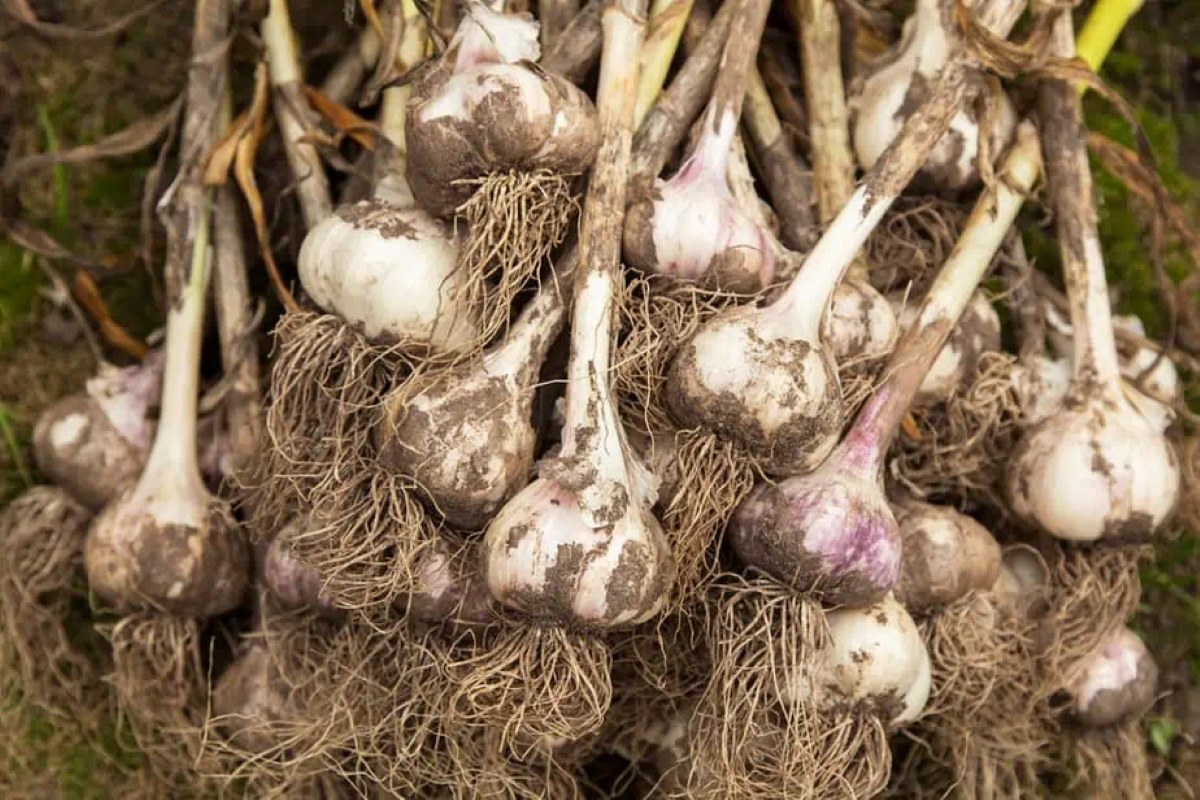
Harvesting garlic is an exciting and rewarding part of the gardening process. Garlic bulbs are ready for harvest when the leaves start to turn yellow or brown and begin to dry out. This usually occurs in mid to late summer, depending on the variety and local growing conditions.
To begin the harvesting process, gently loosen the soil around the base of the garlic plant using a small garden fork or trowel. Be careful not to damage the bulbs or break the stems. Once the soil is loosened, carefully lift the bulbs out of the ground.
After removing the garlic bulbs from the soil, gently brush off any excess dirt or soil clumps. Avoid washing the bulbs, as this can introduce moisture and hinder the drying process. Instead, allow the dirt to dry on the bulbs, making it easier to brush off later.
Once you have harvested all the garlic bulbs, it’s time to move on to the next step: cleaning and drying.
Note: It’s a good idea to set aside a few large, healthy garlic bulbs for planting in the next growing season, ensuring a continuous supply of freshly harvested garlic.
Cleaning and Drying Garlic Bulbs
After harvesting garlic bulbs from the garden, it’s essential to clean and dry them properly to prevent rot and ensure their longevity in storage. The cleaning process is relatively simple and can be done with a few easy steps.
Start by gently removing any loose dirt or soil clumps from the bulbs using your hands or a soft brush. Be careful not to damage the thin, papery outer skin that protects the cloves. It’s crucial to handle the garlic bulbs gently to avoid bruising or scratching their delicate surface.
Once most of the loose dirt is removed, spread out the garlic bulbs in a well-ventilated area such as a table or a drying rack. Make sure the bulbs are not touching each other to allow for proper air circulation. This will help prevent the growth of mold or mildew.
Allow the garlic bulbs to dry for about two to three weeks. During this time, the outer skins will become papery and dry, indicating that the bulbs are ready for storage. Avoid drying the garlic bulbs in direct sunlight, as this can cause them to become too dry and brittle.
Pro tip: If you live in a humid climate or are experiencing high humidity levels, you can use a fan or a dehumidifier to speed up the drying process and reduce the risk of mold.
Once the garlic bulbs are thoroughly dried, you can move on to the next step: preparing them for storage.
Preparing Garlic for Storage
Properly preparing garlic for storage is crucial to ensure its longevity and quality. By following a few simple steps, you can help prevent mold, sprouting, and decay, allowing your garlic to stay fresh for an extended period.
First, inspect the dried garlic bulbs for any signs of damage or disease. Discard any bulbs that are soft, moldy, or have visible decay. It’s important to store only healthy and intact bulbs.
Next, gently remove the outermost layer of the papery skin from each garlic bulb. Be careful not to strip away too much as the thin skin is essential for protecting the cloves during storage.
Some gardeners prefer to leave the stalks attached to the garlic bulbs during storage, while others trim them down to around an inch (2.5 cm) from the bulb. Leaving the stalks a bit longer can make it easier to handle and hang the garlic, but it is ultimately a matter of personal preference.
If you choose to trim the stalks, use a pair of clean and sharp scissors or pruners to cut them to the desired length. Make clean cuts to minimize the risk of introducing pathogens or causing damage to the bulbs.
After trimming, inspect the garlic bulbs once again, ensuring that they are clean, dry, and free from any signs of damage. Now it’s time to decide how you will store your garlic for long-term use.
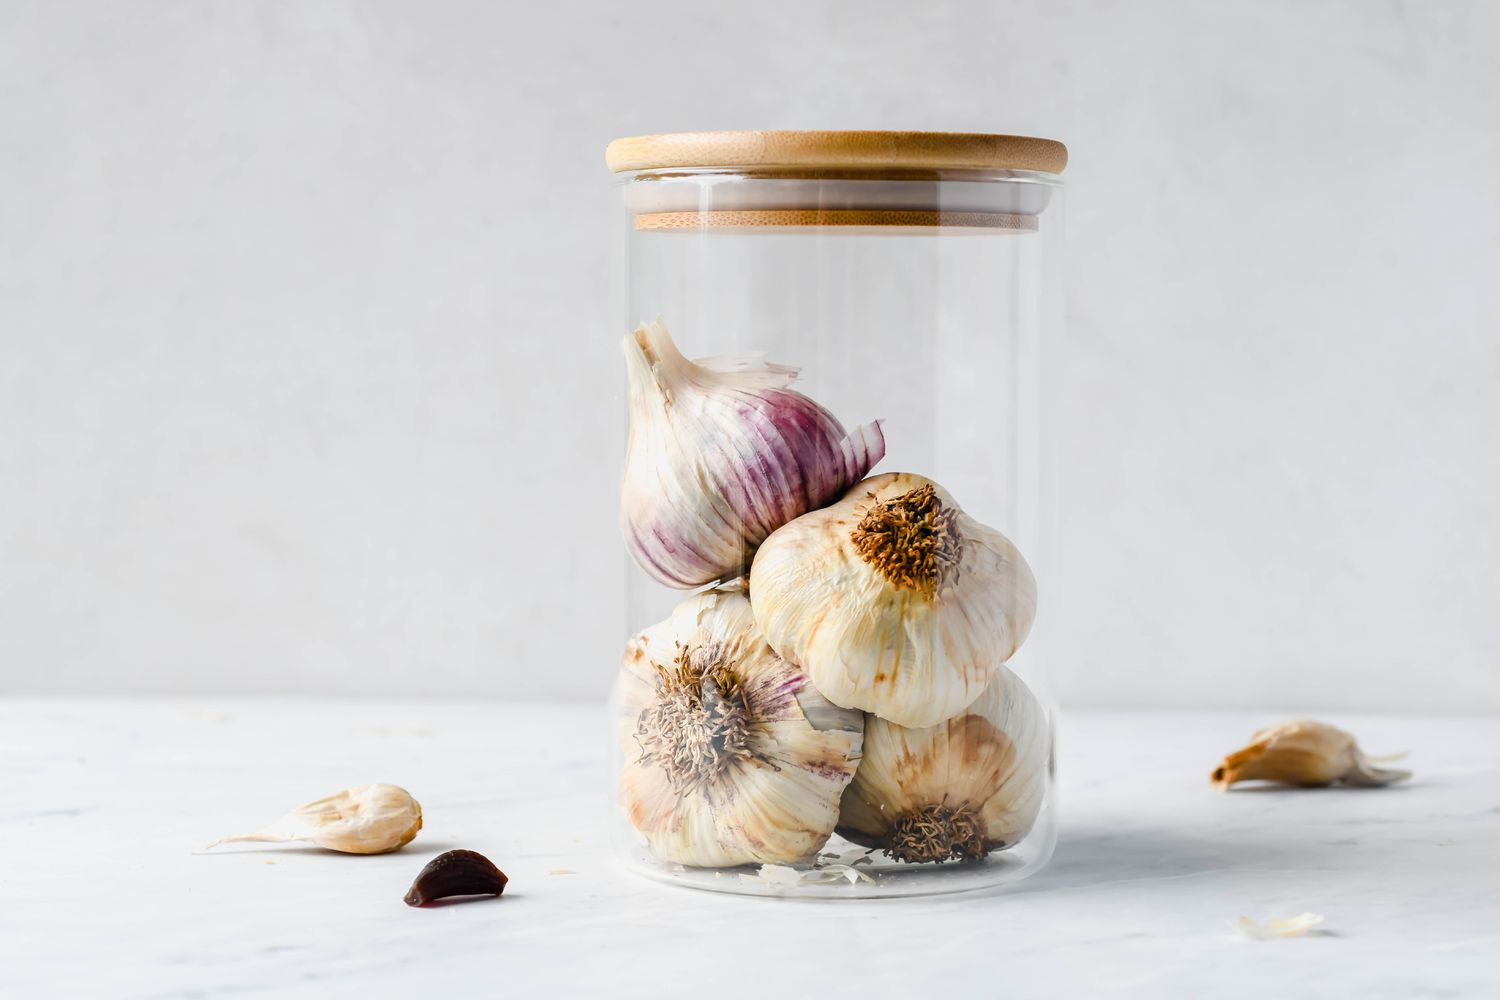
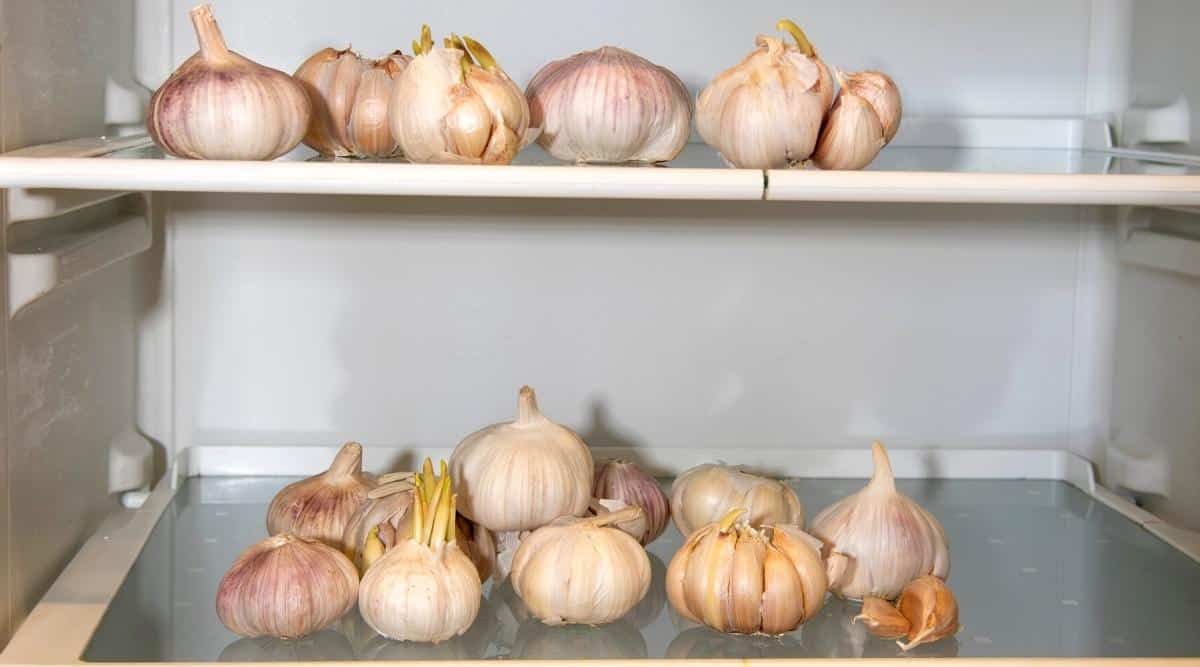
Store garlic from the garden in a cool, dry place with good air circulation, such as a mesh bag or basket. Avoid storing in the refrigerator, as it can cause sprouting and mold.
Storing Garlic in a Dry Environment
One of the key factors in maintaining the freshness and flavor of garlic is storing it in a dry environment. Excess moisture can cause garlic bulbs to rot or sprout prematurely. Here are some options for storing garlic in a dry environment:
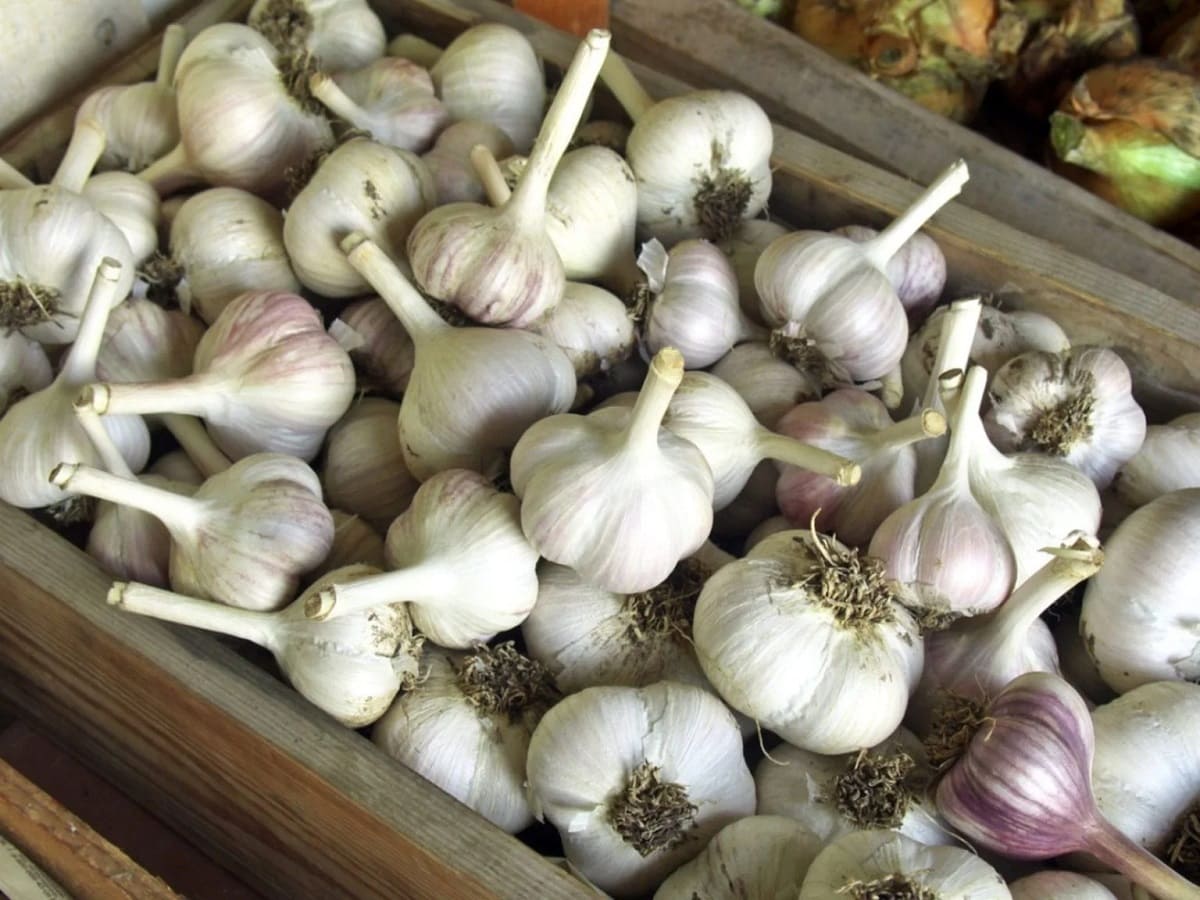
1. Mesh Bags or Baskets: Place the prepared garlic bulbs in mesh bags or baskets. These allow for proper air circulation and help prevent moisture buildup. Avoid using plastic bags, as they can retain moisture and promote mold growth.
2. Hanging Garlic: If you prefer a traditional approach, you can braid the stalks together and hang the garlic in a cool, dry, and well-ventilated area. This not only provides an aesthetically pleasing storage solution but also allows for excellent air circulation.
3. Wooden Crates or Cardboard Boxes: Line wooden crates or cardboard boxes with newspaper or brown paper bags. Place the garlic bulbs in a single layer, ensuring they are not touching each other. The absorbent paper helps absorb excess moisture.
Regardless of the storage method you choose, it’s crucial to keep the garlic in a cool, dry, and well-ventilated area. The ideal temperature for storing garlic is around 60°F to 65°F (15°C to 18°C). Avoid storing garlic near heat sources, such as stoves or direct sunlight, as they can cause the bulbs to deteriorate quickly.
Regularly inspect your stored garlic to ensure there are no signs of mold, softness, or sprouting. Remove any damaged bulbs promptly to prevent the spread of decay.
By storing your garlic in a dry environment, you can extend its shelf life and enjoy the delicious flavor of fresh garlic in your dishes for many months to come.
Read more: How To Store Garlic Seeds
Storing Garlic in a Dark and Cool Place
In addition to a dry environment, garlic also benefits from being stored in a dark and cool place. Exposure to light and high temperatures can cause garlic to deteriorate quickly and lose its flavor. Here are some tips for storing garlic in a dark and cool place:
1. Pantry or Cupboard: Find a pantry or cupboard in your kitchen that is away from direct sunlight and has a consistent temperature. This can be an ideal spot for storing your garlic. Ensure that the area is well-ventilated to prevent the buildup of moisture.
2. Basement or Cellar: If you have a basement or cellar, consider storing your garlic there. These areas often have cooler temperatures and minimal exposure to light. Just make sure the storage area is dry and free from excess humidity.
3. Refrigerator: While storing garlic in the refrigerator is an option, it’s not the best choice for long-term storage. The cold temperature can cause the garlic to become rubbery and lose some of its flavor. However, if you live in a hot and humid climate, storing garlic in the refrigerator can help prolong its shelf life. Place the garlic bulbs in a paper bag or a breathable container to prevent moisture accumulation.
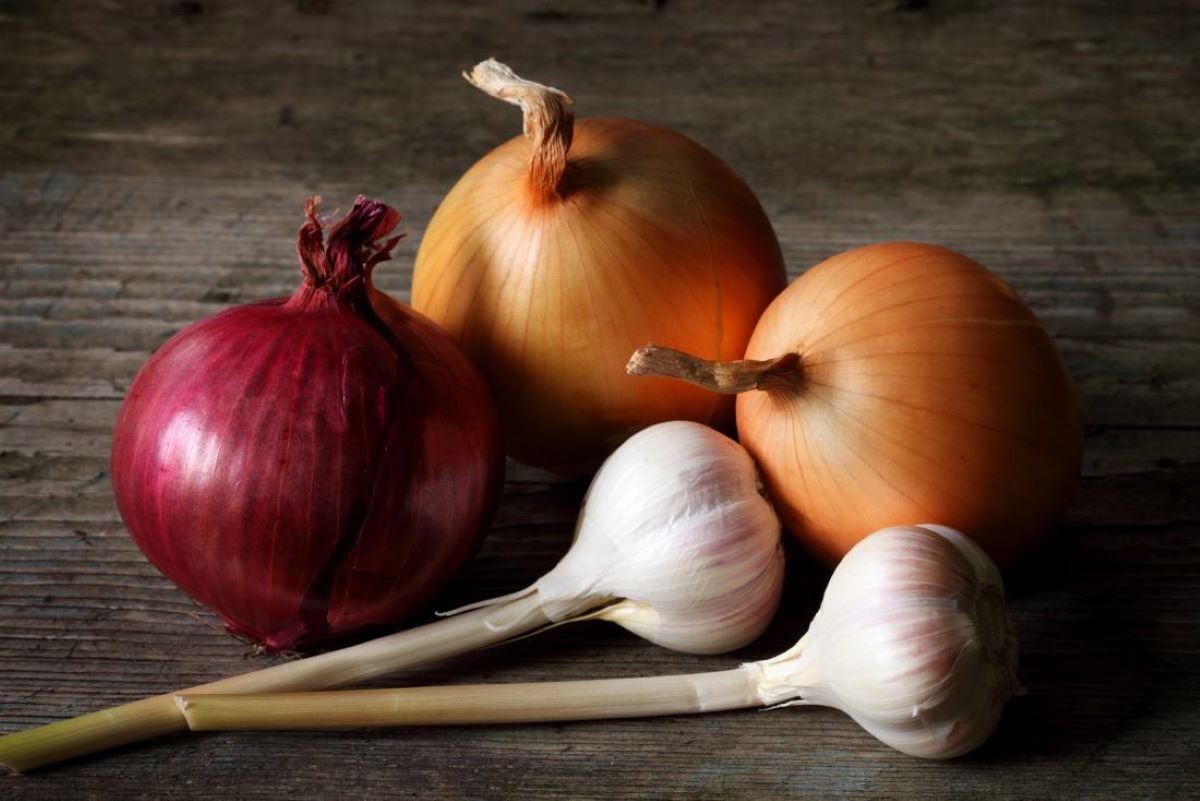
When storing garlic in a dark and cool place, make sure to avoid storing it near strong-smelling foods such as onions. Garlic has a strong aroma that can be absorbed by other foods if stored together.
Remember to periodically check your stored garlic for any signs of deterioration, such as mold, softness, or sprouting. Remove any damaged bulbs promptly to prevent them from affecting the neighboring cloves.
By storing your garlic in a dark and cool place, you can maintain its flavor, texture, and quality for an extended period.
Using Garlic Fresh from the Garden
There’s nothing quite like using fresh garlic straight from your garden in your culinary creations. The flavor and aroma of freshly harvested garlic are unmatched, elevating any dish to new heights. Here are some tips for using garlic fresh from the garden:
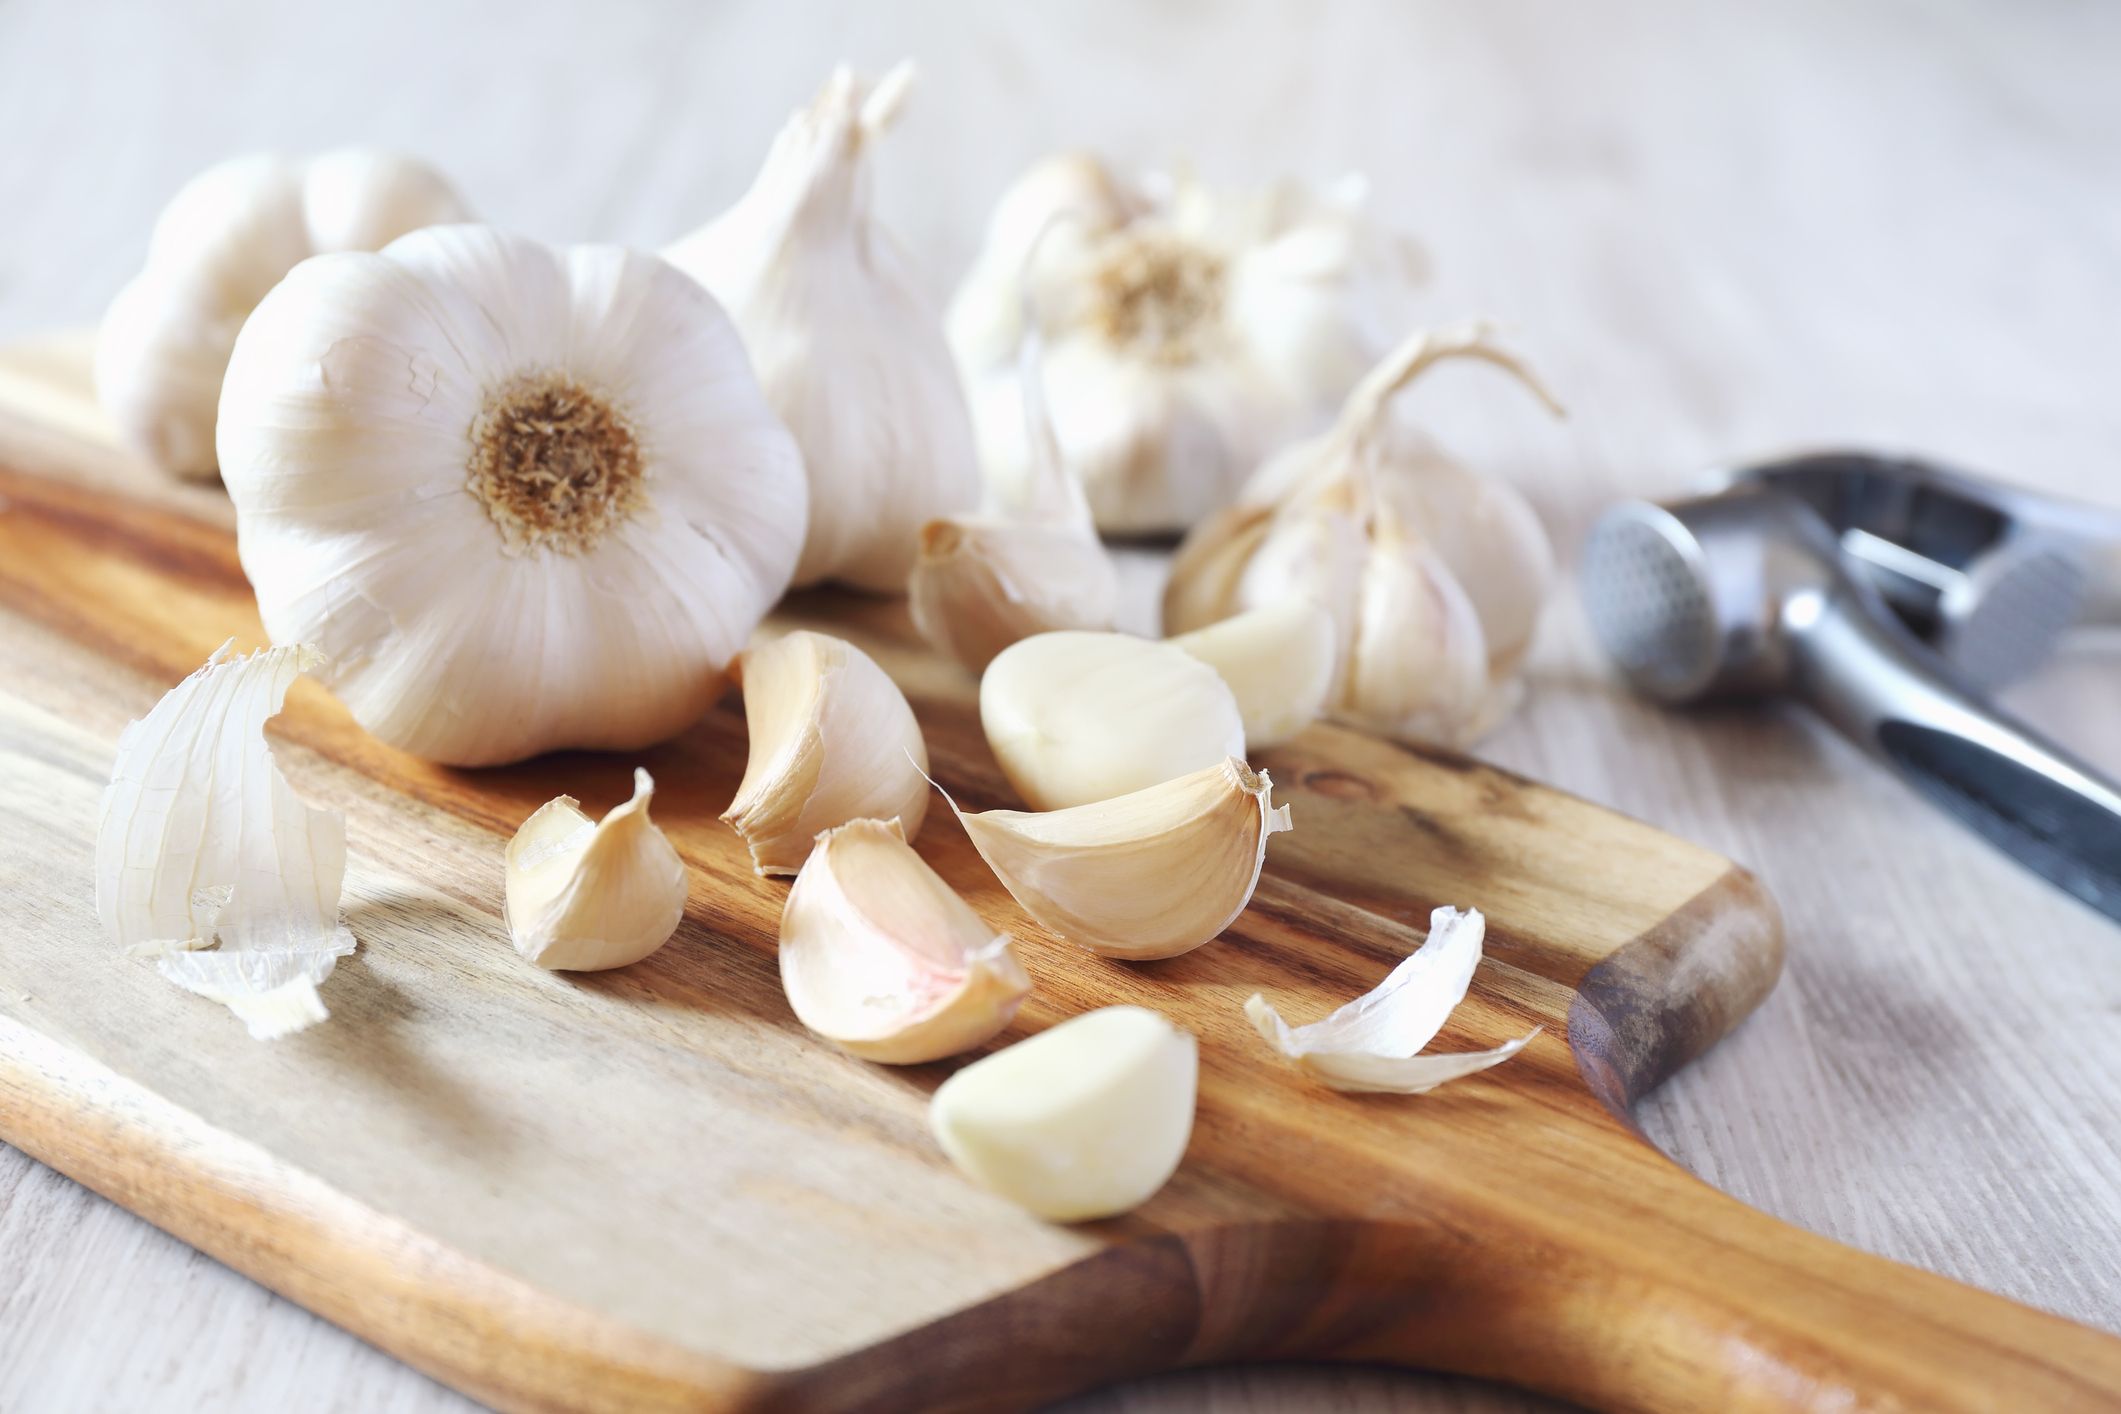
1. Peeling and Preparing: When using fresh garlic, you’ll need to peel the cloves before using them in your recipes. To peel a clove easily, place it on a cutting board, lay the side of a broad knife flat on top, and gently press down with your palm. This will help loosen the skin, making it easier to remove.
2. Chopping or Crushing: Once the cloves are peeled, you can chop or crush them according to your recipe’s instructions. Chopping garlic releases a strong flavor, while crushing it intensifies the flavor even more. Use a sharp knife or a garlic press to achieve the desired consistency.
3. Garlic in Recipes: Fresh garlic can be added to a wide range of dishes, from soups and stir-fries to roasts and sauces. It adds depth of flavor and a hint of spiciness to your favorite recipes. Adjust the amount of garlic according to your taste preferences, keeping in mind that fresh garlic tends to have a stronger flavor compared to store-bought garlic.
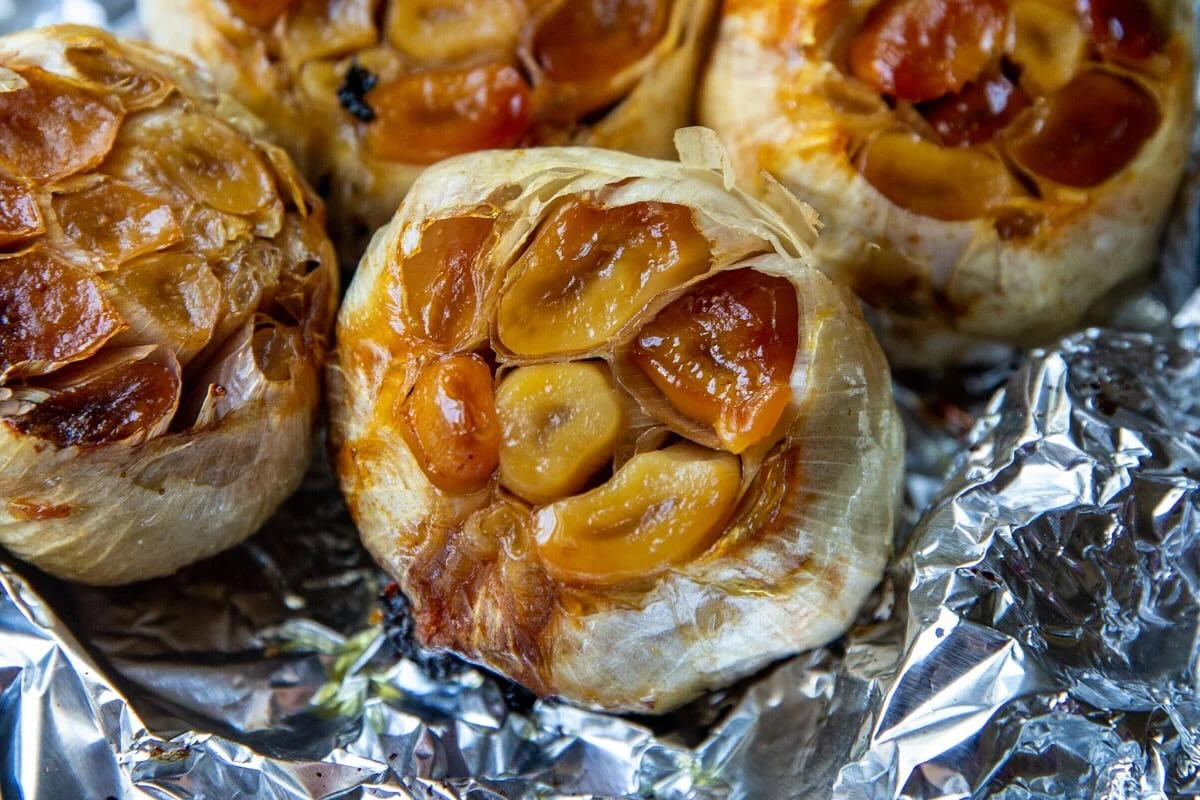
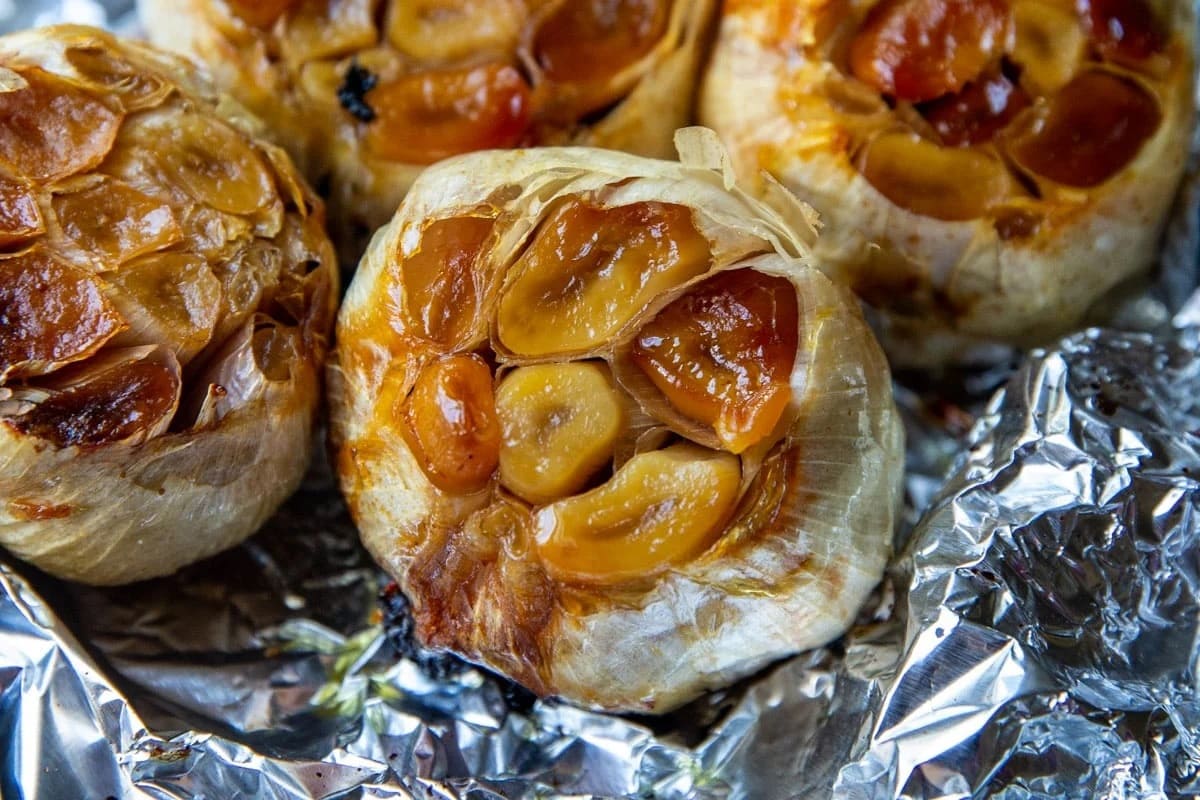
4. Roasting Garlic: Roasting garlic brings out its natural sweetness and mellows the flavor. To roast garlic, cut off the top of a whole bulb to expose the cloves, drizzle it with olive oil, and wrap it in foil. Bake in a preheated oven at 400°F (200°C) for about 30-40 minutes until the cloves are soft and golden. The roasted garlic can be squeezed out and used as a spread, added to mashed potatoes, or incorporated into sauces for a rich, caramelized flavor.
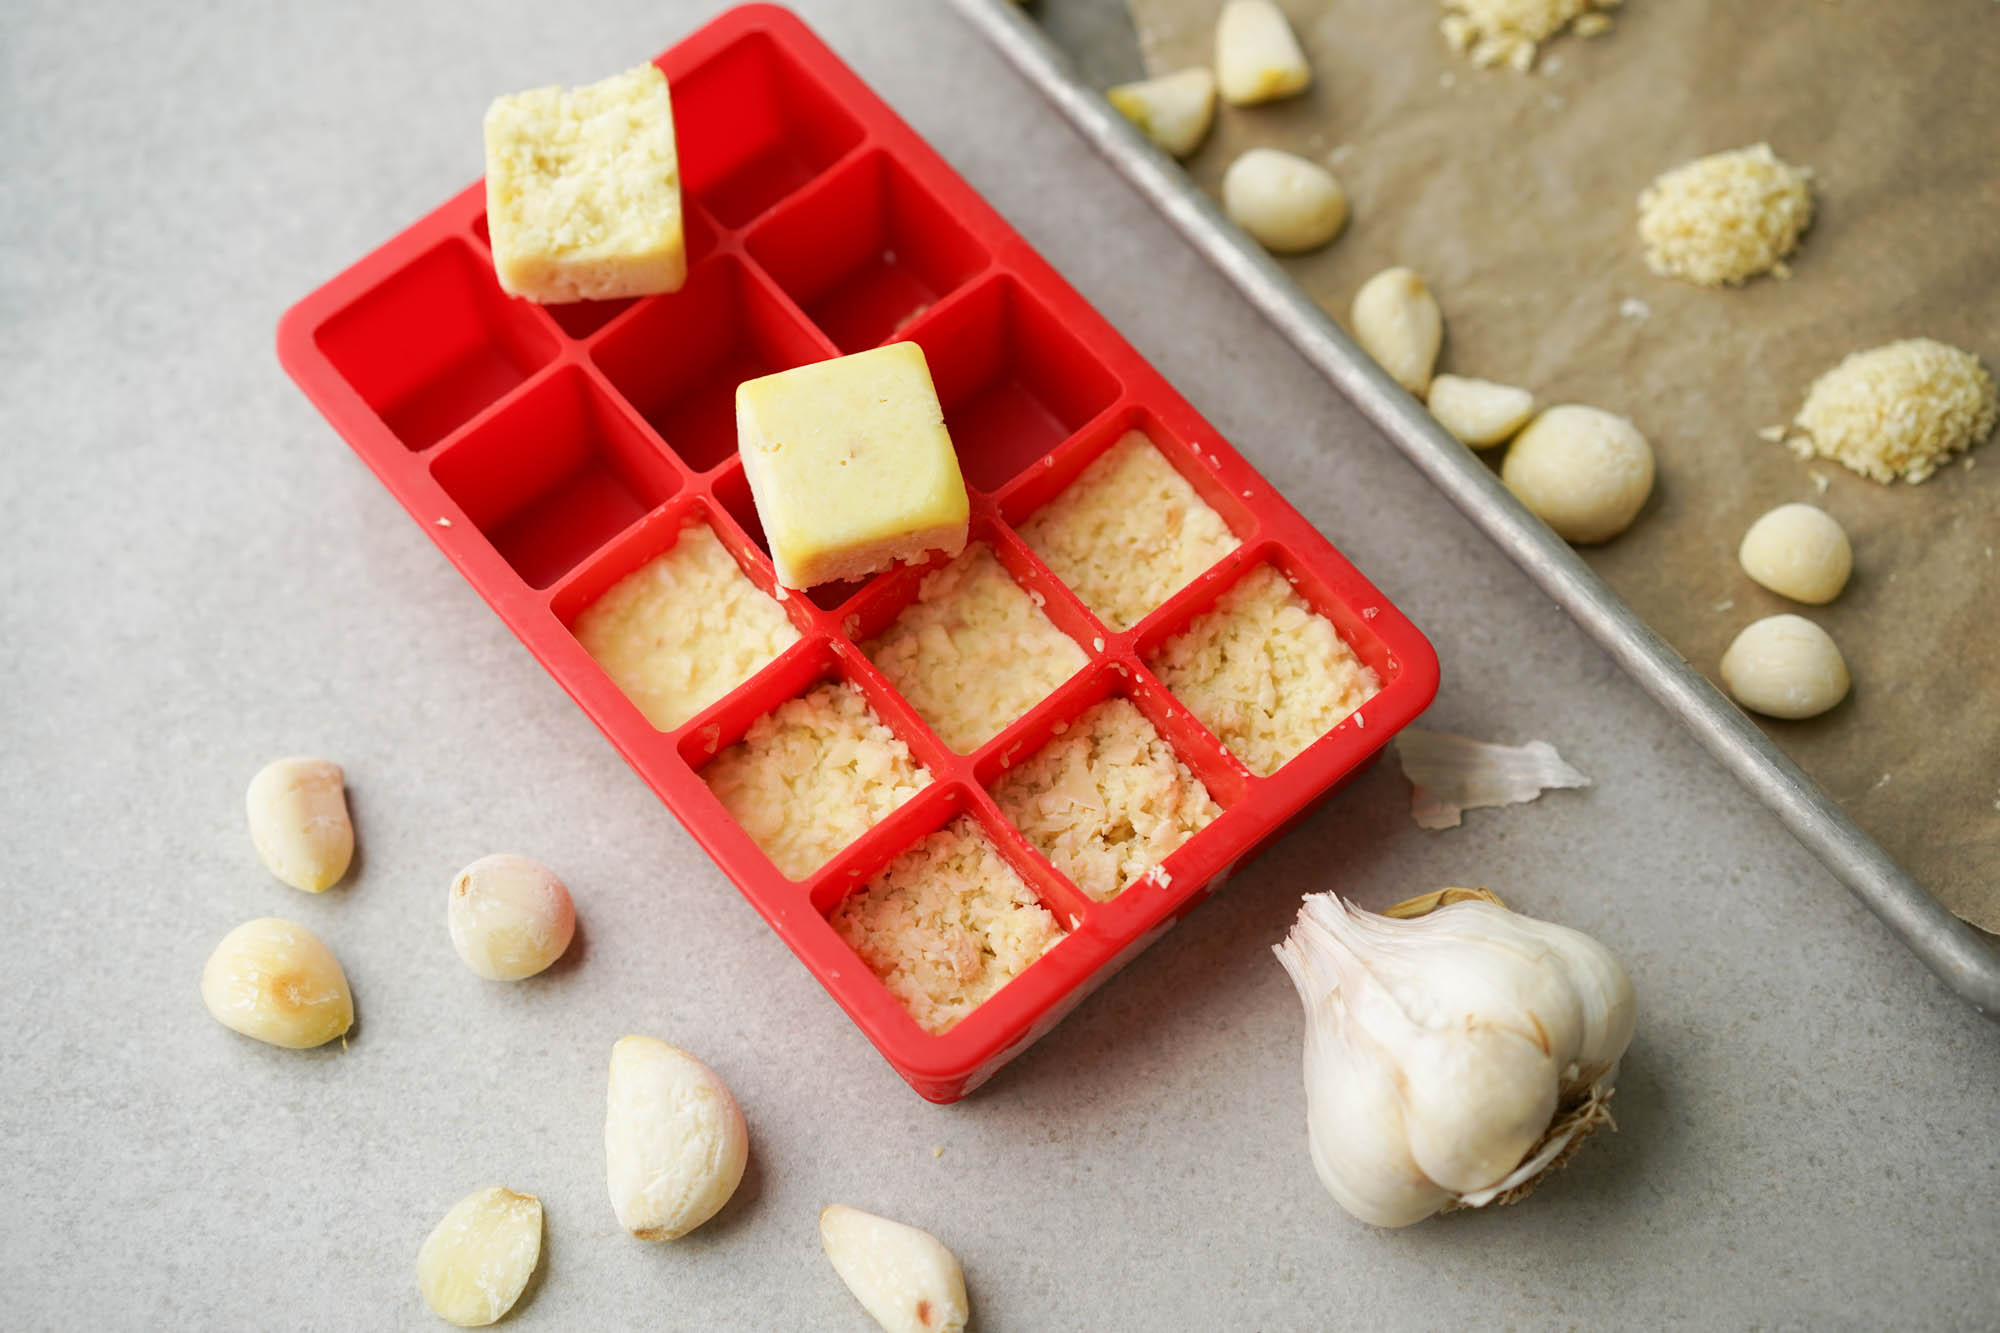
5. Freezing Garlic: If you have an excess of fresh garlic, you can freeze it for later use. Simply peel the cloves, chop or crush them, and place them in an airtight container or freezer bags. Frozen garlic can be used directly in recipes without thawing, making it a convenient option for preserving the harvest.
Remember, using fresh garlic from your garden allows you to enjoy the full flavor and aroma of this versatile ingredient. Experiment with different recipes and techniques to fully appreciate the taste of homegrown garlic.
Conclusion
Growing garlic in your garden is a rewarding and satisfying experience. Not only does it provide you with a fresh supply of this aromatic ingredient, but it also allows you to enjoy the many health benefits associated with garlic consumption. By following the steps outlined in this article, you can store your harvested garlic properly and ensure its longevity.
Harvesting garlic at the right time, cleaning and drying the bulbs correctly, and preparing them for storage are crucial steps in preserving the freshness and flavor of your garlic. Storing garlic in a dry environment, such as mesh bags, baskets, or hanging braids, helps prevent moisture buildup and reduces the risk of mold or rot. Likewise, storing garlic in a dark and cool place contributes to its longevity and maintains its quality.
When it comes to using fresh garlic from the garden, the possibilities are endless. From sautéing it in your favorite dishes to roasting it for a sweet and savory flavor, fresh garlic adds a distinctive touch to your culinary creations. Remember to adjust the amount of garlic based on your personal taste preferences since freshly harvested garlic tends to have a stronger flavor compared to store-bought options.
Whether you have a small herb garden or a large vegetable patch, storing the garlic you grow ensures a steady supply of fresh, flavorful cloves. Take advantage of the bounty provided by your garden and enjoy the rich and unique taste of homegrown garlic in your cooking.
So why not try your hand at growing garlic in your garden and experience the joy of harvesting and storing this delightful herb? With a little effort and careful storage, you can enjoy the flavors and health benefits of your very own garlic crop all year round.
Happy gardening and happy garlic storing!
Frequently Asked Questions about How To Store Garlic From The Garden
Was this page helpful?
At Storables.com, we guarantee accurate and reliable information. Our content, validated by Expert Board Contributors, is crafted following stringent Editorial Policies. We're committed to providing you with well-researched, expert-backed insights for all your informational needs.

0 thoughts on “How To Store Garlic From The Garden”