
Articles
How To Store Green Beans
Modified: October 20, 2024
Discover the best ways to store green beans and keep them fresh for longer with our informative articles. Learn how to preserve their flavor and nutrients for delicious meals.
(Many of the links in this article redirect to a specific reviewed product. Your purchase of these products through affiliate links helps to generate commission for Storables.com, at no extra cost. Learn more)
Introduction
Green beans, also known as string beans or snap beans, are a versatile and nutritious vegetable that can be enjoyed in a variety of dishes. Whether you grow them in your backyard garden or purchase them fresh from your local market, it’s important to know how to properly store green beans to maintain their freshness and quality for as long as possible.
In this article, we will explore the best practices for storing green beans, taking into consideration factors that affect their shelf life and recommend the most effective storage methods. By following these guidelines, you can ensure that your green beans stay crisp and flavorful, ready to be used in your favorite recipes whenever you desire.
Understanding the nature of green beans is crucial in order to implement the right storage strategies. Green beans are delicate and moisture-sensitive vegetables that are highly perishable. They require proper handling and storage conditions to prevent spoilage and maintain their taste and texture.
Several factors can impact the shelf life of green beans. Firstly, the maturity of the beans at the time of harvest plays a significant role. Young, tender beans have a shorter shelf life compared to more mature beans. The quality of the beans at the time of purchase or harvest is another important factor. Inspect the beans carefully, looking for any signs of damage or decay before storing them.
Additionally, environmental conditions such as temperature and humidity can greatly influence the storage life of green beans. Exposure to bright light and high temperatures can accelerate spoilage, while excess moisture can promote the growth of mold and bacteria. Understanding these factors will help you implement the best storage methods to preserve the freshness and quality of your green beans.
Before storing green beans, it is essential to prepare them properly. Start by gently washing the beans in cool water to remove any dirt, insects, or pesticides. Trim off the ends and remove any blemished or discolored spots. At this stage, you can choose to blanch the beans briefly to preserve their vibrant color and texture. Blanching involves boiling the beans for a short time and then immediately transferring them to an ice bath to halt the cooking process. This step is optional but can be beneficial for maintaining the overall quality of the beans.
In the following sections, we will explore different storage methods for green beans, including refrigeration, freezing, canning, and vacuum-sealing. By understanding these techniques, you can choose the method that suits your preferences and storage capabilities. Additionally, we will provide valuable tips on extending the shelf life of green beans and troubleshooting common storage issues.
So, let’s dive in and discover the best ways to store green beans and ensure that they remain fresh, crisp, and full of flavor!
Key Takeaways:
- Properly preparing and storing green beans, whether in the refrigerator, freezer, canning jars, or vacuum-sealed bags, can extend their shelf life and preserve their freshness, flavor, and nutritional value.
- Understanding factors such as moisture control, suitable storage temperatures, and proper air circulation is crucial for successful green bean storage, and implementing these tips can help overcome common storage challenges and maintain the quality of green beans.
Read more: How To Plant Green Bean Seeds
Understanding Green Beans
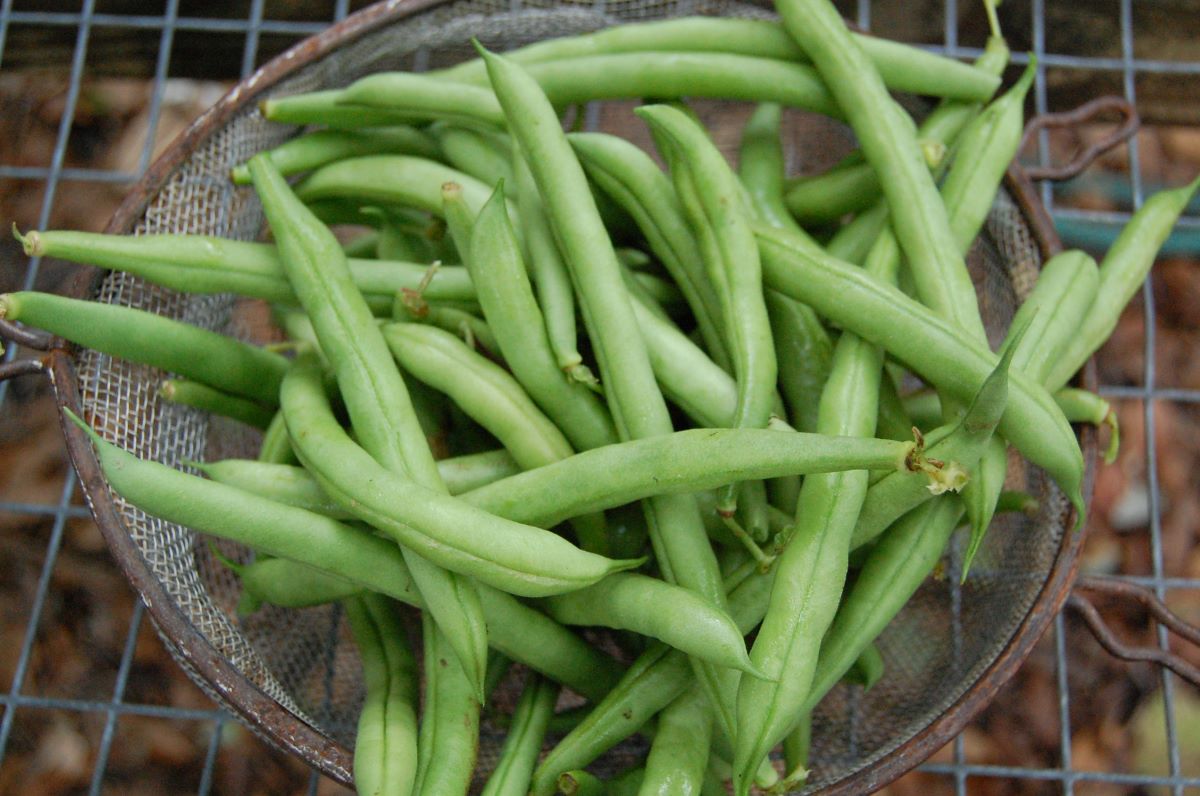
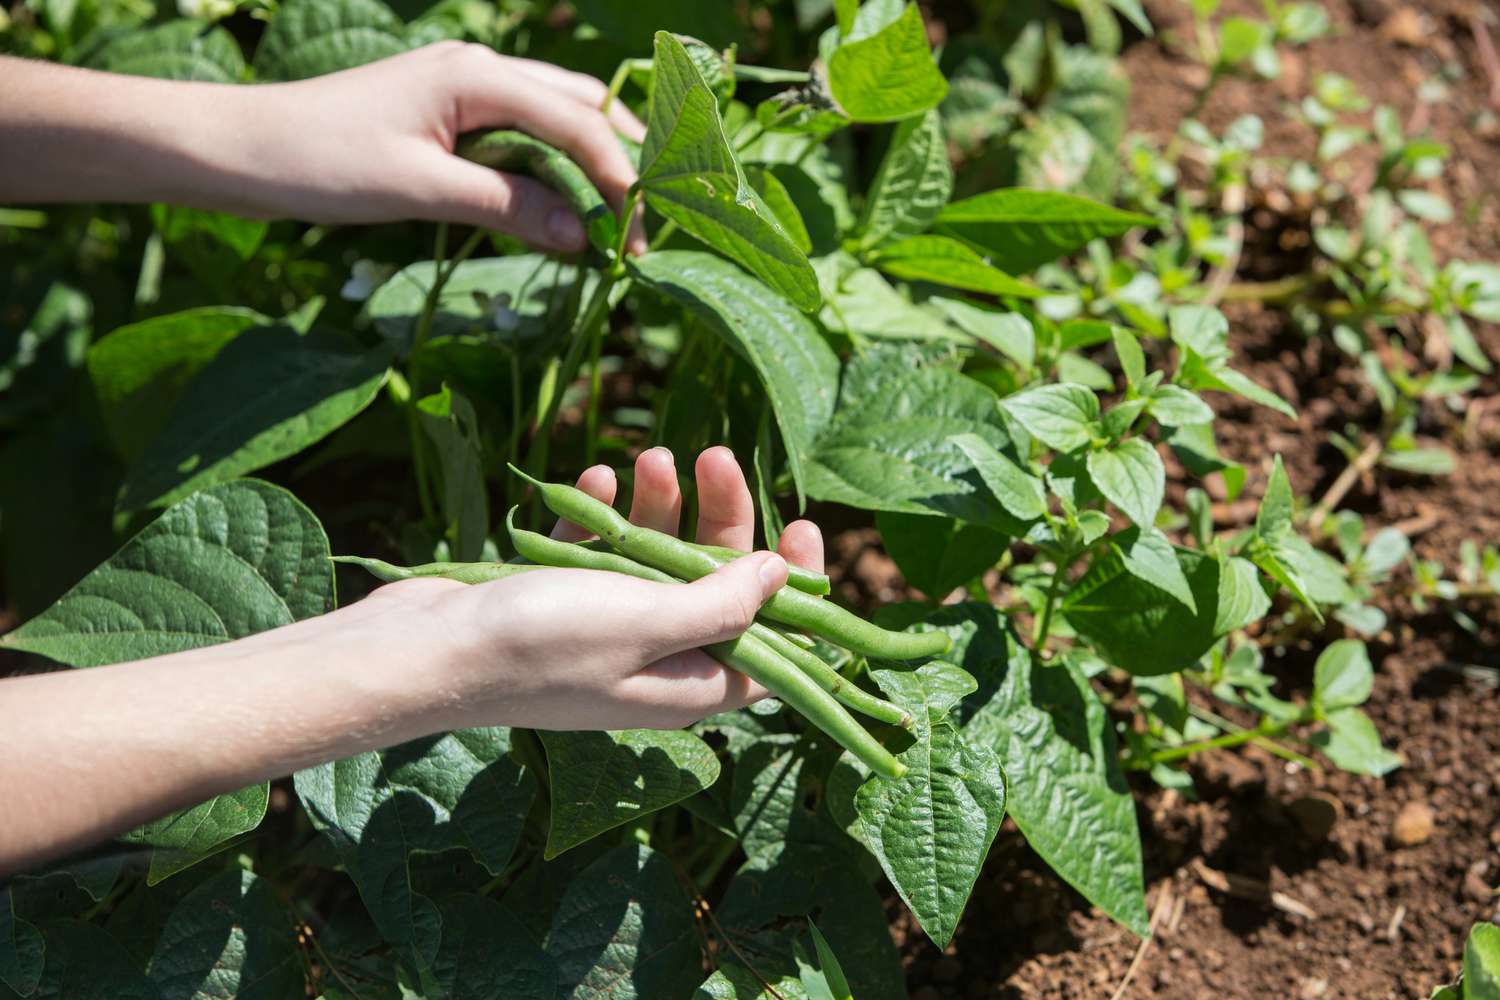
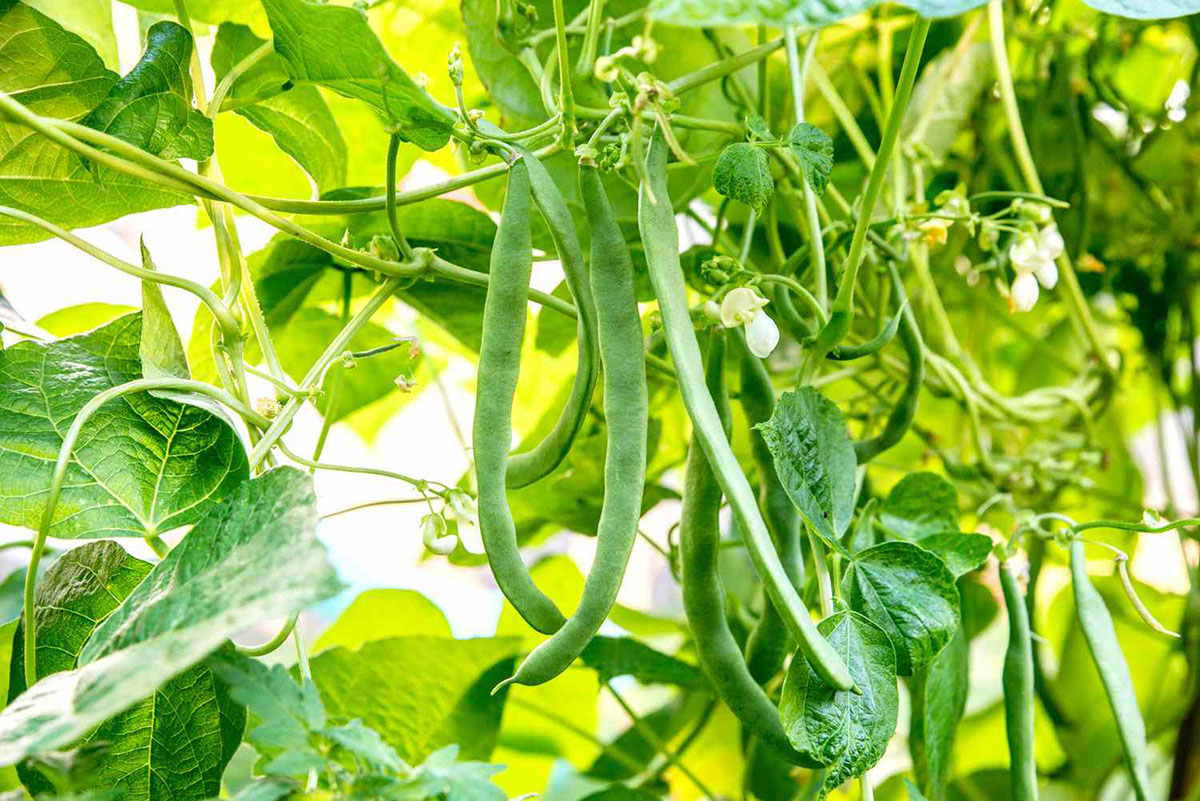
Green beans, scientifically known as Phaseolus vulgaris, are a popular vegetable that belongs to the legume family. They are harvested while still in their immature, green pods, and are known for their crunchy texture and mild flavor. Green beans are not only delicious but also packed with essential vitamins, minerals, and dietary fiber, making them a healthy addition to any diet.
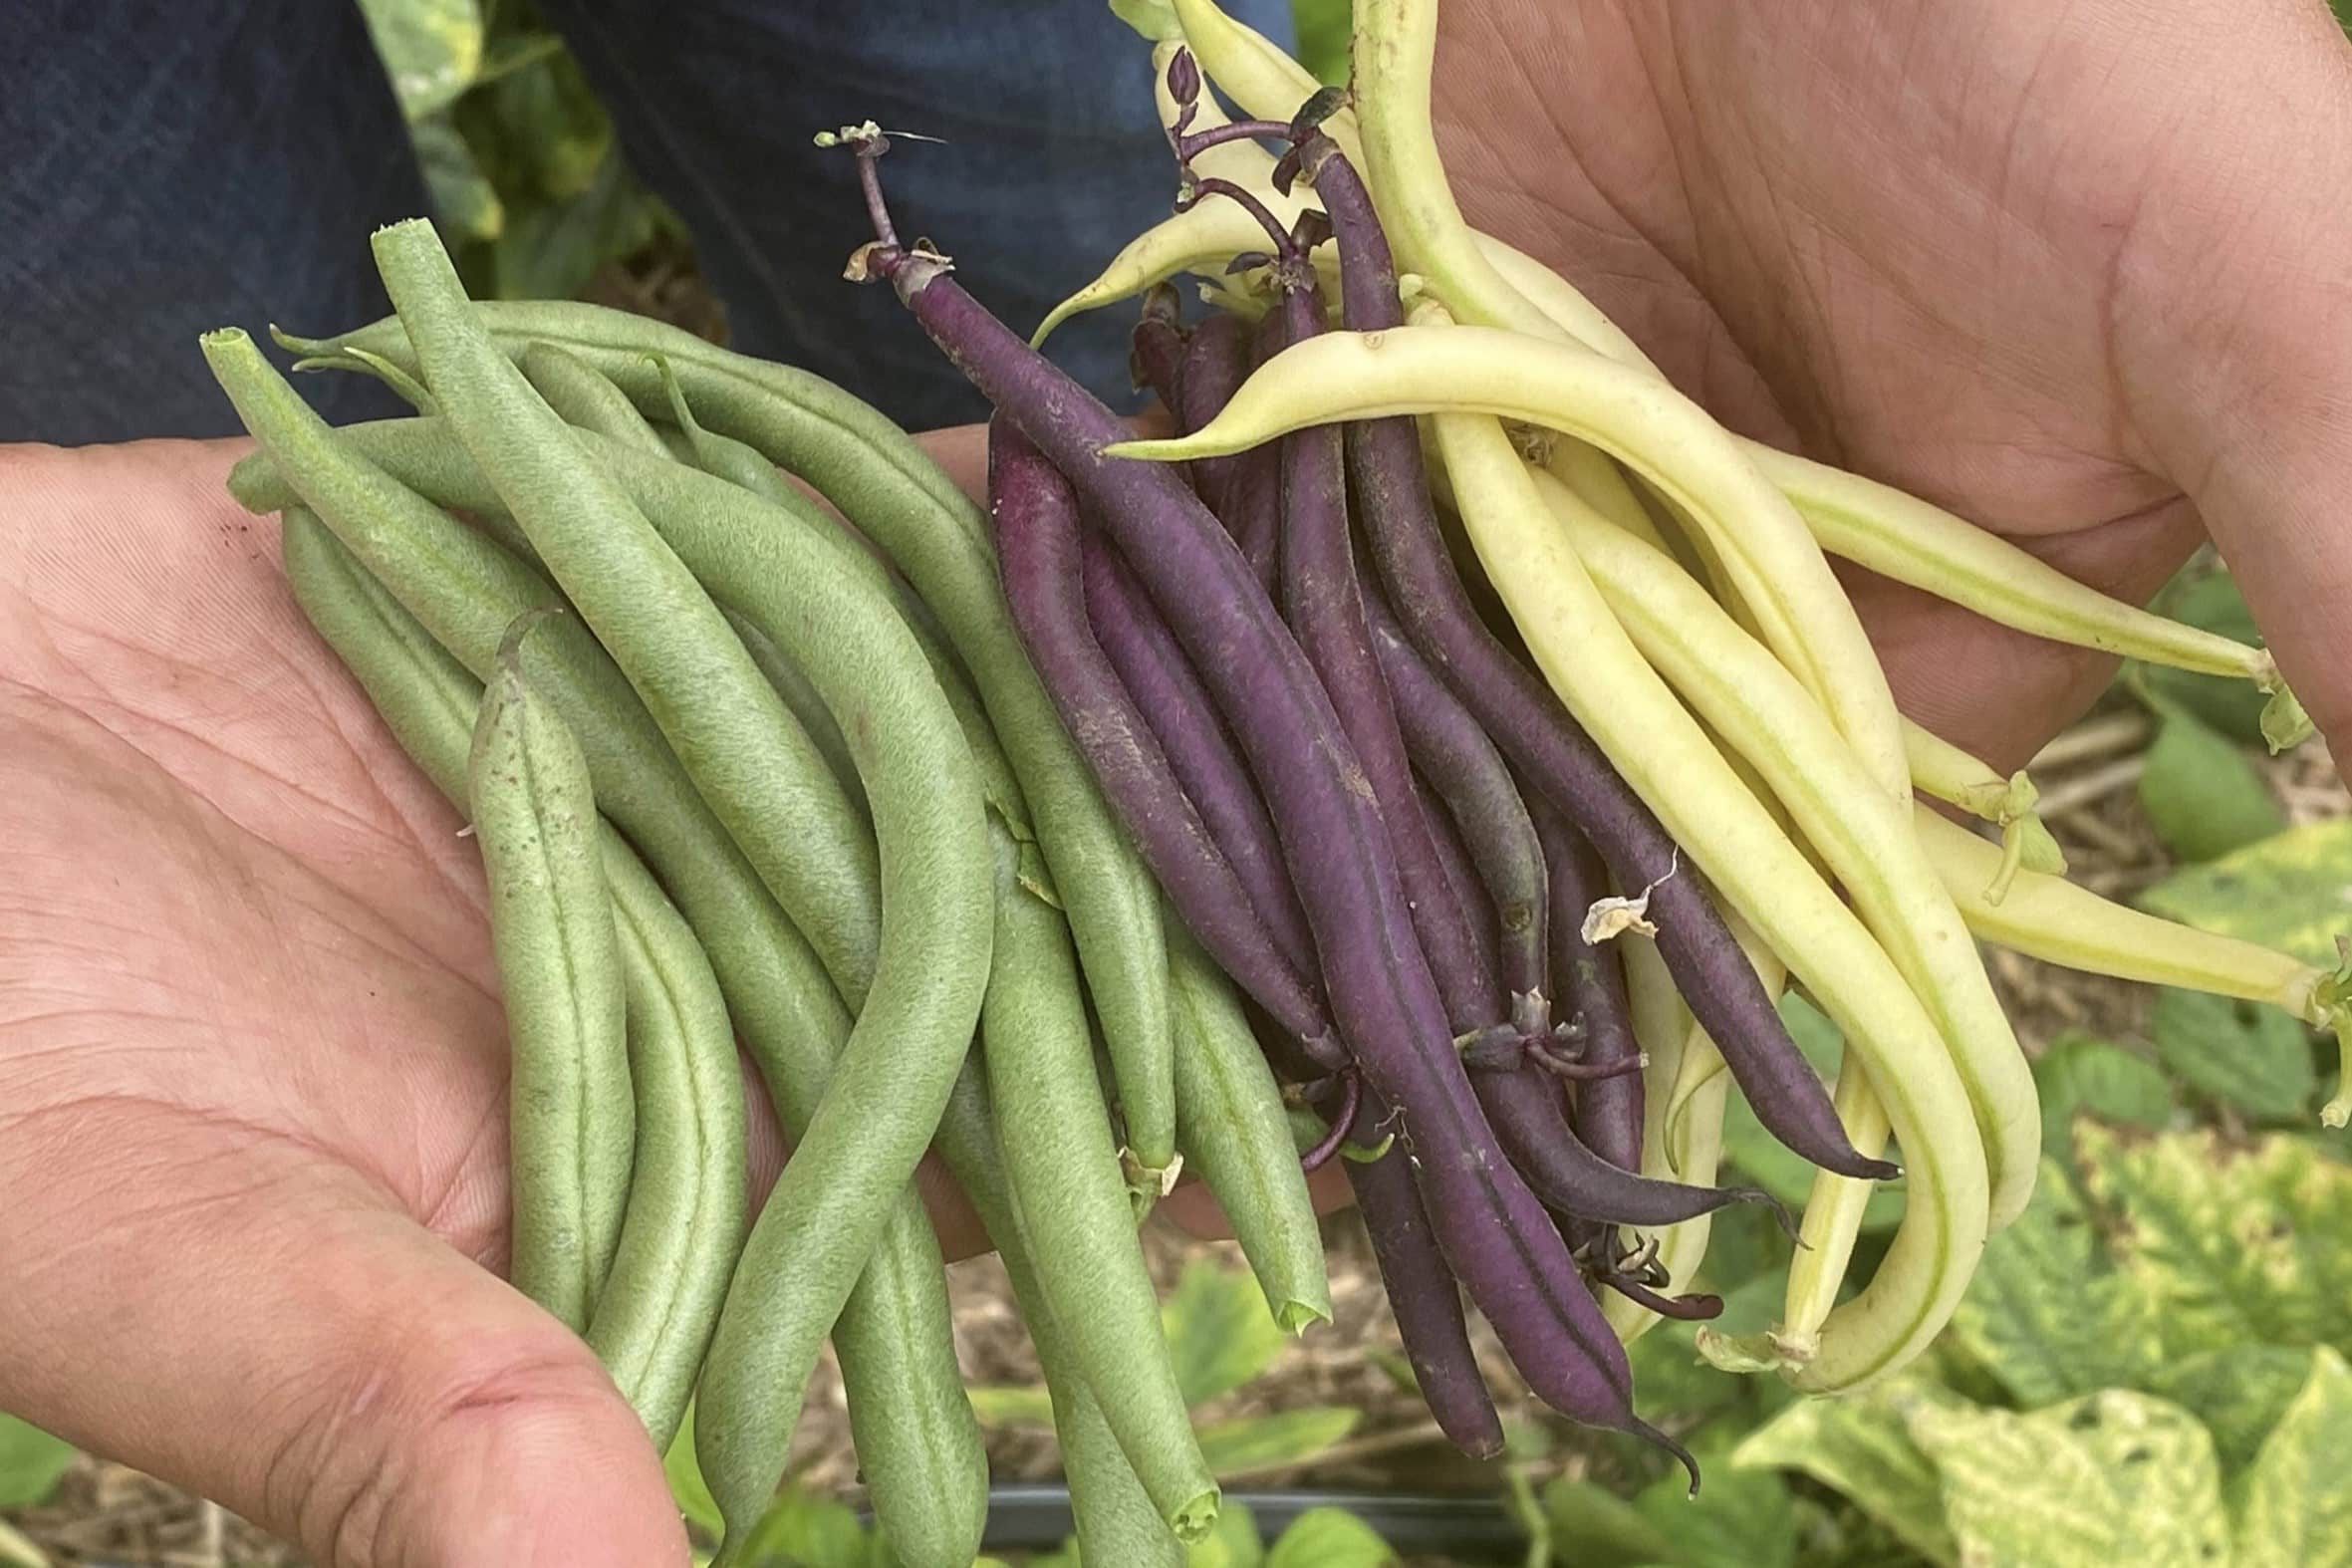
There are several varieties of green beans, including the classic “string beans,” which have a fibrous string running along the seam of the pod that needs to be removed before eating. However, many modern varieties are stringless, making them easier to prepare and enjoy.
In terms of nutrition, green beans are low in calories and fat, making them ideal for weight-conscious individuals. They are a good source of vitamin C, vitamin K, and folic acid, which are all important for immune function and supporting overall health. Green beans also provide minerals like potassium, iron, and manganese.
When it comes to taste, green beans have a unique flavor profile. They have a slightly sweet and grassy taste, with a subtle earthy undertone. Cooking green beans brings out their natural sweetness and enhances their flavor. They can be lightly steamed or stir-fried to retain their crunchiness, or cooked longer for a softer texture.
Green beans are a versatile ingredient and can be used in a variety of dishes. They are commonly added to salads, stir-fries, soups, stews, and casseroles. They can also be pickled, preserved, or fermented, adding a tangy twist to your culinary creations.
When it comes to selecting green beans for storage, it is important to choose fresh, high-quality beans. Look for beans that are firm, vibrant green, and free from blemishes or signs of decay. Avoid beans that are limp, shriveled, or discolored.
It’s worth noting that green beans are highly perishable and have a relatively short shelf life compared to other vegetables. Their delicate nature makes them prone to moisture loss, decay, and discoloration if not stored properly. Understanding the factors that affect the shelf life of green beans is essential for ensuring their freshness and quality.
In the next section, we will explore the factors that can impact the storage life of green beans. By understanding these factors, you can implement the right storage methods to extend the shelf life of your green beans and enjoy them for longer.
Factors Affecting Green Bean Storage
When it comes to storing green beans, there are several factors to consider that can affect their shelf life and quality. Understanding these factors can help you implement the best storage practices and maximize the freshness of your beans. Let’s explore the key factors that impact green bean storage:
1. Maturity: The maturity of green beans at the time of harvest plays a significant role in their storage life. Younger, more tender beans have a shorter shelf life compared to more mature beans. It is best to harvest or purchase green beans when they are at their peak ripeness to ensure optimal storage potential.
2. Quality: The quality of green beans at the time of purchase or harvest is crucial for storage. Inspect the beans carefully, looking for any signs of damage, such as bruises, wilting, or discoloration. Avoid beans that appear discolored, have soft spots, or show signs of mold or decay, as these beans will deteriorate quickly.
3. Moisture: Green beans are moisture-sensitive vegetables and can quickly deteriorate if exposed to excess moisture. It is important to handle green beans with dry hands and store them in a dry environment. Excess moisture can lead to the growth of mold and bacteria, causing the beans to become slimy and develop an off odor.
4. Temperature: The temperature at which green beans are stored can greatly impact their shelf life. Ideally, green beans should be stored in a cool environment. High temperatures can accelerate the breakdown of carbohydrates in the beans, leading to a loss of texture and flavor. It is recommended to store green beans at temperatures between 40°F (4°C) and 50°F (10°C) to maintain their freshness.
5. Light: Green beans are sensitive to light and should be stored in a dark environment. Exposure to bright light can lead to color changes and accelerate the breakdown of nutrients. It is best to store green beans in opaque containers or in a dark pantry to protect them from light exposure.
6. Air Circulation: Proper air circulation is essential for maintaining the freshness of green beans. Storing green beans in airtight containers or bags can trap moisture and promote the growth of mold and bacteria. It is recommended to store green beans in breathable containers or paper bags to allow for proper air circulation.
By considering these factors and implementing the appropriate storage practices, you can extend the shelf life of your green beans and ensure that they remain fresh and flavorful for longer periods. In the next section, we will discuss how to prepare green beans for storage, setting the stage for successful long-term preservation.
Preparing Green Beans for Storage
Properly preparing green beans before storage is essential to maximize their shelf life and maintain their quality. By following these steps, you can ensure that your green beans stay fresh and delicious for longer periods. Let’s take a look at how to prepare green beans for storage:
1. Washing: Start by gently washing the green beans in cool water to remove any dirt, debris, or pesticides. Avoid using soap or harsh detergents, as this can leave a residue on the beans. Gently agitate the beans in the water to loosen any dirt or particles, then rinse them thoroughly. Pat the beans dry with a clean towel or allow them to air dry before proceeding to the next step.
2. Trimming: After washing, trim off the ends of the green beans. This helps to remove any tough or fibrous parts of the bean and ensures that the beans are ready for storage or cooking. Use a sharp knife or scissors to cut off the stem end and the pointed tail end of the beans.
3. Inspecting: Take a moment to inspect the green beans for any blemishes, discoloration, or signs of decay. Remove any beans that appear damaged or spoiled, as they can lead to the deterioration of neighboring beans during storage.
4. Optional: Blanching: Blanching is a process that involves briefly boiling the green beans and then immediately transferring them to an ice bath. While not necessary, blanching can help preserve the vibrant green color and crispness of the beans. To blanch, bring a pot of water to a rolling boil and carefully place the green beans in the boiling water for 2-3 minutes. Then, promptly remove the beans and transfer them to a bowl filled with ice water to stop the cooking process. Once cooled, drain the beans and pat them dry before storing.
5. Packaging: After preparing the green beans, it’s time to package them for storage. There are several options for packaging, depending on your preferred storage method. Consider using breathable containers or paper bags to allow for proper air circulation. Alternatively, you can use resealable plastic bags, but make sure to leave them slightly open to prevent excess moisture buildup.
By following these preparatory steps, you have set the stage for successful long-term green bean storage. In the following sections, we will discuss different storage methods that you can employ, including refrigeration, freezing, canning, and vacuum-sealing. Each method has its own advantages and considerations, so let’s explore them further in the upcoming sections.
Recommended Storage Methods
When it comes to storing green beans, there are several methods you can choose from depending on your preferences and storage capabilities. Each method has its own advantages and considerations, so let’s explore the recommended storage methods for green beans:
1. Refrigeration: Storing green beans in the refrigerator is a common and convenient method. Place the prepared green beans in a breathable container or a perforated plastic bag to allow for proper air circulation. Keep them in the vegetable crisper drawer, which provides a slightly higher humidity level compared to other parts of the refrigerator. Green beans stored in the refrigerator can typically stay fresh for up to a week.
2. Freezing: Freezing green beans is an excellent way to preserve their freshness for an extended period. To freeze green beans, blanch them first (optional but recommended), then transfer them to an airtight container or freezer bag, removing as much excess air as possible. Label the container with the date and store it in the freezer. Frozen green beans can maintain their quality for up to 6-12 months. They may lose some crispness during freezing, but they are still suitable for use in soups, stews, stir-fries, and casseroles.
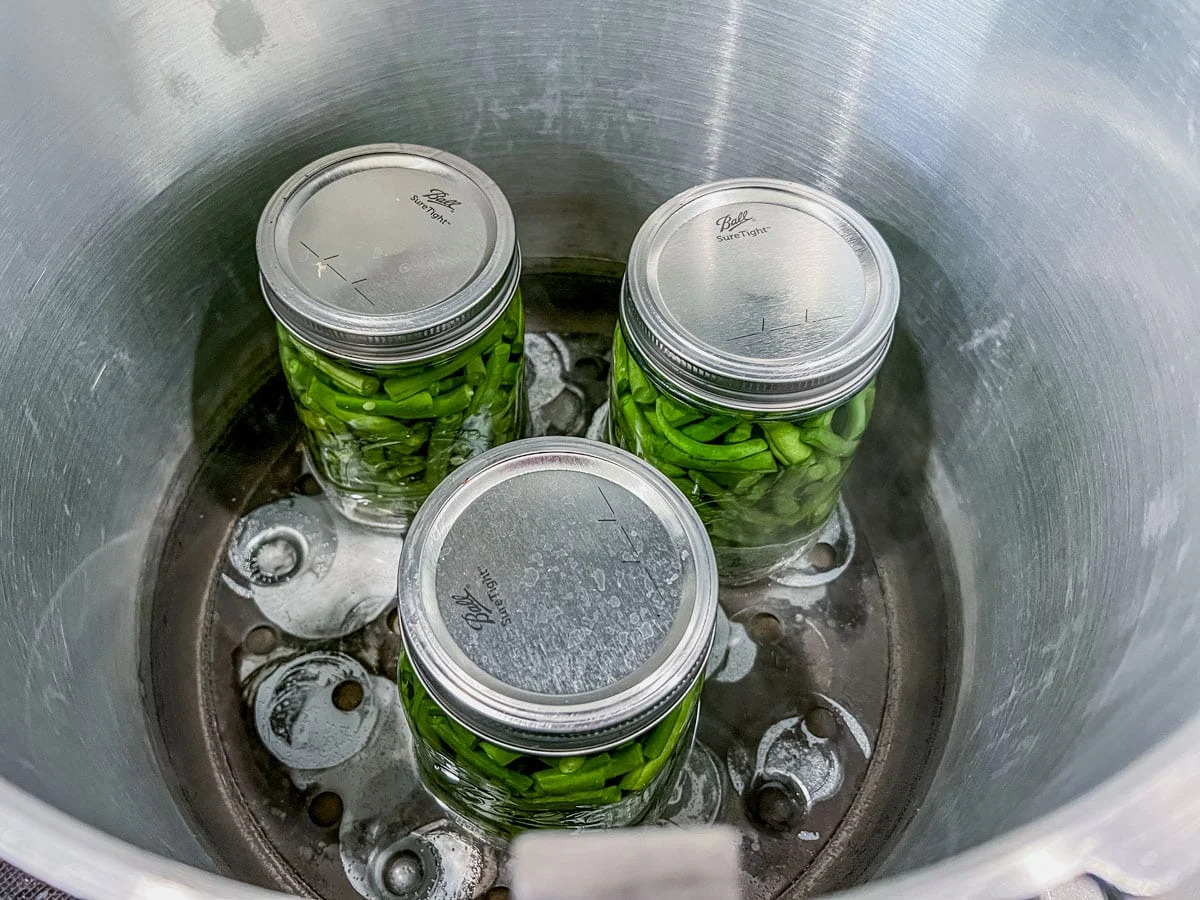
3. Canning: Canning green beans allows for long-term storage at room temperature. This method involves placing the prepared green beans in canning jars and processing them in a pressure canner or a boiling-water canner according to proper canning guidelines. Canned green beans can last for up to 1-2 years when stored in a cool, dark place. It’s important to follow tested canning recipes and methods to ensure safe preservation.
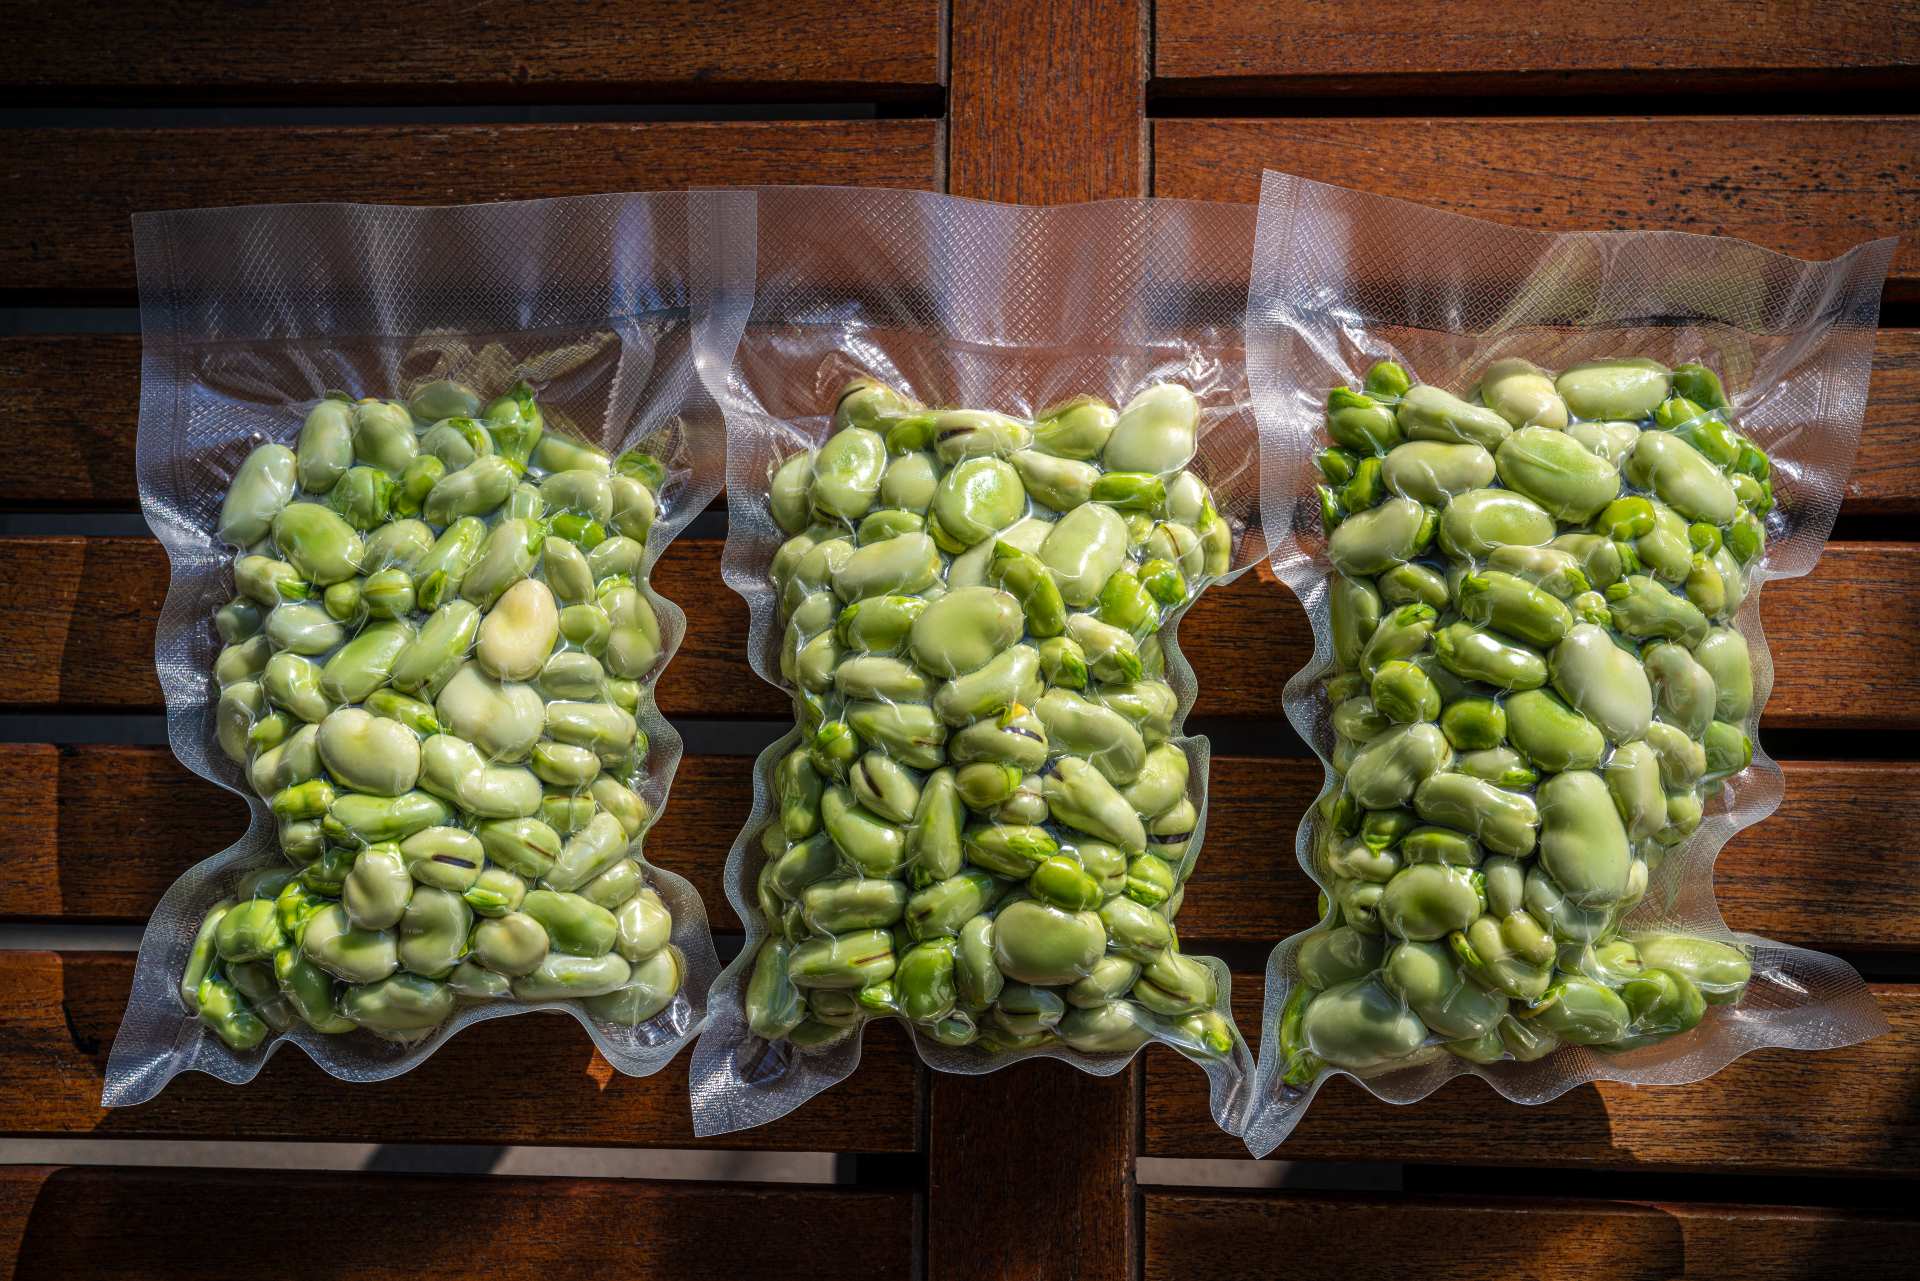
4. Vacuum-Sealing: Vacuum-sealing is another effective way to store green beans for an extended period. This method involves removing air from specially designed vacuum-sealed bags or containers, creating an airtight environment. Vacuum-sealed green beans can maintain their quality and freshness for up to 1-2 years when stored in a cool, dark place. Keep in mind that vacuum-sealing requires specific equipment, such as a vacuum sealer machine.
Choosing the right storage method depends on factors such as the desired storage duration, available equipment, and personal preferences. Each method has its own advantages and considerations, so consider exploring different methods to find the one that suits your needs best.
In the following sections, we will dive deeper into each storage method and provide detailed instructions on how to store green beans using each specific method. By understanding these methods and following the proper storage techniques, you can prolong the shelf life of your green beans and enjoy their freshness and flavor for an extended period.
Read more: How To Start Green Bean Seeds
Storing Green Beans in the Refrigerator
Storing green beans in the refrigerator is a common and convenient method that helps to maintain their freshness and quality for an extended period. Follow these steps to properly store green beans in the refrigerator:
1. Preparation: Ensure that your green beans are properly prepared by washing, trimming, and inspecting them as mentioned earlier. Pat them dry or allow them to air dry before storing to avoid excess moisture.
2. Storage Container: Choose a breathable container or a perforated plastic bag for storing green beans in the refrigerator. This will allow for proper air circulation and prevent excess moisture buildup, which can lead to spoilage. You can also wrap the beans loosely in a damp paper towel before placing them in the container to help maintain their moisture.
3. Storage Location: Place the container of green beans in the vegetable crisper drawer of your refrigerator. This drawer provides a slightly higher humidity level compared to other parts of the refrigerator, which helps to keep the beans fresh for a longer period. Keep the beans away from ethylene-producing fruits and vegetables, such as apples and tomatoes, as ethylene can accelerate the ripening and decay of green beans.
4. Temperature: Set your refrigerator temperature to around 40°F (4°C) to 50°F (10°C). This cool temperature range helps to slow down the enzymatic activity in green beans, preserving their freshness and texture. It’s important to avoid colder temperatures, as freezing can negatively affect the quality of green beans.
5. Shelf Life: Properly stored green beans can typically stay fresh in the refrigerator for about 5 to 7 days. However, their quality may gradually decline over time, so it’s best to use them as soon as possible for the best flavor and texture.
6. Check for Freshness: Before using refrigerated green beans, always inspect them for any signs of spoilage or decay. Discard any beans that appear slimy, discolored, or have a foul odor.
Refrigeration is a convenient method for short-term storage of green beans, allowing you to enjoy their freshness and crispness for up to a week. However, if you have a larger quantity of green beans or wish to preserve them for a longer period, freezing or canning may be more suitable storage methods.
In the next section, we will discuss the process of storing green beans in the freezer, which is a great option for long-term preservation.
Store green beans in a perforated plastic bag in the refrigerator crisper drawer. They will stay fresh for up to a week. Avoid washing them until ready to use to prevent spoilage.
Storing Green Beans in the Freezer
Freezing green beans is an excellent method for long-term storage, allowing you to enjoy their freshness and nutritional benefits even months after harvest. Follow these steps to properly store green beans in the freezer:
1. Preparation: Begin by preparing your green beans as mentioned earlier by washing, trimming, and inspecting them. Optionally, you can blanch the green beans to help preserve their color and texture. To blanch, bring a pot of water to a rolling boil and carefully add the green beans. Boil them for 2-3 minutes, then quickly transfer them to an ice bath to cool rapidly. Drain and let them dry completely before freezing.
2. Packaging: After preparing the green beans, it’s crucial to package them properly for freezer storage. Place the cooled, dry green beans into freezer-safe containers or resealable freezer bags. Remove as much excess air as possible from the bags or containers before sealing them. This step helps to prevent freezer burn and maintain the quality of the beans during storage.
3. Labeling and Dating: Label the containers or bags with the date of freezing. This will allow you to keep track of the storage duration and prioritize the use of older beans first.
4. Freezing: Place the sealed containers or bags of green beans in the freezer on a flat surface, ensuring that the beans are in a single layer to facilitate rapid freezing. It’s important to keep the temperature of your freezer at or below 0°F (-18°C) for optimal long-term storage.
5. Shelf Life: Frozen green beans can maintain their quality for up to 6-12 months when stored at a constant freezing temperature. However, for the best flavor and texture, it is recommended to use them within the first 3-6 months of freezing.
6. Thawing and Usage: When you’re ready to use the frozen green beans, take out the desired amount from the freezer and thaw them. There are a few methods for thawing green beans: you can thaw them in the refrigerator overnight, blanch them directly from frozen, or add them frozen to soups and stews during cooking. Avoid defrosting and refreezing green beans multiple times, as it can affect their texture and flavor.
By following these steps, freezing allows you to extend the shelf life of green beans and preserve their nutritional value. Whether you prefer to use them in stir-fries, soups, or casseroles, having a stash of frozen green beans in the freezer ensures that you can enjoy their freshness and taste throughout the year.
In the next section, we will explore the process of storing green beans in canning jars, which offers another method for long-term preservation.
Storing Green Beans in Canning Jars
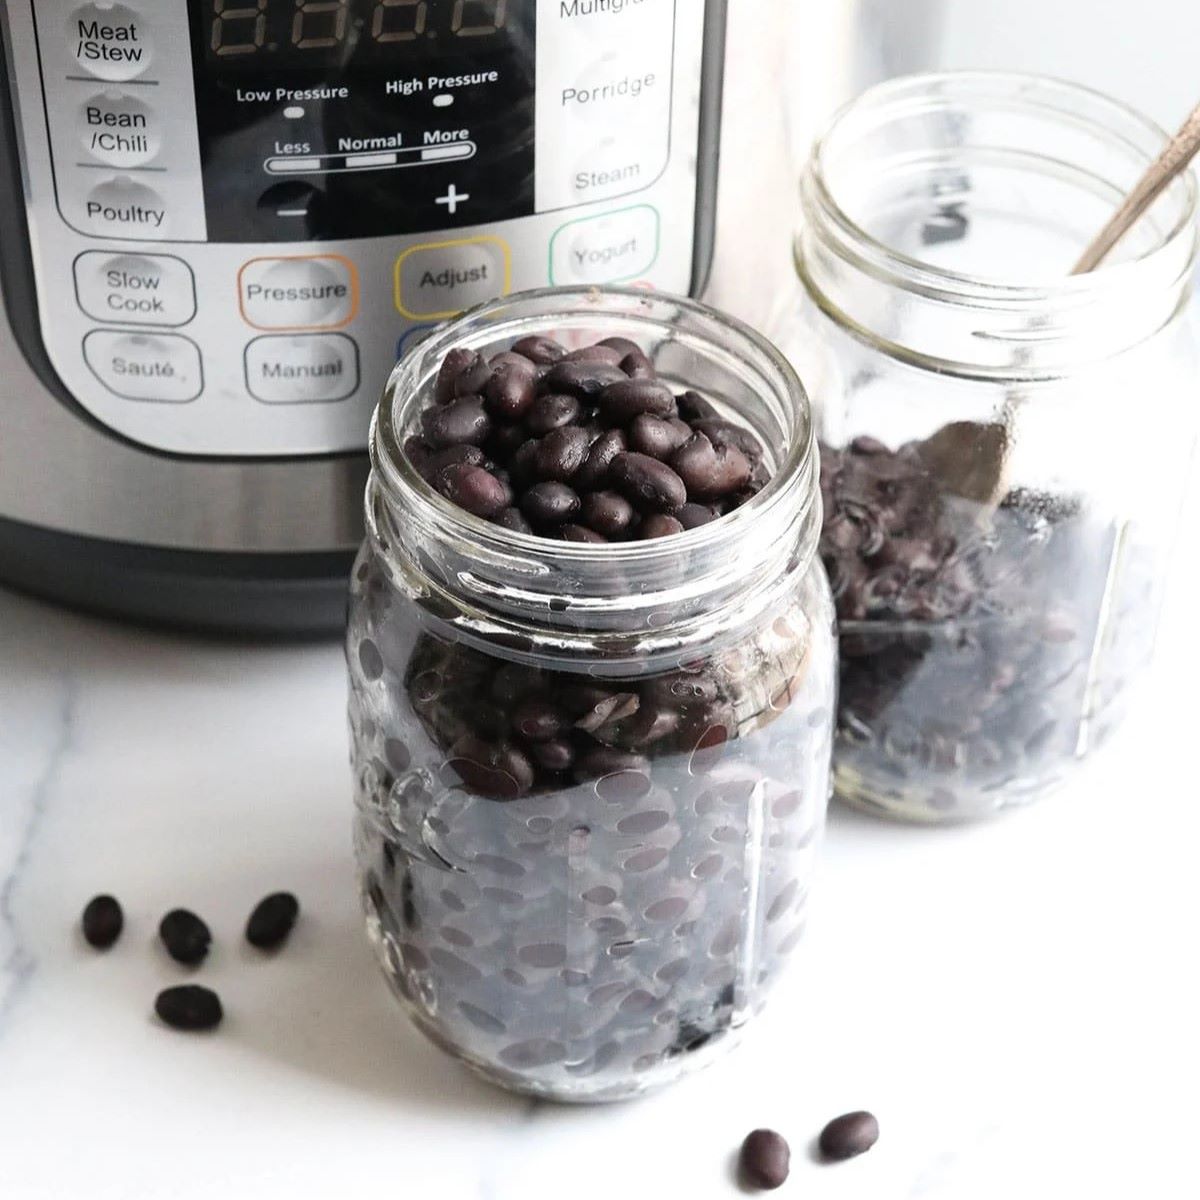
Storing green beans in canning jars is a popular method for long-term preservation, allowing you to enjoy the flavor and nutritional benefits of green beans throughout the year. Follow these steps to properly store green beans in canning jars:
1. Preparation: Start by preparing your green beans as mentioned earlier by washing, trimming, and inspecting them. Optionally, you can blanch the green beans to help preserve their color and texture. To blanch, bring a pot of water to a rolling boil and carefully add the green beans. Boil them for 2-3 minutes, then quickly transfer them to an ice bath to cool rapidly. Drain and let them dry completely before canning.
2. Canning Jars: Select suitable canning jars for storing your green beans. Use clean, sterilized glass jars designed specifically for canning. Regular or wide-mouth jars can be used, depending on your preference. Inspect the jars for any chips or cracks, as damaged jars may not form a proper seal.
3. Jar Preparation: Before filling the jars, ensure that they are clean and sterilized. Wash the jars and lids with hot, soapy water, then rinse them thoroughly. Place the jars in boiling water for 10 minutes to sterilize them. Keep the lids and bands in hot, but not boiling, water to soften the sealing compound.
4. Filling: Fill the sterilized jars with the prepared green beans, leaving about 1 inch (2.5 cm) of headspace at the top of the jar. The headspace provides room for expansion during canning and helps to create a proper seal.
5. Brine or Liquid: You can choose to pack the green beans tightly or add a brine or liquid to the jars. If using a brine, prepare a mixture of water, vinegar, and salt according to a tested recipe. Make sure to leave the appropriate headspace as indicated in the recipe. Alternatively, you can pack the beans tightly without adding any liquid, depending on your preference.
6. Sealing: After filling the jars, wipe the rim of each jar with a clean, damp cloth to ensure a clean seal. Place a sterilized lid on top of each jar and secure it with a band, screwing it on tightly but not overly tight.
7. Canning Process: Process the filled jars according to the specific canning method recommended for green beans. This typically involves using a pressure canner to ensure safe preservation. Follow the instructions provided with your canner, including recommended processing times and pressures. The high temperature and pressure during canning kill bacteria and create a vacuum seal, ensuring the long-term storage stability of the green beans.
8. Cooling and Storage: Once the canning process is complete, carefully remove the jars from the canner and place them on a clean, dry towel. Allow the jars to cool undisturbed for 12-24 hours. During this time, you may hear the distinctive “pop” sound as the jars form a vacuum seal. After cooling, check the lids for proper sealing by pressing on the center of each lid. If it bounces back, the jar did not properly seal and should be refrigerated or immediately reprocessed.
9. Shelf Life: Properly canned green beans can be stored in a cool, dark place for up to 1-2 years. It’s best to store the jars away from direct sunlight and excessive heat, ensuring they remain at a constant room temperature.
Canning green beans allows you to enjoy the vibrant flavors of these vegetables throughout the year. Properly sealed jars of green beans can be incorporated into a variety of dishes, making them a versatile, ready-to-use ingredient whenever you need them.
In the upcoming section, we will explore the process of storing green beans in vacuum-sealed bags, another effective method for preserving their freshness and quality.
Storing Green Beans in Vacuum-Sealed Bags
Storing green beans in vacuum-sealed bags is a method that helps to preserve their freshness and flavor by removing air from the packaging. This process creates a tight seal that protects the green beans from moisture, oxygen, and freezer burn. Follow these steps to properly store green beans in vacuum-sealed bags:
1. Preparation: Begin by preparing your green beans as mentioned earlier by washing, trimming, and inspecting them. Optionally, you can blanch the green beans to help preserve their color and texture. To blanch, bring a pot of water to a rolling boil and carefully add the green beans. Boil them for 2-3 minutes, then quickly transfer them to an ice bath to cool rapidly. Drain and let them dry completely before vacuum-sealing.
2. Vacuum-Sealing Equipment: To vacuum-seal green beans, you will need a vacuum sealer machine. There are different types of vacuum sealers available, including handheld sealers and countertop models. Follow the instructions provided with your specific vacuum sealer for proper usage.
3. Bag Selection: Choose vacuum-sealer bags that are suitable for storing green beans. Look for bags that are specifically designed for freezer storage and can withstand low temperatures without tearing or puncturing. You can also select bags with texture or embossed patterns, as these help to extract air more efficiently during the sealing process.
4. Packaging: Fill the prepared green beans into the vacuum-sealer bags, leaving about 1 inch (2.5 cm) of space at the top of the bag. This space allows for the beans to expand slightly during freezing without compromising the seal. It’s best to pack the beans in a single layer to ensure even freezing and easier portioning later on.
5. Sealing: Follow the instructions provided with your vacuum sealer machine to seal the bags. Typically, you will need to insert the open end of the bag into the vacuum sealer, close the lid or press the sealing button, and let the machine remove the air and seal the bag tightly. Once sealed, the bag should have a vacuum-packed appearance with no air inside.
6. Labeling and Dating: Label each vacuum-sealed bag with the date of packaging. This will help you keep track of the storage duration and prioritize the use of older bags first.
7. Freezing: Place the vacuum-sealed bags of green beans in the freezer on a flat surface. If you have multiple bags, ensure they are arranged in a single layer for efficient freezing. Make sure your freezer is set to a temperature of 0°F (-18°C) or below for optimal long-term storage.
8. Shelf Life: Properly vacuum-sealed green beans can maintain their quality and freshness for up to 1-2 years when stored at a constant freezing temperature. However, for the best flavor and texture, it is recommended to use them within the first year of freezing.
When you’re ready to use the vacuum-sealed green beans, simply remove the desired amount from the freezer and thaw them. You can thaw them in the refrigerator overnight or use them directly from frozen in soups, stews, or stir-fries.
Vacuum-sealing is an effective method for preserving the freshness and quality of green beans, making them readily available for use throughout the year. Enjoy the convenience of vacuum-sealed green beans in your favorite dishes!
In the next section, we will provide valuable tips for extending the shelf life of green beans and troubleshooting common storage issues.
Read more: How To Cook Green Beans From Garden
Tips for Extending Green Bean Shelf Life
To maximize the shelf life and maintain the freshness of green beans, here are some useful tips to keep in mind:
1. Harvest at the right time: If you grow your own green beans, harvest them when they reach the appropriate maturity. Young beans have a shorter shelf life compared to more mature beans. Picking them at their peak ripeness ensures optimal storage potential.
2. Purchase fresh beans: When buying green beans from the store or farmers market, choose beans that are firm, vibrant green, and free from blemishes or signs of decay. Inspect them carefully to ensure quality before storing.
3. Handle with care: Green beans are delicate and sensitive to rough handling. Avoid excessive squeezing or dropping, as this can bruise the beans and make them more susceptible to decay. Use clean, dry hands whenever handling the beans.
4. Store in the right environment: Green beans should be stored in a cool and dark place. A temperature range of 40°F (4°C) to 50°F (10°C) is ideal. Store the beans away from ethylene-producing fruits and vegetables, as ethylene can accelerate the ripening and decay of green beans.
5. Use breathable containers: Whether storing in the refrigerator or pantry, choose breathable containers for green bean storage. Containers or bags with perforations or made of breathable materials allow for proper air circulation, preventing excess moisture buildup and decay.
6. Avoid excessive washing: While it’s important to wash green beans to remove dirt and pesticides, avoid excessive washing as it can introduce excess moisture. Gently wash the beans in cool water and pat them dry or allow them to air dry before storage.
7. Trim before storing: Trim the ends of the green beans before storage to remove any tough or fibrous parts. This step helps to ensure that the beans are ready for use when you take them out of storage.
8. Store only fresh beans: Avoid storing green beans that are already showing signs of decay or damage. Remove any beans that appear slimy, discolored, or have a foul odor before storing. One spoiled bean can quickly deteriorate the rest and compromise their quality.
9. Rotate your stock: When replenishing your supply of green beans, use the “first in, first out” rule. This means using the older beans before the fresher ones to prevent any beans from sitting for too long and losing quality.
10. Check for freshness before use: Before cooking or eating green beans, inspect them for any signs of spoilage or decay. Discard any beans that appear slimy, discolored, or have a foul odor.
By following these tips, you can extend the shelf life of your green beans and enjoy their fresh taste and texture for a longer period. Remember that proper storage and handling are vital in preserving the quality of green beans.
In the final section, we will address common storage issues and provide troubleshooting advice to help you overcome any challenges you may encounter with green bean storage.
Troubleshooting Common Green Bean Storage Issues
Although green beans can be stored successfully using various methods, there are some common storage issues that may arise. Here are some troubleshooting tips to help you overcome these challenges:
1. Mold or sliminess: If you notice mold or sliminess on the surface of your green beans, it indicates excess moisture or improper air circulation. Ensure that the beans are completely dry before storing them to prevent moisture buildup. Use breathable containers or bags to allow for proper airflow, reducing the chances of mold or sliminess.
2. Yellowing or discoloration: Green beans can sometimes turn yellow or develop brown spots when stored for too long. This is a sign of aging and deterioration. To prevent this, store green beans at a cool temperature (40°F to 50°F or 4°C to 10°C) and use them within the recommended storage timeframe. If the beans are discolored, it’s best to discard them as they may have already begun to spoil.
3. Freezer burn: Freezer burn occurs when food is improperly sealed or exposed to air in the freezer. It can affect the texture and taste of green beans. To prevent freezer burn, ensure that you remove as much air as possible from the packaging before sealing them. Using vacuum-sealed bags is a great option to minimize the risk of freezer burn.
4. Loss of crispness: Over time, green beans can lose their initial crispness. If you prefer crunchy beans, try blanching them before freezing or consuming. Blanching helps to preserve the texture and retain the crunchiness. It’s also important to follow the recommended freezing times and consume the beans within the optimal storage duration.
5. Foul odor: If you notice a foul odor when opening your stored green beans, it may indicate spoilage or decay. Discard any beans with an off odor, as they can contaminate other beans. Properly inspecting and sorting the green beans before storage can help prevent contamination and maintain overall freshness.
6. Inconsistent flavor: Green beans may absorb odors from other foods in the refrigerator or freezer, resulting in an altered flavor. To prevent this, store green beans in airtight containers or consider using odor-absorbing materials like activated charcoal or baking soda in the storage area.
7. Freezing texture: While freezing is an effective preservation method, keep in mind that the texture of green beans may change slightly. They may lose some of their crispness or become softer after freezing. This is normal and doesn’t affect their safety or taste. Adjust your cooking methods to account for the slight change in texture when using frozen green beans.
Remember to follow proper storage techniques, maintain the recommended temperature and duration, and regularly inspect your green beans for any signs of spoilage. Troubleshooting storage issues and adapting your methods accordingly will help you maintain the quality and freshness of your green beans for a longer period.
By employing these troubleshooting tips, you can overcome common storage challenges and continue to enjoy the delicious flavor and nutritional benefits of green beans throughout the year.
Now that you’re equipped with knowledge and strategies for optimal green bean storage, you can confidently implement the recommended storage methods and techniques to keep your green beans fresh, crisp, and ready to incorporate into your favorite recipes!
Conclusion
Storing green beans properly is essential for maintaining their freshness, flavor, and nutritional value. Whether you grow your own or purchase them from the store, understanding the factors that affect green bean storage and implementing the right techniques can significantly extend their shelf life. From refrigeration to freezing, canning, and vacuum-sealing, there are various methods available to suit your preferences and storage capabilities.
By properly preparing green beans before storage, including washing, trimming, and inspecting them, you can ensure that they are in the best condition for preservation. Additionally, following the recommended storage methods is crucial. Storing green beans in the refrigerator, freezer, canning jars, or vacuum-sealed bags each offer their own advantages and considerations.
To optimize the shelf life of green beans, remember to prioritize factors like moisture control, suitable storage temperatures, proper air circulation, and avoiding exposure to light. By implementing the tips and troubleshooting advice provided in this guide, you can overcome common storage issues and maintain the quality of your green beans.
Whether you enjoy green beans in salads, stir-fries, soups, or as a side dish, having them readily available ensures that you can enjoy the vibrant flavors and nutritional benefits all year round. So don’t let your green beans go to waste – store them properly and savor their delicious taste whenever you desire.
With a little care and attention to storage methods, you can extend the life of your green beans, reduce food waste, and enhance your culinary creations. So go ahead, stock up on green beans when they are in season, and follow the recommendations outlined in this article to make the most of these versatile and nutritious vegetables.
Now that you have the knowledge and tools to store green beans successfully, venture forth and enjoy the bounty of nature’s green gems all year long!
Frequently Asked Questions about How To Store Green Beans
Was this page helpful?
At Storables.com, we guarantee accurate and reliable information. Our content, validated by Expert Board Contributors, is crafted following stringent Editorial Policies. We're committed to providing you with well-researched, expert-backed insights for all your informational needs.



0 thoughts on “How To Store Green Beans”