Home>Garden Essentials>How To Grow Green Beans From Seeds

Garden Essentials
How To Grow Green Beans From Seeds
Modified: March 21, 2024
Learn how to grow green beans from seeds in your garden. Follow our step-by-step guide for a successful and abundant harvest.
(Many of the links in this article redirect to a specific reviewed product. Your purchase of these products through affiliate links helps to generate commission for Storables.com, at no extra cost. Learn more)
Introduction
Growing your own vegetables is not only rewarding but also a great way to ensure that you are consuming fresh and organic produce. Green beans, also known as snap beans or string beans, are a popular vegetable to grow in home gardens. These versatile legumes are packed with nutrients and are a delicious addition to any meal.
In this guide, we will walk you through the process of growing green beans from seeds. Whether you are a seasoned gardener or a beginner, with a little effort and the right techniques, you can enjoy a bountiful harvest of green beans in your own backyard.
Before we dive into the details, it’s important to understand that there are different types of green beans available, including bush beans and pole beans. Bush beans are compact and do not require much support, making them ideal for small gardens or containers. On the other hand, pole beans are climbers and need trellises or poles to grow on. Select the type that suits your garden space and personal preferences.
Now let’s explore the step-by-step process of growing green beans from seeds to enjoy a fresh and healthy harvest.
Key Takeaways:
- Grow green beans by selecting the right seeds, preparing the soil, and providing support for healthy growth. Monitor for pests and diseases, and enjoy the satisfaction of harvesting your own nutritious produce.
- Enjoy the process of growing green beans from seeds with proper care, watering, and sunlight. Harvest the beans at the right time for peak flavor and store them for future use.
Read more: How To Grow Green Beans From Seed
Step 1: Selecting the Right Seeds
The first step in growing green beans from seeds is to select the right seeds for your garden. When choosing seeds, consider factors such as the variety, maturity time, and disease resistance.
There are many different varieties of green beans to choose from, including bush beans and pole beans. Some popular bush bean varieties include ‘Blue Lake’ and ‘Provider’, while popular pole bean varieties include ‘Kentucky Wonder’ and ‘Scarlet Runner’. Research the different varieties and select the ones that are well-suited to your climate and garden space.
Next, consider the maturity time of the green bean variety. Maturity time refers to the number of days it takes for the beans to be ready for harvest after sowing the seeds. Bush bean varieties generally have a shorter maturity time, ranging from 50 to 60 days, while pole bean varieties may take slightly longer, around 60 to 70 days. Keep in mind that the maturity time listed on the seed packet is an average, and it may vary depending on environmental conditions.
In addition to variety and maturity time, it’s important to choose seeds that are disease-resistant. Look for seeds labeled as resistant to common bean diseases such as powdery mildew, rust, and bean mosaic virus. Disease-resistant seeds will give your plants a better chance of thriving and producing a healthy harvest.
Once you have selected the seeds, you can purchase them from a local nursery or order them online. It’s a good idea to buy from reputable sources that offer high-quality seeds. Avoid using seeds that are past their expiration date, as they may have a lower germination rate.
Before moving on to the next step, it’s a good idea to read the instructions on the seed packet thoroughly. The packet will provide valuable information about planting depth, spacing, and other specific requirements for the chosen variety. Familiarize yourself with these instructions to ensure optimal growth and yield.
Step 2: Preparing the Soil
Preparing the soil is a crucial step in growing green beans successfully. Green beans prefer well-drained soil that is rich in organic matter. Follow these steps to prepare your soil for planting:
- Clear the area: Start by clearing the area where you plan to grow your green beans. Remove any weeds, rocks, or any other debris that might hinder the growth of your plants.
- Loosen the soil: Loosen the soil using a garden fork or a tiller. This will help improve drainage and ensure that the roots can develop properly. Avoid working the soil when it is wet, as it can lead to compaction.
- Amend the soil: Green beans thrive in soil that is rich in organic matter. Incorporate well-rotted compost or aged manure into the soil to enhance its fertility and structure. This will provide essential nutrients and improve moisture retention. Aim to have about 2-3 inches of organic matter evenly mixed into the top 6-8 inches of soil.
- Test the soil: It’s a good idea to test your soil’s pH level before planting. Green beans prefer slightly acidic soil with a pH range of 6.0 to 6.8. If needed, amend the soil with lime to raise the pH or sulfur to lower it, following the instructions on the soil test kit.
- Level the soil: Once the soil has been amended, level it using a rake. This will create a smooth and even surface for planting.
- Consider raised beds or containers: If your garden has heavy clay soil or poor drainage, consider using raised beds or containers. These provide better control over soil quality and drainage.
Remember, the quality of the soil plays a significant role in the overall health and productivity of your green bean plants. Taking the time to prepare the soil properly will give your plants the best chance of thriving and producing a bountiful harvest.
Step 3: Planting the Seeds
Once you have prepared the soil, it’s time to plant the green bean seeds. Follow these steps to ensure successful germination and growth:
- Sowing the seeds: Plant the green bean seeds directly into the prepared soil. Make sure to follow the spacing guidelines mentioned on the seed packet. Generally, bush beans need to be spaced 4-6 inches apart, while pole beans require about 6-8 inches of spacing between each plant. Dig a small hole with your finger or a trowel, place a seed in the hole, and cover it with soil. Continue planting the seeds at the recommended distance.
- Planting depth: The depth at which you plant the seeds is crucial for germination. Plant the seeds at a depth of around 1-2 inches. This allows for proper root development while ensuring that the emerging seedlings can easily push through the soil surface.
- Watering: After planting the seeds, water the soil gently but thoroughly. Ensure that the soil is evenly moist, but avoid overwatering, as it can lead to rotting. Keep the soil consistently moist throughout the germination and early growth stages.
- Providing support: If you are growing pole beans, provide support for them to climb. Install trellises, stakes, or a bean tower to give the plants something to latch onto as they grow. This will prevent the vines from sprawling on the ground and help maximize the use of garden space.
- Labeling: It’s a good practice to label the rows or areas where you have planted the seeds. This will help you identify the variety and keep track of their progress as they grow.
Remember to keep the soil consistently moist during the germination period, which typically takes around 7 to 10 days. Once the seedlings have emerged and reached a few inches in height, you can gradually reduce the frequency of watering but ensure that the plants receive about 1 inch of water per week.
By following these steps, you will have successfully planted your green bean seeds and set the stage for healthy growth and development.
Step 4: Providing Adequate Water and Sunlight
Water and sunlight are essential for the healthy growth and development of green bean plants. Paying attention to these two factors will help ensure a successful harvest. Follow these guidelines to provide your green beans with the right amount of water and sunlight:
- Watering: Green beans require consistent moisture, especially during flowering and pod development. Water the plants deeply, ensuring that the soil is moist but not waterlogged. Aim to provide about 1 inch of water per week. If there is a lack of rainfall, you may need to supplement with additional watering. However, be mindful not to overwater as it can lead to root rot and other issues.
- Watering methods: To avoid wetting the leaves of the plants, which can increase the risk of disease, water at the base of the plant using a soaker hose or drip irrigation system. This ensures that the water goes directly to the roots where it is needed.
- Sunlight: Green beans thrive in full sun, which means they need at least 6-8 hours of direct sunlight each day. Choose a location in your garden that receives ample sunlight. Lack of sunlight can result in leggy plants, poor flower and pod development, and reduced overall yield.
- Protection from extreme heat: While green beans love sunlight, they are also sensitive to extreme heat. During heatwaves, consider providing some shade or using shade cloth to protect the plants from scorching. This will help prevent stress and maintain healthy growth.
It’s important to maintain a balance when it comes to watering green beans. Avoid drought stress by consistently providing adequate moisture, while also ensuring that the soil has good drainage to prevent waterlogged conditions. Regularly check the moisture level of the soil by sticking your finger into the ground. If it feels dry up to an inch deep, it’s time to water.
By providing the right amount of water and sunlight, you will create the ideal growing conditions for your green beans, promoting strong plant growth and ultimately leading to a plentiful harvest.
Plant green bean seeds in well-draining soil, 1-2 inches deep and 2-4 inches apart. Water regularly and provide support for climbing varieties. Harvest when beans are firm and crisp.
Read more: How To Plant Green Bean Seeds
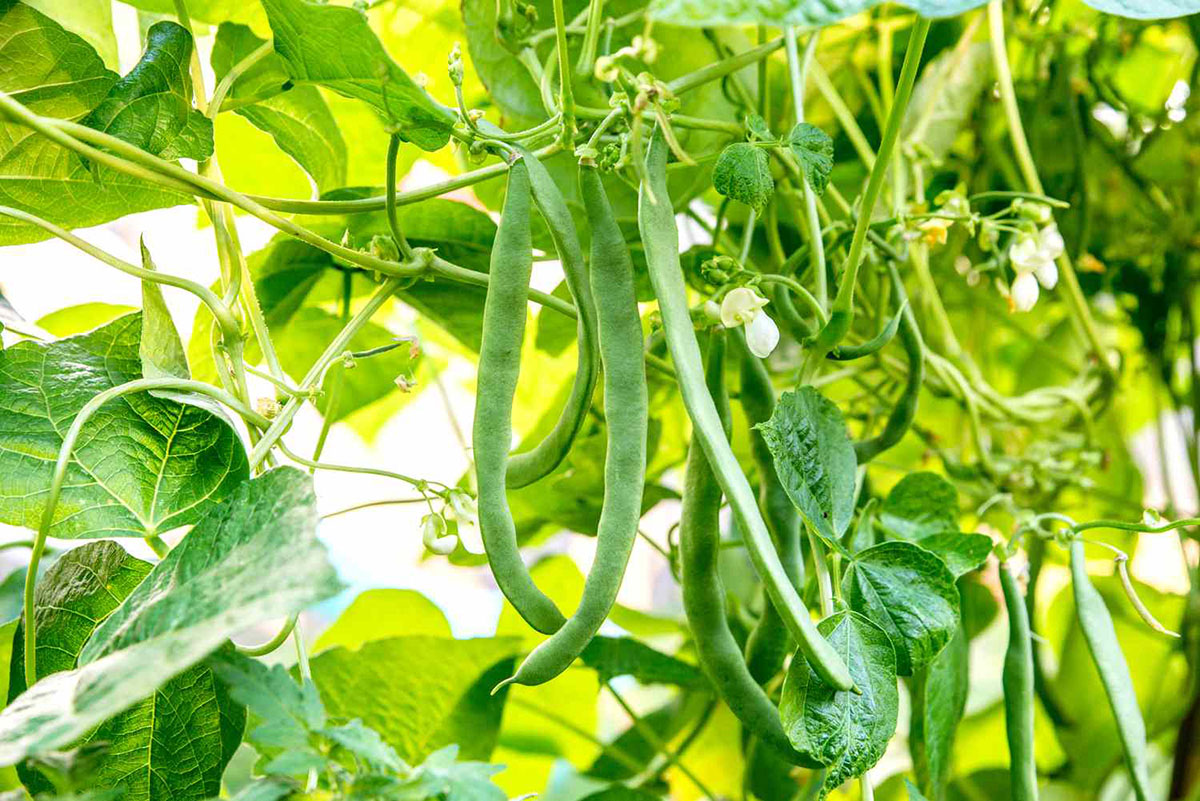
Step 5: Supporting the Growth of Green Beans
As your green bean plants begin to grow, it is important to provide adequate support to help them climb and thrive. The type of support you choose will depend on whether you are growing bush beans or pole beans.
If you are growing bush beans, these compact plants generally do not require support. However, if you notice that the branches are drooping or the plants are heavily laden with pods, you can provide some gentle support by placing stakes or small cages around the plants. This will help keep the plants upright and prevent them from sprawling on the ground.
Pole beans, on the other hand, are vigorous climbers and need a sturdy support structure. Here are a few common methods for supporting pole beans:
- Trellises: Install trellises or netting that are at least 5 to 6 feet tall. Position them in a way that allows the bean vines to easily climb and intertwine with the support. Ensure that the trellis is firmly anchored to prevent toppling during strong winds.
- Poles and strings: Create a support structure by placing several tall poles in a row, spaced about 3 to 4 feet apart. Tie strong strings or twine horizontally from one pole to another, creating a grid-like pattern. As the bean vines grow, they will naturally climb up the strings.
- Bean towers: Bean towers or A-frame structures are specially designed for growing pole beans. These structures have a pyramid or teepee shape, providing ample support for the climbing vines.
When training your green bean vines onto the support structure, gently guide them towards the support and loosely tie them using garden twine or twist ties. Avoid pulling or tugging on the plants, as this can damage the delicate stems. Regularly check the plants and secure any loose or dangling branches to the support structure.
Providing proper support for your green beans not only keeps the plants upright and helps maximize the use of garden space, but it also promotes better air circulation, reduces the risk of disease, and makes harvesting easier.
By implementing the right support system, you will have healthy and thriving green bean plants that are on their way to producing a generous crop.
Step 6: Monitoring and Managing Pests and Diseases
Just like any other plants, green beans are susceptible to pests and diseases that can hinder their growth and affect the quality of the harvest. Regular monitoring and proactive management practices are essential for maintaining healthy plants. Here are some steps to effectively manage pests and diseases:
- Inspect your plants: Regularly inspect your green bean plants for any signs of pests or diseases. Look for chewed leaves, discolored or wilting foliage, holes in the pods, or the presence of insects.
- Handpick pests: If you spot any pests like aphids or bean beetles on your plants, remove them by hand and drop them into a bucket of soapy water. This method is particularly effective for small infestations and helps prevent further damage.
- Practice crop rotation: Rotate the location of your green beans in the garden each year. This helps prevent the buildup of pests and diseases in the soil. Ideally, do not plant beans or other related plants in the same spot for at least three years.
- Encourage beneficial insects: Attract beneficial insects like ladybugs and lacewings to your garden by planting companion plants such as marigolds and dill. These beneficial insects prey on common pests, helping to naturally control populations.
- Apply organic pest control: Use organic pest control methods such as neem oil, insecticidal soaps, or homemade sprays made from garlic or chili peppers to deter pests. Follow the instructions on the product label or recipe carefully when applying these treatments.
- Monitor for diseases: Keep an eye out for common bean diseases such as powdery mildew, rust, or bean mosaic virus. If you notice any signs of disease, promptly remove the infected plants to prevent further spread.
- Practice good garden hygiene: Clean up fallen plant debris and remove any weeds regularly. This helps reduce the chances of pests and diseases taking hold in your garden.
- Water management: Avoid overwatering your green beans, as excessive moisture can lead to fungal diseases. Water at the base of the plants, and try to water early in the day to allow the foliage to dry before evening.
By being proactive in pest and disease management, you can minimize the impact on your green bean plants and ensure a healthier and more productive harvest. Regular monitoring and prompt action are key to keeping your plants thriving throughout the growing season.
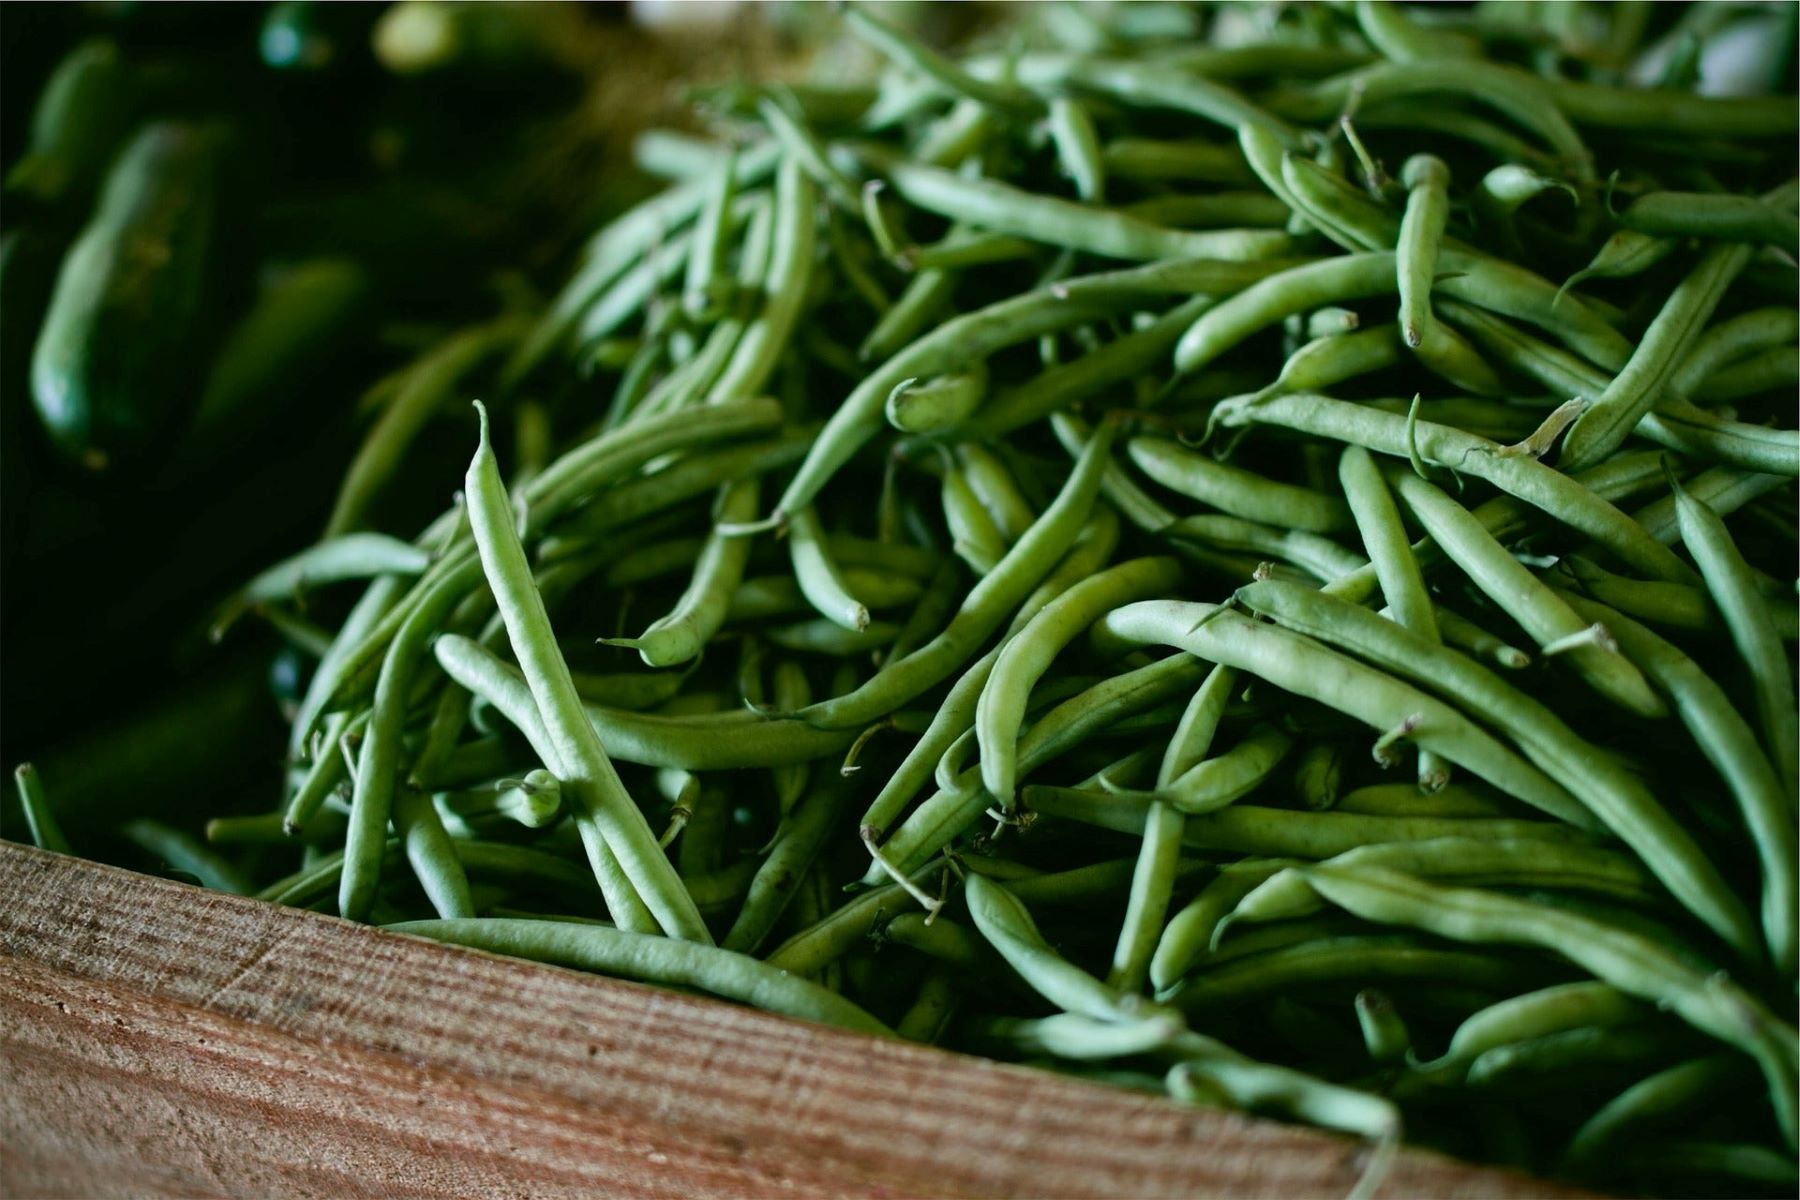
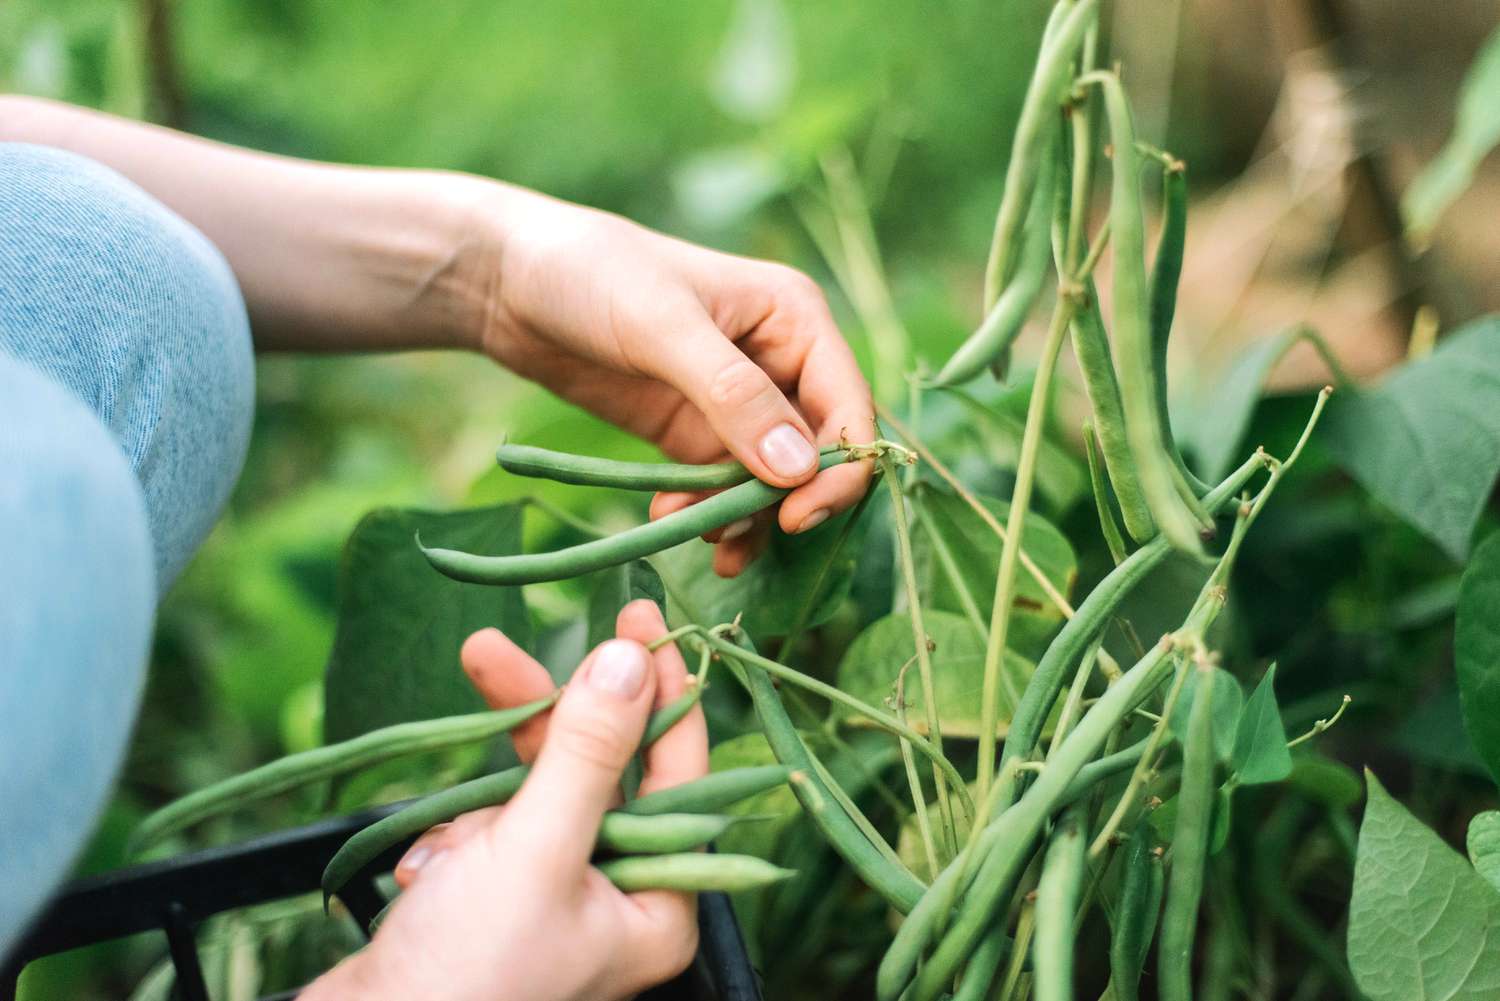
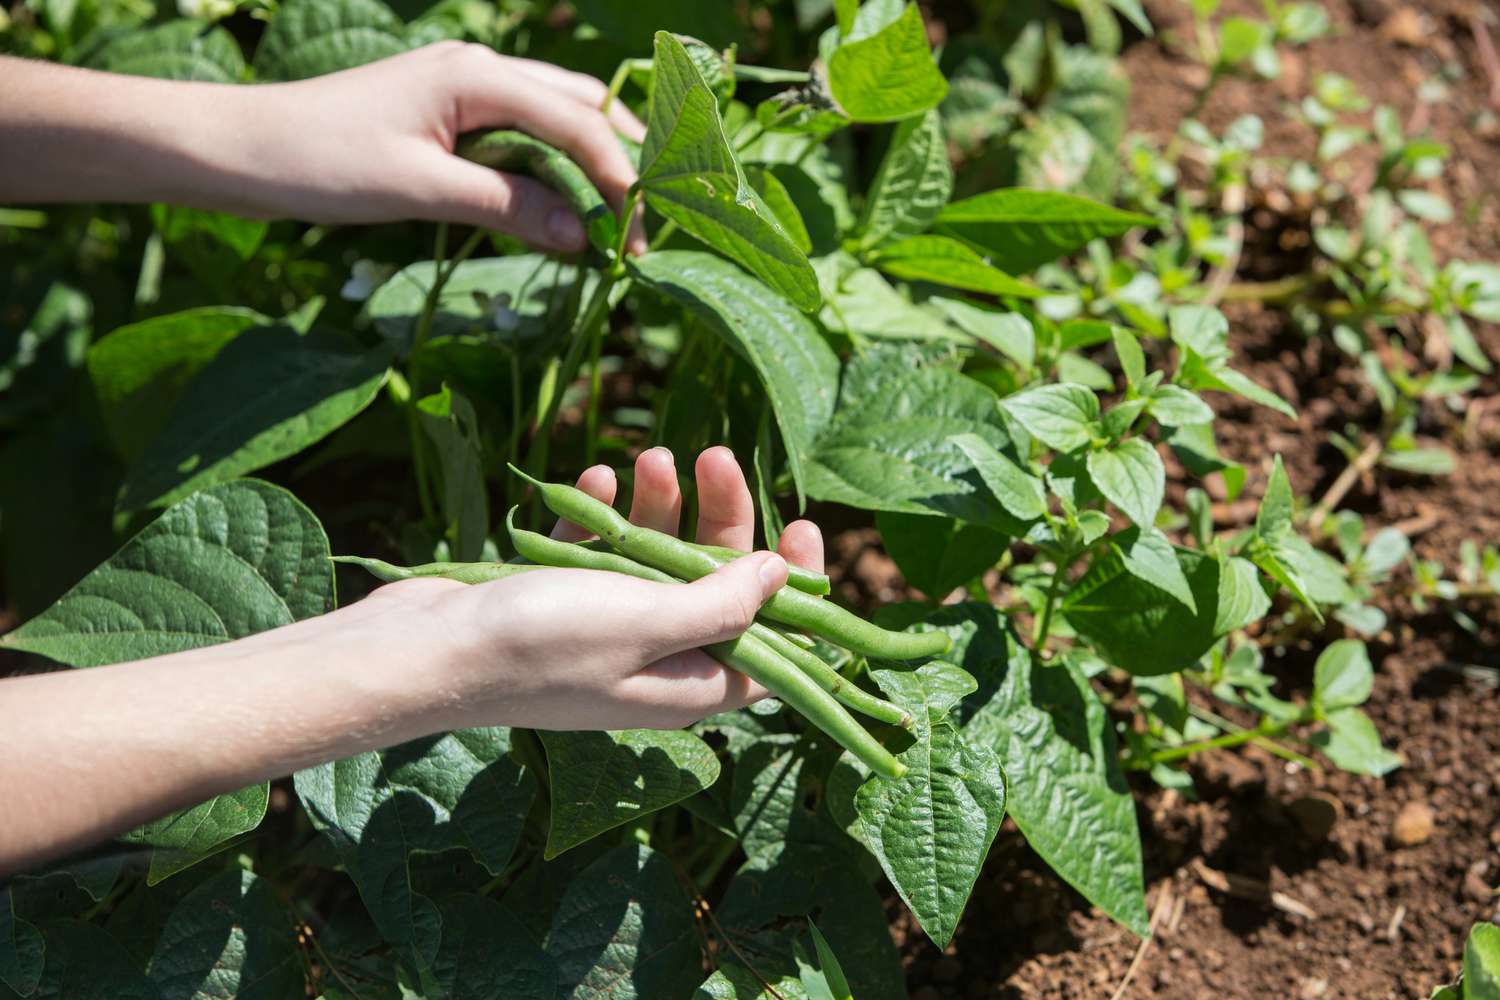
Step 7: Harvesting Green Beans
The final step in growing green beans is the highly anticipated harvest. Green beans are ready to be picked when they have reached a suitable size and texture. Here’s how to harvest your green beans:
- Check for readiness: Green beans are typically ready for harvest 50 to 70 days after planting, depending on the variety. The beans should be firm, crisp, and smooth. They should snap easily when bent, giving them the nickname “snap beans.”
- Harvesting: Use a pair of scissors or garden shears to cut the green beans off the plant. Hold the stem of the bean with one hand and use the other hand to snip the bean off with a clean cut. Avoid pulling or twisting the beans, as this can damage the plant.
- Frequent harvesting: Green beans grow quickly, so it’s important to harvest them frequently to encourage continuous production. Check your plants every few days, as beans can quickly become overripe and lose their tenderness if left on the plant for too long.
- Check the plant: While harvesting, take the opportunity to inspect the plants for any diseased or damaged foliage. Remove any affected leaves or pods to prevent the spread of diseases and to keep the plants healthy.
- Store or consume: After harvesting, green beans can be used immediately or stored for later use. If you plan to consume them within a few days, store them in the refrigerator in a plastic bag. For longer-term storage, blanch the beans by briefly immersing them in boiling water for a few minutes, then transfer them to an ice bath to stop the cooking process. Once cooled, drain and package them in airtight containers or freezer bags and store them in the freezer.
It’s important to note that green beans are at their peak flavor and tenderness when they are freshly harvested. Therefore, it’s best to enjoy them as soon as possible after picking to savor their crisp texture and delicious taste.
By following these harvesting guidelines, you can enjoy the fruits of your labor and indulge in the satisfaction of picking your own nutritious green beans from your garden.
Conclusion
Growing green beans from seeds is a gratifying experience that allows you to savor the taste of fresh and organic produce right from your own garden. By following the step-by-step process outlined in this guide, you can successfully grow green beans and enjoy a bountiful harvest.
From selecting the right seeds to providing proper soil preparation, water, and sunlight, each step plays a crucial role in ensuring the healthy growth of your green bean plants. Remember to choose the variety that suits your garden space and climate, prepare the soil with organic matter, sow the seeds at the correct depth, and provide support for climbing varieties.
Vigilance is key when it comes to monitoring and managing pests and diseases. Regularly inspect your plants, handpick pests, practice crop rotation, and implement organic pest control methods to protect your green bean plants. Additionally, maintaining proper watering and providing adequate sunlight will promote strong growth and optimum bean production.
As your green bean plants mature, eagerly anticipate the harvest. Harvest the beans when they are firm, crisp, and at the right size, using clean cuts to ensure plant health. Enjoy the delicious taste of freshly harvested green beans in a variety of culinary creations or preserve them for future use by freezing or canning.
Growing green beans gives you a sense of accomplishment, promotes self-sufficiency, and allows you to enjoy the benefits of homegrown, nutritious produce. So, roll up your sleeves, grab your gardening tools, and get ready to embark on a journey of cultivating your own delicious green beans!
Frequently Asked Questions about How To Grow Green Beans From Seeds
Was this page helpful?
At Storables.com, we guarantee accurate and reliable information. Our content, validated by Expert Board Contributors, is crafted following stringent Editorial Policies. We're committed to providing you with well-researched, expert-backed insights for all your informational needs.


0 thoughts on “How To Grow Green Beans From Seeds”