Home>Garden Essentials>How To Start Green Bean Seeds
Garden Essentials
How To Start Green Bean Seeds
Modified: March 21, 2024
Learn how to start green bean seeds in your garden with this easy step-by-step guide. Cultivate your own fresh, delicious beans and enjoy the rewards of a thriving garden.
(Many of the links in this article redirect to a specific reviewed product. Your purchase of these products through affiliate links helps to generate commission for Storables.com, at no extra cost. Learn more)
Introduction
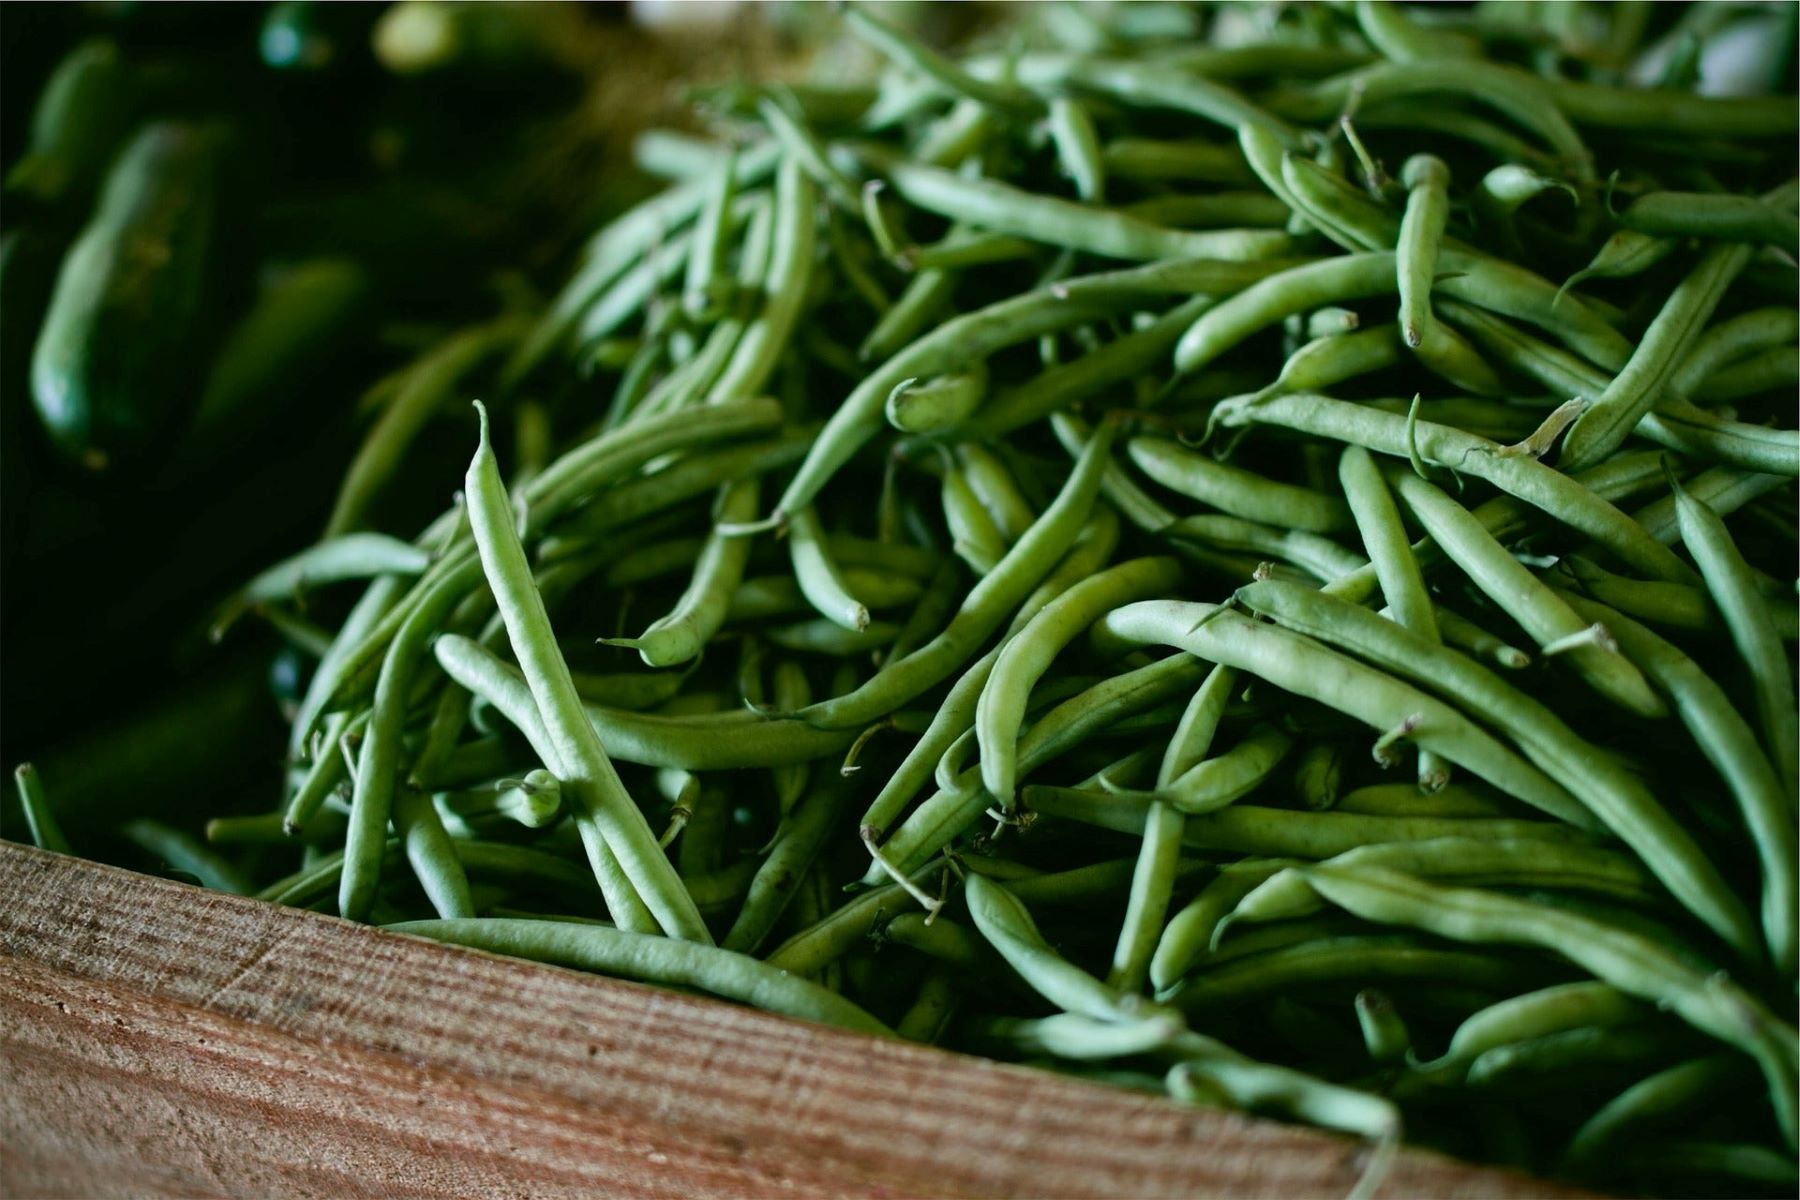
Welcome to the world of gardening! If you’re looking to embark on a satisfying and rewarding gardening journey, starting with green bean seeds is a fantastic choice. Green beans, also known as snap beans or string beans, are a versatile and nutritious addition to any garden. Whether you have a spacious backyard or a small balcony, growing green beans from seeds is a fairly simple process that can yield delicious results.
Not only are green beans packed with vitamins and minerals, but they are also a great source of dietary fiber. Plus, they’re incredibly versatile in the kitchen. You can enjoy them raw, steamed, sautéed, or even pickled. Growing your own green beans allows you to have a fresh and abundant supply at your fingertips, ensuring the best quality and taste.
In this article, we will guide you through the process of starting your own green bean seeds. From choosing the right variety to harvesting the beans, we’ll cover all the necessary steps to help you succeed. So, let’s get started and learn how to grow green beans from seeds!
Key Takeaways:
- Grow green beans for a rewarding and nutritious experience. Choose the right variety, prepare the soil, and provide proper care for a bountiful harvest.
- Enjoy the satisfaction of nurturing green bean plants from seed to harvest. Protect seedlings from pests, provide sunlight and water, and savor the joy of homegrown beans.
Read more: How To Plant Green Bean Seeds
Choosing the Right Variety
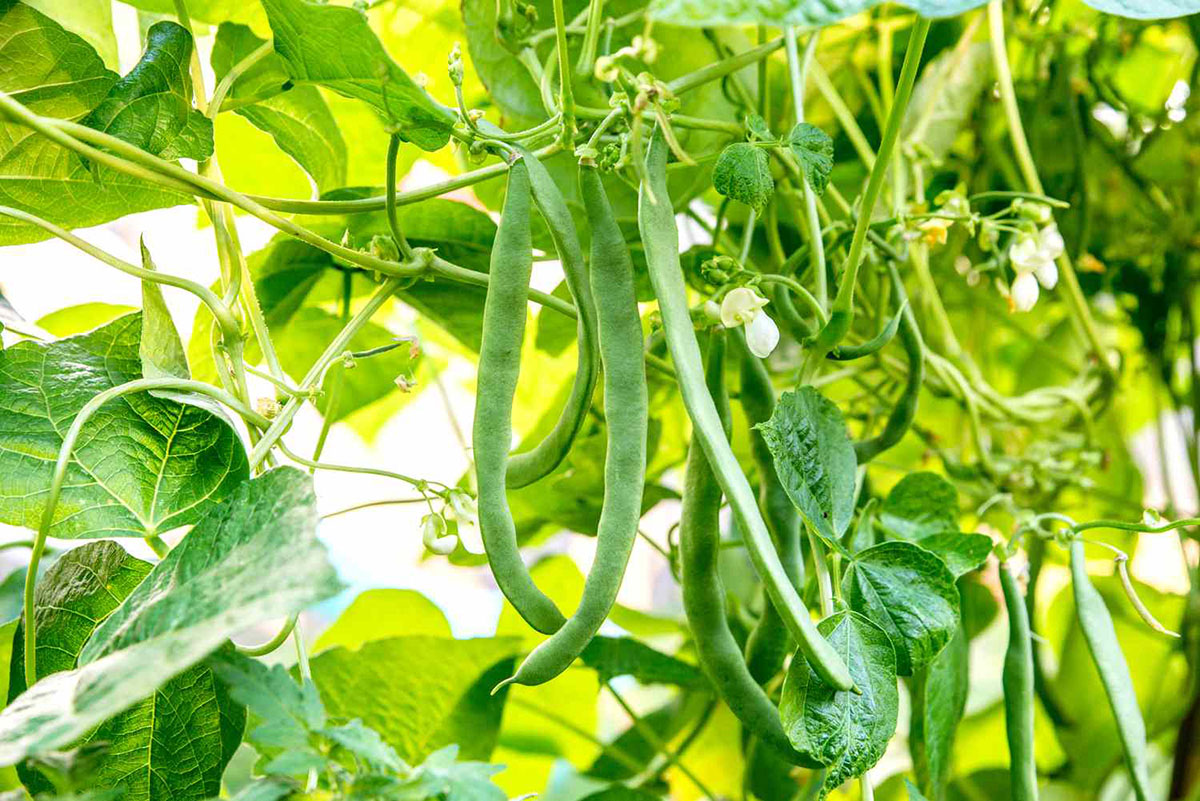
When it comes to choosing the right variety of green bean seeds, there are a few factors to consider. Firstly, determine whether you want to grow bush beans or pole beans. Bush beans are compact and don’t require support, making them ideal for small spaces or container gardening. On the other hand, pole beans are climbing vines that need trellises or support structures to grow vertically. They are a great option if you have a larger garden or want to maximize your space.
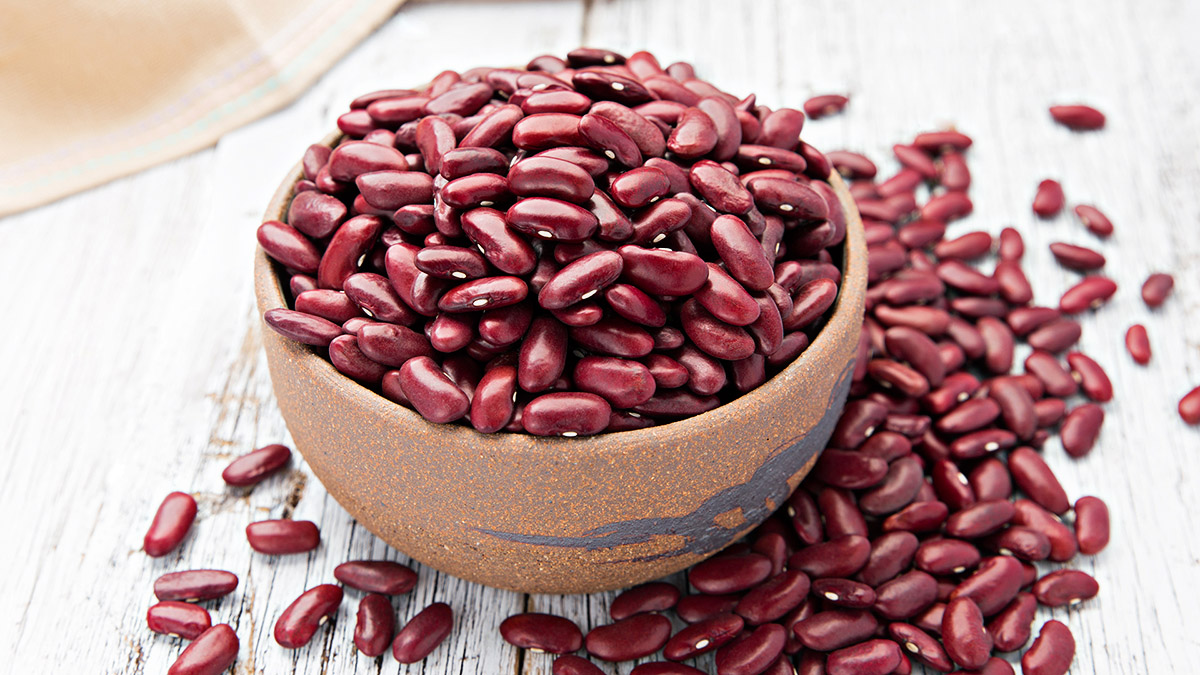
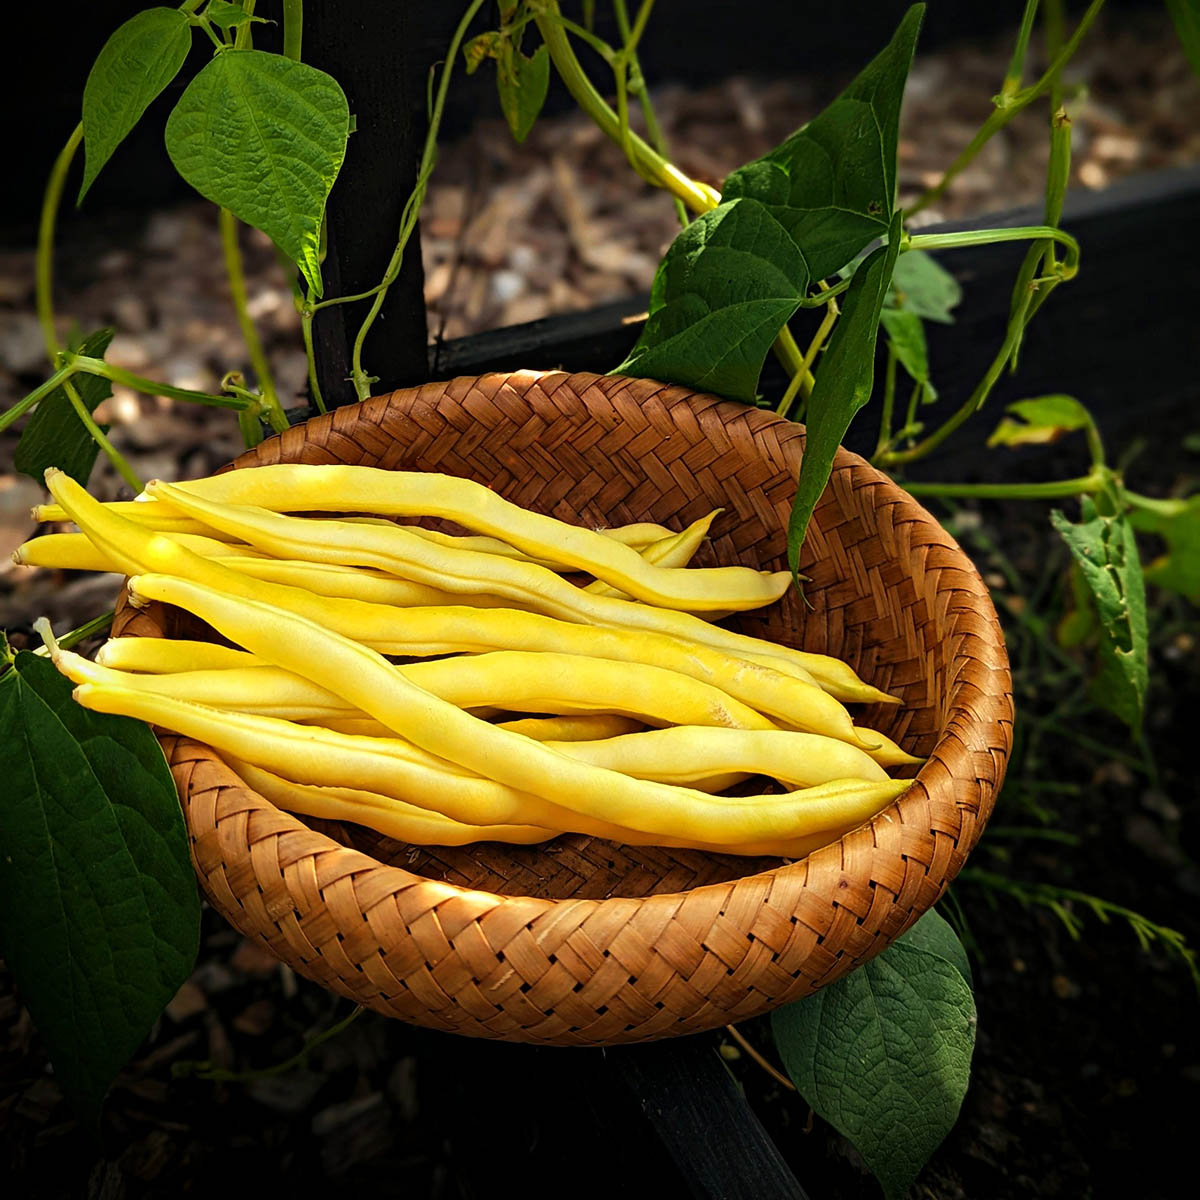
Next, consider the type of beans you prefer. There are various types of green beans, including stringless, French, snap, and runner beans. Stringless and snap beans are tender and easy to eat, as they don’t have tough fibers. French beans are slim and delicate, while runner beans have a more robust flavor. Think about your personal taste preferences and the intended use of the beans when selecting a variety.
Additionally, take into account the growing season in your area. Green beans thrive in warmer temperatures, but certain varieties are better suited to cooler climates. Check the maturity days listed on the seed packets to ensure that the beans will have enough time to grow and mature before the weather turns too cold in your region.
Lastly, think about the disease resistance and yield potential of different varieties. Some green bean varieties are more resistant to common diseases like rust, powdery mildew, and bean mosaic virus. Choosing disease-resistant varieties can help prevent potential issues and increase your chances of a successful harvest.
Take your time to research and explore different green bean varieties available in seed catalogs or online. Read reviews from other gardeners and consider their recommendations. By choosing the right variety, you’ll set yourself up for a successful green bean growing experience.
Gathering Supplies
Before you start planting green bean seeds, it’s important to gather all the necessary supplies. Having everything on hand will make the process more efficient and ensure that your seeds have the best chance of success.
Here are some supplies you’ll need:
- Green bean seeds: Purchase high-quality seeds from a reputable source. Consider buying organic or heirloom varieties for added sustainability and flavor.
- Garden tools: Have a sturdy garden spade or shovel to prepare the soil, a garden rake to level the ground, and a hand trowel or dibber for planting the seeds.
- Planters or garden beds: Decide whether you’ll be planting your green beans in containers or directly in the ground. If using containers, ensure they have proper drainage holes and are large enough to accommodate the growing plants.
- Soil: Use a well-draining, nutrient-rich soil mix suitable for vegetable gardening. Alternatively, amend the existing soil in your garden beds with organic matter, such as compost or well-rotted manure.
- Trellises or supports (for pole beans): If you choose to grow pole beans, gather trellises, stakes, or other support structures to help the vines climb.
- Watering can or hose: Ensure you have a reliable watering method to keep your green bean seeds and seedlings well-hydrated.
- Organic fertilizer: Consider using an organic fertilizer specifically formulated for vegetable gardens to provide essential nutrients for healthy growth.
- Mulch: Mulching around the base of the plants can help retain moisture, reduce weed growth, and regulate soil temperature.
- Protective netting or row covers: If you anticipate pest issues, such as birds or insects, have some protective netting or row covers ready to shield your plants.
Take the time to gather these supplies before you begin planting your green bean seeds. Having everything organized and readily available will streamline the process and set you up for gardening success.
Preparing the Soil
Adequate soil preparation is vital for the successful growth of green bean seeds. When preparing the soil, you want to create the ideal environment for the seeds to germinate and establish strong roots.
Follow these steps to prepare the soil:
- Clear the area: Remove any weeds, rocks, or debris from the area where you plan to plant your green bean seeds. This will help prevent competition for nutrients and ensure optimal growing conditions.
- Loosen the soil: Use a garden spade or shovel to loosen the top layer of soil. Break up any compacted soil and remove any clumps or large rocks. This will improve drainage and allow the roots to penetrate the soil easily.
- Add organic matter: Incorporate organic matter, such as compost or well-rotted manure, into the soil. This will enrich the soil with nutrients and improve its overall structure. Spread a layer of compost or manure over the loosened soil and gently mix it in.
- Level the ground: Use a garden rake to level the soil surface evenly. This will provide a smooth planting bed for your green bean seeds.
- Test the soil pH: Green bean plants prefer slightly acidic soil with a pH between 6.0 and 7.0. You can test the soil pH using a soil testing kit available at garden centers. If necessary, adjust the pH by adding lime to raise it or sulfur to lower it.
By properly preparing the soil, you create a favorable environment for your green bean seeds. The organic matter improves soil fertility, drainage, and water-holding capacity, while loosening the soil allows for better root growth. Leveling the ground provides a uniform planting bed, and testing the soil pH ensures that the plants can access the nutrients they need.
Once you’ve prepared the soil, you’re ready to move on to the next step: planting your green bean seeds. Get your garden tools and supplies ready as we delve into the exciting process of sowing and growing green beans!
Planting Green Bean Seeds
Now that you have chosen the right variety and prepared the soil, it’s time to plant your green bean seeds. Planting green beans is relatively straightforward, and by following these steps, you’ll have your seeds in the ground and ready to grow in no time.
Here’s how to plant your green bean seeds:
- Choose the right planting time: Green beans prefer warm soil, so it’s essential to plant them after the danger of frost has passed. The soil temperature should be around 60°F (15.5°C) or higher for optimal germination.
- Make planting holes: Use a hand trowel or dibber to create planting holes in the prepared soil. The holes should be about 1 to 1.5 inches (2.5 to 3.8 cm) deep and spaced around 3 inches (7.6 cm) apart in rows, leaving 18 to 24 inches (45 to 61 cm) between the rows.
- Plant the seeds: Drop one green bean seed into each planting hole. If you are planting pole beans, space the holes along the base of the support structure or trellis.
- Cover and water: Gently cover the seeds with soil and lightly pat it down. Water the planting area thoroughly but gently to settle the soil and provide moisture for germination.
- Label and note: It’s a good practice to label your planting rows with the bean variety and planting date. This will help you keep track of different varieties and monitor their progress.
- Consider succession planting: To extend your green bean harvest, you can stagger the planting of seeds every couple of weeks. This will ensure a continuous supply of fresh beans throughout the growing season.
Remember to follow the planting instructions specific to the green bean variety you have chosen, as seed depth and spacing may differ slightly. Additionally, take note of any recommendations regarding soil moisture, as consistent watering is crucial during the germination and early growth stages.
Once you’ve planted your green bean seeds, be patient and wait for the magic of germination to occur. In the meantime, make sure to provide proper care and attention to your seedlings as they begin to emerge from the soil.
Read more: How To Grow Green Beans From Seeds
Providing Proper Watering
Watering your green bean plants adequately is essential for their healthy growth and productivity. Green beans require consistent moisture, especially during periods of dry weather. Proper watering ensures that the plants develop deep, robust roots and produce a bountiful harvest.
Follow these guidelines to provide proper watering for your green bean plants:
- Monitor soil moisture: Regularly check the moisture level of the soil around your green bean plants. Stick your finger about an inch into the soil to determine if it feels dry.
- Water deeply: When it’s time to water, make sure to provide a deep soaking rather than just a surface sprinkle. This encourages the roots to grow deeper into the soil. Slowly and evenly apply water at the base of the plants.
- Water consistently: Green beans prefer moist soil, so it’s important to maintain a consistent watering schedule. Aim to water your plants about 1-2 inches per week, either through rainfall or supplemental irrigation.
- Water in the morning: It’s best to water your green bean plants in the early morning. This allows the leaves to dry out during the day, reducing the risk of diseases caused by excess moisture on the foliage.
- Avoid overhead watering: Try to water the base of the plants rather than wetting the leaves. Overhead watering can increase the chances of foliar diseases and can wash away the pollen, resulting in poor fruit set.
- Use mulch: Applying a layer of organic mulch around the base of your green bean plants helps to retain soil moisture by reducing evaporation. It also helps to suppress weed growth, which can compete with the plants for water and nutrients.
By following these watering practices, you’ll provide the necessary moisture for your green bean plants without overwatering or underwatering. Pay attention to the weather conditions and adjust your watering schedule accordingly. If you notice wilting leaves or excessively dry soil, it’s a sign that your plants need more water. On the other hand, if the soil feels constantly saturated, reduce the frequency of watering to prevent waterlogged roots.
Proper watering, combined with other aspects of care, will contribute to the healthy growth and abundant harvest of your green beans. Now, let’s move on to another crucial factor for their success: ensuring adequate sunlight.
Before planting green bean seeds, soak them in water for 8-10 hours to help speed up germination. Plant the seeds 1 inch deep in well-draining soil and keep them consistently moist until they sprout.
Providing Adequate Sunlight
Sunlight is a vital element for the growth and development of green bean plants. Green beans thrive in full sun, which means they need at least 6-8 hours of direct sunlight each day. Adequate sunlight is essential as it helps the plants produce energy through photosynthesis, promotes healthy foliage growth, and encourages flower and pod production.
Here are some tips to ensure your green bean plants receive adequate sunlight:
- Choose the right location: When selecting the planting spot for your green beans, choose an area that receives full sun throughout the day. Look for a spot with minimal shade from buildings, trees, or other structures.
- Monitor sun exposure: Observe the sunlight patterns in your garden throughout the day. Take note of any areas that may become shaded as the sun moves. Adjust your planting locations accordingly to ensure maximum sunlight exposure for your green bean plants.
- Consider container gardening: If you have limited garden space or your outdoor area lacks adequate sunlight, consider growing green beans in containers. You can place the containers in the sunniest spots of your patio, balcony, or rooftop garden.
- Prune nearby plants: If there are neighboring plants or trees that cast shade on your green bean plants, consider pruning them to allow more sunlight to reach your beans. Trim any overhanging branches or remove nearby plants that may obstruct sunlight.
- Rotate planting locations: To ensure that all areas of your garden receive ample sunlight, practice crop rotation. Move your green bean plants to different locations each growing season to expose them to different areas of the garden that receive optimal sunlight.
By providing your green bean plants with the necessary sunlight, you’ll promote strong growth, robust foliage, and abundant pod production. Keep in mind that insufficient sunlight can result in leggy plants, delayed flowering, and decreased yields. Take the time to plan and position your green bean plants in locations that receive maximum sunlight, and watch them thrive as they bask in the sun’s energy.
Next, let’s discuss the importance of protecting your green bean seedlings from common pests.
Protecting Seedlings from Pests
Protecting your green bean seedlings from pests is crucial to ensure their healthy growth and prevent damage to your plants. Pests like aphids, slugs, snails, and bean beetles can pose a threat to your young plants, but with proper preventive measures, you can keep them at bay.
Here are some effective ways to protect your green bean seedlings from pests:
- Inspect regularly: Regularly inspect your seedlings for any signs of pest activity. Look for chewed leaves, wilting, or discoloration. Early detection allows for timely intervention to minimize damage.
- Handpick pests: If you spot pests like slugs or snails, you can handpick them off your plants. Be diligent and check your plants in the early morning or evening when these pests are most active.
- Use companion planting: Certain companion plants can help deter pests from your green beans. For example, planting marigolds, nasturtiums, or garlic near your green bean seedlings can repel aphids and other insects.
- Apply organic pest control: Spraying your seedlings with a homemade organic insecticidal soap or neem oil solution can help control aphids and other soft-bodied pests. Follow the instructions carefully and apply the solution only when necessary.
- Use physical barriers: To protect your green bean seedlings from crawling pests, create physical barriers. You can use copper tape around the base of pots or garden beds to deter slugs and snails. Floating row covers can also be used to prevent insects from reaching your plants.
- Encourage beneficial insects: Attracting beneficial insects like ladybugs, lacewings, and parasitic wasps can help control pests naturally. Planting flowers like daisies, yarrow, and alyssum can attract these beneficial insects to your garden.
- Maintain cleanliness: Keep your garden clean by removing fallen plant debris and weeds. Pests can hide in these areas and increase the chances of infestation.
Implementing these pest prevention methods will help protect your green bean seedlings from common garden pests. It’s important to monitor your plants regularly and take action at the first sign of pest activity. By being proactive, you can ensure the health and productivity of your green bean plants.
Now that you’ve learned about protecting your seedlings, let’s explore how to care for your growing green bean plants.
Caring for Seedlings
Caring for your green bean seedlings is crucial for their healthy growth and development. By providing proper care and attention, you’ll ensure that your seedlings thrive and reach their full potential.
Here are some key aspects of caring for your green bean seedlings:
- Watering: Continuously monitor the moisture level of the soil and water your seedlings as needed. Keep the soil consistently moist but not waterlogged. Avoid overhead watering, as wet foliage can promote disease development.
- Thinning: If you planted multiple seeds in a single hole, thin out the weaker seedlings to give the remaining ones more space to grow. Gently remove the excess seedlings, leaving the strongest and healthiest ones in place.
- Providing support (for pole beans): If you’re growing pole beans, provide support for the vines to climb. As the seedlings grow, gently guide them towards the trellis or support structure to prevent them from sprawling on the ground.
- Weeding: Regularly weed around your green bean seedlings to prevent competition for nutrients and reduce the chances of pests hiding. Be careful not to disturb the seedlings’ delicate roots while removing weeds.
- Fertilizing: Green beans generally don’t require heavy feeding, especially if you prepared the soil with organic matter. However, you can apply a balanced organic fertilizer once or twice during the growing season to provide a nutrient boost.
- Monitoring pests and diseases: Keep a close eye on your seedlings for any signs of pests or diseases. Early detection allows for timely intervention and reduces the risk of significant damage. Remove any infected or infested plant parts promptly to prevent the spread.
- Pruning: Green beans usually don’t require much pruning. However, you can remove any dead or damaged leaves to improve air circulation and minimize disease risks. Prune the plants sparingly to avoid inhibiting pod production.
In addition to these care guidelines, it’s essential to stay vigilant and observe your seedlings’ progress. Adjust your care routine based on their specific needs, as every garden and growing environment is unique.
As your green bean seedlings grow into mature plants, they will require continued care, including maintenance, watering, and monitoring for pests and diseases. By providing consistent and attentive care, you’ll be rewarded with healthy plants and a plentiful harvest of flavorful green beans.
Now that your seedlings are well-cared for, let’s move on to the exciting part: harvesting your green beans!
Read more: How To Grow Green Beans From Seed
Harvesting Green Beans
The moment you’ve been waiting for has arrived — it’s time to harvest your green beans! Harvesting at the right time ensures that you enjoy tender, flavorful beans and encourages the plant to continue producing throughout the growing season. Let’s dive into the steps for harvesting your green beans.
Follow these guidelines when harvesting your green beans:
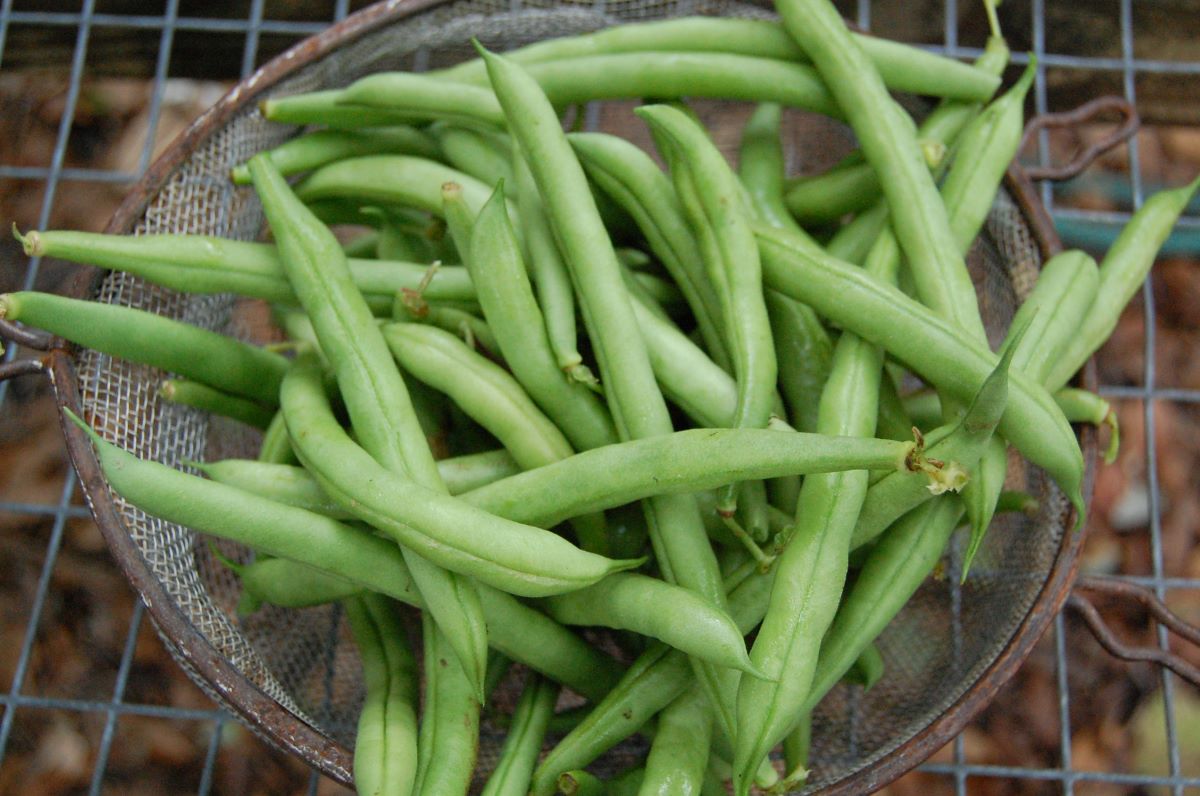
- Check for maturity: Green beans are ready to harvest when the pods are firm, crisp, and reach their full size. They should be smooth and vibrant in color. Avoid harvesting beans that are overly mature as they can be tough and have developed tough strings.
- Pick regularly: Harvest your green beans every few days as they become ready. Regular harvesting encourages the plant to produce more pods and prevents them from becoming overripe or tough.
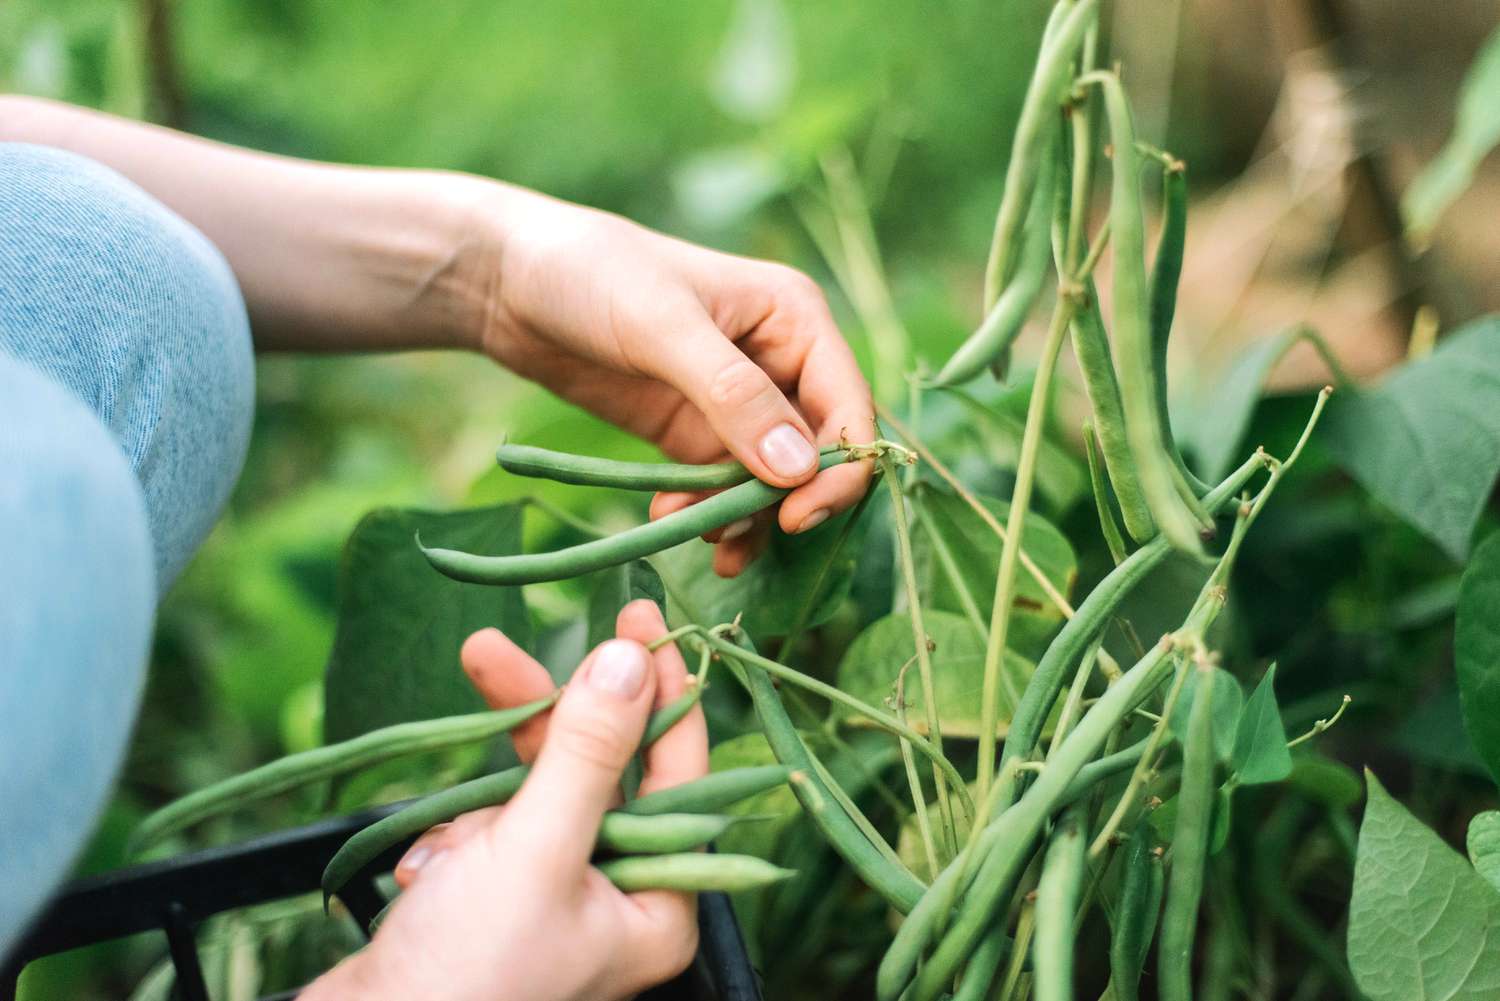
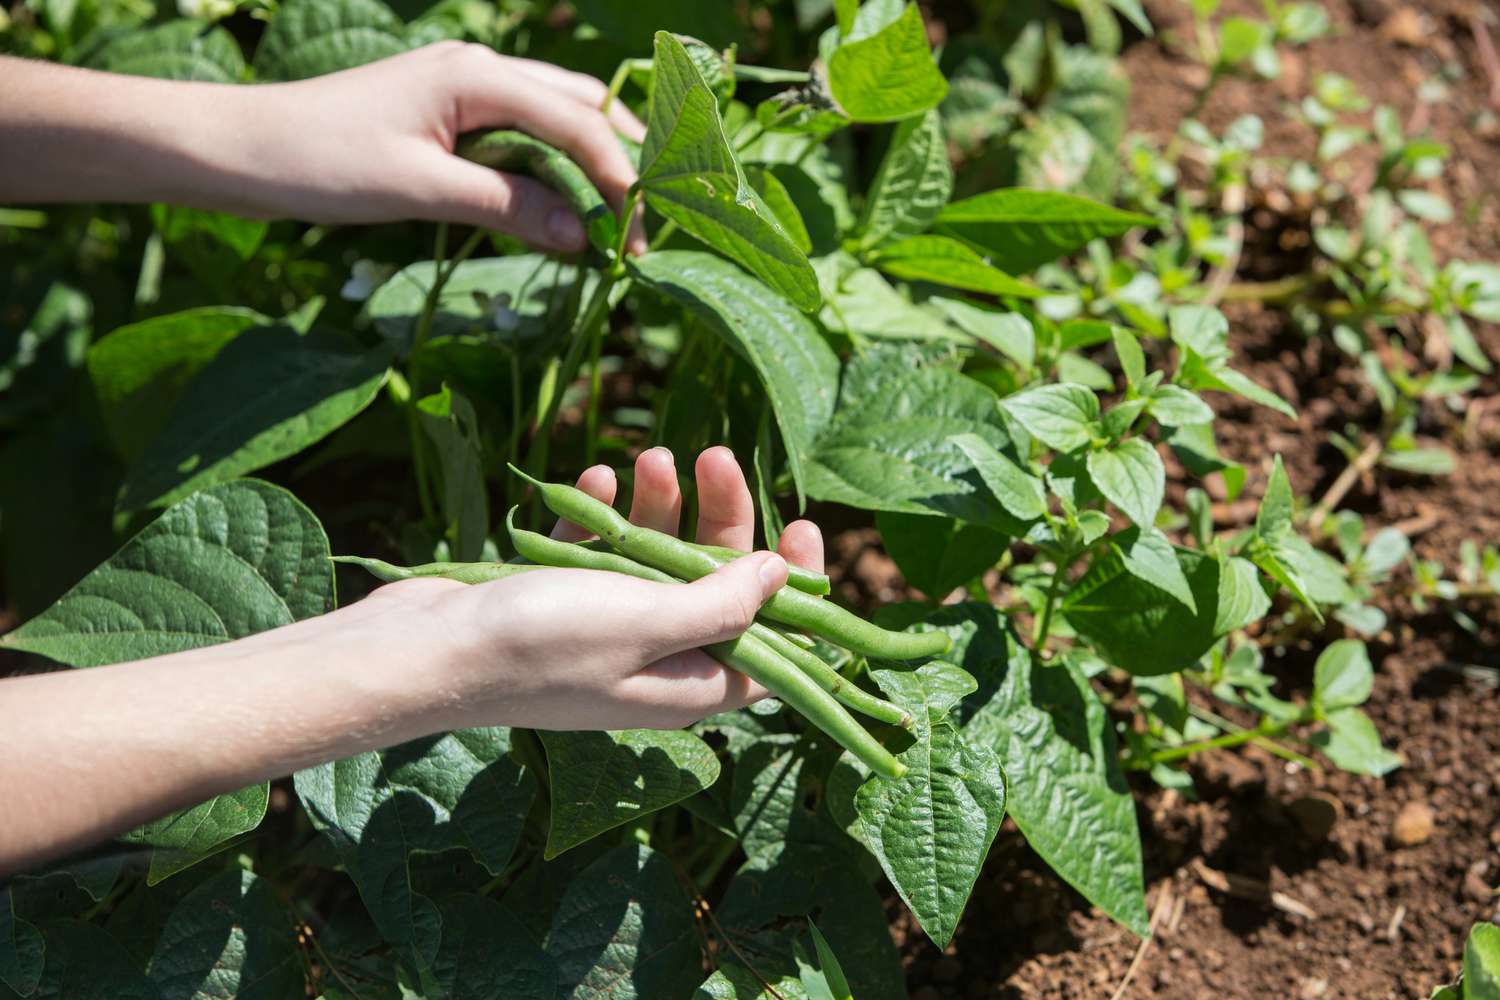
- Use two hands: When picking the beans, use one hand to hold the stem or vine and the other hand to gently snap or cut the pod off. Avoid pulling or yanking on the pods, as it can damage the plant.
- Harvest in the morning: It’s best to harvest your green beans in the morning when the temperatures are cooler. This helps retain the beans’ crispness and flavor.
- Inspect for pests and diseases: While harvesting, keep an eye out for any signs of pests, diseases, or damage. Remove any infested or damaged pods to prevent the spread of problems to healthy plants and beans.
- Store properly: After harvesting, promptly rinse your green beans with cool water to remove any dirt or debris. Pat them dry with a towel and store them in a breathable container, such as a plastic bag with a few holes punched in it. Place them in the refrigerator, and use them within a few days for the best quality and flavor.
Remember, green beans are best enjoyed when they are fresh, so try to harvest and consume them as soon as possible. However, if you have an abundance of beans, they can also be preserved through methods such as canning, freezing, or pickling to enjoy them later.
By harvesting your green beans at the right time and using proper techniques, you’ll savor the joy of homegrown and delicious beans. Now that you’ve successfully harvested your green beans, you can sit back, enjoy the fruits of your labor, and start planning for your next gardening adventure.
Congratulations on your green bean harvest, and happy gardening!
Conclusion
Congratulations! You’ve journeyed through the process of growing green beans from seeds, from choosing the right variety to harvesting the bountiful yield. Cultivating your green bean plants not only provides you with a fresh and nutritious addition to your meals but also allows you to experience the joy and satisfaction of nurturing plants from seed to harvest.
Throughout this article, we covered important steps and considerations, including choosing the right variety that suits your needs and growing conditions, gathering the necessary supplies, preparing the soil for optimal growth, and providing proper watering and sunlight. We also explored the importance of protecting your seedlings from pests and diseases and providing care to ensure their healthy development.
Remember to monitor your plants regularly, adjusting your care routine as needed, and take pride in observing your green bean seedlings flourish into productive plants. The moment of harvest is a rewarding experience as you pick crisp and flavorful green beans from the vines, ready to be enjoyed fresh or preserved for future use.
Gardening is not only a rewarding hobby but also a continuous learning process. As you gain more experience, don’t be afraid to experiment with different varieties, techniques, and growing methods. Each gardening season presents new opportunities for growth, discovery, and improvement.
So, as you embark on your green bean growing journey, embrace the challenges, savor the successes, and find joy in the simple pleasure of nurturing and harvesting your own homegrown green beans. With enthusiasm, perseverance, and the knowledge acquired from this article, you are well-equipped to create a thriving green bean garden.
Get your hands dirty, enjoy the journey, and happy green bean gardening!
Frequently Asked Questions about How To Start Green Bean Seeds
Was this page helpful?
At Storables.com, we guarantee accurate and reliable information. Our content, validated by Expert Board Contributors, is crafted following stringent Editorial Policies. We're committed to providing you with well-researched, expert-backed insights for all your informational needs.


0 thoughts on “How To Start Green Bean Seeds”