Articles
How To Cook Green Beans From Garden
Modified: February 26, 2024
Learn how to cook fresh green beans from your own garden with these easy gardening tips and delicious recipes. Perfect for any garden-to-table enthusiast!
(Many of the links in this article redirect to a specific reviewed product. Your purchase of these products through affiliate links helps to generate commission for Storables.com, at no extra cost. Learn more)
Introduction
Welcome to the wonderful world of gardening! If you have been growing your own green beans in your garden, you know the joy and satisfaction of harvesting fresh, crisp, and flavorful beans. But what do you do with all these green beans once you have them? One delicious and versatile option is cooking them to perfection. In this article, we will guide you through the process of cooking green beans from your garden.
Cooking green beans not only enhances their taste and texture, but it also allows you to showcase the flavors of your homegrown produce. The key to cooking green beans from your garden lies in preserving their natural freshness, vibrant color, and nutritional value. By following a few simple steps, you can transform your freshly harvested green beans into a mouth-watering dish that will impress your family and friends.
So, put on your chef’s hat and let’s dive into the process of cooking green beans from your garden!
Key Takeaways:
- Harvest green beans at the right size for optimal flavor and texture. Regular harvesting promotes continuous growth and ensures a fresh supply of homegrown green beans throughout the growing season.
- Preserve the vibrant color and crispness of green beans by blanching them before sautéing. Season them with your favorite flavors and enjoy the nutritious and delicious results of your garden-to-table adventure.
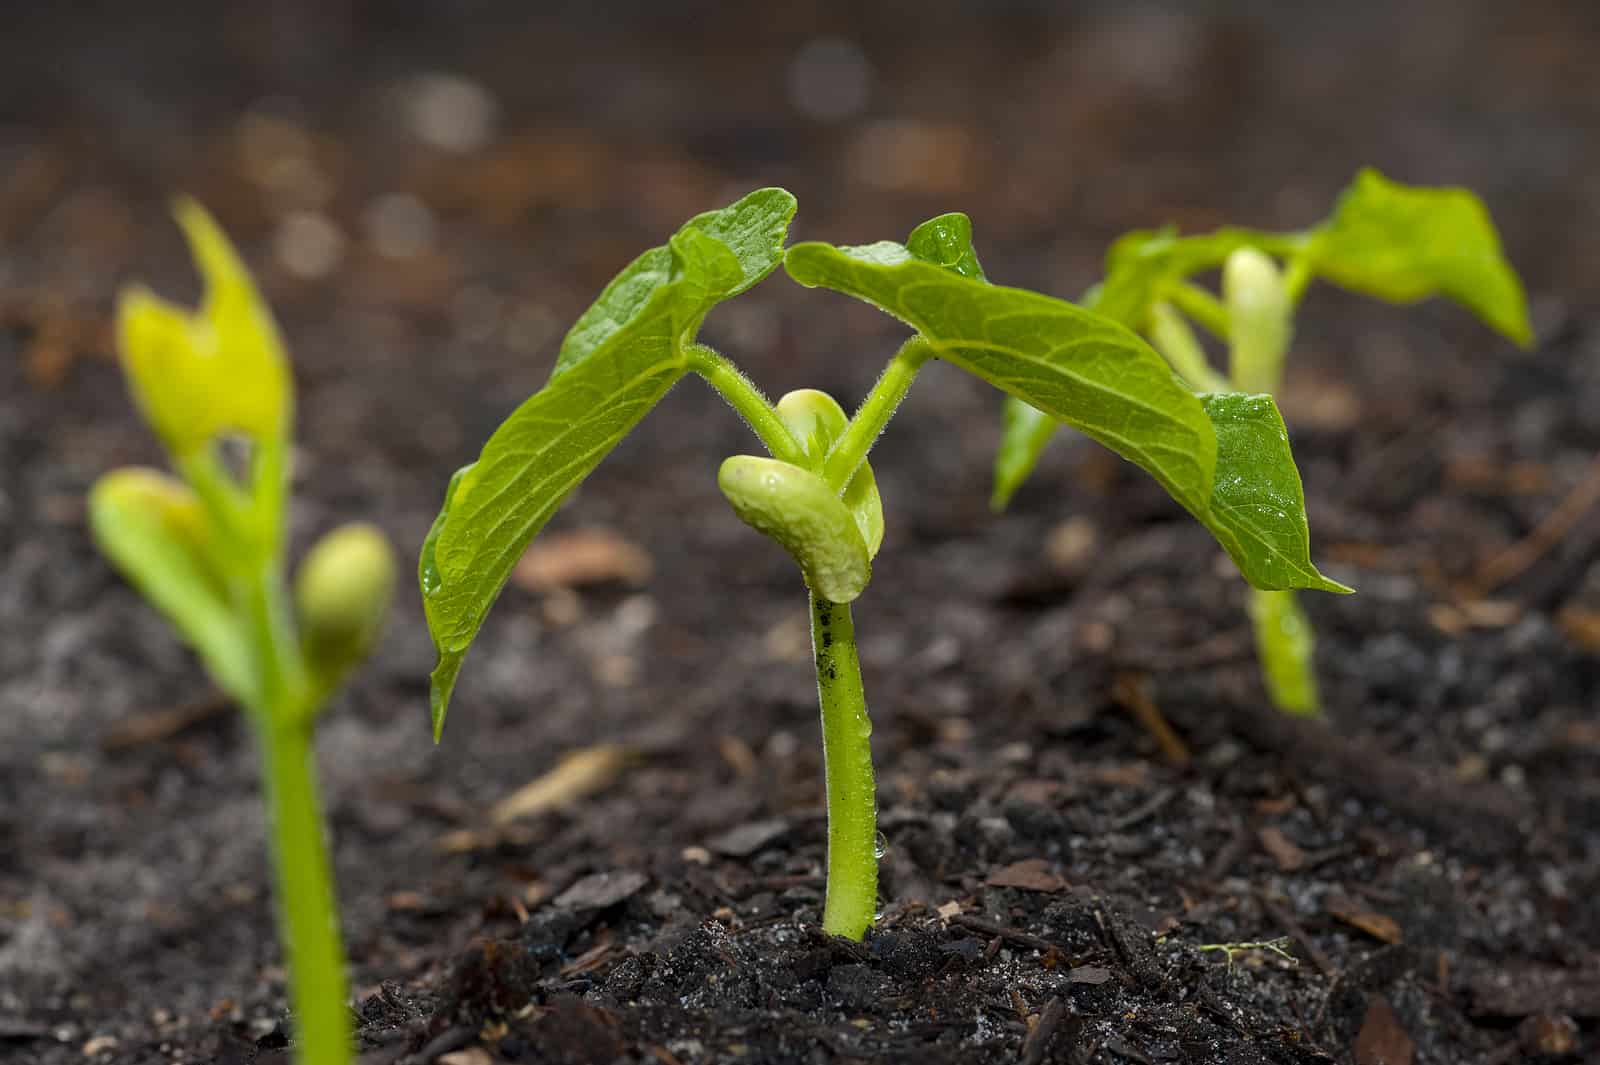
Read more: How To Grow Green Beans From Seeds
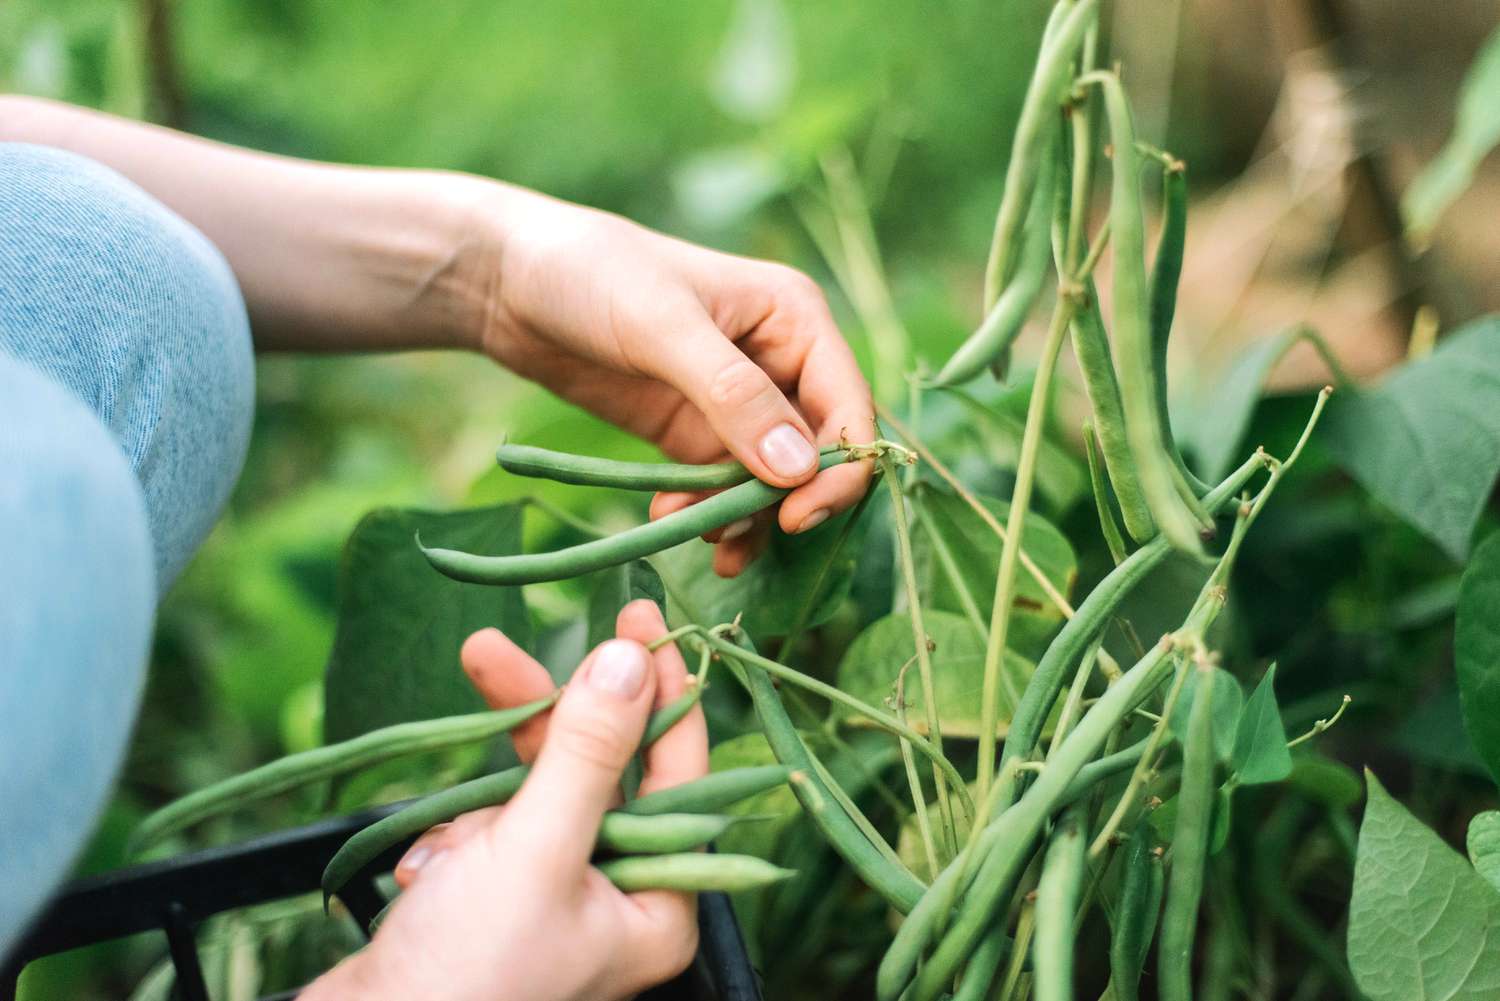
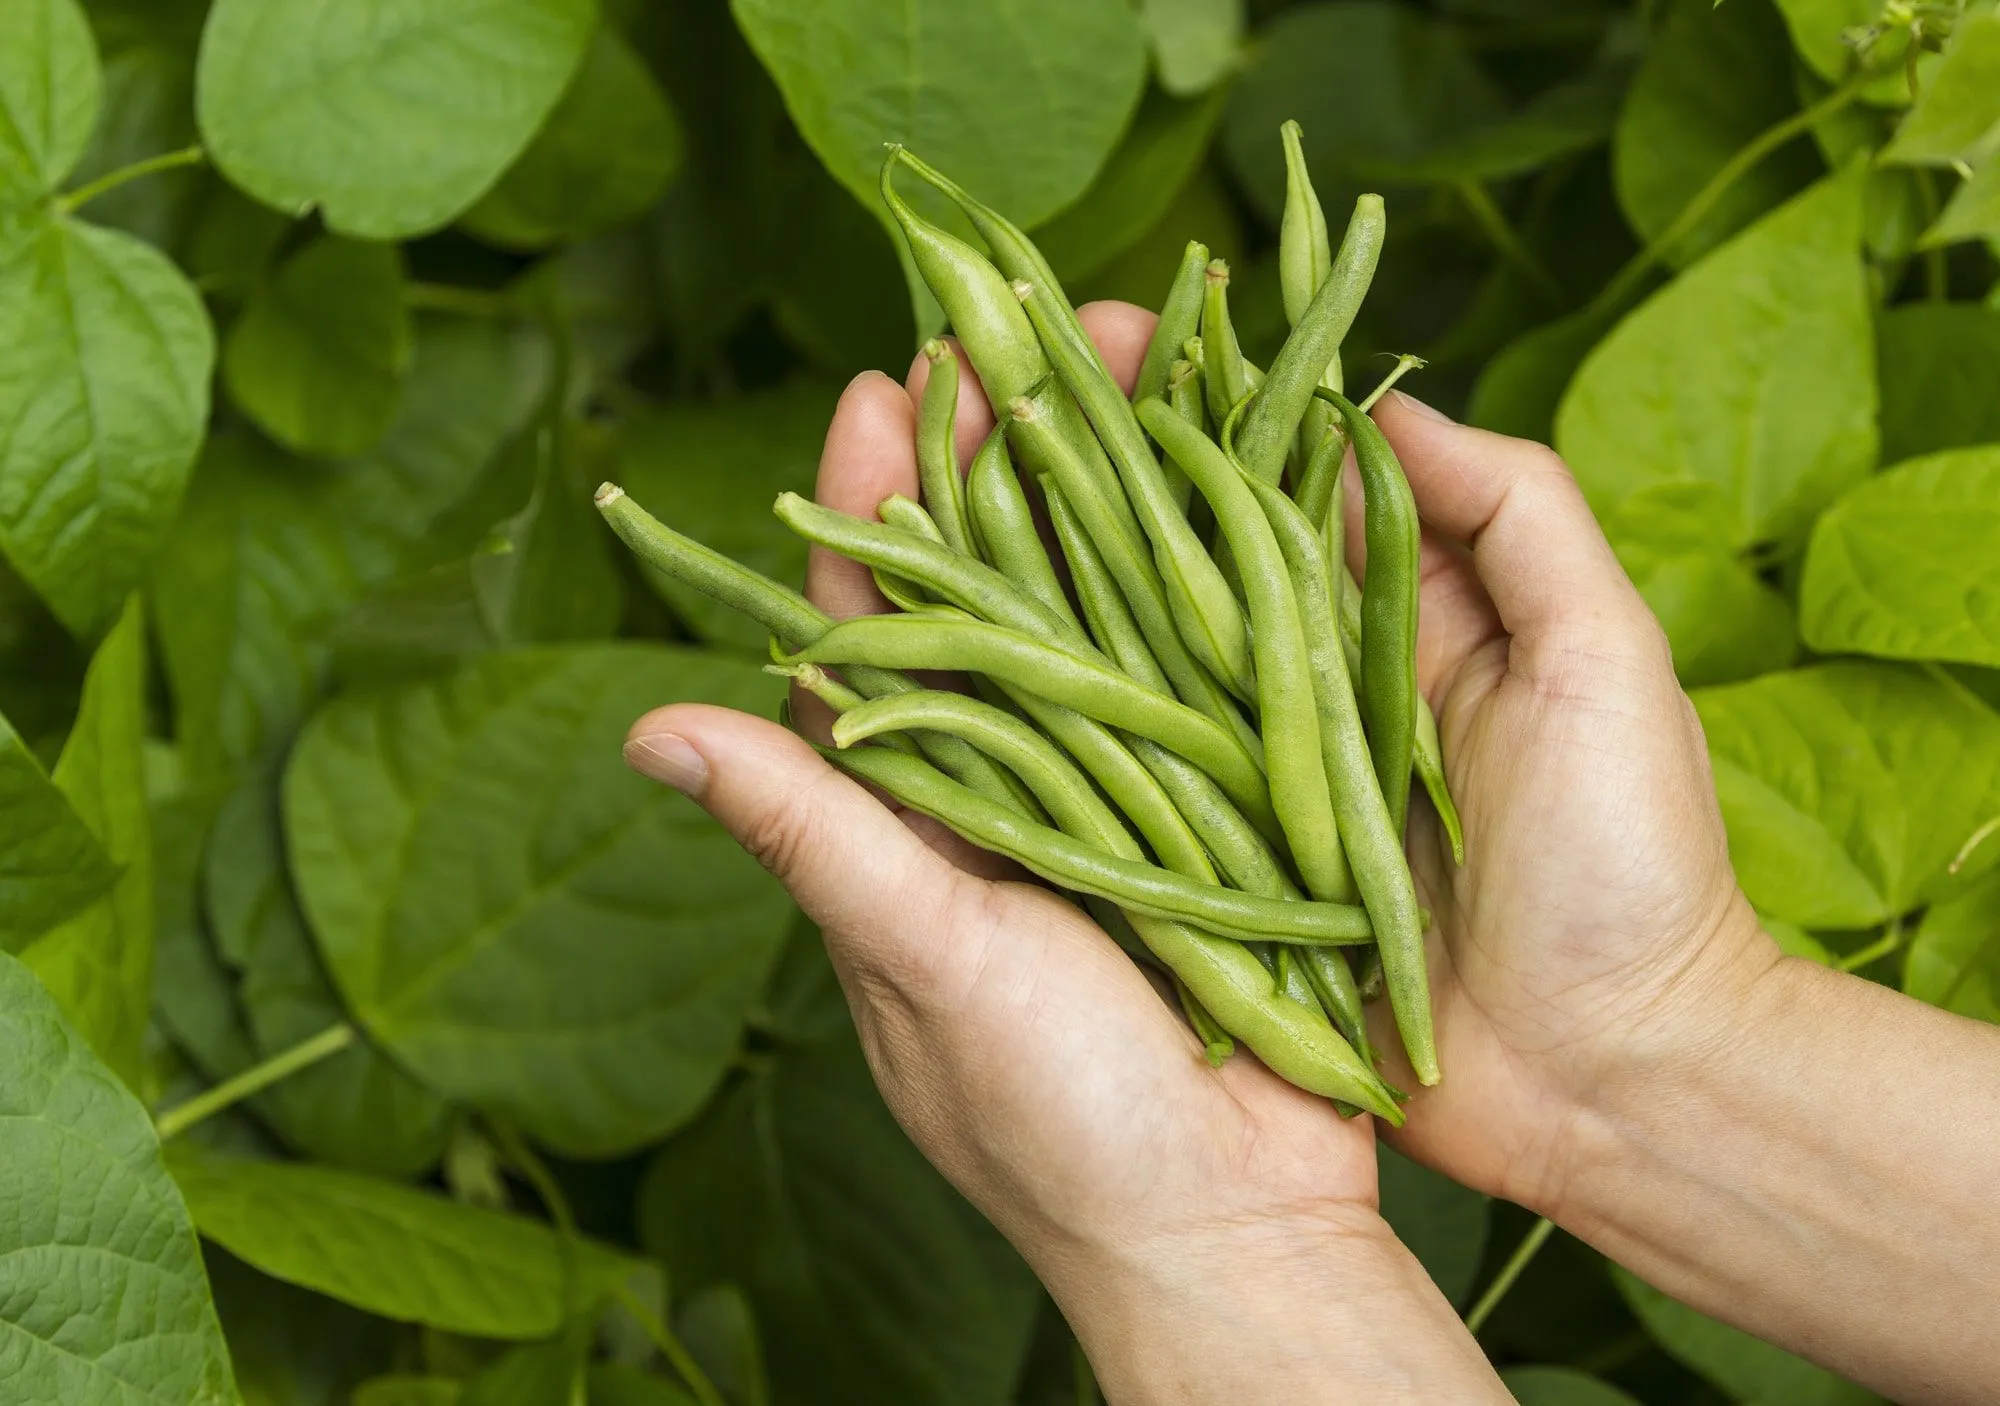
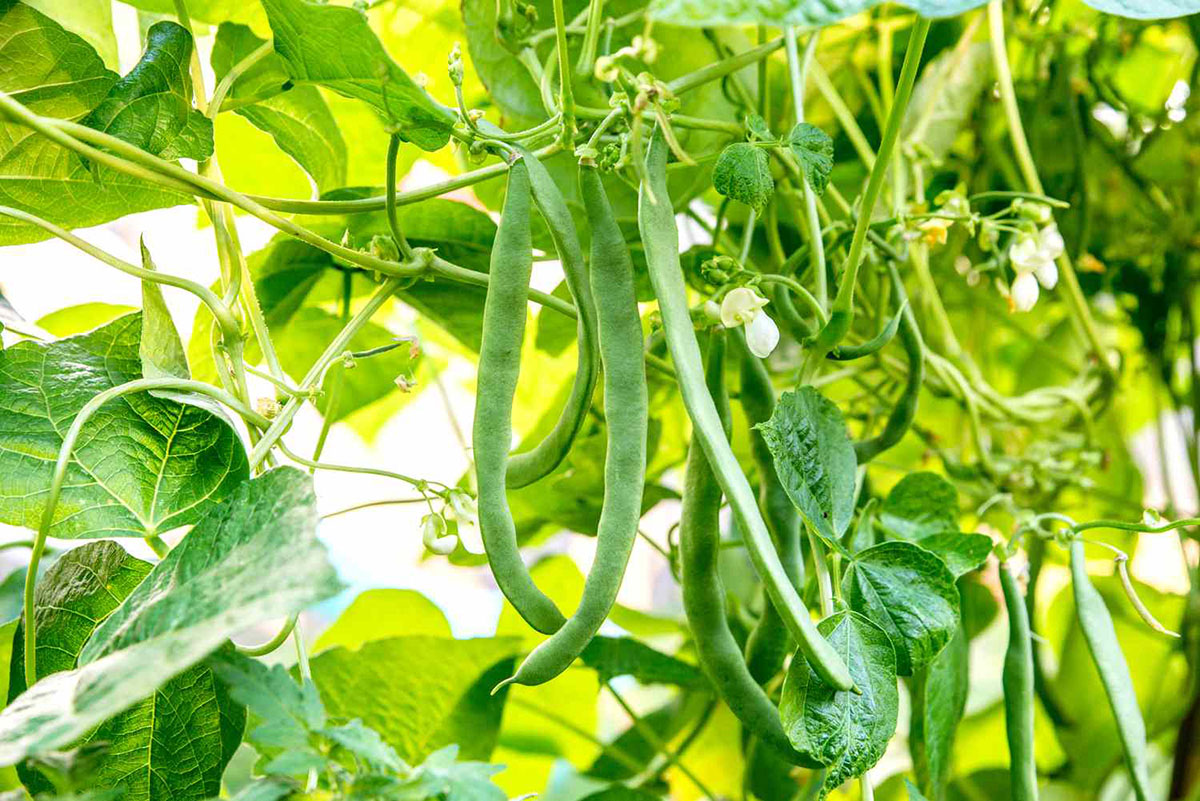
Step 1: Harvesting the Green Beans
The first step in cooking green beans from your garden is to harvest them at the right time. Green beans are ready to be harvested when they reach their proper size and are still tender. Depending on the variety of green beans you have planted, this can typically range from 2 to 3 inches in length.
To harvest the green beans, gently hold the stem of the bean and snap it off from the plant. If the bean doesn’t snap easily, it may not be fully matured and might not have the best flavor and texture.
It’s important to check your green beans regularly for optimal harvesting time. The plants produce beans continuously, so you can harvest them several times during the growing season. This not only ensures that you have a fresh supply of green beans, but it also promotes continuous growth and productivity from the plants.
Once you have harvested the green beans, it’s time to move on to the next step: preparing them for cooking.
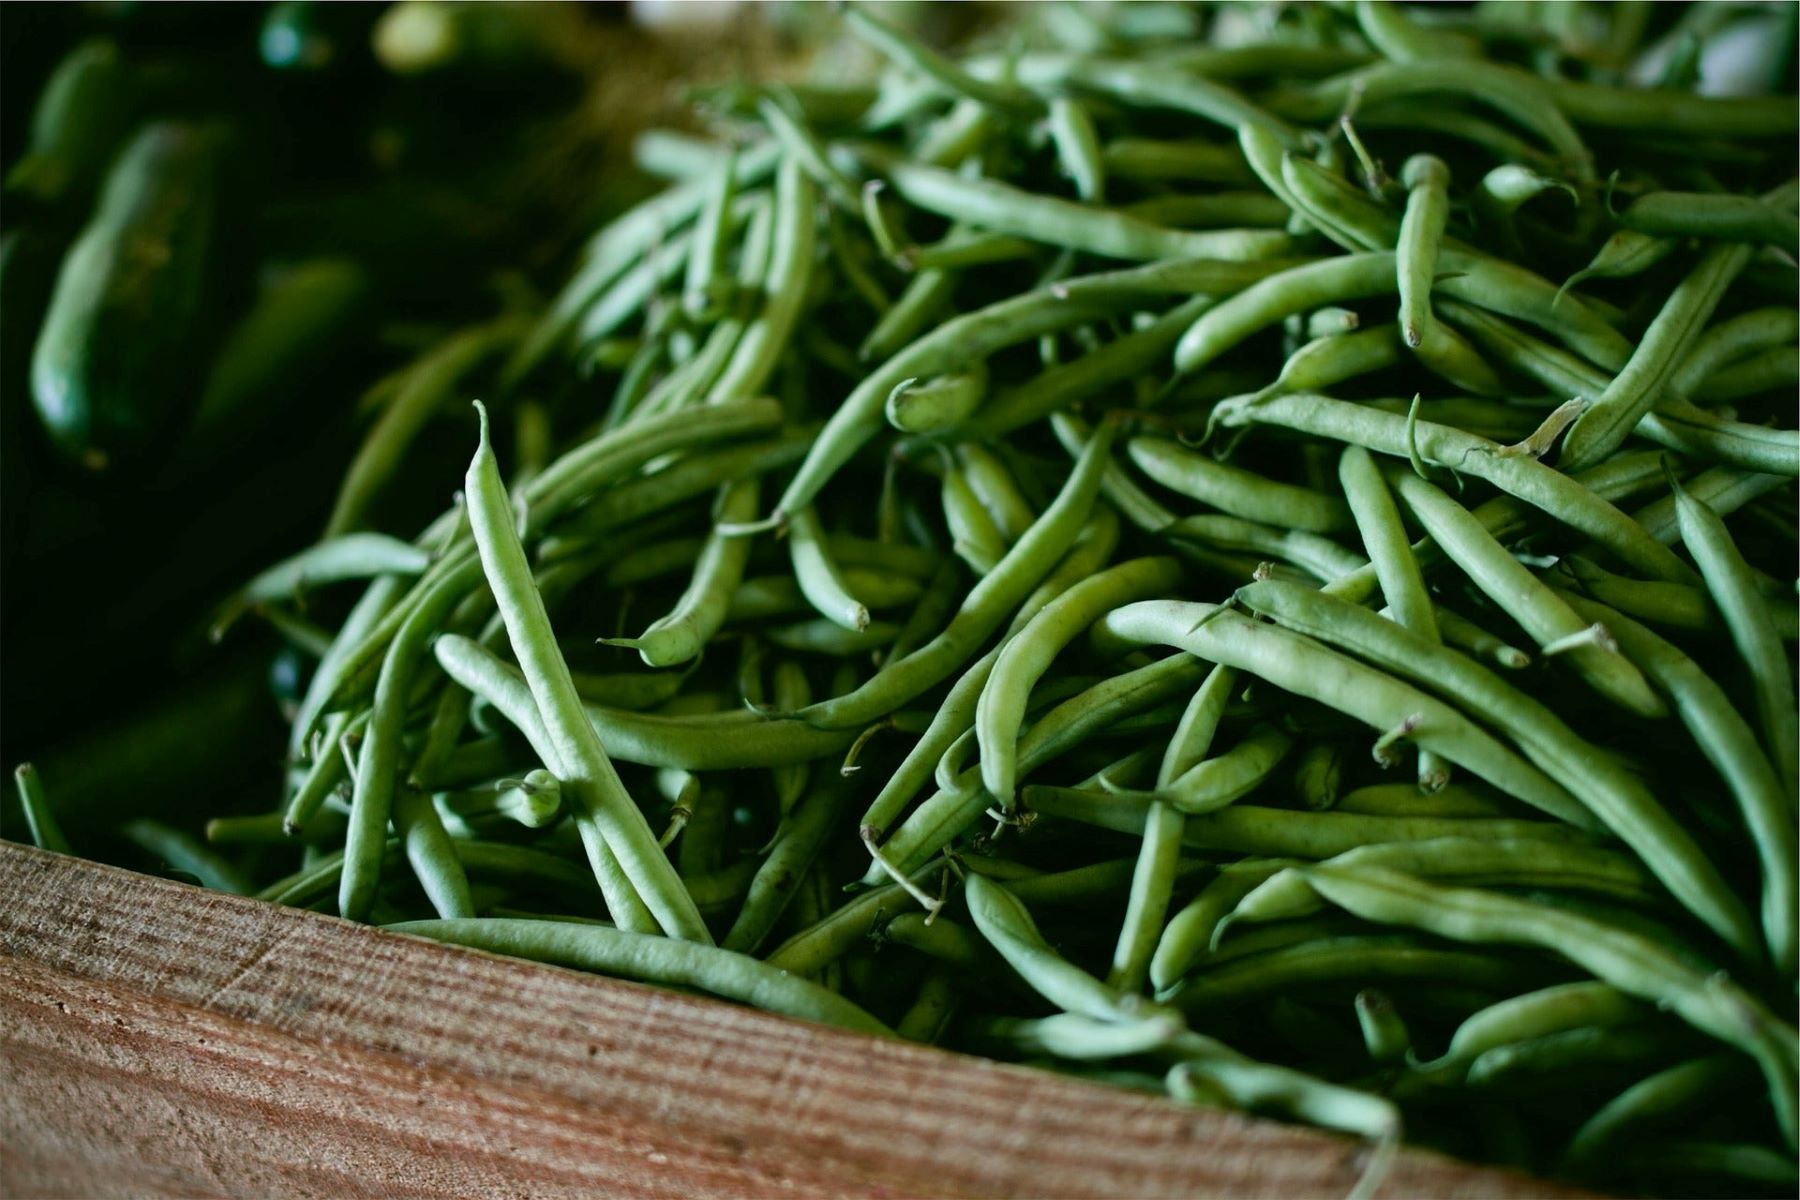
Step 2: Preparing the Green Beans
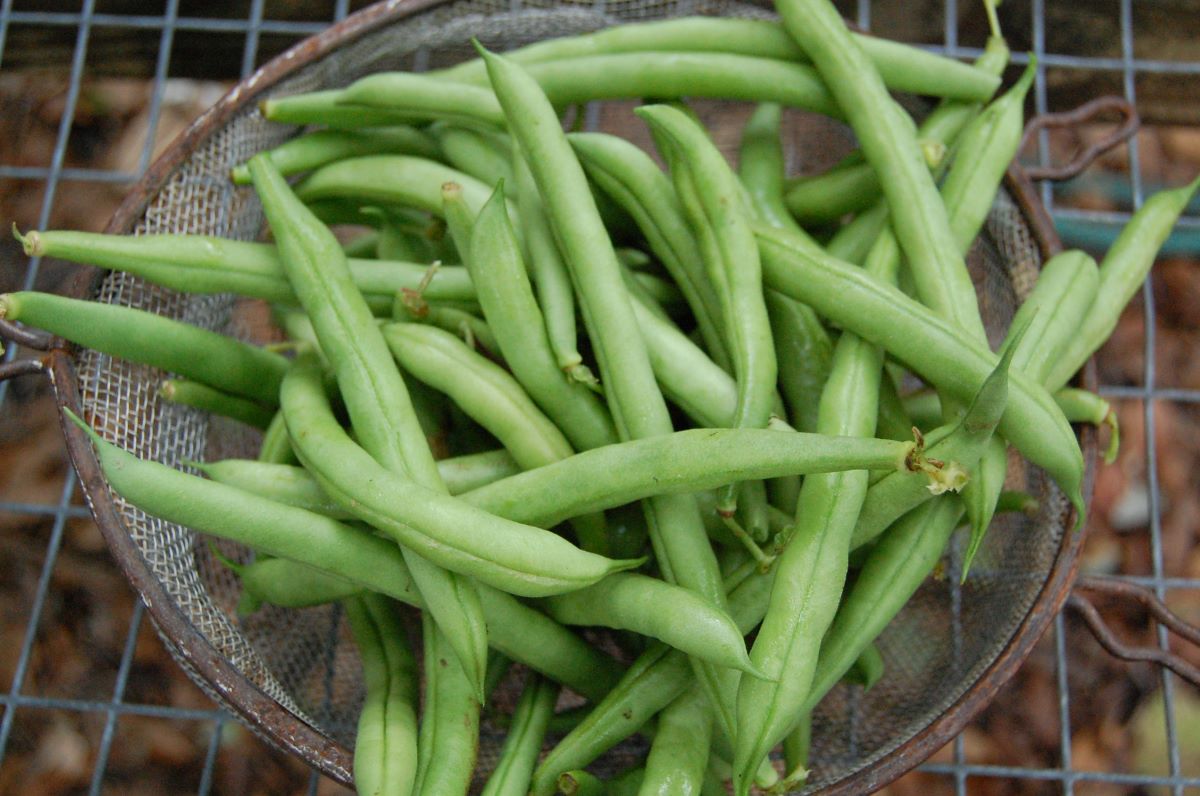
Before you start cooking your green beans, it’s important to give them a thorough wash to remove any dirt or debris that may be clinging to them. Fill a large bowl or basin with cold water and place the beans in it. Swirl them around gently to loosen any dirt, and then remove them from the water and pat them dry with a clean towel.
Next, you’ll need to trim the ends of the green beans. Take a handful of beans at a time and line them up neatly on a cutting board. Use a sharp knife to trim off the stem ends. If there are any blemishes or spots on the beans, you can also trim those away.
Once the ends are trimmed, you have the option to leave the beans whole or cut them into smaller pieces. This decision depends on your personal preference and the recipe you plan to follow. If you prefer longer, intact beans, you can leave them whole. If you prefer bite-sized pieces or plan to sauté or stir-fry them, you can cut them into 1 to 2-inch segments.
After you have prepared the green beans, it’s time to move on to the next step: blanching them to preserve their color and texture.
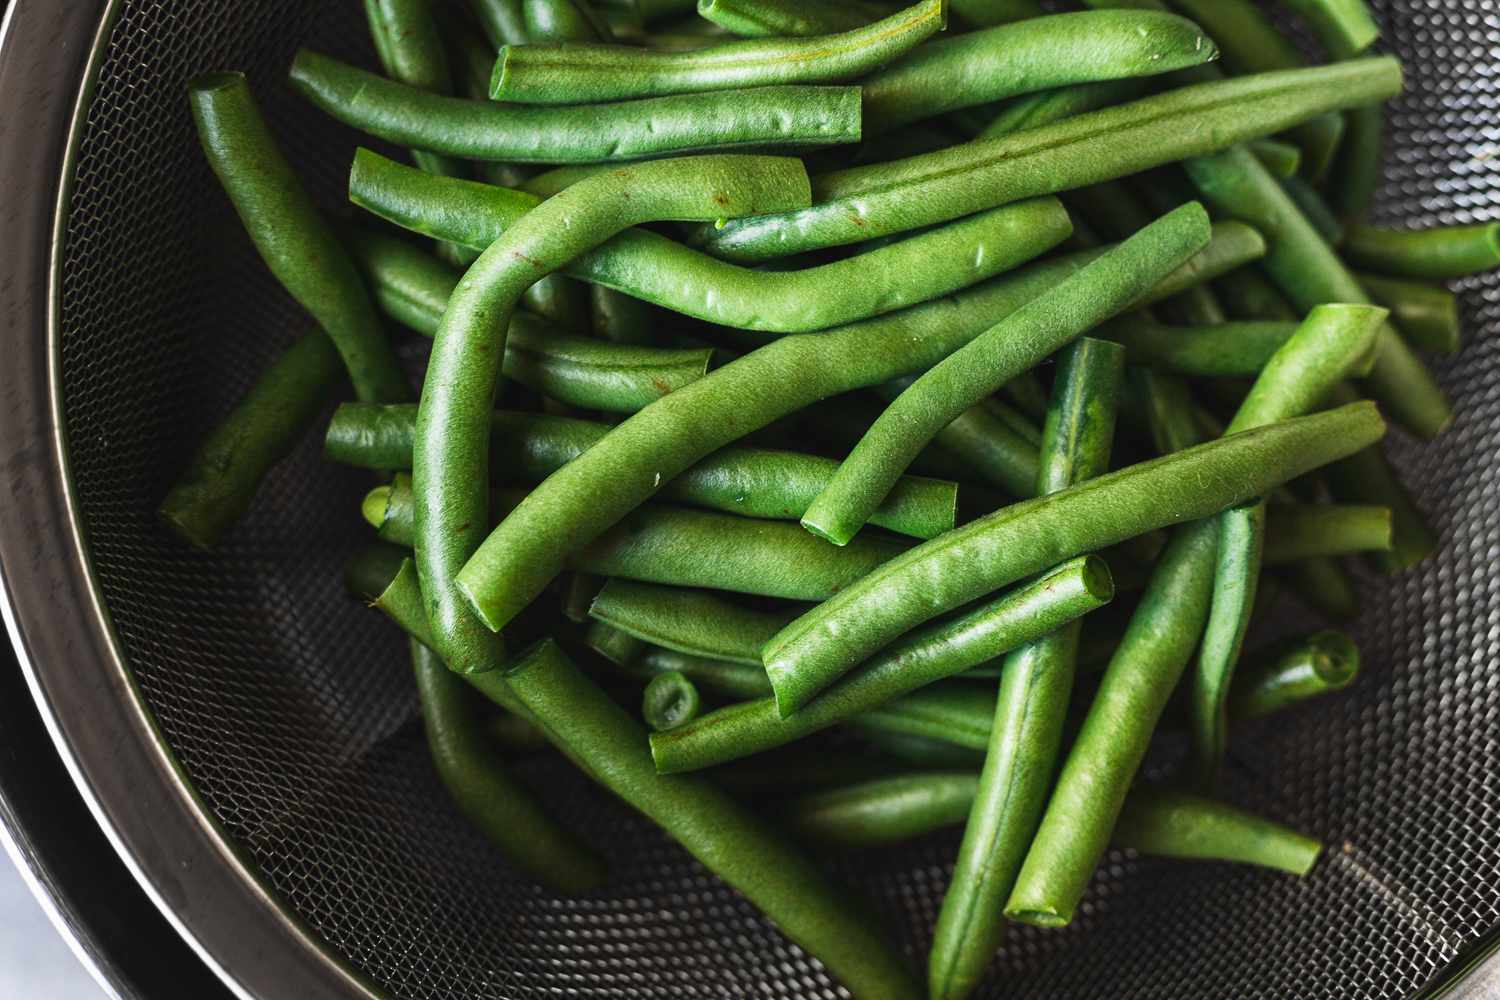
Step 3: Blanching the Green Beans
Blanching is a crucial step in cooking green beans as it helps preserve their vibrant color, crispness, and nutrients. To blanch the green beans, you will need a large pot of boiling water and a bowl filled with ice water.
Start by bringing a pot of water to a rolling boil. Add a generous amount of salt to the boiling water. The salt not only enhances the flavor of the beans but also helps them retain their color. Carefully add the prepared green beans to the boiling water and let them cook for about 2 to 3 minutes.
While the green beans are cooking, prepare an ice bath in a large bowl by filling it with cold water and adding ice cubes. Once the green beans are blanched, use a slotted spoon or tongs to transfer them from the boiling water to the ice bath. This will immediately halt the cooking process and preserve their vibrant green color.
Let the green beans sit in the ice bath for a couple of minutes until they are completely cooled. This step is essential as it locks in the crispness and texture of the beans. Once cooled, drain the beans and pat them dry with a clean towel.
Blanching the green beans not only enhances their visual appeal but also ensures that they are partially cooked for the next step: sautéing.
Blanch fresh green beans in boiling water for 2-3 minutes, then immediately transfer to an ice bath to stop the cooking process. This will help retain their vibrant green color and crisp texture.
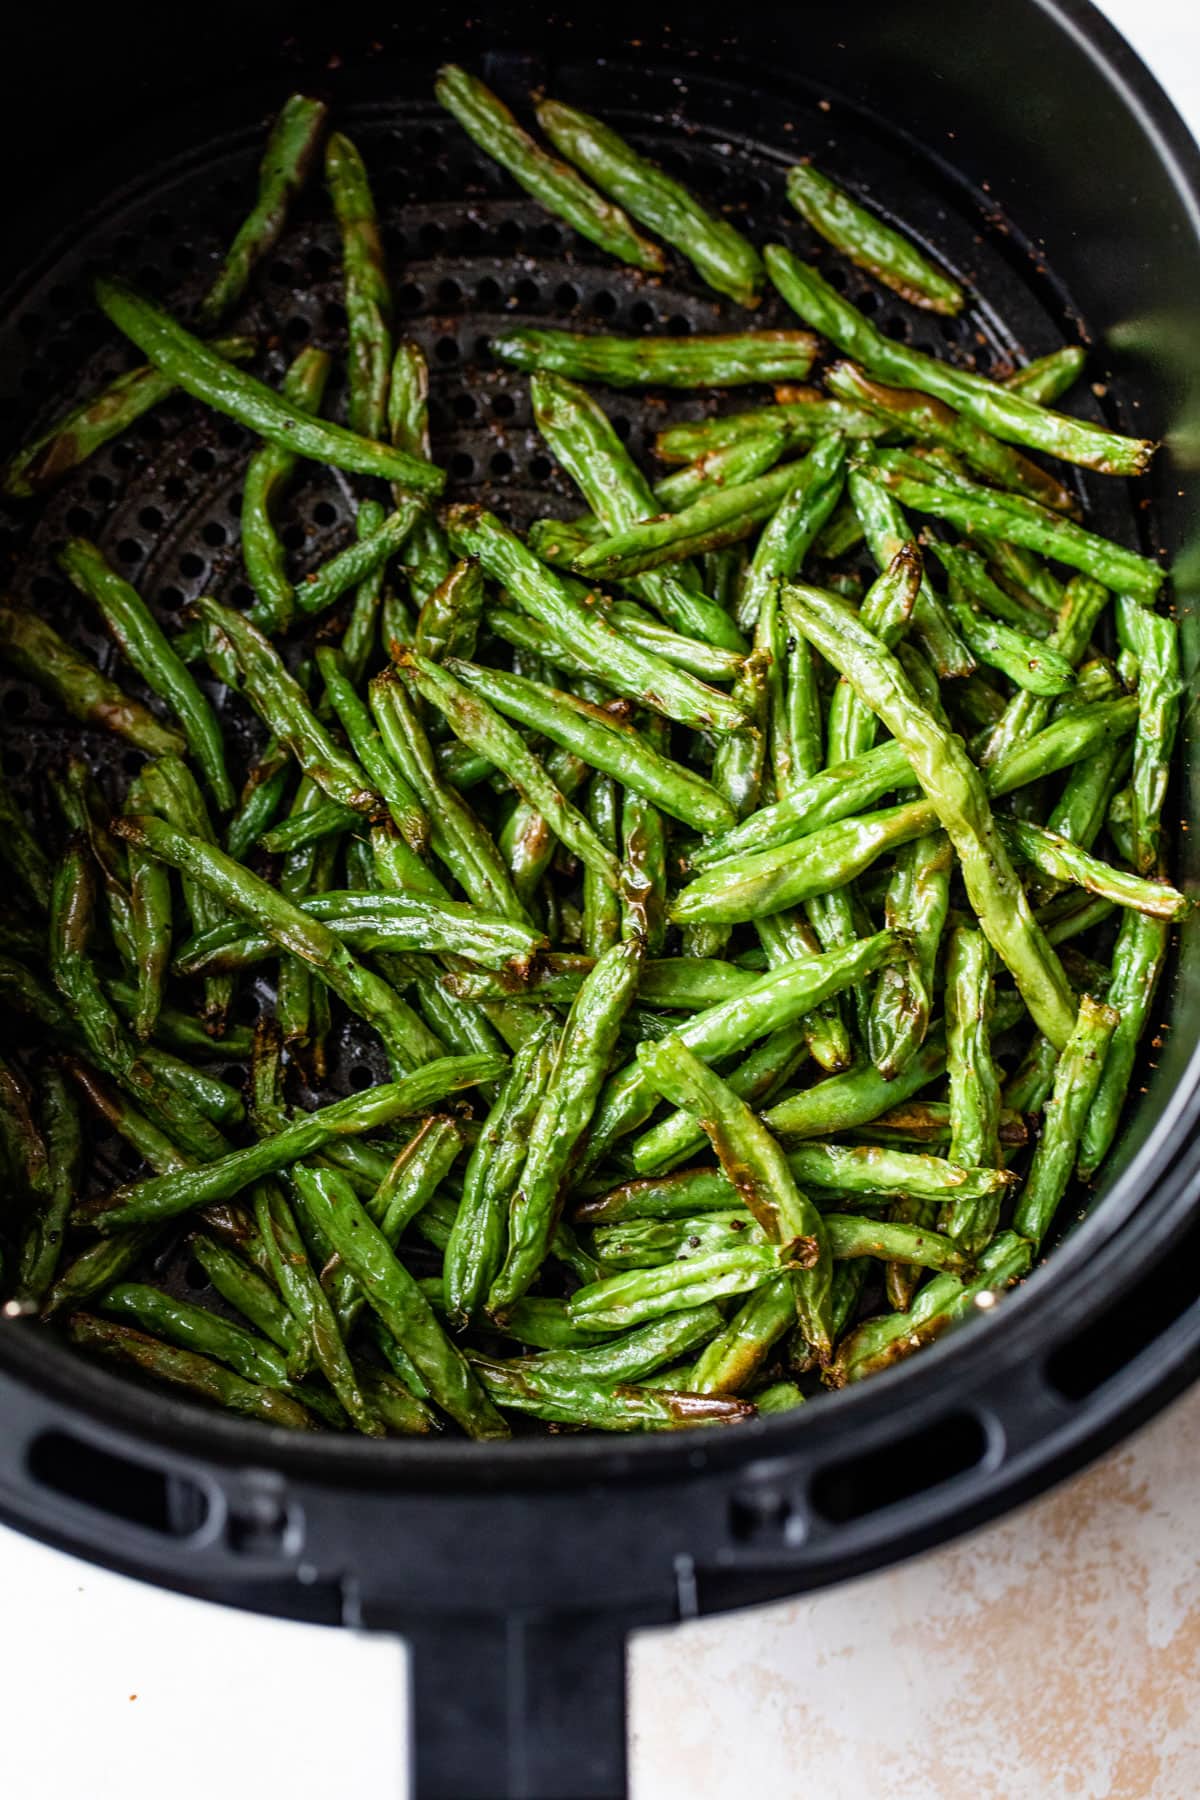
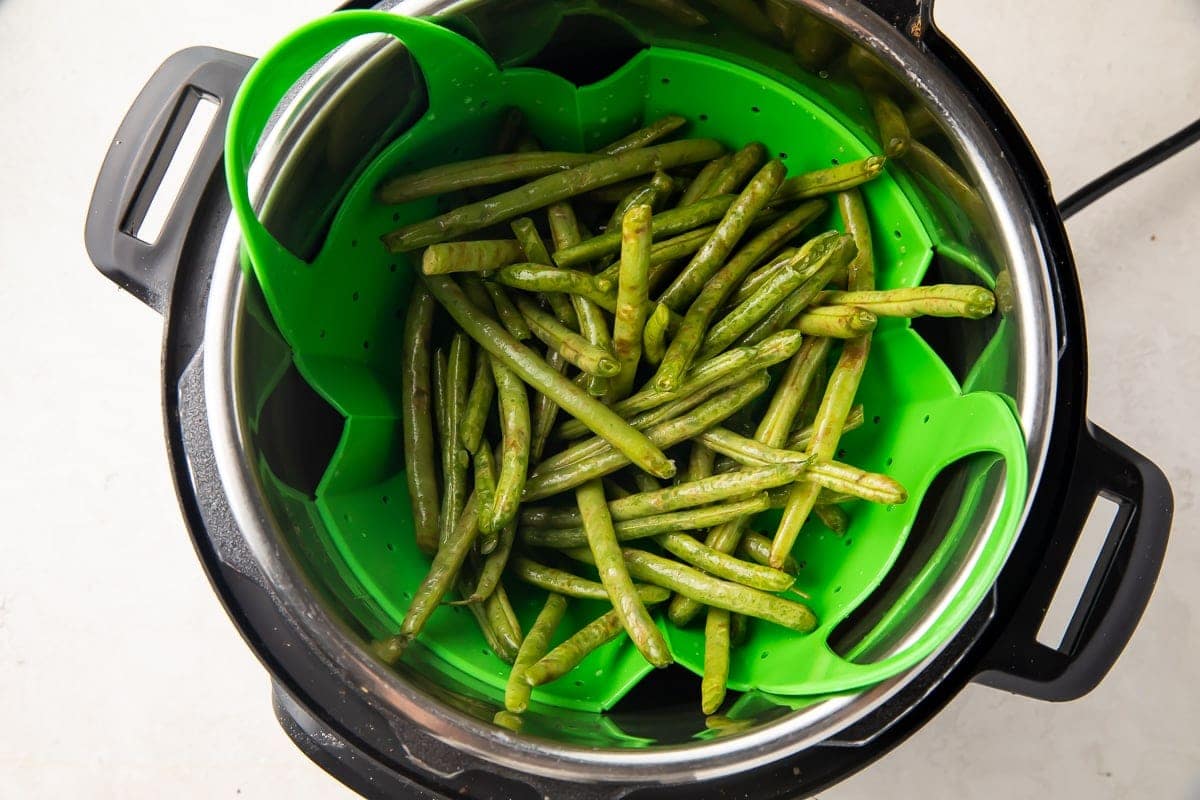
Step 4: Sautéing the Green Beans
Now that the green beans are blanched and ready to be cooked further, it’s time to move on to the next step: sautéing. Sautéing is a quick and delicious method of cooking that adds flavor and texture to the green beans.
To sauté the green beans, heat a skillet or sauté pan over medium heat. Add a tablespoon of olive oil or butter to the pan and let it melt or heat up. Once the oil is hot, add the blanched green beans to the pan.
Stir the green beans continuously as they cook to ensure even cooking and to prevent them from sticking to the pan. Sauté the beans for about 5 to 7 minutes, or until they are tender-crisp. The beans should still retain some of their crunchiness and bright color.
You can add additional flavorings to the green beans while sautéing, such as minced garlic, sliced onions, or diced bell peppers. These aromatic additions will infuse the green beans with irresistible flavors. Feel free to experiment and create your own unique combinations.
Once the green beans are cooked to your desired level of tenderness, it’s time to move on to the final step: seasoning and serving them.
Read more: How To Freeze Green Beans From The Garden
Step 5: Seasoning and Serving the Green Beans
Now that your green beans are perfectly sautéed and full of flavor, it’s time to season them and get ready to serve them up for a delightful culinary experience.
Start by adding your choice of seasonings to the green beans. Common seasonings include salt, pepper, garlic powder, onion powder, or a squeeze of fresh lemon juice. You can also add herbs like chopped parsley, thyme, or dill to enhance the flavor profile. Toss the green beans gently in the skillet with the seasonings to ensure they are evenly coated.
Once seasoned, transfer the green beans to a serving dish. You can garnish them with some freshly grated Parmesan cheese, toasted almonds, or crispy bacon bits for an extra touch of flavor and texture.
Green beans can be served as a side dish alongside your favorite main course. They pair well with grilled chicken, roasted salmon, or even a juicy steak. You can also enjoy them as a standalone vegetable dish or incorporate them into salads, stir-fries, or pasta dishes for a burst of freshness and color.
Remember, cooking green beans from your garden allows you to savor the true essence of homegrown produce. These green beans are bursting with nutrients, vitamins, and that unmistakable taste that only comes from freshly picked vegetables.
So, there you have it—five simple steps to cook green beans from your garden. Harvest them with care, prepare them with love, blanch them to preserve their color, sauté them for added flavor, season them to perfection, and enjoy the fruits of your labor.
Now, gather your ingredients, put on your apron, and let your garden-to-table adventure begin!
Conclusion
Cooking green beans from your garden is a rewarding experience that allows you to enjoy the flavors and freshness of your homegrown produce. By following the steps outlined in this article, you can transform your harvested green beans into a delicious and nutritious dish that will impress your taste buds.
Remember to start by harvesting the green beans at their peak, ensuring that they are tender and flavorful. Then, take the time to properly prepare and trim the beans, removing any dirt or blemishes. Blanching the green beans helps preserve their vibrant color and texture, while sautéing adds depth and enhances their taste. Finally, season the green beans to your liking and serve them as a versatile side dish or as part of a larger meal.
When you cook green beans from your garden, you not only get to enjoy their delicious flavors, but you also benefit from the nutritional value they provide. Green beans are packed with vitamins, minerals, and fiber, making them a healthy addition to your diet.
So, whether you enjoy them as a simple side dish, incorporate them into a stir-fry, or add them to a salad, cooking green beans from your garden is a wonderful way to make the most of your homegrown produce and showcase your gardening skills.
So, put on your apron, embrace your inner chef, and savor the fresh and vibrant flavors of your garden-fresh green beans. Happy cooking!
Frequently Asked Questions about How To Cook Green Beans From Garden
Was this page helpful?
At Storables.com, we guarantee accurate and reliable information. Our content, validated by Expert Board Contributors, is crafted following stringent Editorial Policies. We're committed to providing you with well-researched, expert-backed insights for all your informational needs.


0 thoughts on “How To Cook Green Beans From Garden”