Articles
How To Freeze Green Beans From The Garden
Modified: October 20, 2024
Learn how to freeze green beans from your garden with this comprehensive gardening guide. Preserve your harvest and enjoy fresh green beans all year round.
(Many of the links in this article redirect to a specific reviewed product. Your purchase of these products through affiliate links helps to generate commission for Storables.com, at no extra cost. Learn more)
Introduction
There’s nothing quite like the taste of freshly harvested green beans from your very own garden. However, when your bean plants start to produce an abundant harvest, it can be challenging to consume them all before they spoil. That’s where freezing green beans can come in handy, allowing you to preserve their freshness and enjoy them throughout the year.
Freezing green beans not only helps to prevent wastage but also allows you to savor the flavors of your homegrown produce even when the gardening season is long over. Whether you have a bumper crop or small yield, knowing how to properly freeze green beans from the garden will ensure that you have a ready supply of this nutritious vegetable on hand whenever you need it.
In this article, we will guide you through the step-by-step process of freezing green beans from your garden. From harvesting the beans to preparing, blanching, packaging, and freezing them, we’ll cover it all. We’ll also provide tips on storing and labeling your frozen green beans, as well as how to thaw and cook them once it’s time to enjoy their delightful flavors.
So let’s dive in and learn the art of freezing green beans, ensuring that you can enjoy the taste of your garden long after the growing season has ended.
Key Takeaways:
- Preserve the Taste of Summer: Freezing green beans from your garden ensures a year-round supply of fresh, nutritious produce. Follow simple steps to harvest, blanch, and store for convenient, flavorful meals anytime.
- Waste Not, Want Not: Don’t let your garden’s green bean bounty go to waste. Learn how to freeze them properly to enjoy their homegrown goodness long after the growing season ends.
Read more: How To Cook Green Beans From Garden
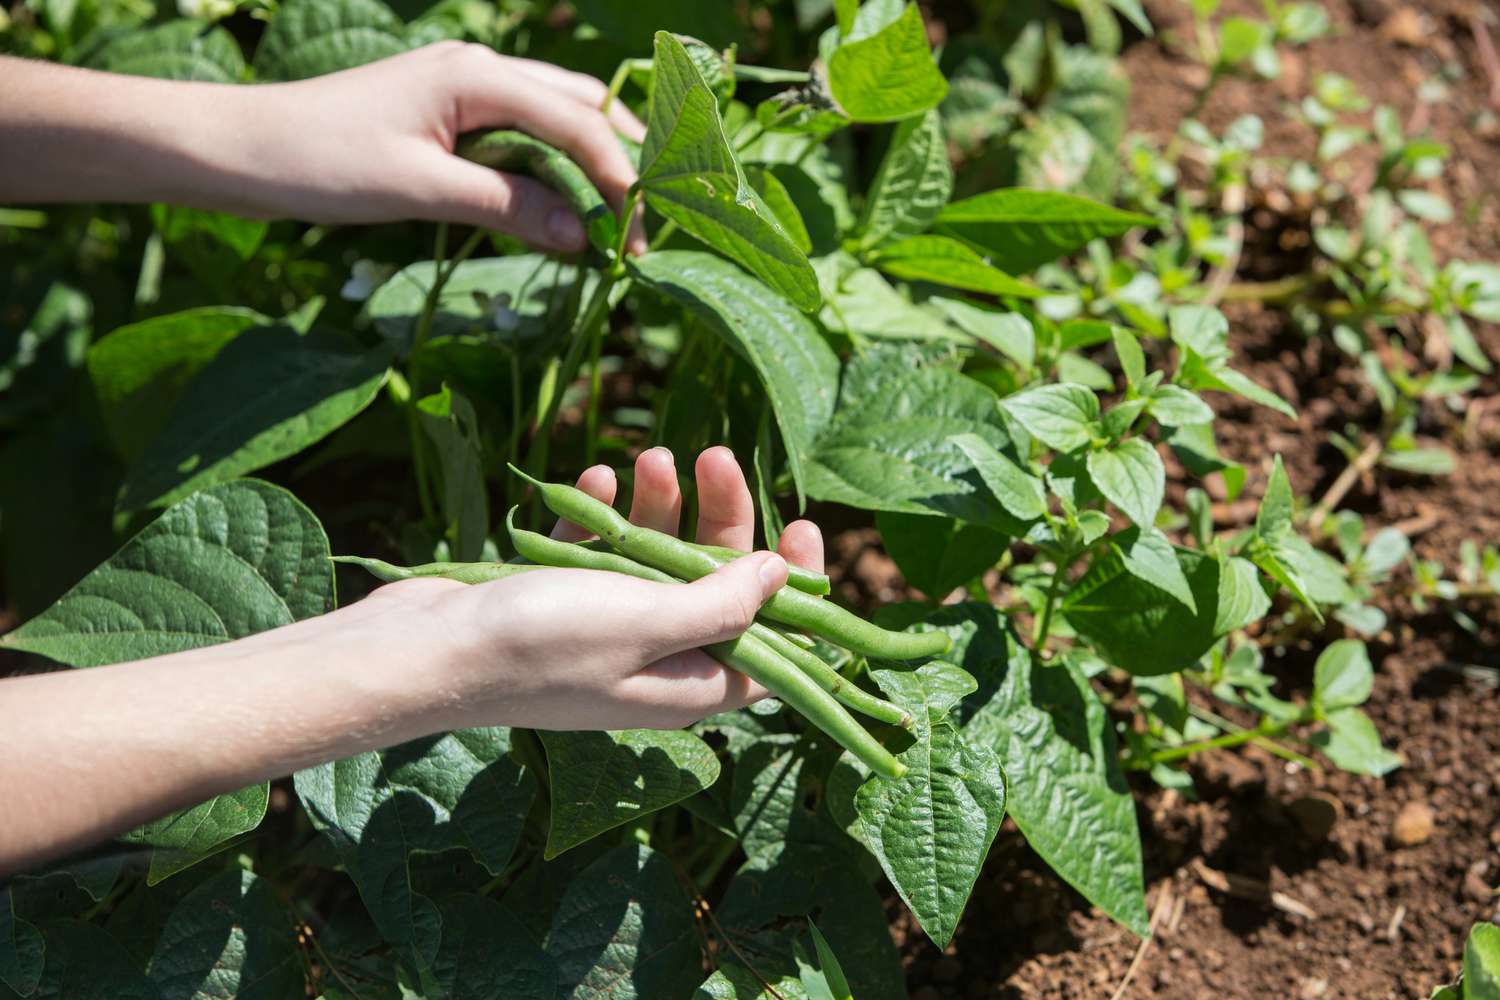
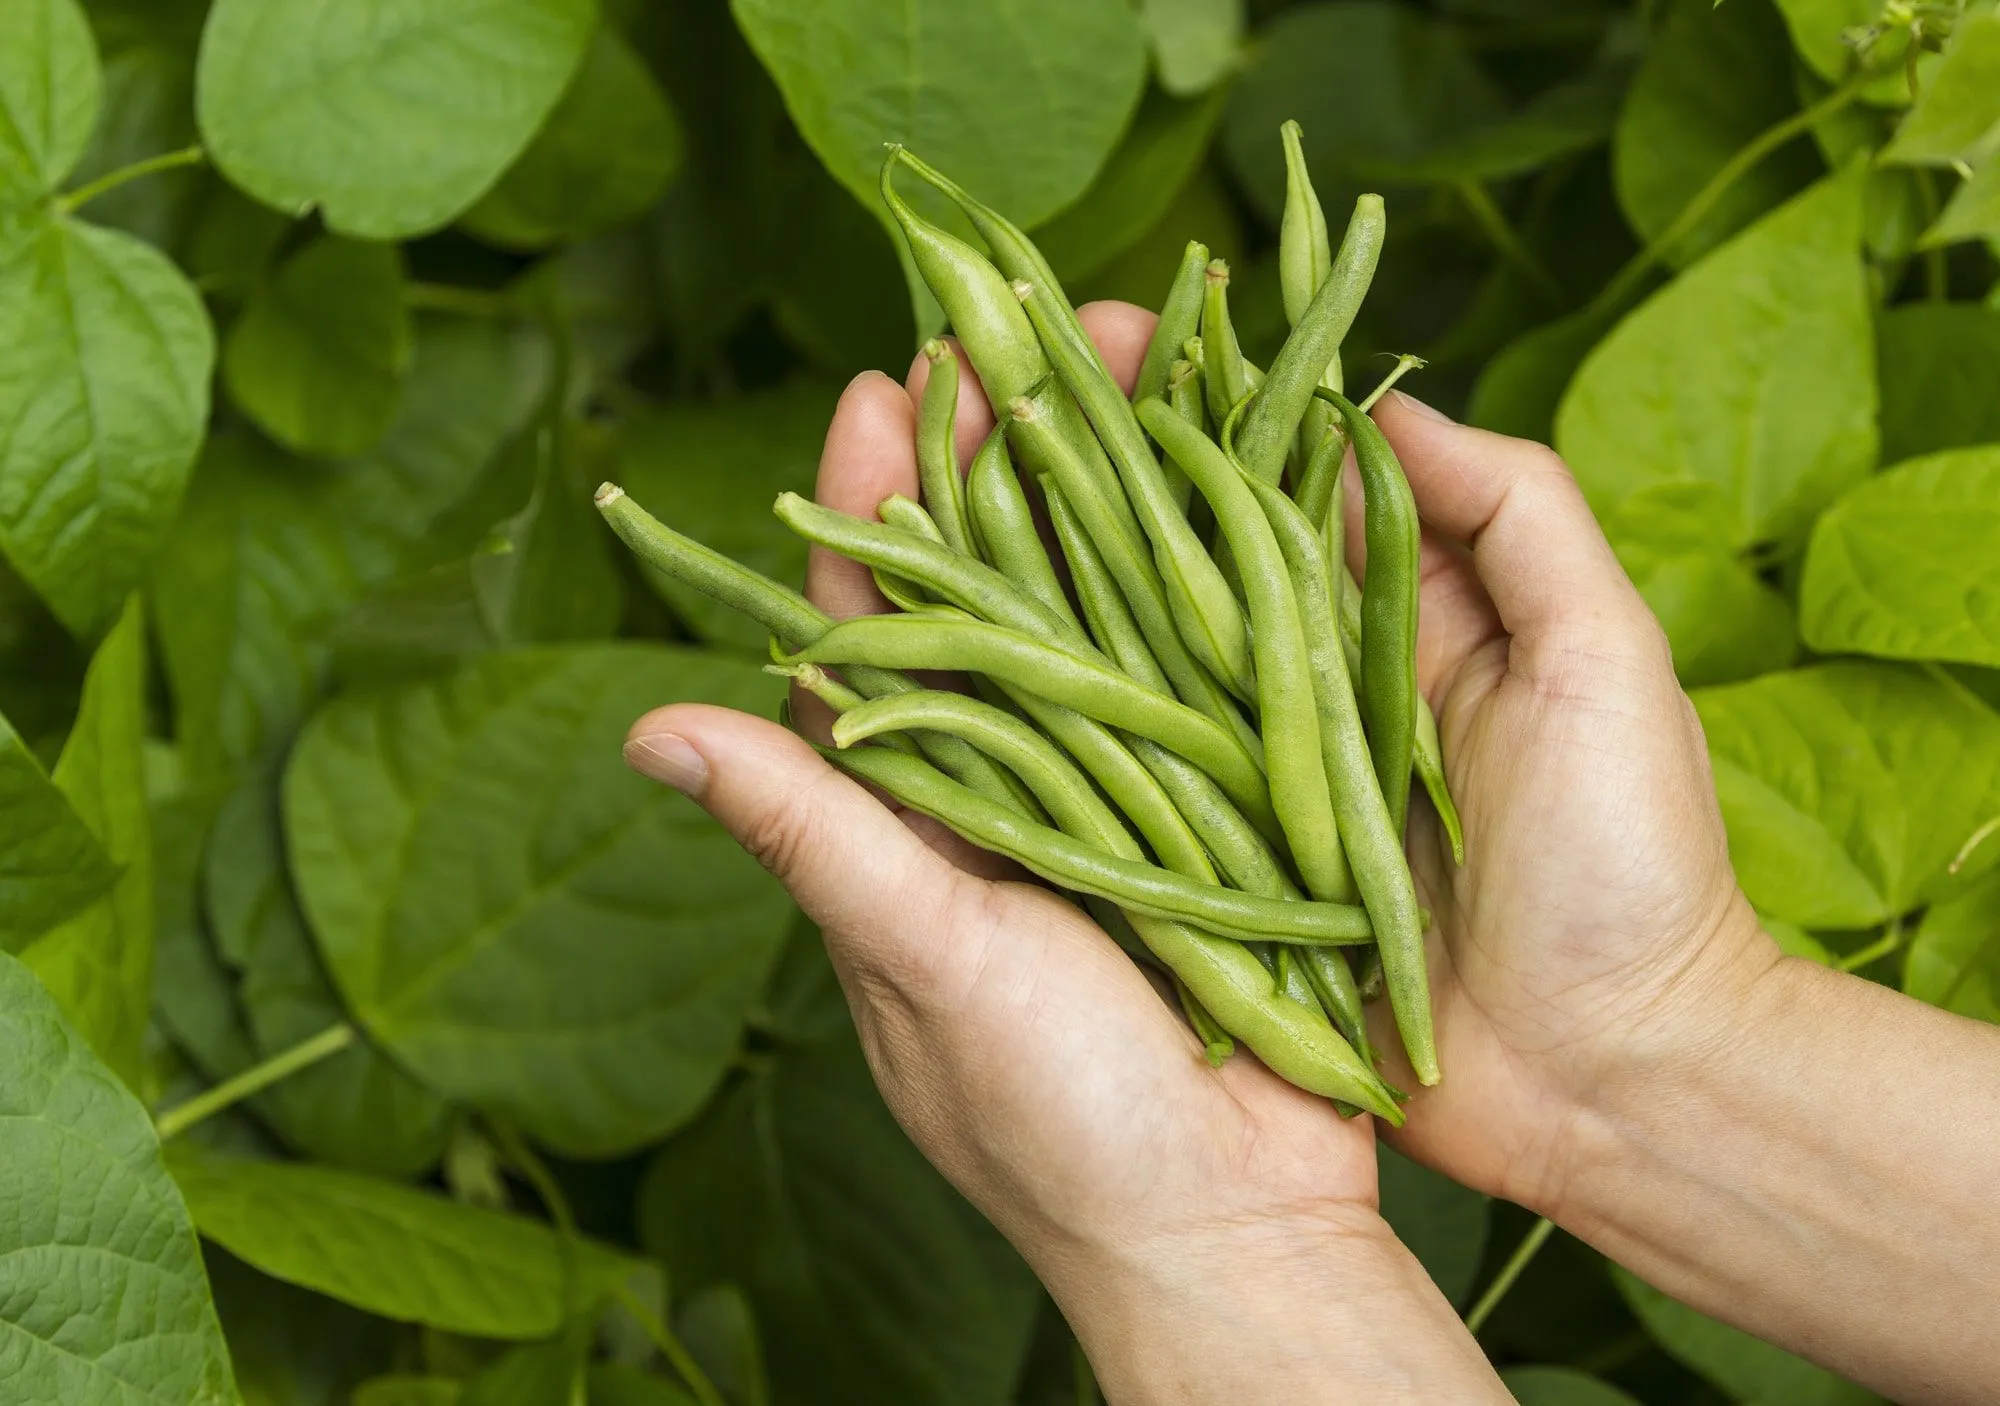
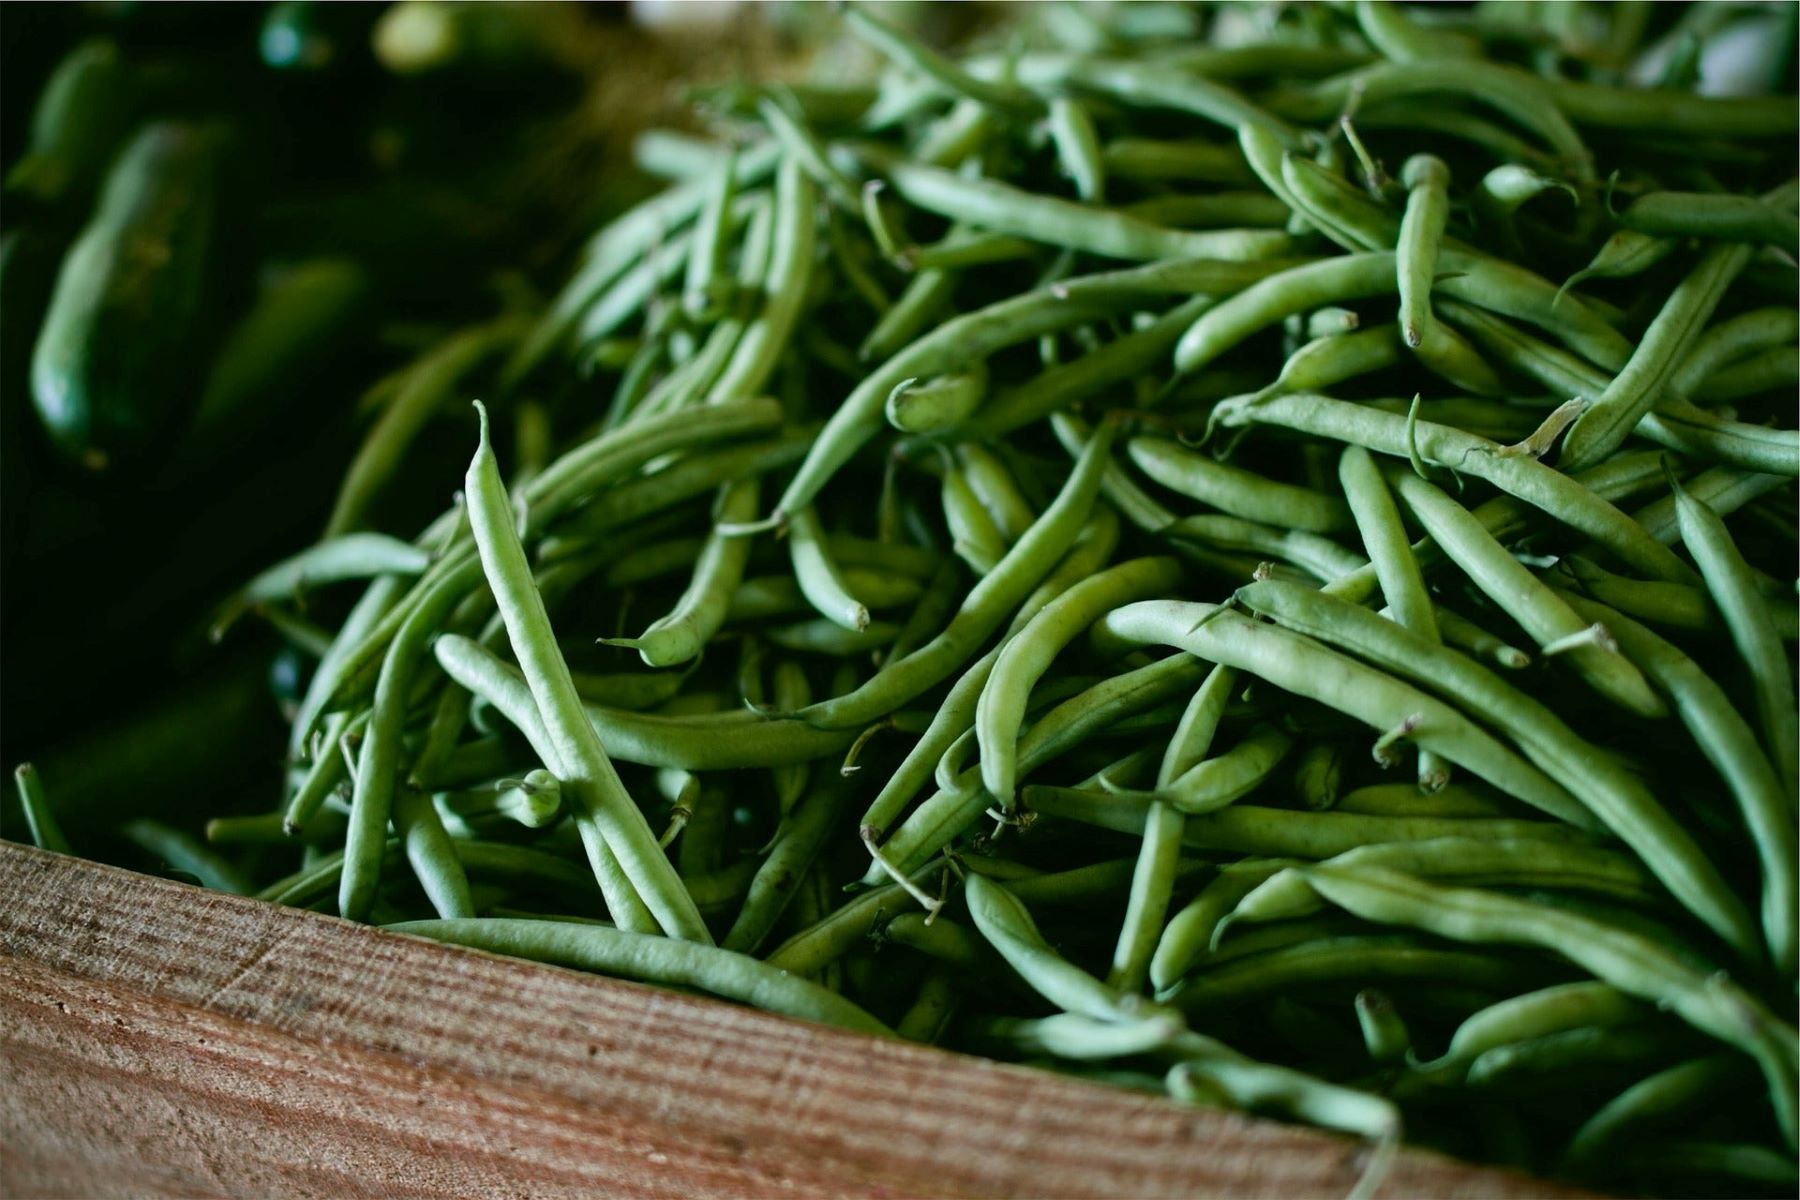
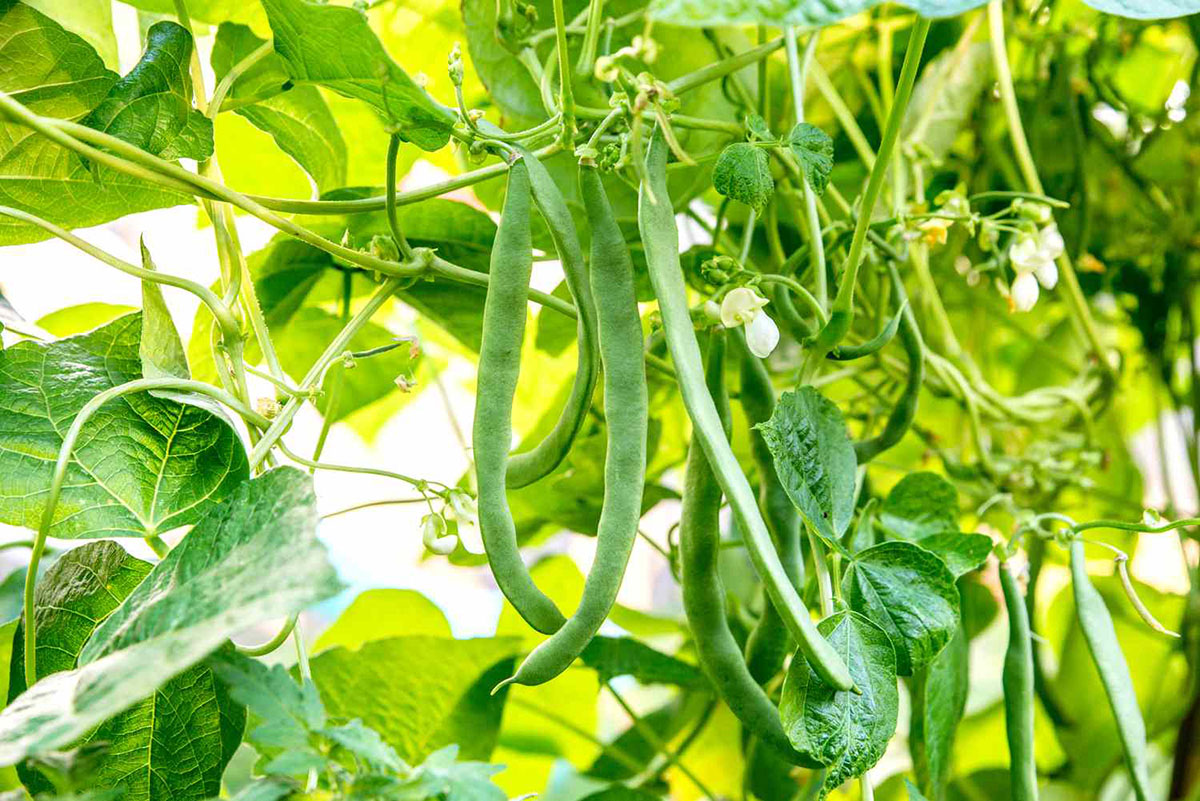
Step 1: Harvesting Green Beans
The first step in freezing green beans is, of course, harvesting them from your garden. Knowing when and how to harvest your green beans is crucial to ensure the best quality and flavor.
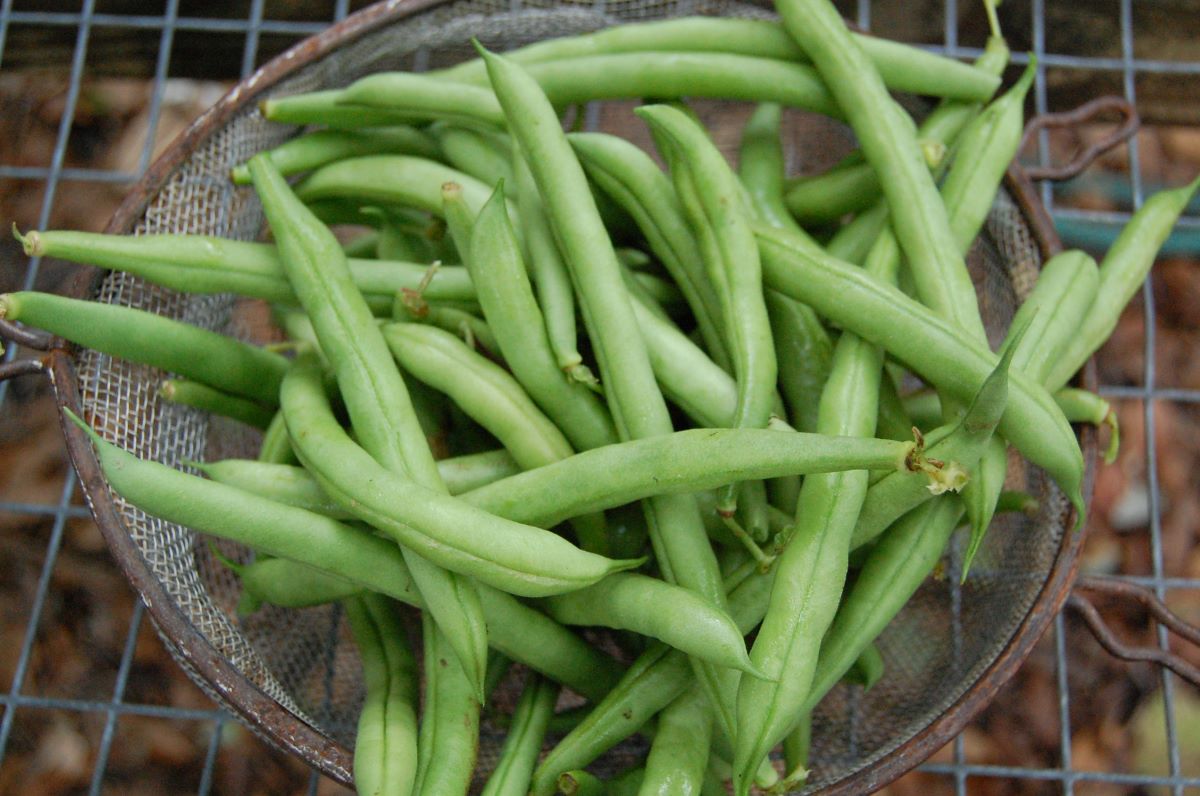
Green beans are typically ready to be harvested when the pods are firm, crisp, and around 3-6 inches in length, depending on the variety. Avoid waiting too long to harvest, as the beans can become tough and lose their sweet taste.
To harvest green beans, gently hold the stem of the bean plant and snap off the pods with your other hand. Alternatively, you can use scissors or garden shears to cut the pods from the plant. Be careful not to damage the plant or nearby foliage while harvesting.
It’s important to note that green beans can continue to produce pods throughout the growing season, so a staggered harvest is often necessary. Check your plants regularly and harvest the ripe pods every few days to ensure they don’t become overripe or tough.
Once you’ve harvested your green beans, it’s important to move on to the next step of the freezing process as soon as possible to maintain their freshness.
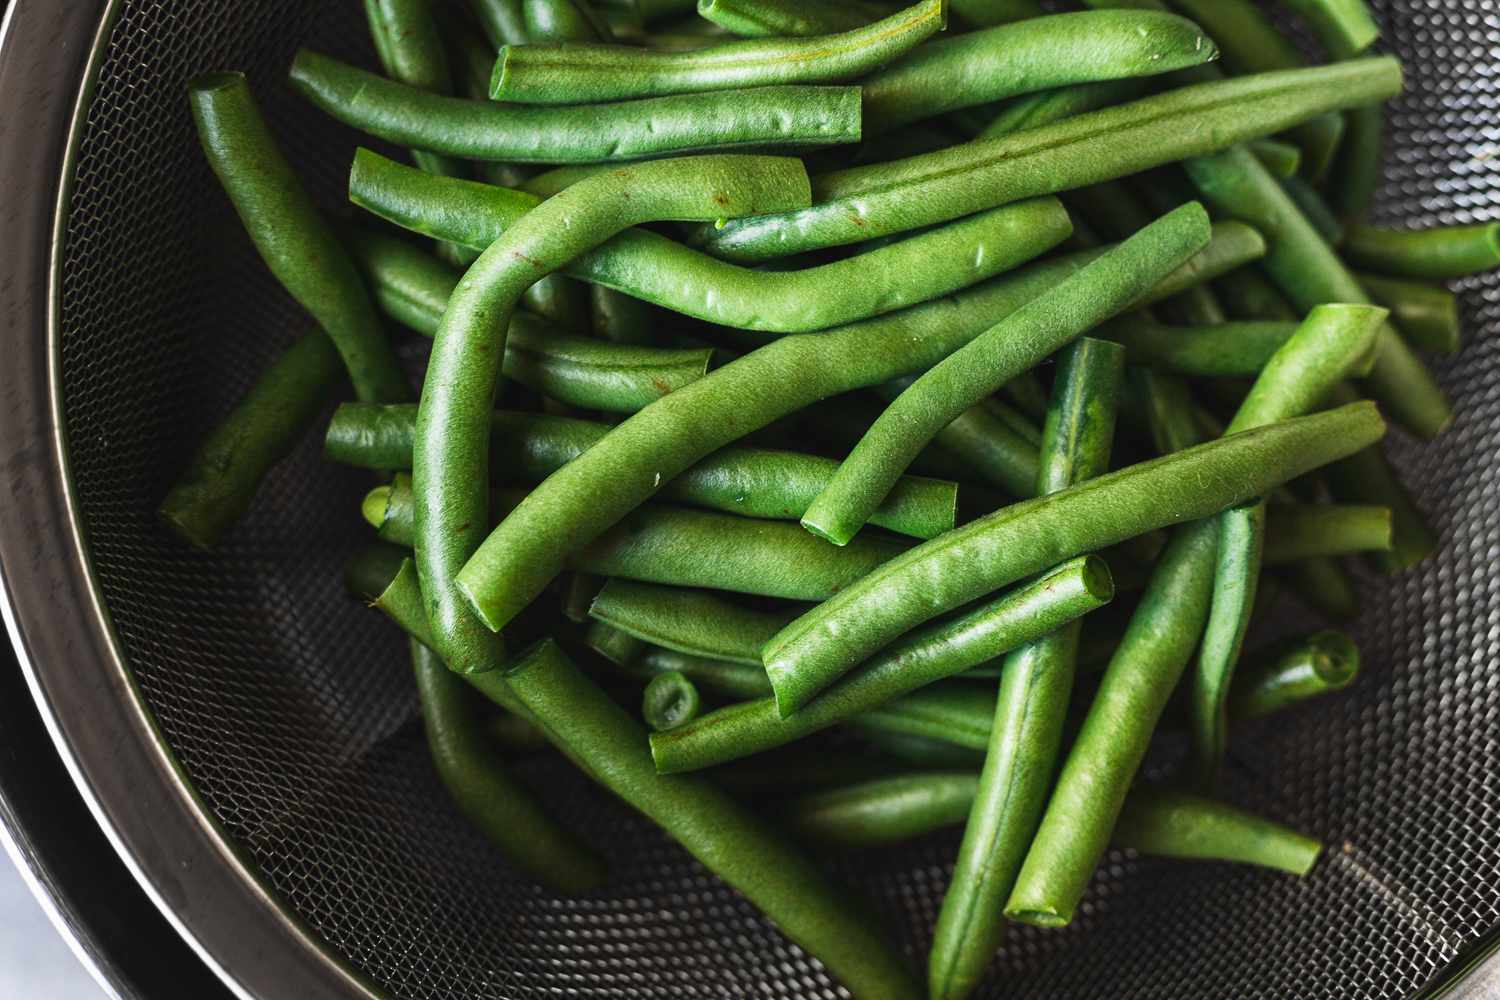
Step 2: Cleaning and Preparing Green Beans
After harvesting your green beans, it’s essential to properly clean and prepare them before freezing. This step ensures that your frozen green beans are free from dirt, debris, and any potential contaminants.
Begin by rinsing the freshly harvested green beans under cold running water to remove any dirt or residue. Gently rub the beans with your fingers to loosen any stubborn dirt or debris. Inspect the beans and discard any that are discolored, damaged, or have signs of pest infestation.
Next, trim the ends of the green beans. Snap off the stem end (where the bean was attached to the plant) and discard it. Similarly, remove the pointed tail end of the bean. Some people prefer to leave the tails intact for aesthetic purposes, but removing them helps ensure even cooking and ease of packaging.
Once you’ve trimmed the ends, you have the option to further prepare your green beans by cutting them into smaller pieces. This step is entirely optional and depends on personal preference. If you prefer whole green beans, you can skip this step. However, cutting the beans into shorter lengths can make them more manageable for cooking later on.
Take a handful of green beans and align them neatly on a cutting board. Use a sharp knife to cut them into desired lengths, such as 1-2 inch pieces. Repeat this process until all the beans have been trimmed and/or cut.
After cleaning and preparing the green beans, you’re ready to move on to the next step: blanching.
Step 3: Blanching the Green Beans
Blanching is a crucial step in the process of freezing green beans. It helps to preserve their color, flavor, and texture by halting enzymatic activity and killing any potential bacteria. Blanching also helps to retain the nutrients in the beans, ensuring that they remain nutritious even after freezing.
To blanch green beans, you’ll need a large pot of boiling water and a bowl of ice water. Start by bringing a pot of water to a rolling boil. For every pound of green beans, you’ll need approximately 1 gallon of water. It’s important to have enough boiling water to submerge the beans completely.
While the water is heating, prepare an ice bath by filling a large bowl with cold water and adding ice cubes. This will be used to rapidly cool the beans after blanching, halting the cooking process and preserving their vibrant color.
Once the water is boiling, carefully add the prepared green beans to the pot. Allow the beans to blanch for 2-3 minutes. The exact blanching time may vary slightly depending on the size and thickness of the beans, so it’s essential to keep a close eye on them.
Blanching green beans too briefly may not effectively halt enzymatic activity, while overblanching can lead to loss of flavor and nutrient content. Proper timing is crucial to achieve the best results.
After the blanching time is up, quickly remove the beans from the boiling water and transfer them to the ice bath using a slotted spoon or tongs. Submerging them in cold water stops the cooking process and rapidly cools the beans. Allow the beans to remain in the ice bath for the same amount of time as they were blanched.
Once the beans are thoroughly cooled, drain them well to remove excess water. It’s important to ensure that the beans are completely dry before moving on to the next step to avoid ice crystals forming during freezing, which can lead to a decrease in quality.
Now that the green beans have been blanched and cooled, it’s time to move on to the next step: packaging and freezing.
Step 4: Cooling and Draining the Green Beans
After blanching the green beans, it’s important to properly cool and drain them before packaging and freezing. This step ensures that the beans are ready for long-term storage without any excess moisture that could affect their texture.
Once you have removed the green beans from the ice bath, transfer them to a colander or a clean kitchen towel to allow any excess water to drain off. Gently shake the colander or pat the beans dry with the towel to remove any remaining moisture.
Properly draining the green beans is crucial to prevent the formation of ice crystals during freezing. Excess moisture can lead to freezer burn and negatively impact the quality of the frozen beans.
Once the beans have been drained, you can proceed to the next step: packaging and freezing.
Blanch the green beans in boiling water for 2-3 minutes, then immediately transfer them to an ice water bath to stop the cooking process. Once cooled, pat them dry and place in airtight containers or freezer bags before freezing.
Read more: How To Grow Green Beans From Seeds
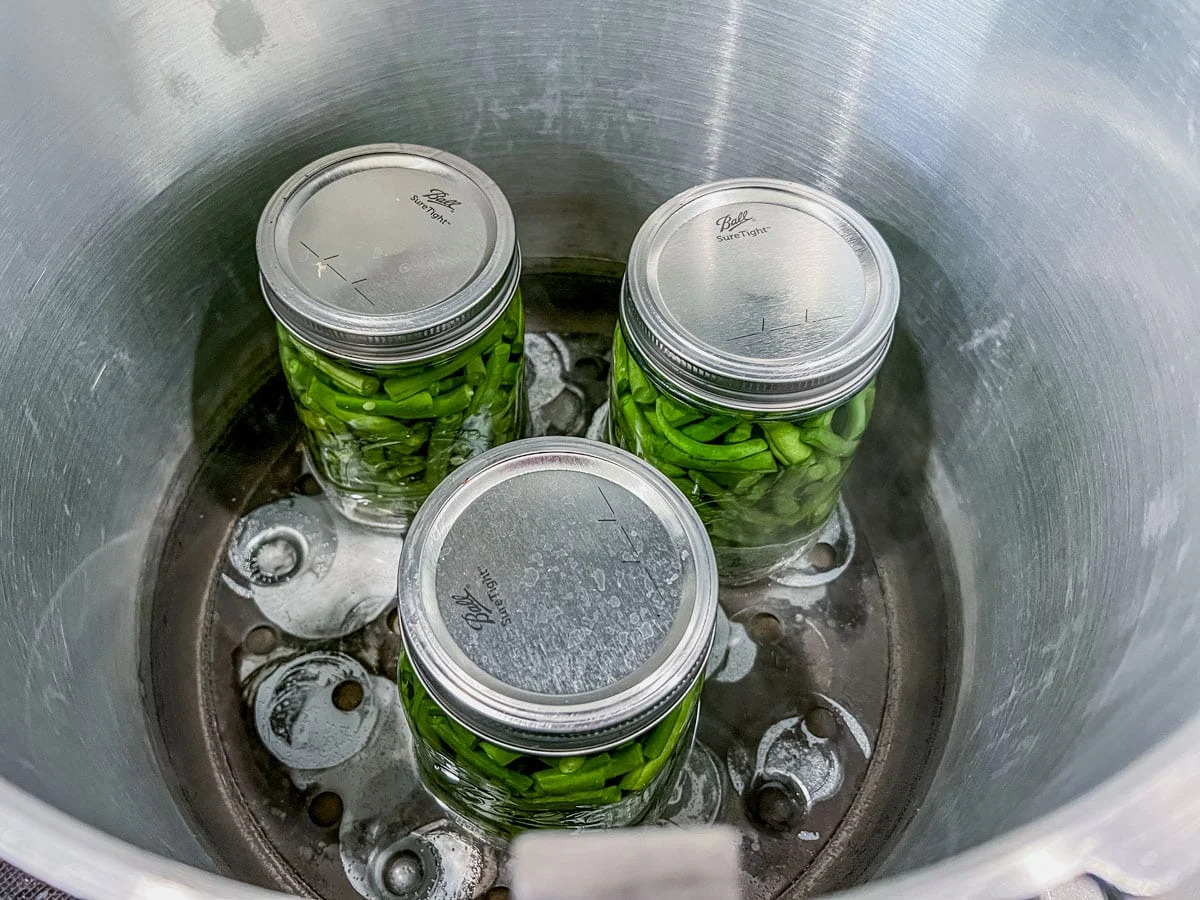
Step 5: Packaging and Freezing the Green Beans
Now that your green beans have been prepared, blanched, cooled, and drained, it’s time to package them for freezing. Proper packaging is essential to protect the beans from freezer burn and maintain their quality over an extended period of time.
There are a few options for packaging your green beans for freezing:
- Plastic Freezer Bags: One of the most common methods is to use plastic freezer bags. Ensure that you are using bags specifically designed for freezer storage, as these are more durable and less likely to develop freezer burn. Label the bags with the date and contents for easy reference.
- Vacuum Sealing: Vacuum sealing is another excellent option for preserving green beans. By removing excess air, vacuum-sealed bags help to prevent freezer burn and extend the lifespan of the beans. Follow the manufacturer’s instructions for your vacuum sealer to properly seal the beans.
- Freezer Containers: If you prefer a more eco-friendly and reusable option, you can use freezer-safe containers. Choose airtight containers made of freezer-safe materials, such as glass or BPA-free plastic, and ensure they are properly sealed to prevent the entry of air.
Regardless of the packaging method you choose, it’s important to portion the green beans into the desired serving sizes before packaging. This allows for easy retrieval and prevents unnecessary thawing and refreezing of the beans.
Place the portioned green beans into the chosen packaging option, leaving a small amount of headspace to allow for expansion during freezing. Seal the bags or containers tightly, ensuring there are no gaps or openings that could let air in.
Once packaged, it’s time to transfer the green beans to the freezer. Place the packages in a single layer on a flat surface, such as a baking sheet or tray, and place them in the freezer. This initial freeze on a flat surface helps prevent the beans from sticking together and allows for easier storage.
After a few hours, once the green bean packages are frozen solid, you can rearrange them in the freezer as desired. Stack them neatly to maximize space and ensure efficient organization.
Congratulations, your green beans are now neatly packaged and ready to be stored in the freezer for long-term use!
Step 6: Storing and Labeling the Frozen Green Beans
Proper storage and labeling of your frozen green beans are essential to ensure convenience and maintain their quality. Follow these guidelines to keep your frozen beans organized and easy to locate:
1. Choose the Right Storage Containers: If you opted for plastic freezer bags or containers, make sure they are made of sturdy, freezer-safe materials. This helps to prevent freezer burn and maintain the flavor and texture of the green beans.
2. Label Each Package: Use a waterproof marker or a freezer-safe label to write the date of freezing and the contents on each package. This allows for easy identification and ensures that you can rotate and use the oldest packages first.
3. Organize in Freezer: Neatly arrange the labeled packages of green beans in the freezer, either stacked or in designated freezer compartments. This prevents them from getting crushed or lost in the freezer shuffle.
4. Follow the “First In, First Out” Rule: When using your frozen green beans, remember to follow the “first in, first out” rule. This means using the oldest packages first to maintain the freshness and quality of the beans.
5. Consider Meal-Sized Portions: If you frequently use green beans in specific recipes or as side dishes, consider portioning your frozen beans accordingly. This way, you can easily grab the right amount needed for a particular meal without thawing and refreezing extras.
By properly storing and labeling your frozen green beans, you can easily keep track of your supplies and ensure maximum freshness and taste in each serving.
Step 7: Thawing and Cooking the Frozen Green Beans
When it’s time to enjoy your frozen green beans, proper thawing and cooking techniques are crucial to preserve their flavor and texture. Follow these steps to safely thaw and cook your green beans:
1. Thawing: Remove the desired amount of frozen green beans from the freezer. There are a few methods for thawing:
- Refrigerator: Place the frozen beans in a bowl or container and thaw them in the refrigerator overnight. This slow thawing method ensures a gradual thaw and minimizes nutrient loss.
- Water Bath: If you need to thaw the beans quickly, you can place them in a sealed bag or container and submerge them in cold water. Change the water every 30 minutes until the beans are thawed.
- Microwave: Use the defrost setting on your microwave to thaw the beans if you’re in a hurry. Be sure to follow the manufacturer’s instructions to prevent overcooking.
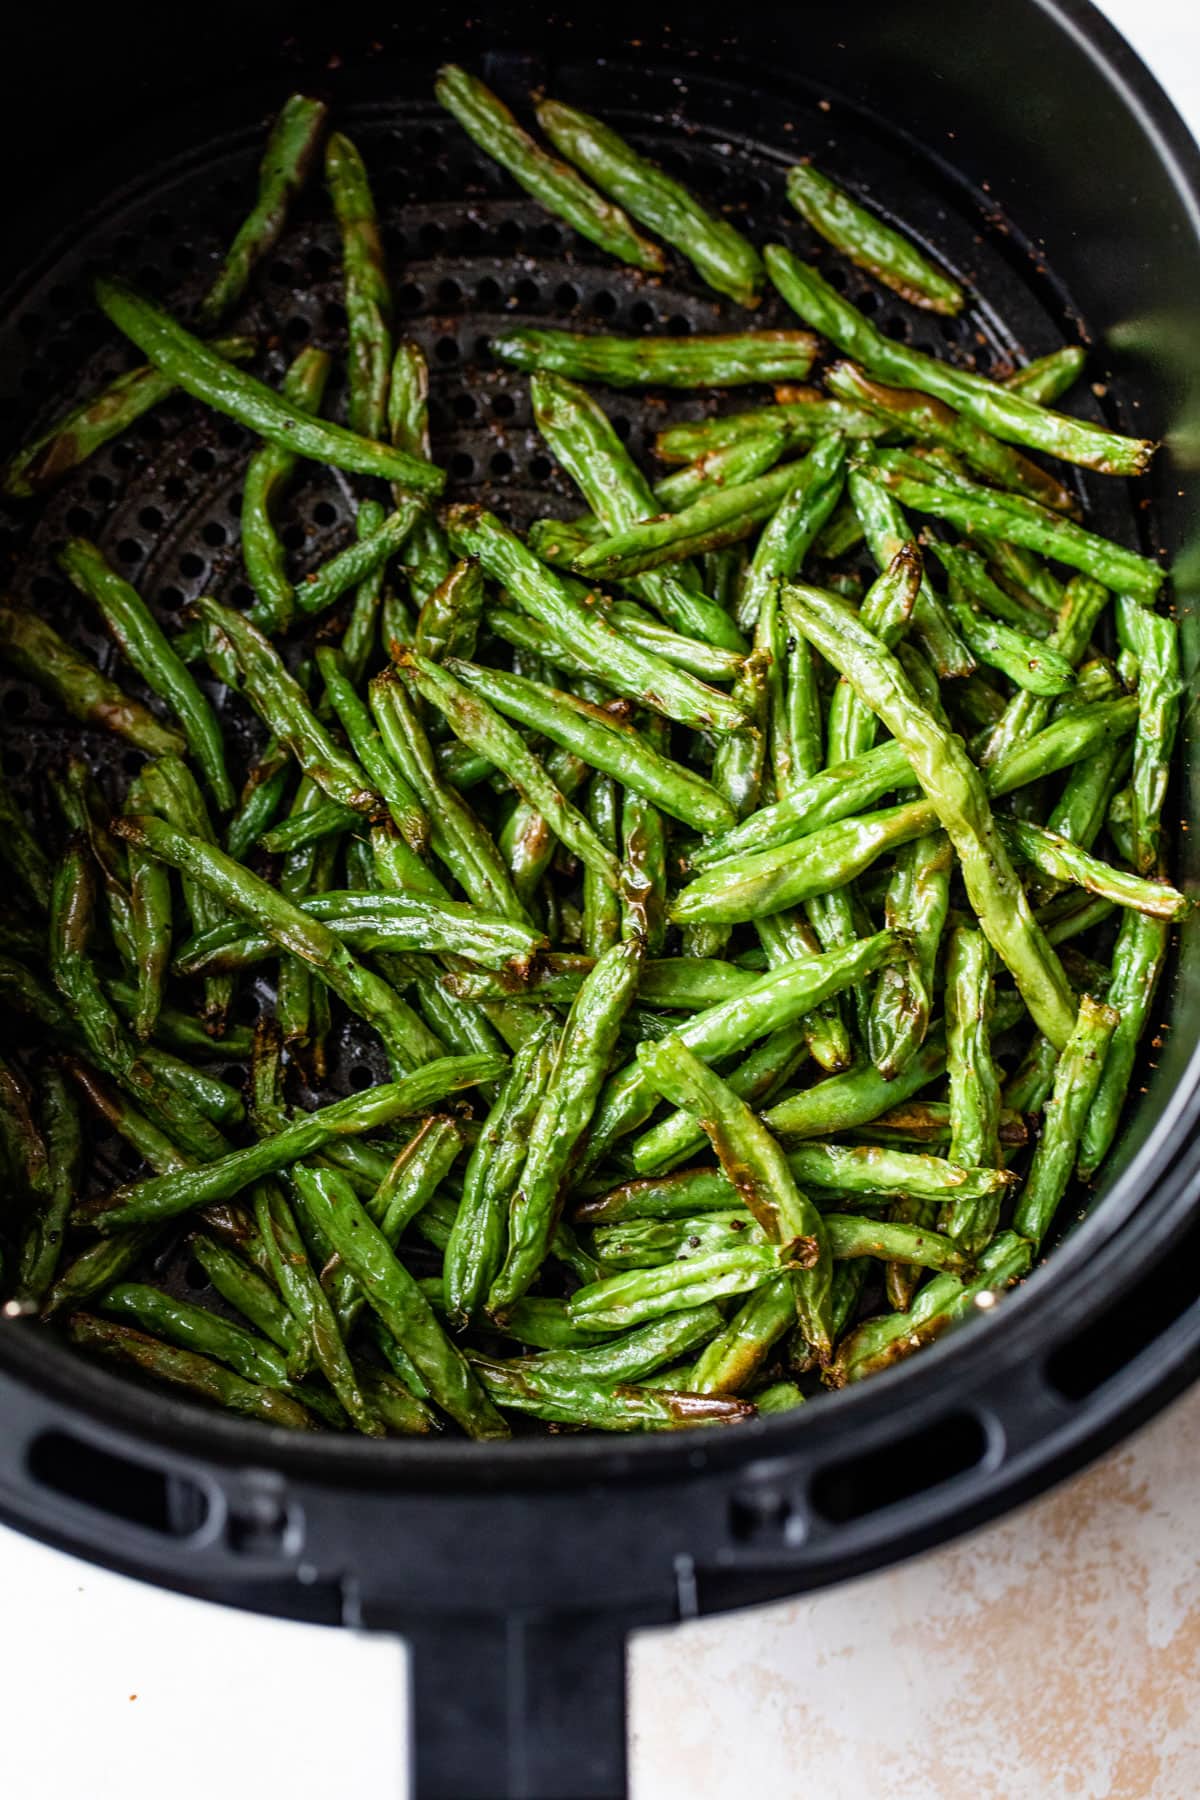
2. Cooking: Once the green beans are thawed, it’s time to cook them to your liking. Here are a few popular cooking methods:
- Steaming: Place the thawed green beans in a steamer basket over boiling water. Cover and steam for 5-7 minutes or until tender-crisp. Season with salt, pepper, and a drizzle of olive oil or butter.
- Sautéing: Heat a skillet over medium heat and add a small amount of oil or butter. Add the thawed green beans and sauté for 5-7 minutes, stirring occasionally, until tender and lightly browned. Season as desired.
- Boiling: Bring a pot of salted water to a boil and add the thawed green beans. Cook for 5-7 minutes or until tender. Drain and season with your favorite herbs and spices.
Feel free to experiment with different seasonings, herbs, and cooking methods to suit your taste preferences and culinary creativity. Green beans make a delicious and nutritious addition to a variety of dishes, from stir-fries and salads to casseroles and pasta dishes.
Now that you know how to properly thaw and cook your frozen green beans, you can enjoy their garden-fresh taste throughout the year!
Conclusion
Freezing your garden-fresh green beans is a fantastic way to enjoy the flavors of summer throughout the year. By following these simple steps of harvesting, cleaning, blanching, packaging, and freezing, you can ensure that your green beans retain their quality, taste, and nutritional value.
Harvesting the green beans at the right time and properly cleaning them ensures that you start the freezing process with fresh and high-quality beans. The blanching step is crucial in preserving the color, flavor, and nutrients of the beans by halting enzymatic activity.
Properly packaging the blanched and cooled beans and storing them in the freezer ensures that they remain protected and free from freezer burn. Remember to label each package with the date and contents, allowing you to keep track of your frozen green beans.
When it’s time to enjoy your frozen green beans, make sure to thaw them properly using the refrigerator, water bath, or microwave method. This ensures even thawing and minimizes the risk of bacterial growth. From there, you can cook the green beans using various methods such as steaming, sautéing, or boiling, depending on your preferences and the dish you’re preparing.
By freezing your green beans from the garden, you not only reduce waste and save money but also ensure a supply of homegrown produce even during the off-season. Whether you’re adding them to salads, stir-fries, casseroles, or enjoying them as a simple side dish, your frozen green beans will bring the taste of your garden to your table.
So, the next time you find yourself with an abundance of green beans, embrace the art of freezing and enjoy the flavors of your garden all year round. Happy freezing!
Frequently Asked Questions about How To Freeze Green Beans From The Garden
Was this page helpful?
At Storables.com, we guarantee accurate and reliable information. Our content, validated by Expert Board Contributors, is crafted following stringent Editorial Policies. We're committed to providing you with well-researched, expert-backed insights for all your informational needs.


0 thoughts on “How To Freeze Green Beans From The Garden”