Articles
How To Store Homemade Soft Pretzels
Modified: February 23, 2024
Learn how to store your homemade soft pretzels properly to keep them fresh and delicious for longer with our helpful articles. Discover the best storage tips and tricks today!
(Many of the links in this article redirect to a specific reviewed product. Your purchase of these products through affiliate links helps to generate commission for Storables.com, at no extra cost. Learn more)
Introduction
Welcome to the delicious world of homemade soft pretzels! There’s nothing quite like the aroma and taste of freshly baked pretzels, hot out of the oven. Whether you’re a seasoned baker or just starting out, making soft pretzels from scratch is an incredibly rewarding and mouthwatering experience.
From shaping the dough into those iconic twisted knots to enjoying a warm bite with a sprinkle of coarse salt, this article will guide you through the process of making homemade soft pretzels that rival the ones you find at your favorite bakery.
But what if you find yourself with leftover pretzels or want to make a big batch ahead of time? No worries! In this article, we’ll also cover how to store homemade soft pretzels so that they stay fresh and delicious for days to come.
So, grab your apron and let’s dive into the world of homemade soft pretzels and discover how to store them for maximum enjoyment.
Key Takeaways:
- Master the art of making and storing homemade soft pretzels with these simple steps. From shaping the dough to freezing for later, enjoy the satisfaction of warm, chewy pretzels anytime!
- Properly store your freshly baked pretzels for maximum freshness. Whether it’s airtight containers or the freezer, ensure your homemade pretzels stay delicious for days to come.
Read more: How To Store Soft Pretzels
Ingredients
To make homemade soft pretzels and store them for later, you’ll need the following ingredients:
- 2 ¼ cups all-purpose flour
- 1 teaspoon salt
- 1 tablespoon sugar
- 2 ¼ teaspoons active dry yeast
- 1 cup warm water (around 110°F)
- 3 tablespoons unsalted butter, melted
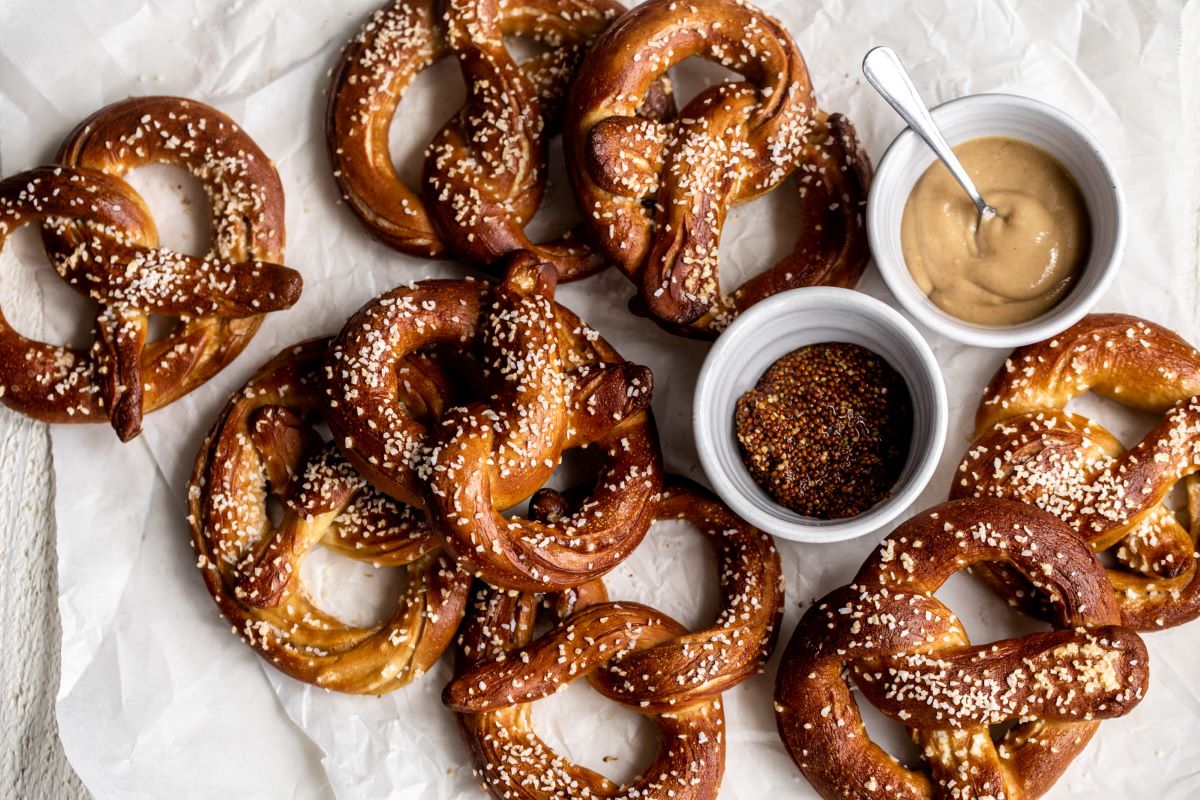
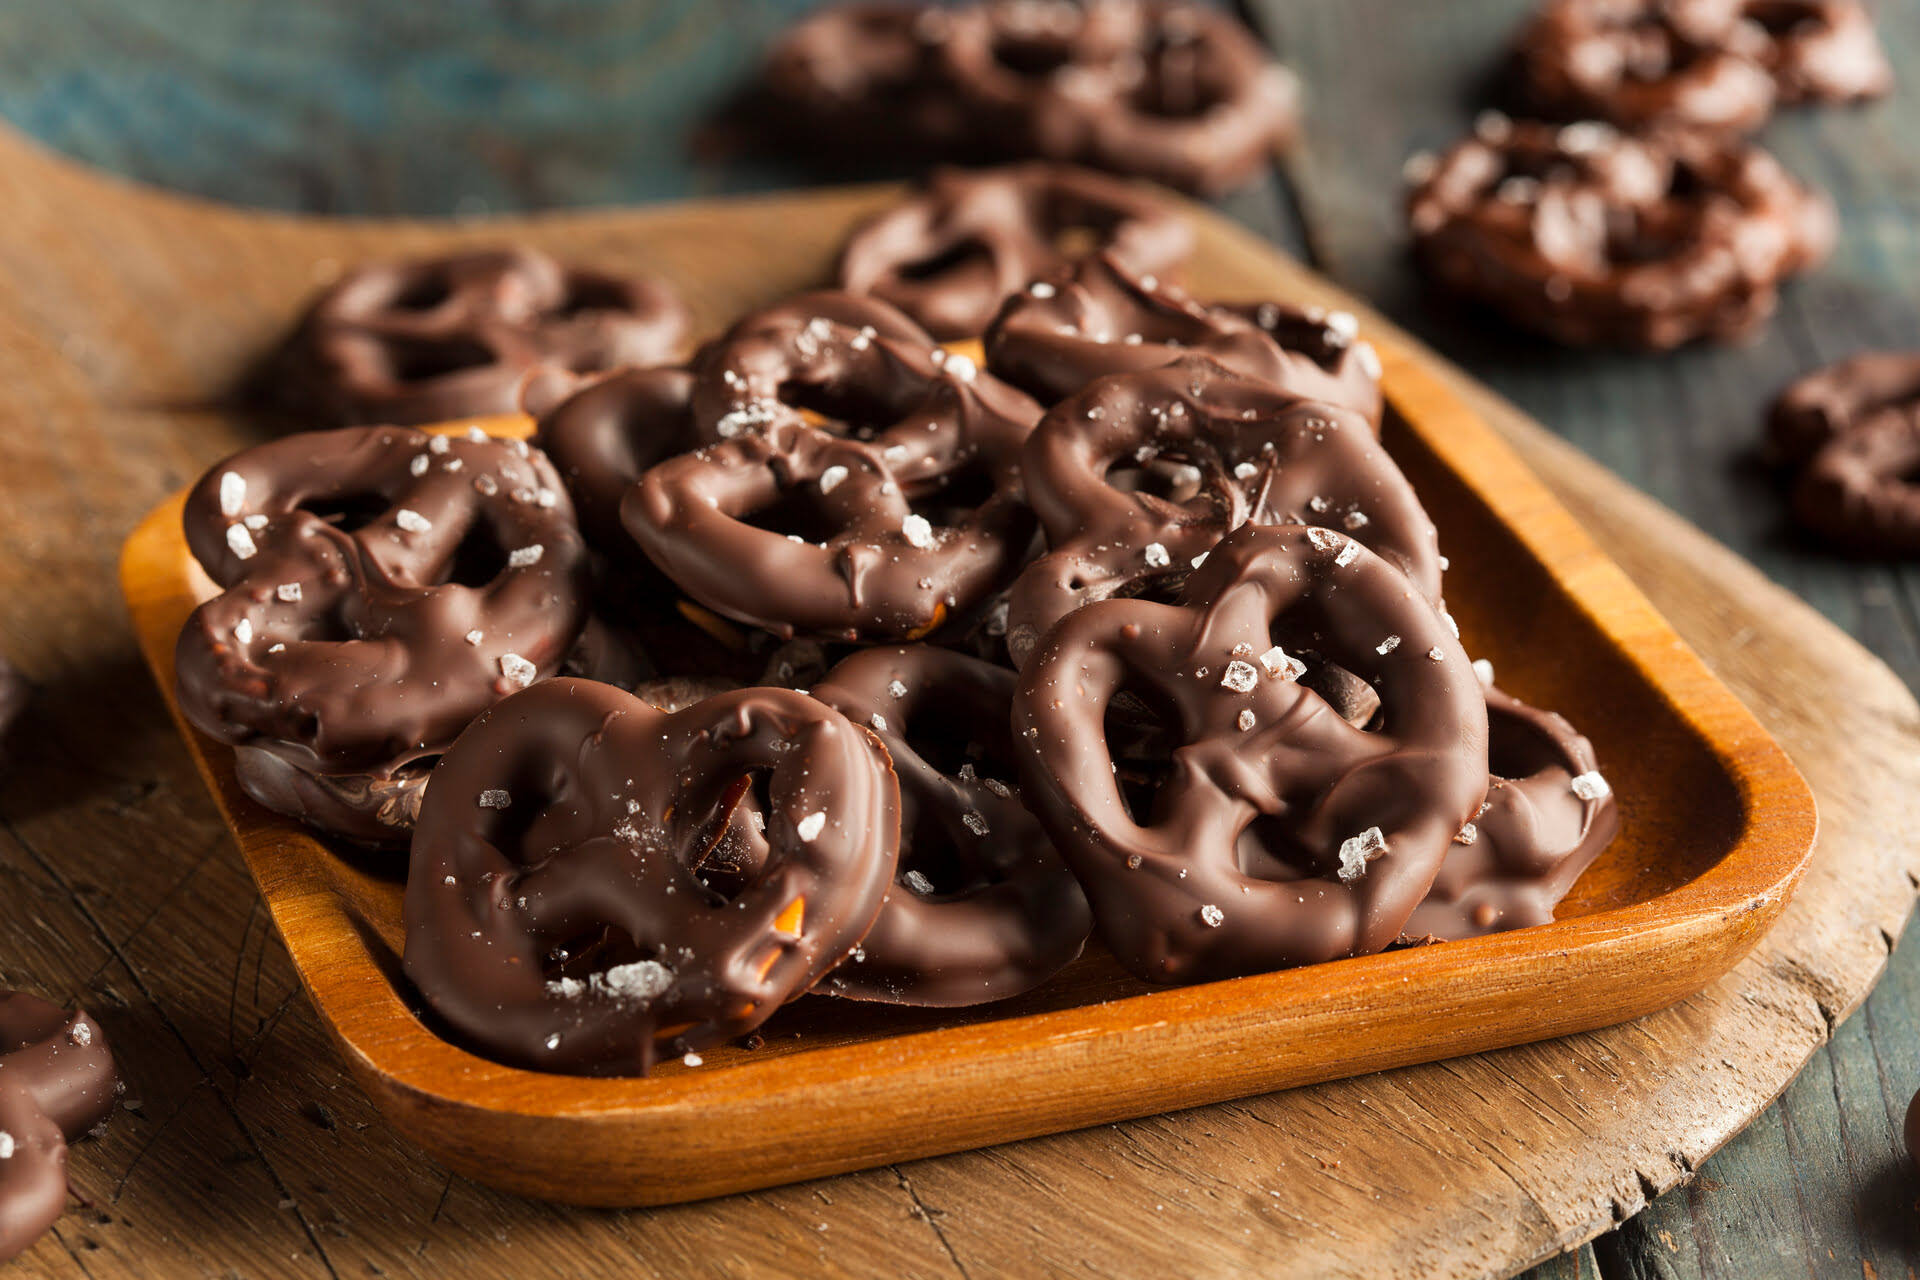
- Coarse salt for sprinkling (optional)
These simple and readily available ingredients will come together to create the perfect soft pretzel dough. The combination of flour, yeast, water, sugar, and salt will produce a dough that is both flavorful and easy to work with. The melted butter will add richness and enhance the texture of the pretzels.
As for the coarse salt, it’s completely optional, but highly recommended. The salt crystals will add a burst of flavor to each bite and give the pretzels that classic pretzel taste.
Now that you have your ingredients ready, let’s move on to the step-by-step process of making homemade soft pretzels and storing them for later enjoyment.
Step 1: Making the Pretzel Dough
Making the pretzel dough is the first and crucial step in creating delicious homemade soft pretzels. Follow these simple steps:
- In a large mixing bowl, combine the all-purpose flour, salt, and sugar. Mix well to evenly distribute the dry ingredients.
- In a separate small bowl, dissolve the yeast in warm water. Let it sit for 5 minutes until it becomes frothy.
- Pour the yeast mixture and melted butter into the bowl with the dry ingredients. Stir until a dough forms.
- Dump the dough onto a floured surface and knead it for about 5-7 minutes, or until it becomes smooth and elastic.
- Shape the dough into a ball and place it into a greased bowl. Cover the bowl with a clean kitchen towel or plastic wrap.
- Allow the dough to rise in a warm place for about 1 hour, or until it has doubled in size.
During the rising process, the yeast will work its magic, creating air bubbles and giving the dough its light and fluffy texture. The rising time may vary depending on the temperature of your kitchen, but be patient and let the dough rise until it has doubled in size.
Once the dough has completed its rise, it’s time to move on to shaping the pretzels, the next exciting step in the process!
Step 2: Shaping the Pretzels
Shaping the pretzels is where the fun really begins! Follow these steps to create the iconic pretzel shape:
- Preheat your oven to 425°F (220°C) and line a baking sheet with parchment paper.
- Punch down the risen dough to deflate it slightly. Transfer the dough onto a lightly floured surface.
- Divide the dough into equal-sized portions, depending on how big you want your pretzels. Typically, you can make about 8-10 pretzels with this recipe.
- Take one portion of dough and roll it out into a long rope, about 20-24 inches in length. Make sure the rope is even in thickness.
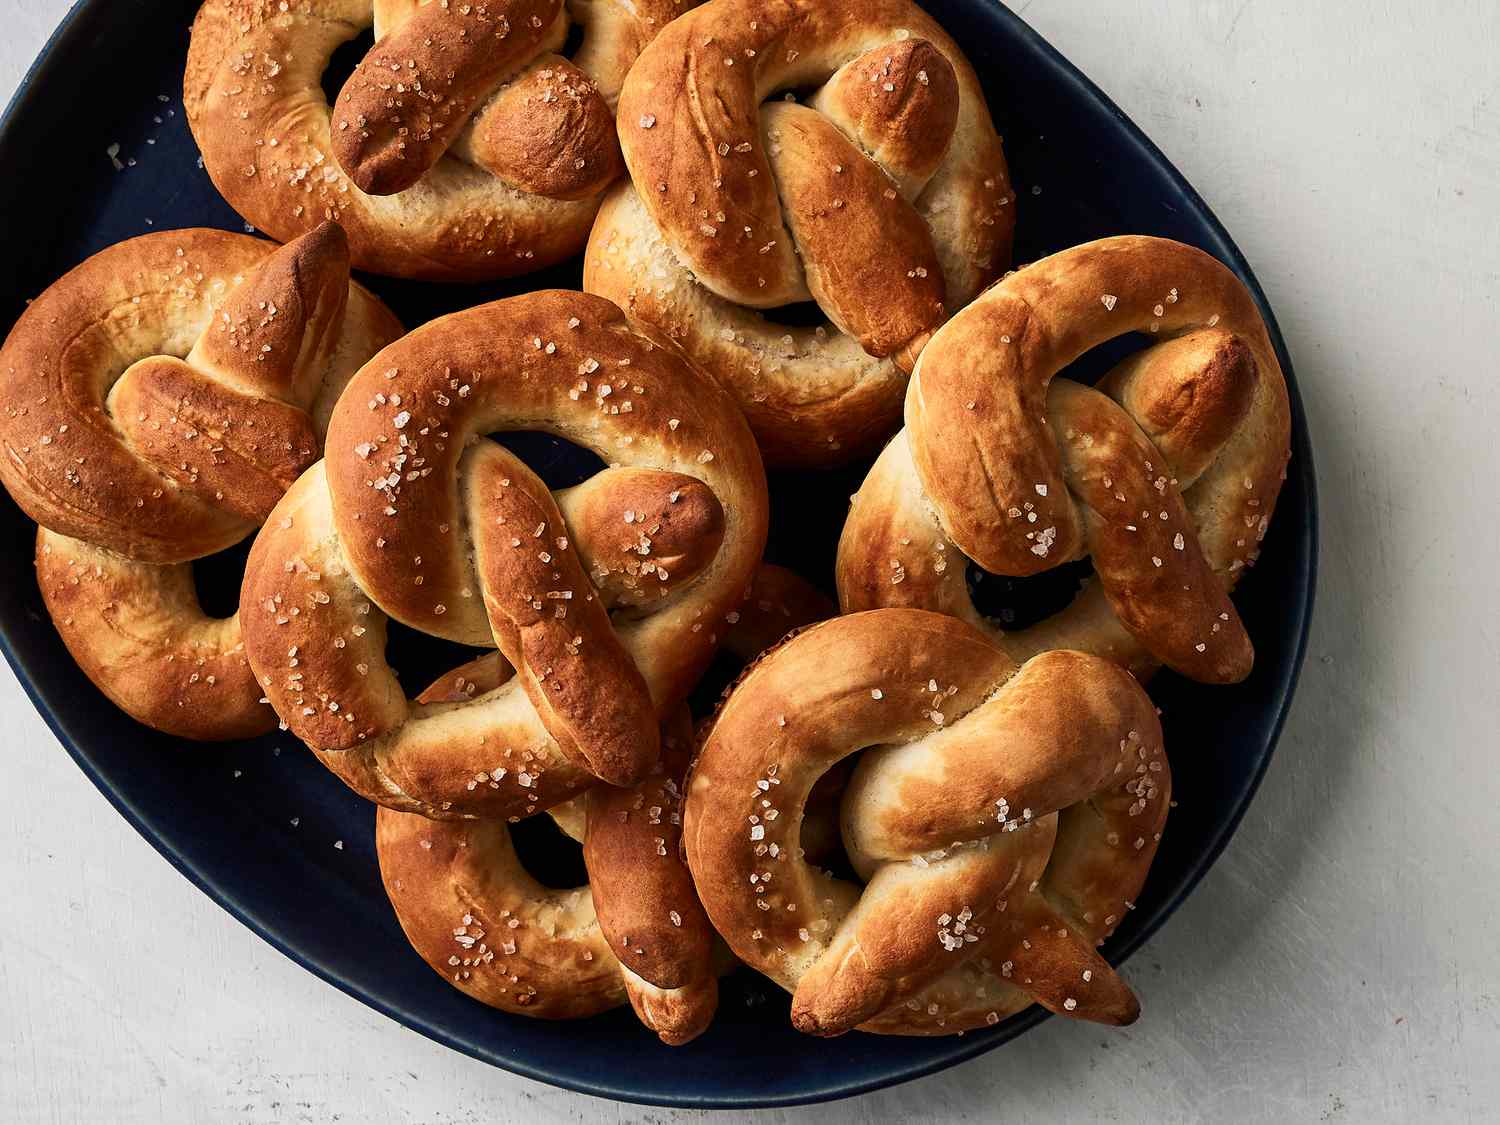
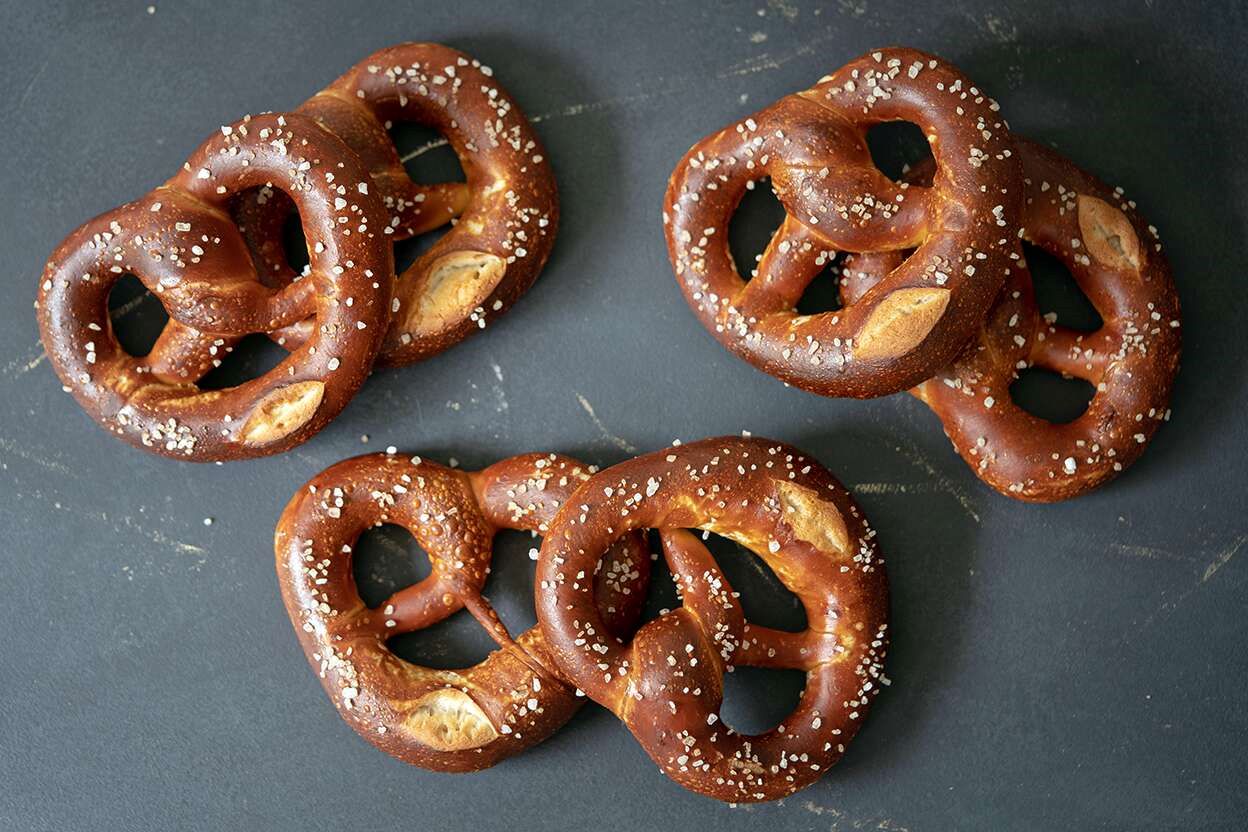
- To shape the pretzel, form the rope into a “U” shape. Then, cross the ends over each other and twist once, close to the “U” shape.
- Bring the twisted ends down and press them onto the bottom of the pretzel, creating the classic pretzel shape.
- Repeat this process with the remaining dough portions, placing each shaped pretzel onto the prepared baking sheet.
As you shape the pretzels, feel free to get creative! You can make smaller pretzel bites by cutting the dough into smaller pieces, or experiment with different shapes and sizes. The most important thing is to have fun and enjoy the process.
With all the pretzels shaped and ready, it’s time to move on to the next step – boiling the pretzels!
After baking, allow the soft pretzels to cool completely. Store them in an airtight container or resealable plastic bag at room temperature for up to 2 days. For longer storage, freeze the pretzels in a freezer-safe bag for up to 3 months. Reheat in the oven or microwave before serving.
Step 3: Boiling the Pretzels
Boiling the pretzels might seem like an unusual step, but it is an essential part of achieving that signature chewy texture and golden brown crust. Follow these steps to boil the pretzels:
- Fill a large pot with water and bring it to a boil.
- Once the water is boiling, add 1/4 cup of baking soda. Be careful, as it may cause the water to fizz up.
- Carefully place one pretzel into the boiling water and let it boil for about 30 seconds. Use a slotted spoon or spatula to gently flip the pretzel halfway through.
- After 30 seconds, remove the boiled pretzel from the water and place it back on the prepared baking sheet. Repeat this process with the remaining pretzels.
The boiling step is what gives the pretzels their signature chewy texture and helps to activate the baking soda, resulting in a beautiful golden brown crust. It also enhances the flavor of the pretzels, giving them that irresistible taste we all love.
Once all the pretzels have been boiled, it’s time to move on to the final step – baking the pretzels to perfection!
Read more: How To Store Homemade Pretzels
Step 4: Baking the Pretzels
After the pretzels have been boiled, it’s time to bake them to golden perfection. Follow these steps to bake the pretzels:
- Preheat your oven to 425°F (220°C).
- Brush the boiled pretzels with beaten egg wash. This will give them a glossy finish and help the toppings adhere.
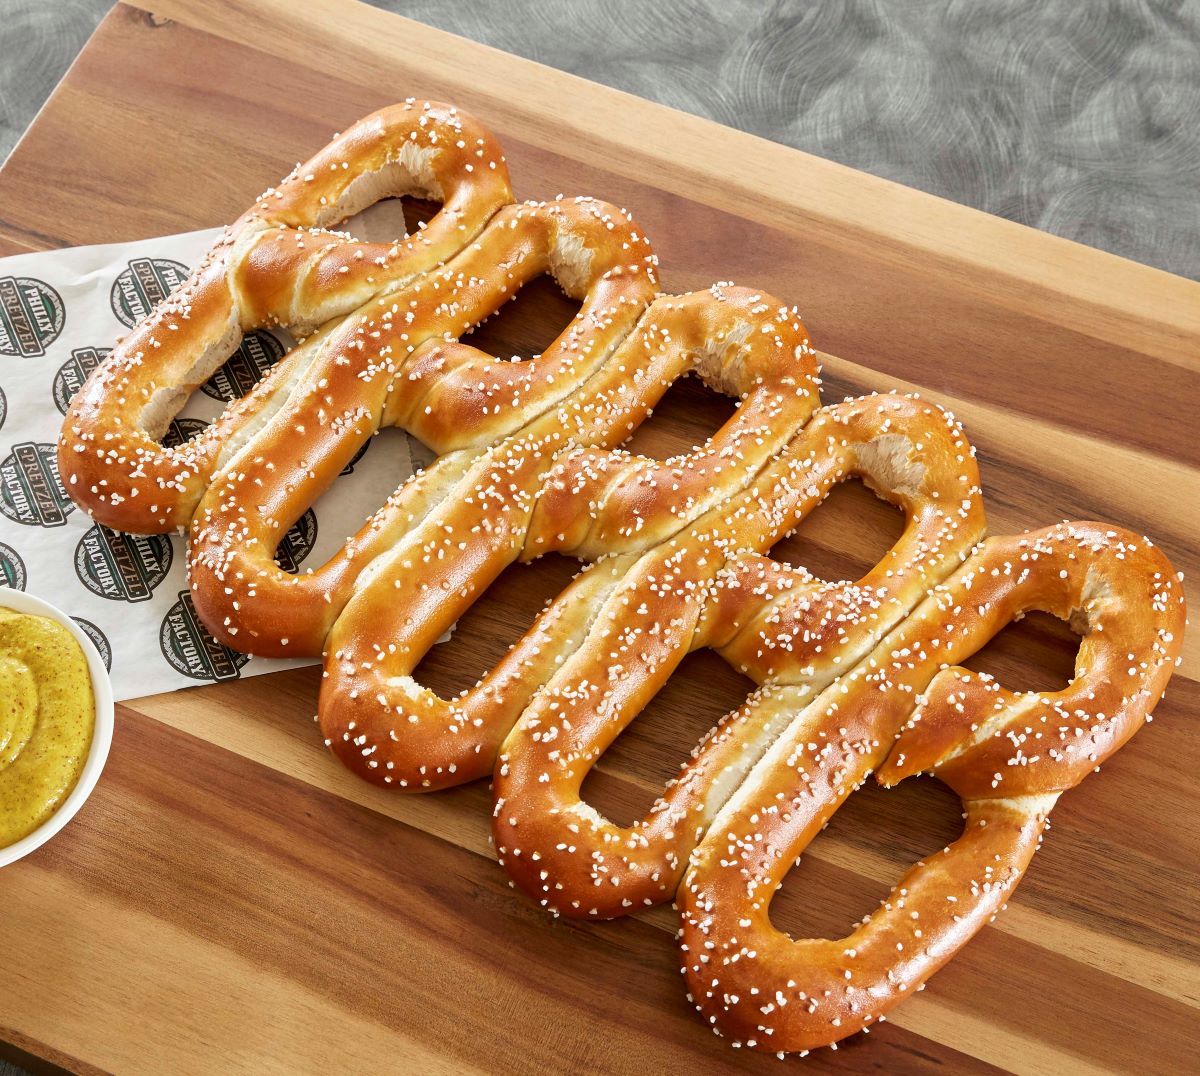
- If you’d like, sprinkle the pretzels with coarse salt or any other desired toppings, such as sesame seeds, poppy seeds, or cheese.
- Place the baking sheet with the pretzels in the preheated oven and bake for about 12-15 minutes, or until they turn golden brown.
- Once baked, remove the pretzels from the oven and let them cool on a wire rack for a few minutes before serving.
Baking the pretzels gives them a beautiful golden brown color and a slightly crispy exterior. The contrast between the soft, chewy interior and the slightly crunchy exterior is what makes homemade soft pretzels so irresistible.
Once the pretzels have cooled slightly, it’s time to enjoy them, or if you have leftovers, learn how to properly store them for later enjoyment!
Step 5: Cooling and Storing
After baking your homemade soft pretzels, it’s important to let them cool properly before storing them. Follow these steps to cool and store your pretzels:
- Allow the freshly baked pretzels to cool on a wire rack for about 30 minutes. This will help them firm up slightly and prevent them from becoming soggy when stored.
- Once cooled, you can enjoy the pretzels immediately or proceed to store them for later.
- If you’re storing the pretzels for just a day or two, you can place them in an airtight container or resealable plastic bag at room temperature.
- For longer storage, it’s best to freeze the pretzels. Place them in a freezer-safe container or bag and store them in the freezer for up to 2 months.
- To thaw frozen pretzels, simply remove them from the freezer and let them come to room temperature. You can reheat them in the oven for a few minutes to restore their freshness and warmth if desired.
- When ready to enjoy, you can sprinkle the pretzels with a bit of water and reheat them in a preheated oven at 350°F (175°C) for 5-7 minutes, or until warm.
Proper storage is key to maintaining the quality and freshness of your homemade soft pretzels. By following these steps, you can enjoy homemade pretzels even days after baking them.
Now that you know how to store your pretzels, you can make a big batch in advance or save the leftovers for a delicious treat later. So go ahead, indulge in the satisfaction of homemade soft pretzels, any time you crave them!
Conclusion
Congratulations! You’ve successfully embarked on a delicious journey to make homemade soft pretzels. From mixing and kneading the dough to shaping and baking the pretzels, you’ve mastered the art of creating these iconic treats in your own kitchen.
Now that you know how to store homemade soft pretzels, you can enjoy the fruits of your labor for days to come. Whether you’re planning to freeze a batch for later or just storing them at room temperature for a day or two, proper storage will ensure that your pretzels stay fresh and delicious.
Remember, when it’s time to enjoy your pretzels, you can warm them up in the oven for a few minutes to restore their freshness and warmth. And don’t forget to sprinkle some coarse salt or your favorite toppings for an extra burst of flavor!
So, the next time you’re craving a warm and chewy treat, skip the store-bought pretzels and opt for the satisfaction of making your own. With just a few simple steps, you can create homemade soft pretzels that are sure to impress friends and family.
Thank you for joining us on this pretzel-making adventure. We hope this guide has empowered you with the knowledge and confidence to create delicious pretzels at home and store them for future enjoyment. Happy baking!
Frequently Asked Questions about How To Store Homemade Soft Pretzels
Was this page helpful?
At Storables.com, we guarantee accurate and reliable information. Our content, validated by Expert Board Contributors, is crafted following stringent Editorial Policies. We're committed to providing you with well-researched, expert-backed insights for all your informational needs.


0 thoughts on “How To Store Homemade Soft Pretzels”