

Articles
How To Store Homemade Soup
Modified: August 16, 2024
Learn the best techniques for storing your homemade soup for maximum freshness and flavor. Read our helpful articles on soup storage tips.
(Many of the links in this article redirect to a specific reviewed product. Your purchase of these products through affiliate links helps to generate commission for Storables.com, at no extra cost. Learn more)
Introduction
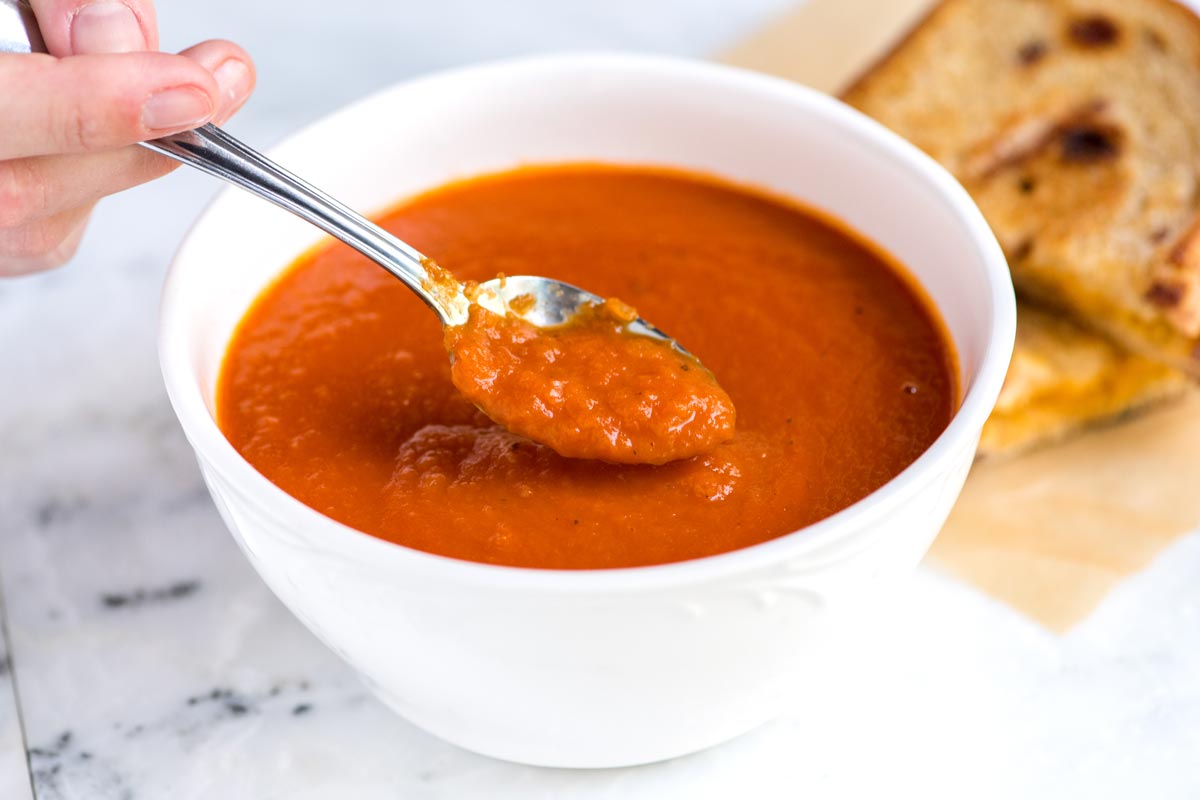
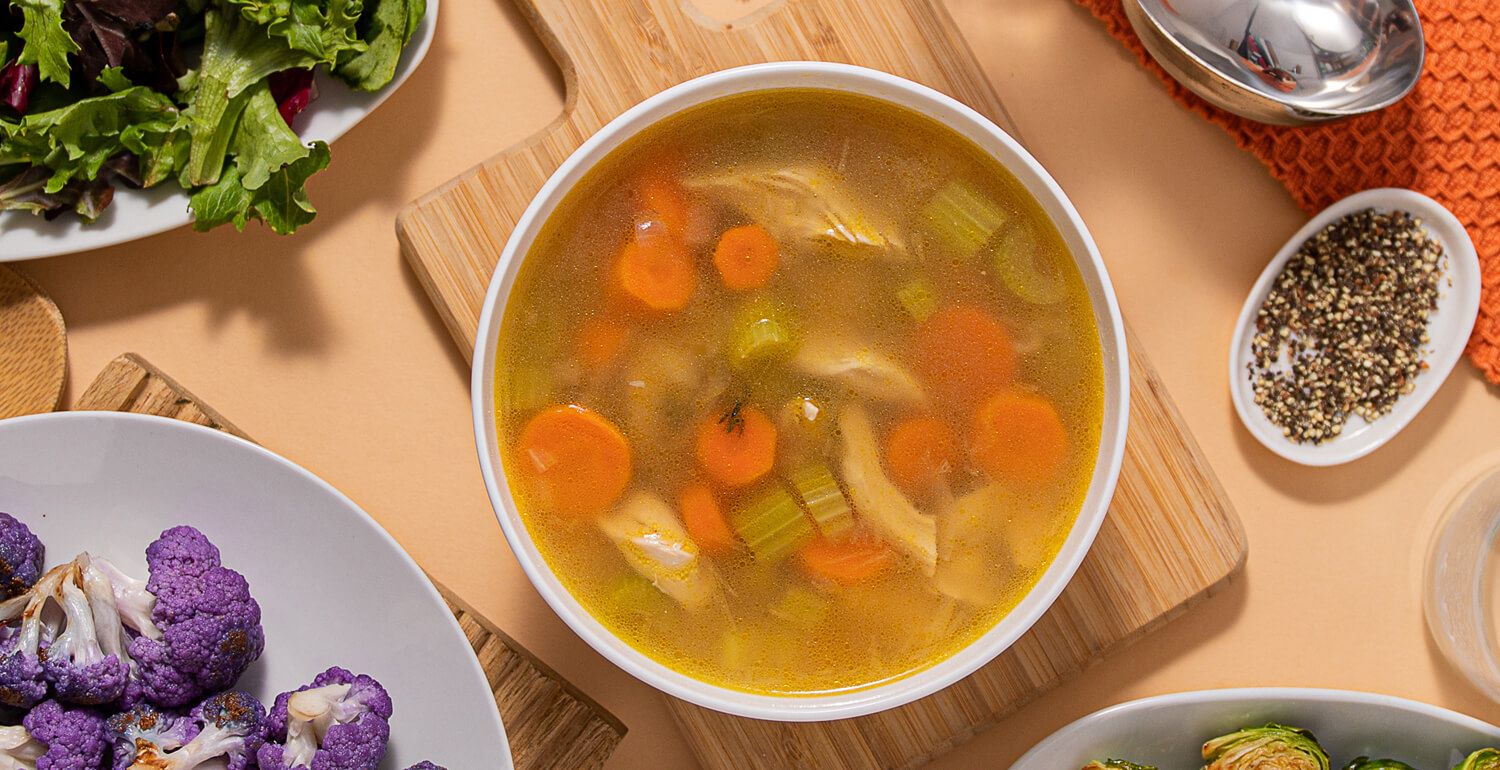
There’s nothing quite like a warm and comforting bowl of homemade soup. Whether it’s a hearty chicken noodle, a creamy tomato bisque, or a flavorful vegetable medley, homemade soup is a labor of love that deserves to be enjoyed time and time again. But what do you do when you’ve made a big batch of soup and want to store it for later? In this article, we’ll explore the best practices for storing homemade soup to ensure its freshness and retain its delicious flavors.
When it comes to storing homemade soup, there are a few key factors to consider. First and foremost, you’ll want to choose the right containers to hold your soup. Additionally, proper cooling and labeling are crucial for maintaining food safety. Whether you plan to freeze or refrigerate your soup, understanding the correct methods for each will help prolong its shelf life and preserve its taste. So, let’s dive in and learn how to store homemade soup effectively.
Key Takeaways:
- Choose airtight, freezer-safe containers like glass jars or BPA-free plastic to store homemade soup. Properly label and date containers to track freshness and minimize food waste.
- Cool soup before refrigerating or freezing, and follow recommended storage times for best taste and safety. Thaw and reheat soup properly to maintain texture and flavor.
Read more: How To Store Soup
Choosing the Right Containers
When it comes to storing homemade soup, choosing the right containers is essential. The containers you use should be airtight and freezer-safe to prevent freezer burn and maintain the freshness of your soup. Here are some options to consider:
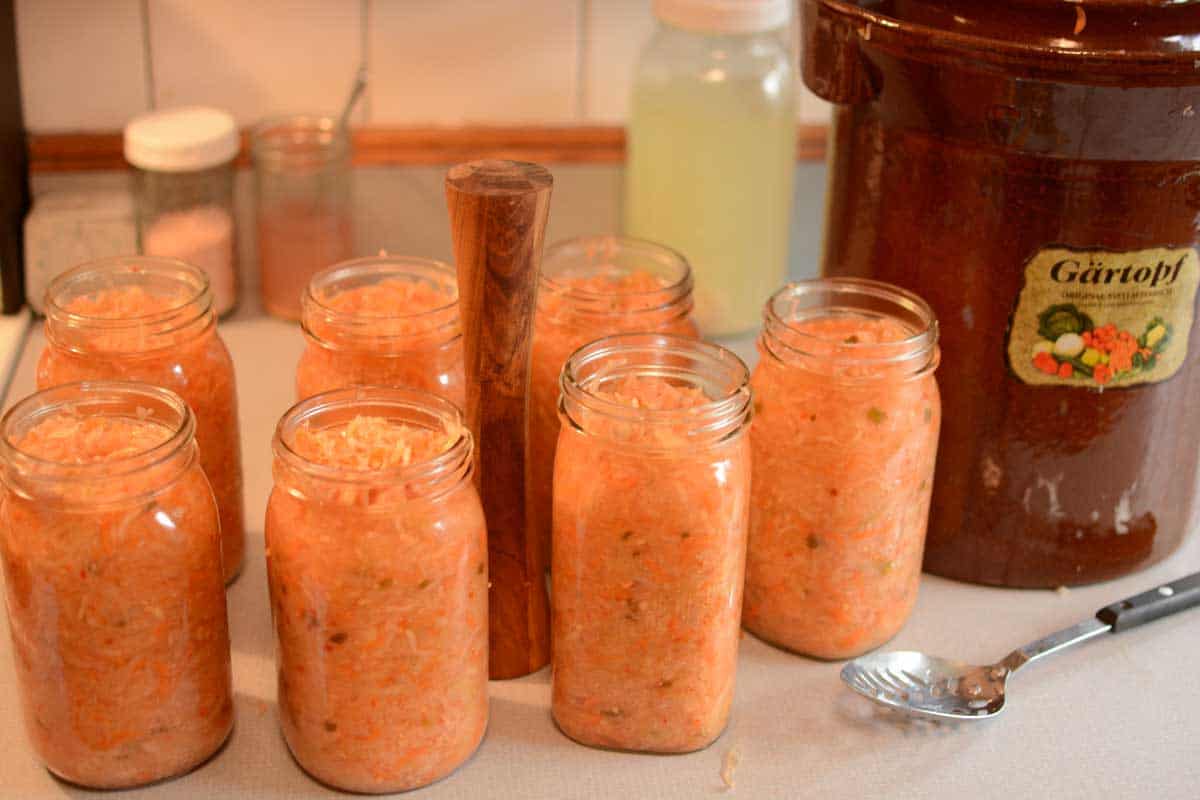
- Glass Jars: Mason jars or other glass containers with seals are an excellent choice for storing soup. They are durable, easy to clean, and allow you to see the contents inside. Make sure to leave some headspace at the top of the jar to allow for expansion when freezing.
- Plastic Containers: There are many BPA-free plastic containers available that are suitable for storing soup. Look for containers with tight-fitting lids to ensure a proper seal. It’s best to avoid using containers that are stained or have a lingering odor, as this can transfer to your soup.
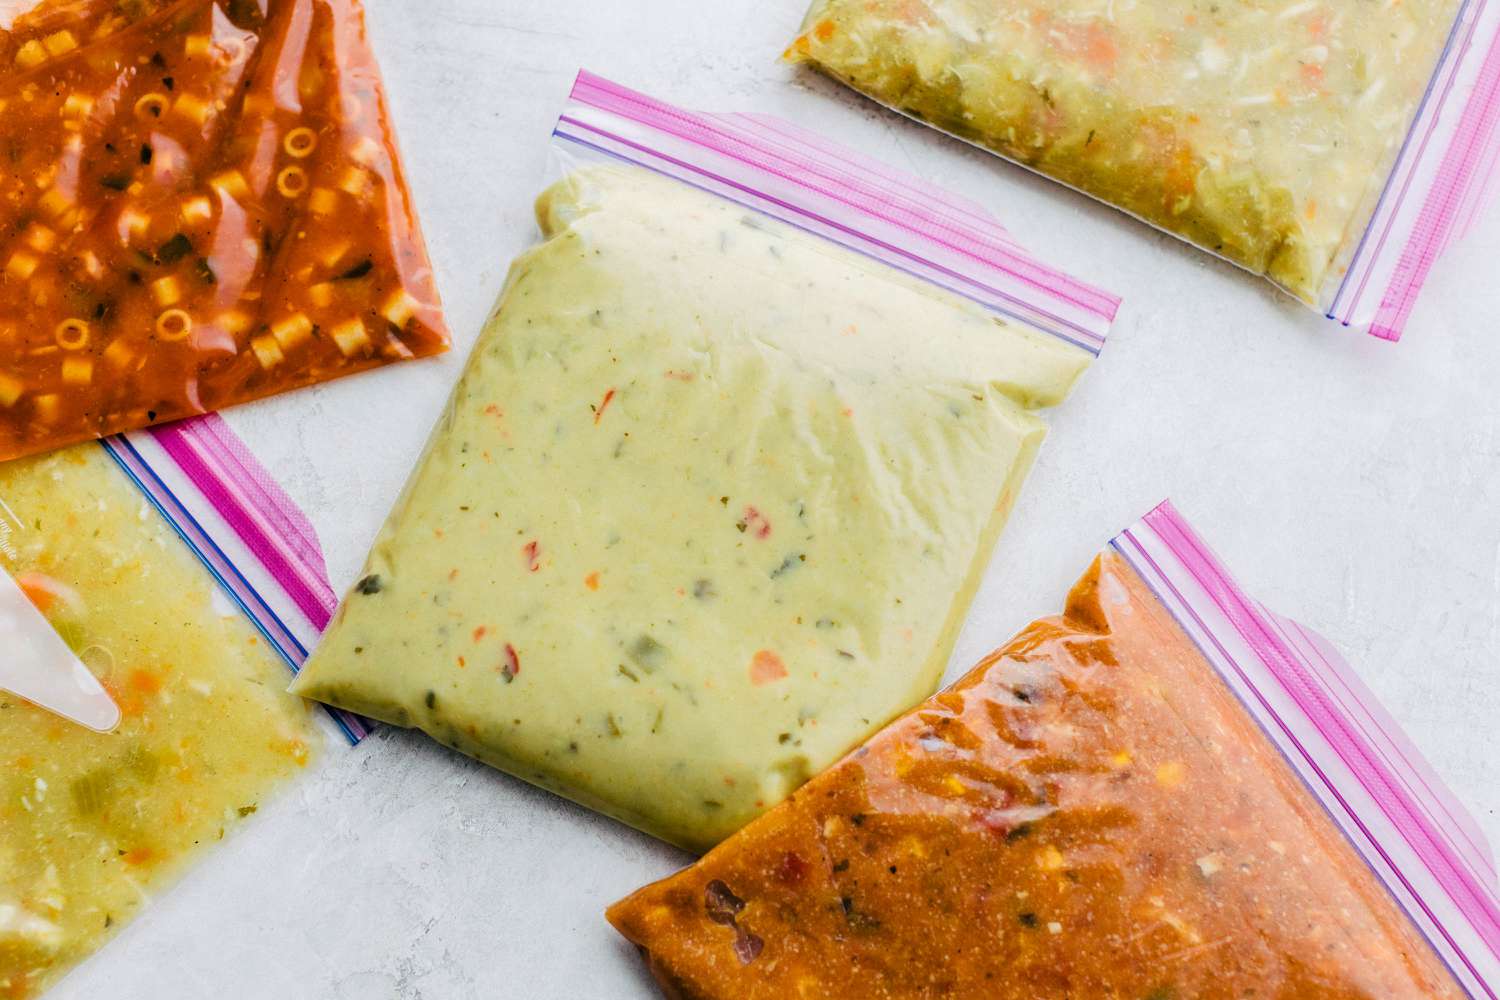
- Freezer Bags: If you’re tight on storage space, freezer bags can be a great option. They are flexible, take up less space than containers, and are easy to stack. Make sure to choose high-quality freezer bags that are thick and durable.
Regardless of the container you choose, it’s important to clean and sanitize it before use. Wash the containers with hot, soapy water, rinse them thoroughly, and allow them to air dry or use a clean towel. This ensures that there are no contaminants that could spoil your soup.
It’s also a good practice to portion your soup into smaller containers or bags. This makes it easier to thaw and reheat only the amount you need, reducing waste. Additionally, storing soup in smaller portions allows for quicker freezing and thawing times.
Once you’ve chosen the right containers and portioned your soup, it’s time to cool it down properly before storing. Let’s explore the importance of cooling and storing your homemade soup correctly.
Cool and Store Properly
Properly cooling and storing homemade soup is crucial for maintaining its quality and preventing bacterial growth. Here are some steps to follow:
- Allow Soup to Cool: After cooking, let the soup cool down to room temperature for about 1-2 hours. Avoid leaving it out for too long, as this can promote the growth of bacteria.
- Refrigerate Promptly: Once the soup has cooled down, transfer it to the refrigerator within two hours. Divide the soup into smaller containers if necessary and ensure they are tightly sealed.
- Refrigerator Placement: Place the soup containers on the top shelf or toward the back of the refrigerator, where the temperature is the coldest. This helps to maintain its freshness and avoid any cross-contamination with other food items.
- Don’t Overfill: Leave some headspace in the containers to allow for expansion when the soup freezes. This prevents the containers from cracking or bursting in the freezer.
- Stay Away from Hot Spots: Avoid placing hot soup directly next to fresh ingredients in the refrigerator. This can cause the surrounding food to spoil faster.
It’s important to note that leftover soup can be stored in the refrigerator for up to 3-4 days. If you plan on keeping it for longer, freezing is the best option. Let’s explore how to freeze homemade soup properly.
Labeling and Dating
Labeling and dating your stored homemade soup is a crucial step to ensure food safety and keep track of its freshness. Here are some tips on how to do it effectively:
- Use Clear Labels: Use clear adhesive labels or masking tape to label the containers or bags. This will help you identify the contents easily.
- Write the Date: Indicate the date of when the soup was prepared or stored. This is important for keeping track of its freshness and knowing when to consume it by.
- Include Soup Name: Write down the type of soup on the label. This is especially helpful if you have multiple varieties stored in the freezer or refrigerator.
- Storage Instructions: Consider adding any specific instructions for thawing and reheating the soup, especially if you have customized the recipe or prefer a particular method.
- Rotate Properly: When storing multiple containers, place the newly prepared soup at the back of the freezer or refrigerator, ensuring that the older soups are used first. This helps prevent food waste and ensures that your soup stays fresh.
By labeling and dating your stored soup, you can easily identify which batch to use first and prevent any confusion or waste. Now, let’s move on to the next step: freezing homemade soup.
Freezing Homemade Soup
Freezing homemade soup is a fantastic option if you want to enjoy it at a later time. Follow these steps to freeze your soup properly:
- Cool the Soup: Allow the soup to cool down completely before freezing. It’s best to refrigerate it for a few hours or overnight to ensure it has reached a safe temperature.
- Choose Freezer-Safe Containers: Opt for containers specifically designed for freezer storage. Glass jars with wide mouths or BPA-free plastic containers with tight-fitting lids are excellent choices. Ensure there is some room at the top for expansion.
- Portion the Soup: Divide the soup into individual servings or portion sizes that suit your needs. This way, you can easily thaw and heat only what you need.
- Seal and Label: Seal the containers tightly to prevent freezer burn. Label each container with the soup’s name and the date it was prepared. This helps you keep track of how long the soup has been frozen.
- Store in the Freezer: Place the containers in the coldest part of the freezer, such as the back or the bottom. This ensures even freezing and maintains the best quality.
When properly stored, homemade soup can be kept in the freezer for up to 3 months. However, for the best taste and quality, it’s recommended to consume it within 1-2 months. Now, let’s move on to the steps for thawing and reheating your frozen soup.
Store homemade soup in airtight containers in the refrigerator for up to 3-4 days. For longer storage, freeze in freezer-safe containers for up to 3 months. Be sure to label containers with the date.
Read more: How To Store Potato Soup
Thawing and Reheating Soup
Thawing and reheating your frozen homemade soup properly is essential to maintain its texture and flavor. Here’s how to do it:
- Thaw in the Refrigerator: The best and safest method to thaw your frozen soup is to transfer it from the freezer to the refrigerator. Allow it to thaw slowly overnight or for a few hours until completely thawed.
- Use the Stovetop: Once the soup is fully thawed, transfer it to a pot and reheat it on the stovetop over low to medium heat. Stir occasionally to ensure even heating and prevent sticking on the bottom of the pot.
- Microwave Method: If you’re in a hurry and need to thaw and reheat the soup quickly, you can use your microwave. Start by thawing the soup in the microwave using the defrost setting or at a low power level. After it’s thawed, transfer it to a microwave-safe container and heat it in short intervals, stirring in between to ensure even reheating.
- Reheat to Safe Temperature: Make sure to reheat the soup until it reaches a safe internal temperature of 165°F (74°C). This helps to kill any bacteria that may have grown during the thawing process.
- Check Consistency: Once reheated, check the consistency of the soup. If it has become too thick after thawing, you can add a little broth or water to achieve the desired consistency.
Remember, avoid refreezing previously frozen soup. Once it’s been thawed and reheated, consume it within 2-3 days for the best quality and food safety. Now let’s explore the steps for storing soup in the refrigerator.
Storing Soup in the Refrigerator
When you want to enjoy your homemade soup within a few days, storing it in the refrigerator is the way to go. Follow these steps to properly store soup in the refrigerator:
- Cool the Soup: Allow the soup to cool down to room temperature before refrigerating it. You can speed up the cooling process by placing the pot in an ice bath.
- Transfer to Containers: Once the soup has cooled, transfer it to airtight containers or covered bowls. Make sure the containers are clean and free from any lingering odors.
- Label and Date: Label each container with the date of preparation to keep track of its freshness. This is especially important if you have multiple types of soup stored.
- Place in the Refrigerator: Put the containers of soup on the top shelf or toward the back of the refrigerator, where the temperature is the coldest.
- Consume Within 3-4 Days: Homemade soup stored in the refrigerator is best consumed within 3-4 days to ensure its taste and quality. Discard any leftover soup that exceeds this time frame.
By following these steps, you can safely store your soup in the refrigerator and enjoy it for a few days without sacrificing its flavor or freshness. Now let’s discuss some tips on keeping soup fresh.
Keeping Soup Fresh
To ensure maximum freshness and quality of your homemade soup, consider the following tips:
- Proper Storage: Always store your soup in airtight containers to prevent air exposure. This helps prevent the soup from absorbing other odors in the fridge and maintains its flavor.
- Regularly Check for Spoilage: Check the soup for any signs of spoilage before consuming or storing it. If you notice any off smells, odd colors, or unusual textures, it’s best to discard the soup.
- Reheat Only What You Need: When reheating soup, only heat the portion you plan to consume at that time. Repeated reheating and cooling can affect the soup’s quality and increase the risk of bacterial growth.
- Avoid Double Dipping: To avoid introducing contaminants, use clean utensils when scooping out servings of soup from the container.
- Keep Track of Expiration Dates: Label and date your stored soup containers, and keep track of the expiration dates. Consume older batches of soup first to minimize food waste.
- Store in Small Portions: Instead of storing a large batch of soup, consider dividing it into smaller portions and storing them individually. This allows for easier reheating and helps maintain the original quality.
- Frequent Rotation: If you frequently cook and store soup, make it a habit to rotate your stock regularly. This ensures that older containers get used first, reducing the chances of spoilage.
By following these guidelines, you can keep your homemade soup fresh and delicious for an extended period. Remember to always trust your senses when it comes to evaluating the freshness of the soup. Now, let’s wrap up.
Conclusion
Storing homemade soup properly is essential to preserve its freshness, flavor, and overall quality. By choosing the right containers, cooling and storing the soup correctly, labeling and dating, and utilizing effective freezing and thawing methods, you can enjoy your homemade soup even days or weeks after preparing it.
Remember to choose airtight and freezer-safe containers, allowing the soup to cool before refrigerating or freezing it. Properly labeled containers will help you keep track of the soup’s freshness, while regular rotation and portioning can minimize food waste and maintain the best quality.
Whether you choose to freeze or refrigerate your soup, ensure that you follow the recommended storage times for the best taste and food safety. Thawing and reheating your soup correctly is crucial to maintain its texture and flavor, so take time to follow the appropriate methods.
By following these guidelines and incorporating good storage practices, you can enjoy homemade soup whenever you crave it, even if it was made weeks in advance. So, don’t hesitate to whip up a big batch of your favorite soup and store it for those cozy and comforting meals in the future.
So go ahead, prepare that delicious homemade soup, store it with care, and savor the warm and comforting flavors whenever you desire. Happy soup making and storing!
Frequently Asked Questions about How To Store Homemade Soup
Was this page helpful?
At Storables.com, we guarantee accurate and reliable information. Our content, validated by Expert Board Contributors, is crafted following stringent Editorial Policies. We're committed to providing you with well-researched, expert-backed insights for all your informational needs.




0 thoughts on “How To Store Homemade Soup”