Articles
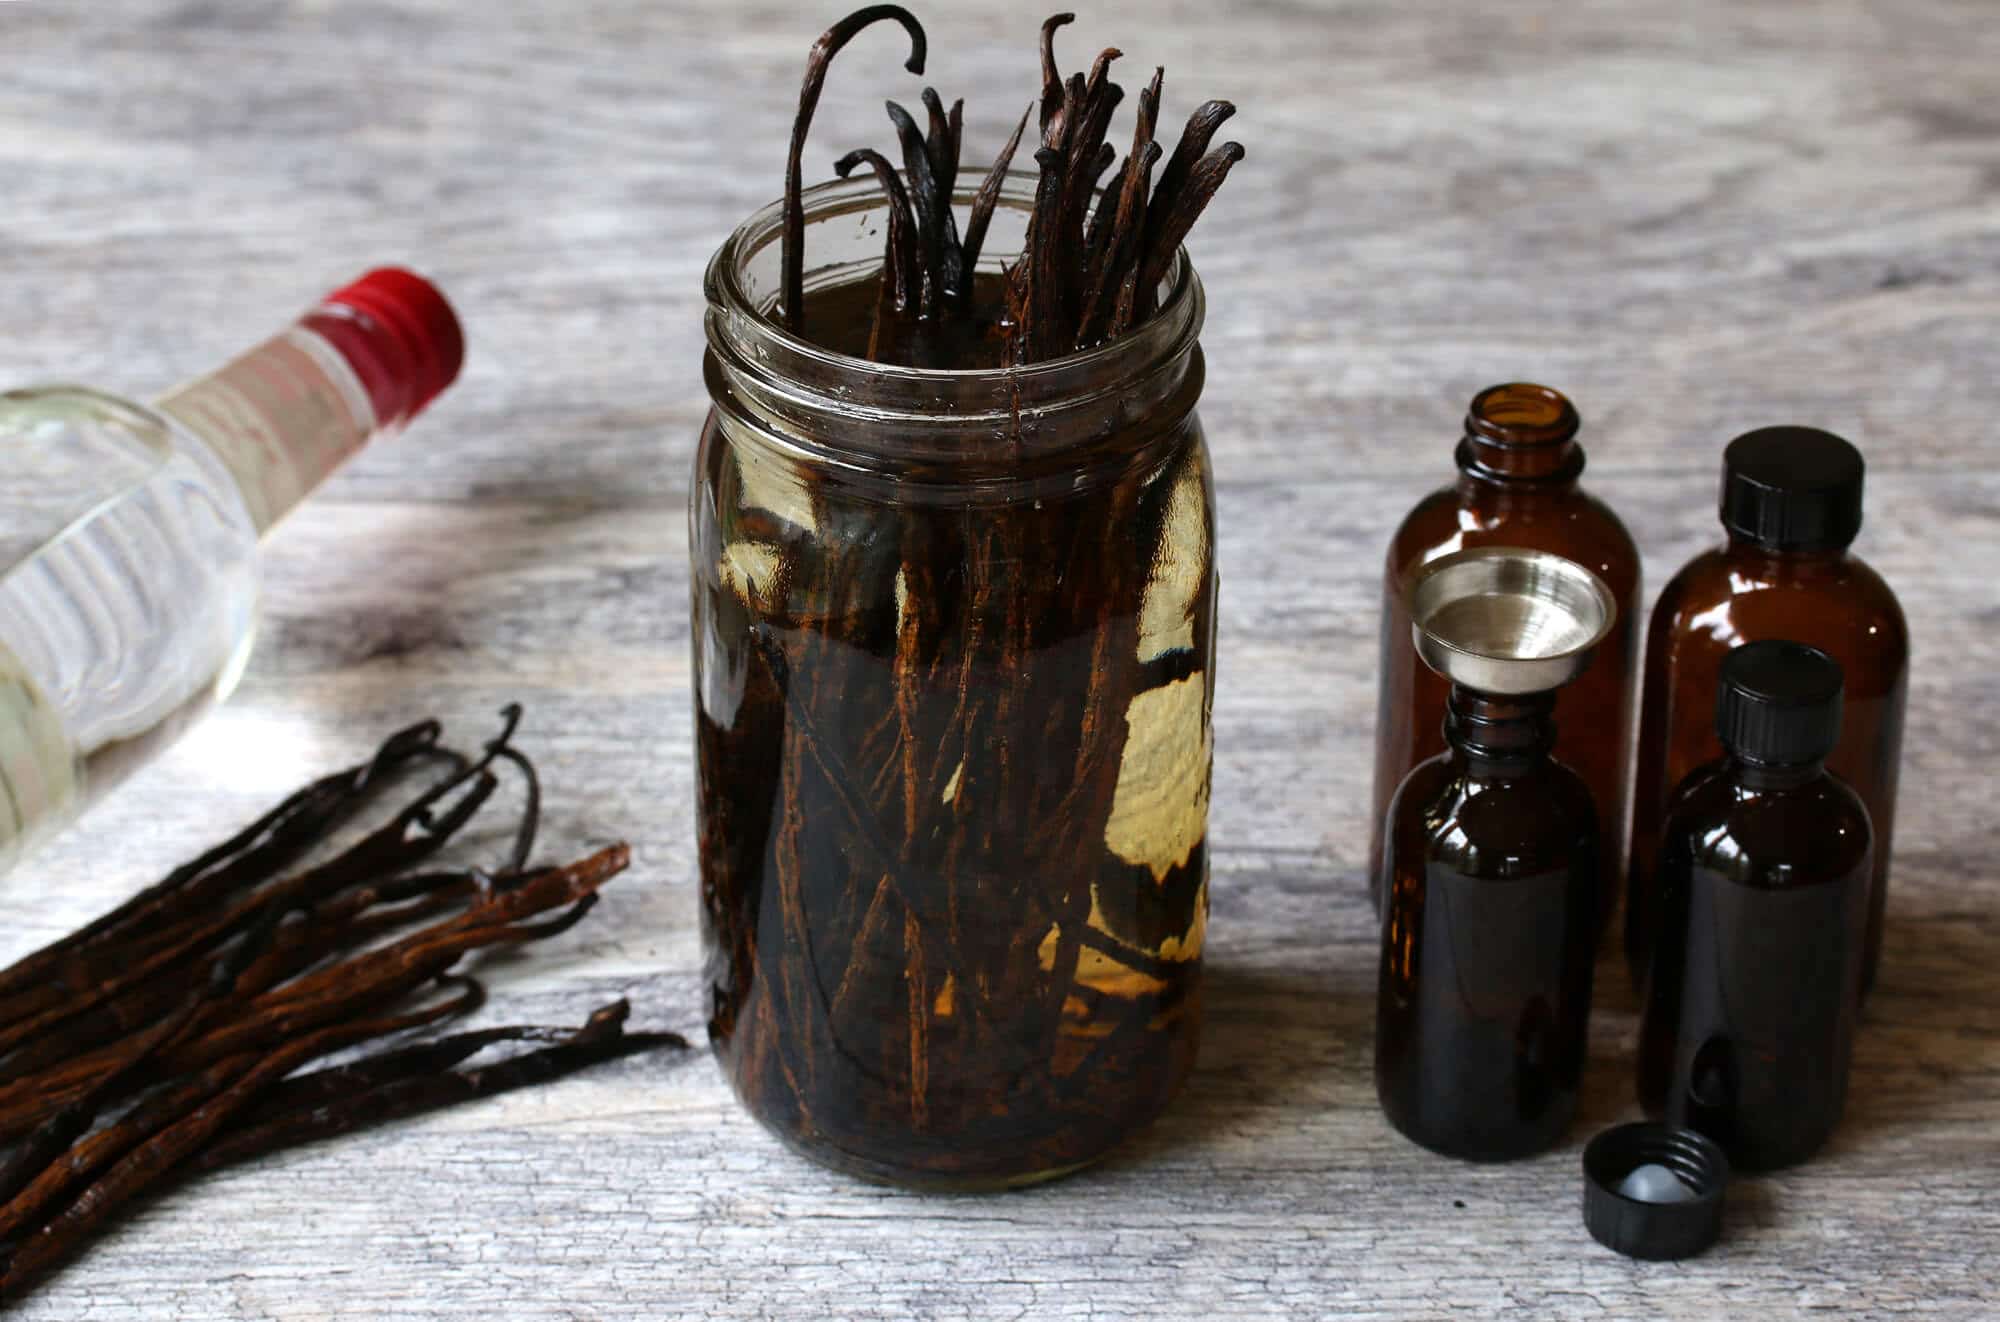
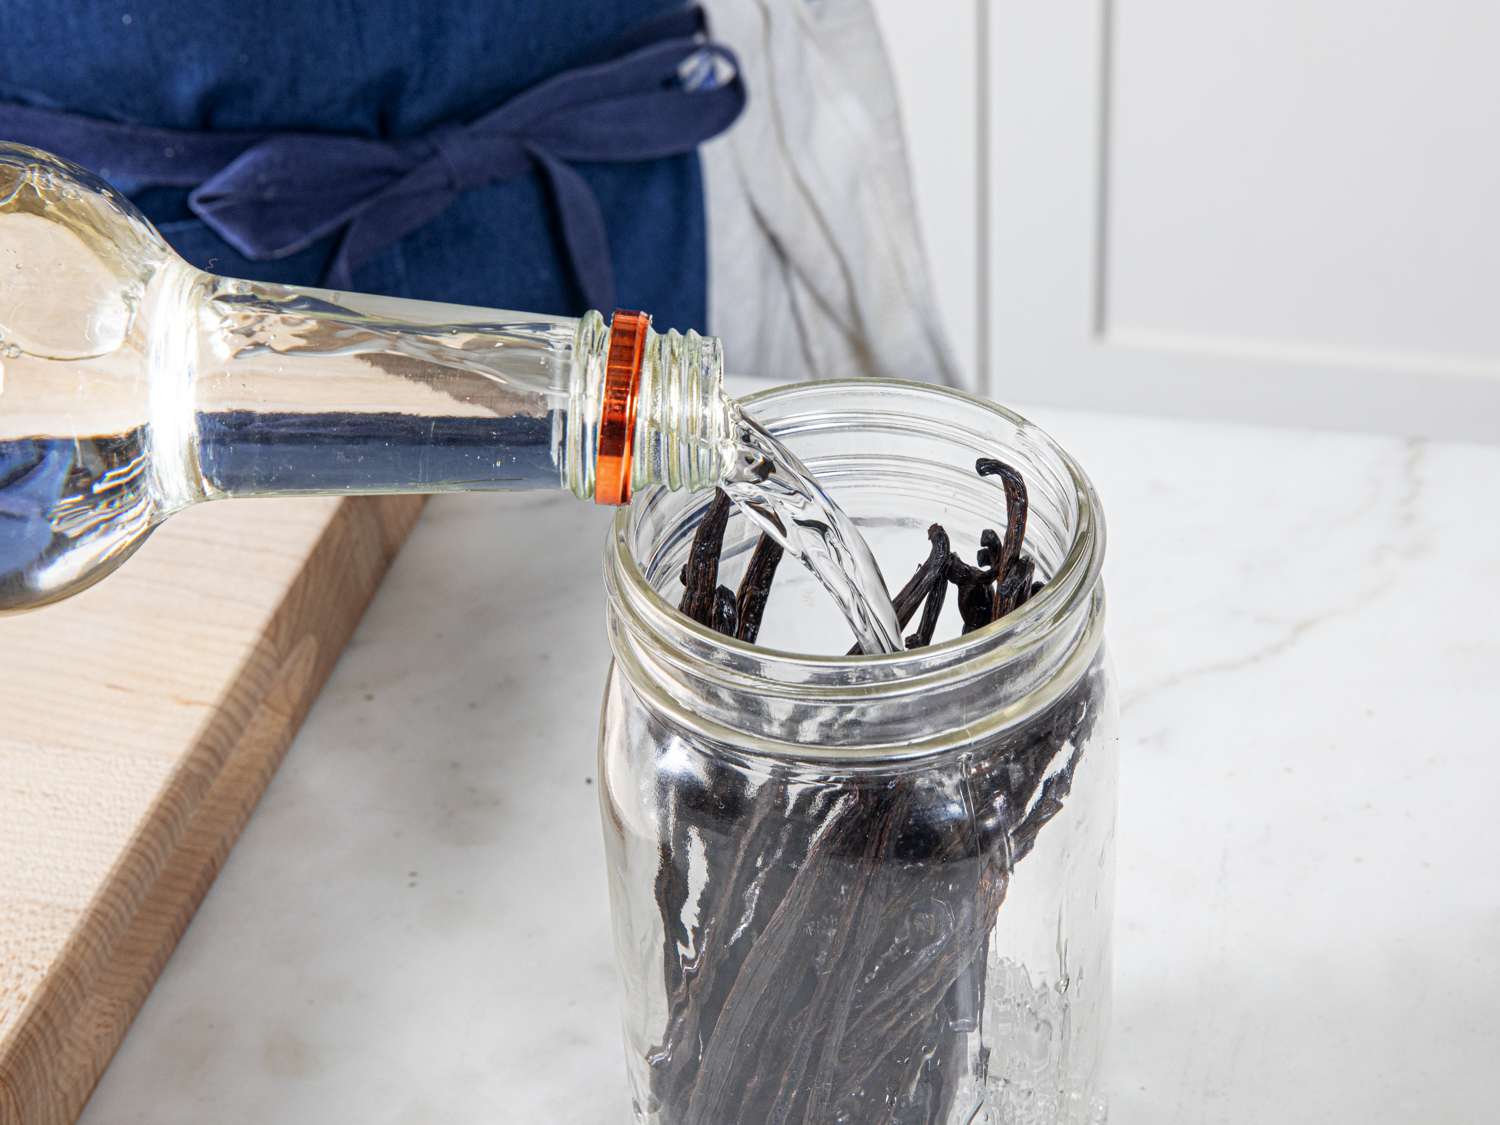
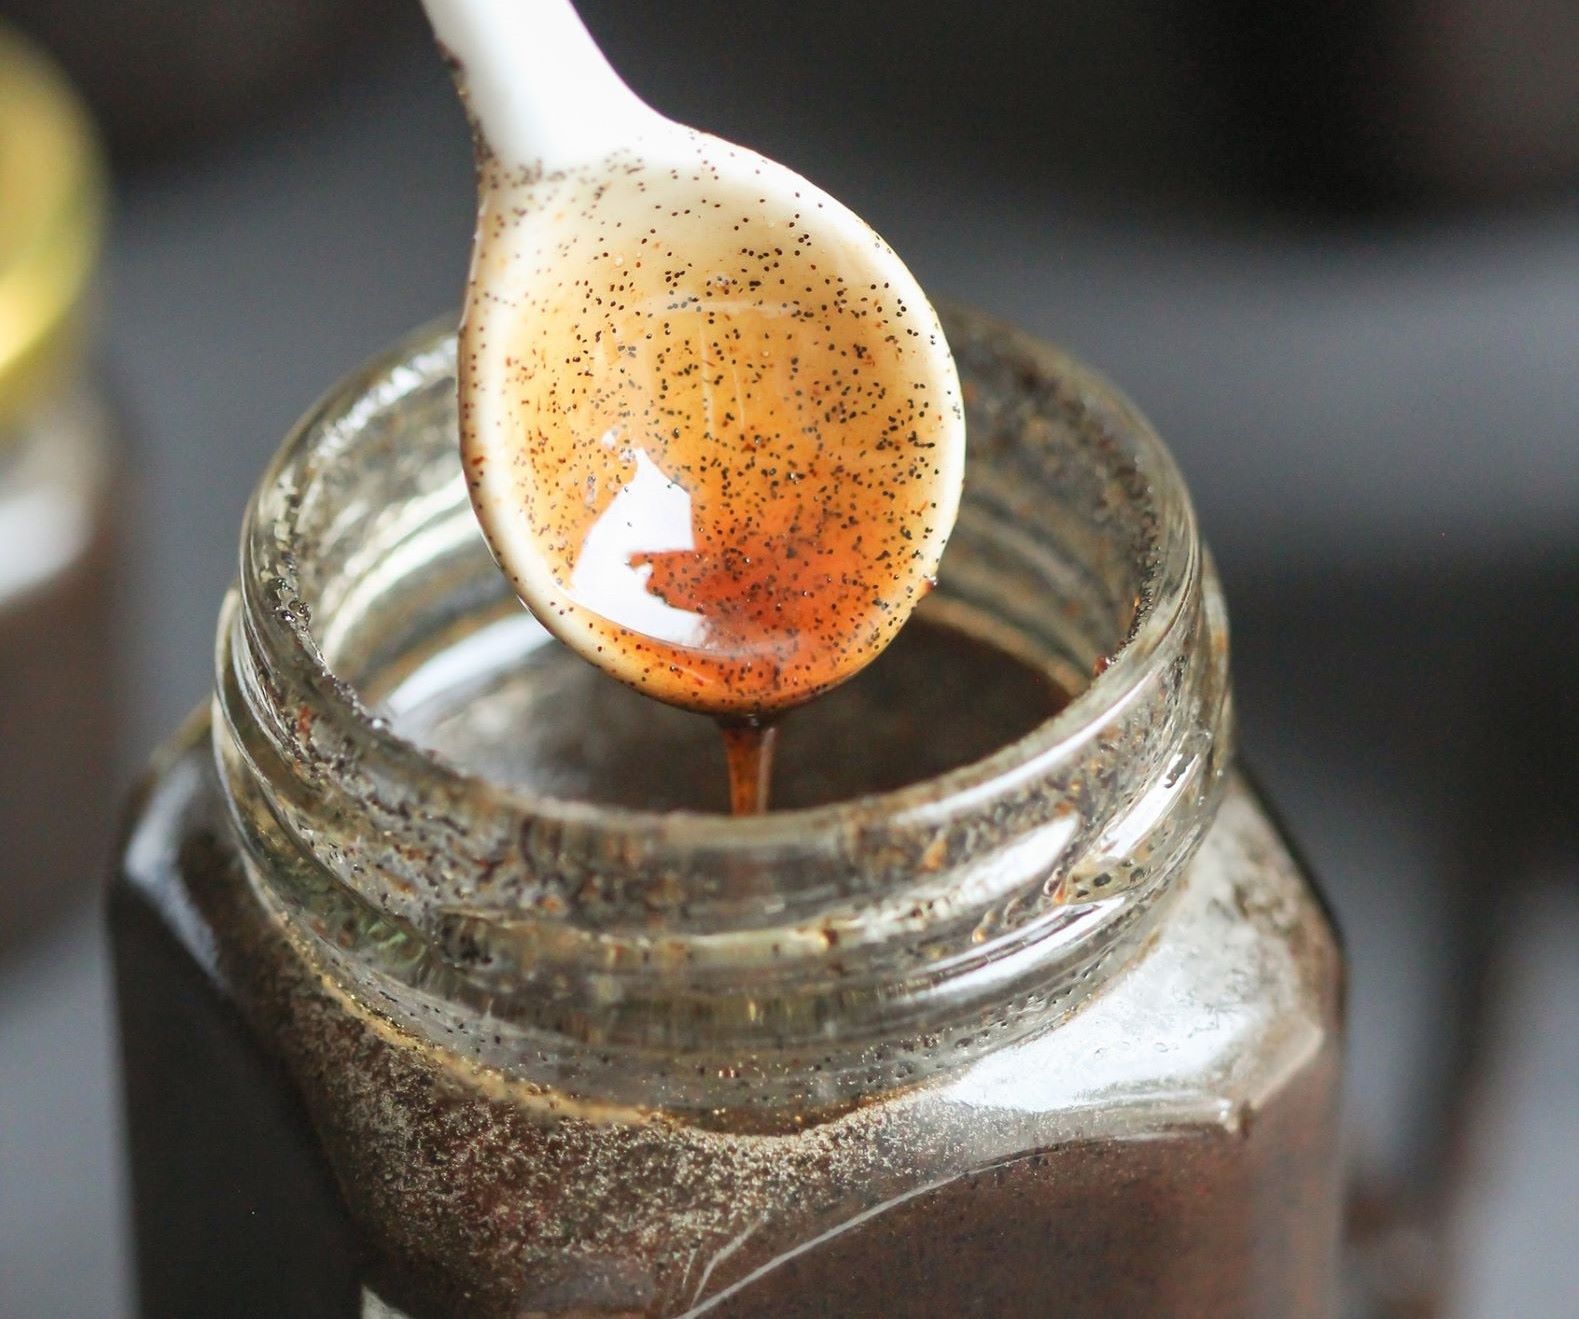
How To Store Homemade Vanilla Extract
Modified: January 21, 2024
Learn the best methods for storing homemade vanilla extract in our latest articles. Extend the shelf life and enhance the flavor of your homemade vanilla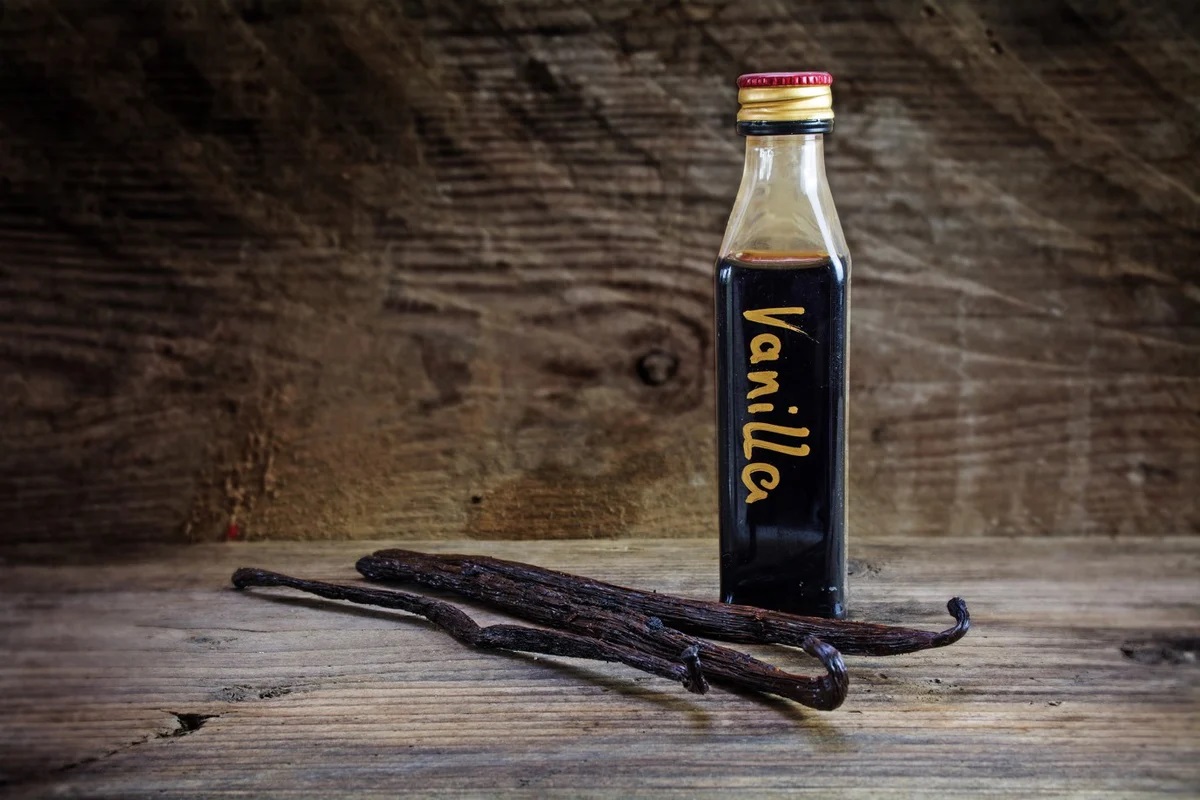


0 thoughts on “How To Store Homemade Vanilla Extract”