Home>Articles>How To Store Ice Cream Cone Cupcakes Overnight
Articles
How To Store Ice Cream Cone Cupcakes Overnight
Modified: August 24, 2024
Learn how to store ice cream cone cupcakes overnight with these helpful articles. Whether you need tips on packaging or freezing, we've got you covered!
(Many of the links in this article redirect to a specific reviewed product. Your purchase of these products through affiliate links helps to generate commission for Storables.com, at no extra cost. Learn more)
Introduction
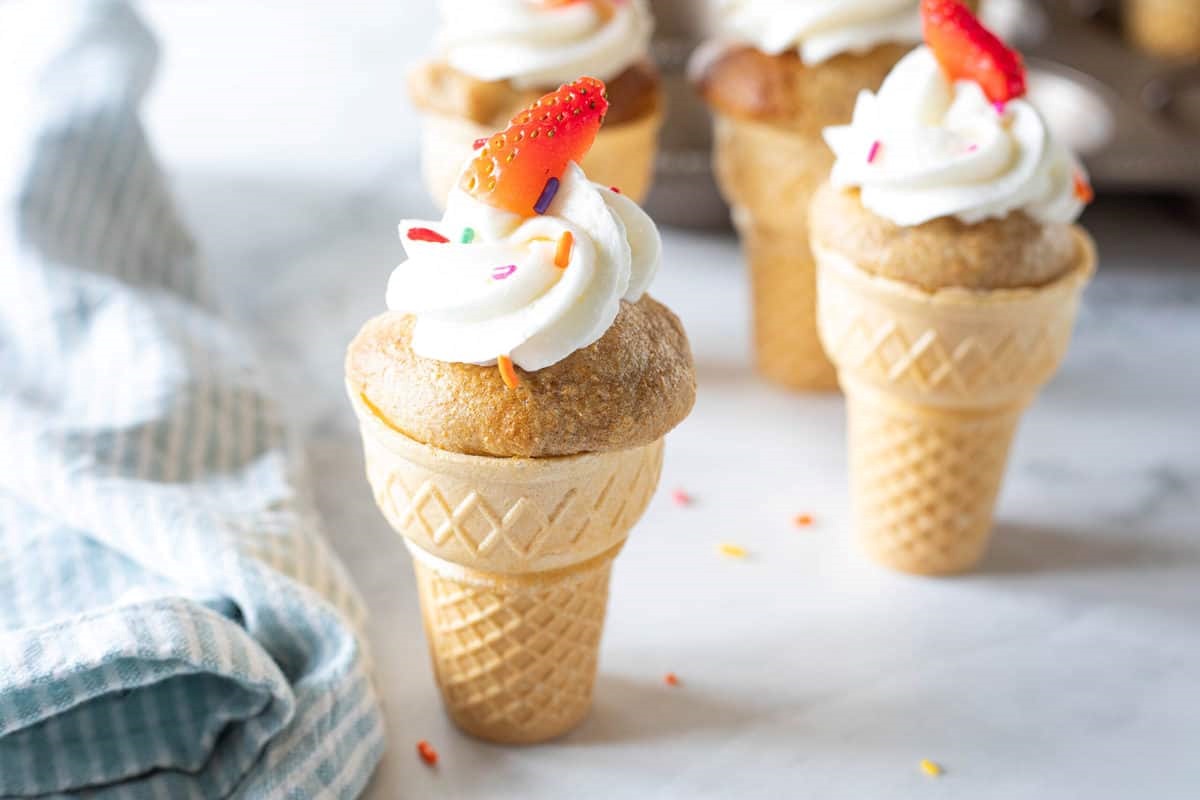
Ice cream cone cupcakes are a delightful and whimsical treat that combine the best of two beloved desserts: cupcakes and ice cream cones. These adorable confections are perfect for birthday parties, summer gatherings, or any occasion where you want to add a touch of sweetness to your festivities.
Baking and decorating ice cream cone cupcakes is a fun and creative activity that can be enjoyed by both kids and adults. However, if you’re planning to make these cupcakes ahead of time and serve them later, you may be wondering how to keep them fresh overnight. In this article, we’ll guide you through the process of storing ice cream cone cupcakes overnight, ensuring that they remain delicious and visually appealing until it’s time to indulge.
Before we dive into the specifics of storing ice cream cone cupcakes, let’s quickly go over the basic steps involved in making these delightful treats. First, you’ll need to bake the cupcakes themselves. This can be done using your favorite cupcake recipe or by using a store-bought mix. Once the cupcakes are baked and cooled, you’ll need to prepare the ice cream cones by filling them with rainbow sprinkles or crushed cookies to act as a barrier. Next, you’ll scoop your desired flavor of ice cream into the cones, being careful not to overfill them. Finally, you’ll top them off with a swirl of whipped cream, more sprinkles, and any other creative decorations you desire.
Now that you have a general idea of the ice cream cone cupcake-making process, let’s move on to the main focus of this article: storing these delectable treats overnight. By following a few simple steps, you can ensure that your ice cream cone cupcakes stay fresh, moist, and intact until you’re ready to serve them.
So, if you’re ready to discover the secrets of storing ice cream cone cupcakes overnight, let’s get started with step one: baking the cupcakes.
Key Takeaways:
- Store ice cream cone cupcakes overnight by cooling them completely, placing them in an airtight container, refrigerating them, and keeping them away from strong odors. Enjoy fresh and delightful cupcakes the next day!
- Prep ice cream cones with rainbow sprinkles or crushed cookies as a barrier, seal the bottoms with melted chocolate, and store the cupcakes in the refrigerator for up to 24 hours for the best taste and texture.
Read more: How To Store Icing Overnight
Step 1: Baking the Cupcakes
The first step in creating delicious ice cream cone cupcakes is to bake the cupcakes themselves. You can use your favorite cupcake recipe or choose a store-bought mix for convenience. Here’s how to bake the perfect cupcakes for your ice cream cone creations:
- Preheat your oven to the temperature indicated in your cupcake recipe or mix instructions. Typically, this is around 350°F (175°C). Preheating ensures that your cupcakes bake evenly and rise properly.
- Prepare your cupcake batter according to the recipe or mix instructions. This usually involves combining the dry ingredients in one bowl and the wet ingredients in another, then gradually mixing them together until well combined. Be sure to follow the instructions carefully to get the best results.
- Line a cupcake pan with paper liners. These liners not only prevent the cupcakes from sticking to the pan but also add a decorative touch. You can choose plain white liners or opt for colorful ones that match the theme of your event.
- Fill each cupcake liner with batter, filling it about two-thirds full. This allows enough space for the cupcakes to rise without overflowing the liners.
- Place the cupcake pan in the preheated oven and bake for the recommended time, usually 18 to 20 minutes. To test if the cupcakes are done, insert a toothpick into the center of one cupcake. If it comes out clean or with a few crumbs, the cupcakes are ready.
- Remove the cupcakes from the oven and let them cool in the pan for a few minutes. Then, transfer them to a wire rack to cool completely. Cooling the cupcakes ensures that they don’t continue to cook and become overly dry.
Once your cupcakes are completely cooled, you’re ready to move on to the next step: prepping the ice cream cones. This involves a few simple steps to ensure that the cones stay crispy and intact when filled with ice cream. Let’s dive into step two!
Step 2: Prepping the Ice Cream Cones
Now that your cupcakes are baked and cooled, it’s time to move on to prepping the ice cream cones. This step is crucial for maintaining the texture and stability of the cones when filled with ice cream. Follow these steps to ensure your ice cream cones are ready to hold the sweet treat:
- Select sturdy ice cream cones: Look for cones that are thick and sturdy to withstand the weight of the ice cream. Avoid wafer cones, as they are more prone to getting soggy.
- Add a barrier: To prevent the ice cream from seeping into the cone and causing it to become soft and mushy, create a barrier. One way to do this is by adding a layer of rainbow sprinkles or crushed cookies at the bottom of each cone. This layer acts as a protective barrier between the cone and the ice cream.
- Seal the bottoms: To further reinforce the barrier, consider sealing the bottom of the cone with a small circle of melted chocolate. This added layer acts as an extra safeguard against the ice cream soaking into the cone.
By following these simple steps, you’ll ensure that your ice cream cones remain crunchy and intact, providing the perfect vessel for holding the ice cream and cupcake combination. With the cones prepped and ready, it’s time to move on to step three: scooping the ice cream!
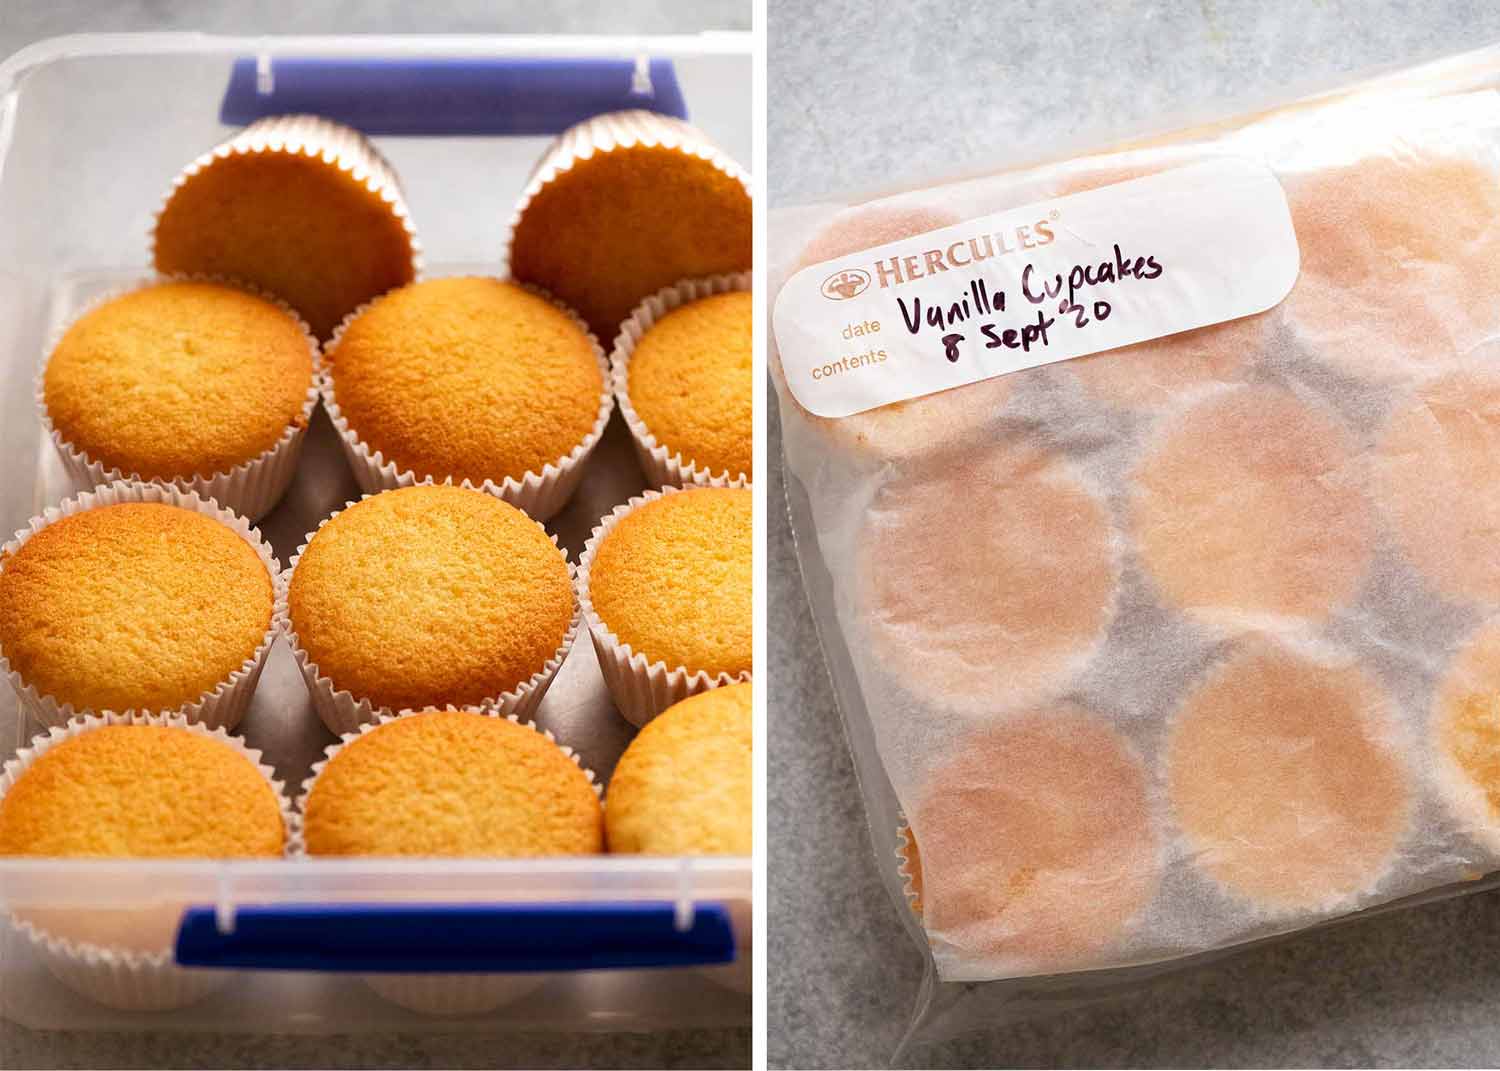
Store ice cream cone cupcakes overnight by placing them in an airtight container or wrapping them tightly in plastic wrap to prevent them from drying out. Keep them in the refrigerator to maintain freshness.
Step 3: Scooping Ice Cream
Now that your ice cream cones are prepped, it’s time to add the star of the show – the ice cream! This step requires some finesse to ensure that the ice cream is perfectly scooped and neatly placed into the cones. Here’s how to scoop the ice cream for your ice cream cone cupcakes:
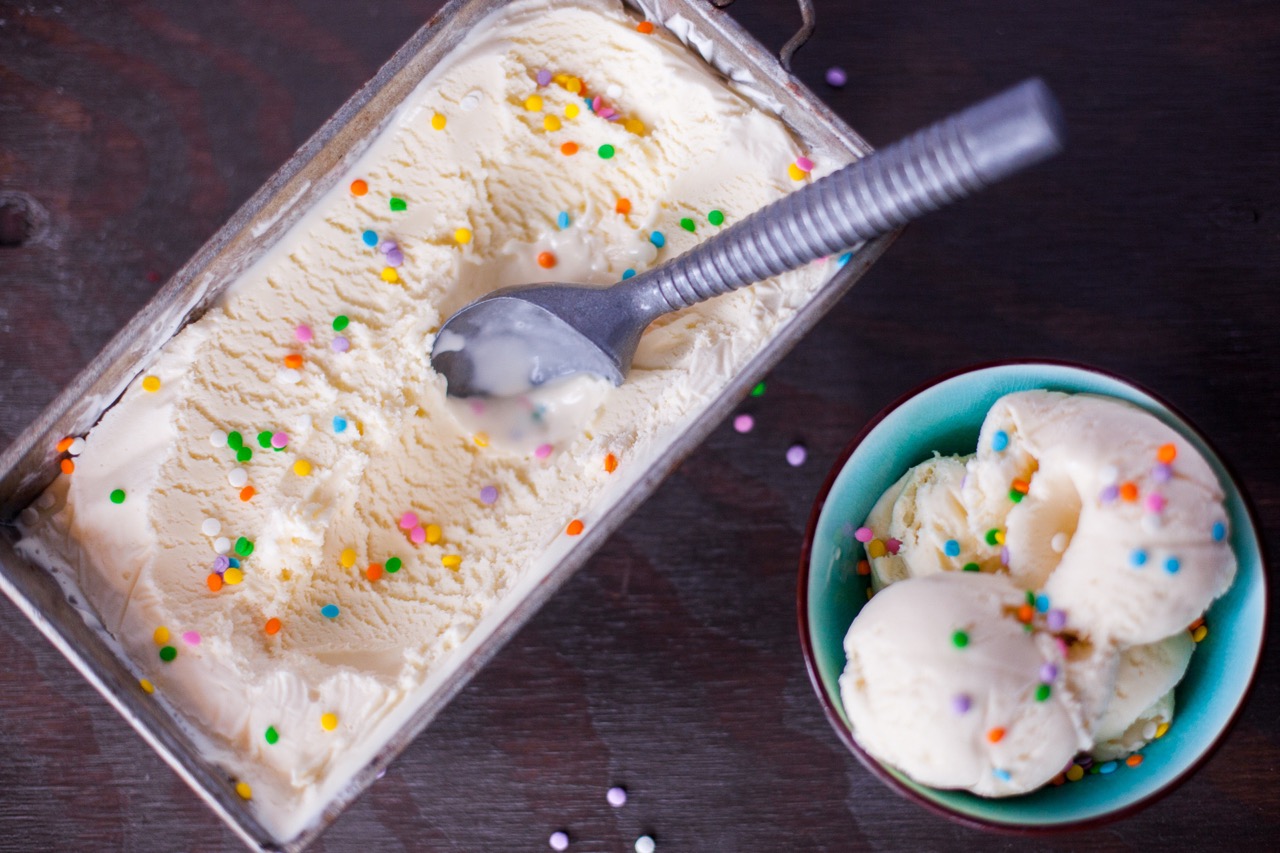
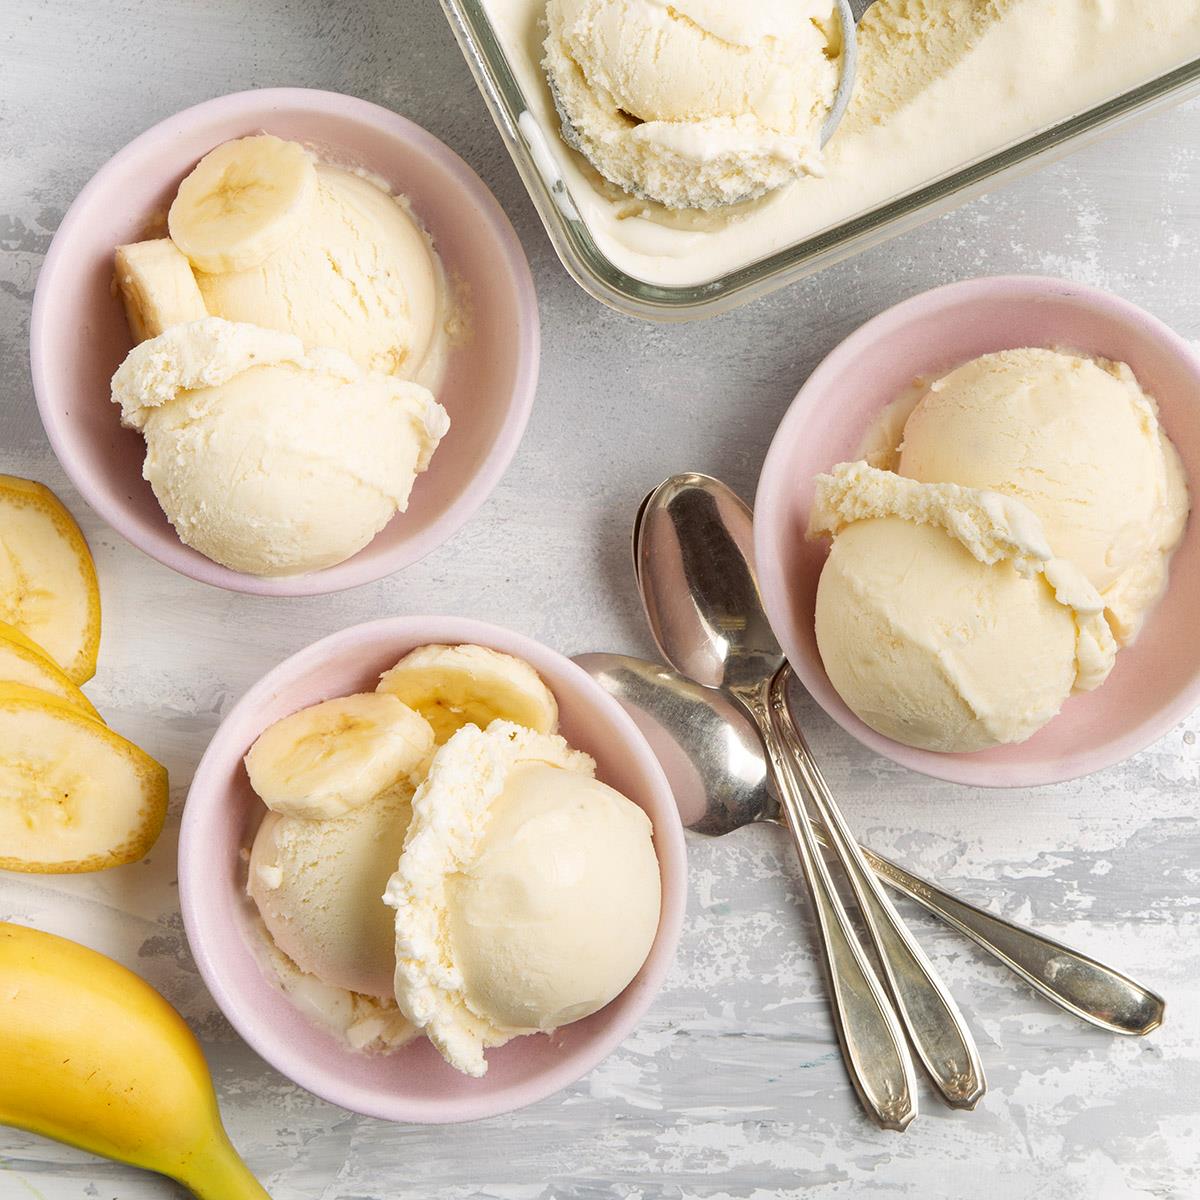
- Select your favorite ice cream flavors: Consider choosing a variety of flavors to cater to different tastes and preferences. Classic choices like vanilla, chocolate, and strawberry are always crowd-pleasers, but feel free to get creative with unique flavors like mint chocolate chip or cookies and cream.
- Use an ice cream scoop: To create uniform, rounded scoops of ice cream, use an ice cream scoop. This tool ensures that each scoop is of the same size and shape, making the cupcakes look more polished and professional.
- Scoop carefully: Hold the ice cream scoop with one hand and hold the cone with the other. Gently place the scoop of ice cream on top of the cone, being mindful not to overfill it. Leave a little space at the top to allow for the decorations and toppings.
- Smooth the ice cream: Once the ice cream is in the cone, use the back of a spoon or an offset spatula to smooth the ice cream surface. This step helps create a clean and even look, making the cupcakes more visually appealing.
- Repeat for all cones: Repeat the scooping process for each ice cream cone until they are all filled with delicious ice cream.
Now that your ice cream cones are filled with delectable scoops of ice cream, it’s time to move on to the next step: decorating the cupcakes. This is where you can let your creativity shine and add a personal touch to each cupcake. Let’s proceed to step four!
Step 4: Decorating the Cupcakes
The decorating stage is where you can let your imagination run wild and add a burst of color and fun to your ice cream cone cupcakes. With a variety of toppings and decorations available, you can customize each cupcake to suit your taste and the occasion. Here’s how to decorate your ice cream cone cupcakes:
- Prepare the whipped cream: Whipped cream is a classic topping for ice cream cone cupcakes. You can either make your own whipped cream by beating heavy cream with sugar until soft peaks form, or use store-bought whipped cream for convenience.
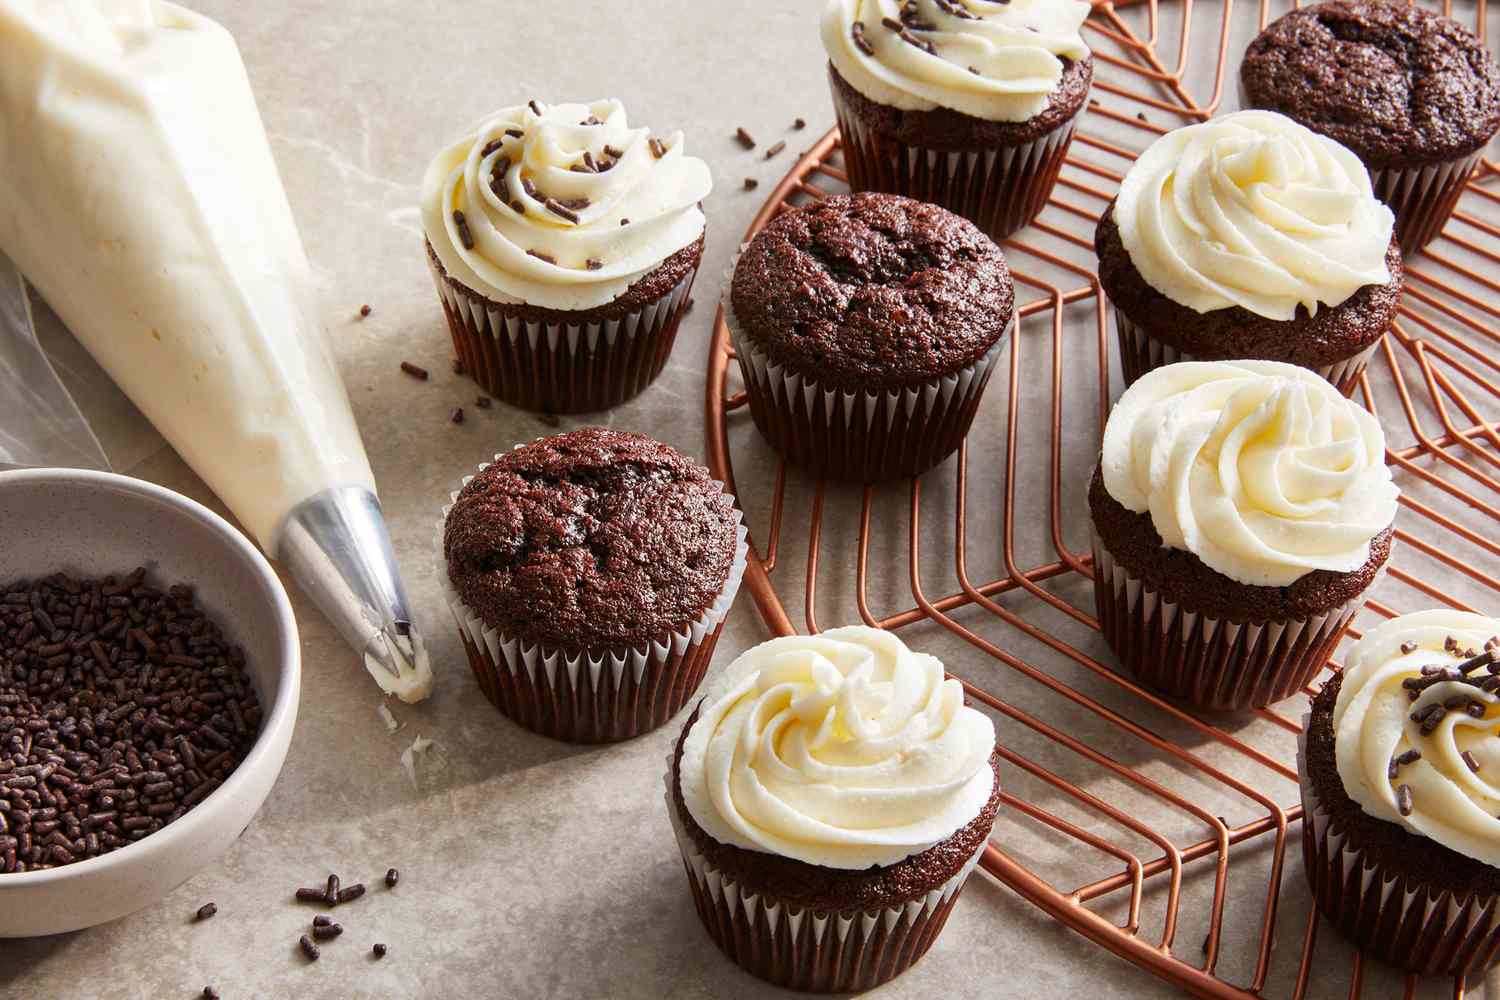
- Pipe whipped cream on top: Using a piping bag fitted with a star-shaped nozzle, pipe a swirl of whipped cream on top of each ice cream cone cupcake. Start at the center and work your way out in a circular motion to create a visually appealing design.
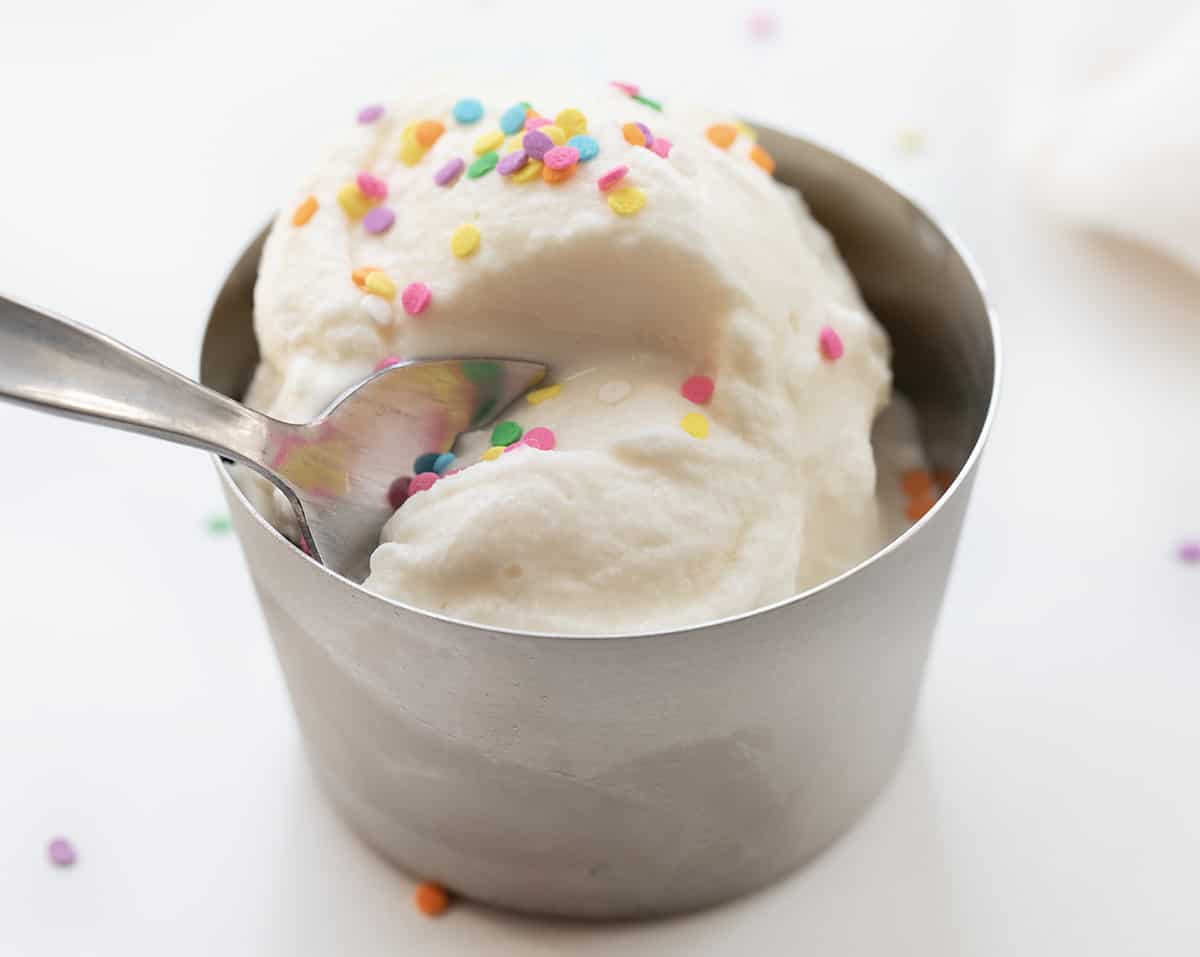
- Add colorful sprinkles: Sprinkle your cupcakes with rainbow-colored sprinkles or any other decorative toppings of your choice. This adds a pop of color and a touch of whimsy to the cupcakes.
- Get creative with toppings: Consider adding additional toppings such as chocolate chips, mini marshmallows, crushed nuts, or even a drizzle of chocolate or caramel sauce. Let your creativity guide you as you experiment with different combinations and textures.
- Personalize with edible decorations: To make your cupcakes even more unique, consider using edible decorations like candy eyes, edible glitter, or small fondant shapes. These small details can turn your cupcakes into edible works of art.
Once you have decorated all of your ice cream cone cupcakes to your heart’s content, it’s time to move on to the final step: storing the cupcakes overnight. This step is crucial to ensure that the cupcakes stay fresh and maintain their texture until they are ready to be enjoyed. Let’s proceed to step five!
Read more: How To Store Ice Cream
Step 5: Storing Overnight
After all the hard work of baking, prepping, scooping, and decorating, it’s time to store your ice cream cone cupcakes overnight to ensure that they stay fresh and delicious until serving time. Follow these steps to properly store your cupcakes:
- Allow cupcakes to cool completely: Before storing, make sure that the cupcakes have cooled completely. This ensures that any residual heat doesn’t create excess moisture, which can lead to a soggy texture.
- Place cupcakes in an airtight container: Select a container that is large enough to hold all the cupcakes without them touching or getting squished. Avoid using plastic wrap, as it can stick to the frosting and ruin the decorations.
- Refrigerate the cupcakes: Place the container of cupcakes in the refrigerator. The cool temperature helps to preserve the freshness of the cupcakes and prevents the ice cream from melting.
- Keep away from strong odors: Make sure to store the cupcakes away from strong-smelling foods, as cupcakes can absorb odors easily. This will help maintain the original flavors and aromas of the cupcakes.
- Do not stack the cupcakes: To prevent any decorations or whipped cream from getting smudged, it’s best not to stack the cupcakes on top of each other. If you have limited space, place a layer of parchment paper between the cupcake layers to keep them separated.
- Keep in the refrigerator until serving: Leave the cupcakes in the refrigerator until you are ready to serve them. Ideally, they should be consumed within 24 hours to ensure the best taste and texture.
When it’s time to enjoy your ice cream cone cupcakes, remove them from the refrigerator and let them sit at room temperature for a few minutes to allow them to soften slightly. Serve them as is or with additional toppings if desired.
By following these steps, you can be confident that your ice cream cone cupcakes will retain their freshness and flavor overnight, allowing you to enjoy them at their best the next day.
Congratulations! You have now successfully learned how to store ice cream cone cupcakes overnight. With these tips, you can confidently make these delightful treats in advance, bringing joy and sweetness to any occasion.
Frequently Asked Questions about How To Store Ice Cream Cone Cupcakes Overnight
Was this page helpful?
At Storables.com, we guarantee accurate and reliable information. Our content, validated by Expert Board Contributors, is crafted following stringent Editorial Policies. We're committed to providing you with well-researched, expert-backed insights for all your informational needs.


0 thoughts on “How To Store Ice Cream Cone Cupcakes Overnight”