Articles
How To Make Ice Cream With Ice Cream Maker
Modified: February 27, 2024
Learn how to make delicious homemade ice cream using an ice cream maker with these informative articles. Discover tips, recipes, and techniques for perfecting your frozen treats.
(Many of the links in this article redirect to a specific reviewed product. Your purchase of these products through affiliate links helps to generate commission for Storables.com, at no extra cost. Learn more)
Introduction
Welcome to the wonderful world of homemade ice cream! There’s nothing quite like enjoying a scoop of creamy, flavorful ice cream on a hot summer day. While store-bought ice cream is delicious, there’s something special about making your own from scratch.
In this article, we’ll guide you through the process of making ice cream using an ice cream maker. Whether you’re a seasoned home cook or a newbie in the kitchen, making ice cream at home is easier than you might think. Not only is it a fun and rewarding activity, but it also allows you to customize the flavors and ingredients to suit your taste.
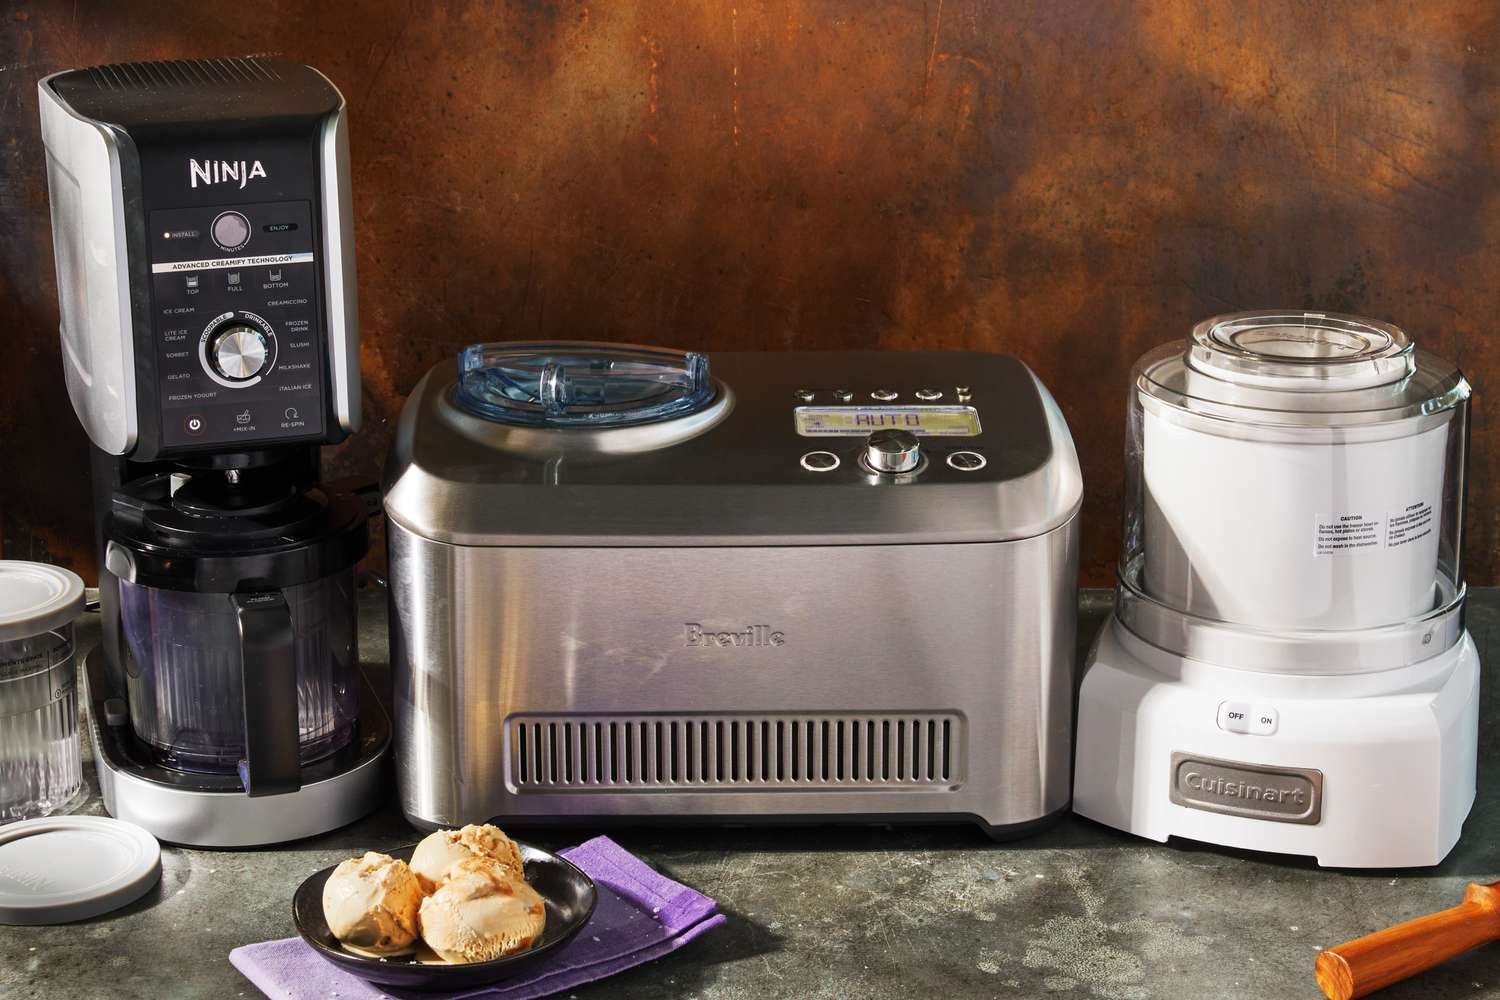
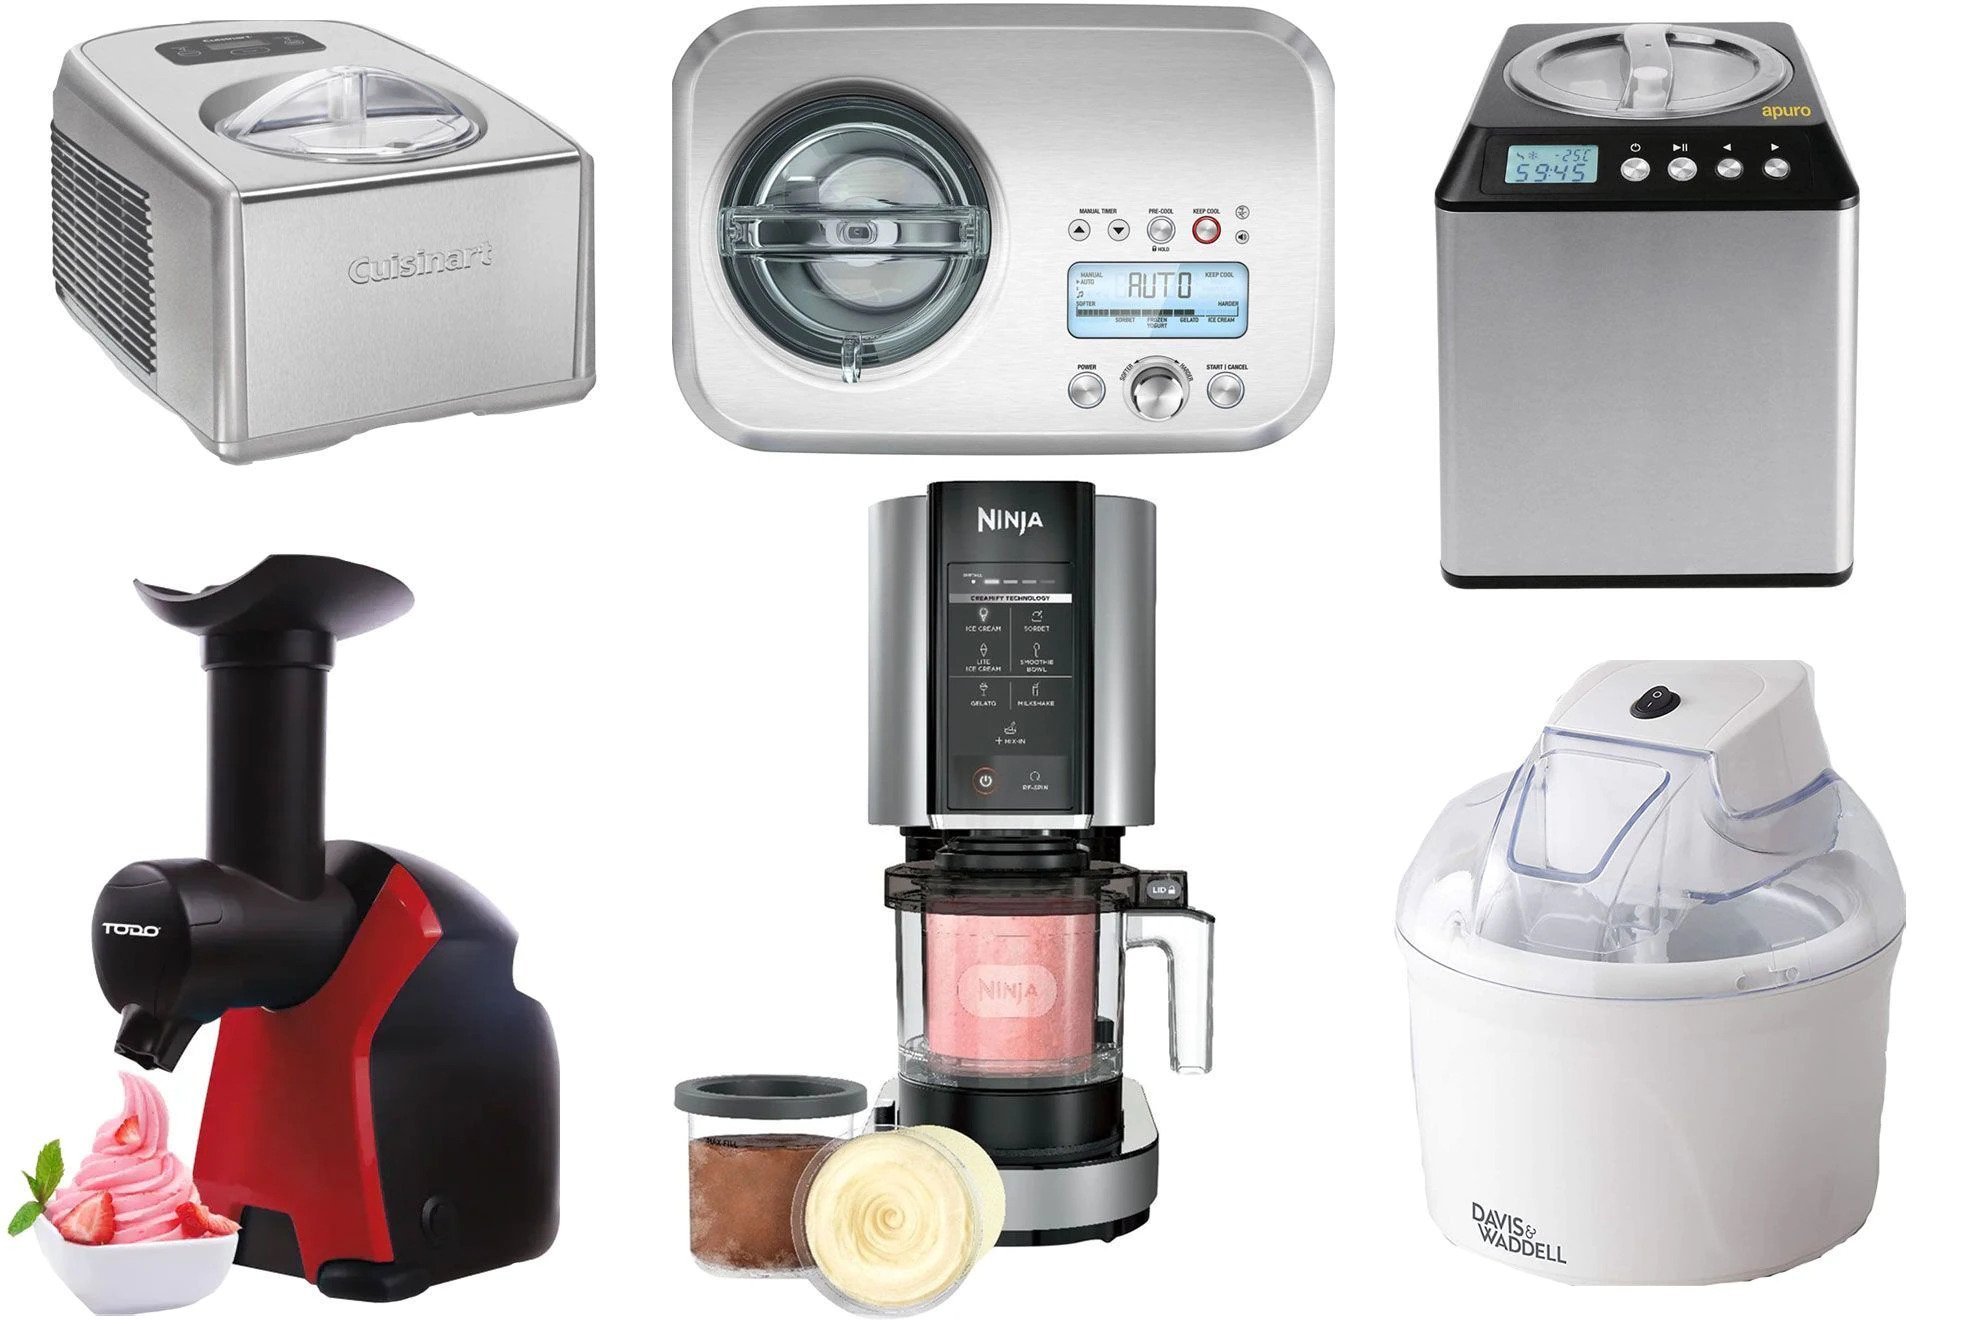
Before we dive into the details of making ice cream, let’s take a moment to talk about the different types of ice cream makers available. Choosing the right machine for your needs will ensure that you have a smooth and successful ice cream-making experience.
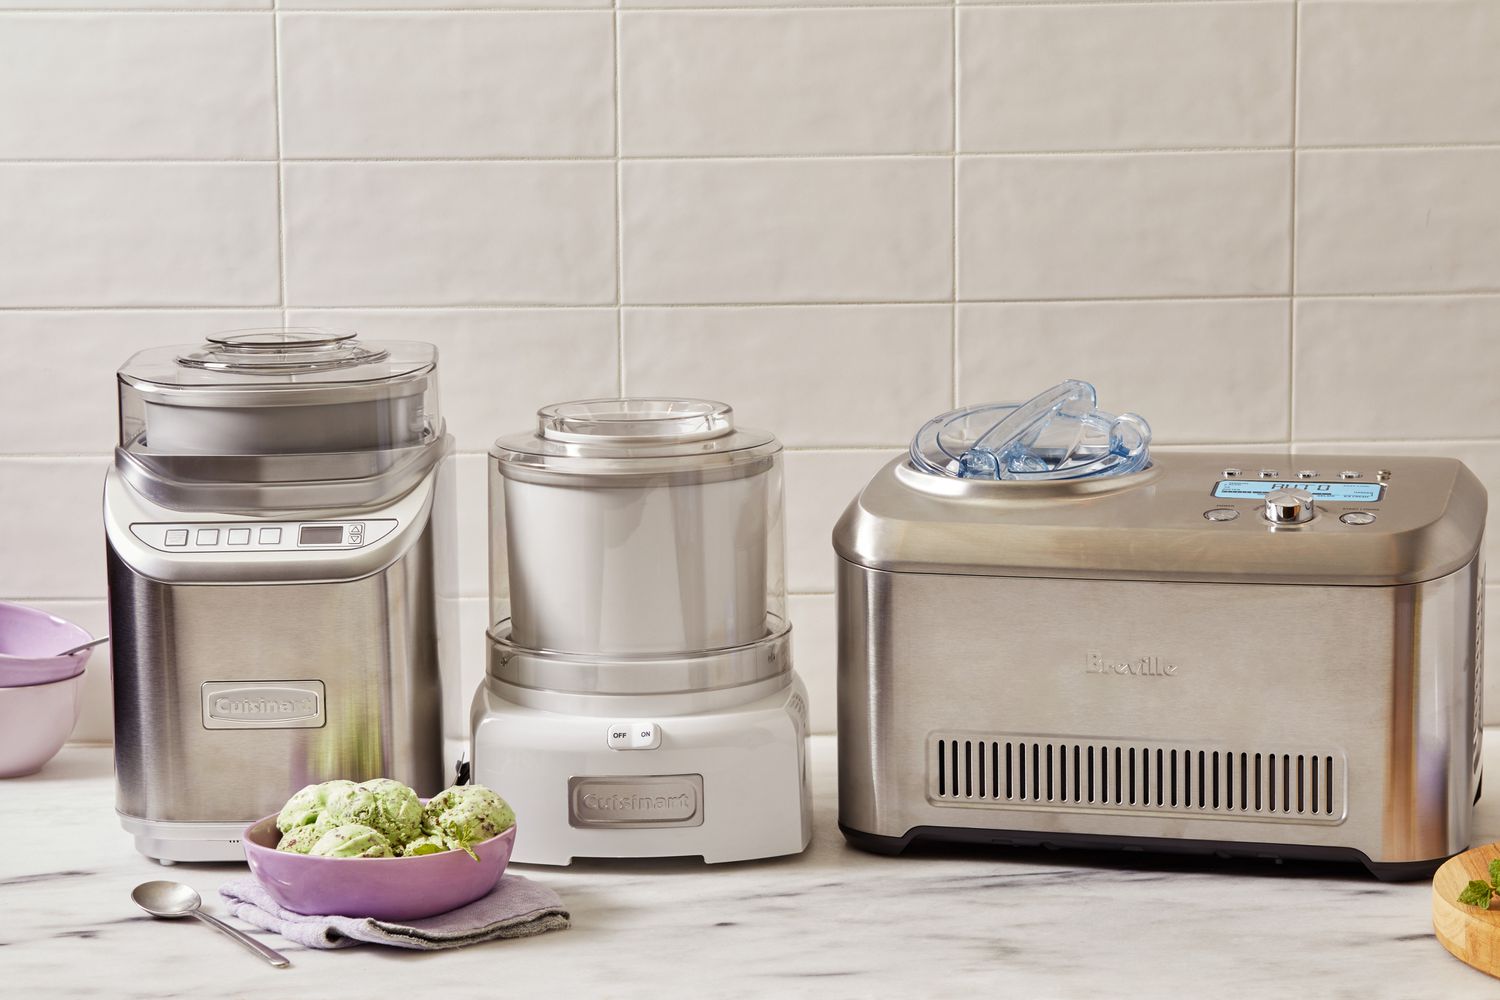
There are three main types of ice cream makers: manual, electric, and self-freezing. Manual ice cream makers require you to crank the machine by hand, while electric models are powered by electricity and do the churning for you. Self-freezing ice cream makers have built-in freezers, eliminating the need to pre-freeze the bowl.
Consider your budget, available space, and personal preferences when selecting an ice cream maker. Once you’ve chosen the machine that suits your needs, you can start gathering the ingredients for your homemade ice cream.
Homemade ice cream typically requires a few basic ingredients: cream or milk, sugar, and flavorings. However, the possibilities are almost endless when it comes to flavor combinations. You can experiment with various fruits, chocolates, nuts, and even spices to create your own unique ice cream flavors.
In the next section, we’ll discuss the different ingredients you’ll need to make homemade ice cream and where to find them. So let’s get ready to embark on a delicious ice cream-making journey together!
Key Takeaways:
- Enjoy the creative freedom of making homemade ice cream with an ice cream maker. Experiment with flavors, mix-ins, and techniques to craft delicious frozen treats that reflect your unique taste and style.
- Selecting the right ice cream maker is crucial for a smooth and successful homemade ice cream experience. Consider factors like type, capacity, price, ease of use, and additional features to find the perfect machine for your needs.
Choosing an Ice Cream Maker
When it comes to making homemade ice cream, having the right ice cream maker is crucial. With so many options available in the market, it can be overwhelming to decide which one to choose. Here are a few factors to consider when selecting an ice cream maker:
- Type of Ice Cream Maker: As mentioned earlier, there are three main types of ice cream makers: manual, electric, and self-freezing. Manual ice cream makers require more effort and physical cranking, while electric models are more convenient and do the churning for you. Self-freezing ice cream makers are ideal if you want to skip the hassle of pre-freezing the bowl.
- Capacity: Consider how much ice cream you want to make at once. Ice cream makers come in various sizes, ranging from 1-quart to 6-quart capacities. If you have a large family or plan on making ice cream for gatherings, opt for a larger capacity.
- Price: Set a budget for your ice cream maker and look for options that fall within your price range. Keep in mind that more expensive models usually offer additional features and better build quality.
- Ease of Use and Cleaning: Look for models that are user-friendly and easy to clean. Removable parts and dishwasher-safe components can make the cleaning process a breeze.
- Reviews and Ratings: Read reviews and ratings from other customers to get an idea of the performance and durability of the ice cream maker you’re considering. Customer feedback can provide insights into any potential issues or advantages of the machine.
- Additional Features: Some ice cream makers come with extra features like timers, temperature controls, and pre-set program settings. Consider if these features are important to you and if they align with your ice cream-making needs.
Once you have identified your specific preferences and requirements, it’s time to start looking for ice cream makers that meet your criteria. Check out online retailers, appliance stores, and customer reviews to compare different models and make an informed decision.
Remember that investing in a good quality ice cream maker will not only result in delicious homemade ice cream but also provide you with a durable and reliable machine for years to come. So take your time, do your research, and choose an ice cream maker that will bring your homemade ice cream dreams to life!
Gathering Ingredients
Before we can start making ice cream, it’s essential to gather all the necessary ingredients. While the basic ingredients for ice cream are relatively simple, you can get creative with additional flavors and mix-ins. Here’s a list of the primary ingredients you’ll need:
- Cream or Milk: The base of most ice cream recipes is cream or milk. Choose a high-fat content cream, such as heavy cream or whipping cream, for a rich and creamy texture. If you prefer a lighter option, you can use whole milk instead.
- Sugar: Sugar provides sweetness and helps make the ice cream smooth and creamy. Granulated sugar is the most commonly used type, but you can also experiment with alternatives like brown sugar, honey, or maple syrup.
- Flavorings: This is where you can get creative and add various flavors to your ice cream. Vanilla extract is a classic choice, but you can also use other extracts like almond, mint, or coconut. For fruit-based ice creams, you’ll need fresh or frozen fruits that are ripe and full of flavor.
- Optional Mix-ins: Adding extra ingredients like chocolate chips, nuts, cookie dough, or chopped fruits can take your ice cream to the next level. Whether you prefer chunky or smoothly blended mix-ins, the choice is yours.
Now that you have a general idea of the main ingredients, it’s time to gather them from your local grocery store or farmers market. Opt for high-quality ingredients to ensure the best flavor and texture in your homemade ice cream.
In addition to the primary ingredients, you’ll also need a couple of kitchen tools and equipment, such as a mixing bowl, whisk, spatula, and of course, an ice cream maker. Make sure to read the instruction manual for your ice cream maker before you begin to familiarize yourself with its specific requirements and functions.
Once you have gathered all the ingredients and equipment, you’re ready to move on to the next step: preparing the ice cream base. Stay tuned!
Preparing the Ice Cream Base
Now that you have gathered all the ingredients, it’s time to prepare the ice cream base. The base serves as the foundation of your ice cream and determines its flavor and texture. Here’s a step-by-step guide on how to prepare the ice cream base:
- Measure and combine the ingredients: Start by measuring the cream or milk and sugar according to your chosen recipe. Pour them into a mixing bowl and whisk until the sugar is fully dissolved.
- Add flavorings: If you’re using any extracts like vanilla or almond, add them to the mixture and whisk again to incorporate the flavors.
- Chill the mixture: Cover the bowl with plastic wrap or a lid and place it in the refrigerator for at least 1 hour or until the mixture is thoroughly chilled. Chilling the base will help the flavors meld together and create a smoother ice cream texture.
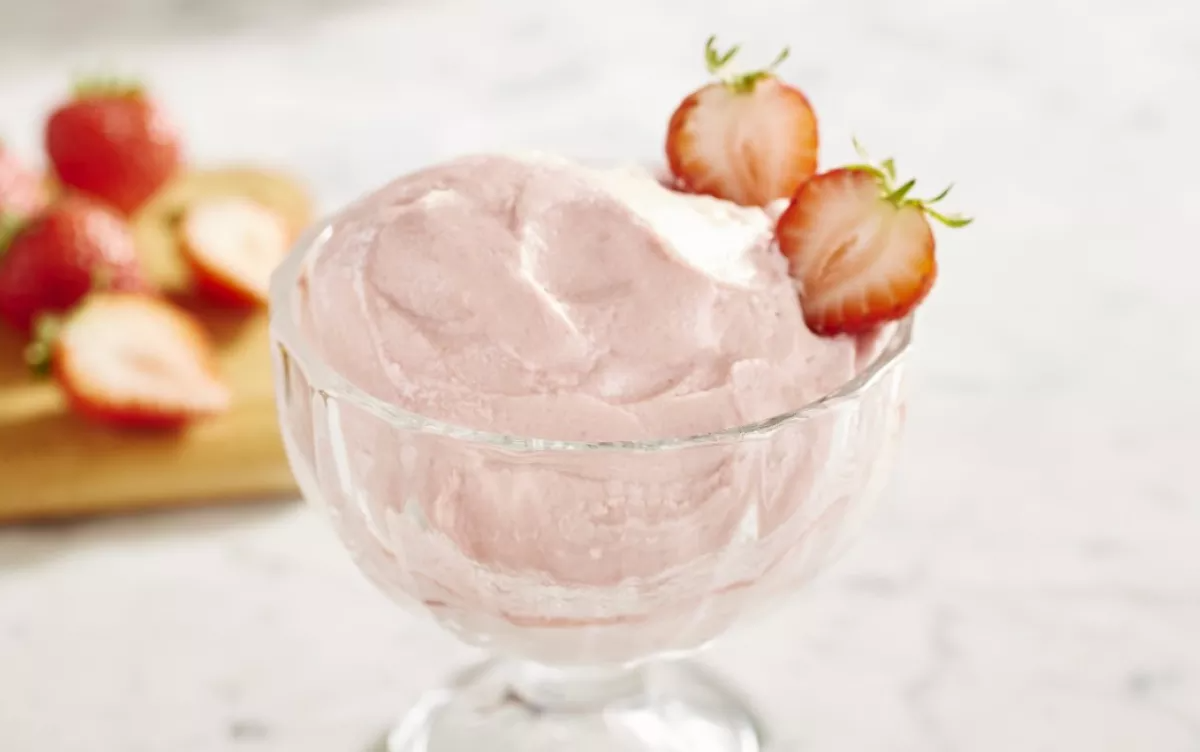
- Preparing fruit-based ice cream: If you’re making a fruit-based ice cream, such as strawberry or mango, you’ll need to puree the fruits first. Blend the fruits in a blender or food processor until smooth and then strain the mixture to remove any seeds or pulp.
- Combine the fruit puree: Once your ice cream base is chilled and your fruit puree is ready, add the puree to the base mixture and stir until well combined.
Once you have prepared the ice cream base, you’re ready to move on to the next step: using your ice cream maker to churn the mixture and turn it into a deliciously creamy treat. But before we go there, let’s talk about some tips and tricks that will help you make the best homemade ice cream. Stay tuned!
Churning the Ice Cream
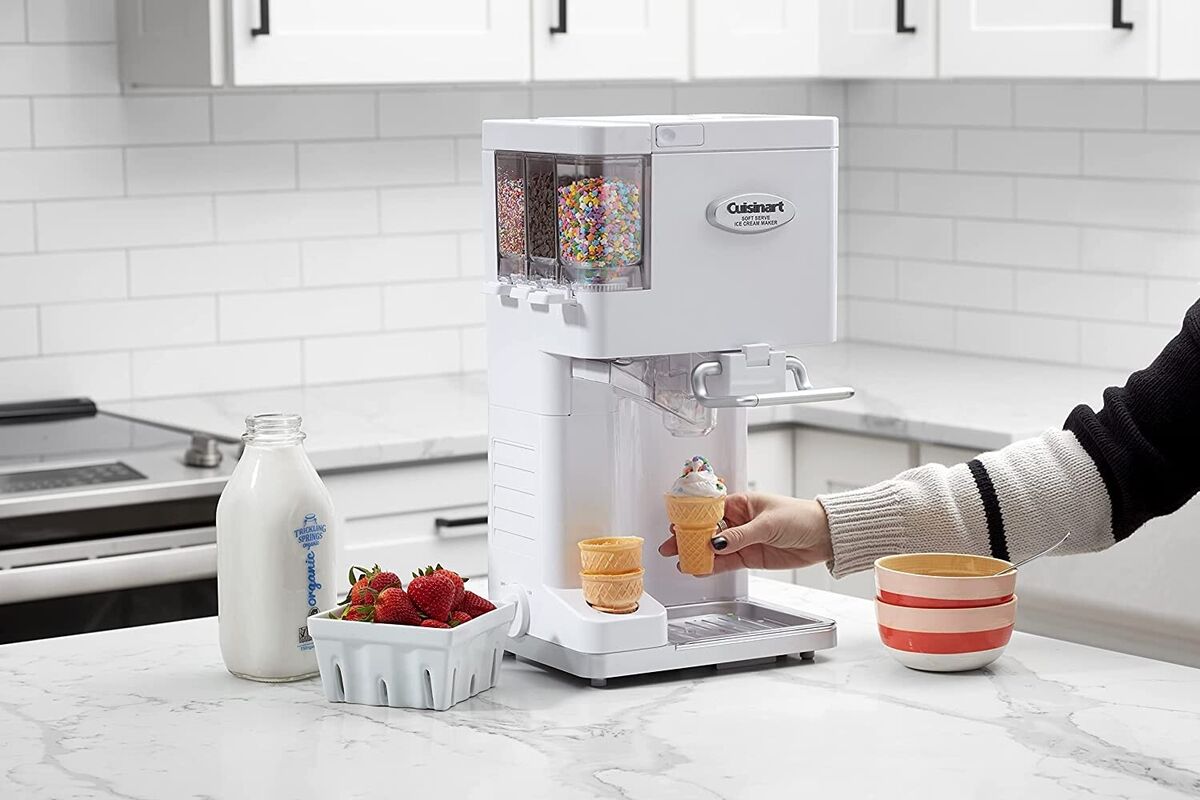
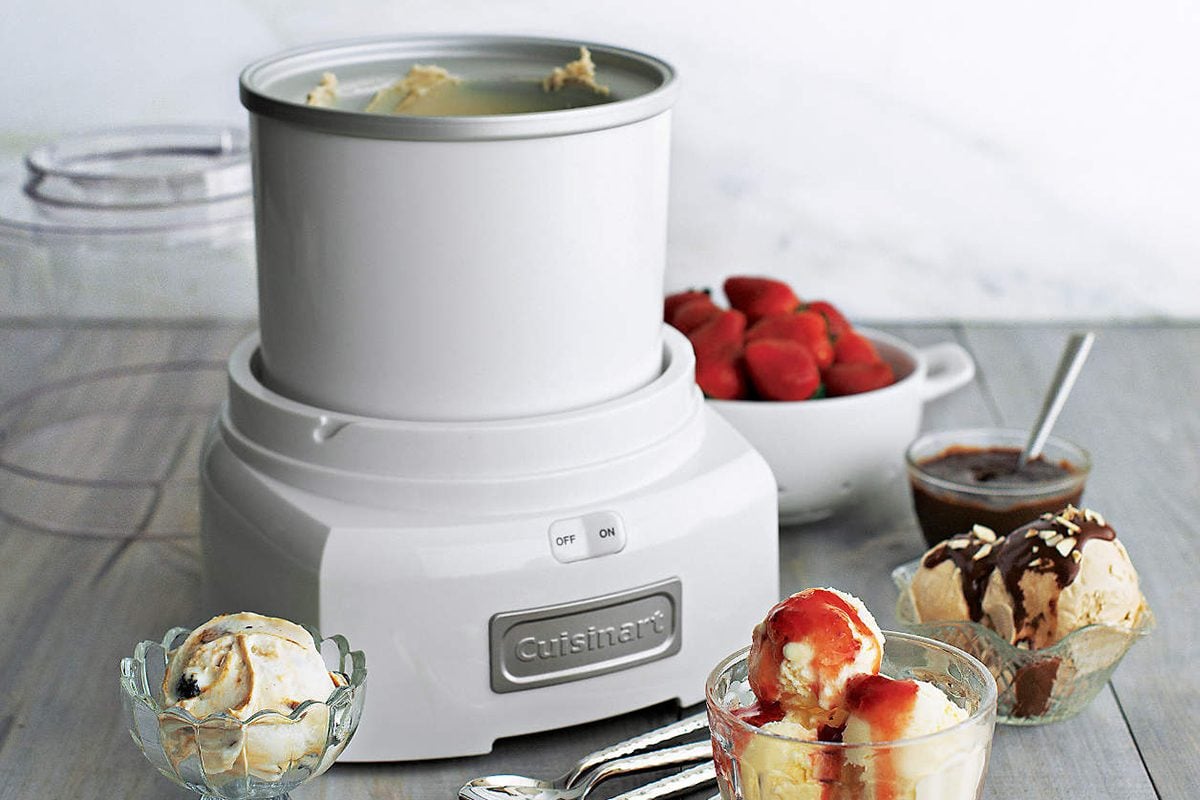
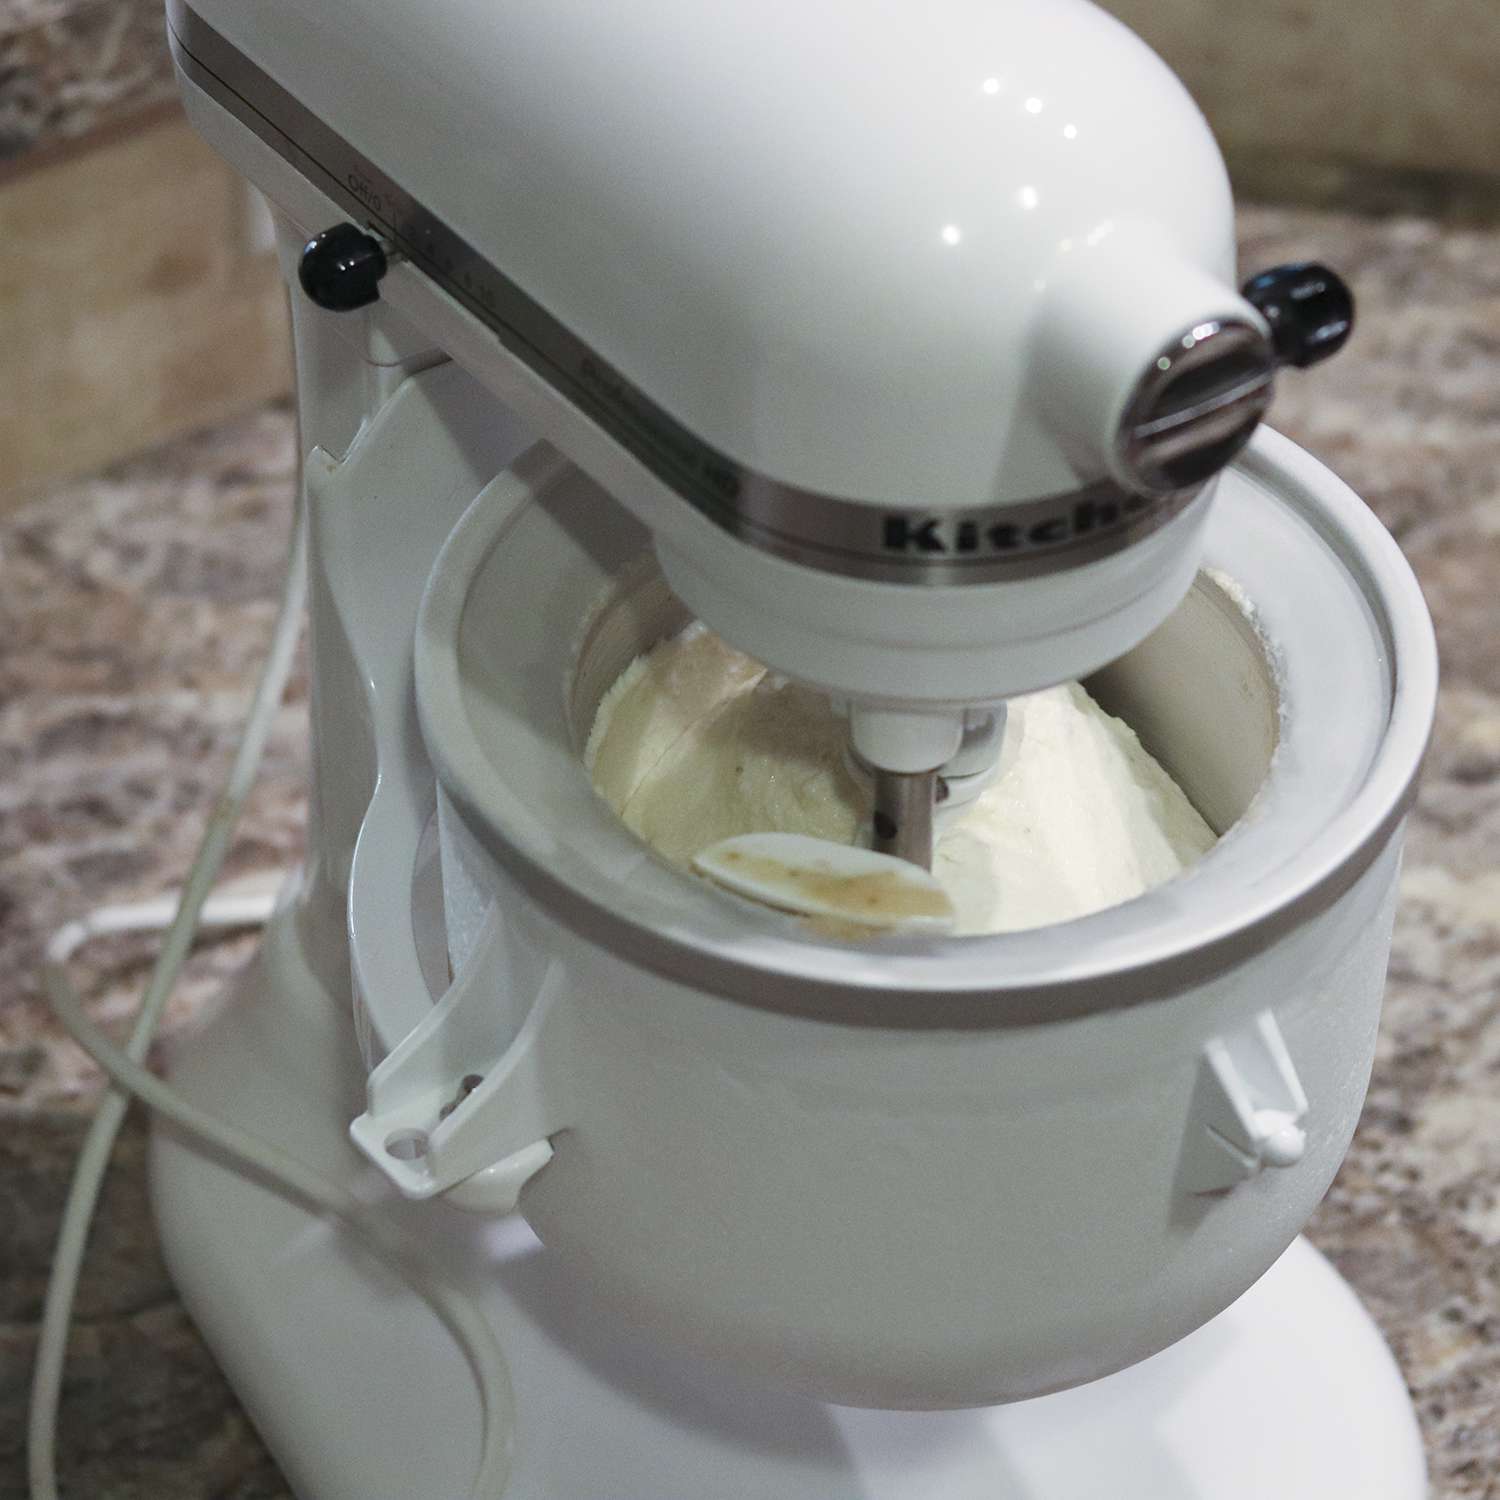
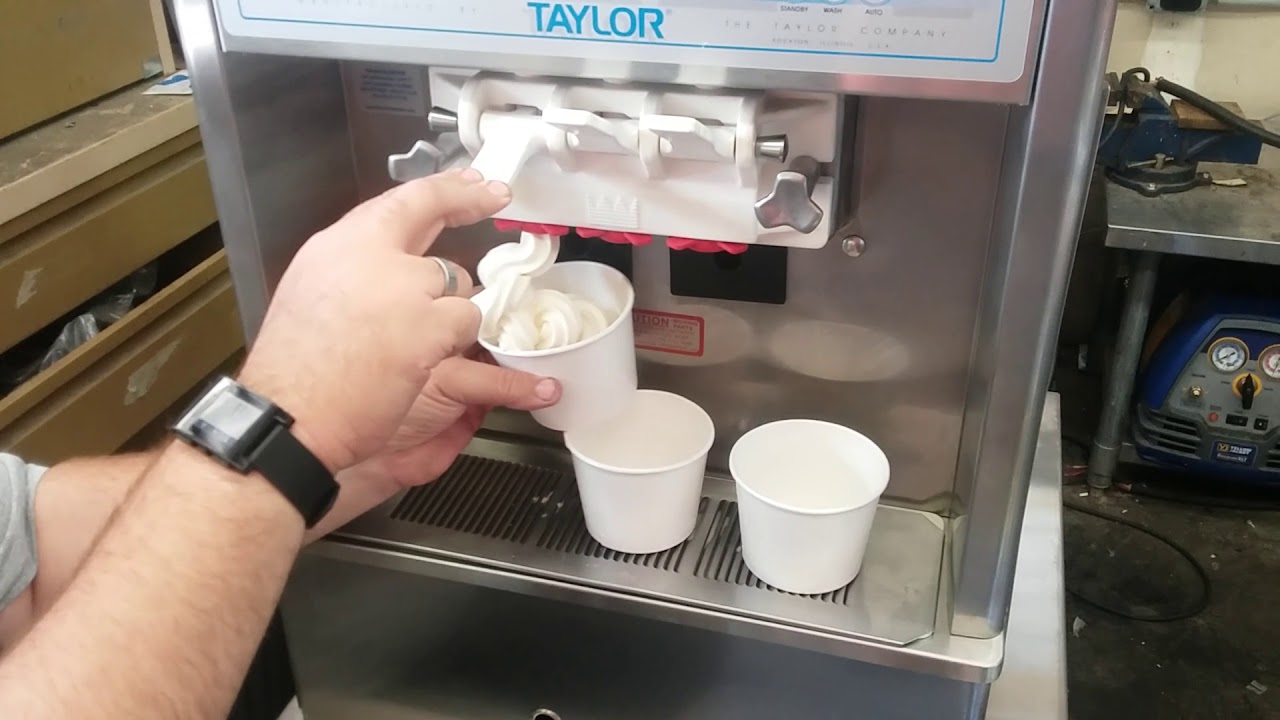
Now comes the exciting part of the ice cream-making process: churning! Churning is the process of freezing and agitating the ice cream base to incorporate air and create a smooth and creamy texture. Here’s how to churn your ice cream using an ice cream maker:
- Set up your ice cream maker: Follow the manufacturer’s instructions to assemble your ice cream maker properly. Make sure the bowl is pre-frozen according to the recommended time in the instruction manual. It’s essential to have a fully frozen bowl to ensure optimal churning.
- Pour the chilled ice cream base: Take the ice cream base out of the refrigerator and give it a quick stir to ensure it’s well blended. Then, pour the mixture into the ice cream maker’s frozen bowl.
- Turn on the machine: Start your ice cream maker and let it churn the mixture for the recommended time. Typically, it takes about 20-30 minutes, but follow your ice cream maker’s instructions for precise timing.
- Monitor the progress: As the machine churns, you’ll notice the ice cream base thickening and increasing in volume. It’s important to keep an eye on the consistency to avoid over-churning, which can result in a grainy texture.
- Check for doneness: After the recommended churning time has elapsed, check the ice cream’s consistency. It should be thick and creamy, like a soft-serve texture. If it’s too soft, continue churning for a few more minutes until it reaches the desired consistency.
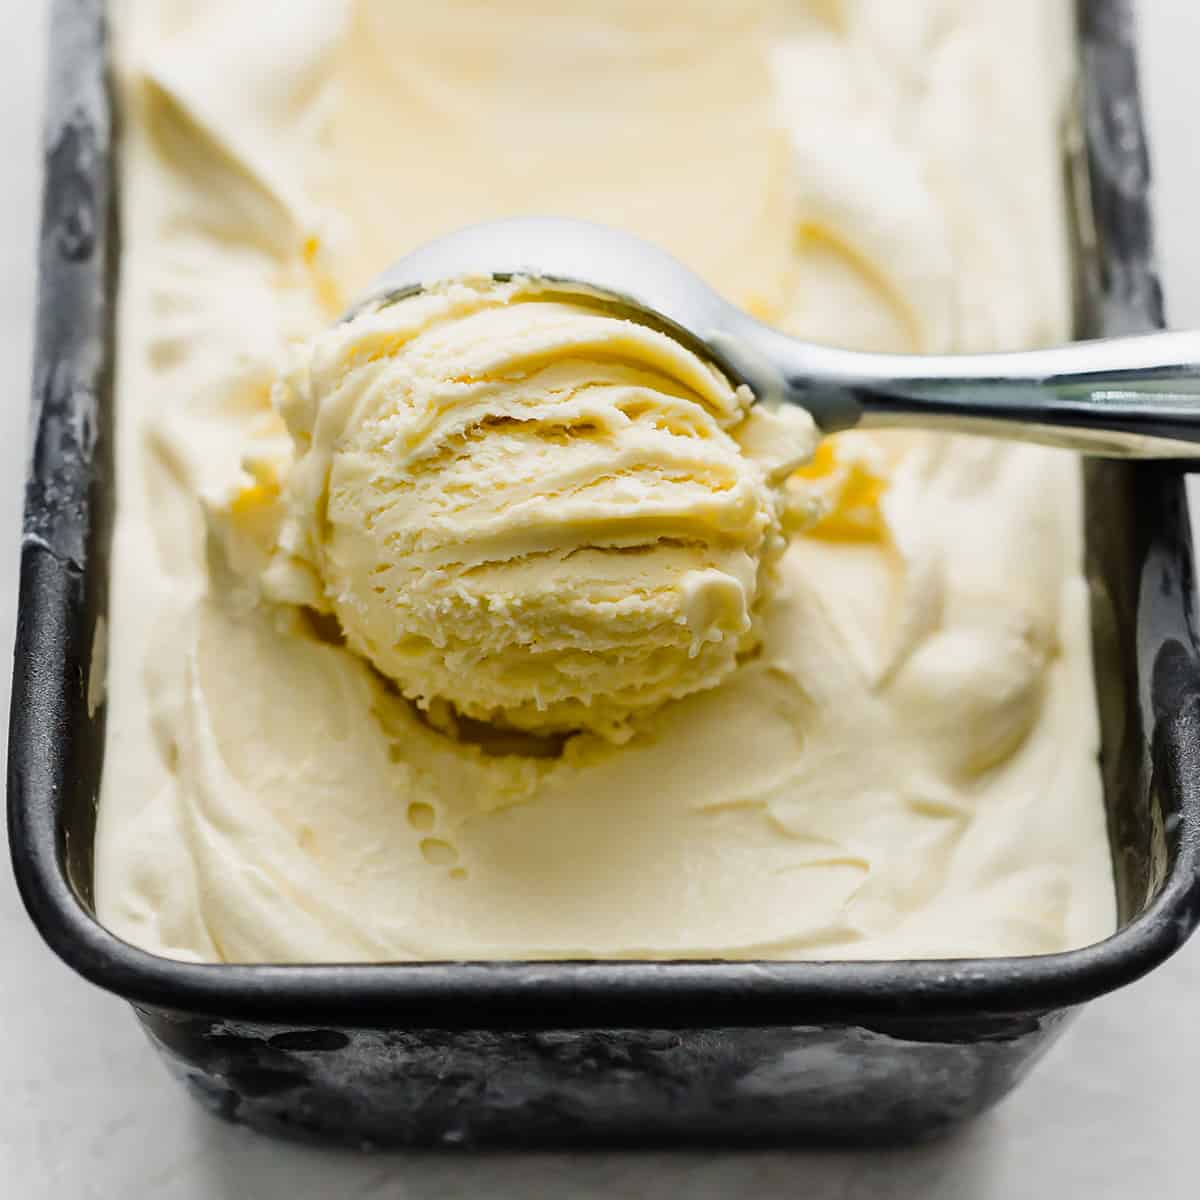
- Transfer and freeze: Once the ice cream has reached the desired texture, transfer it to a container with an airtight lid. Press a piece of plastic wrap directly onto the surface of the ice cream to prevent ice crystals from forming, then cover it with the lid. Place the container in the freezer to further firm up the ice cream for at least 4 hours or overnight.
Remember, the churning time may vary depending on the specific ice cream maker you’re using, as well as the temperature and consistency of your ice cream base. So always refer to your machine’s instructions for the best results.
Now that you’ve successfully churned your ice cream, it’s time to take it to the next level by adding flavors and mix-ins. Keep reading for some tasty suggestions and tips for enhancing your homemade ice cream!
Add the ingredients to the ice cream maker canister and follow the manufacturer’s instructions for churning. Make sure the canister is properly frozen before adding the mixture to ensure proper freezing.
Read more: How To Make Ice Cream In Ice Cream Machine
Adding Flavors and Mix-ins
One of the most exciting aspects of making homemade ice cream is the ability to customize the flavors and add delicious mix-ins to create unique and tasty combinations. Here are some ideas on how to elevate your ice cream by adding flavors and mix-ins:
- Extracts and Spices: Enhance the flavor of your ice cream base by adding extracts like vanilla, almond, or mint. You can also experiment with spices like cinnamon or nutmeg to create a warm and aromatic flavor profile.
- Fruits: Fresh or frozen fruits provide a burst of natural sweetness and texture to your ice cream. Chop or puree your favorite fruits and add them to the churned ice cream base. Some popular fruit options include strawberries, blueberries, peaches, or even tropical fruits like mango or pineapple.
- Chocolates and Nuts: If you’re a chocolate lover, consider adding chocolate chips, chunks, or shavings to your ice cream. You can use dark, milk, or white chocolate, and even experiment with different flavors like mint or caramel. Additionally, adding crushed nuts like almonds, pecans, or walnuts can give your ice cream a delightful crunch.
- Cookie Dough and Brownies: Another popular mix-in option is cookie dough or brownie pieces. Make your own cookie dough or brownies from scratch and add them to the ice cream base during the last few minutes of churning for irresistible chunks of goodness.
- Sauces and Syrups: Drizzling sauces or syrups over your finished ice cream can add an extra layer of flavor and make your dessert even more indulgent. Consider options like caramel, fudge, strawberry, or even homemade fruit compotes.
When adding mix-ins to your ice cream, it’s essential to incorporate them evenly to ensure a balanced distribution of flavors. You can do this by layering the ice cream and mix-ins in the storage container or folding the mix-ins into the churned ice cream with a spatula before transferring it to the freezer container.
Remember, the possibilities are endless when it comes to flavors and mix-ins. Get creative and have fun experimenting with different combinations to find your favorite ice cream creations!
Now that your ice cream is ready to be enjoyed, let’s talk about the proper methods for freezing and storing it to maintain its quality and freshness.
Freezing and Storing the Ice Cream
Once you’ve churned your homemade ice cream and added all the delicious flavors and mix-ins, it’s important to properly freeze and store it to maintain its creamy texture and prevent freezer burn. Here are some tips for freezing and storing your homemade ice cream:
- Transfer to an airtight container: After churning your ice cream, transfer it from the ice cream maker to an airtight container with a lid. Use a container that is the right size for the amount of ice cream you’ve made, leaving some headspace at the top to allow for expansion during freezing.
- Press plastic wrap onto the surface: Before sealing the container, press a piece of plastic wrap directly onto the surface of the ice cream. This helps prevent ice crystals from forming and keeps your ice cream smooth and creamy.
- Seal tightly and label: Secure the lid tightly on the container to ensure a proper seal. It’s also a good idea to label the container with the flavor and date, so you can easily identify it in your freezer.
- Place in the coldest part of the freezer: Put the container of ice cream in the coldest part of your freezer, usually the back. Keeping it away from the freezer door helps maintain a consistent temperature and prevents temperature fluctuations that can lead to ice crystals or freezer burn.
- Freeze for at least 4 hours or overnight: Allow the ice cream to freeze for at least 4 hours or overnight to achieve a firm and scoopable texture.
- Serve and reseal promptly: When serving the ice cream, scoop out what you need and reseal the container immediately. The longer the ice cream sits at room temperature, the more likely it is to melt and re-freeze, resulting in a loss of quality.
- Store for up to 2-3 months: Homemade ice cream is best enjoyed within a couple of weeks, but it can be stored in the freezer for up to 2-3 months. However, note that the longer it’s stored, the more the texture and flavor may degrade over time.
Remember, homemade ice cream doesn’t contain preservatives like store-bought versions, so it’s important to consume it within a reasonable timeframe for the best experience. But with its delicious taste, it’s unlikely to last too long anyway!
Now that you know how to freeze and store your homemade ice cream, let’s wrap up with some final tips and tricks to make the process even more enjoyable.
Tips and Tricks for Homemade Ice Cream
Making homemade ice cream can be a delightful and rewarding experience. To ensure the best results, here are some tips and tricks to keep in mind:
- Read the instructions: Familiarize yourself with the instruction manual of your ice cream maker before starting. Each machine may have specific requirements and operating instructions.
- Pre-chill ingredients: For a smoother texture, make sure to chill your cream/milk and other ingredients in the refrigerator before using them in your ice cream base.
- Balance sweetness: Adjust the sugar content to your preference. Keep in mind that sweetness decreases slightly when the mixture is frozen, so it’s better to lean on the slightly sweeter side.
- Don’t overfill the ice cream maker: Leave some room for expansion as the ice cream churns. Overfilling can prevent proper churning and result in a less creamy texture.
- Experiment with flavors: Don’t be afraid to get creative with different flavors and mix-ins. Try unique combinations like lavender honey, matcha green tea, or toasted coconut.
- Freeze mix-ins beforehand: If you’re adding chunky mix-ins like cookies or brownies, freeze them beforehand. This prevents them from becoming soggy during the churning process.
- Allow time for flavors to develop: After churning, let the ice cream sit in the freezer for a couple of hours before serving. This allows the flavors to develop and the texture to stabilize.
- Keep the ice cream covered: Always cover your ice cream container tightly to prevent freezer burn and off-flavors from other foods in the freezer.
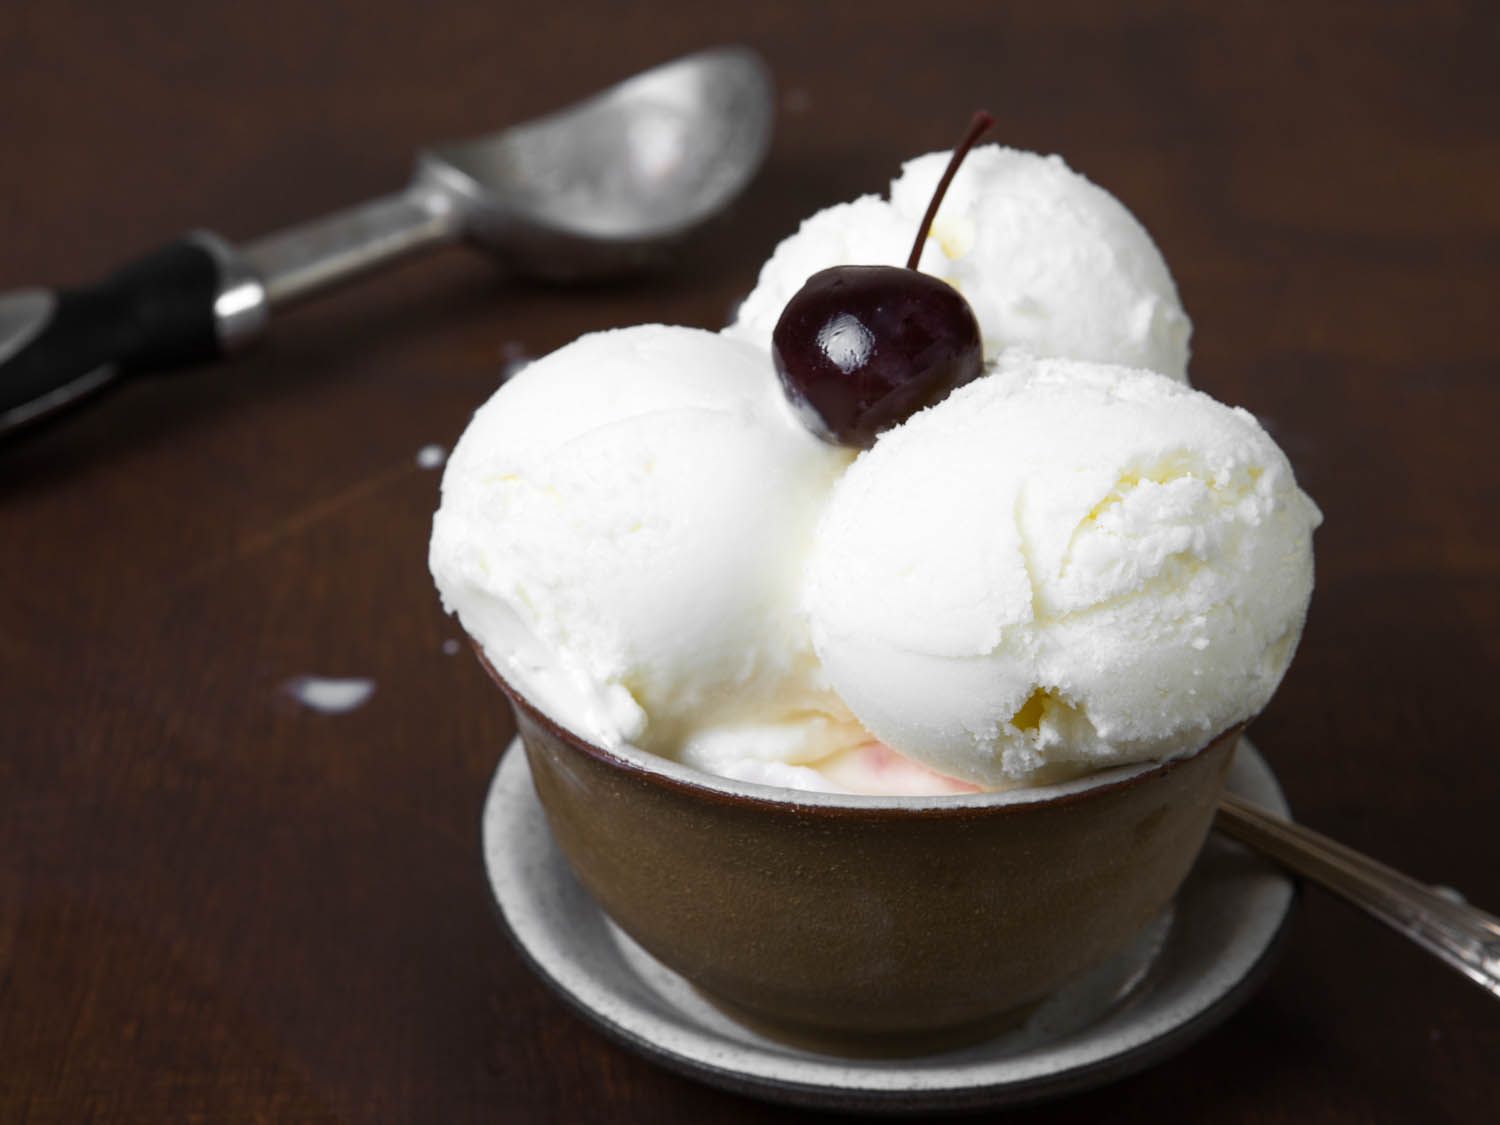
- Serve with love: Homemade ice cream is best enjoyed with a smile. Carefully scoop it into bowls or cones, and garnish it with your favorite toppings.
Remember, making ice cream at home is a fun and creative process. Don’t be discouraged if your first attempt isn’t perfect. With practice and experience, you’ll soon become an ice cream-making expert!
Now that you have a collection of tips and tricks, it’s time to put them into action and create your own delicious homemade ice cream. Enjoy the process, get creative, and savor every delightful scoop!
Conclusion
Congratulations! You’ve reached the end of this comprehensive guide on making homemade ice cream with an ice cream maker. By now, you should have a solid understanding of the process, from choosing the right ice cream maker to freezing and storing your delicious creations.
Making homemade ice cream is not only a fun and enjoyable activity for the whole family but also allows you to unleash your creativity and customize flavors to suit your preferences. With the right ingredients, equipment, and techniques, you can create ice cream that rivals the best artisanal brands.
Remember to start by choosing an ice cream maker that fits your needs and budget. Then gather high-quality ingredients like cream, sugar, flavorings, and mix-ins to create your ice cream base. Properly churn your mixture in the ice cream maker, and don’t forget to add your favorite flavors or mix-ins for that extra special touch.
After churning, transfer the ice cream to an airtight container, press plastic wrap onto the surface, and freeze it for at least a few hours to firm up. When it comes time to enjoy your homemade ice cream, scoop it into bowls or cones, and savor every creamy, flavorful bite.
Experiment with different flavors, mix-ins, and techniques to discover your signature ice cream creations. And don’t forget to have fun along the way. Making homemade ice cream is a creative and delicious journey that allows you to enjoy a sweet treat that’s truly your own.
So, what are you waiting for? Go ahead and start making your own scrumptious ice cream. Let your imagination run wild, and enjoy the incredible experience of creating frozen delights that will delight your taste buds and bring smiles to everyone’s faces!
Frequently Asked Questions about How To Make Ice Cream With Ice Cream Maker
Was this page helpful?
At Storables.com, we guarantee accurate and reliable information. Our content, validated by Expert Board Contributors, is crafted following stringent Editorial Policies. We're committed to providing you with well-researched, expert-backed insights for all your informational needs.


0 thoughts on “How To Make Ice Cream With Ice Cream Maker”