Home>Articles>How To Make Vanilla Ice Cream In An Ice Cream Maker

Articles
How To Make Vanilla Ice Cream In An Ice Cream Maker
Modified: August 28, 2024
Learn how to make delicious homemade vanilla ice cream with an ice cream maker. Follow our step-by-step guide and enjoy creamy goodness! Perfect for summer desserts.
(Many of the links in this article redirect to a specific reviewed product. Your purchase of these products through affiliate links helps to generate commission for Storables.com, at no extra cost. Learn more)
Introduction
There’s nothing quite like the sweet and creamy taste of homemade vanilla ice cream. Whether enjoyed on its own, in a cone, or as the perfect accompaniment to a warm dessert, making your own vanilla ice cream can be a fun and rewarding experience.
In this article, we’ll guide you through the process of making vanilla ice cream using an ice cream maker. With just a few simple ingredients and some basic equipment, you’ll be able to create a rich and delicious treat that will impress your friends and family.
Not only is homemade ice cream a delight for the taste buds, but it also allows you to tailor the flavors and textures to your liking. By making your own vanilla ice cream, you have full control over the ingredients, ensuring a wholesome and natural dessert without any added preservatives or artificial flavors.
So, let’s get started on our journey to creating a batch of creamy vanilla ice cream that will have everyone asking for seconds!
Key Takeaways:
- Create a creamy, customizable treat by making homemade vanilla ice cream in an ice cream maker. Enjoy the process and experiment with mix-ins for a delightful dessert experience.
- Embrace the satisfaction of crafting a wholesome, preservative-free dessert with full control over flavors and textures. Share the joy of homemade vanilla ice cream with loved ones.
Equipment Needed
Before we dive into the process of making vanilla ice cream, let’s first make sure you have all the necessary equipment. Here’s what you’ll need:
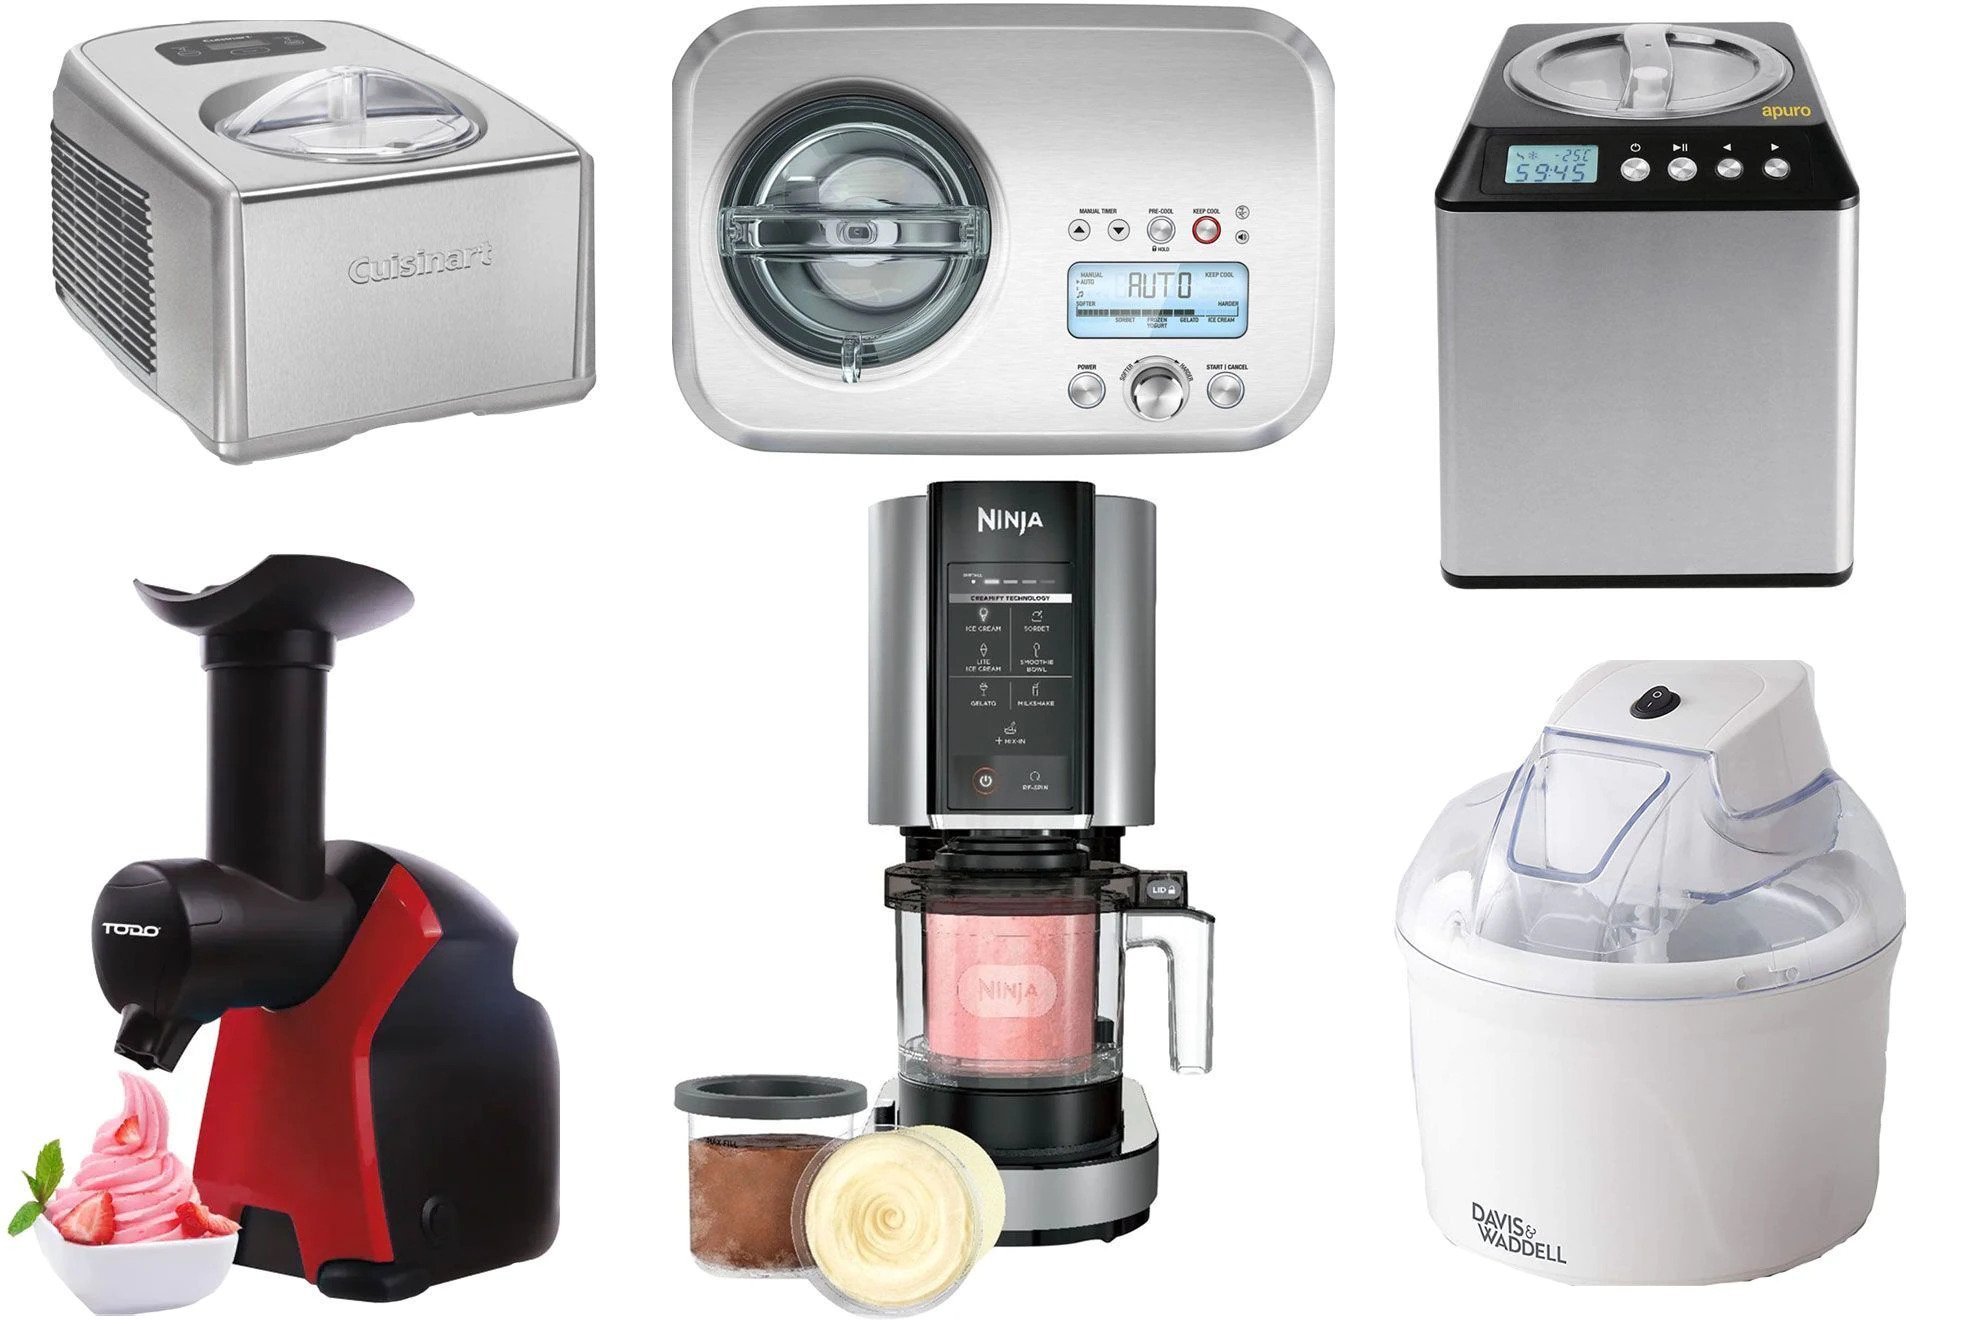
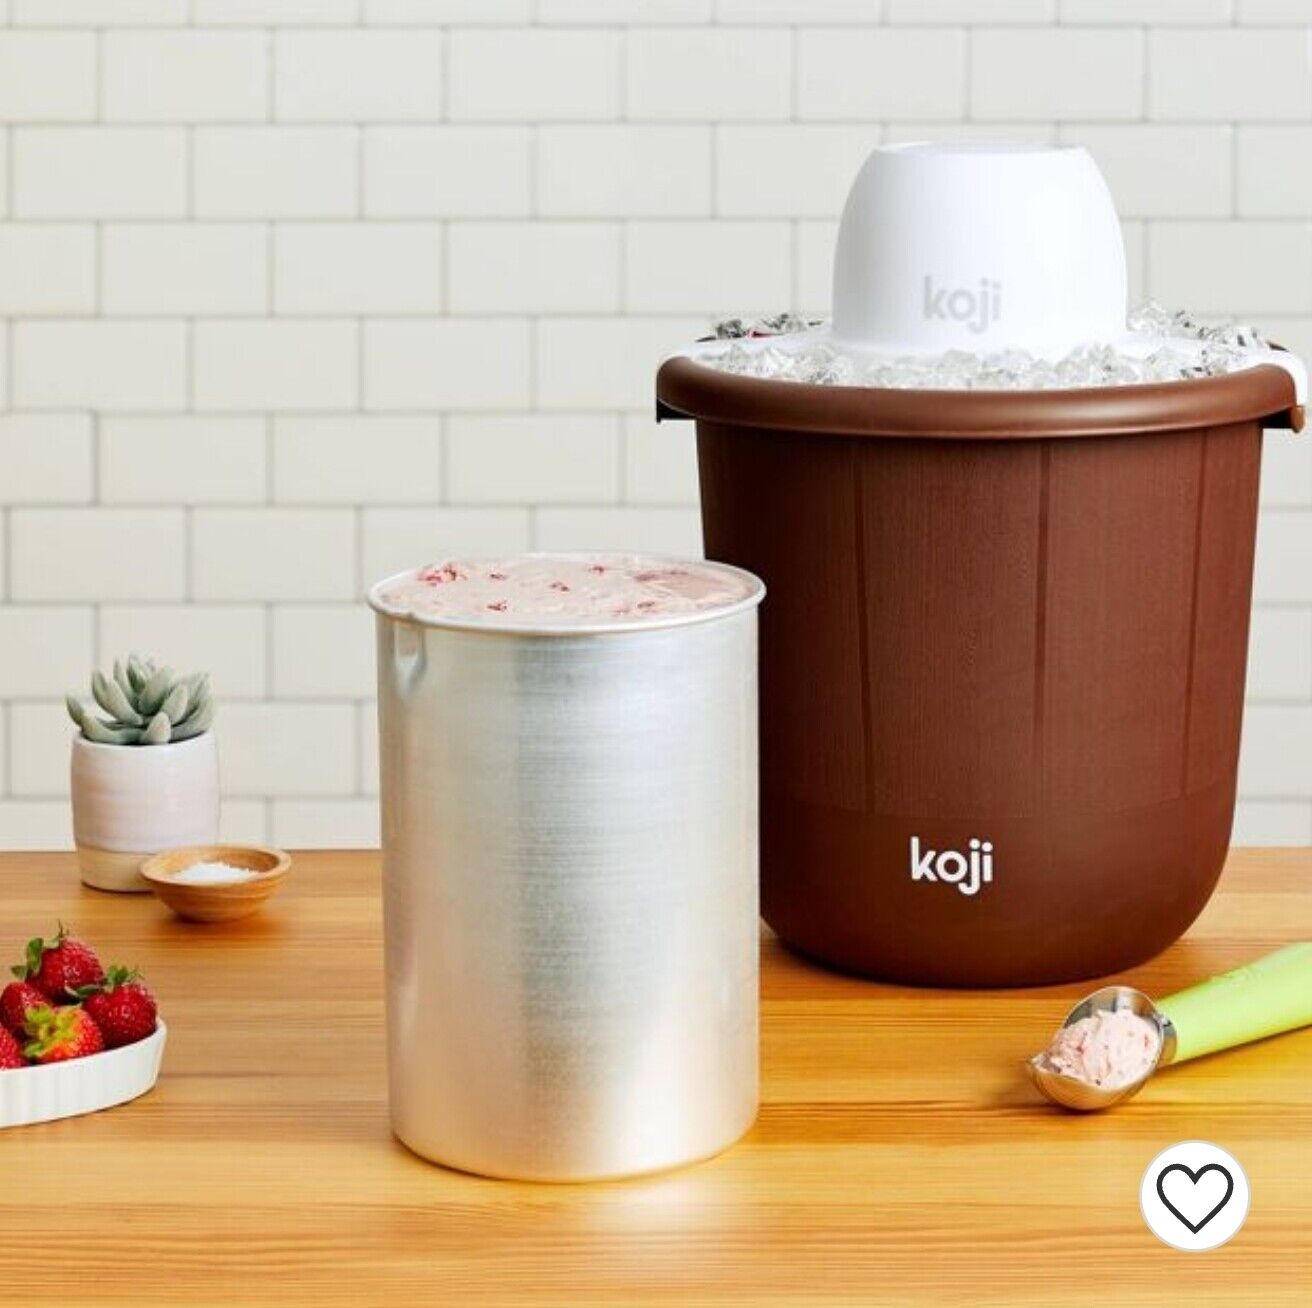
- Ice Cream Maker: You’ll need an ice cream maker to properly churn and freeze the ice cream mixture. There are various types available, including electric and manual models. Choose one that suits your preferences and budget.
- Freezer: You’ll need access to a freezer with enough space to accommodate the ice cream maker bowl. Ideally, the freezer should be set to a temperature of around 0°F (-18°C) to properly freeze the ice cream.
- Mixing Bowls: You’ll need a few mixing bowls for preparation and cooling of the ice cream base.
- Whisk or Hand Mixer: A whisk or hand mixer will be handy for mixing the ingredients and creating a smooth ice cream base.
- Measuring Cups and Spoons: Accurate measurement is crucial in achieving the perfect balance of flavors. Make sure you have measuring cups and spoons for both dry and liquid ingredients.
- Spatula or Wooden Spoon: A spatula or wooden spoon will be needed for stirring and scraping the sides of the bowl during the freezing process.
- Storage Container: Once the ice cream is ready, you’ll need a container to store it in the freezer. Choose a container with an airtight lid to prevent ice crystals from forming.
Now that you have all the necessary equipment gathered, it’s time to move on to the ingredients needed to create your homemade vanilla ice cream masterpiece.
Ingredients
To make delicious vanilla ice cream, you’ll need the following ingredients:
- 2 cups of heavy cream: Heavy cream will give your ice cream a rich and creamy texture.
- 1 cup of whole milk: Whole milk adds a smoothness to the ice cream and helps balance the richness of the cream.
- 3/4 cup of granulated sugar: Sugar not only sweetens the ice cream but also helps to prevent ice crystals from forming.
- 1 tablespoon of pure vanilla extract: Vanilla extract adds a delightful flavor to the ice cream. Make sure to use pure extract for the best results.
- A pinch of salt: A pinch of salt helps to enhance the flavors of the other ingredients and balance the sweetness.
These basic ingredients will create a classic vanilla ice cream, but feel free to experiment and add your own personal twist. You can infuse the ice cream base with additional flavors such as chocolate chips, fruits, or spices to create unique variations.
It’s important to use high-quality ingredients for the best outcome. Using fresh and organic dairy products will give your ice cream a superior taste and texture.
Now that you have all your ingredients ready, let’s move on to the step-by-step process of making vanilla ice cream in an ice cream maker.
Step 1: Prepare the Ice Cream Base
The first step in making vanilla ice cream is to prepare the ice cream base. This is the mixture that will later be churned and frozen in the ice cream maker.
Start by combining the heavy cream and whole milk in a mixing bowl. Whisk them together until well blended. The combination of cream and milk will give the ice cream a smooth and creamy texture.
Next, add the granulated sugar and stir until it is completely dissolved. The sugar will sweeten the ice cream and help prevent the formation of ice crystals.
Now, it’s time to add the star ingredient – the pure vanilla extract. Measure out 1 tablespoon of vanilla extract and mix it into the cream mixture. Vanilla extract adds a delicious flavor that enhances the overall taste of the ice cream.
Lastly, add a pinch of salt to the ice cream base. The salt helps to enhance the flavors and balance the sweetness.
Once all the ingredients are combined, give the mixture a final whisk to ensure everything is well incorporated. You should now have a smooth and creamy ice cream base ready for the next step.
Now that the ice cream base is prepared, it’s time to move on to chilling it before it can be churned in the ice cream maker.
Step 2: Chilling the Base
After preparing the ice cream base, the next step is to chill it thoroughly. Chilling the base is important as it helps to develop the flavors and ensures a smooth freezing process in the ice cream maker.
To chill the ice cream base, transfer it to a clean and airtight container. It’s best to use a container with a lid to prevent any flavors from seeping in or any freezing odors from affecting the ice cream.
Place the container in the refrigerator and let it chill for at least 2 hours, or preferably overnight. This allows the flavors to meld together and the mixture to become cold to the touch.
During the chilling process, it’s normal for the mixture to thicken slightly. This is a sign that the base is developing and will result in a creamy and luscious texture once churned in the ice cream maker.
Remember, patience is key when it comes to making ice cream. The longer you chill the base, the better the final result will be.
Once the ice cream base is thoroughly chilled, it’s time to move on to the next step – setting up the ice cream maker.
Read more: How To Make Ice Cream In Ice Cream Machine
Step 3: Set Up the Ice Cream Maker
Now that your ice cream base is chilled and ready to go, it’s time to set up your ice cream maker.
Begin by taking the bowl of your ice cream maker out of the freezer. The bowl should be frozen solid, as this is crucial for the ice cream to freeze and churn properly.
Place the frozen bowl onto the base of your ice cream maker. Make sure it fits securely and is locked in place.
Next, assemble any additional parts of your ice cream maker according to the manufacturer’s instructions. This may include the paddle or dasher that will be used to churn the ice cream.
Before pouring the chilled ice cream base into the machine, give it a quick stir to ensure it is homogeneous. Then, carefully pour the base into the ice cream maker bowl.
Once everything is in place, securely fasten the lid of the ice cream maker. This will prevent any leaks or spills during the churning process.
Now that your ice cream maker is set up and ready, it’s time to start churning the ice cream!
Note: If you have a self-freezing ice cream maker, you may not need to pre-freeze the bowl. Simply follow the manufacturer’s instructions for your specific machine.
Add the vanilla extract at the end of the churning process to prevent it from evaporating and losing its flavor.
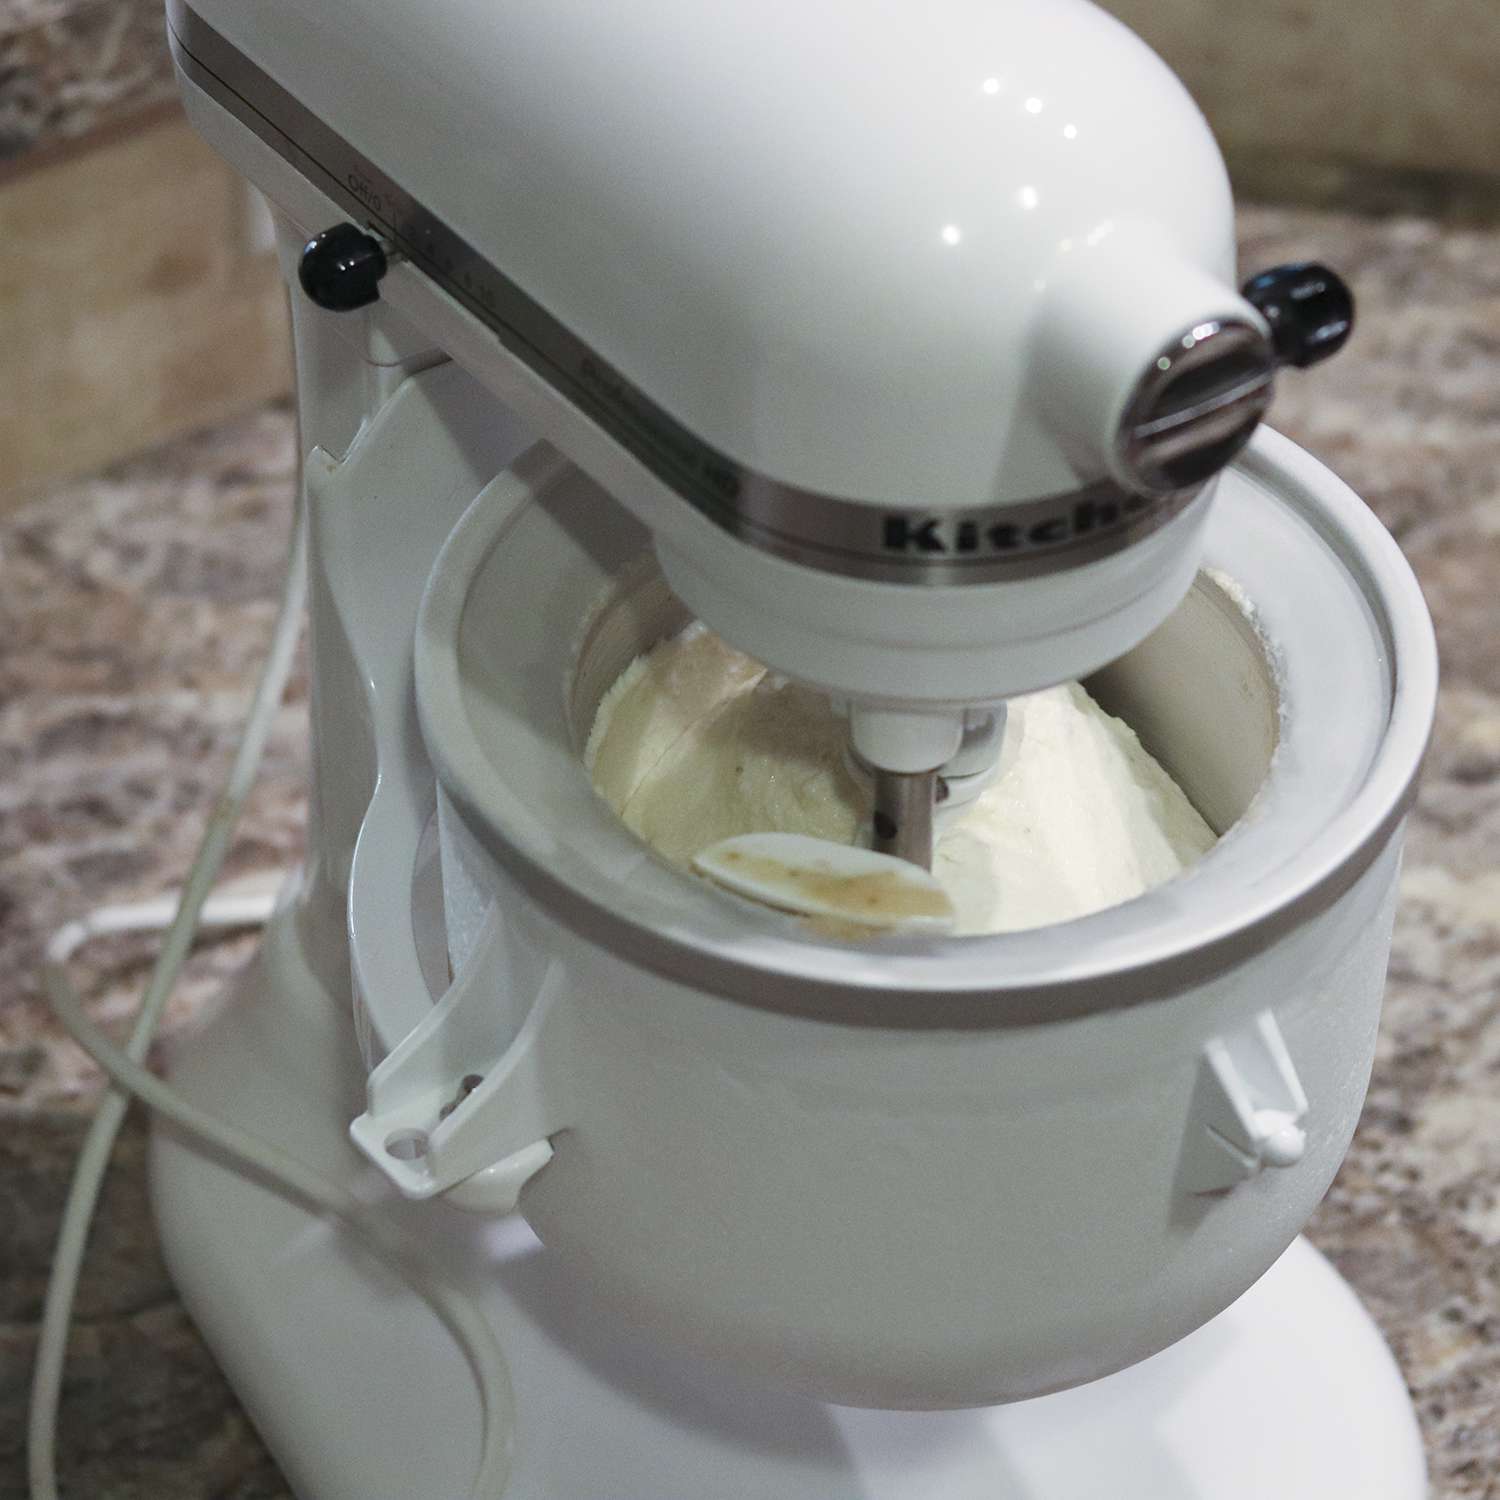
Step 4: Churn the Ice Cream
With the ice cream maker set up and the ice cream base poured in, it’s time to start the churning process. Churning is what gives ice cream its creamy texture by incorporating air and preventing ice crystals from forming.
Turn on the ice cream maker and let it churn according to the manufacturer’s instructions. This usually takes around 20-30 minutes, but the timing may vary depending on your machine.
As the machine churns, you’ll notice the ice cream base gradually thickening and increasing in volume. The constant motion helps to break up ice crystals and incorporate air, resulting in a smooth and creamy texture.
Be sure to keep an eye on the consistency of the ice cream as it churns. You’re looking for a soft-serve consistency – thickened and creamy, but not fully set.
Once the ice cream reaches the desired consistency, it’s time to move on to the next step. If you prefer a firmer texture, you can transfer the ice cream to a separate container and freeze it for a few more hours.
Now comes the fun part – adding mix-ins to customize your vanilla ice cream!
Step 5: Adding Mix-ins (optional)
Adding mix-ins to your vanilla ice cream is a great way to customize the flavor and add extra texture to your creation. While it’s perfectly delicious on its own, mix-ins can take your homemade ice cream to the next level.
Some popular mix-in options for vanilla ice cream include:
- Chocolate chips
- Chopped nuts
- Crushed cookies or biscuit crumbs
- Fruit purees or chunks
- Caramel or fudge swirls
To add mix-ins, carefully remove the churned ice cream from the ice cream maker and transfer it to a mixing bowl. Gently fold in your desired mix-ins until they’re evenly distributed throughout the ice cream.
Take care not to overmix the ice cream at this stage, as it may result in a loss of air and a denser texture. A light touch is all you need to incorporate the mix-ins without deflating the ice cream.
Once the mix-ins are added and evenly distributed, it’s time to move on to the next step – transferring the ice cream to a container for freezing.
Note: If you prefer to enjoy your vanilla ice cream without any mix-ins, simply skip this step and proceed to step 6.
Step 6: Transfer and Freeze
After adding any desired mix-ins, it’s time to transfer the freshly churned ice cream into a container for freezing.
Choose a container that is freezer-safe and has an airtight lid. This will help prevent ice crystals from forming and maintain the ice cream’s texture and flavor.
Carefully spoon the churned ice cream into the container. Smooth out the top with a spatula or the back of a spoon to create an even surface.
Place the lid securely on the container to seal it tightly. This will help prevent any unwanted odors or flavors from entering the ice cream.
Label the container with the date and flavor to easily identify it in the freezer.
Now, it’s time to freeze the ice cream. Place the container in the coldest part of your freezer, ideally at a temperature of 0°F (-18°C).
Allow the ice cream to freeze for at least 4-6 hours, or overnight, depending on how firm you prefer it.
During the freezing process, the ice cream will solidify and develop its final texture. It’s important to resist the temptation to continuously open the freezer and check on the ice cream, as this can cause fluctuations in temperature that may negatively affect the freezing process.
Once the ice cream is fully frozen, it’s ready to be enjoyed!
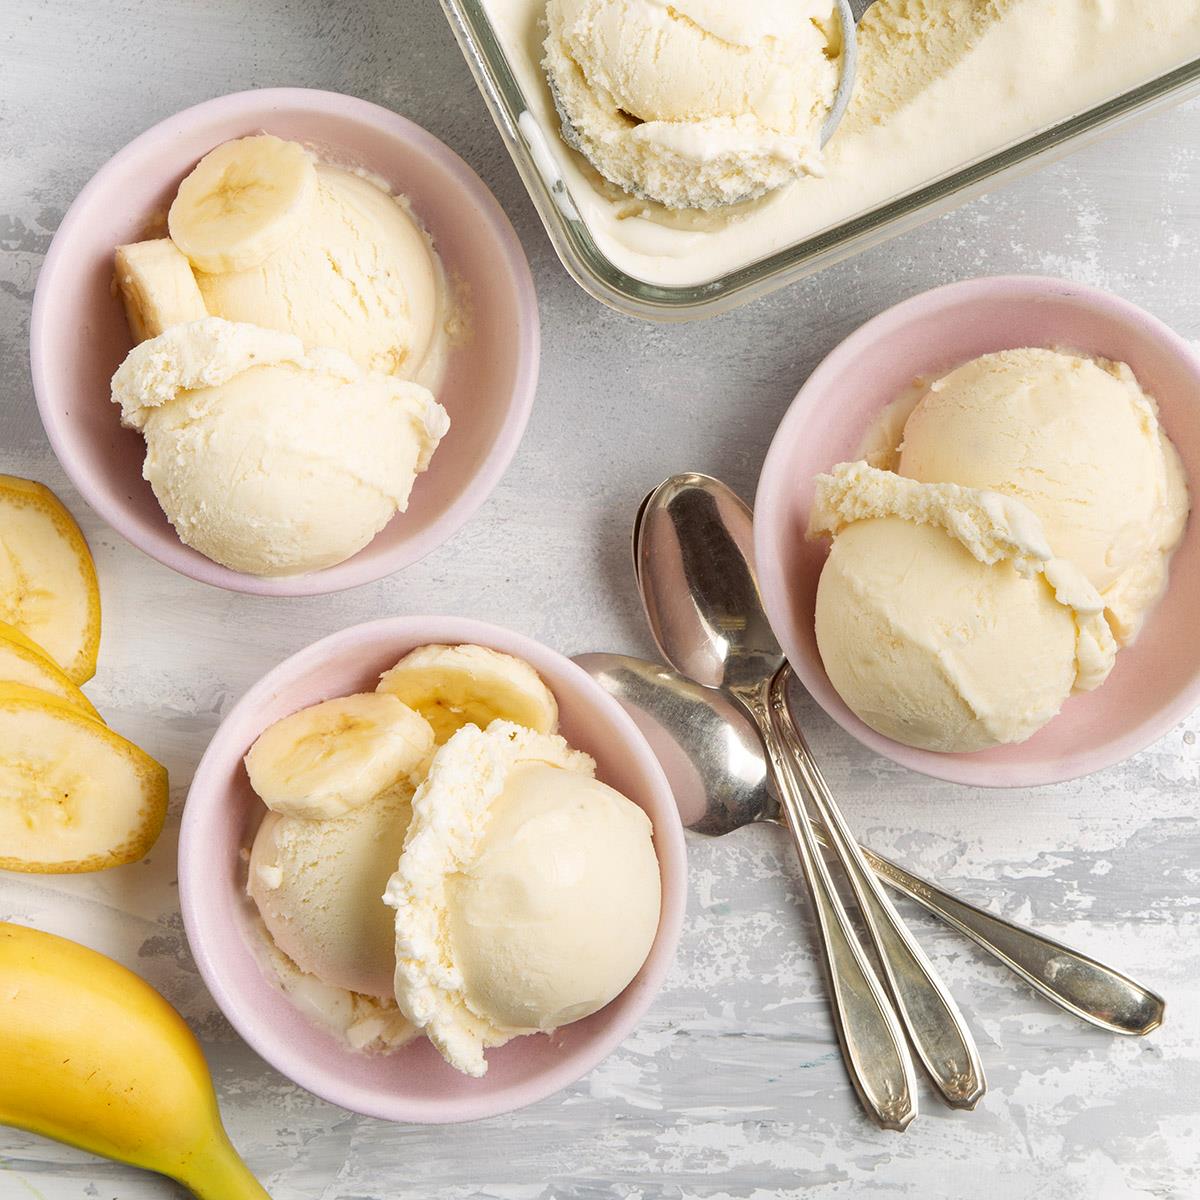
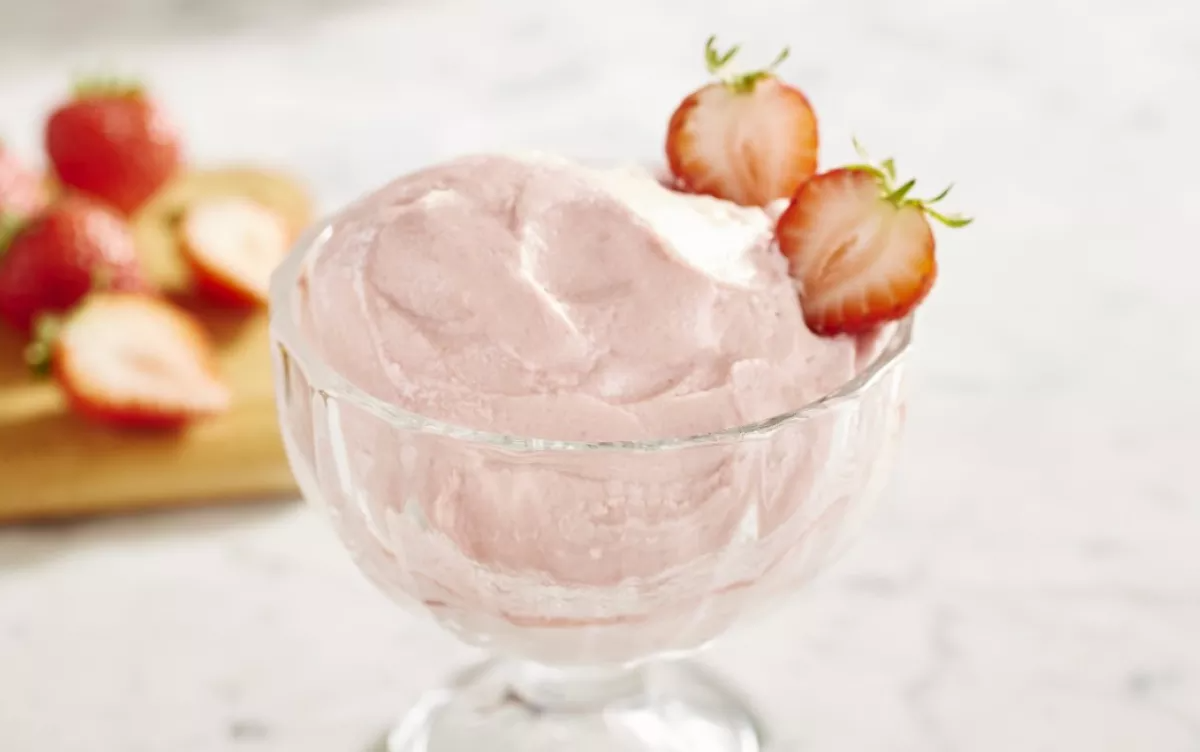
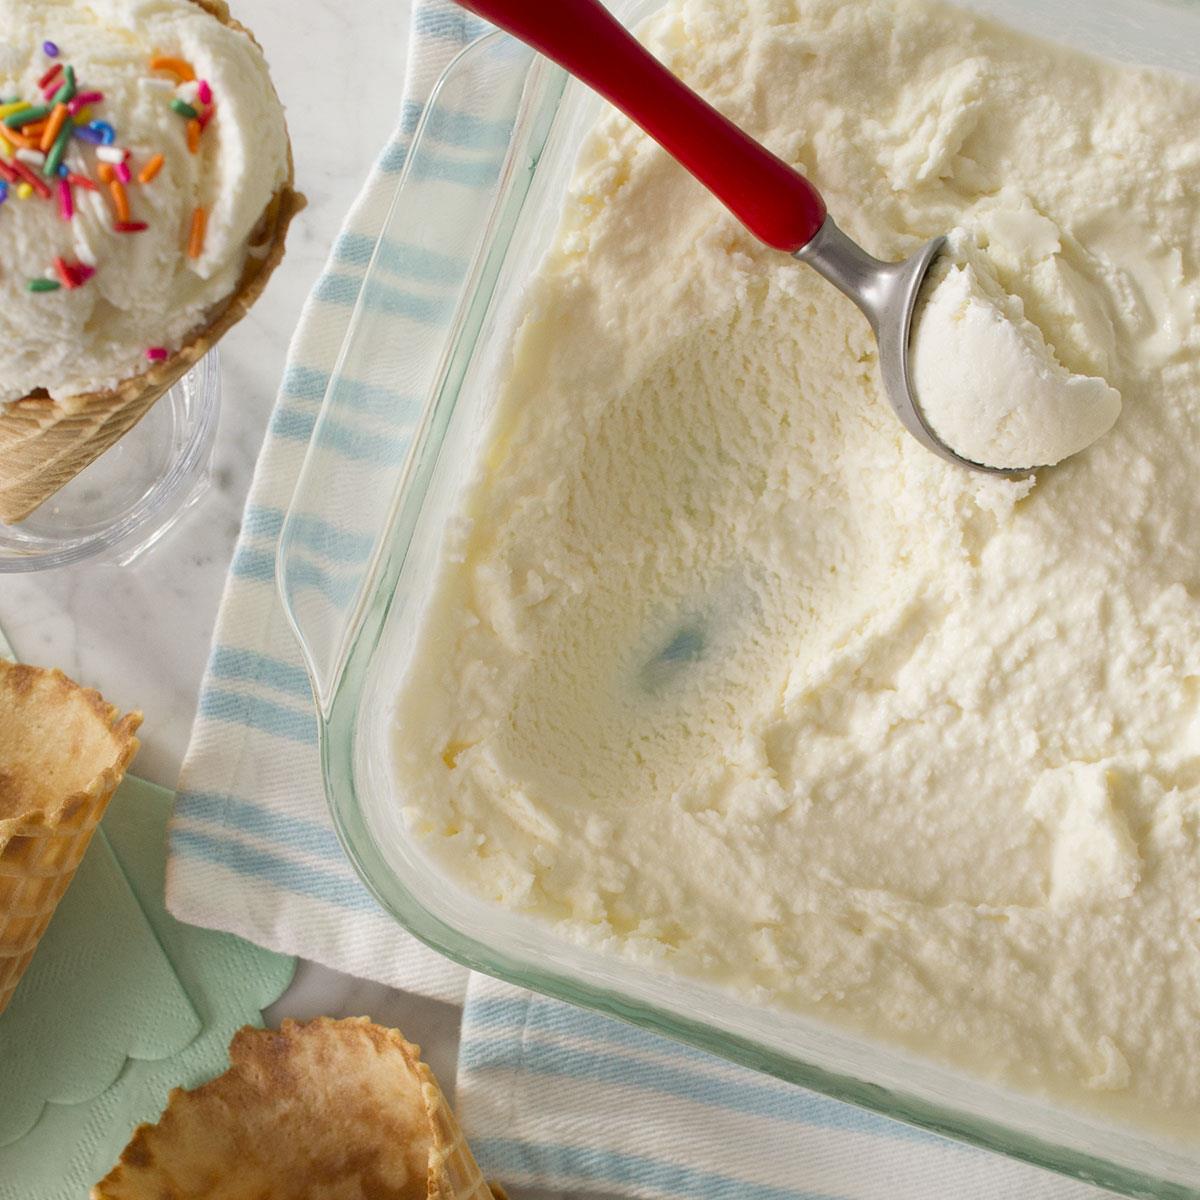
Step 7: Enjoy Your Homemade Vanilla Ice Cream
Congratulations, your homemade vanilla ice cream is now ready to be savored and enjoyed!
To serve, remove the container of ice cream from the freezer and let it sit at room temperature for a few minutes to soften slightly. This will make scooping easier and ensure a smooth and creamy texture.
Using an ice cream scoop, carefully portion out the desired amount of ice cream into bowls, cones, or dessert dishes.
If desired, you can garnish your vanilla ice cream with additional toppings such as chocolate sauce, caramel drizzle, whipped cream, or sprinkles.
Now it’s time to dig in and savor the delightful flavors of your homemade vanilla ice cream. Enjoy it on its own or pair it with your favorite desserts like apple pie, brownies, or fresh berries.
Remember, homemade ice cream is best enjoyed fresh. However, if you have any leftovers, be sure to store them in the freezer in an airtight container to maintain its quality.
Now that you know the process of making vanilla ice cream from scratch, feel free to experiment with different flavors and mix-ins to create your own unique creations. Get creative and have fun with it!
So, grab a spoon and indulge in the sweet and creamy goodness of your homemade vanilla ice cream. Enjoy every bite and savor the satisfaction that comes from creating a delicious treat from scratch.
Bon appétit!
Conclusion
Making homemade vanilla ice cream in an ice cream maker is a rewarding and enjoyable process. By following the steps outlined in this article, you can create a creamy and delicious treat that is sure to impress your friends and family.
From preparing the ice cream base to churning and freezing, each step is essential in achieving the perfect texture and flavor. Taking the time to chill the base, properly set up the ice cream maker, and incorporate mix-ins will result in a high-quality and customized dessert.
Homemade ice cream allows you to control the ingredients, ensuring a wholesome and natural treat without any artificial additives. Furthermore, it offers endless opportunities for experimentation, allowing you to add your own personal touch and explore different flavors and mix-ins.
Remember to use high-quality ingredients and be patient throughout the process. Chilling the base, churning the ice cream, and allowing it to freeze properly will yield the best results. Additionally, properly storing any leftover ice cream will help maintain its quality and freshness.
So why settle for store-bought ice cream when you can create your own delicious flavors at home? Grab your ice cream maker, gather your ingredients, and embark on a journey to make the perfect batch of homemade vanilla ice cream.
Indulge in the creamy, dreamy goodness of every scoop and savor the satisfaction of creating a delightful treat with your own hands. Share it with loved ones and enjoy the smiles and praises that come with a homemade dessert.
Get ready to embark on a sweet adventure and unlock your creativity in the kitchen. Your homemade vanilla ice cream awaits, so let’s get churning!
Frequently Asked Questions about How To Make Vanilla Ice Cream In An Ice Cream Maker
Was this page helpful?
At Storables.com, we guarantee accurate and reliable information. Our content, validated by Expert Board Contributors, is crafted following stringent Editorial Policies. We're committed to providing you with well-researched, expert-backed insights for all your informational needs.


0 thoughts on “How To Make Vanilla Ice Cream In An Ice Cream Maker”