Home>Articles>How Do I Make Ice Cream Without An Ice Cream Maker
Articles
How Do I Make Ice Cream Without An Ice Cream Maker
Modified: August 25, 2024
Learn how to make homemade ice cream without the need for an ice cream maker with our informative articles. Discover easy and delicious recipes for creamy frozen treats.
(Many of the links in this article redirect to a specific reviewed product. Your purchase of these products through affiliate links helps to generate commission for Storables.com, at no extra cost. Learn more)
Introduction
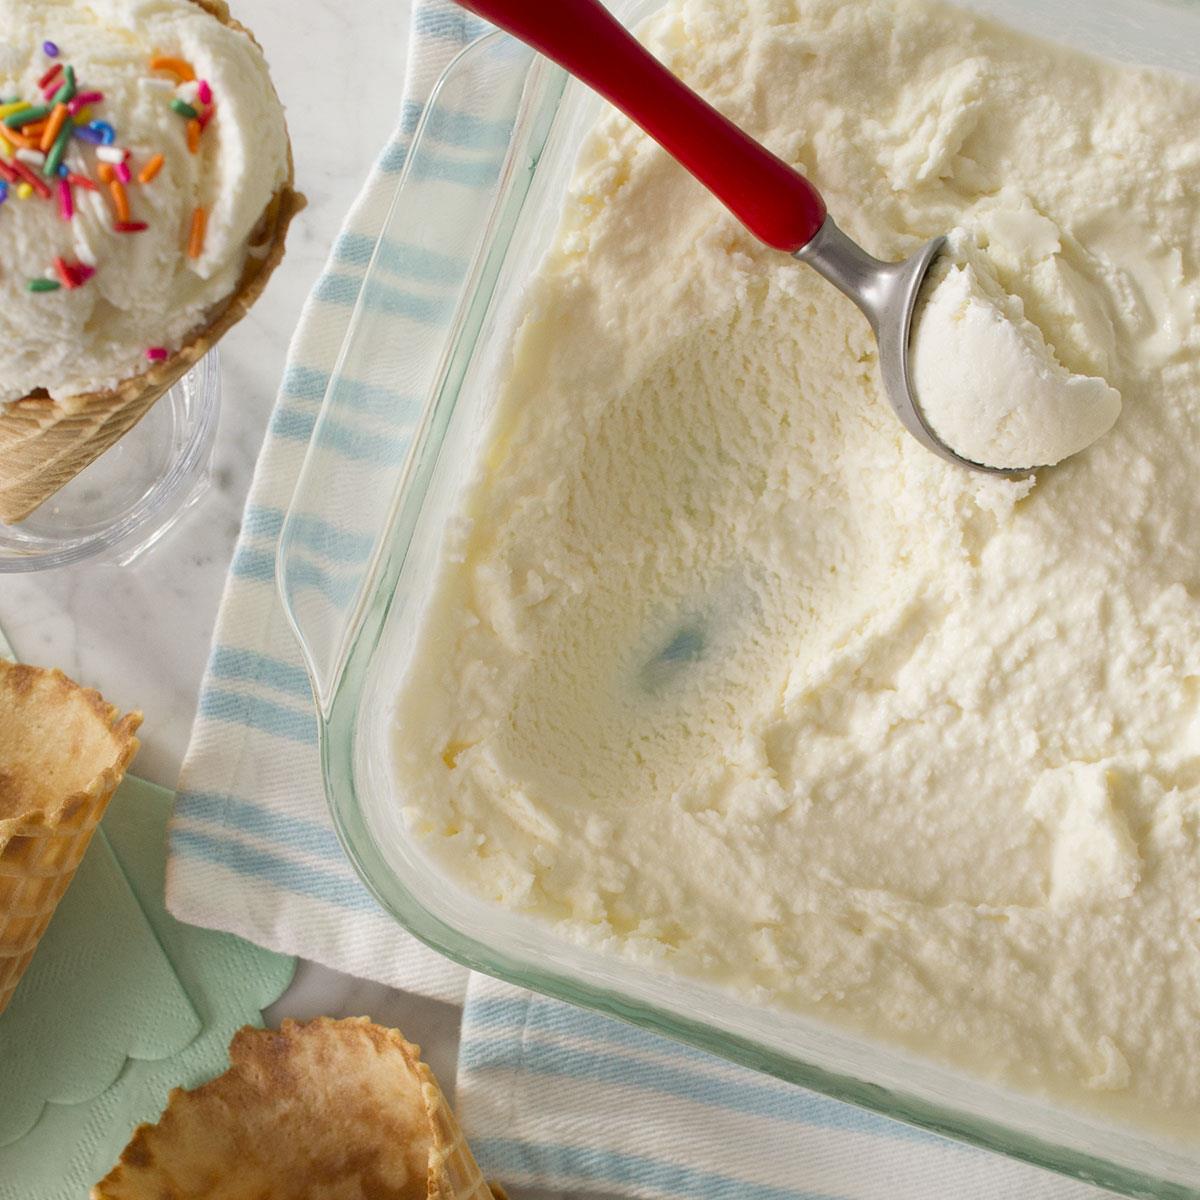
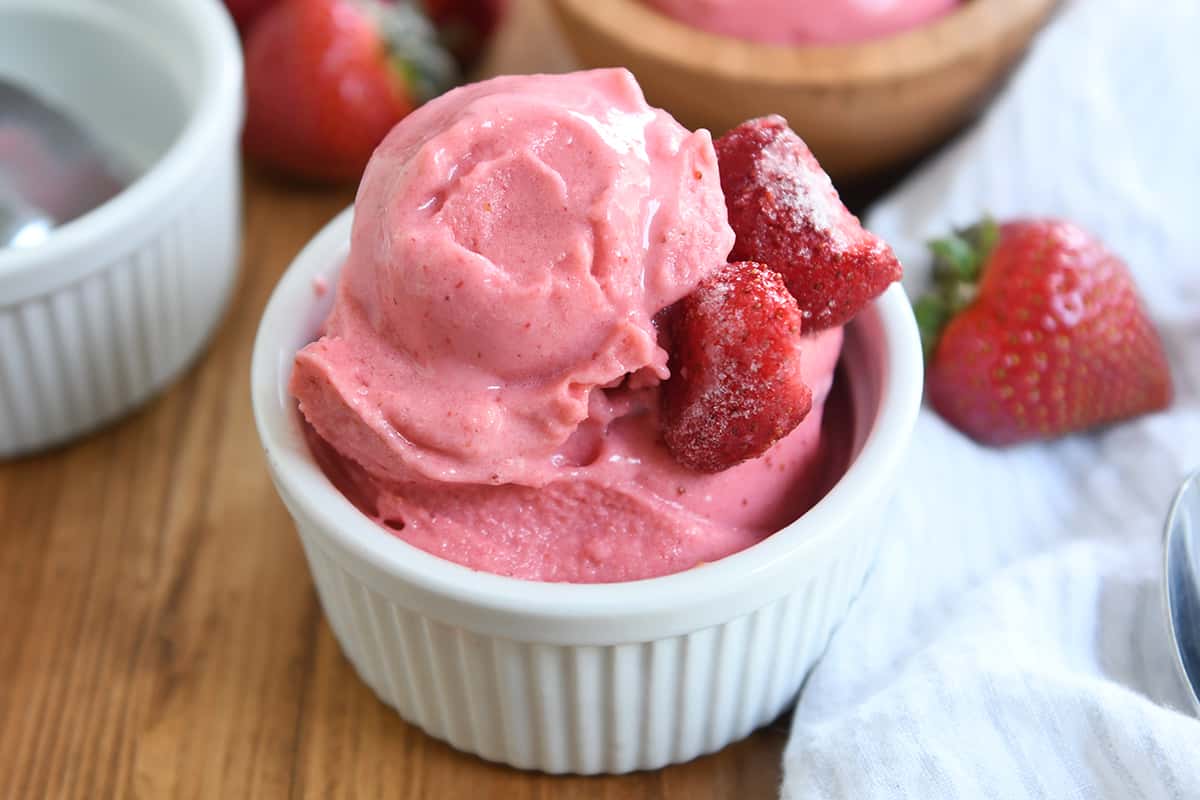
Ice cream is a delightful treat enjoyed by people of all ages. It’s creamy, sweet, and refreshing, making it the perfect dessert for hot summer days or as a indulgence any time of the year. While it’s easy to buy ice cream from a store, there’s something special about making your own homemade version.
But what if you don’t have an ice cream maker? Don’t worry! You can still make delicious ice cream in the comfort of your own home without the need for any fancy equipment. In this article, we’ll explore three different methods for making ice cream without an ice cream maker.
Whether you want to experiment with unique flavors, control the ingredients, or simply can’t justify purchasing another appliance, these methods will allow you to create velvety smooth, scoopable ice cream in no time. So, let’s dive in and learn how to make ice cream without an ice cream maker.
Key Takeaways:
- Enjoy homemade ice cream without an ice cream maker using simple ingredients and creative methods like the ziplock bag, freezer, and blender methods. Experiment with flavors and mix-ins for a personalized treat!
- Making ice cream at home is a fun and rewarding experience, whether you shake your way to creamy goodness, patiently stir in the freezer, or blend up a quick and easy batch. Get creative and indulge in your own signature frozen creations!
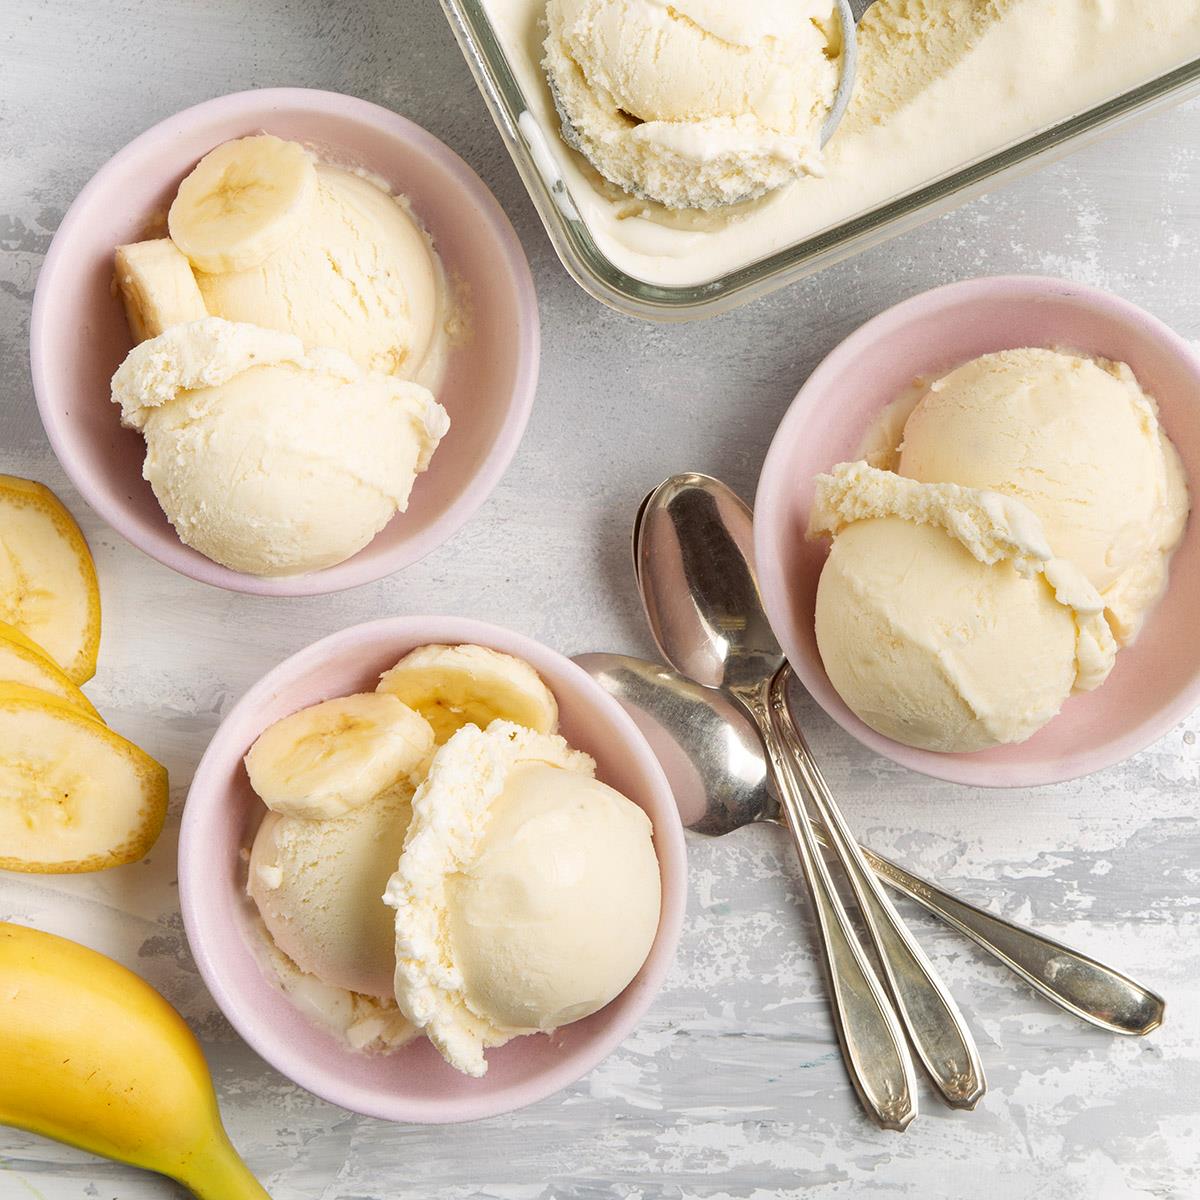
Ingredients
The great thing about making ice cream without an ice cream maker is that you only need a handful of simple ingredients. Here are the basic ingredients you’ll need:
- 2 cups heavy cream
- 1 cup whole milk
- 3/4 cup granulated sugar
- 1 teaspoon vanilla extract
These ingredients form the base for most ice cream recipes, but feel free to customize them according to your preferences. You can add in flavorings such as cocoa powder, fruit purees, or extracts to create different variations. Get creative and experiment with different combinations to find your favorite flavors!
Method 1: Using the Ziplock Bag Method
This method is perfect if you don’t have access to an ice cream maker but still want to enjoy homemade ice cream. Here’s how to make ice cream using the ziplock bag method:
- Start by combining the heavy cream, whole milk, granulated sugar, and vanilla extract in a bowl. Mix well until the sugar is completely dissolved.
- Pour the mixture into a quart-sized ziplock bag and seal it tightly, ensuring there is no air inside.
- In a larger gallon-sized ziplock bag, fill it halfway with ice cubes and add half a cup of salt. The salt lowers the freezing point of the ice, helping to create the perfect texture for your ice cream.
- Place the smaller ziplock bag containing the ice cream mixture into the larger bag with the ice and salt.
- Seal the larger bag tightly, making sure there is no leakage.
- Now comes the fun part! Start shaking and tossing the bag vigorously for about 5-10 minutes. This helps the ice cream mixture to freeze and solidify. You can also involve kids in this step and make it a fun activity!
- Once the ice cream has reached the desired consistency, carefully remove the smaller bag from the larger bag, making sure not to let any of the ice or salt get into the ice cream.
- Give the ice cream a quick stir to ensure it is evenly mixed, then transfer it to a container with a lid. Place it in the freezer for at least 2-4 hours to firm up.
- After the freezing time, your homemade ice cream is ready to be enjoyed! Serve it in bowls or cones, and you can even add your favorite toppings like sprinkles, chocolate sauce, or fresh fruit.
Note that the shaking and tossing of the bag is crucial to ensure that the ice cream freezes evenly. It might require some effort, but the end result is definitely worth it! With this method, you can enjoy creamy, homemade ice cream without the need for an ice cream maker.
Method 2: Using the Freezer Method
If you don’t have access to an ice cream maker or prefer a simpler method, the freezer method is another great option to make homemade ice cream. Here’s how:
- In a mixing bowl, combine the heavy cream, whole milk, granulated sugar, and vanilla extract. Stir well until the sugar is fully dissolved.
- Pour the ice cream mixture into a shallow, freezer-safe container. A metal or glass container works best for this method.
- Place the container in the freezer and let it freeze for about 1-2 hours, or until the edges of the mixture start to solidify.
- Remove the container from the freezer and use a fork or whisk to vigorously stir the partially frozen ice cream. This helps break up any ice crystals and incorporates air into the mixture.
- Return the container to the freezer and let it freeze for another hour.
- Repeat the stirring process every hour for the next 3-4 hours. This helps prevent the formation of large ice crystals and creates a smoother texture.
- After a total of 4-5 hours, your homemade ice cream should be ready to enjoy! It should be firm but still scoopable.
- Transfer the ice cream to a container with a lid and place it in the freezer for an additional 1-2 hours to further firm up before serving.
This method may take a bit longer than using an ice cream maker, but it yields delicious homemade ice cream without any special equipment. You can get creative with flavors and mix-ins by adding chopped nuts, chocolate chips, or cookie crumbs at any point during the stirring process.
Now, sit back and let the freezer do the work while you patiently wait for the creamy goodness to be ready. Once it’s fully frozen, scoop it into bowls or cones, and enjoy a satisfying homemade treat!
To make ice cream without an ice cream maker, whip heavy cream until stiff peaks form, then fold in sweetened condensed milk and flavorings. Freeze for at least 6 hours, stirring every 30 minutes for a creamy texture.
Method 3: Using the Blender Method
If you’re looking for a quick and easy way to make homemade ice cream without an ice cream maker, the blender method is perfect for you. Here’s how to make ice cream using a blender:
- Gather your ingredients. In a blender, combine the heavy cream, whole milk, granulated sugar, and vanilla extract.
- Blend the mixture on medium-high speed until the ingredients are well combined and the mixture starts to thicken slightly. This usually takes about 1-2 minutes.
- Once blended, transfer the mixture to a freezer-safe container. Make sure the container has enough space for expansion as the ice cream freezes.
- Place the container in the freezer and let it freeze for about 1 hour.
- After an hour, remove the container from the freezer and give the mixture a good whisk or stir. This helps break up any ice crystals and creates a smoother texture.
- Return the container to the freezer and let it freeze for another hour. Repeat the whisking process every hour for the next 3-4 hours.
- After a total of 4-5 hours, your homemade ice cream should be ready to enjoy! It should have a creamy texture and be firm enough to scoop.
- Transfer the ice cream to a container with a lid and allow it to freeze for an additional 1-2 hours for a firmer consistency.
The blender method is great for when you’re short on time but still want a delicious homemade ice cream. You can also experiment with different flavors by adding fruits, chocolate chips, or any other mix-ins to the blender before blending.
Now that you know how to make ice cream using the blender method, you can satisfy your ice cream cravings in no time. Grab a spoon and indulge in this delightfully easy homemade treat!
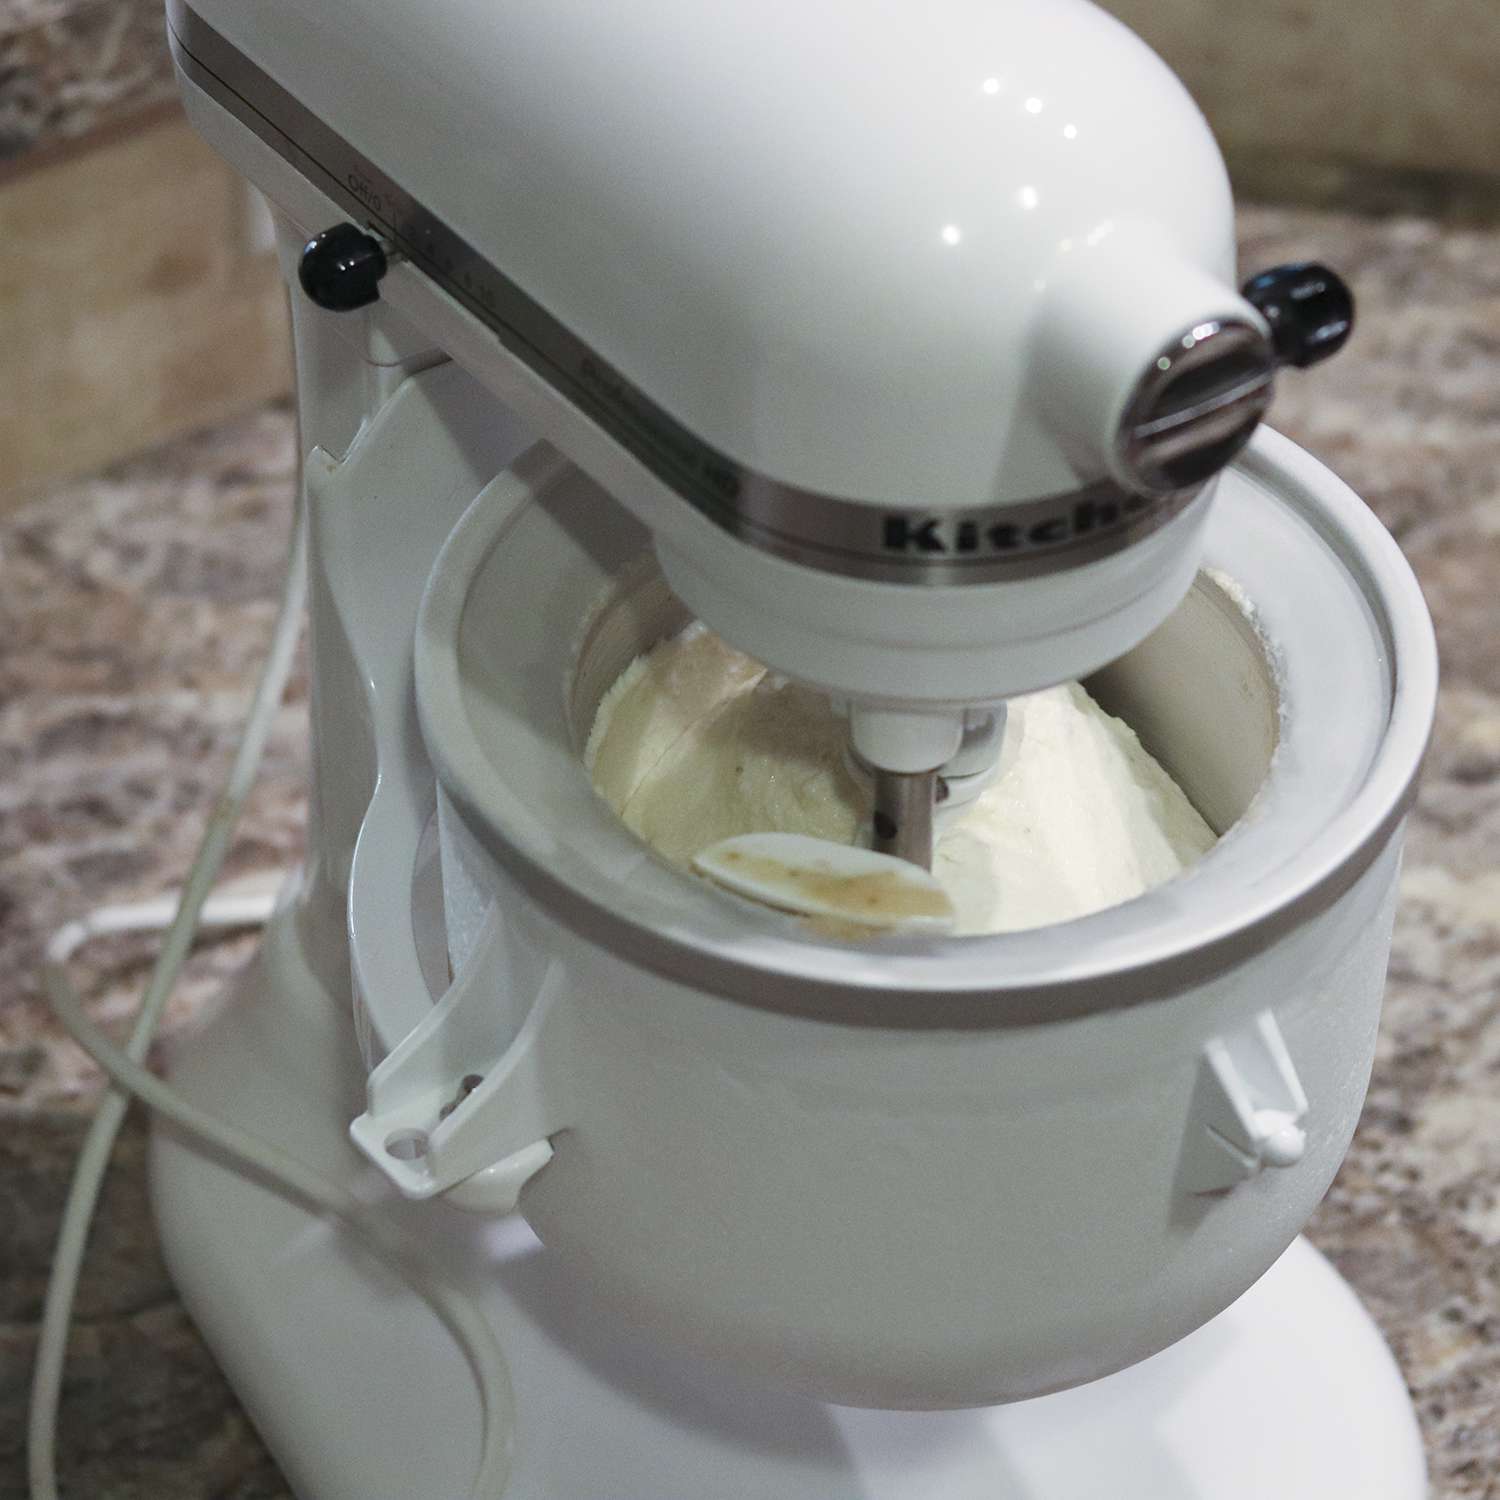
Read more: How To Make Ice Cream In Ice Cream Machine
Tips and Variations
Now that you know how to make ice cream without an ice cream maker using different methods, here are some tips and variations to enhance your homemade creations:
- Use high-quality ingredients: The quality of the ingredients you use will greatly affect the flavor and texture of your ice cream. Opt for fresh, high-quality dairy products and choose pure vanilla extract for the best results.
- Chill the mixture: Before starting the freezing process, it’s a good idea to chill the ice cream mixture in the refrigerator for at least 1 hour. This helps the mixture freeze faster and results in smoother ice cream.
- Experiment with flavors: Get creative and try different flavor combinations. Add cocoa powder for a rich chocolate ice cream, swirl in fruit purees for a fruity twist, or mix in crushed cookies for added crunch.
- Add mix-ins: Customize your ice cream by adding mix-ins like chocolate chips, chopped nuts, or chunks of your favorite candy. Fold them into the ice cream mixture just before freezing.
- Don’t overfill the container: Leave some space in the container when freezing the ice cream to allow for expansion. Overfilling may cause the mixture to overflow as it freezes.
- Experiment with textures: If you prefer a softer and more scoopable ice cream, reduce the freezing time. For a firmer and more solid ice cream, increase the freezing time.
- Store your ice cream properly: To prevent freezer burn and maintain the freshness of your homemade ice cream, store it in an airtight container in the coldest part of your freezer.
- Enjoy your homemade ice cream within a few weeks: While homemade ice cream can be stored for a few weeks, it’s best enjoyed within the first couple of weeks for optimal flavor and texture.
Remember, making ice cream without an ice cream maker allows you to get creative and have fun in the kitchen. Don’t be afraid to experiment with different techniques, flavors, and mix-ins to create your own signature homemade ice cream.
Now that you have these tips and variations in mind, go ahead and start making your own ice cream without the need for an ice cream maker. Indulge in this delightful frozen treat that you can proudly say you made from scratch!
Conclusion
Making homemade ice cream without an ice cream maker is not only possible but also a fun and rewarding experience. Whether you choose the ziplock bag method, the freezer method, or the blender method, you can enjoy the creamy goodness of homemade ice cream with just a few simple ingredients.
By following the methods outlined in this article, you can create velvety smooth, scoopable ice cream right in your own kitchen. The ziplock bag method allows you to shake your way to homemade ice cream, the freezer method requires a bit of patience and stirring, and the blender method offers a quick and easy alternative.
Don’t forget to unleash your creativity by experimenting with different flavors, mix-ins, and textures. Add your favorite ingredients to customize your ice cream and make it truly one-of-a-kind.
So the next time you’re craving a sweet treat, don’t worry if you don’t have an ice cream maker. You now have the knowledge and techniques to make delicious ice cream without any special equipment. Gather your ingredients, choose your preferred method, and get ready to savor the satisfaction of indulging in homemade ice cream.
With these methods at your disposal, you can enjoy the delightful taste of homemade ice cream anytime you desire. So let your imagination run wild, experiment with flavors, and enjoy the sweet rewards of your homemade frozen creations!
Frequently Asked Questions about How Do I Make Ice Cream Without An Ice Cream Maker
Was this page helpful?
At Storables.com, we guarantee accurate and reliable information. Our content, validated by Expert Board Contributors, is crafted following stringent Editorial Policies. We're committed to providing you with well-researched, expert-backed insights for all your informational needs.


0 thoughts on “How Do I Make Ice Cream Without An Ice Cream Maker”