Home>Articles>How To Make Ice Cream In Nostalgia Ice Cream Maker

Articles
How To Make Ice Cream In Nostalgia Ice Cream Maker
Modified: August 27, 2024
Discover the step-by-step process of making homemade ice cream in a Nostalgia ice cream maker with our informative articles. Find delicious recipes and tips to create your favorite frozen treats.
(Many of the links in this article redirect to a specific reviewed product. Your purchase of these products through affiliate links helps to generate commission for Storables.com, at no extra cost. Learn more)
Introduction
Welcome to the world of homemade ice cream! There’s something truly magical about the process of making your own ice cream from scratch. From choosing your favorite flavors to experimenting with unique mix-ins, creating a batch of creamy goodness gives you the opportunity to indulge in a dessert that is both delicious and satisfying.
In this article, we’ll guide you on how to make ice cream using the Nostalgia Ice Cream Maker. The Nostalgia Ice Cream Maker is a wonderful addition to any kitchen, bringing back memories of the old-fashioned ice cream churners. With its classic design and easy-to-use features, it enables you to create delectable homemade ice cream in no time.
So, let’s dive in and discover how to make the perfect ice cream using the Nostalgia Ice Cream Maker. Get ready to delight your taste buds and impress your family and friends with your very own frozen creations!
Key Takeaways:
- The Nostalgia Ice Cream Maker offers a hassle-free way to create up to 4 quarts of delicious homemade ice cream. Its classic design and user-friendly features make it perfect for experimenting with flavors and mix-ins, providing a nostalgic and delightful ice cream-making experience.
- Master the art of making perfect ice cream with the Nostalgia Ice Cream Maker by following valuable tips and tricks. From chilling ingredients to troubleshooting common issues, this article equips you with the knowledge to create creamy, personalized frozen treats.
Read more: How To Use The Nostalgia Ice Cream Maker
Overview of Nostalgia Ice Cream Maker
The Nostalgia Ice Cream Maker is a fantastic appliance that allows you to create homemade ice cream with ease. Its classic design is reminiscent of the traditional churners used in the past, giving you a nostalgic experience while enjoying your favorite frozen treat.
This ice cream maker features a powerful electric motor that takes the hard work out of churning. No more hand-cranking or excessive effort required! Simply pour your ice cream base into the freezer canister, attach the dasher, and let the machine do the rest.
The Nostalgia Ice Cream Maker comes with a generous capacity, allowing you to make up to 4 quarts of ice cream in a single batch. This makes it perfect for large family gatherings, parties, or for storing extra servings in the freezer for later enjoyment.
One of the standout features of this ice cream maker is its double-insulated freezer canister. This cylinder is specifically designed to freeze the ice cream mixture evenly and efficiently, resulting in smooth and creamy ice cream every time. The canister has a transparent lid, allowing you to monitor the progress of the churning process without interrupting it.
The Nostalgia Ice Cream Maker also gives you the freedom to experiment with different flavors and mix-ins. Whether you prefer classic vanilla, indulgent chocolate, or adventurous fruit combinations, this machine can handle them all. You can even add your favorite nuts, candies, or cookie crumbles during the churning process to create delightful surprises in every bite.
This ice cream maker is incredibly user-friendly, with a simple on/off switch and a convenient motor-locking feature. It ensures that the lid stays securely in place during operation, preventing any unwanted leaks or spills.
Overall, the Nostalgia Ice Cream Maker is a reliable and efficient appliance that allows you to enjoy homemade ice cream without the hassle. So gather your ingredients, prepare your ice cream base, and get ready to create delicious frozen desserts that will transport you back to the good old days.
Ingredients for Making Ice Cream
When it comes to making homemade ice cream with the Nostalgia Ice Cream Maker, you have the freedom to choose your favorite flavors and create endless variations. Here are the basic ingredients you’ll need to get started:
- Heavy Cream: This is the key ingredient that gives ice cream its rich and creamy texture. Look for heavy cream with a high fat content of around 35% for the best results.
- Whole Milk: Whole milk adds to the creaminess of the ice cream base while giving it a slightly lighter texture. It is essential for achieving the perfect balance of richness and smoothness.
- Sugar: Sugar sweetens the ice cream base and helps to create a smooth texture. Granulated sugar is commonly used, but you can also experiment with alternatives like honey or maple syrup for a unique twist.
- Egg yolks: Egg yolks act as emulsifiers, binding the fats and liquids together and creating a creamy texture. They also add richness and flavor to the ice cream. Use fresh, high-quality eggs for the best results.
- Vanilla extract: Vanilla extract adds a warm and comforting flavor to the ice cream. Use pure vanilla extract for the best taste or add other flavorings like chocolate, fruit extracts, or even coffee for additional variations.
- Salt: A pinch of salt helps to balance the sweetness and enhance the overall flavor of the ice cream.
These are the basic ingredients needed to create a classic vanilla ice cream. However, feel free to get creative and experiment with additional ingredients like cocoa powder, fruit purees, crushed cookies, or chopped nuts to customize your ice cream to your liking.
Remember to always use fresh, high-quality ingredients for the best results. The quality of the ingredients reflects in the final product, so choose ingredients that you would want to indulge in.
Now that we’ve covered the ingredients, let’s move on to the next step: preparing the Nostalgia Ice Cream Maker for use.
Preparing the Ice Cream Maker
Before you begin making your homemade ice cream with the Nostalgia Ice Cream Maker, it’s essential to properly prepare the machine to ensure optimal results. Follow these simple steps to get your ice cream maker set up and ready to go:
- First, ensure that the freezer canister is completely frozen. It’s crucial to freeze the canister for at least 12 hours prior to making ice cream. This will ensure that the mixture freezes and churns properly.
- Once the canister is frozen, remove it from the freezer and place it on a stable, flat surface. Make sure it’s positioned upright and not tilted.
- Next, attach the dasher to the canister. The dasher is the paddle-like device that churns the ice cream mixture. It helps to distribute the mixture evenly and incorporate air, resulting in a creamy and smooth texture.
- Ensure that the dasher is securely attached and positioned in the center of the canister. This will prevent any unnecessary movement or disruptions while the ice cream churns.
- After attaching the dasher, pour the ice cream mixture into the canister. Be careful not to overfill it, as the mixture will expand as it freezes and churns. Leave some space at the top to allow for expansion.
- Once the mixture is in the canister, place the transparent lid on top. This will prevent any ice crystals or unwanted particles from entering the mixture as it churns.
- Ensure that the lid is properly sealed to prevent any leakage during the churning process. This will also help to maintain a consistent temperature within the canister, promoting even freezing and a smooth texture.
- Now that the ice cream maker is prepared, it’s time to start the churning process. Connect the machine to a power source and turn it on. You will hear the motor running, and the dasher will begin to rotate, churning the ice cream mixture.
- Allow the ice cream maker to churn for the recommended time stated in the Nostalgia Ice Cream Maker’s instruction manual or recipe. The churning time may vary depending on the recipe and desired consistency. Keep an eye on the mixture as it churns to ensure it doesn’t overfreeze or become too stiff.
And there you have it! By following these simple steps, you have successfully prepared the Nostalgia Ice Cream Maker for the ice cream-making process. Now, it’s time to move on to the next step and assemble the ice cream maker before adding the ingredients.
Assembling the Ice Cream Maker
Now that you have prepared the Nostalgia Ice Cream Maker and have the ice cream mixture ready, it’s time to assemble the machine to start the churning process. Follow these steps to properly assemble the ice cream maker:
- Place the frozen canister with the attached dasher on a stable surface, ensuring it is upright and level.
- Take the motor unit of the Nostalgia Ice Cream Maker and carefully align it with the canister. The motor unit typically has a bracket or clips that securely fit onto the canister.
- Once aligned, gently lower the motor unit onto the canister and make sure it is securely in place. The motor unit should sit snugly on top and the bracket or clips should fasten properly.
- Double-check that the motor unit is locked in place to prevent any movement during the churning process. This will ensure the proper rotation of the dasher and a consistent churn.
- If your ice cream maker has a lid or cover, place it on top of the motor unit. This will help keep the ice cream mixture contained and prevent any splatters or spills during the churning process.
- Now that the Nostalgia Ice Cream Maker is properly assembled, it’s time to start the churning process. Plug in the ice cream maker and turn it on. The motor will activate and the dasher will begin to rotate, evenly churning the ice cream mixture.
- Allow the ice cream maker to churn for the recommended time as specified by your recipe or the instruction manual. This will ensure that the mixture freezes properly and achieves the desired consistency.
- While the ice cream maker churns, you can take this time to prepare any additional ingredients or mix-ins that you’d like to add to your ice cream. This step will come after the initial churning process.
Once you have assembled the Nostalgia Ice Cream Maker and started the churning process, all that’s left is to wait patiently for the ice cream to reach the perfect consistency. The churning time may vary depending on the recipe and personal preference. Be sure to keep an eye on the ice cream and periodically check its progress to ensure it doesn’t overfreeze.
Next, we’ll cover the exciting step of mixing the ingredients to create the base for your delicious homemade ice cream.
Read more: How To Make Ice Cream In Ice Cream Machine
Mixing the Ingredients
Now that the Nostalgia Ice Cream Maker is assembled and ready to go, it’s time to mix the ingredients and create the base for your homemade ice cream. Follow these steps to ensure a smooth and delicious ice cream mixture:
- In a mixing bowl, combine the heavy cream and whole milk. Use a whisk or spatula to gently stir the two together until they are well combined.
- Add the sugar to the cream and milk mixture. Whisk or stir vigorously until the sugar is completely dissolved. This will ensure a smooth consistency and prevent any graininess in the final ice cream.
- In a separate bowl, whisk the egg yolks until they are well beaten. This will help incorporate air and ensure a creamy texture.
- Add a small amount of the cream and milk mixture to the beaten egg yolks, about a ¼ cup at a time, while continuously whisking. This process, known as tempering, helps to gradually raise the temperature of the egg yolks without scrambling them.
- Once you have gradually incorporated the cream and milk mixture into the beaten egg yolks, pour the tempered egg mixture back into the remaining cream and milk mixture. Whisk everything together until well combined.
- Take a moment to add any additional flavorings or extracts to the ice cream base. Vanilla extract is a classic choice, but you can also experiment with other flavors like chocolate, strawberry, or almond extract. Mix well to evenly distribute the flavor throughout the base.
- The ice cream base is now ready to be poured into the prepared Nostalgia Ice Cream Maker. Carefully pour the mixture into the frozen canister, ensuring not to overfill it. Leave some space at the top for the mixture to expand as it churns.
- Place the lid securely on top of the canister to prevent any ice crystals from forming on the surface of the mixture. This will help maintain a smooth and creamy texture.
With the ingredients mixed and ready, you can now assemble the Nostalgia Ice Cream Maker and start the churning process. Once the ice cream reaches the desired consistency, you can take it a step further by adding your favorite mix-ins and flavors to create a truly unique and personalized frozen treat.
Next, we’ll explore the exciting step of adding mix-ins and flavors to elevate your ice cream creations even further.
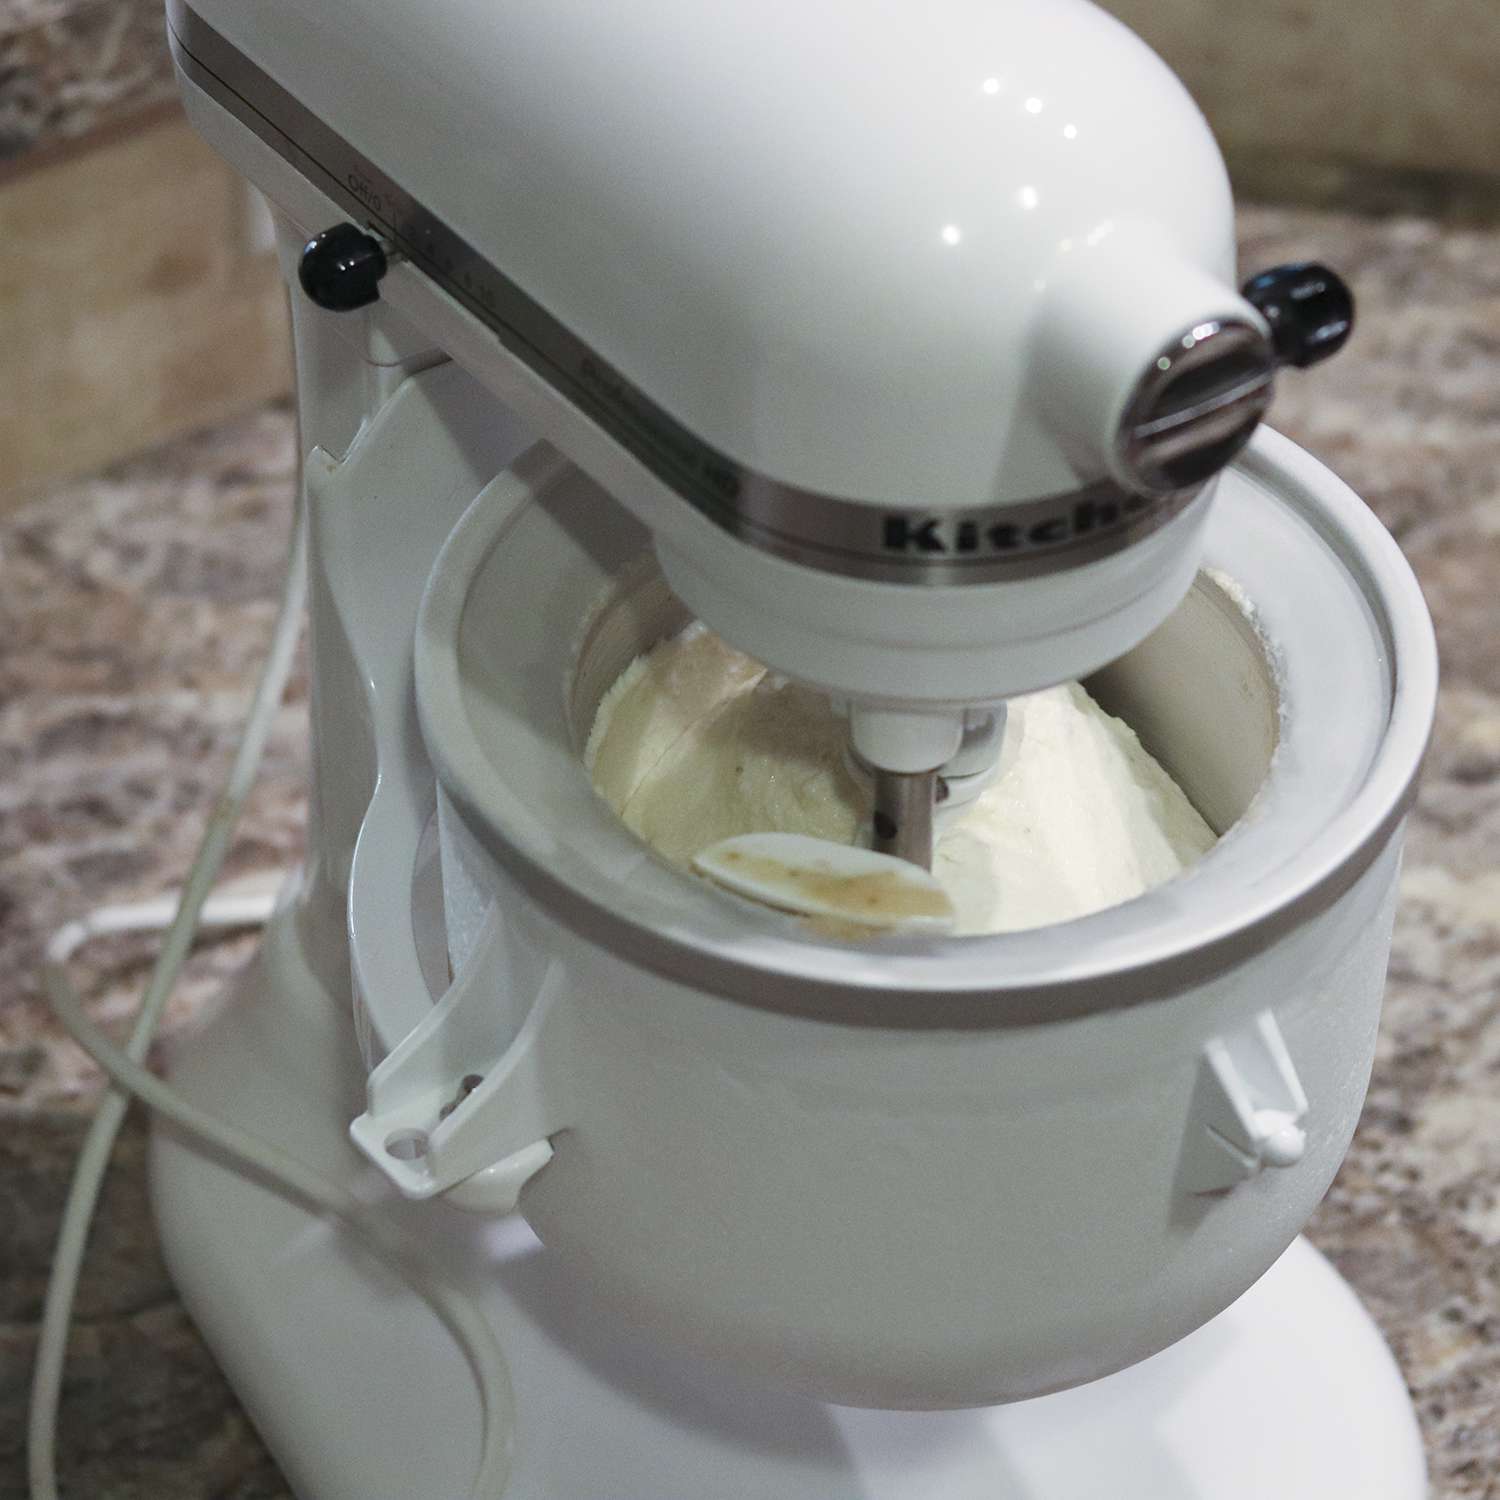
Churning the Ice Cream
With the Nostalgia Ice Cream Maker assembled and the ice cream mixture prepared, it’s time for the exciting step of churning the ice cream. This process involves the rotation of the dasher, which aerates the mixture and freezes it gradually, resulting in the creamy and smooth texture we all love. Follow these steps to ensure the perfect churn:
- Ensure that the assembled Nostalgia Ice Cream Maker is plugged in and turned on. The motor will start running, and the dasher will begin to rotate inside the frozen canister.
- Allow the ice cream maker to churn for the recommended time specified in the recipe or the instruction manual. The churning time can vary from recipe to recipe, but it generally takes around 20 to 40 minutes.
- While the ice cream churns, you can check on its progress. You’ll notice that the mixture will gradually thicken and increase in volume as the churn continues. It’s important not to open the ice cream maker during the churning process to prevent the loss of cold temperature.
- To achieve a smooth and creamy consistency, it’s crucial to pay attention to the texture of the ice cream as it churns. When the ice cream reaches a soft-serve consistency, it’s usually an indication that it’s ready. This means it will be thick but still easily scoopable.
- Keep in mind that the timing may vary depending on the recipe and personal preference. You may prefer softer or firmer ice cream, so adjust the churn time accordingly. It’s always better to check for consistency rather than relying solely on the recommended time.
- Once the ice cream has reached the desired consistency, it’s time to move on to the next step: adding mix-ins and flavors to enhance the ice cream’s taste and texture. This step allows you to customize and create delightful surprises in every scoop.
Churning the ice cream is a crucial step in the process, as it’s what transforms the liquid mixture into a dreamy frozen dessert. Remember to be patient and resist the temptation to open the ice cream maker too soon. The result will be worth the wait.
Now that the ice cream is perfectly churned, let’s move on and explore the step of adding mix-ins and flavors to take your homemade ice cream to the next level of deliciousness.
Before making ice cream in a Nostalgia ice cream maker, make sure the freezer bowl is completely frozen for at least 24 hours to ensure proper freezing of the ice cream mixture.
Adding Mix-ins and Flavors
Add a little twist of creativity and excitement to your homemade ice cream by incorporating mix-ins and flavors. This step allows you to personalize your frozen treat and create unique combinations that cater to your taste buds. Follow these steps to enhance your ice cream experience:
- Once the ice cream has finished churning in the Nostalgia Ice Cream Maker, it’s time to get creative with mix-ins. Prepare your favorite mix-ins such as chocolate chips, crushed cookies, chopped nuts, or even fresh fruit.
- Remove the lid from the ice cream canister, exposing the perfectly churned ice cream. At this stage, the ice cream will be in a soft-serve consistency, making it easier to incorporate the mix-ins.
- Add the mix-ins of your choice to the ice cream base in the canister. You can add as little or as much as you desire, depending on your preference. Stir gently with a spoon or spatula to evenly distribute the mix-ins throughout the ice cream.
- If you want to incorporate additional flavors, this is the perfect time to do so. You can add flavored extracts like mint or almond, swirl in a fruit jam or caramel sauce, or even fold in a peanut butter swirl.
- Taking the opportunity to add some texture and flavors to your ice cream allows you to customize it to your liking. Experiment with different combinations to discover unique and delightful taste experiences.
- Once the mix-ins and flavors have been added, place the lid back on the canister and secure it. This will ensure that the ice cream stays cold and maintains its creamy texture as it freezes further.
Adding mix-ins and flavors is an exciting step that adds variety and surprise to your homemade ice cream. Whether you prefer a classic combination like chocolate chip cookie dough or a more adventurous blend of pistachio and dark chocolate chunks, the possibilities are endless.
Now that your ice cream is beautifully enhanced with mix-ins and flavors, the next step is to freeze and harden it to achieve the perfect scooping texture and consistency.
Freezing and Hardening the Ice Cream
After adding mix-ins and flavors to your ice cream, the next step is to freeze and harden it further. This process ensures that the ice cream reaches a firm and scoopable consistency. Follow these steps to achieve the perfect texture:
- Carefully place the lid back on the canister of the Nostalgia Ice Cream Maker, making sure it is securely fastened.
- Transfer the ice cream maker to the freezer, ensuring that it sits on a flat and stable surface.
- Allow the ice cream to freeze and harden for a minimum of 2 to 4 hours. This will ensure that it reaches a firm consistency throughout.
- Keep in mind that the freezing time may vary depending on the temperature of your freezer and the composition of the ice cream.
- If you prefer a firmer ice cream, you can leave it in the freezer for a longer period, typically around 6 to 8 hours or overnight.
- Once the ice cream has hardened, it is ready to be enjoyed. Remove the canister from the freezer and let it sit on the counter for a few minutes to slightly soften before serving.
By freezing and hardening the ice cream, you allow the flavors to develop fully and achieve a delightful texture that is easy to scoop and enjoy. The patience during this step is well worth it for the ultimate ice cream experience.
Now that your homemade ice cream is perfectly frozen and ready, it’s time to serve it up and revel in the satisfaction of creating and savoring your own delicious frozen treat.
Serving and Enjoying the Homemade Ice Cream
After patiently waiting for the ice cream to freeze and harden, it’s finally time to indulge in your homemade creation. Follow these steps to serve and savor your delicious ice cream:
- Remove the Nostalgia Ice Cream Maker canister from the freezer and let it sit at room temperature for a few minutes. This will allow the ice cream to soften slightly, making it easier to scoop.
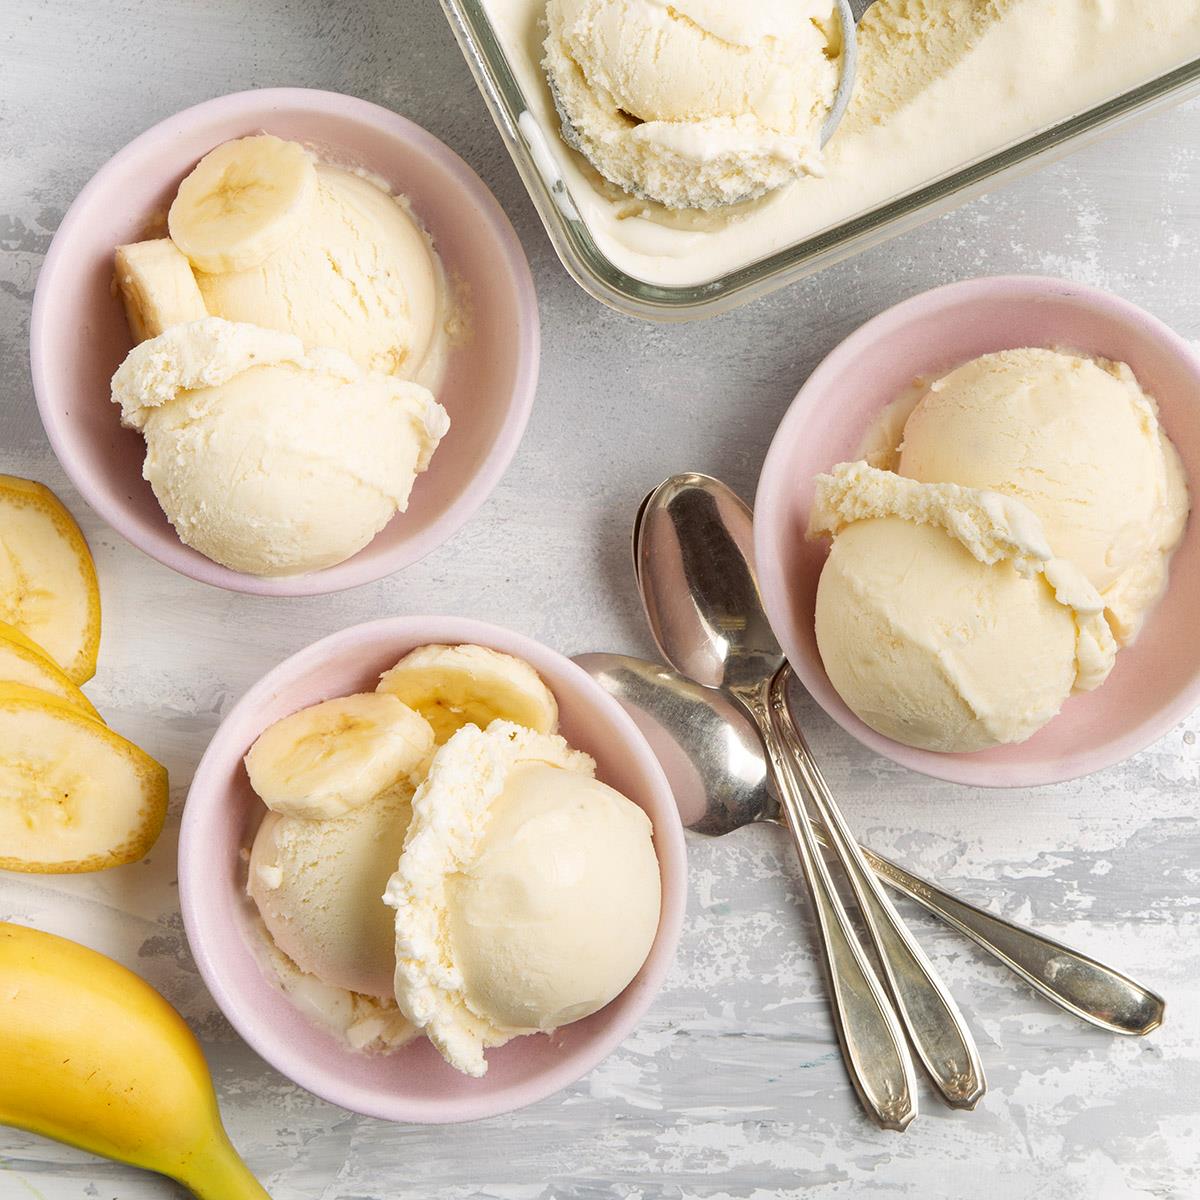
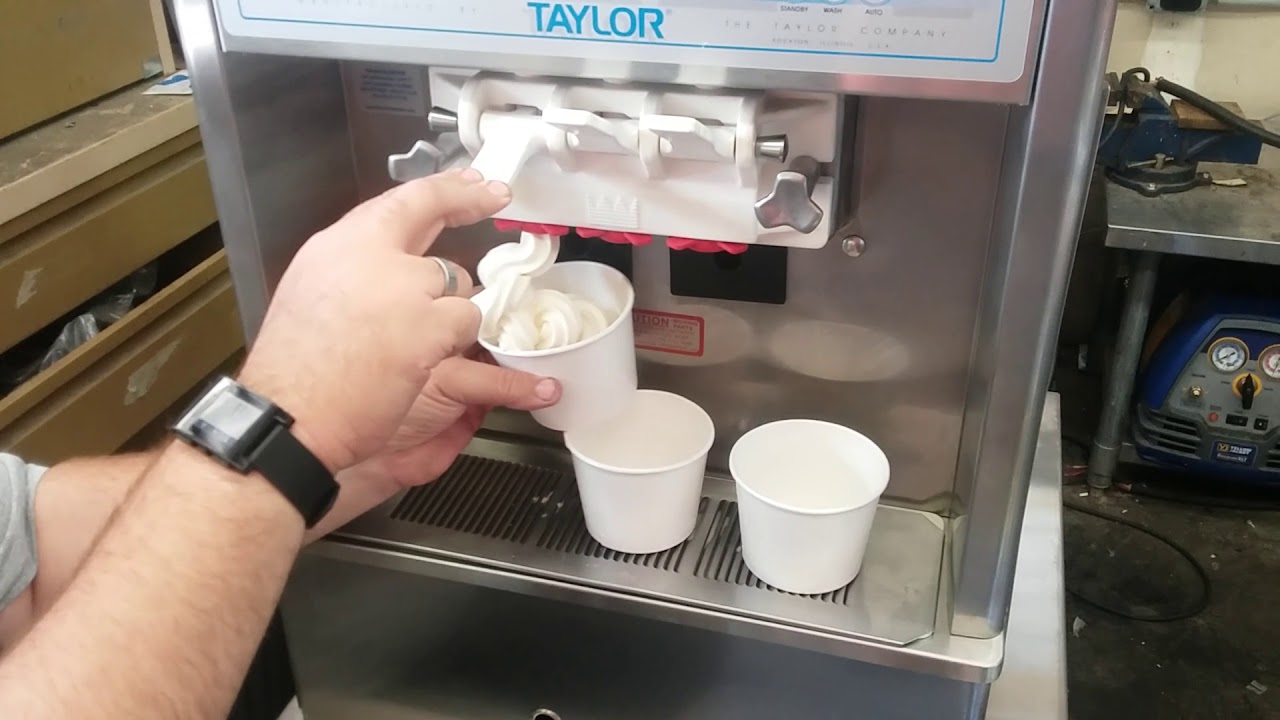
- Prepare your serving bowls or cones, ensuring they are clean and ready to be filled with delectable scoops of ice cream.
- Using an ice cream scoop or a large spoon, start scooping out portions of the ice cream into your serving bowls. Take your time to create beautifully rounded scoops that entice the eyes.
- You can garnish your ice cream with additional toppings or sauces, such as whipped cream, chocolate syrup, sprinkles, or fresh fruit. Let your imagination run wild and customize each serving according to taste preferences.
- Assemble your favorite ice cream toppings and sauces on a separate platter. This way, everyone can personalize their ice cream to their liking.
- Once the ice cream is served and garnished, it’s time to dig in and savor the fruits of your labor. Enjoy each spoonful, relishing in the creamy texture and flavor explosion.
- Take your time while enjoying your homemade ice cream. Savor the unique combination of flavors, textures, and mix-ins that you carefully added to create a truly personalized dessert.
Whether you’re enjoying your homemade ice cream on a lazy summer afternoon, sharing it with loved ones at a gathering, or treating yourself to a delightful dessert, the joy of your creation adds an extra level of satisfaction to every bite.
Remember, homemade ice cream tends to melt faster than store-bought varieties, so be prepared to savor and enjoy your creation promptly. And don’t forget to share the experience and share the joy of your homemade treat with family and friends.
Now that you’ve savored every last spoonful, it’s time to share some tips and tricks to help you master the art of making perfect ice cream with the Nostalgia Ice Cream Maker.
Tips and Tricks for Perfect Ice Cream Making
Creating the perfect homemade ice cream with the Nostalgia Ice Cream Maker can be a delightful and rewarding experience. To help you elevate your ice cream-making skills, here are some tips and tricks to ensure delicious results:
- Chill your ingredients: Before starting the ice cream-making process, make sure the heavy cream, whole milk, and any other ingredients that need to be chilled are properly refrigerated. Cold ingredients help produce a smoother texture.
- Pre-freeze the canister: To ensure optimal freezing and churning, pre-freeze the canister for at least 12 hours before making ice cream. This step is crucial for achieving the desired consistency.
- Experiment with flavors: Don’t be afraid to get creative with flavors. From traditional options like vanilla and chocolate to unique combinations such as lavender honey or matcha green tea, trying new flavors adds excitement to your homemade ice cream.
- Properly measure ingredients: Accurate measurements are essential in achieving the perfect balance of flavors and textures. Use measuring cups and spoons to ensure precision, especially when working with mix-ins.
- Add mix-ins at the right time: When using mix-ins like chocolate chips or crushed cookies, add them during the last few minutes of the churning process to prevent them from sinking to the bottom. This ensures even distribution throughout the ice cream.
- Use high-quality ingredients: Opt for premium ingredients, such as fresh dairy products and high-quality extracts. The quality of the ingredients directly impacts the taste and texture of your ice cream.
- Allow for customization: Homemade ice cream is the perfect canvas for customization. Experiment with different mix-ins, sauces, and toppings. Let your imagination run wild and indulge in flavors that suit your preferences.
- Keep the canister flat: Ensure the canister remains level during churning by placing it on a stable surface. This promotes even freezing and churns the ice cream evenly.
- Keep the lid closed: Avoid opening the Nostalgia Ice Cream Maker during the churning process. Opening the lid can cause a loss of cold temperature, prolonging the freezing time and resulting in a less creamy texture.
- Clean the canister properly: After each use, clean the canister and all removable parts according to the manufacturer’s instructions. This ensures proper hygiene and removes any residue that can affect the quality of future batches.
Remember, practice makes perfect when it comes to making homemade ice cream. Don’t be discouraged if your first attempt isn’t flawless. As you become more familiar with the process, you’ll develop a better understanding of the techniques and tricks that work best for you.
Now that you’re armed with valuable tips and tricks, you’re ready to tackle any ice cream-making challenge and impress everyone with your homemade frozen creations!
Troubleshooting Common Issues
While making homemade ice cream with the Nostalgia Ice Cream Maker is a fun and rewarding experience, it’s not uncommon to encounter certain issues along the way. Here are some common problems you may face during the ice cream-making process and how to troubleshoot them:
- Ice cream not freezing: If your ice cream isn’t freezing properly, ensure that the canister is pre-frozen for the recommended time. Additionally, check if the freezer temperature is set correctly. If the temperature is too high, the freezing process will be compromised.
- Ice cream too soft: If your ice cream is too soft and doesn’t reach the desired consistency, check if the churning time was sufficient. Make sure to follow the recommended churning time mentioned in the recipe or the instruction manual. If needed, extend the churning time in small increments until the desired consistency is achieved.
- Ice crystals: Ice crystals can form in ice cream if the churning process takes too long or if the ice cream isn’t stored properly. To prevent ice crystals, ensure that the ice cream maker is properly assembled, the canister is pre-frozen for the recommended time, and the ice cream is stored in an airtight container in the coldest part of the freezer.
- Grainy texture: A grainy texture in ice cream can occur if the sugar isn’t fully dissolved or if the ice cream base isn’t properly mixed. Ensure that the sugar is completely dissolved in the mixture before churning. Thoroughly whisk or stir the ice cream base until all ingredients are well combined before pouring it into the canister.
- Mixture overflowing: If the ice cream mixture overflows from the canister during churning, it’s typically due to overfilling. Leave some space at the top of the canister to allow for expansion as the mixture churns and freezes. Follow the recommended filling capacity mentioned in the instruction manual.
- Motor not running smoothly: If you notice that the motor of your Nostalgia Ice Cream Maker is not running smoothly or is making unusual noises, check if the canister and dasher are properly aligned and securely attached. Ensure that no ice cream mixture or debris is preventing smooth rotation. If the issue persists, refer to the manufacturer’s guide or contact their customer support for assistance.
It’s important to remember that troubleshooting may require some trial and error, as each ice cream maker and recipe can have unique factors to consider. Don’t be discouraged if you encounter a setback. Take it as an opportunity to learn and refine your ice cream-making skills.
With patience, practice, and knowledge of these common troubleshooting tips, you’ll be well-equipped to overcome any obstacles that may arise during the ice cream-making process.
Now armed with troubleshooting know-how, you’re ready to embark on your ice cream-making adventures with the Nostalgia Ice Cream Maker. Enjoy the process, experiment with flavors, and savor the sweet rewards of homemade ice cream!
Conclusion
Congratulations! You have now learned how to make delicious homemade ice cream using the Nostalgia Ice Cream Maker. With its classic design and user-friendly features, this appliance allows you to create incredible frozen treats in the comfort of your own home.
Throughout this article, we’ve explored the various steps involved in making ice cream, from preparing the ice cream maker to assembling it, mixing the ingredients, churning the ice cream, adding mix-ins and flavors, freezing and hardening the ice cream, and finally serving and enjoying the fruits of your labor.
We’ve also provided invaluable tips and tricks to help you achieve perfect results every time, as well as troubleshooting guidance for common issues you may encounter along the way.
Remember, making homemade ice cream is a creative and enjoyable process. Feel free to customize your ice cream with your favorite flavors, mix-ins, and toppings. Don’t be afraid to experiment and try new combinations.
Whether you’re creating classic flavors like vanilla and chocolate or pushing the boundaries with unique and adventurous creations, the joy of homemade ice cream lies in the ability to tailor it to your preferences and delight your taste buds.
So, gather your ingredients, dust off your Nostalgia Ice Cream Maker, and embark on a journey of ice cream-making delights. Share these delectable frozen treats with family and friends, creating memories that will last a lifetime.
Enjoy the process, embrace your creativity, and indulge in the pleasure of homemade ice cream. Now it’s time to make your own frozen masterpiece and let your taste buds rejoice in this delightful treat!
Frequently Asked Questions about How To Make Ice Cream In Nostalgia Ice Cream Maker
Was this page helpful?
At Storables.com, we guarantee accurate and reliable information. Our content, validated by Expert Board Contributors, is crafted following stringent Editorial Policies. We're committed to providing you with well-researched, expert-backed insights for all your informational needs.


0 thoughts on “How To Make Ice Cream In Nostalgia Ice Cream Maker”