
Articles
How To Make Ice Cream In Ice Cream Machine
Modified: February 26, 2024
Learn how to make delicious homemade ice cream with an ice cream machine. Explore our collection of informative articles and discover new recipes for your sweet cravings.
(Many of the links in this article redirect to a specific reviewed product. Your purchase of these products through affiliate links helps to generate commission for Storables.com, at no extra cost. Learn more)
Introduction
Who doesn’t love a creamy, delicious scoop of ice cream? Whether it’s a hot summer day or a cozy winter night, there’s always room for this sweet treat. While store-bought ice cream is convenient, making your own homemade ice cream can be a rewarding and fun experience. And what’s better than enjoying ice cream that you’ve made from scratch? If you want to take your ice cream game to the next level, investing in an ice cream machine is a must.
In this article, we will guide you through the process of making ice cream using an ice cream machine. We’ll cover everything from choosing the right machine to gathering the ingredients, preparing the ice cream base, churning the ice cream, adding mix-ins, and finally, freezing and storing the ice cream.
Making ice cream with an ice cream machine offers numerous benefits. First and foremost, it allows you to have control over the ingredients. You can choose to use organic dairy, fresh fruits, and high-quality sweeteners, ensuring that your ice cream is not only delicious but also healthier. Additionally, an ice cream machine ensures a smooth and consistent texture, resulting in that perfect scoop every time.
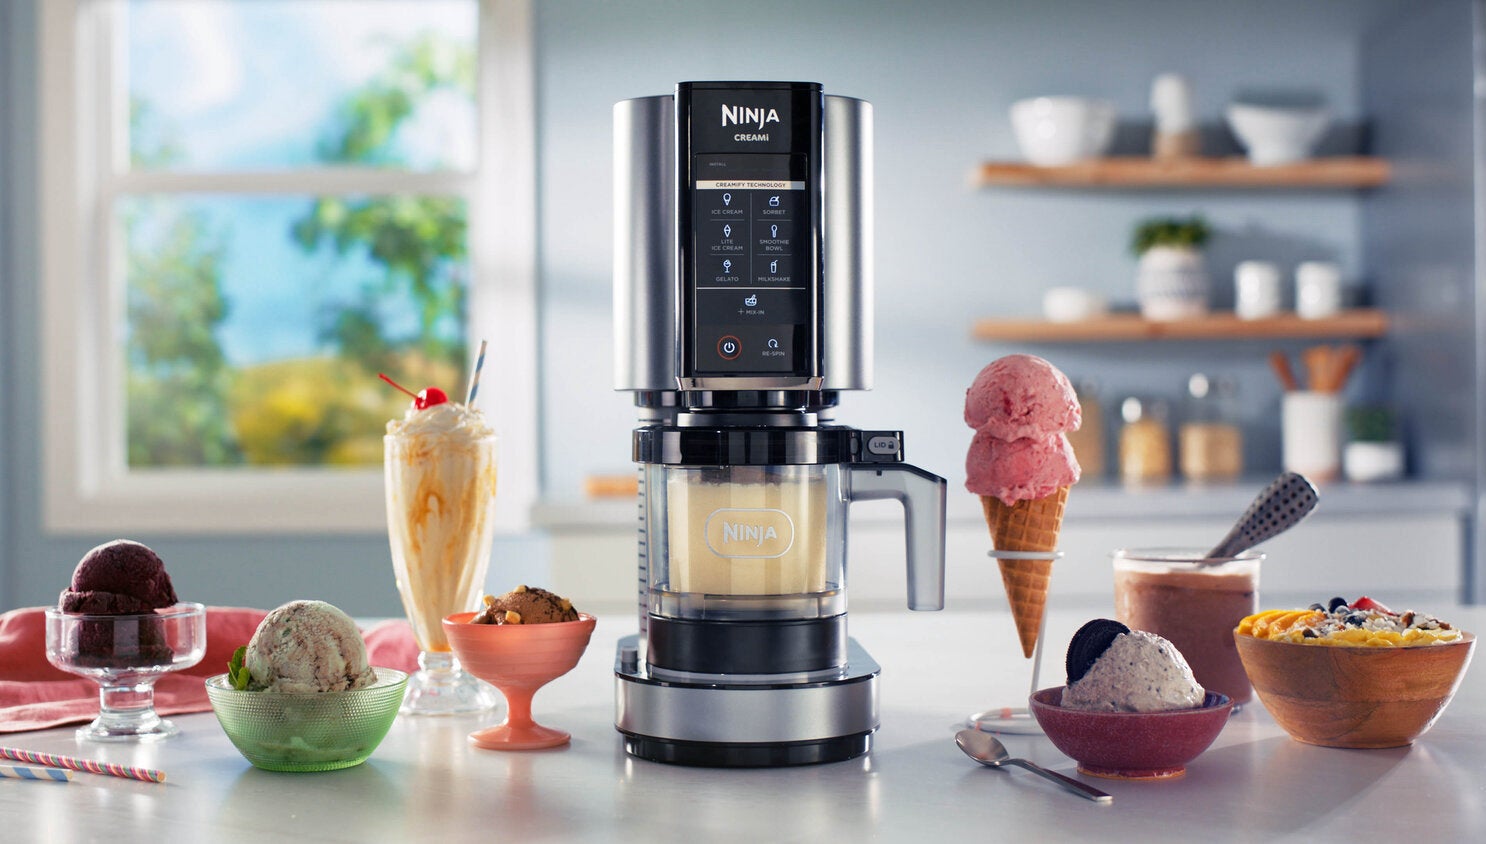
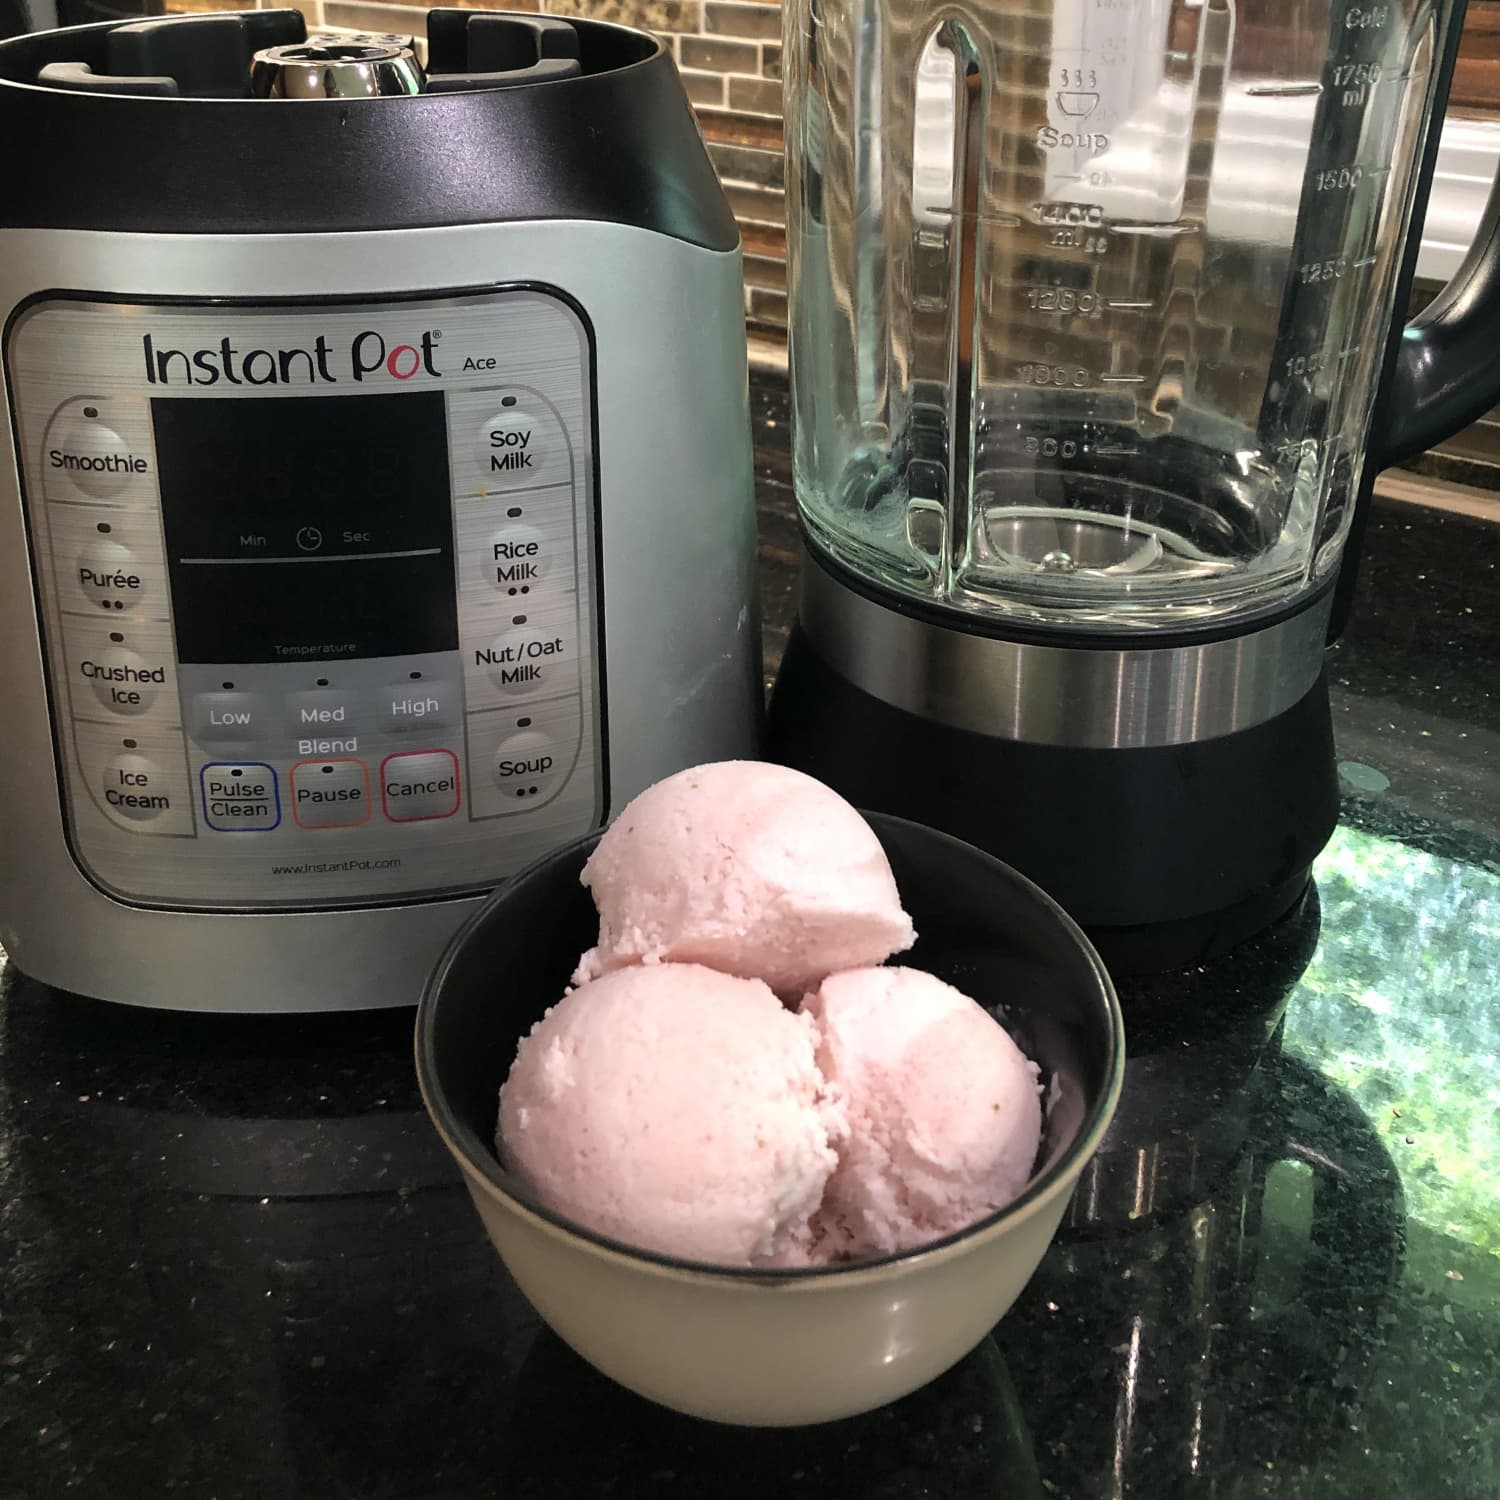
But before we dive into the process, let’s talk about choosing the right ice cream machine. There are two main types: the freezer bowl type and the compressor type. The freezer bowl type requires you to freeze the bowl in advance and then pour the ice cream mixture into it for churning. On the other hand, the compressor type has a built-in freezer, allowing you to make batch after batch without waiting for the bowl to freeze again.
Consider your needs and preferences before making a purchase. If you plan on making ice cream regularly and want more flexibility, a compressor type machine might be the better choice. However, if you don’t mind planning ahead and prefer a more budget-friendly option, the freezer bowl type will suffice.
Now that you have chosen your ice cream machine, let’s move on to the next step: gathering the ingredients.
Key Takeaways:
- Invest in the Right Ice Cream Machine
Choosing the right ice cream machine is crucial for a smooth and creamy homemade treat. Consider factors like type, capacity, additional features, and budget to find the perfect machine for your needs. - Get Creative with Mix-Ins
Adding mix-ins to your homemade ice cream can elevate the flavor and texture. Experiment with chocolate, cookies, nuts, fruits, and more to customize your frozen creations and delight your taste buds.
Choosing an Ice Cream Machine
Choosing the right ice cream machine is crucial for making delicious homemade ice cream. There are a few factors to consider before making your purchase, such as the type of machine, capacity, and additional features.
First, let’s talk about the two main types of ice cream machines: the freezer bowl type and the compressor type. The freezer bowl type is the most common and affordable option. It requires you to freeze the bowl in advance and then pour your ice cream mixture in for churning. This type is great for occasional use and smaller batches.
On the other hand, the compressor type has a built-in freezer, allowing you to make multiple batches of ice cream without having to wait for the bowl to freeze again. This type offers more convenience and flexibility, especially if you plan on making ice cream frequently or in larger quantities.
Consider the capacity of the ice cream machine as well. If you often entertain guests or have a large family, a machine with a larger capacity would be more suitable. However, keep in mind that a larger capacity machine will also take up more space in your kitchen.
Additional features can also enhance your ice cream making experience. Some machines have a built-in timer to help you keep track of churning time, while others offer different speed settings for various textures. Consider your preferences and cooking style when choosing these additional features.
Budget is another important factor to consider. Ice cream machines can range in price from affordable to quite expensive. Determine your budget and find a machine that meets your needs without breaking the bank. Remember, a higher price doesn’t always guarantee a better quality machine.
Lastly, read reviews and ratings from other customers to get an idea of the machine’s performance and durability. Look for machines that have positive feedback and are known for their reliability.
Once you have chosen the perfect ice cream machine for your needs, it’s time to gather the necessary ingredients for making homemade ice cream.
Gathering Ingredients
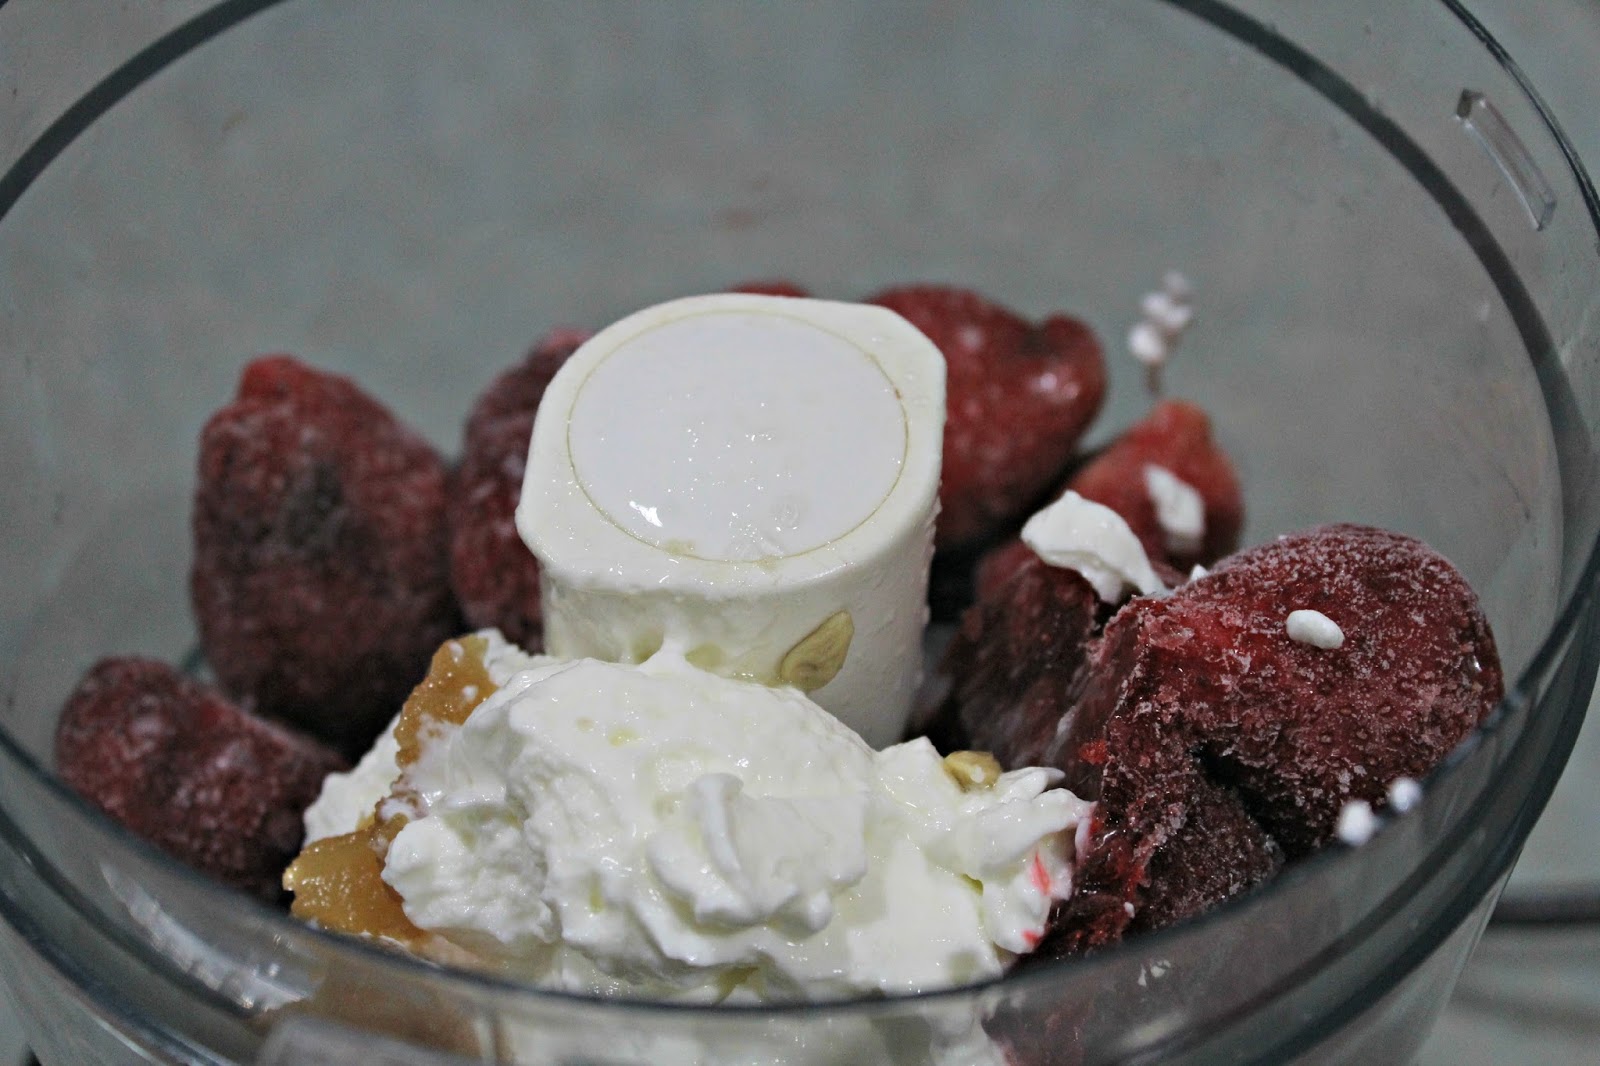
Now that you have your ice cream machine ready, it’s time to gather the ingredients to make your homemade ice cream. The great thing about making ice cream from scratch is that you have complete control over the ingredients used, allowing you to customize your flavors and make healthier choices.
The basic ingredients for making ice cream include milk or cream, sugar, and flavorings. You can choose between whole milk, half-and-half, heavy cream, or a combination depending on your desired richness and creaminess. For a lighter option, you can also use lower-fat milk or non-dairy alternatives like almond milk or coconut milk. Experiment with different ratios to find your preferred consistency and taste.
Sugar is added to sweeten the ice cream base. You can use granulated sugar, powdered sugar, or even natural sweeteners like honey or maple syrup. Keep in mind that sugar not only adds sweetness but also helps to maintain a creamy texture and prevent ice crystals from forming.
Next, it’s time to choose your flavorings. Vanilla extract is a classic choice that complements almost any flavor profile. You can also experiment with other extracts like almond, mint, or coffee to create unique flavors. For fruity ice creams, consider using fresh or frozen fruits, purees, or fruit extracts. Chocolate lovers can add cocoa powder or melted chocolate for a rich and decadent flavor. Don’t be afraid to get creative and mix and match flavors to suit your taste preferences.
Once you have decided on the base ingredients and flavorings, it’s time to think about mix-ins. Mix-ins are additional ingredients that are added to the ice cream during the churning process to enhance the flavor and texture. Common mix-ins include chocolate chips, nuts, cookie dough, fruit chunks, or candy pieces. Be sure to chop or prepare the mix-ins ahead of time so they are ready to be added to the ice cream as it churns.
Lastly, don’t forget any additional ingredients specific to the recipe you are using. Some recipes may call for eggs, gelatin, or stabilizers to improve the texture or add volume. Make sure to plan accordingly and have all your ingredients ready before you start making your ice cream.
With your ingredients gathered, it’s time to move on to the next step: preparing the ice cream base.
Preparing the Ice Cream Base
Preparing the ice cream base is a crucial step in the ice cream making process. The base serves as the foundation for the flavors and textures you want to achieve in your homemade ice cream. It is essentially a custard-like mixture that is cooked and then chilled before churning.
To start, you will need to gather your chosen dairy product (milk, cream, or a combination), sugar, and any flavorings or extracts you want to include. In a saucepan, heat the dairy product over medium heat until it reaches a gentle simmer. This helps to infuse the flavors and dissolve the sugar. If you are using any flavorings or extracts, add them to the dairy mixture while it is heating.
While the dairy product is heating, in a separate bowl, whisk together the sugar and any other dry ingredients you are using, such as cocoa powder. This helps to evenly distribute the ingredients and prevent clumping. Once the dairy mixture reaches a gentle simmer, slowly whisk in the dry ingredient mixture. Continue to whisk until the sugar and dry ingredients are fully dissolved and the mixture is smooth.
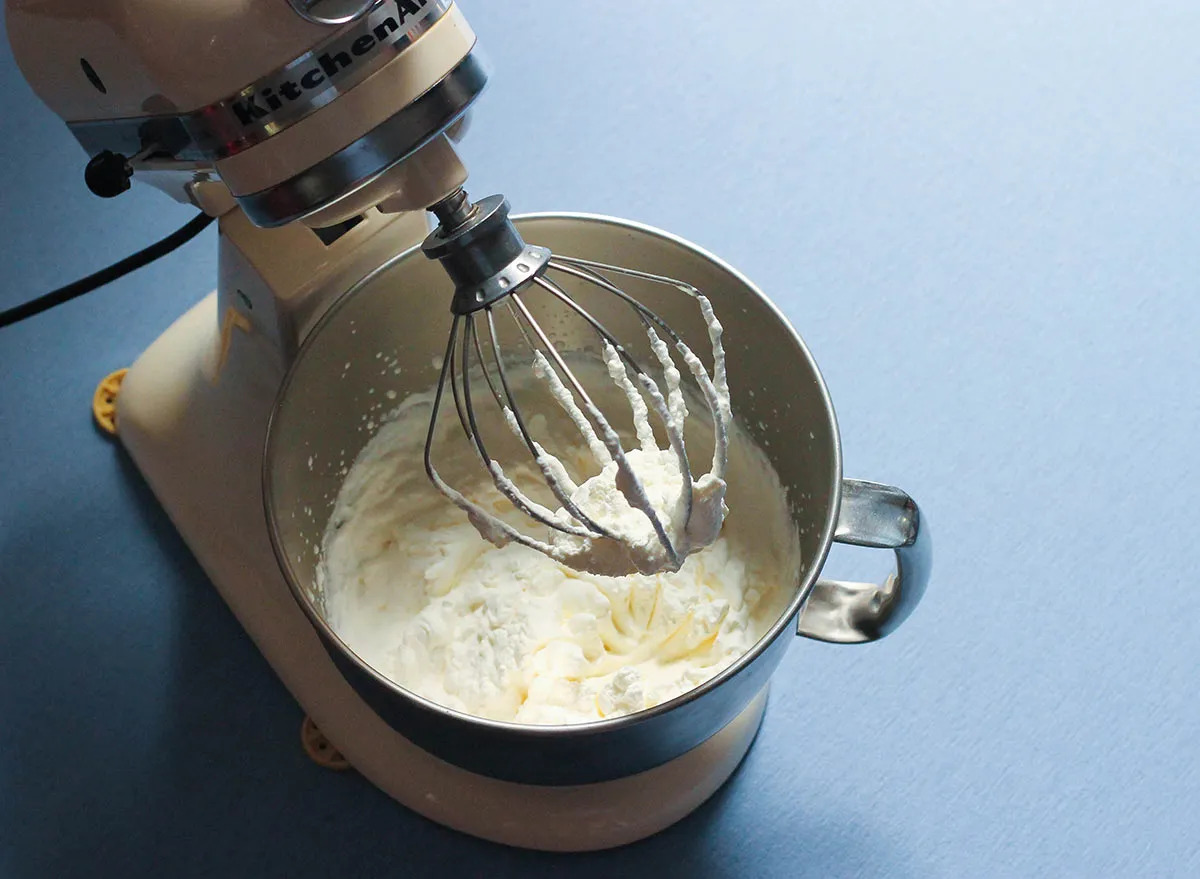
In a separate bowl, beat the eggs until they are well combined and slightly fluffy. Some recipes may call for the use of only egg yolks, while others may use whole eggs. Add a small amount of the hot dairy mixture to the beaten eggs, whisking constantly. This helps to temper the eggs and prevent them from curdling when added to the hot mixture later. Gradually add more of the hot dairy mixture to the eggs, whisking continuously until fully combined.
Once the eggs and dairy mixture are combined, return the mixture to the saucepan and cook over low heat. Stir the mixture constantly with a wooden spoon or heat-resistant spatula, making sure to scrape the bottom and sides of the saucepan to prevent any scorching or sticking. Continue to cook until the mixture thickens and coats the back of the spoon. You want the mixture to reach a custard-like consistency, similar to a thin pudding.
Once the ice cream base has thickened, remove the saucepan from the heat and strain the mixture through a fine-mesh sieve. This step helps to remove any cooked egg bits or clumps and ensures a smoother ice cream base. Allow the mixture to cool to room temperature, then cover it and refrigerate it for at least 4 hours or overnight. Chilling the base thoroughly is important as it allows the flavors to meld and the mixture to fully thicken.
With the ice cream base prepared, it’s time to move on to the next step: churning the ice cream in the ice cream machine.
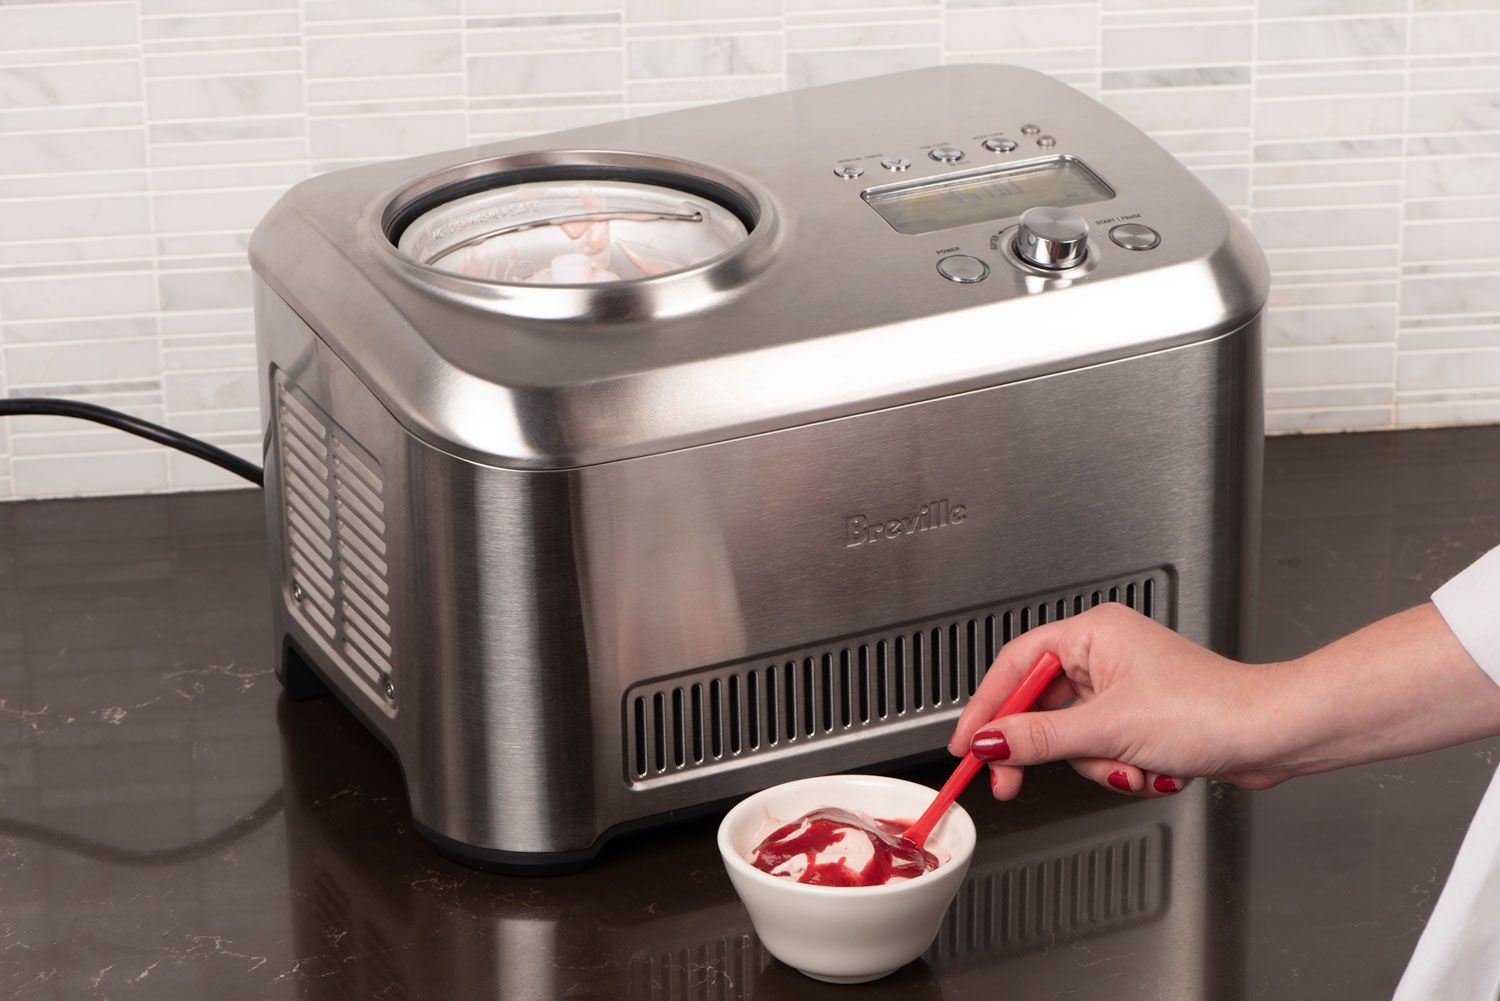
Churning the Ice Cream
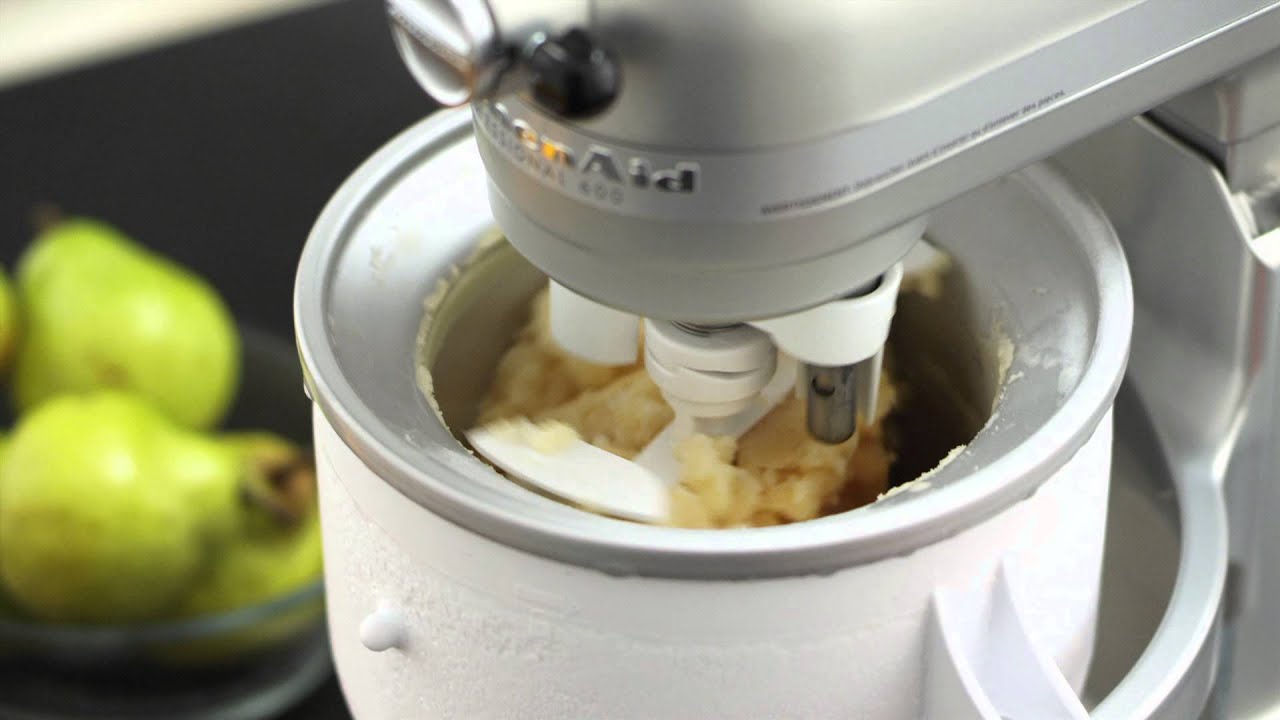
Now that you have prepared the ice cream base and allowed it to chill, it’s time to move on to the exciting step of churning the ice cream in your ice cream machine. Churning is the process of freezing the ice cream while simultaneously incorporating air to create a creamy and smooth texture.
Before starting, make sure your ice cream machine is properly set up and ready to use. If you are using a freezer bowl type machine, ensure that the bowl is completely frozen according to the manufacturer’s instructions. If you are using a compressor type machine, make sure it is plugged in and ready to go.
Take your chilled ice cream base out of the refrigerator and give it a stir to ensure it is well mixed. Pour the base into the pre-frozen bowl of your ice cream machine or the freezing chamber of your compressor machine. Start the machine and let it churn according to the manufacturer’s instructions. The churning time can vary depending on the specific machine and the recipe you are using, usually ranging from 20 to 40 minutes.
As the machine churns, the mixture will slowly freeze, and the paddle or dasher inside the machine will continuously scrape the sides of the bowl, incorporating air and preventing ice crystals from forming. The longer you churn the ice cream, the softer and creamier it will become. Keep an eye on the consistency and texture to determine when it’s ready. You want it to be thick and have a soft-serve consistency.
During the churning process, you can also add any mix-ins you desire. Mix-ins are added towards the end of churning, usually in the last few minutes. You can add chopped chocolate, crushed cookies, nuts, or any other desired mix-ins. Simply pour them into the machine while it is still running and let them mix into the ice cream. Be mindful not to overload the machine with too many mix-ins, as they can cause the ice cream to become too dense and affect the churning process.
Once the ice cream has reached your desired consistency and the mix-ins are fully incorporated, it’s time to turn off the machine and remove the ice cream. The ice cream at this stage will be soft and not fully hardened yet. If you prefer a firmer consistency, transfer the ice cream to an airtight container and place it in the freezer for an additional few hours or until it’s fully set.
Congratulations! You have successfully churned your homemade ice cream. The next step is to add your personal touch with some delicious mix-ins.
When making ice cream in an ice cream machine, be sure to chill the base thoroughly before churning to ensure a smooth and creamy texture. This will also help the ice cream freeze faster.
Adding Mix-Ins
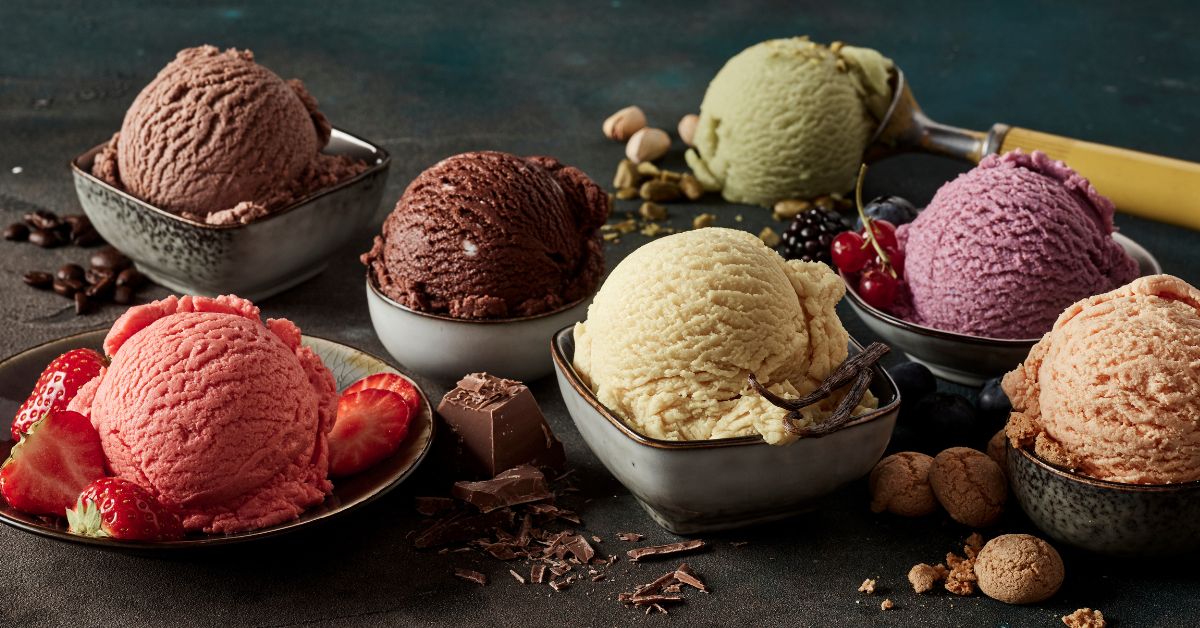
Adding mix-ins to your homemade ice cream can take it to a whole new level of deliciousness and creativity. Mix-ins are additional ingredients that are added during the churning process to enhance the flavor, texture, and visual appeal of your ice cream. From chocolate chunks to cookie dough to fresh fruit, the options are endless. Let’s explore some popular mix-ins and how to incorporate them into your ice cream.
One classic mix-in is chocolate. You can use high-quality chocolate bars and chop them into small chunks, or you can use chocolate chips for an even distribution throughout the ice cream. Simply add the chocolate pieces into the ice cream machine during the last few minutes of churning, allowing them to mix in seamlessly.
If you’re a fan of cookies, cookie dough, or crushed cookies can be wonderful mix-ins. You can make your own cookie dough by mixing butter, sugar, flour, and your favorite ingredients such as chocolate chips or nuts. Cut the dough into small pieces and add them into the churning ice cream, ensuring even distribution. Alternatively, you can crush your favorite cookies and sprinkle them into the ice cream during churning.
Nuts are another popular mix-in option. Whether it’s toasted almonds, walnuts, or pecans, they can add a delightful crunch and flavor to your ice cream. Chop the nuts into small pieces and sprinkle them into the churning ice cream. Make sure to evenly distribute them for a balanced texture.
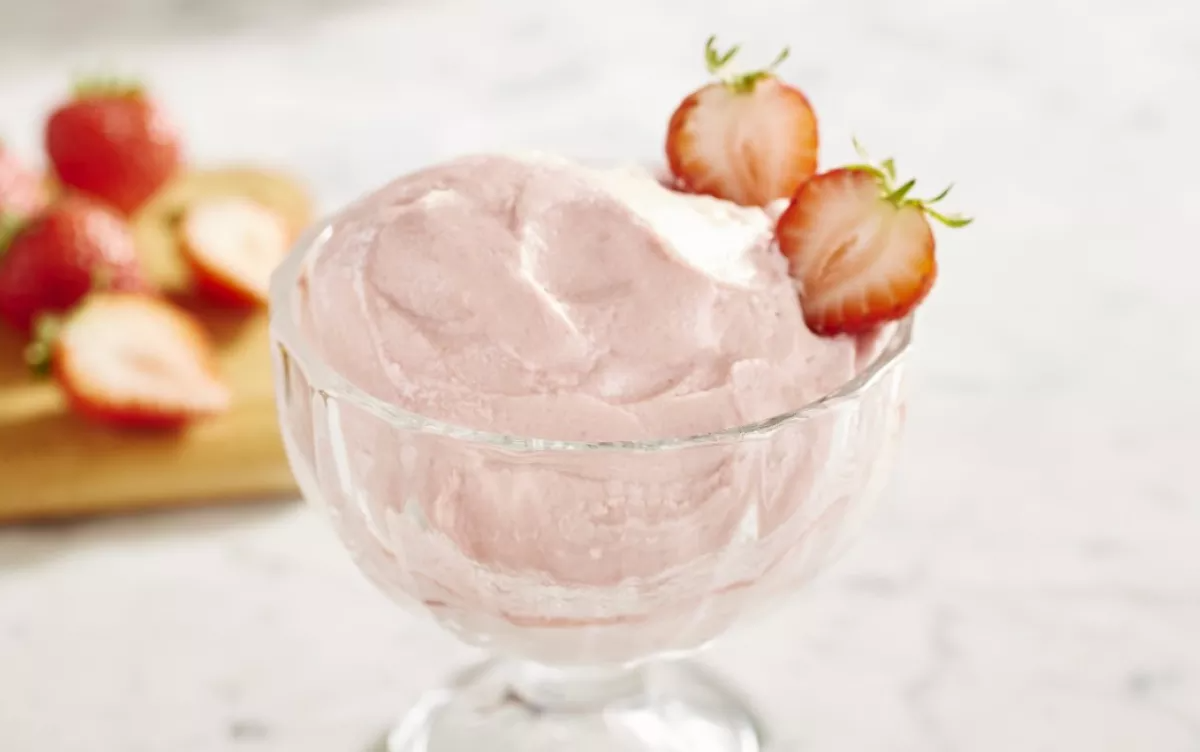
Fresh fruits and berries can also make fantastic mix-ins. Chop the fruits into small pieces and add them into the ice cream during the last few minutes of churning. You can use fruits like strawberries, peaches, or blueberries, depending on your preference. The natural sweetness and vibrant colors of the fruits will add freshness and a burst of flavor to your ice cream.
Don’t be afraid to get creative and experiment with your mix-ins. Crushed candy bars, caramel swirls, peanut butter cups, or even sprinkles can add a fun and festive touch to your ice cream. Keep in mind that some mix-ins may affect the texture of the ice cream if added in large quantities, so it’s best to start with smaller amounts and adjust to your liking.
Remember to add the mix-ins towards the end of churning, once the ice cream base has thickened but is not fully set. This will ensure that the mix-ins are evenly distributed throughout the ice cream. Once the mix-ins are added, continue to churn for a few more minutes to allow them to incorporate into the ice cream.
Once the churning is complete, transfer the ice cream to an airtight container and freeze for a few more hours to fully set. This will allow the flavors to meld together and the ice cream to reach a firm consistency.
With the mix-ins added, your homemade ice cream is now ready to be enjoyed. But before you dig in, make sure you know how to properly store and freeze your ice cream for later enjoyment.
Freezing and Storing the Ice Cream
After all the effort you’ve put into making your homemade ice cream, it’s important to ensure it stays fresh and delicious. Proper freezing and storing techniques will help maintain the texture and flavor of your ice cream for a longer period of time.
Once you’ve finished churning your ice cream and added any desired mix-ins, transfer the ice cream into an airtight container. Make sure the container is freezer-safe and has a tight-fitting lid. This will prevent air from entering and ice crystals from forming, which can affect the taste and texture of the ice cream.
Before sealing the container, press a piece of plastic wrap directly on the surface of the ice cream. This creates a barrier that helps prevent ice crystals from forming on the top layer. Then, place the lid securely on the container.
Store the ice cream container in the coldest part of your freezer, preferably at a temperature of around -18°C (0°F) or colder. This ensures optimal preservation and avoids any melting or thawing. Avoid placing the container near the door or any areas that experience temperature fluctuations, as this can lead to freezer burn and affect the quality of the ice cream.
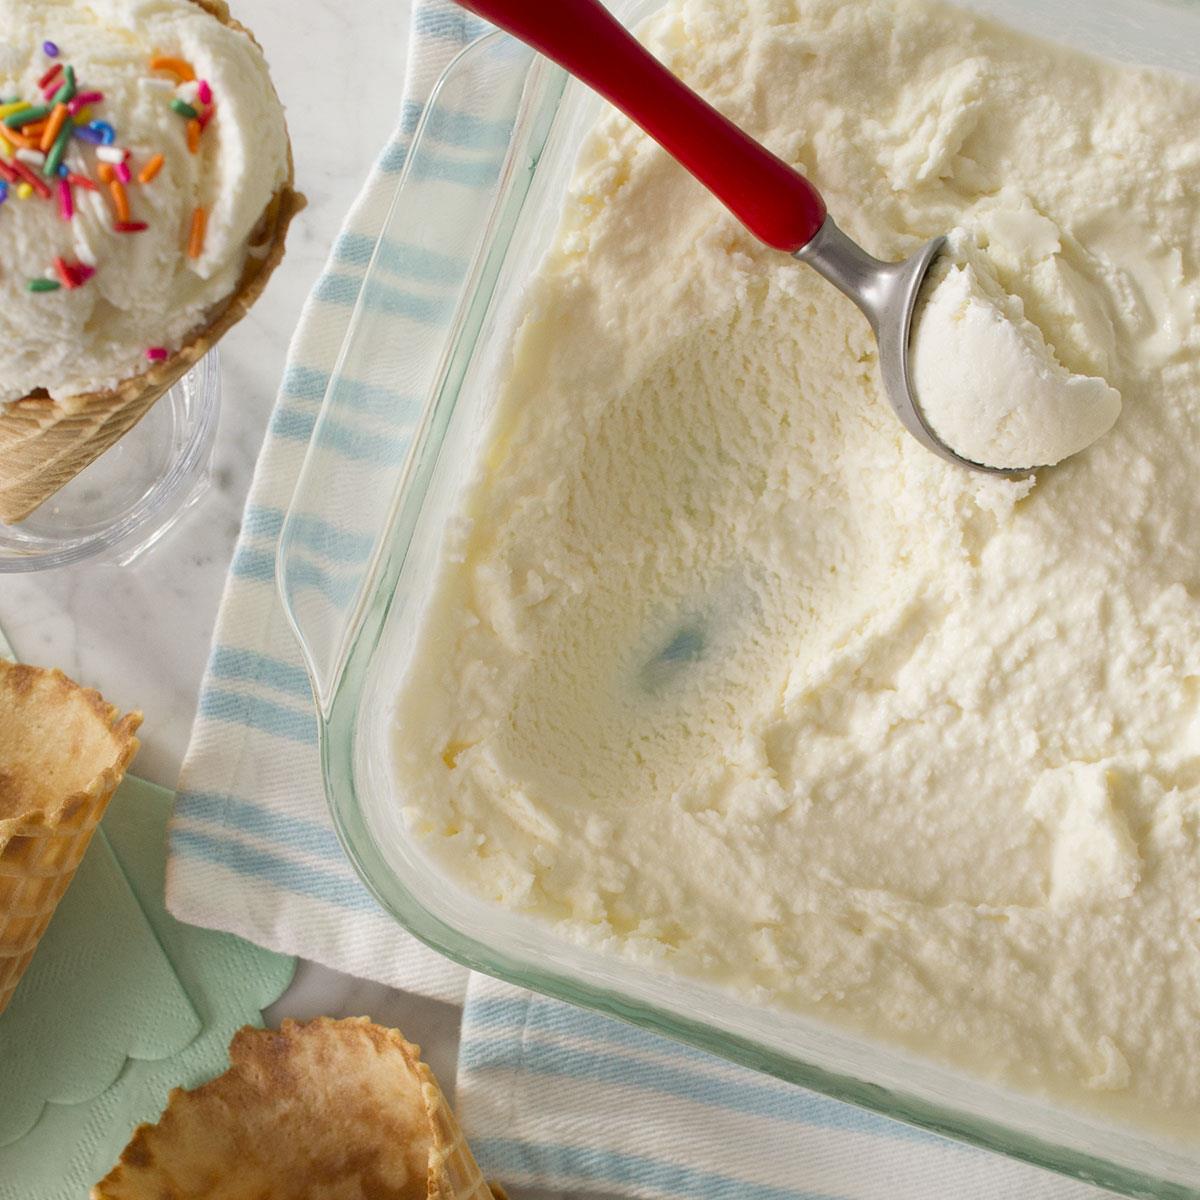
When it comes to serving the ice cream, it’s best to remove the container from the freezer and let it sit at room temperature for a few minutes. This allows the ice cream to soften slightly and makes scooping easier. Alternatively, you can use a warm ice cream scoop or dip it in hot water to aid in scooping.
Keep in mind that homemade ice cream is best enjoyed within a couple of weeks. Over time, ice cream can develop ice crystals and lose its creamy texture and fresh flavor. It’s important to consume it before it starts to show signs of freezer burn or becomes overly icy.
If you have leftovers or want to make a larger batch for future indulgence, you can store the ice cream in individual-sized containers or even use an airtight plastic bag. Just make sure to press out all excess air before sealing the bag. Proper labeling with the date of preparation is also helpful for keeping track of freshness.
Lastly, remember to clean your ice cream machine thoroughly after each use. Follow the manufacturer’s instructions for proper cleaning and maintenance. This will ensure that your machine remains in good condition and ready for the next batch of delicious homemade ice cream.
Now that you know how to properly freeze and store your ice cream, it’s time to put your knowledge into practice and enjoy the delightful flavors you’ve created with your ice cream machine.
Tips and Troubleshooting
Making ice cream with an ice cream machine can be a fun and rewarding activity. To help you achieve the best results, here are some tips and troubleshooting tips to keep in mind:
- Make sure to freeze the bowl (for freezer bowl type machines) or ensure the machine is properly chilled (for compressor type machines) before starting the churning process. This will ensure that the ice cream freezes properly and achieves the desired texture.
- Chill the ice cream base thoroughly before churning. This allows the flavors to meld together and helps achieve a smooth texture.
- To test if the ice cream base is ready for churning, dip a spoon in it and run your finger along the back. If the line remains clear, without the mixture running back together, it’s ready.
- When adding mix-ins, make sure they are chopped or prepared ahead of time. This ensures even distribution without overwhelming the ice cream with large chunks.
- If your ice cream is not freezing properly or taking too long to churn, check the temperature of your freezer. Aim for a temperature of -18°C (0°F) or colder for optimal freezing.
- If your ice cream turns out too icy, it may indicate that it was over-churned. Keep an eye on the texture and consistency during the churning process and stop when it reaches a soft-serve consistency.
- If your ice cream is too soft or runny after churning, place it in the freezer for a couple of hours to firm up before serving.
- Experiment with different flavors and mix-ins to personalize your ice cream. Don’t be afraid to get creative and try new combinations.
- Clean your ice cream machine thoroughly after each use to ensure it stays in good condition and ready for the next batch.
- Remember that homemade ice cream is best enjoyed within a couple of weeks for optimal freshness and flavor. Discard any ice cream that develops an off-flavor, strange smell, or shows signs of freezer burn.
With these tips in mind, you’re ready to embark on your ice cream-making adventure. Embrace the creative possibilities, delight in the flavors, and enjoy the satisfaction of devouring your very own homemade ice cream.
Conclusion
Congratulations! You have learned all about making ice cream in an ice cream machine. From choosing the right machine to gathering the perfect ingredients, preparing the ice cream base, churning it to perfection, and adding delicious mix-ins, you now have the knowledge and skills to create delectable homemade ice cream.
Making ice cream with an ice cream machine allows you to experiment with flavors, control the ingredients, and create frozen treats that are tailor-made to your preferences. The process of churning and freezing your own ice cream can be a delightful and rewarding experience, resulting in a final product that is rich, creamy, and bursting with flavor.
Remember to choose the type of ice cream machine that suits your needs and budget, whether it’s a freezer bowl type or a compressor type. Gather high-quality ingredients, including milk or cream, sugar, and flavorings, and let your creativity shine by adding mix-ins that tantalize your taste buds.
Take advantage of the tips and troubleshooting suggestions provided to ensure the best possible results. Properly chilling the ice cream base, monitoring the churning process, and storing the ice cream correctly will help you maintain optimal texture and flavor.
But most importantly, embrace the joy of creating your own homemade ice cream. Whether you’re enjoying a classic vanilla or indulging in a unique flavor combination, the satisfaction and sense of accomplishment that comes from making your own frozen treat are unparalleled.
So, grab your ice cream machine, gather your ingredients, and let the magic begin. Dive into the world of homemade ice cream, filled with endless possibilities and the pleasure of sweet indulgence. Get creative, experiment with flavors, and share your frozen creations with family and friends. Homemade ice cream is a delightful treat that brings joy, comfort, and a taste of summer to any occasion.
Frequently Asked Questions about How To Make Ice Cream In Ice Cream Machine
Was this page helpful?
At Storables.com, we guarantee accurate and reliable information. Our content, validated by Expert Board Contributors, is crafted following stringent Editorial Policies. We're committed to providing you with well-researched, expert-backed insights for all your informational needs.


0 thoughts on “How To Make Ice Cream In Ice Cream Machine”