Home>Articles>How To Make Chocolate Ice Cream With An Ice Cream Maker

Articles
How To Make Chocolate Ice Cream With An Ice Cream Maker
Modified: October 20, 2024
Learn how to make delicious chocolate ice cream from scratch with an ice cream maker. Check out our articles for step-by-step instructions and tips.
(Many of the links in this article redirect to a specific reviewed product. Your purchase of these products through affiliate links helps to generate commission for Storables.com, at no extra cost. Learn more)
Introduction
Welcome, ice cream lovers! If you’ve ever found yourself craving a rich and creamy treat, there’s nothing quite like indulging in a scoop of homemade chocolate ice cream. Making your own chocolate ice cream may seem like a daunting task, but fear not! With an ice cream maker and a few simple ingredients, you can create a delectable dessert that will impress your friends and family.
There’s something magical about the process of transforming a few basic ingredients into a velvety-smooth, chocolatey delight. The beauty of making chocolate ice cream at home is that you have total control over the quality and flavor. You can choose the finest cocoa powder, use real melted chocolate, or even experiment with different types of milk and cream to customize the taste to your liking.
In this article, we’ll guide you through the step-by-step process of making chocolate ice cream with an ice cream maker. From preparing the ice cream base to achieving the perfect consistency, we’ll cover all the essential tips and tricks to ensure success in your ice cream-making venture.
So, dust off that ice cream maker and get ready to embark on a delicious journey. Get ready to savor the rich, velvety goodness of homemade chocolate ice cream – a dessert that’s sure to please both young and old alike.
Key Takeaways:
- Indulge in the joy of creating rich and creamy chocolate ice cream at home with an ice cream maker. Customize flavors, experiment with mix-ins, and savor the delightful process of crafting your own frozen treat.
- Elevate your chocolate ice cream experience with creative variations and toppings. From mint chocolate chip to s’mores, unleash your imagination and transform each scoop into a personalized dessert masterpiece.
Ingredients
Before we dive into the process of making chocolate ice cream, let’s gather all the necessary ingredients. Here’s a list of what you’ll need:
- 2 cups of heavy cream
- 1 cup of whole milk
- 3/4 cup of granulated sugar
- 1/4 teaspoon of salt
- 4 large egg yolks
- 1/4 cup of unsweetened cocoa powder
- 4 ounces of semisweet or bittersweet chocolate, chopped
- 2 teaspoons of pure vanilla extract
These ingredients are the foundation for a classic chocolate ice cream base. The combination of cream, milk, sugar, and eggs creates the smooth and creamy texture we all love. The cocoa powder and chocolate add that rich and intense chocolate flavor, while the vanilla extract enhances the overall taste.
Don’t be afraid to experiment and adjust the recipe to your preferences. If you prefer a darker chocolate flavor, you can use a higher percentage of cocoa powder or opt for a darker chocolate variety. On the other hand, if you prefer a sweeter taste, you can increase the amount of sugar or use a sweeter chocolate. Feel free to make it your own!
With the ingredients all set, let’s move on to the equipment you’ll need for this delightful chocolate ice cream adventure.
Equipment needed
Now that we have the ingredients ready, let’s gather the necessary equipment to make our chocolate ice cream.
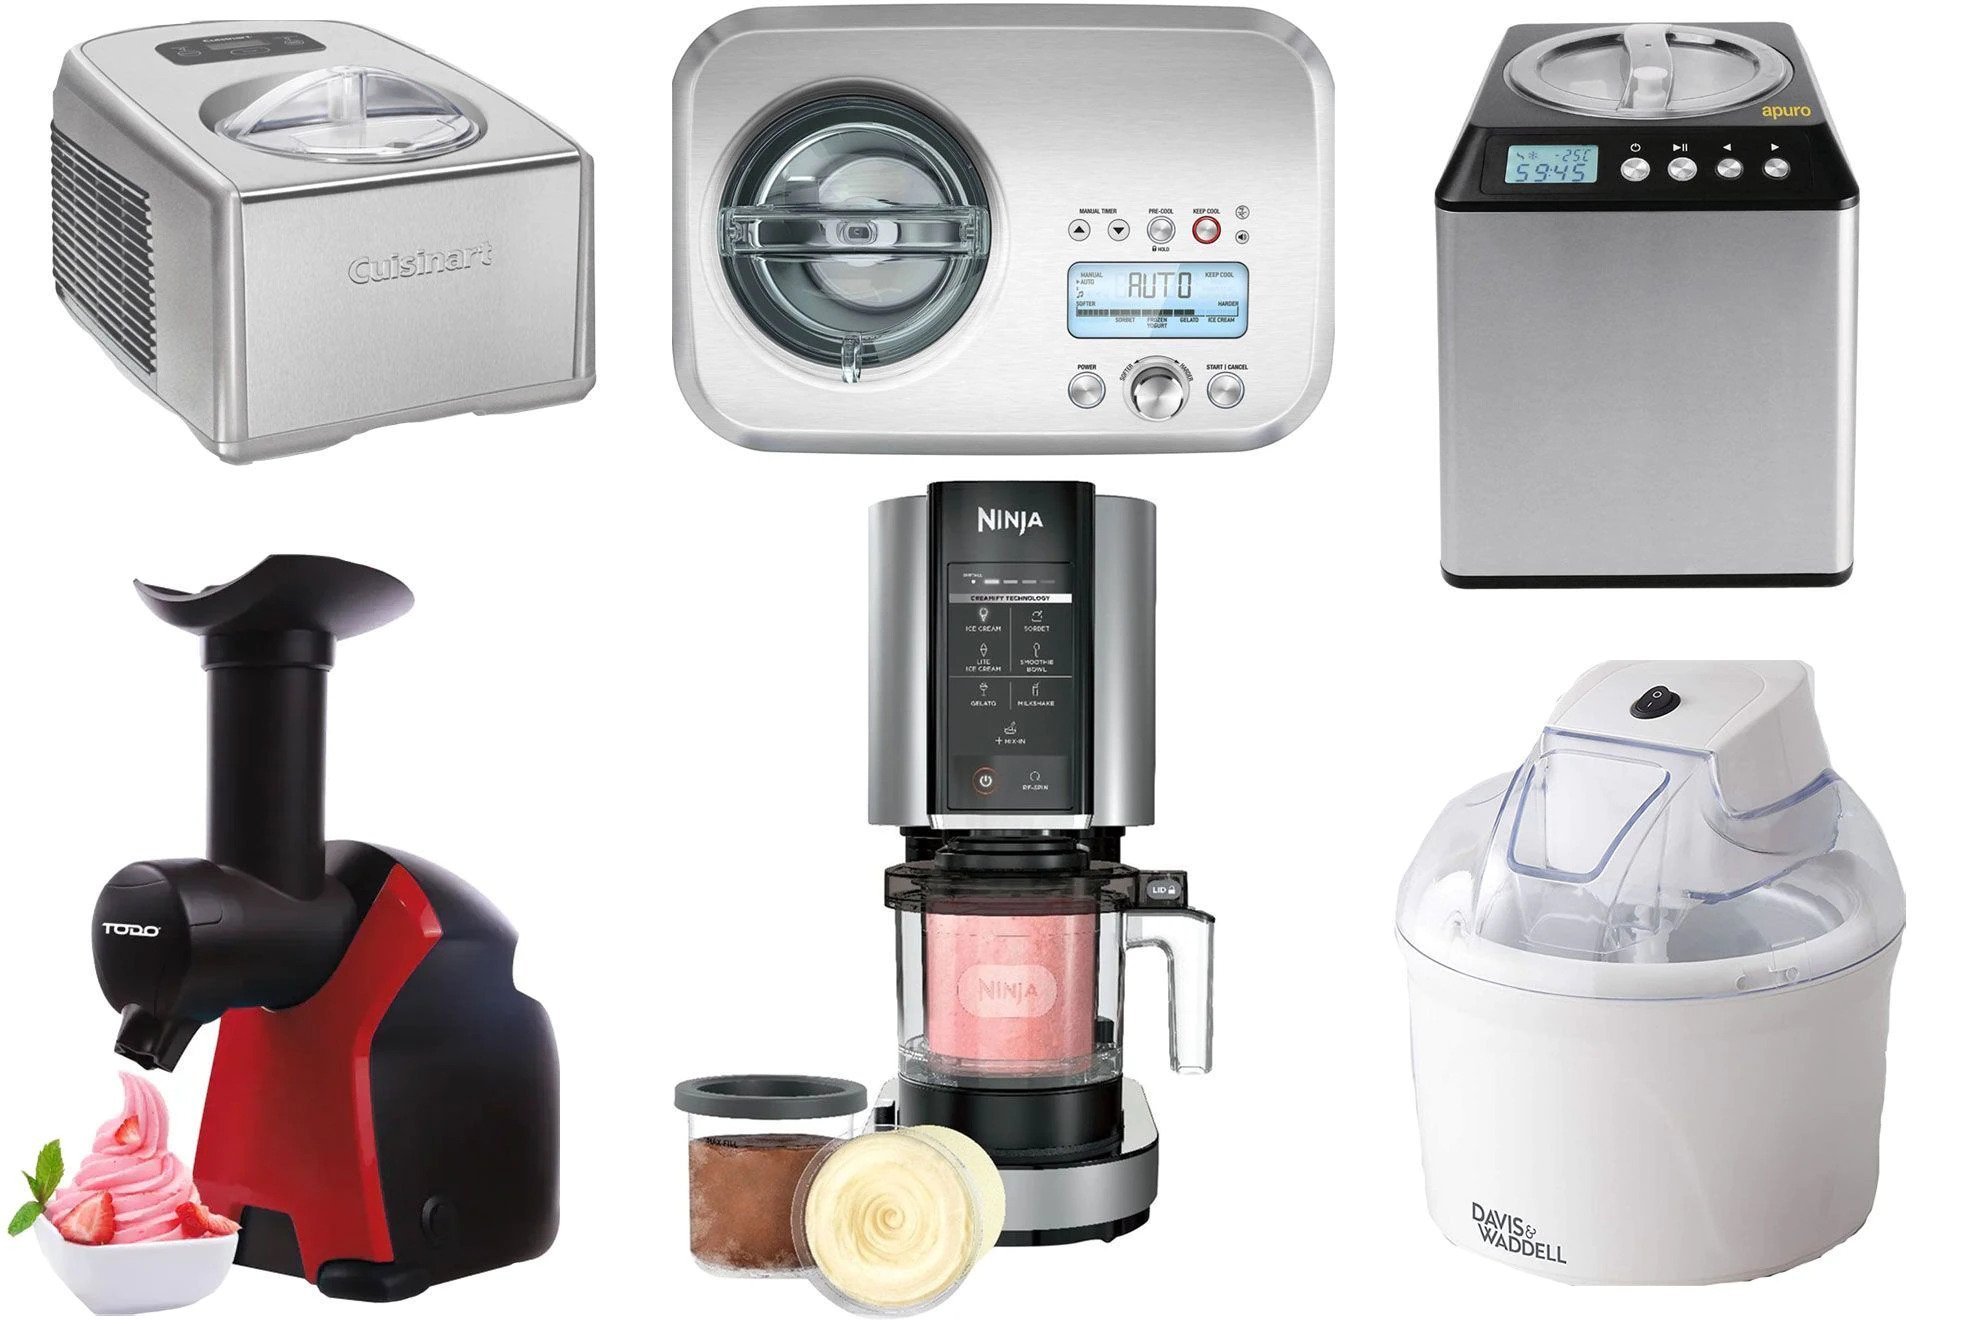
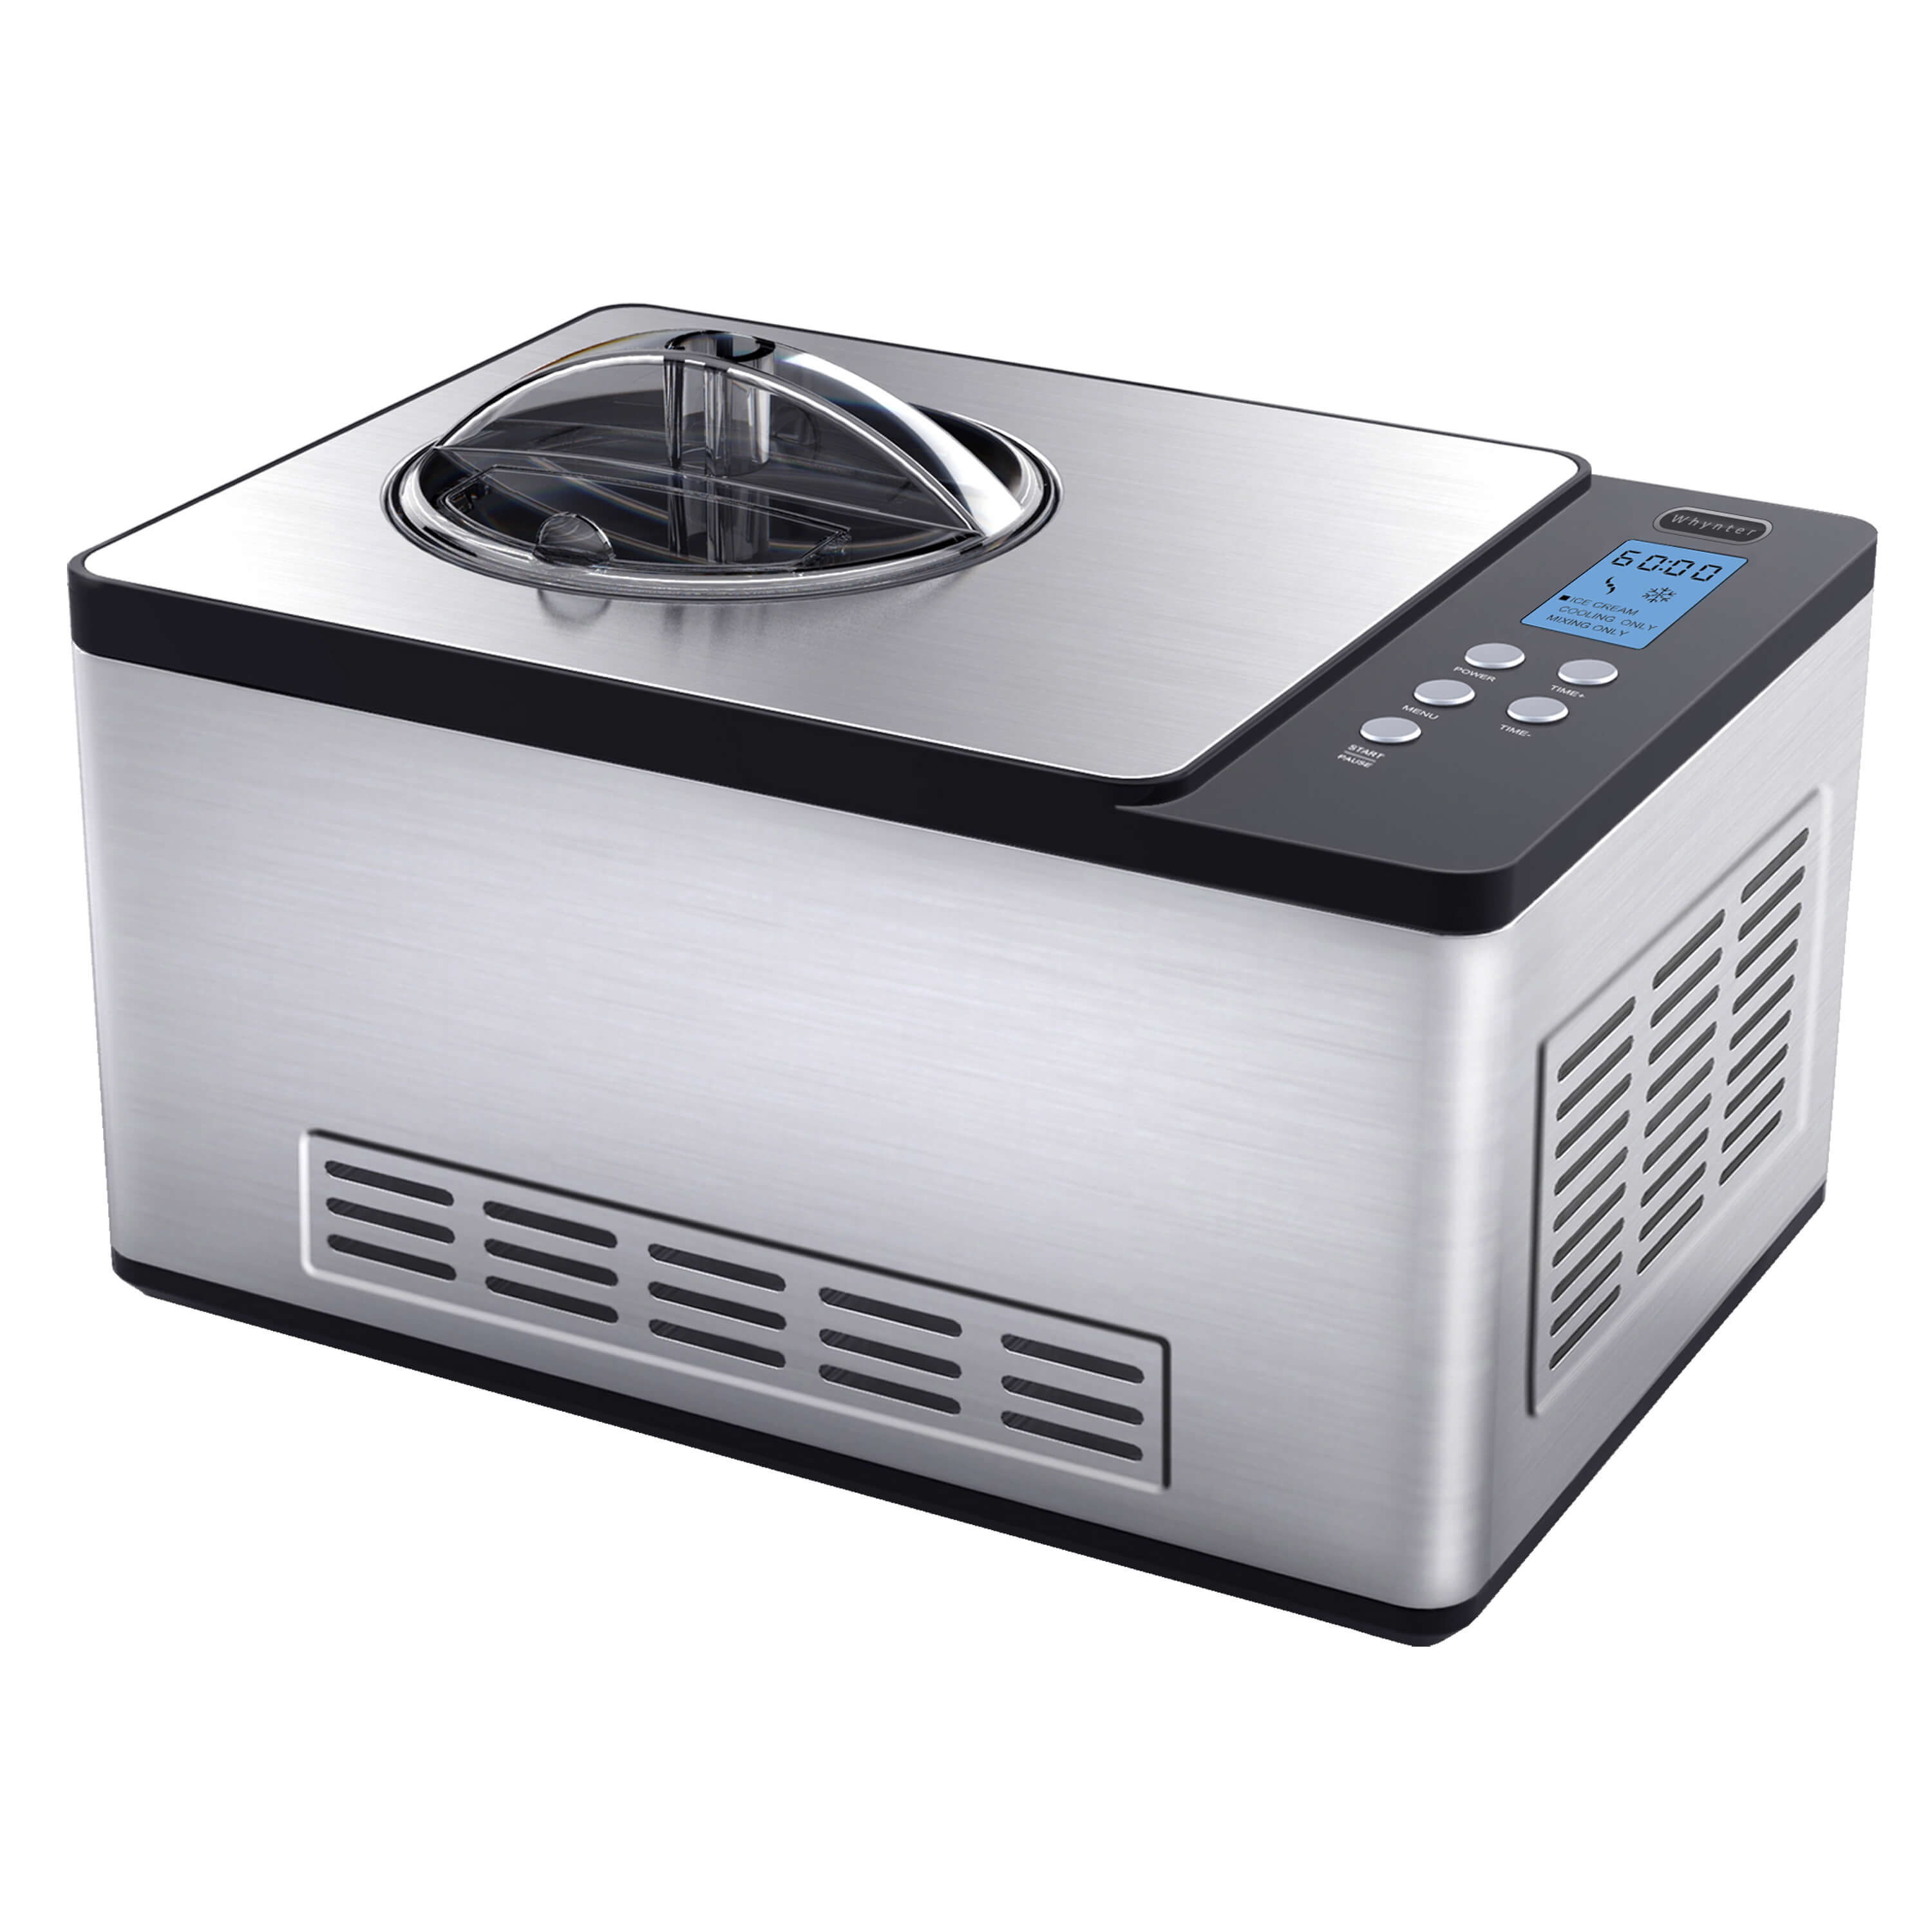
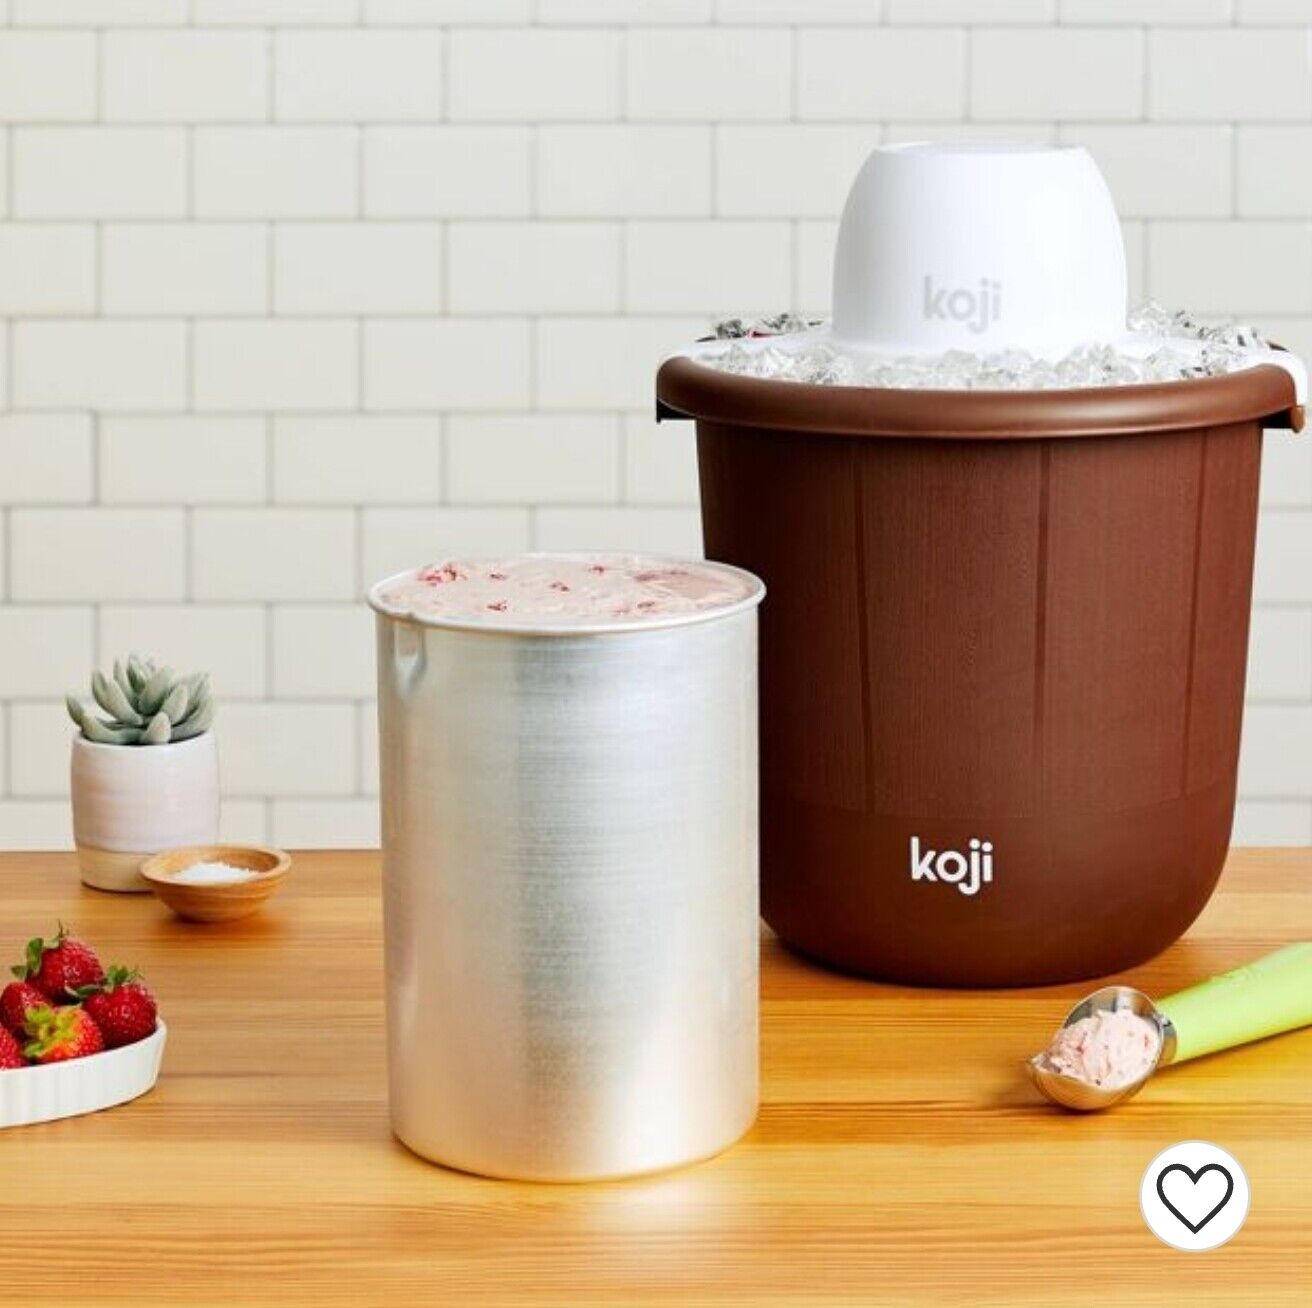
1. Ice Cream Maker: The most essential piece of equipment you’ll need is an ice cream maker. There are various types available, including electric ice cream makers and manual ones with a hand crank. Choose the one that best suits your needs and budget.
2. Mixing Bowls: You’ll need a few mixing bowls to separate the egg yolks, whisk the ingredients, and create the ice cream base. Opt for bowls that are large enough to accommodate the mixture without any spillage.
3. Whisk or Electric Mixer: To ensure a smooth and well-incorporated ice cream base, you’ll need a whisk or an electric mixer. This will help incorporate the eggs, sugar, and cocoa powder into a creamy mixture.
4. Saucepan: A medium-sized saucepan will be used to heat the milk and cream mixture gently. Make sure it’s deep enough to avoid any boiling-over mishaps.
5. Spatula: A heat-resistant spatula will come in handy for stirring and scraping down the sides of the saucepan and ice cream maker during the process.
6. Knife and Cutting Board: You’ll need these to chop the chocolate into small pieces if you’re using a bar of chocolate instead of chocolate chips.
7. Airtight Container: Finally, you’ll need a container with a tight-fitting lid to store your freshly churned ice cream. Choose a container that is freezer-safe and can hold the desired quantity.
Now that you have all the necessary equipment ready, it’s time to start preparing the ice cream base. Get ready for a truly decadent and indulgent treat!
Preparing the ice cream base
Now that you have all the ingredients and equipment assembled, it’s time to start preparing the ice cream base. Follow these steps to create the smooth and creamy foundation for your chocolate ice cream:
- In a medium-sized saucepan, combine the heavy cream, whole milk, granulated sugar, and salt. Place the saucepan over medium heat and stir occasionally until the mixture reaches a simmer. Make sure the sugar and salt are fully dissolved.
- In a separate bowl, whisk the egg yolks until they become smooth. Gradually, pour a small amount of the hot cream mixture into the bowl with the egg yolks, whisking constantly. This step is called tempering and helps prevent the eggs from curdling.
- Pour the egg yolk and cream mixture back into the saucepan with the remaining cream mixture. Stir everything together until well combined.
- Return the saucepan to the heat and cook the mixture, stirring constantly, until it thickens slightly. This process is called “coating the back of a spoon.” You’ll know it’s ready when you can run your finger across the back of the spoon, and the mixture leaves a distinct trail without immediately filling in.
- Remove the saucepan from heat and sift the cocoa powder into the mixture. Whisk until the cocoa powder is fully incorporated, and the mixture becomes smooth and chocolatey.
- Add the chopped chocolate to the saucepan and stir until it completely melts into the mixture. The heat from the base will melt the chocolate, creating a lusciously smooth texture.
- Finally, stir in the vanilla extract, ensuring it is evenly distributed throughout the ice cream base.
Once you’ve completed these steps, you’ve successfully prepared the ice cream base for your chocolate creation. But we’re not done yet! It’s time to churn the ice cream and infuse it with that irresistible chocolate flavor. Keep reading to learn how.
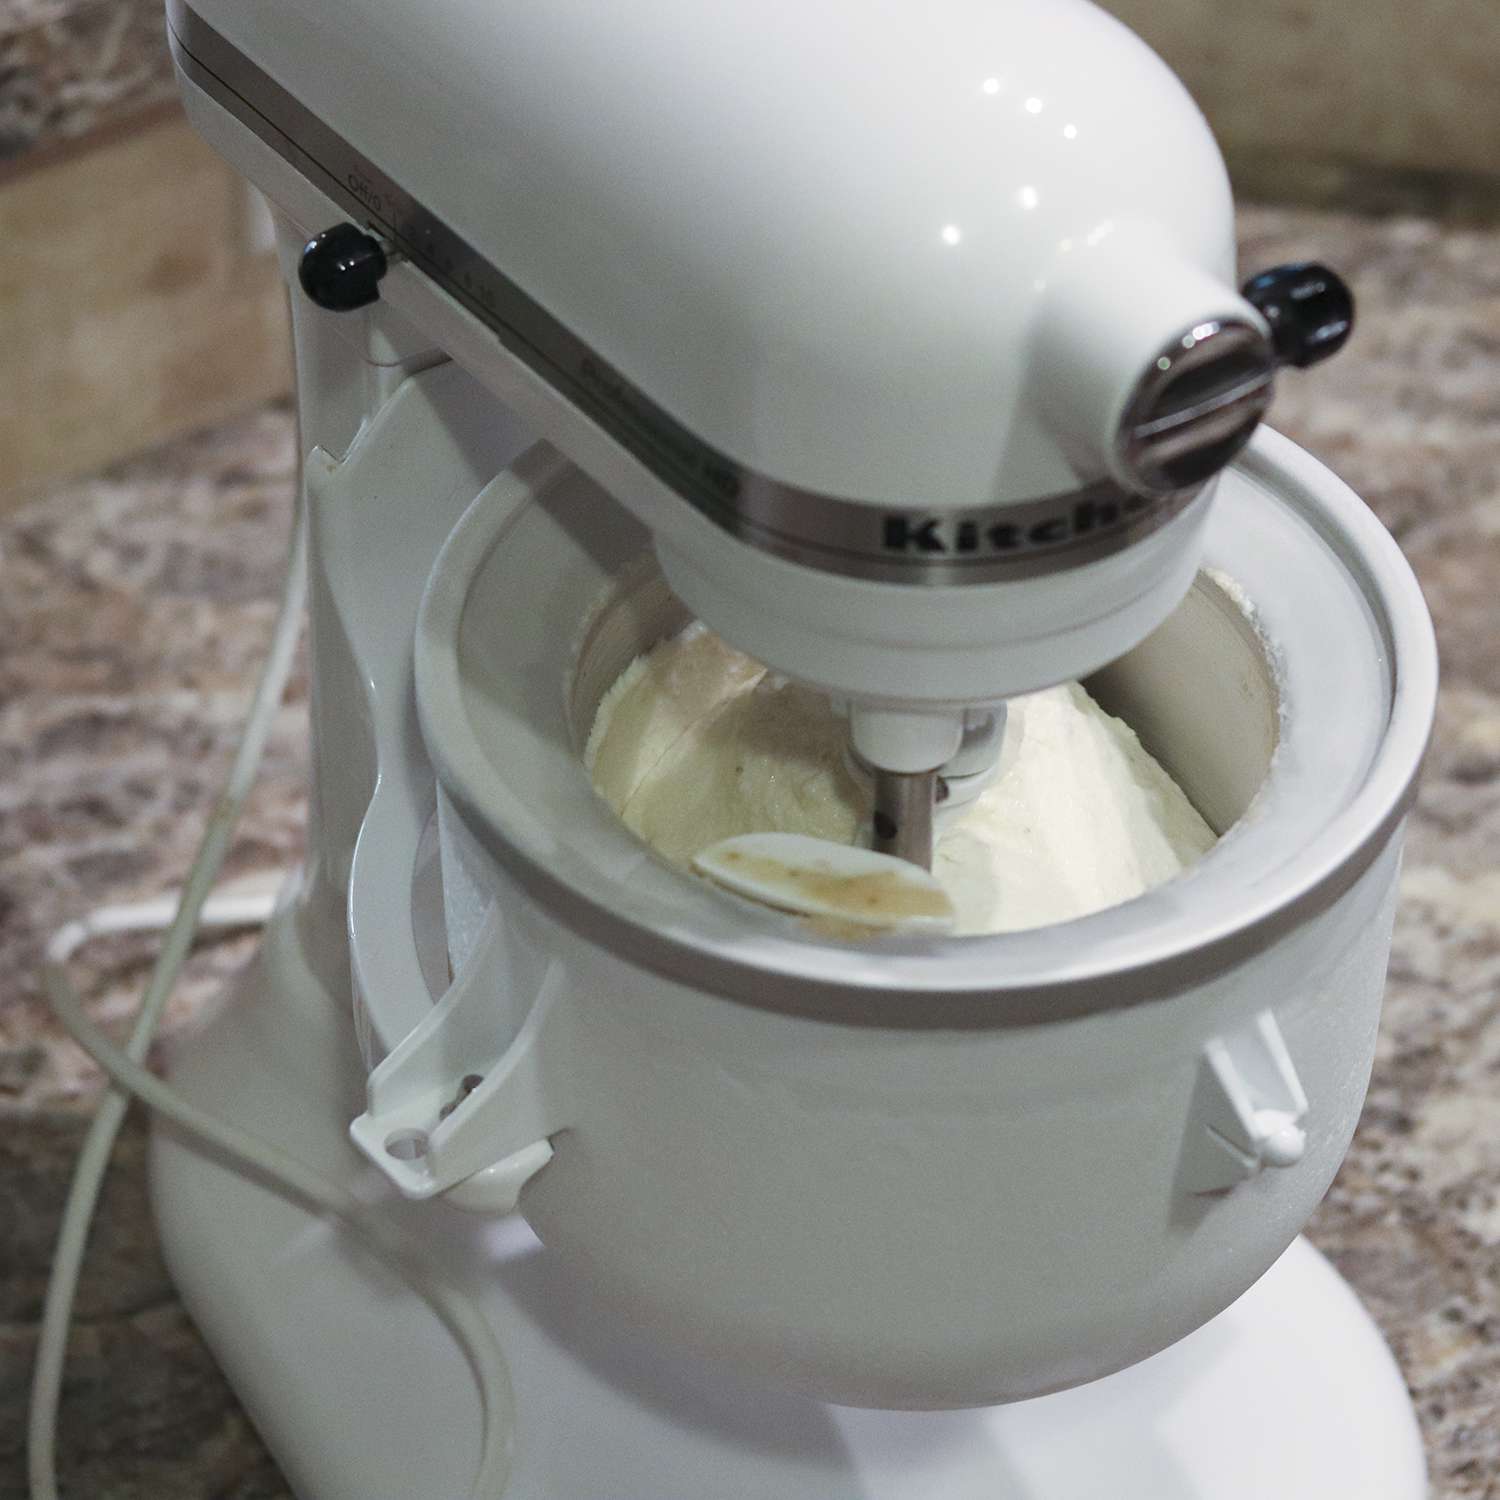
Churning the ice cream
Now that you have the ice cream base prepared, it’s time to churn it to perfection. Churning incorporates air into the mixture, creating a creamy and smooth texture. Follow these steps to achieve the best results:
- Transfer the ice cream base to a container and cover it tightly. Refrigerate the base for at least 4 hours, or preferably overnight. Chilling the mixture thoroughly will ensure it’s at the optimal temperature for churning.
- Once the base is well-chilled, set up your ice cream maker according to the manufacturer’s instructions. Every machine is different, so make sure you read and follow the guidelines provided.
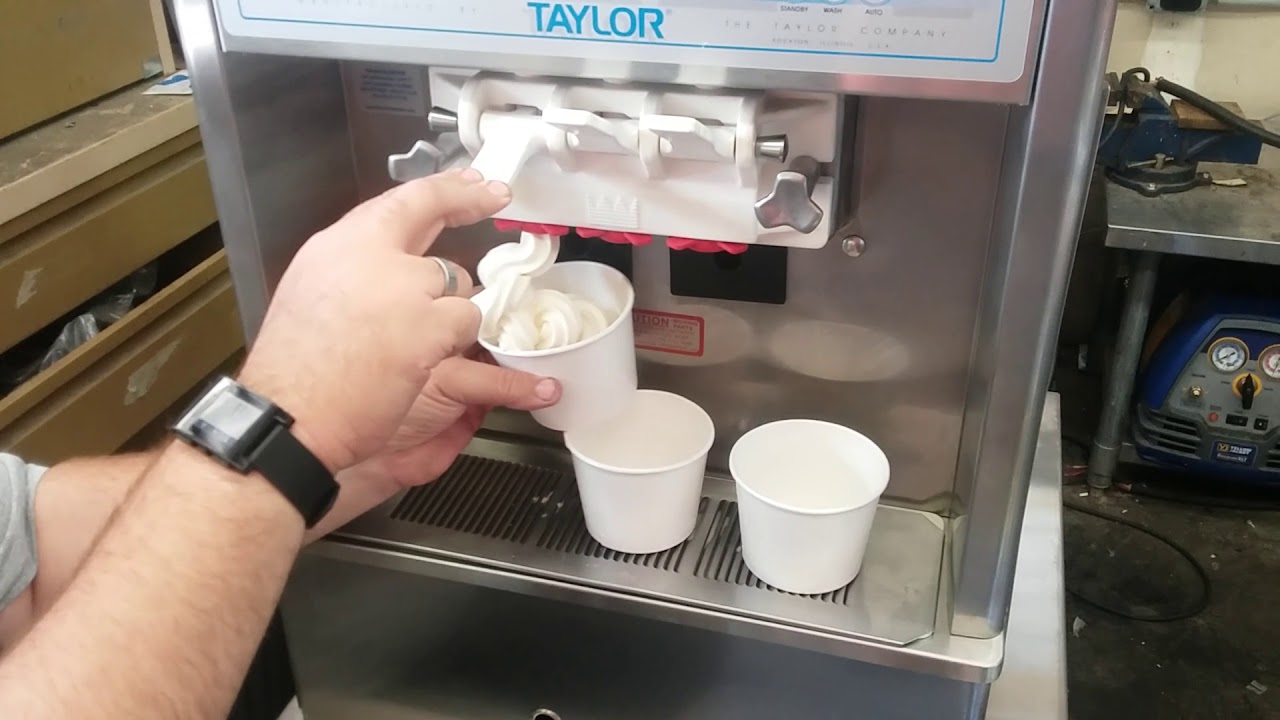
- Pour the chilled ice cream base into the ice cream maker and churn according to the machine’s instructions. Typically, it takes around 20-30 minutes for the ice cream to reach a soft-serve consistency. The mixture will thicken and increase in volume as it churns.
- During the churning process, avoid the temptation to lift the lid and check on the ice cream too frequently. Opening the machine too often can affect the consistency and lengthen the freezing time.
- Once the ice cream reaches a soft-serve consistency, it’s ready to be transferred to a freezer-safe container for further freezing. The exact consistency and texture you prefer will determine when to stop the churning process.
Remember, the churning process is what gives ice cream its creamy and scoopable texture. So, take your time and enjoy the process as your kitchen fills with the delightful aroma of chocolate. Now that you have your chocolate ice cream churned to the perfect consistency, let’s proceed to add an extra dose of chocolate goodness.
To prevent the chocolate from hardening too much, add a tablespoon of vegetable oil to the melted chocolate before mixing it into the ice cream base.
Read more: How To Make Ice Cream In Ice Cream Machine
Adding chocolate flavor
Now that your chocolate ice cream is at a soft-serve consistency, it’s time to intensify the chocolate flavor. There are a few ways you can do this, so choose the method that suits your taste and preference:
- If you prefer a subtle chocolate flavor, you can skip this step and move on to the freezing stage. Your ice cream will still have a delicious chocolate taste from the cocoa powder and melted chocolate added earlier.
- If you want an extra chocolatey punch, you can add chocolate chips or chunks to the churned ice cream. Simply fold in your desired amount of chocolate pieces using a spatula. The cold ice cream will help solidify the chocolate, resulting in delightful chocolate surprises as you enjoy your ice cream.
- For a more uniform and intense chocolate flavor, you can melt additional chocolate and drizzle it into the churned ice cream as it’s being transferred to the storage container. This method will create chocolate ribbons throughout the ice cream, providing a burst of chocolate in every scoop.
- Another way to enhance the chocolate flavor is by stirring in a chocolate syrup or fudge sauce to the churned ice cream. Simply pour a small amount of the syrup or sauce over the ice cream and gently fold it in until evenly distributed. This will add a luscious chocolate swirl to your ice cream.
Feel free to experiment with different Chocolate Antarctic flavors to find your favorite combination. The options are endless, and each variation will bring a unique twist to your homemade chocolate ice cream.
Now that you’ve added the extra chocolate goodness, it’s time to freeze your ice cream to achieve the perfect scoopable texture. Read on to learn how.
Freezing the ice cream
After adding the desired chocolate flavor enhancements to your ice cream, it’s time to freeze it to achieve the perfect firmness and texture. Follow these steps to ensure your chocolate ice cream is freeze-ready:
- Transfer the churned ice cream with the added chocolate flavors to a lidded, freezer-safe container. Make sure to leave some space at the top, as the ice cream will expand slightly as it freezes.
- Press a piece of plastic wrap onto the surface of the ice cream before sealing the container with the lid. This will prevent the formation of ice crystals and help maintain the creaminess of the ice cream.
- Place the container in the coldest part of your freezer. Ideally, the temperature should be set between 0°F and 5°F (-18°C to -15°C) for optimal freezing. It’s important to note that the freezing time may vary depending on the temperature and size of your container.
- Allow the ice cream to freeze for at least 4-6 hours, or until it reaches a firm and scoopable consistency. However, for the best results, it’s recommended to freeze the ice cream overnight. This longer freezing time will ensure a creamy and perfectly frozen dessert.
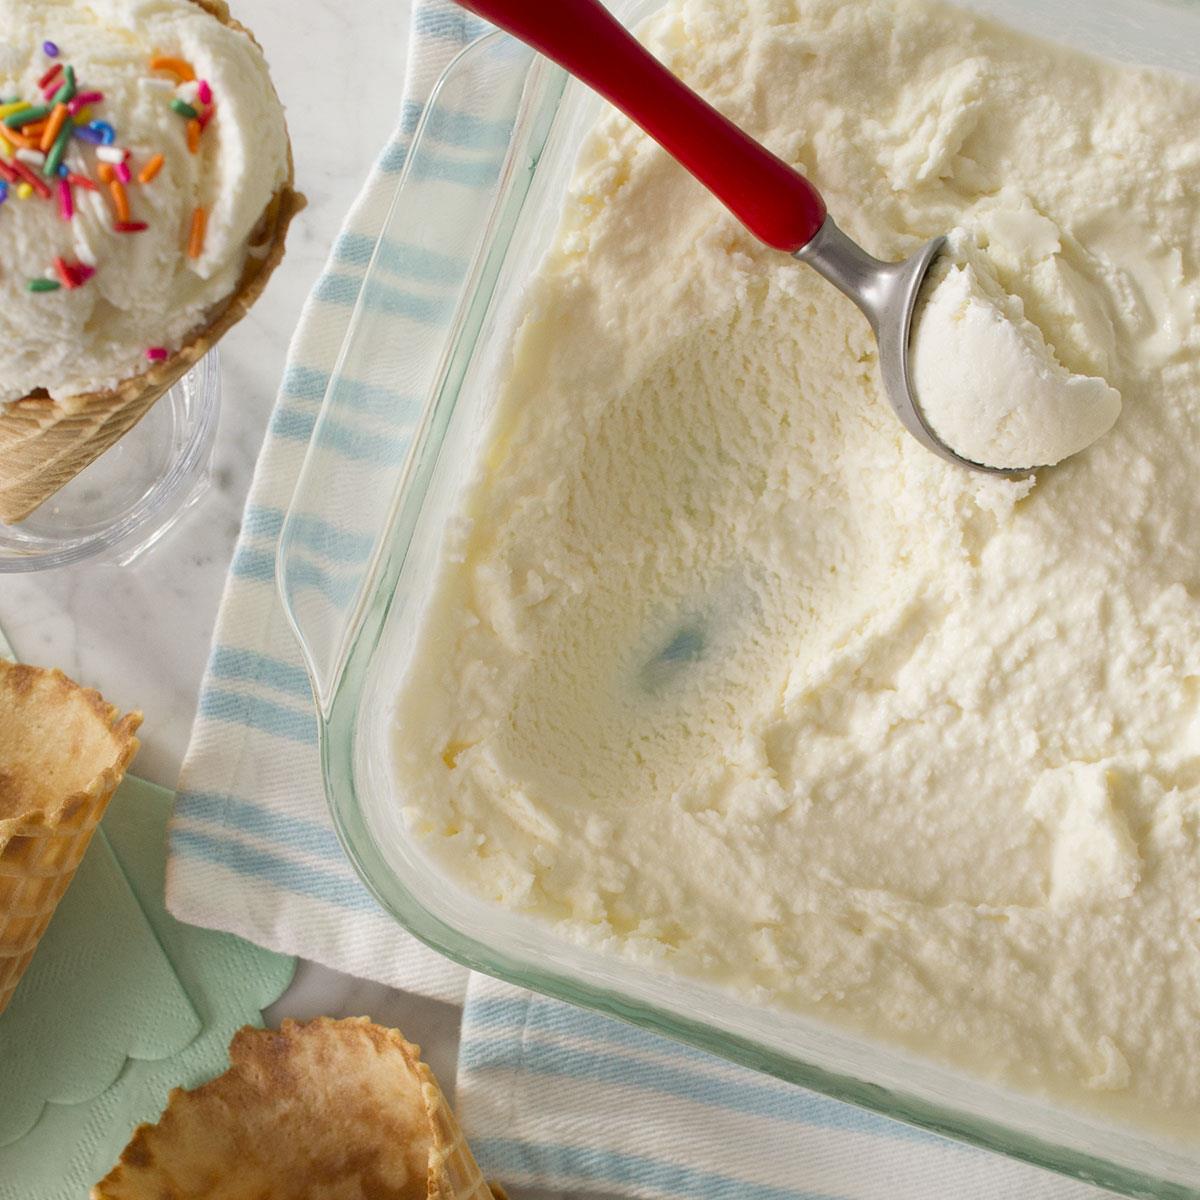
- Once the ice cream is completely frozen, it’s time to savor its chocolatey goodness. Grab an ice cream scoop, dig in, and enjoy your homemade chocolate ice cream straight from the freezer.
Remember, homemade ice cream tends to freeze harder than store-bought varieties due to the absence of certain stabilizers. If the ice cream becomes too firm, let it sit at room temperature for a few minutes to soften slightly before scooping.
Now that your chocolate ice cream is frozen to perfection, it’s time to learn how to serve and store it for future enjoyment.
Serving and storing your chocolate ice cream
Now that your homemade chocolate ice cream is ready to be enjoyed, it’s time to consider the best ways to serve and store it. Follow these tips to ensure your ice cream stays delicious and maintains its quality:
Serving:
- Scoop the chocolate ice cream into bowls, cones, or dessert dishes. Use an ice cream scoop to create perfectly rounded and inviting scoops.
- For an extra-special touch, you can garnish your chocolate ice cream with chocolate shavings, sprinkles, whipped cream, or a drizzle of chocolate syrup. These additions will enhance both the presentation and the taste.
- You can also serve your chocolate ice cream as a base for other desserts, such as a classic ice cream sundae, a rich chocolate milkshake, or as a complement to warm brownies or freshly baked cookies.
Storing:
- To store any remaining chocolate ice cream, transfer it back into the freezer-safe container. Press a piece of plastic wrap onto the surface of the ice cream before sealing the container with the lid to prevent freezer burn.
- Store the ice cream in the coldest part of your freezer, keeping it separate from strong-smelling items that could affect its flavor.
- Homemade ice cream is best consumed within two weeks of freezing for the best flavor and texture.
For longer storage, you can place the ice cream container in a freezer bag to provide an extra layer of protection against freezer burn. Ensure the bag is sealed tightly to prevent any air from getting in.
Remember, homemade ice cream tends to freeze harder than store-bought ice cream due to the absence of certain ingredients and additives. Let the ice cream sit at room temperature for a few minutes before serving to allow it to soften slightly and become easier to scoop.
Now that you know how to serve and store your delicious chocolate ice cream, it’s time to explore some variations and additional toppings to add even more excitement to your dessert.
Variations and additional toppings
While chocolate ice cream is divine on its own, there are countless ways to elevate its flavor and add extra pizzazz. Here are some variations and toppings to consider:
1. Mint Chocolate Chip: Add a refreshing twist by mixing in some chopped mint leaves or a few drops of peppermint extract. Fold in some mini chocolate chips for that classic mint chocolate chip combination.
2. Chocolate Peanut Butter Cup: Chop up some peanut butter cups and stir them into the chocolate ice cream. The combination of rich chocolate and creamy peanut butter is a match made in dessert heaven.
3. Chocolate Cookie Dough: Incorporate chunks of edible cookie dough into the ice cream for a delicious textural contrast. The cookie dough will become slightly softened and chewy as it freezes with the ice cream.
4. Double Chocolate Chunk: Chop up some extra dark chocolate or use chocolate chunks instead of chocolate chips. The larger pieces of chocolate will create delightful gooey pockets as they melt into the ice cream.
5. S’mores: Add a taste of summer by folding in graham cracker pieces, mini marshmallows, and chunks of chocolate. This variation captures the essence of a classic campfire treat.
Feel free to unleash your creativity and experiment with different mix-ins and flavors. Whether it’s adding nuts, crushed cookies, swirls of caramel or fudge sauce, or even a sprinkle of sea salt to elevate the chocolatey profile, the possibilities are endless.
As for additional toppings, here are a few ideas to consider:
- Hot Fudge Sauce: Drizzle some warm and gooey chocolate fudge sauce over your ice cream for an extra indulgent treat.
- Whipped Cream: Top your chocolate ice cream with a dollop of freshly whipped cream for a creamy and airy texture.
- Crushed Nuts: Sprinkle some chopped nuts, such as almonds, pecans, or peanuts, for added crunch and texture.
- Sprinkles: For a pop of color and whimsy, add some colorful sprinkles to your chocolate ice cream.
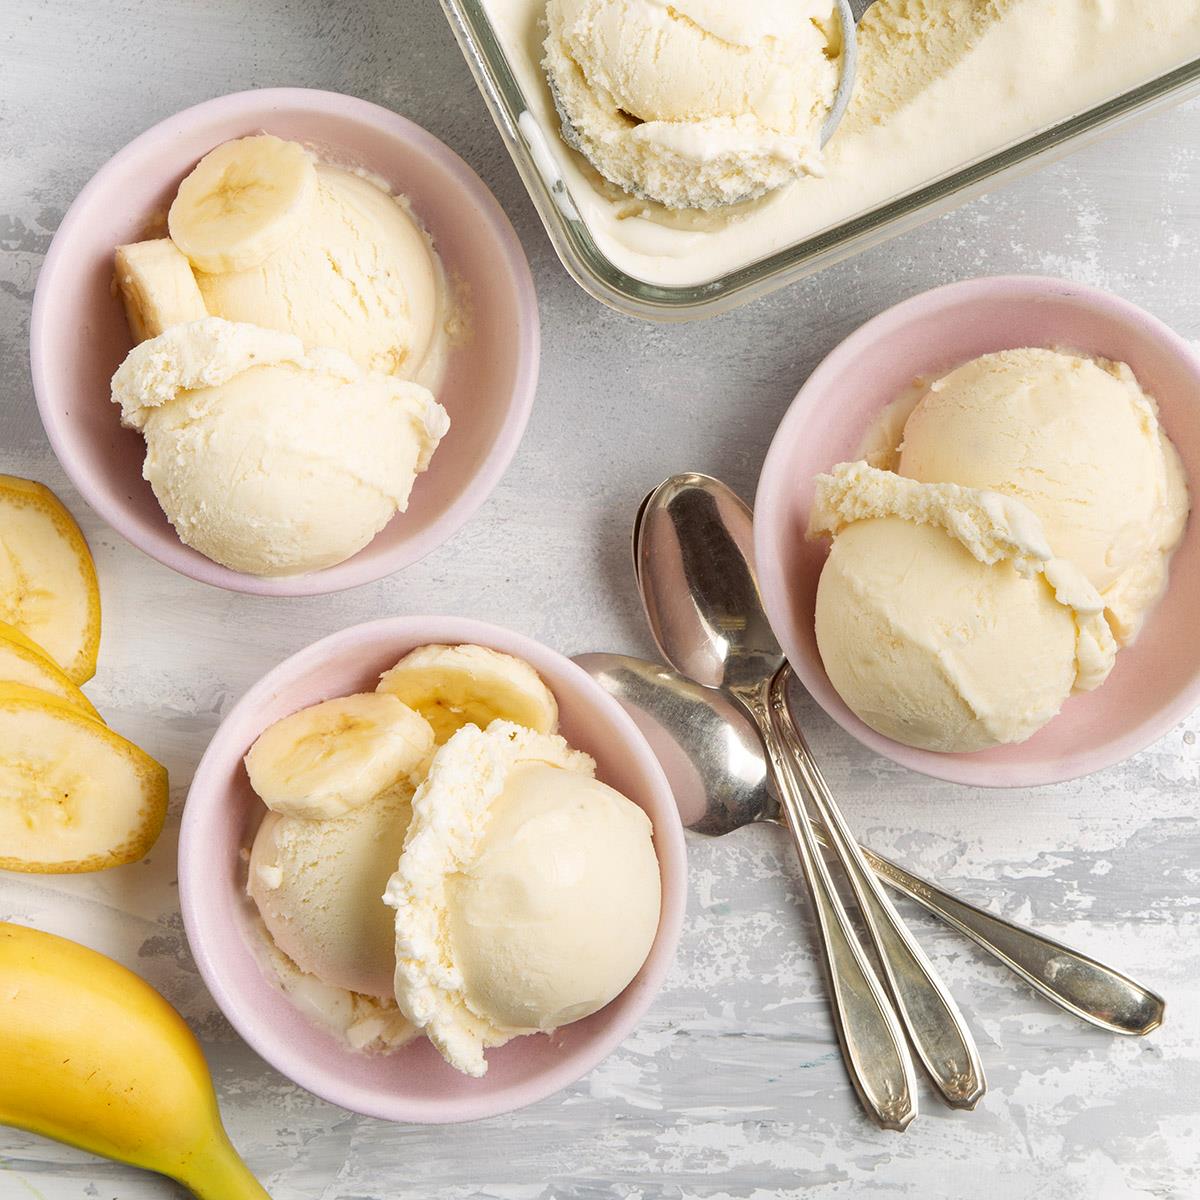
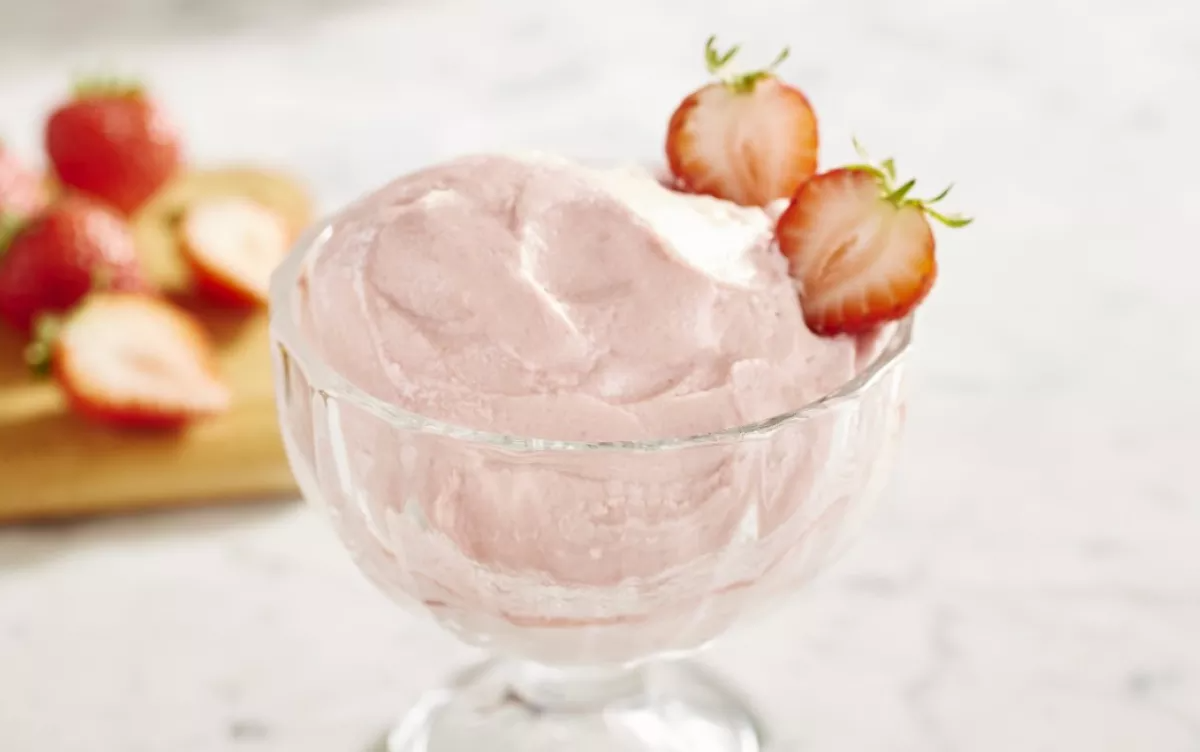
- Fresh Fruit: Pair your chocolate ice cream with some sliced strawberries, raspberries, or banana slices for a fruity and refreshing twist.
The choice of toppings is entirely up to you, so have fun and let your taste buds guide you to create the ultimate chocolate ice cream experience.
With these variations and toppings, you can easily transform your chocolate ice cream into a personalized dessert masterpiece.
Now that you have discovered the wonderful world of chocolate ice cream variations, it’s time to conclude this journey and savor the deliciousness you’ve created.
Conclusion
Congratulations! You’ve successfully learned how to make rich and creamy chocolate ice cream with an ice cream maker. By following the steps in this guide, you’ve created a delectable dessert that is sure to please any chocolate lover.
Making homemade chocolate ice cream allows you to have complete control over the ingredients, flavors, and texture. From choosing the highest quality cocoa powder and chocolate to deciding on the perfect mix-ins and toppings, the possibilities are endless. You can customize your ice cream to suit your taste preferences and dietary needs, making it even more enjoyable.
Remember, the key to achieving the best results lies in proper preparation, from creating the ice cream base to churning and freezing it to perfection. Take your time throughout the process and savor each step. Making homemade ice cream is a labor of love, and the end result is well worth the effort.
Whether you enjoy your chocolate ice cream in a cone, a bowl, or paired with your favorite desserts, it’s a treat that brings joy and satisfaction. Share it with your loved ones or indulge in a solo dessert experience – either way, the creamy, chocolatey goodness is sure to bring smiles.
Don’t forget to get creative with variations and toppings. Experiment with different flavors, mix-ins, and toppings to create unique and exciting combinations. Let your imagination run wild, and you’ll discover new and delightful treats every time.
Lastly, remember to store any leftover ice cream properly to maintain its quality. Enjoy it within a couple of weeks for the best flavor and texture. And when you’re ready for more frozen delights, don’t hesitate to return to this guide and explore other flavors and recipes.
Now, go ahead and treat yourself to a creamy, dreamy bowl of homemade chocolate ice cream. Indulge in this delightful dessert, and savor each spoonful. Happy ice cream making!
Frequently Asked Questions about How To Make Chocolate Ice Cream With An Ice Cream Maker
Was this page helpful?
At Storables.com, we guarantee accurate and reliable information. Our content, validated by Expert Board Contributors, is crafted following stringent Editorial Policies. We're committed to providing you with well-researched, expert-backed insights for all your informational needs.


0 thoughts on “How To Make Chocolate Ice Cream With An Ice Cream Maker”