Home>Technology>Smart Home Devices>How To Fix A Jammed Printer
Smart Home Devices
How To Fix A Jammed Printer
Modified: October 28, 2024
Learn how to troubleshoot and fix a jammed printer with our step-by-step guide. Keep your smart home devices running smoothly with these helpful tips.
(Many of the links in this article redirect to a specific reviewed product. Your purchase of these products through affiliate links helps to generate commission for Storables.com, at no extra cost. Learn more)
Introduction
Printers are essential devices in both homes and offices, allowing us to effortlessly produce physical copies of documents, photos, and more. However, encountering a jammed printer can be a frustrating experience, disrupting productivity and causing unnecessary stress. Fear not, as resolving a jammed printer is a manageable task that can be accomplished with a few simple steps.
In this comprehensive guide, we will walk through the process of troubleshooting and fixing a jammed printer. Whether you're dealing with a traditional inkjet printer or a modern laser printer, the following steps will help you navigate through the issue and get your printer back up and running in no time.
So, grab a cup of coffee, roll up your sleeves, and let's delve into the world of printer troubleshooting. By the end of this guide, you'll be equipped with the knowledge and confidence to tackle printer jams like a pro. Let's get started!
Key Takeaways:
- Don’t panic if your printer jams! Follow simple steps to check for paper jams, clear them, and address ink or toner issues. Restart the printer and update drivers if needed. If problems persist, reach out to the manufacturer for expert support.
- Resolving a jammed printer is manageable! With patience and the right steps, you can troubleshoot and fix paper jams, ink or toner issues, and even update printer drivers. If all else fails, the manufacturer’s support team is there to help.
Read more: How To Fix A Paper Jam In A Canon Printer
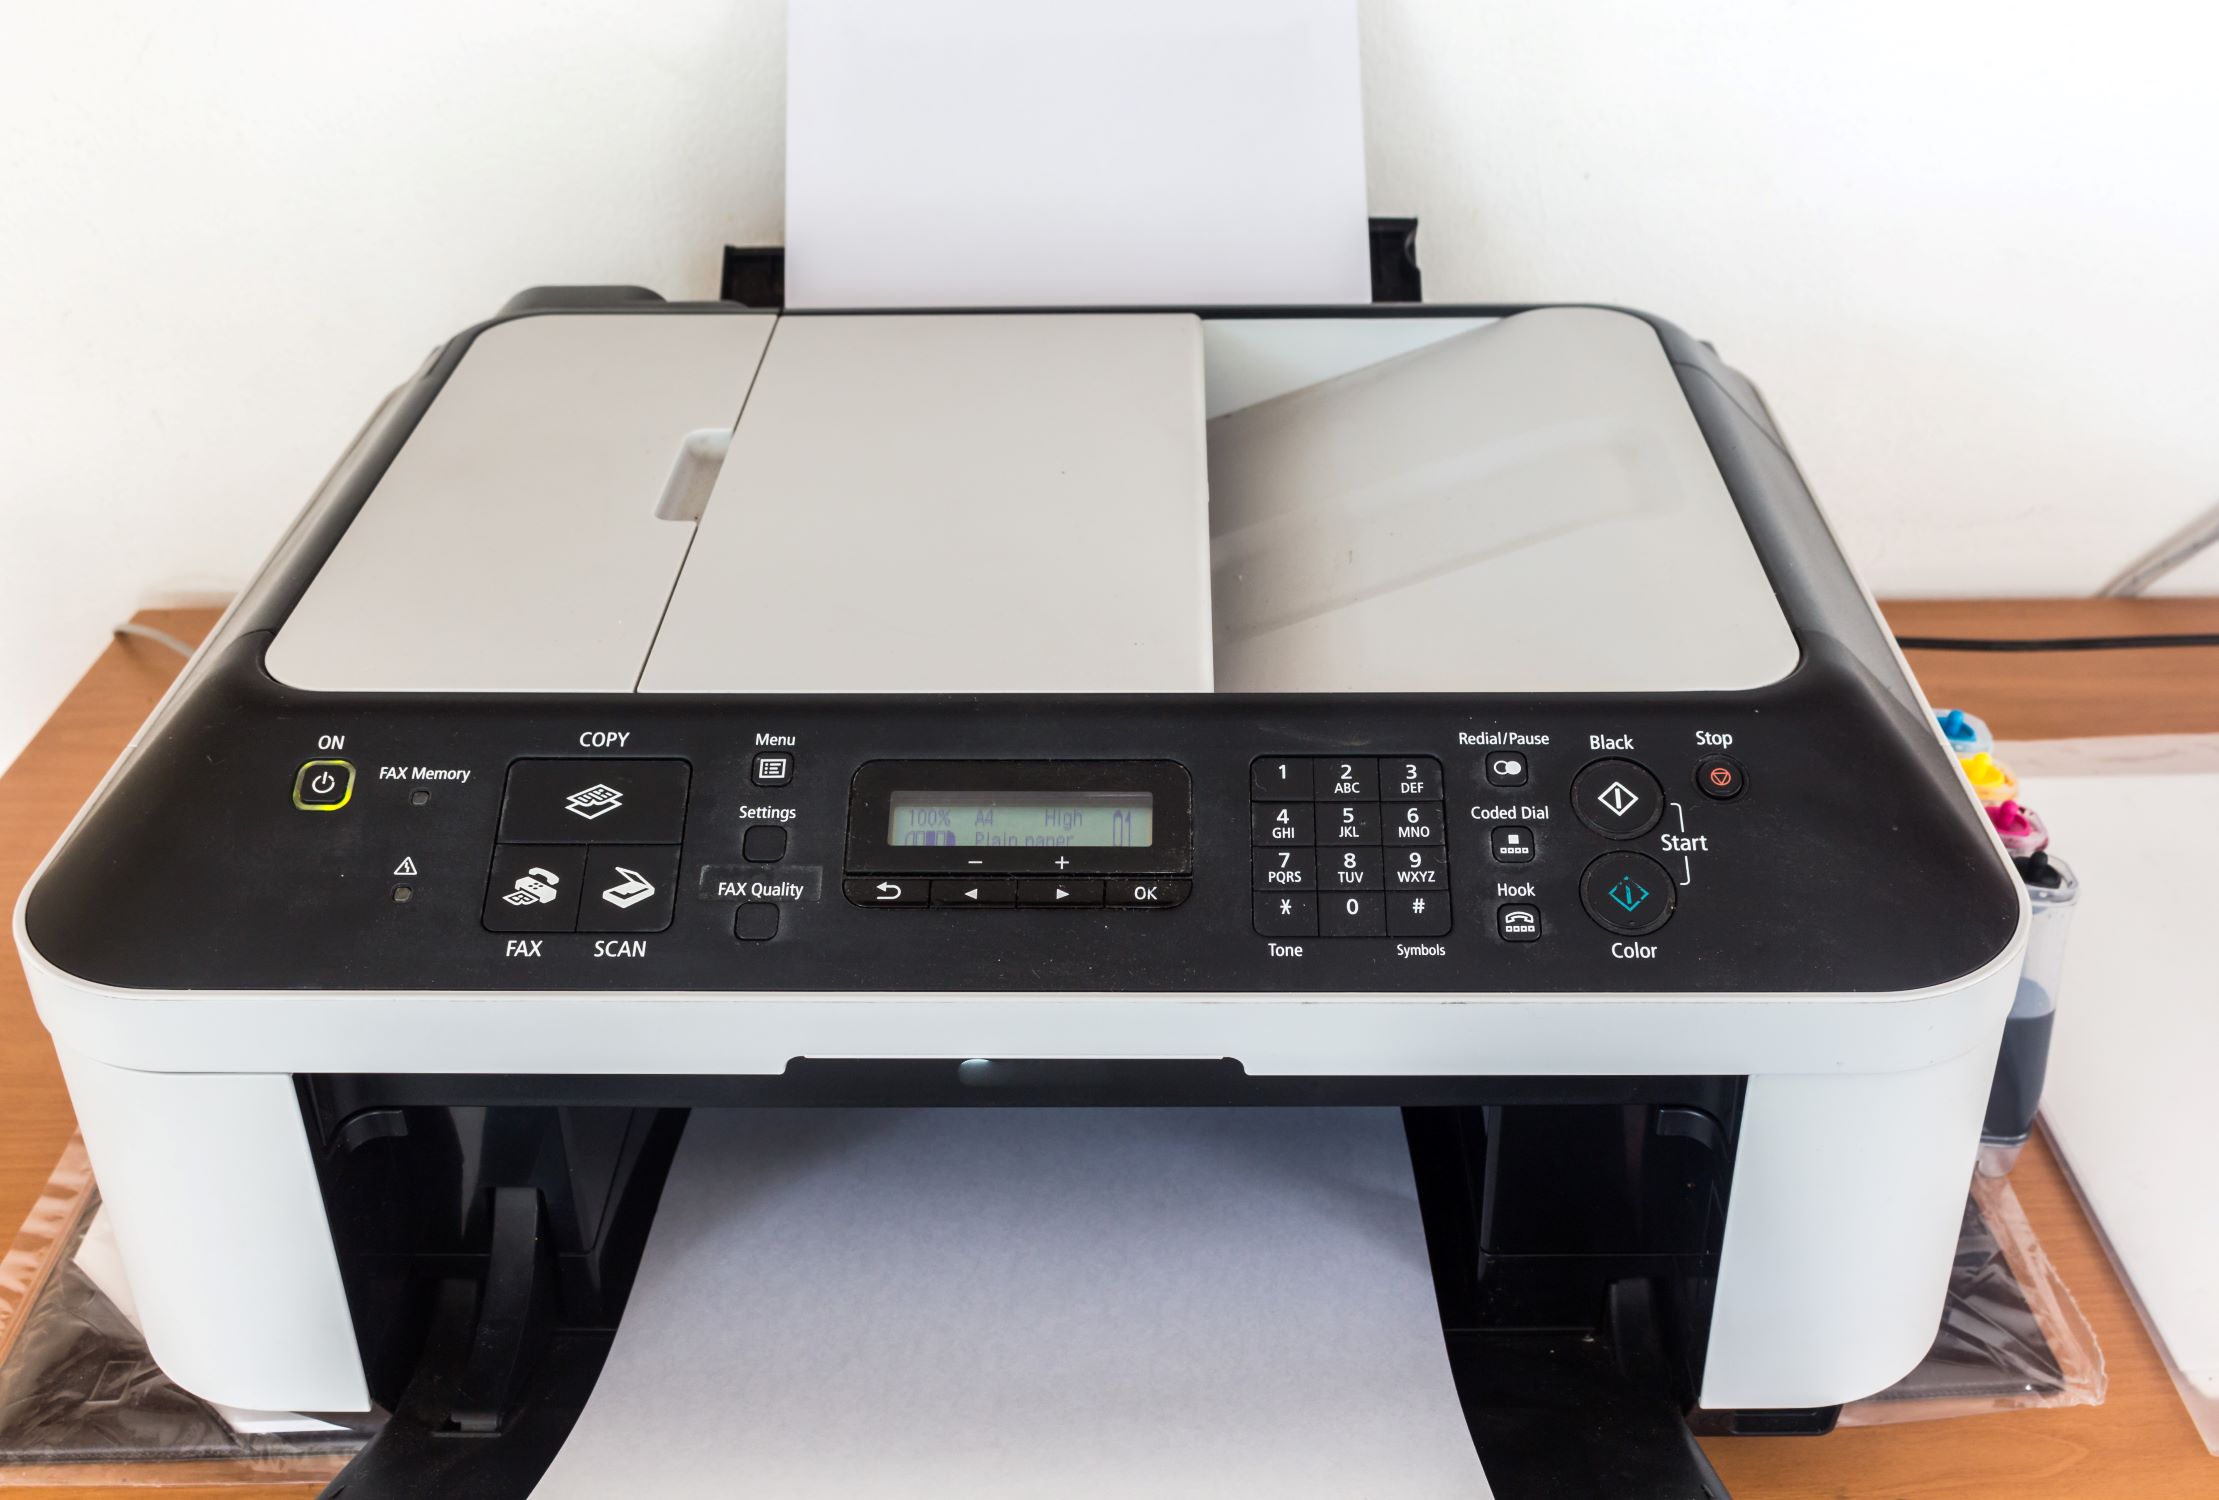
Step 1: Check for Paper Jams
The first and most common cause of a jammed printer is a paper jam. When paper becomes stuck in the printer, it can disrupt the printing process and cause the printer to display an error message. To address this issue, follow these simple steps to check for and resolve paper jams:
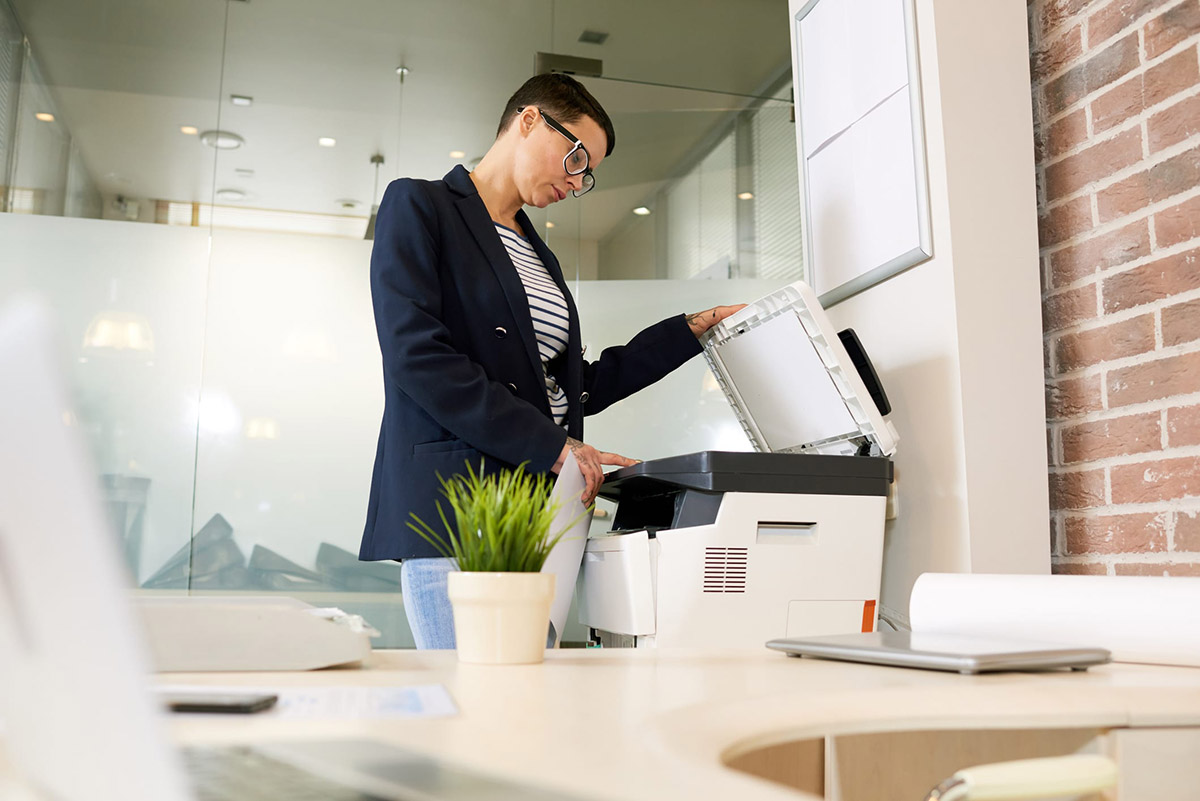
- Turn Off the Printer: Before inspecting the printer for paper jams, it’s important to turn off the power. This will prevent any moving parts from causing injury during the troubleshooting process.
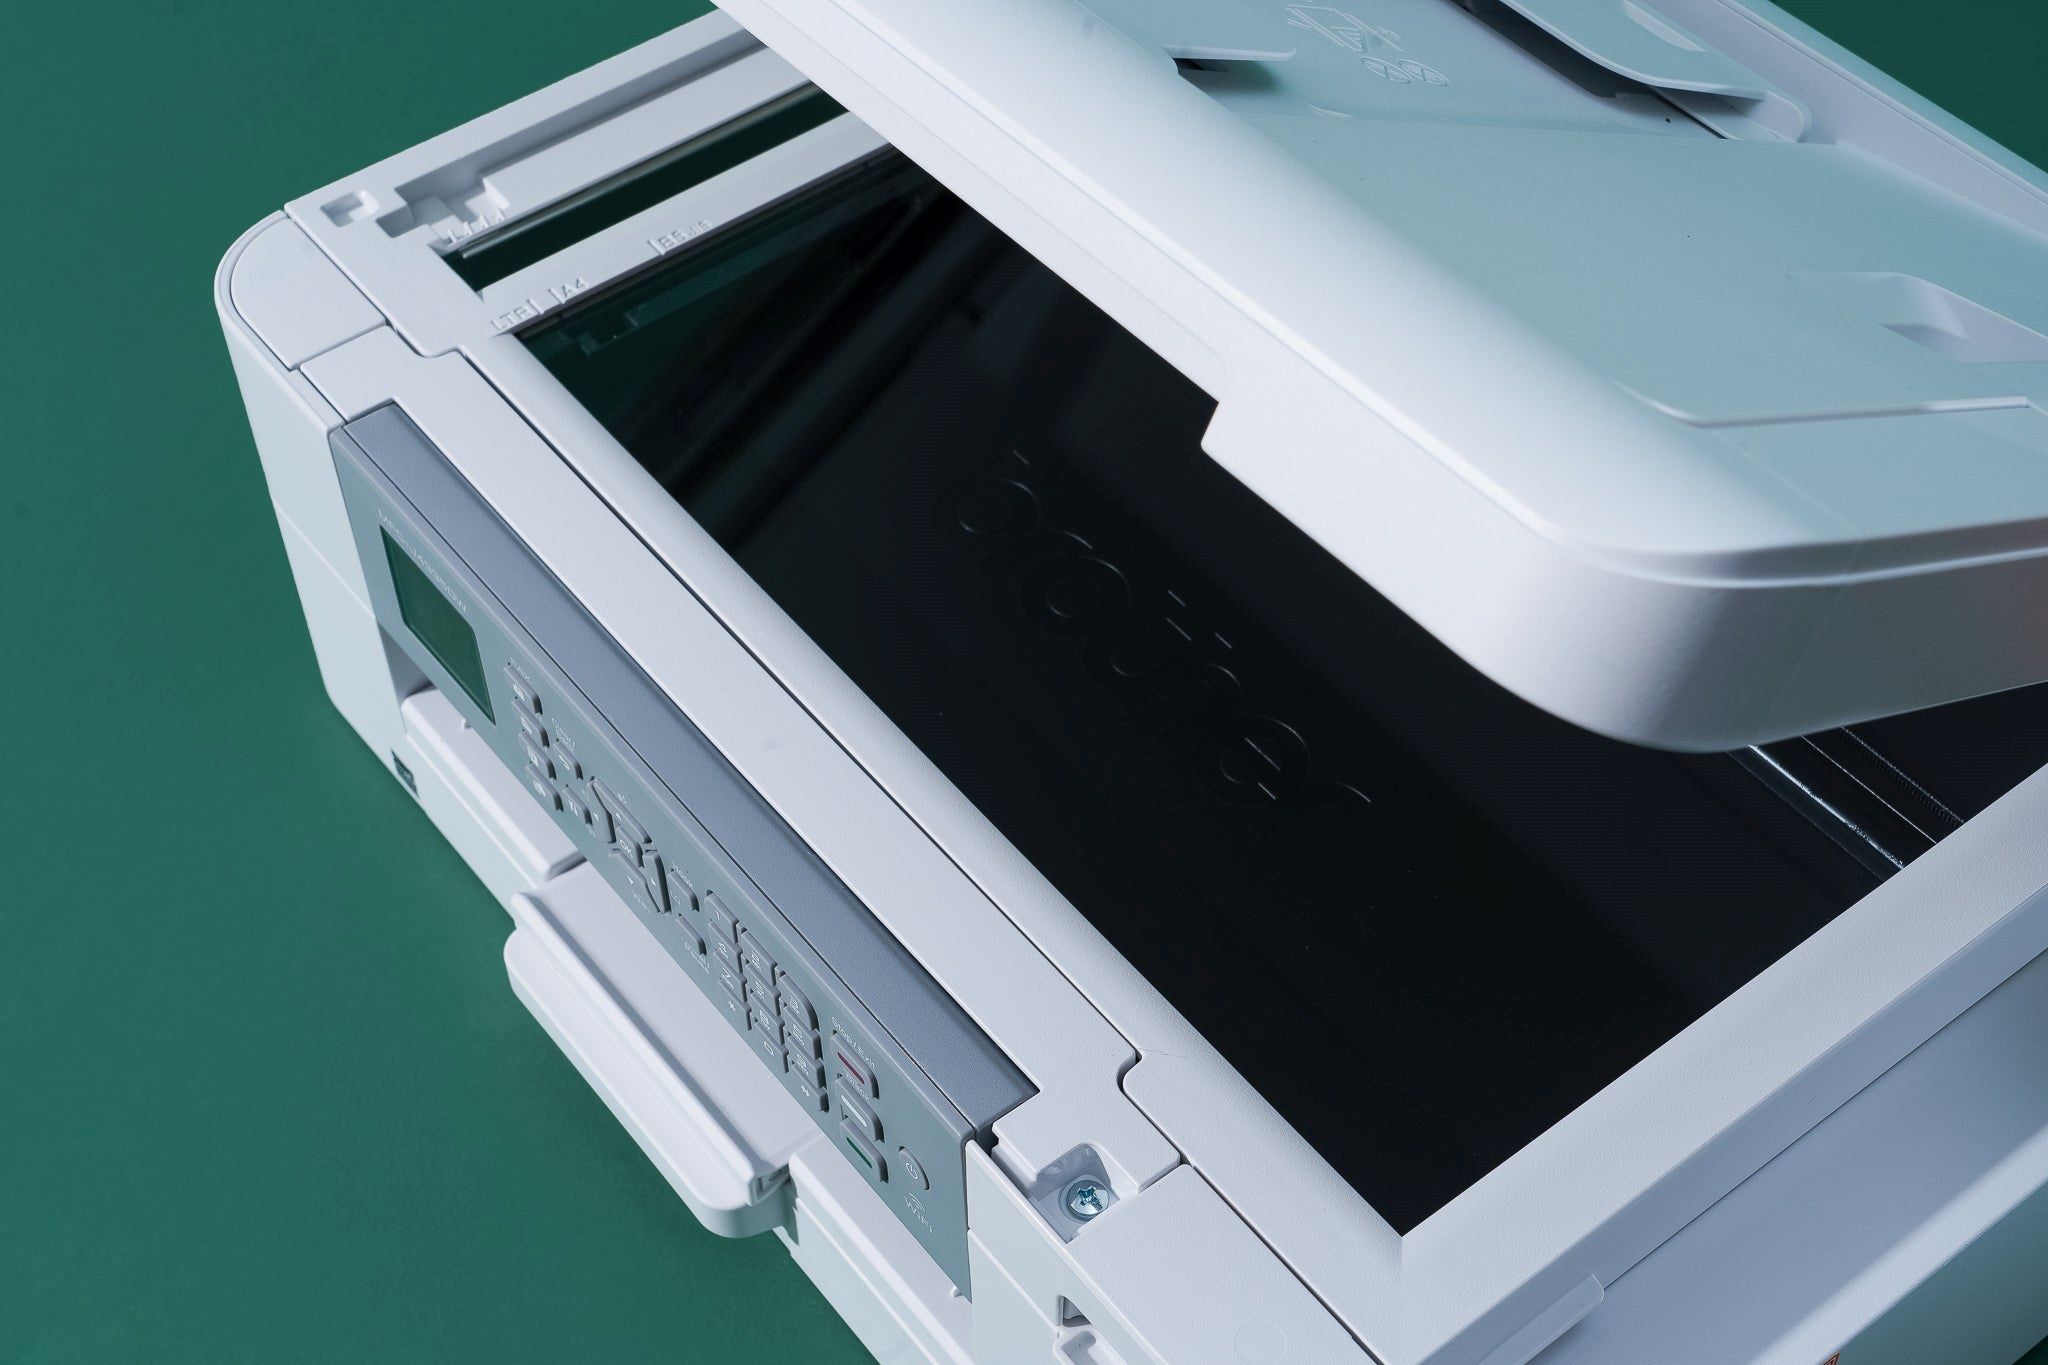
- Open the Printer Cover: Depending on the printer model, you may need to open the front or top cover to access the paper path. Consult the printer’s manual for specific instructions on accessing the paper path.
- Inspect the Paper Path: Carefully examine the paper path for any obstructions or jammed paper. Look for crumpled or torn paper that may be causing the jam.
- Remove Jammed Paper: If you locate jammed paper, gently pull it out in the direction of the paper path. Be cautious to avoid tearing the paper, as any remnants left inside the printer can lead to future jams.
- Close the Printer Cover: Once the jammed paper has been removed, securely close the printer cover and ensure that it latches properly.
- Power On the Printer: After addressing the paper jam, power on the printer and attempt a test print to verify that the issue has been resolved.
By diligently following these steps, you can effectively check for and remove paper jams from your printer, allowing it to resume normal operation. If the printer continues to display a jam error, proceed to the next step to further troubleshoot the issue.
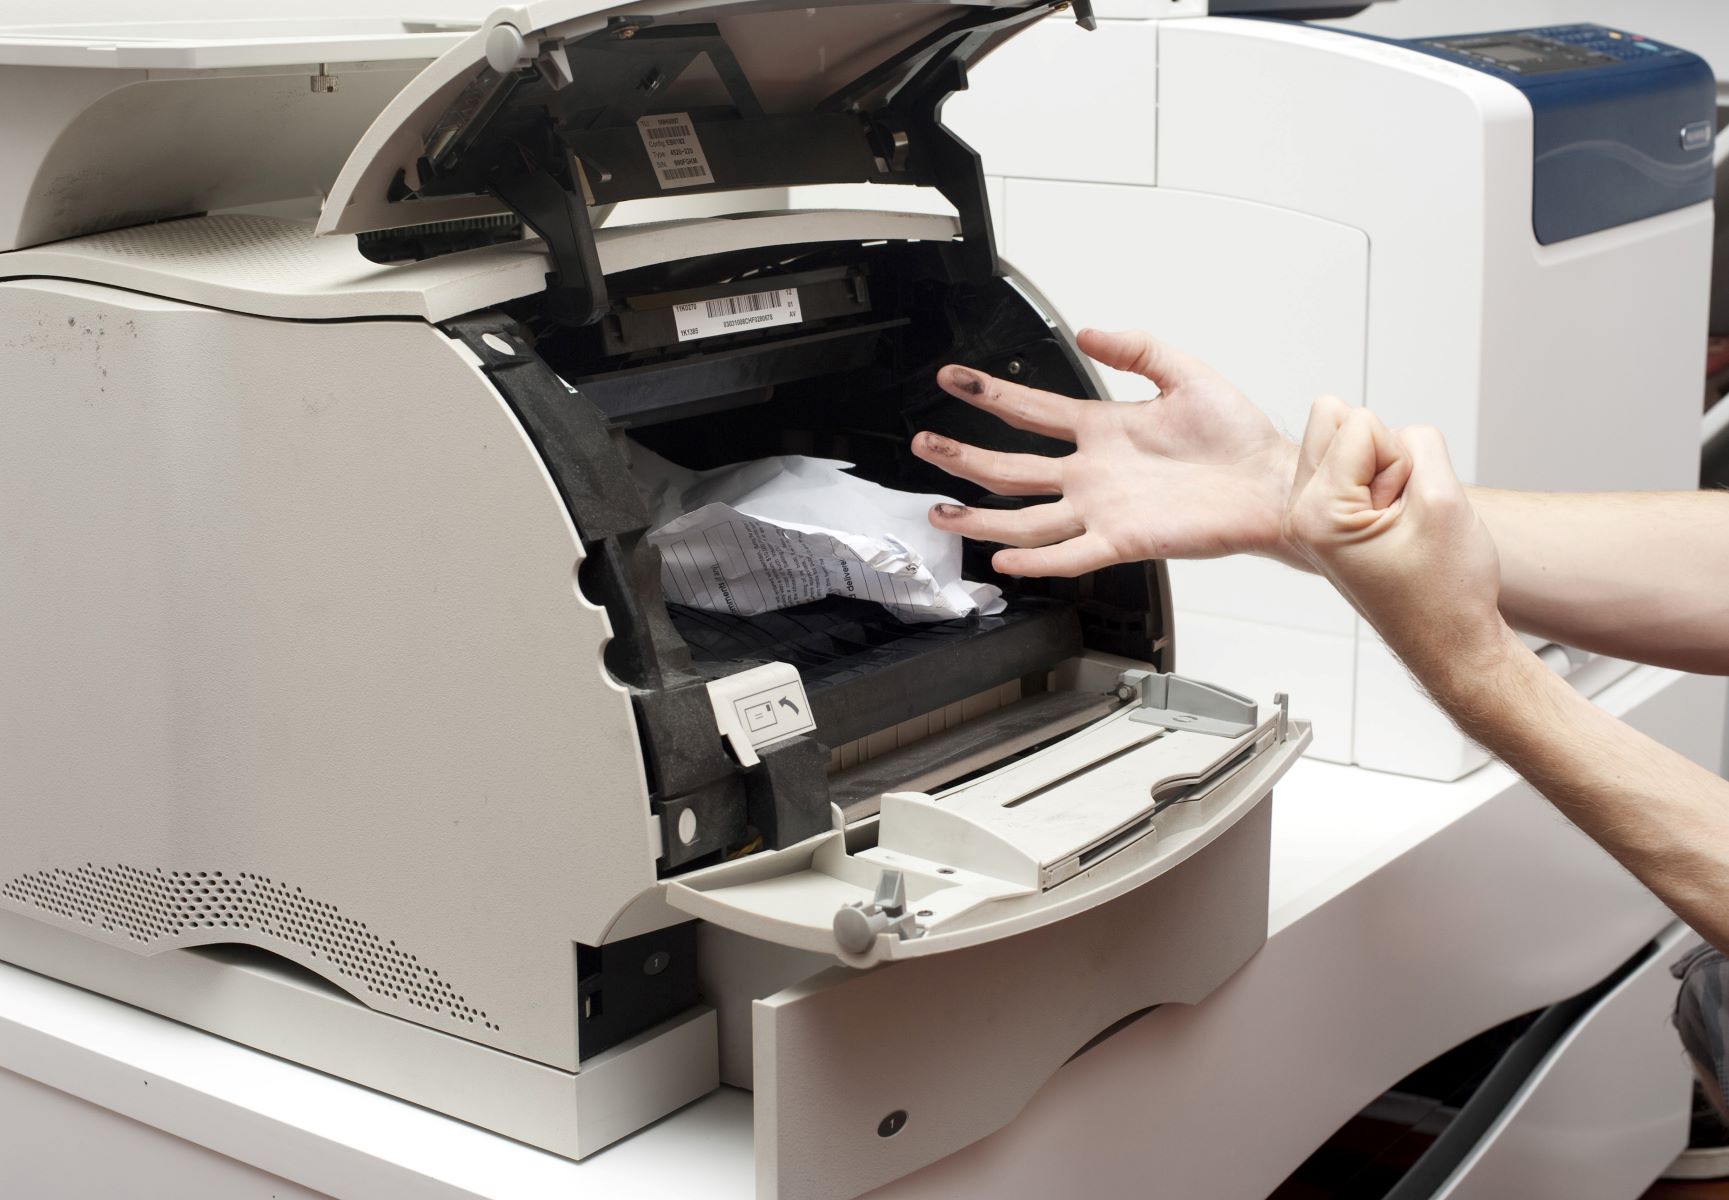
Step 2: Clear Paper Jams
If you’ve confirmed the presence of a paper jam in your printer, it’s crucial to proceed with clearing the jam to restore seamless functionality. Follow these steps to safely and effectively clear paper jams from your printer:
- Power Off the Printer: To prevent any mishaps during the jam-clearing process, turn off the printer and unplug it from the power source if possible.
- Access the Paper Path: Open the printer cover and any additional access panels to gain a clear view of the paper path. Take note of the jammed paper’s location and how it is positioned within the printer.
- Remove Obstructing Paper: Carefully grasp the jammed paper and gently pull it in the direction of the paper path. Exercise caution to prevent tearing the paper, as any remnants left inside the printer can lead to subsequent jams.
- Check for Fragments: After removing the jammed paper, thoroughly inspect the paper path and any rollers for small paper fragments or debris. Use compressed air or a soft, lint-free cloth to clean the area and ensure no residual paper remains.
- Close Printer Cover: Once the paper jam has been cleared and the paper path is free of obstructions, securely close the printer cover and any access panels.
- Power On and Test Print: Reconnect the printer to the power source, turn it on, and perform a test print to confirm that the paper jam has been successfully cleared.
By diligently following these steps, you can safely and effectively clear paper jams from your printer, restoring its operational efficiency. If the printer persists in displaying a jam error or exhibits other issues, proceed to the subsequent steps for further troubleshooting.
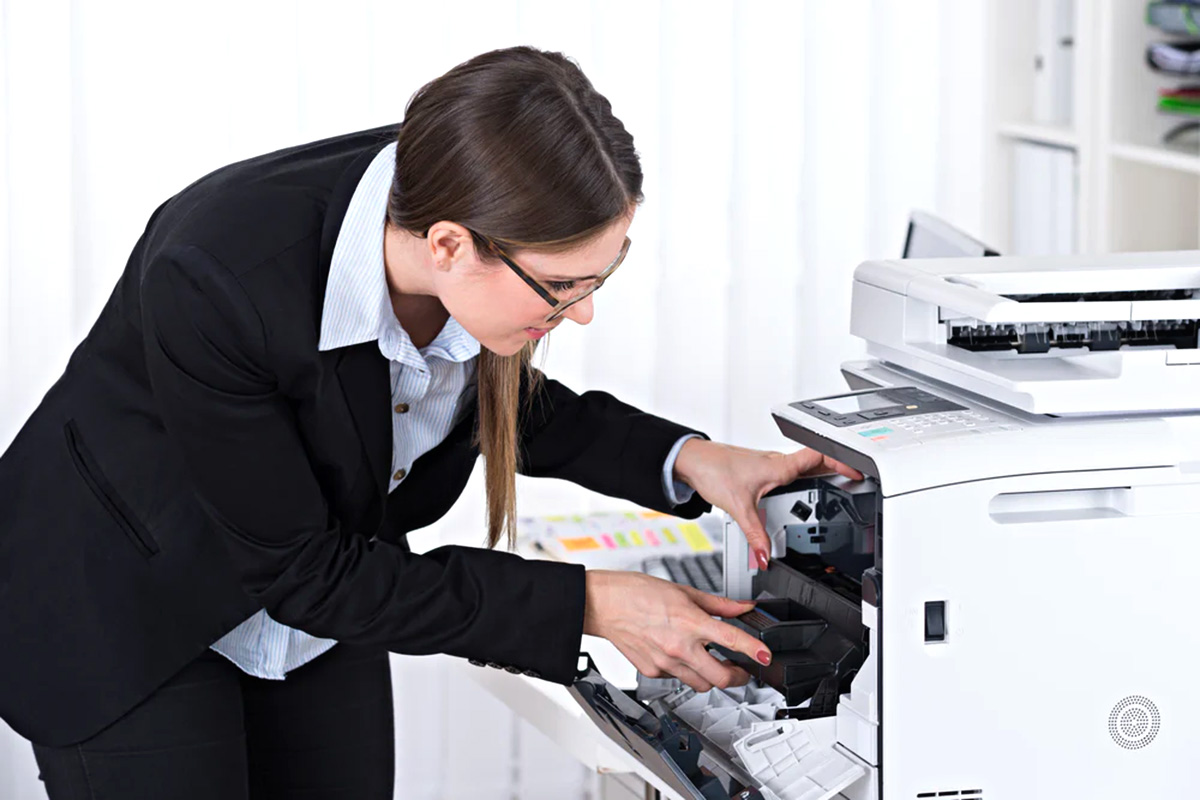
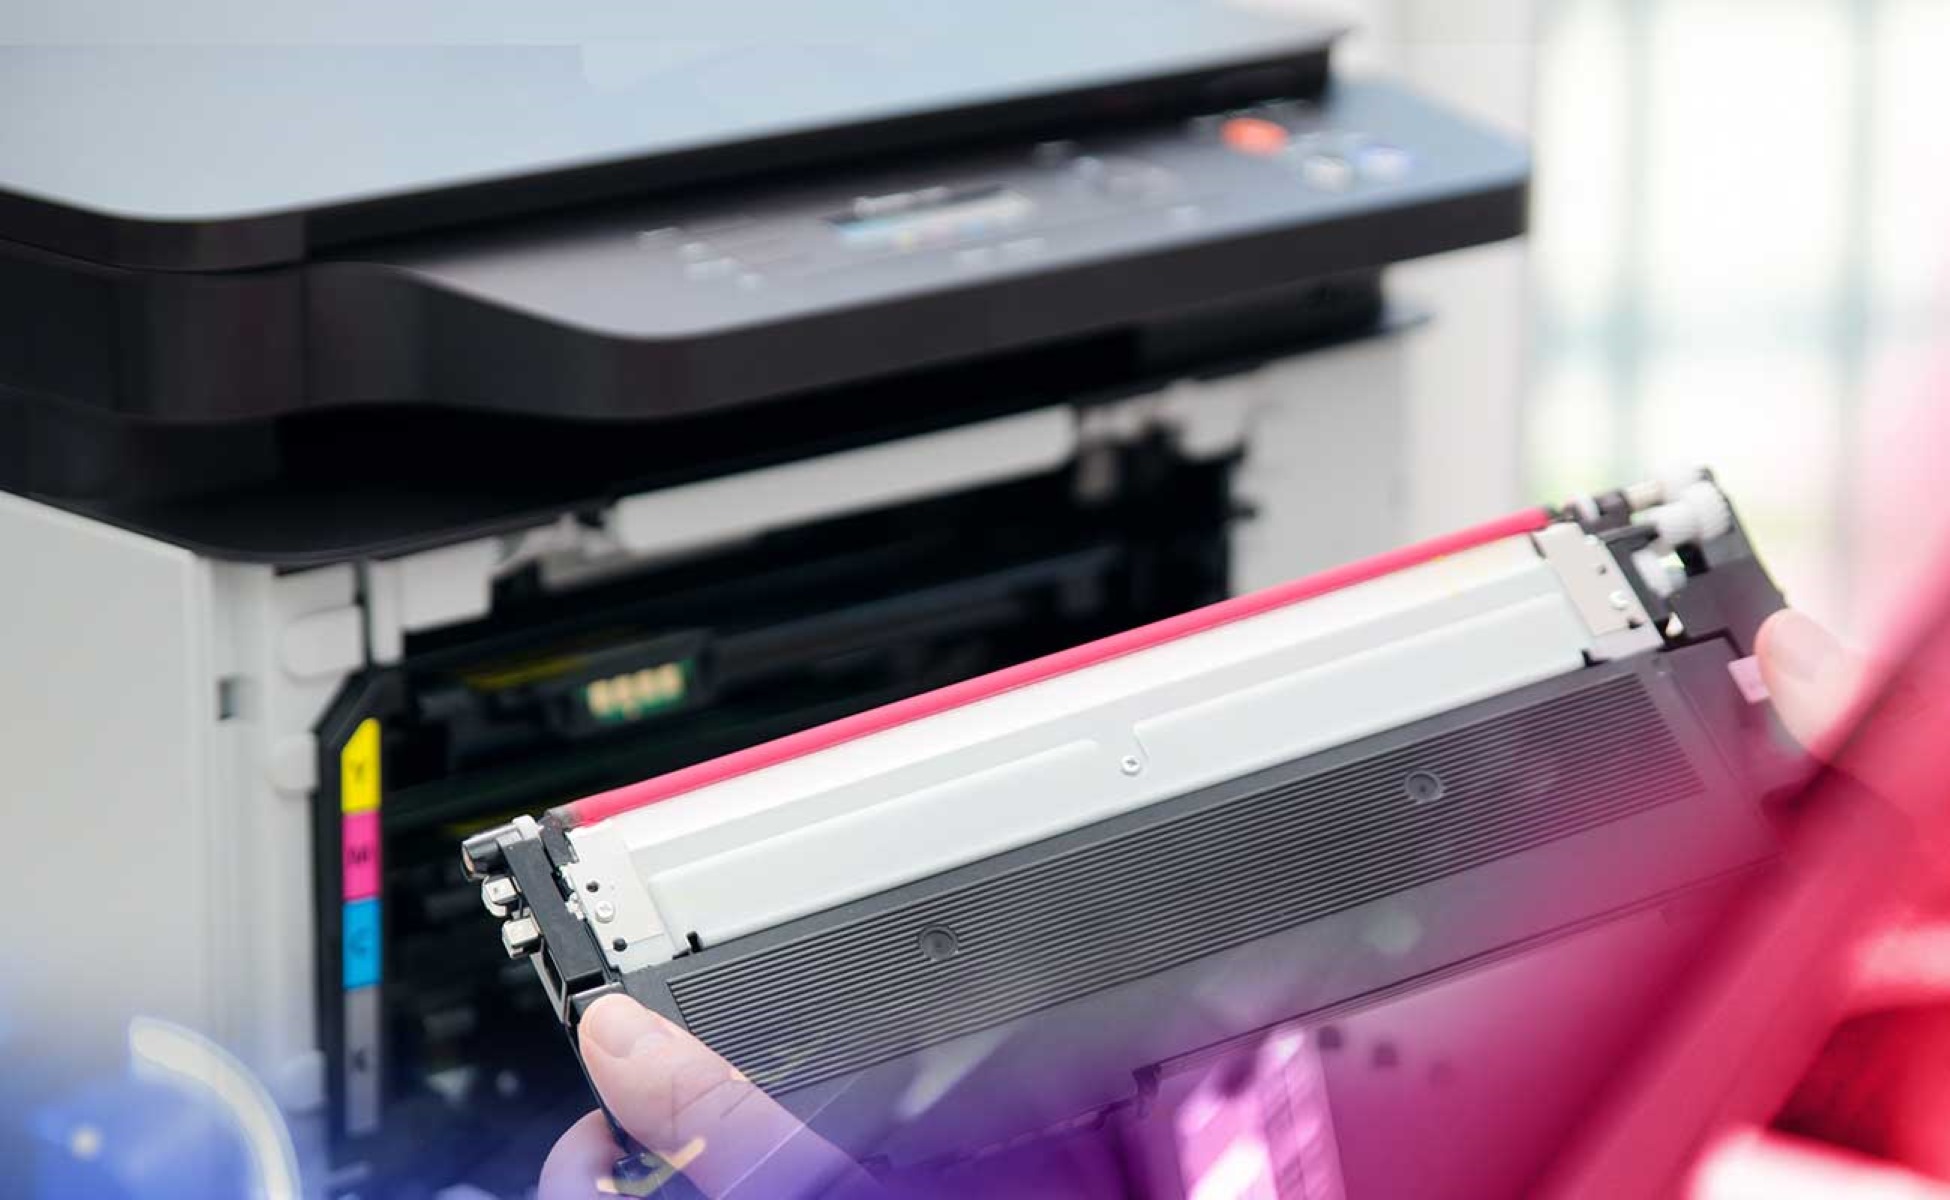
Step 3: Check for Ink or Toner Issues
While paper jams are a common cause of printer malfunctions, issues related to ink or toner can also lead to printing problems. Whether you have an inkjet or laser printer, it’s essential to inspect and address potential ink or toner issues to ensure optimal printing performance. Follow these steps to identify and resolve ink or toner-related issues in your printer:
- Inspect Ink or Toner Levels: Check the printer’s display or software interface to determine the remaining ink or toner levels. Low ink or toner levels can lead to faded prints or incomplete documents.
- Replace Empty Cartridges: If the ink or toner levels are critically low or depleted, replace the empty cartridges with new ones that are compatible with your printer model. Refer to the printer’s manual for specific cartridge replacement instructions.
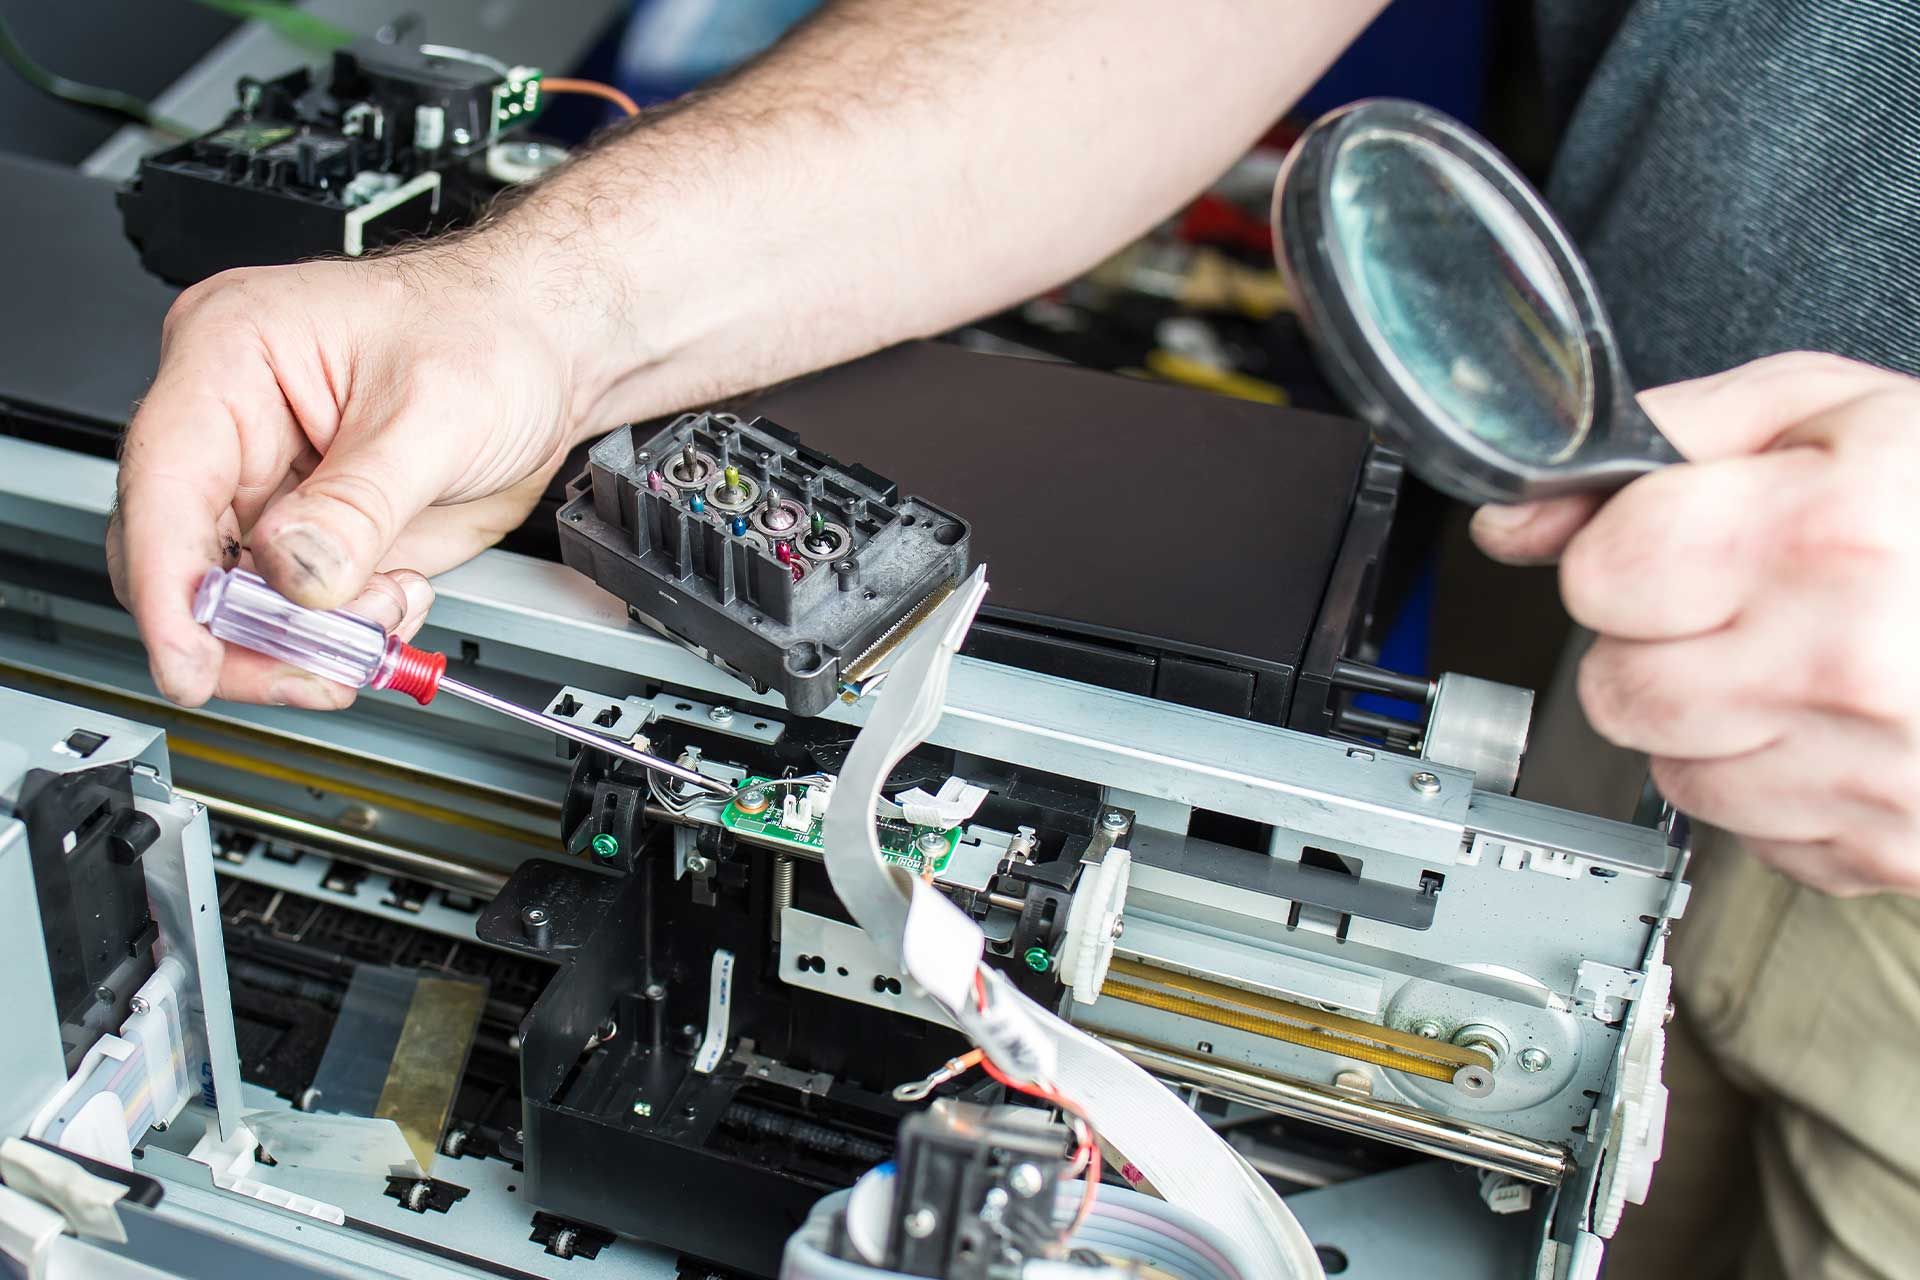
- Clean Inkjet Printer Heads: For inkjet printers, consider cleaning the printer heads to remove any dried ink or debris that may be affecting print quality. Many printers offer a built-in cleaning function accessible through the printer’s software interface.
- Check Toner Cartridge Connections: In the case of laser printers, ensure that the toner cartridge is securely installed and that all connections are properly aligned. A loose or misaligned toner cartridge can lead to printing irregularities.
- Perform Test Prints: After addressing any ink or toner issues, perform test prints to evaluate the print quality and ensure that the printer is functioning as expected.
By diligently checking for ink or toner issues and taking the necessary steps to address them, you can maintain the optimal performance of your printer and achieve high-quality prints. If the printer continues to exhibit printing irregularities or error messages, proceed to the subsequent steps for further troubleshooting.
Turn off the printer and gently remove any stuck paper. Check for any obstructions in the paper path. Power the printer back on and try printing again. If the issue persists, consult the printer’s manual or contact customer support.
Step 4: Restart the Printer
When encountering persistent issues with your printer, performing a simple restart can often resolve minor glitches and restore normal functionality. Restarting the printer can clear temporary errors, reset internal components, and recalibrate the printing mechanism. Follow these steps to effectively restart your printer and potentially resolve ongoing issues:
- Power Off the Printer: Press the power button to turn off the printer and allow it to completely power down. If the printer is connected to a power outlet, consider unplugging it for a few moments to ensure a complete reset.
- Wait for a Few Minutes: Allow the printer to remain powered off for at least 2-3 minutes to ensure that all internal components have fully reset.
- Power On the Printer: After the brief waiting period, press the power button to turn the printer back on. Wait for the printer to initialize and become ready for operation.
- Perform Test Prints: Once the printer has restarted, perform test prints to check for any improvements in print quality and overall functionality.
By restarting the printer, you give it the opportunity to clear temporary errors and recalibrate its internal components, potentially resolving minor issues that may have been affecting its performance. If the printer continues to display error messages or malfunction, proceed to the subsequent steps for further troubleshooting.
Read more: How To Fix Freezer Jam That Didnt Set
Step 5: Update Printer Drivers
Outdated or incompatible printer drivers can often lead to printing issues, including errors, poor print quality, and connectivity problems. Updating the printer drivers ensures that the printer can communicate effectively with your computer and operate optimally. Follow these steps to check for and update the printer drivers on your computer:
- Access Device Manager (Windows): On a Windows computer, right-click on the Start button and select “Device Manager” from the context menu. Alternatively, you can search for “Device Manager” in the Windows search bar.
- Locate the Printer: In the Device Manager window, expand the “Print queues” or “Printers” category to view the installed printers. Right-click on the printer for which you want to update the drivers.
- Update Driver Software (Windows): Select the “Update Driver” option from the context menu. Choose to search automatically for updated driver software. Windows will then search for and install any available driver updates for the selected printer.
- Visit the Manufacturer’s Website: Alternatively, you can visit the official website of the printer manufacturer to manually download and install the latest printer drivers for your specific printer model. Ensure that you download the drivers compatible with your operating system.
- Install the Updated Drivers: Once you have obtained the updated printer drivers, follow the manufacturer’s instructions to install them on your computer. This typically involves running the downloaded driver installation file and following the on-screen prompts.
- Restart the Computer: After updating the printer drivers, restart your computer to ensure that the changes take effect and the updated drivers are fully integrated into the system.
By updating the printer drivers, you can ensure that your printer operates smoothly and efficiently, addressing any compatibility or performance issues that may have arisen due to outdated drivers. If the printer continues to exhibit issues, proceed to the subsequent steps for further troubleshooting.
Step 6: Contact Manufacturer Support
If you’ve diligently followed the previous steps and your printer continues to exhibit persistent issues or error messages, it may be time to seek assistance from the manufacturer’s support team. Manufacturer support can provide expert guidance, troubleshooting assistance, and potential solutions to resolve complex printer issues. Follow these steps to effectively reach out to the manufacturer’s support for assistance:
- Visit the Manufacturer’s Website: Access the official website of the printer manufacturer to locate the support or contact section. Most manufacturers provide comprehensive support resources, including contact information and online support options.
- Review Support Documentation: Before reaching out to support, review any available documentation, FAQs, or troubleshooting guides provided by the manufacturer. You may find relevant information that can help resolve the issue without direct assistance.
- Contact Support Directly: Use the provided contact information, such as a customer support phone number or email, to reach out to the manufacturer’s support team. Be prepared to provide details about the printer model, the specific issue you’re experiencing, and any troubleshooting steps you’ve already taken.
- Follow Support Guidance: Engage with the support team as they guide you through additional troubleshooting steps or provide specific instructions to address the printer issue. Be open to following their recommendations and providing any requested information or diagnostic data.
- Explore Warranty Coverage: If the printer is still under warranty, inquire about potential warranty coverage for the reported issue. The manufacturer may offer repair or replacement options based on the terms of the warranty.
- Document Support Interactions: Keep a record of your interactions with the manufacturer’s support team, including the date, time, names of support representatives, and details of the guidance provided. This documentation may be valuable for future reference.
By proactively engaging with the manufacturer’s support team, you can access expert assistance and explore potential solutions to resolve complex printer issues. Manufacturer support is a valuable resource for addressing technical challenges and ensuring the optimal performance of your printer.
Frequently Asked Questions about How To Fix A Jammed Printer
Was this page helpful?
At Storables.com, we guarantee accurate and reliable information. Our content, validated by Expert Board Contributors, is crafted following stringent Editorial Policies. We're committed to providing you with well-researched, expert-backed insights for all your informational needs.


0 thoughts on “How To Fix A Jammed Printer”