
Articles
How To Store Salt Dough Ornaments
Modified: August 17, 2024
Learn how to store salt dough ornaments in this informative article. Discover the best methods to keep your precious ornaments in top condition for years to come.
(Many of the links in this article redirect to a specific reviewed product. Your purchase of these products through affiliate links helps to generate commission for Storables.com, at no extra cost. Learn more)
Introduction
Welcome to the world of salt dough ornaments! Whether you have crafted these beautiful creations as a holiday tradition, a sentimental keepsake, or a special gift, one thing is for certain – you’ll want to preserve them for years to come. Storing salt dough ornaments properly is essential for maintaining their shape and durability, ensuring that they bring joy and fond memories for many seasons.
Salt dough ornaments are a popular choice for DIY craft enthusiasts, as they are affordable, easy to make, and can be customized to fit any occasion or theme. Made with just a few simple ingredients – flour, salt, and water – salt dough ornaments are a beloved classic that can be enjoyed by both children and adults.
While creating the ornaments is a fun and creative process, proper storage is key to keeping them in pristine condition. In this article, we will guide you through the steps on how to store salt dough ornaments effectively, allowing you to treasure them for years to come.
Key Takeaways:
- Preserve your salt dough ornaments for years to come by following these steps: bake, cool, seal (optional), choose a suitable container, and add protective layers. Enjoy the process and cherish your creations!
- Ensure the longevity of your salt dough ornaments with proper storage. From baking to labeling, each step plays a crucial role in maintaining their shape, durability, and sentimental value. Happy crafting and preserving!
Read more: How To Store Beignet Dough
Materials Needed
Before we dive into the process of storing salt dough ornaments, let’s gather the materials you’ll need to get started. Here’s a list of the items you’ll need:
- Completed salt dough ornaments
- Baking sheet
- Parchment paper
- Sealer (optional)
- Storage container
- Tissue paper or bubble wrap (optional)
- Label and marker
Now that you have all the necessary materials, let’s move on to the step-by-step guide for storing salt dough ornaments.
Step 1: Baking the Ornaments
The first step in preserving your salt dough ornaments is to bake them. Baking the ornaments not only helps to harden them, but it also removes any moisture, making them less susceptible to damage in the long run. Here’s how to do it:
- Preheat your oven to a low temperature, around 200°F (93°C).
- Cover a baking sheet with parchment paper to prevent the ornaments from sticking.
- Place the salt dough ornaments on the baking sheet, making sure to leave some space between each ornament.
- Bake the ornaments in the preheated oven for about 1 to 2 hours, or until they are completely dry and hard. Keep in mind that the baking time may vary depending on the size and thickness of the ornaments.
- Once the ornaments are baked, remove them from the oven and let them cool completely before proceeding to the next step.
Baking the ornaments ensures that they are sturdy and less prone to breakage. It also prepares them for the next steps in the storage process.
Now that your salt dough ornaments are baked and cooled, let’s move on to the next step: Allowing the Ornaments to Cool.
Step 2: Allowing the Ornaments to Cool
After baking your salt dough ornaments, it’s essential to let them cool completely before proceeding with the storage process. Cooling allows the ornaments to harden further and prevents any potential damage that could occur if they are stored while still warm. Here’s what you need to do:
- Remove the freshly baked ornaments from the baking sheet and place them on a cooling rack or a clean, heat-resistant surface.
- Allow the ornaments to cool naturally at room temperature. Avoid placing them in a refrigerator or freezer, as the sudden change in temperature can cause them to become brittle or crack.
- Make sure to leave enough time for the ornaments to cool completely. This can take several hours or even overnight, depending on the thickness and size of the ornaments.
During this cooling period, the ornaments will continue to harden and become more durable, ensuring their longevity. Once the ornaments have cooled down completely, you can proceed to the next step: Applying a Sealer (optional).
Step 3: Applying a Sealer (Optional)
Applying a sealer to your salt dough ornaments is an optional step, but it can provide an extra layer of protection and help prolong their lifespan. A sealer creates a barrier that shields the ornaments from moisture, dust, and other potential damaging factors. Here’s how you can apply a sealer to your ornaments:
- Choose a sealer that is suitable for salt dough ornaments. There are various options available, such as clear varnish, Mod Podge, or acrylic sealant. Select a sealer that is non-toxic and dries clear to preserve the natural look of the ornaments.
- Ensure that the ornaments are clean and free from any debris or dust. You can gently wipe them with a damp cloth to remove any surface dirt.
- Using a small brush or sponge, apply a thin, even layer of the sealer to the entire surface of the ornaments. Make sure to cover all areas, including the front, back, and sides.
- Allow the sealer to dry completely according to the manufacturer’s instructions. This can take anywhere from a few hours to overnight.
- If desired, you can repeat the sealing process for an additional layer of protection. Just make sure to allow each layer to dry completely before applying the next one.
Applying a sealer not only helps to preserve the ornaments but also adds a professional finish to them. Once the sealer has dried, your ornaments are ready for the next step: Choosing a Storage Container.
Read more: How To Store Homemade Dough
Step 4: Choosing a Storage Container
Choosing the right storage container for your salt dough ornaments is crucial for their long-term preservation. The container should provide protection from dust, moisture, and potential damage, while also allowing you to organize and easily access the ornaments when needed. Here are some key factors to consider when selecting a storage container:
- Size: The container should be spacious enough to accommodate your salt dough ornaments without overcrowding them. It’s important to leave enough room to prevent any ornaments from bumping into each other and potentially breaking.
- Material: Opt for a container made from durable materials such as plastic, metal, or sturdy cardboard. These materials offer better protection against potential mishaps, such as accidental drops or excessive moisture.
- Lid: Ensure that the storage container has a tightly fitting lid to keep out dust, moisture, and pests. A secure lid will also prevent the ornaments from shifting around during storage.
- Compartmentalization: If you have delicate or intricate ornaments, consider a container with compartments or dividers. This helps to prevent ornaments from scratching or tangling with each other.
Additionally, you may want to consider using separate containers for different shapes or sizes of ornaments to make organization easier. This will allow you to access specific ornaments without disturbing the rest.
Once you have chosen a suitable storage container, it’s time to move on to the next step: Preparing the Storage Container.
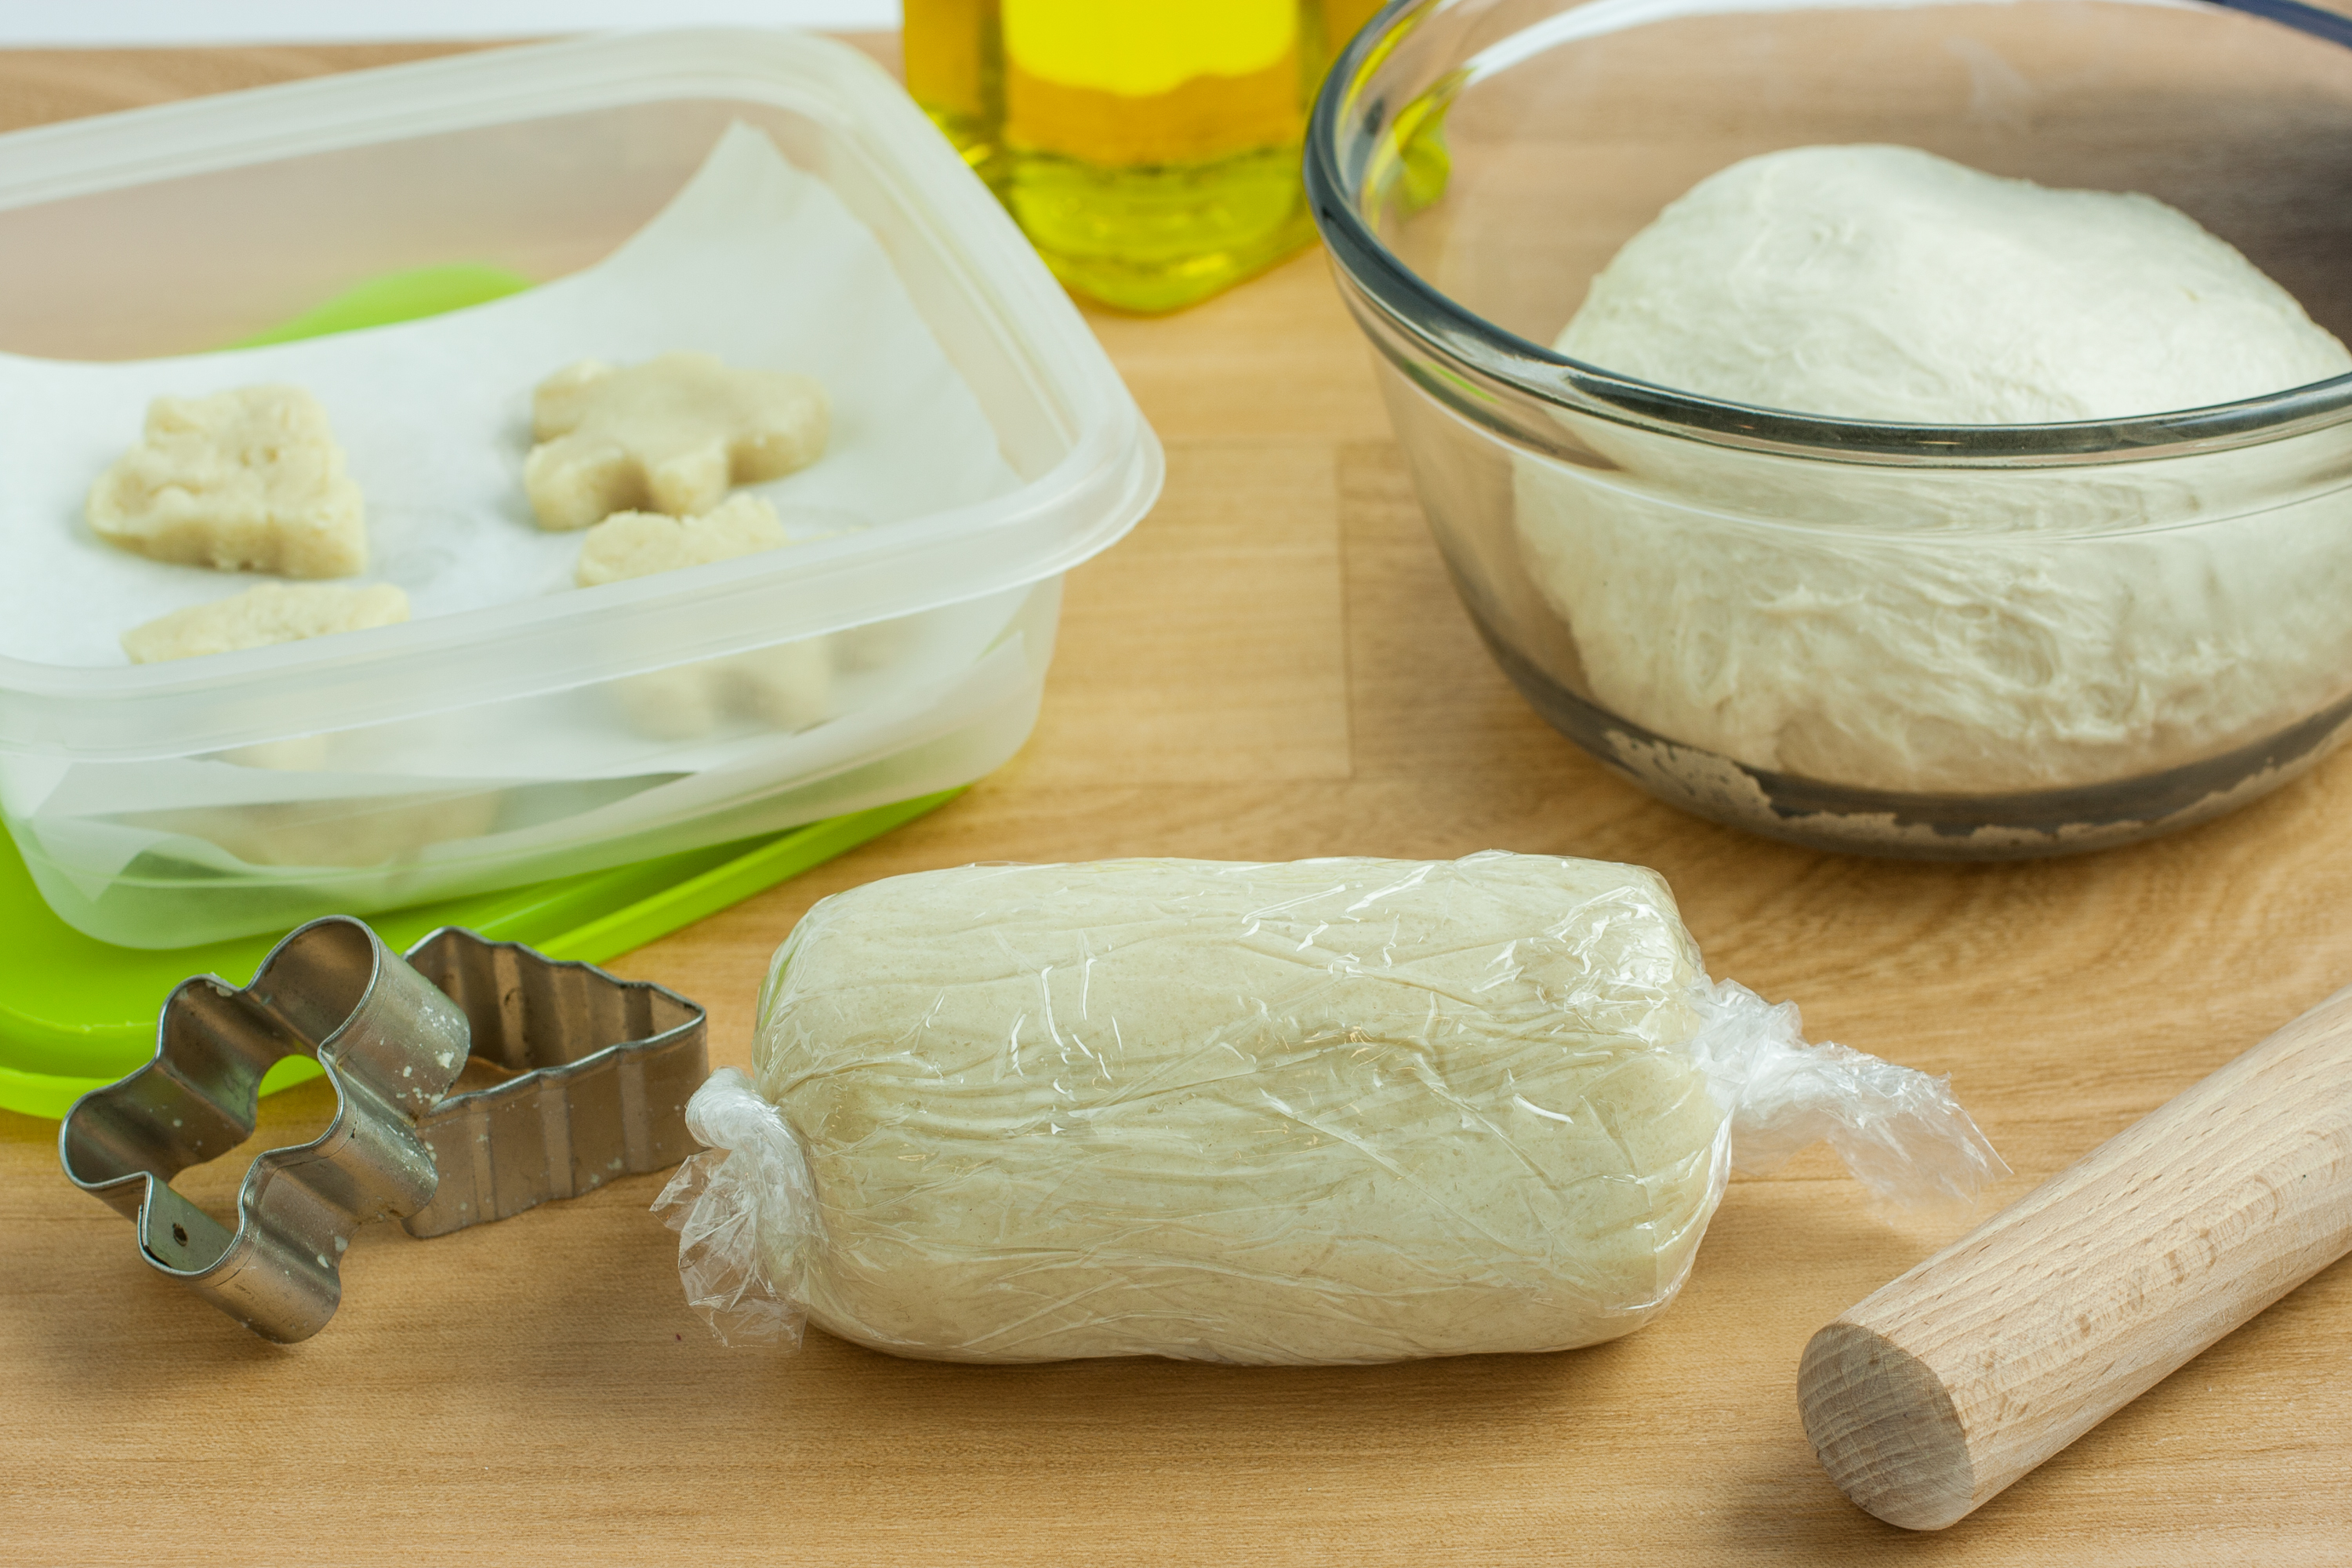
After the salt dough ornaments have completely dried, store them in an airtight container or resealable plastic bag to prevent them from absorbing moisture and becoming soft. Adding a layer of parchment paper between each ornament can also help prevent them from sticking together.
Step 5: Preparing the Storage Container
Before placing your salt dough ornaments in the chosen storage container, it’s important to prepare it properly to ensure the ornaments are well-protected. Preparing the storage container involves a few simple steps to create a safe and cushioned environment for your ornaments. Here’s what you need to do:
- Clean the container: Start by cleaning the storage container thoroughly to remove any dirt or residue. Use mild soap and water to wash the container, and allow it to dry completely before proceeding.
- Line the container (optional): If desired, you can line the bottom of the storage container with tissue paper or a layer of bubble wrap. This provides extra cushioning and helps prevent any direct contact between the ornaments and the container.
- Create compartments (if needed): If you have chosen a container without built-in dividers, you can create compartments using additional sheets of cardboard or foam board. Cut the sheets to fit the size of the container and secure them in place with tape or adhesive.
- Arrange the compartments (if applicable): If you have created compartments, arrange them according to the size and shape of your ornaments. This will help keep the ornaments separated and prevent them from shifting during storage.
By following these preparation steps, you are ensuring the safety and organization of your salt dough ornaments in the storage container. Once the container is ready, it’s time to move on to the next step: Placing the Ornaments in the Container.
Step 6: Placing the Ornaments in the Container
Now that you have prepared the storage container, it’s time to carefully place your salt dough ornaments inside. Proper placement in the container will help prevent them from shifting, scratching, or breaking while in storage. Follow these steps to ensure the safe arrangement of your ornaments:
- Gently place each salt dough ornament into its designated spot in the container. If you have compartments, make sure to match the size and shape of the ornament with the appropriate compartment.
- Keep a small gap between each ornament to prevent them from rubbing against each other and potentially causing damage.
- If your ornaments have delicate or protruding parts, such as small figurines or delicate designs, take extra care to position them in a way that minimizes the risk of breakage. Consider using tissue paper or bubble wrap to provide additional cushioning if needed.
- If you have multiple layers of ornaments, place a layer of tissue paper or bubble wrap between each layer to create a protective barrier.
Take your time to arrange the ornaments carefully, ensuring that they are secure and well-supported within the storage container.
Now that your salt dough ornaments are snugly placed inside the container, it’s time to move on to the next step: Adding a Protective Layer (Optional).
Step 7: Adding a Protective Layer (Optional)
Adding a protective layer to your stored salt dough ornaments can provide an extra level of defense against potential damage or wear. This optional step can help preserve the ornaments’ appearance and ensure they remain in great condition for years to come. Follow these steps to add a protective layer to your ornaments:
- If desired, place a sheet of tissue paper or bubble wrap on top of the arranged ornaments in the container. This additional layer acts as a cushion, protecting the ornaments from potential impacts or scratches.
- Gently tuck the protective layer around the ornaments to ensure they are fully covered. Avoid pressing down too firmly to avoid any distortion or deformation of the ornaments.
- If you have multiple layers of ornaments in the container, repeat the previous steps to add a protective layer between each layer.
Adding a protective layer serves as a barrier, shielding the ornaments from potential vibrations or movements that may occur during storage. It also helps to maintain the ornaments’ shape and prevents any surface damage.
Now that the optional protective layer is in place, we can move on to the next step: Closing and Labeling the Container.
Read more: How To Store Ornament Hooks
Step 8: Closing and Labeling the Container
The final step in storing your salt dough ornaments is to properly close and label the container. This ensures that the ornaments are secure and easily identifiable for future use. Follow these steps to complete the storage process:
- Ensure that the lid of the storage container is tightly secured to prevent dust, moisture, or pests from entering.
- If the container has multiple compartments or layers, double-check that each section is properly closed and aligned.
- Use a label or marker to clearly indicate the contents of the container. You can include information such as the year the ornaments were made, the occasion, or any other relevant details.
- If you have multiple containers, create a master inventory list that references the contents of each container. This will make it easier to locate specific ornaments in the future.
By closing the container securely and labeling it appropriately, you are ensuring that your salt dough ornaments are well-protected and easily identifiable when it’s time to bring them out for display or use.
Congratulations! You have successfully completed the process of storing your salt dough ornaments. By following these steps, your ornaments will remain in excellent condition and bring joy and memories for years to come.
As a final note, remember to store the container in a cool, dry place where it is not exposed to extreme temperatures or excessive humidity. Regularly check on the ornaments to ensure they remain in good condition and make any necessary adjustments to the storage environment if needed.
We hope you enjoyed this guide and found it helpful for storing your salt dough ornaments. Happy crafting and preserving!
Conclusion
Preserving and storing your salt dough ornaments is essential to ensure their longevity and the cherished memories they hold. By following the step-by-step guide provided in this article, you can confidently store your salt dough ornaments and protect them from potential damage. Remember, each step in the storage process plays a crucial role in maintaining the ornaments’ shape, durability, and overall appearance.
From baking and cooling the ornaments to applying a sealer (optional), choosing the right storage container, and adding protective layers, every action contributes to keeping your ornaments safe and well-preserved. Taking the time and care to properly store your salt dough ornaments will reward you with the ability to bring them out year after year, allowing you to decorate your home or gift them to loved ones with pride.
Remember to label the storage container and create an inventory list to easily locate specific ornaments in the future. Regularly check on the ornaments to ensure they remain in good condition and make any necessary adjustments to the storage environment if needed.
By following the guidelines outlined in this article, you can ensure that your salt dough ornaments retain their beauty and sentimental value for many seasons to come. Enjoy the process of creating and storing these special pieces, and may they continue to bring you joy and fond memories for years to come.
Happy crafting and preserving!
Frequently Asked Questions about How To Store Salt Dough Ornaments
Was this page helpful?
At Storables.com, we guarantee accurate and reliable information. Our content, validated by Expert Board Contributors, is crafted following stringent Editorial Policies. We're committed to providing you with well-researched, expert-backed insights for all your informational needs.


0 thoughts on “How To Store Salt Dough Ornaments”