Home>Garden Essentials>How To Start Kale Seeds
Garden Essentials
How To Start Kale Seeds
Modified: March 15, 2024
Learn how to start kale seeds in your garden and enjoy a bountiful harvest. Get expert tips and step-by-step instructions to ensure successful seedlings.
(Many of the links in this article redirect to a specific reviewed product. Your purchase of these products through affiliate links helps to generate commission for Storables.com, at no extra cost. Learn more)
Introduction
Welcome to the wonderful world of kale! Whether you're a seasoned gardener or a newbie with a green thumb, growing your own kale can be a rewarding and satisfying experience. Kale is a nutritional powerhouse, packed with vitamins, minerals, and antioxidants. It’s no wonder why it has become such a popular superfood in recent years.
In this article, we will guide you through the process of starting kale seeds and growing your own kale plants. From choosing the right seeds to caring for the growing plants, we’ll cover all the essential steps to ensure a successful kale harvest.
But before we dive into the details, let's understand why starting your own kale seeds is a great way to go. By starting seeds indoors, you have more control over the growing conditions, eliminating the risk of pests and diseases that may be present in store-bought seedlings. Plus, starting from seeds allows you to choose from a wider variety of kale types, giving you the opportunity to explore different flavors and textures.
Are you ready to embark on your kale-growing journey? Let's get started!
Key Takeaways:
- Starting kale seeds indoors gives you control over growing conditions, wider variety options, and reduces the risk of pests and diseases. It’s a rewarding way to explore different flavors and textures of kale.
- Proper soil preparation, watering, and care are essential for successful kale growth. Providing ideal growing conditions, protecting from pests, and harvesting at the right time ensures a bountiful supply of nutritious kale leaves.
Read more: How Deep To Plant Kale Seeds
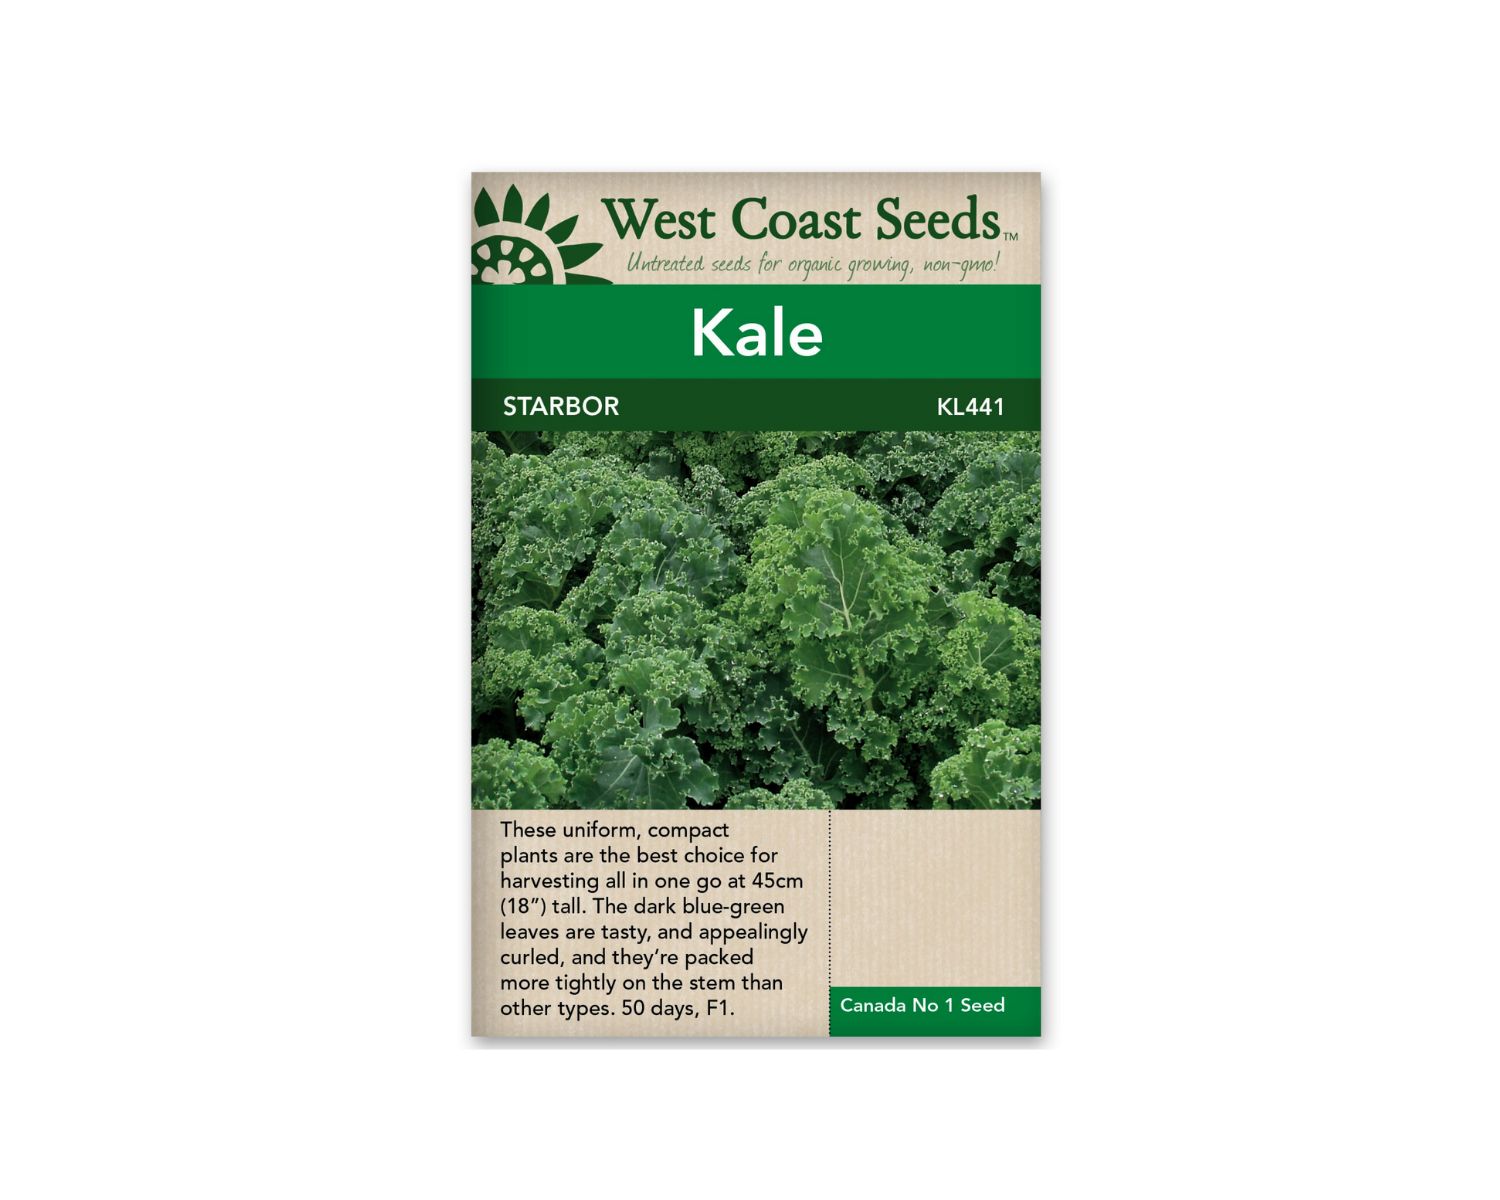
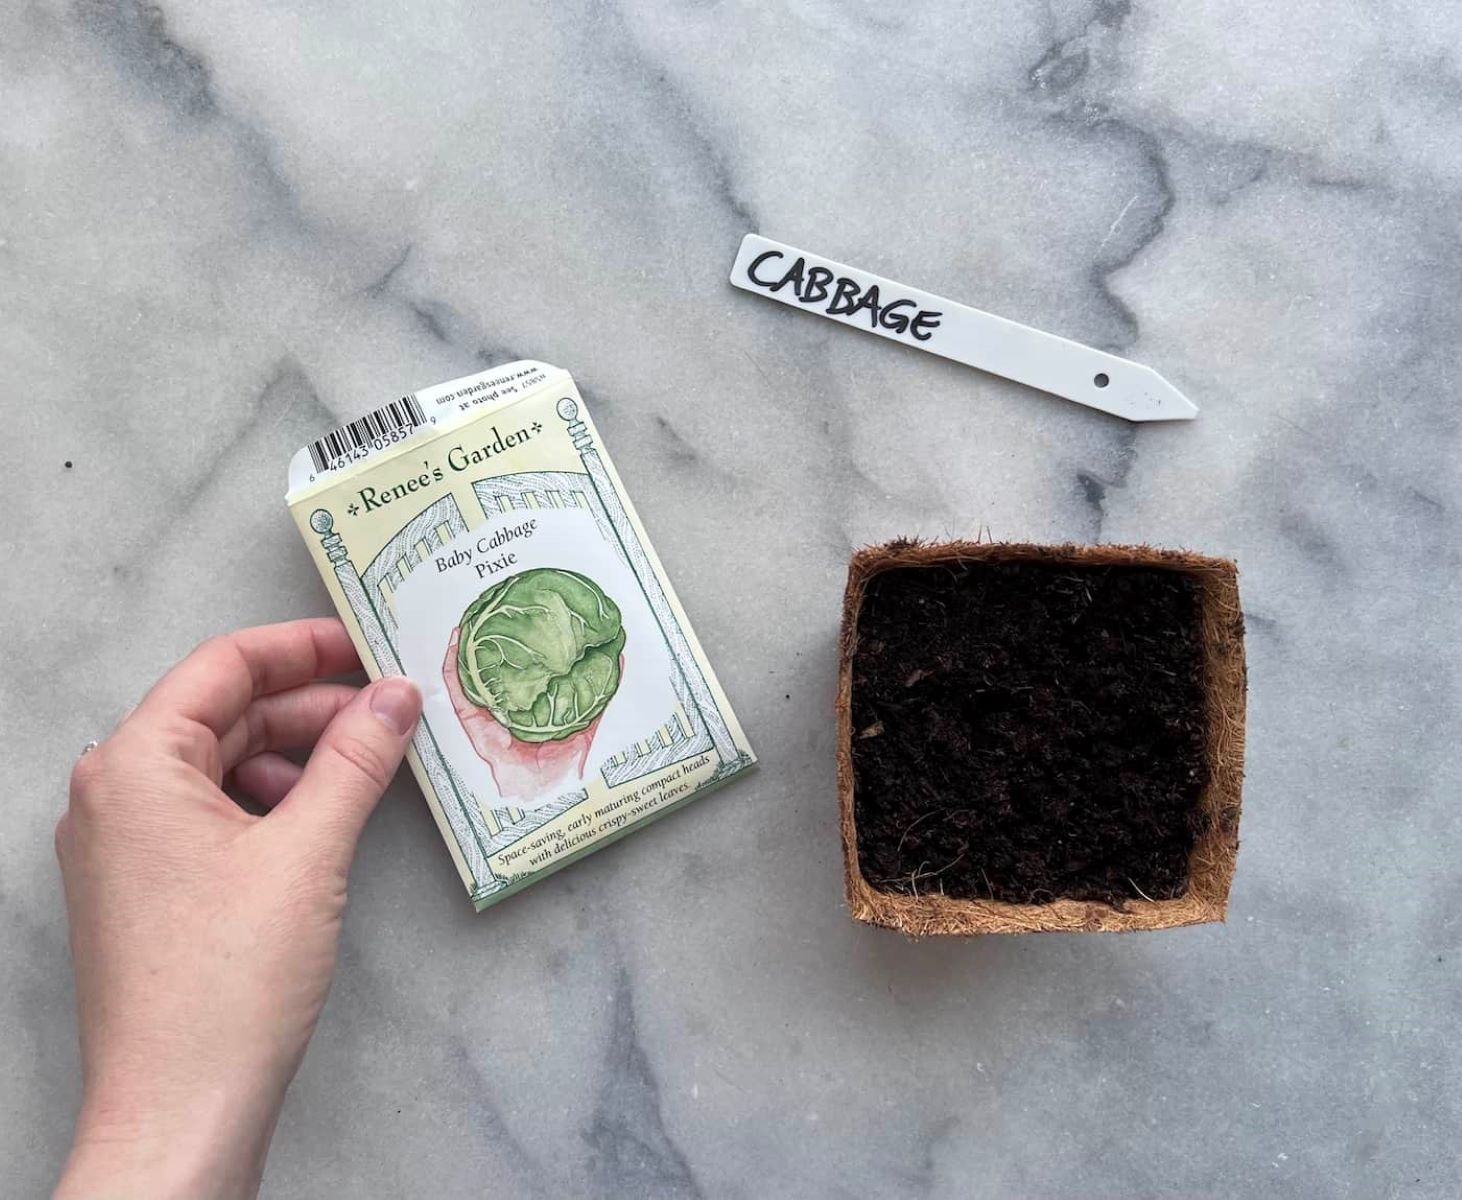
Choosing the right seeds
When it comes to choosing kale seeds, there are a few factors to consider. First and foremost, select seeds that are labeled as organic and non-GMO (genetically modified organisms). This ensures that you are starting your kale plants with the best possible foundation for organic and healthy growth.
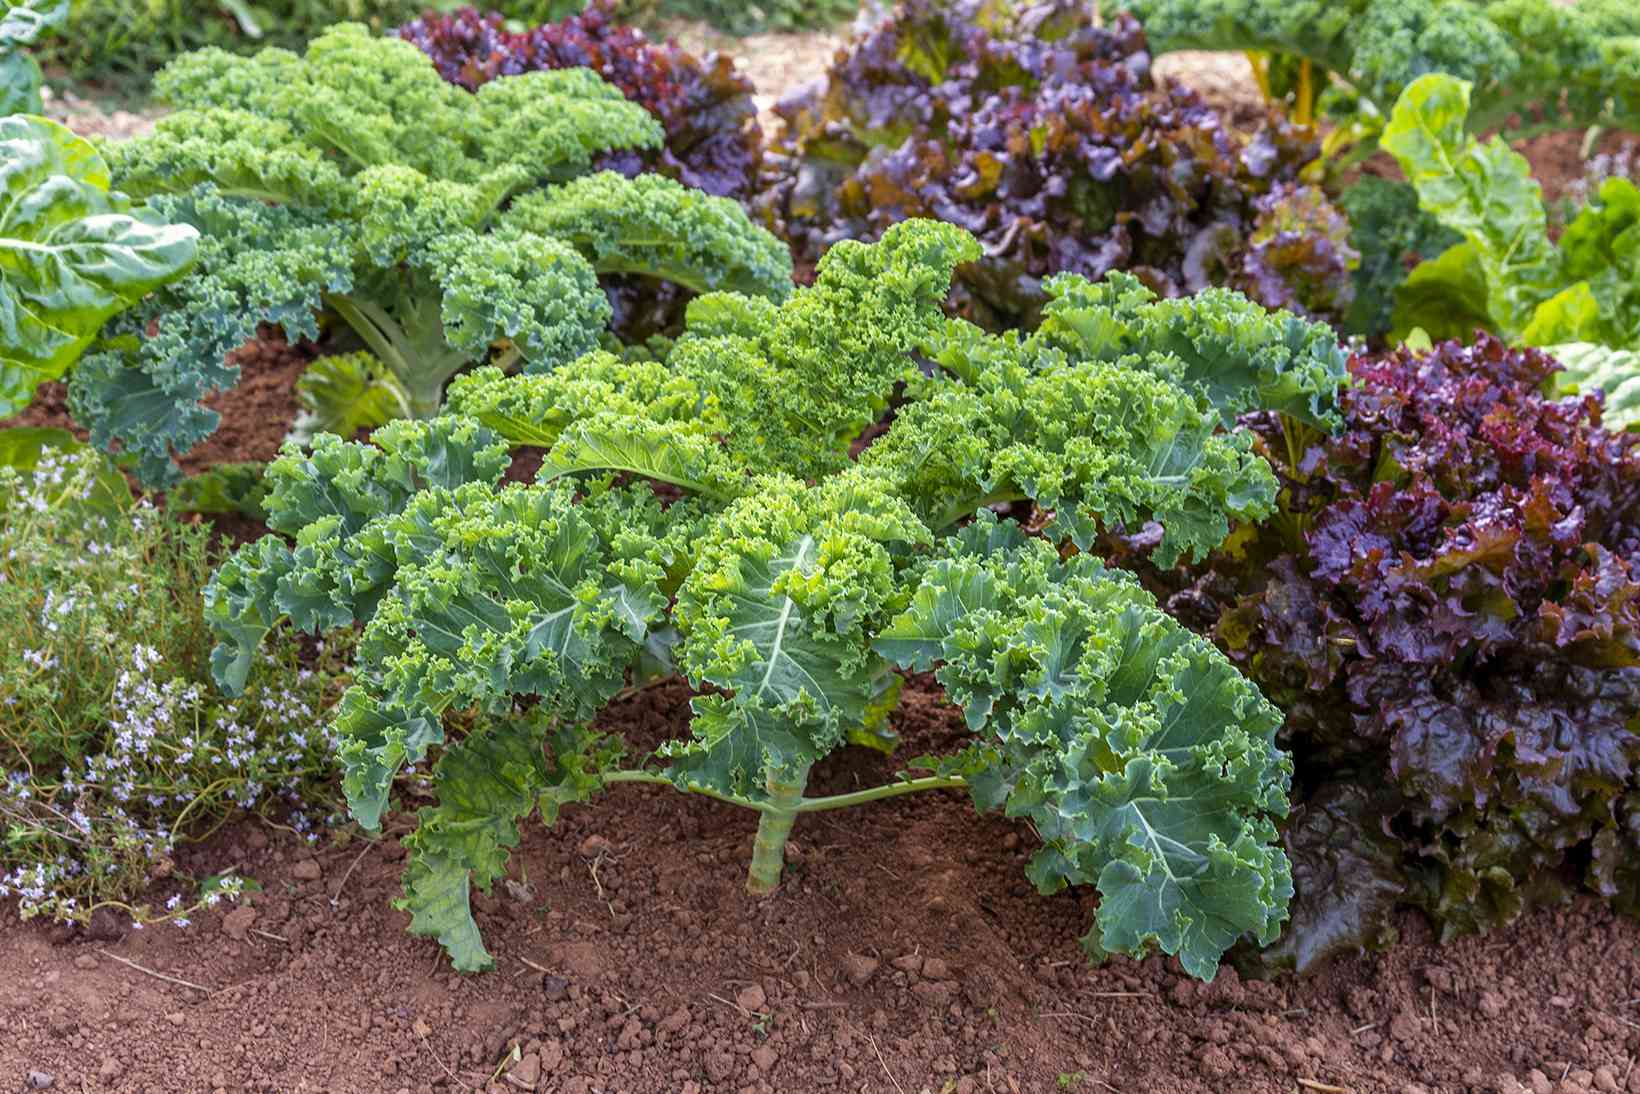
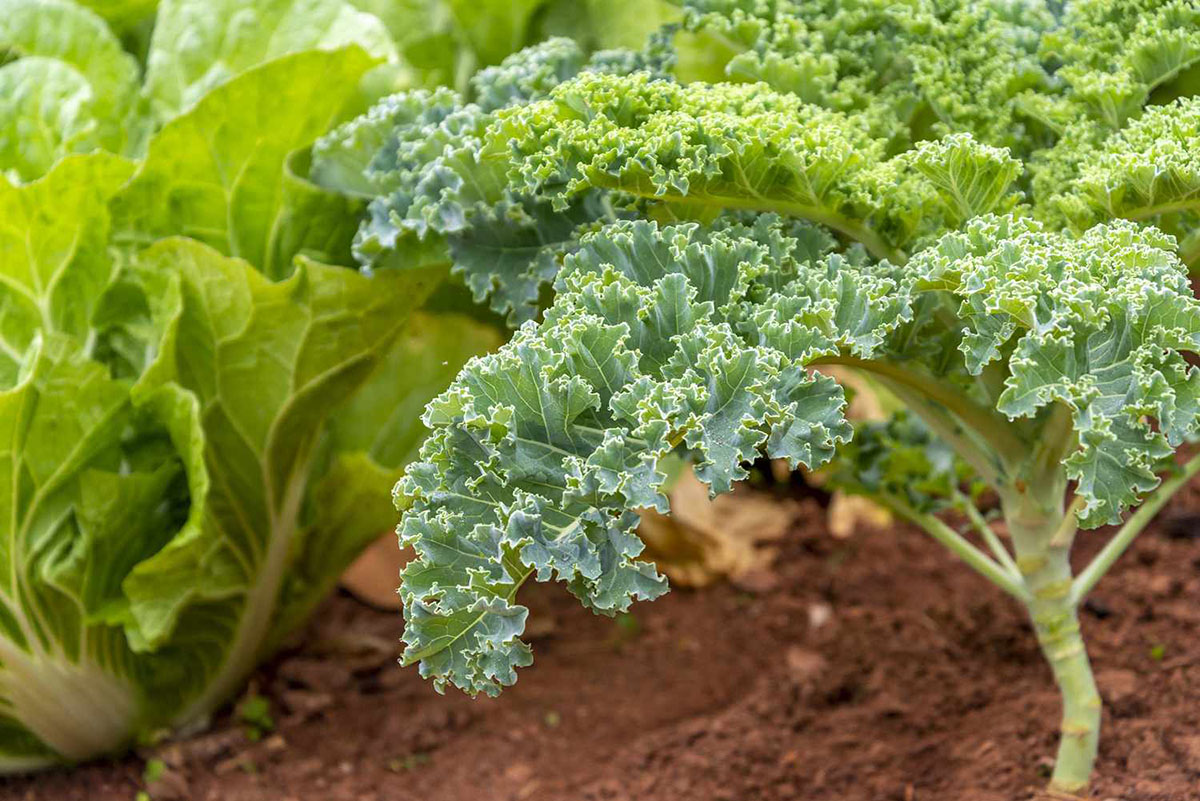
Next, decide on the variety of kale you want to grow. There are several types to choose from, including curly kale, Tuscan kale, and Russian kale. Each variety has its own unique flavor and texture, so pick one that suits your preference.
Consider the climate and growing conditions in your area. Some kale varieties are more cold-tolerant, while others thrive in warmer climates. Be sure to choose seeds that are well-suited for the specific growing conditions you can provide.
If you’re unsure which variety is best for your region, consult your local garden center or agricultural extension service for recommendations. They will have valuable insights into the types of kale that grow best in your area.
Lastly, take note of the seed packet’s expiration date. Seeds have a shelf life, and using fresh seeds will increase the chances of successful germination. Check the packet to ensure that the seeds are still viable and have not surpassed their expiration date.
Once you’ve chosen your kale seeds, you’re one step closer to starting your own kale garden. Next, let’s move on to preparing the soil!
Preparing the soil
Before planting your kale seeds, it’s important to prepare the soil to create an optimal growing environment for your plants. Here are the steps to follow:
- Clear the area: Start by clearing the designated area of any weeds, rocks, or debris. This will help create a clean and tidy space for your kale plants to thrive.
- Loosen the soil: Use a garden fork or tiller to loosen the soil to a depth of about 8 to 10 inches. This will improve drainage and allow the roots to penetrate the soil more easily.
- Amend the soil: Kale prefers well-draining soil that is rich in organic matter. Incorporate compost or well-rotted manure into the soil to improve its fertility and texture. Aim for a ratio of about 2 to 3 inches of organic matter per square foot of planting area.
- Adjust the pH: Kale thrives in slightly acidic to neutral soil, with a pH range of 6.0 to 7.0. Test the soil pH using a soil testing kit, and if necessary, adjust it by adding lime to raise the pH or sulfur to lower it. Follow the product instructions for the appropriate amount to apply.
- Level the soil: Rake the soil surface to create an even and smooth planting bed. This will make it easier to sow the seeds and provide uniform growing conditions for your kale plants.
By taking the time to properly prepare the soil, you are setting the stage for healthy and vigorous kale growth. Now that the soil is ready, it’s time to sow the kale seeds. Let’s move on to the next step!
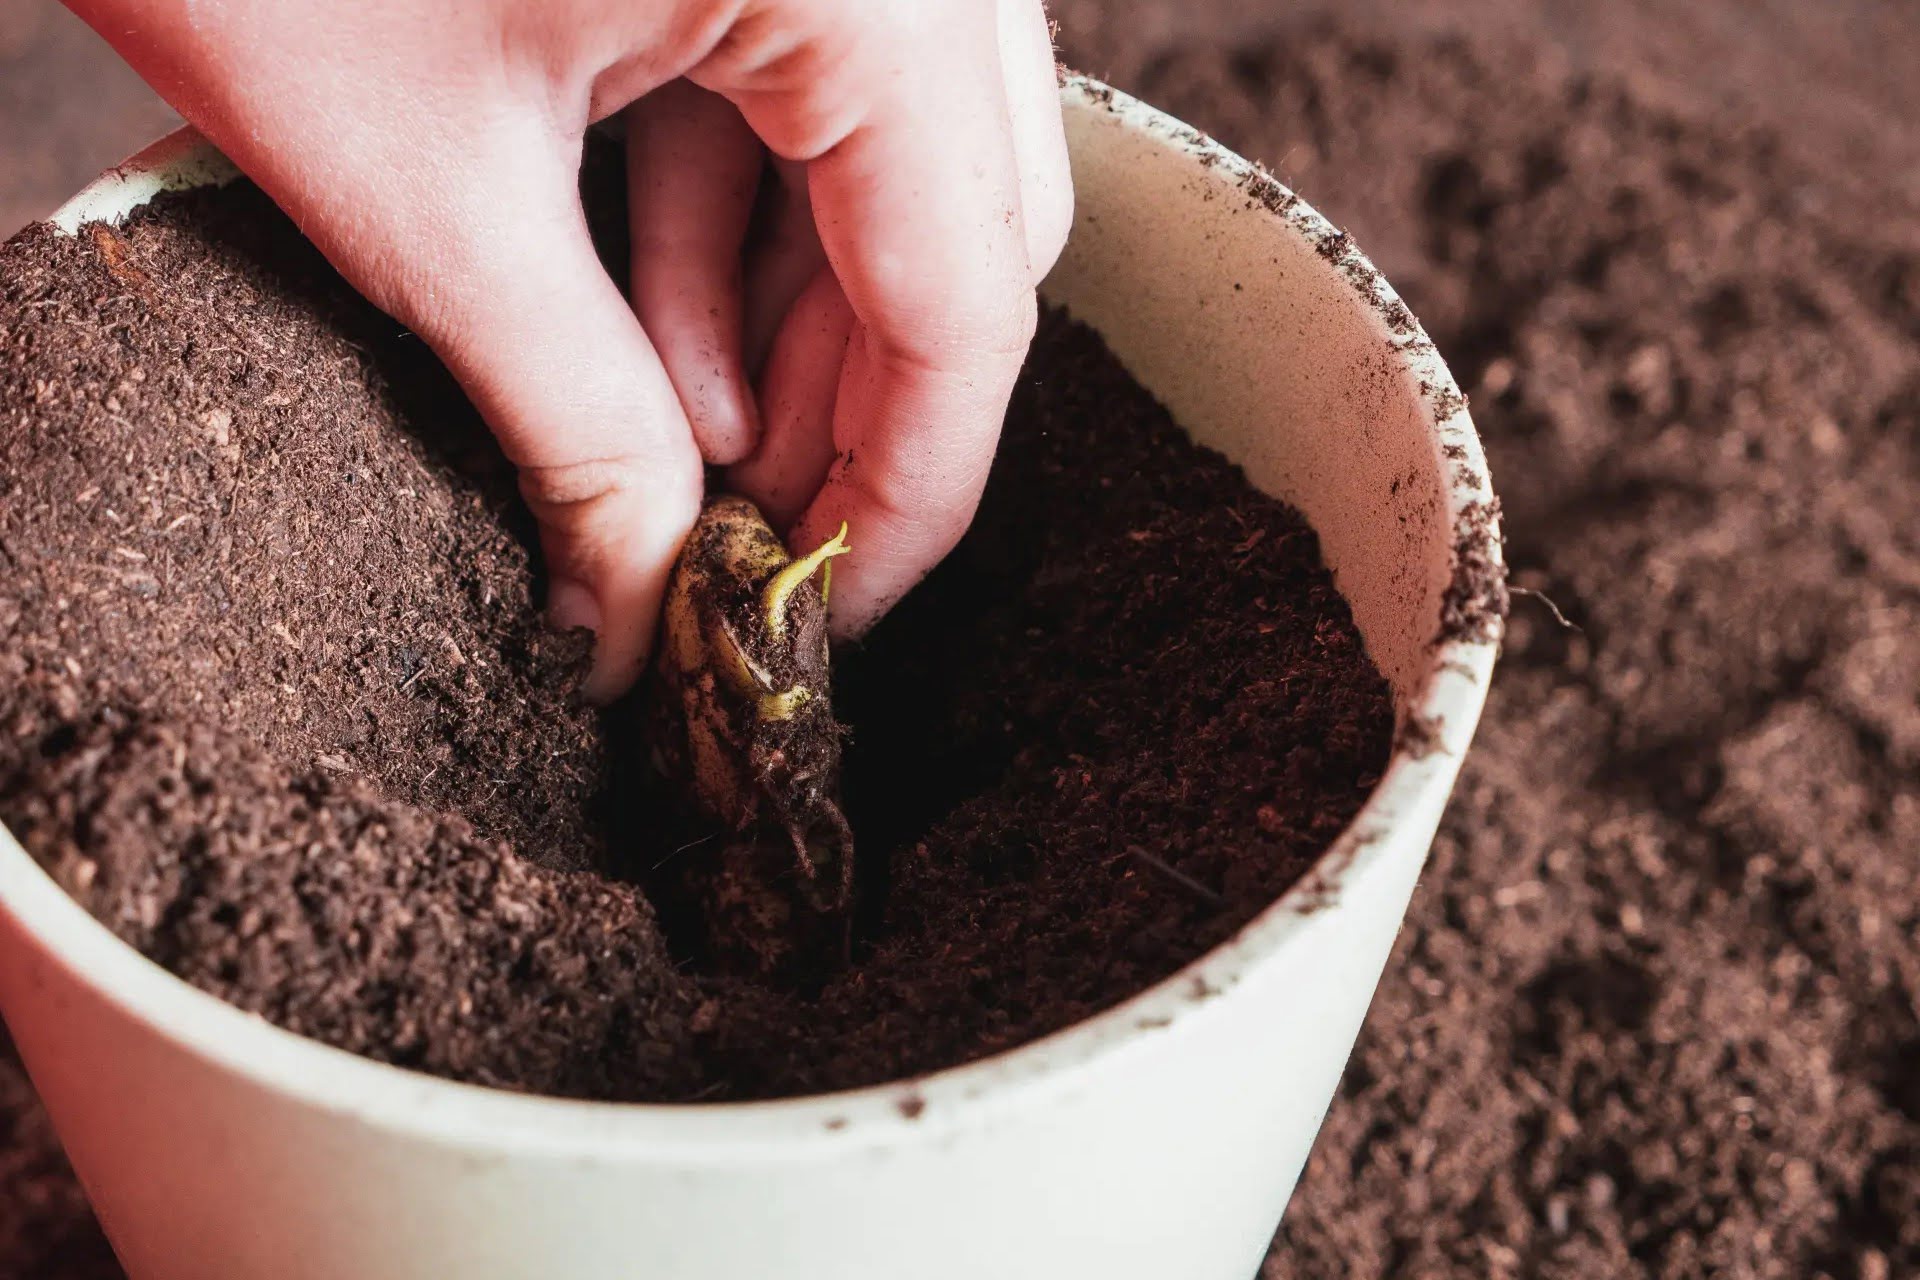
Planting the kale seeds
Now that you have prepared the soil, it’s time to sow the kale seeds. Follow these steps to ensure successful germination and healthy growth:
- Select the planting method: You can choose to sow the seeds directly into the ground or start them indoors and transplant the seedlings later. Both methods have their advantages, so choose the one that suits your preferences and growing conditions.
- Sow the seeds: If planting directly into the ground, make shallow furrows in the soil using a garden trowel or your finger. Space the furrows about 12 to 18 inches apart, as kale plants need room to spread and grow. Sow the seeds thinly along the furrows, ensuring a spacing of about 1 inch between each seed. If starting indoors, sow the seeds in seed trays or pots filled with seed starting mix.
- Cover and water: Gently cover the seeds with a thin layer of soil or seed starting mix, about 1/4 inch deep. Water the newly sown seeds thoroughly using a gentle spray or mist, ensuring that the soil is evenly moist but not waterlogged.
- Provide the right temperature and light: Kale seeds germinate best in temperatures between 60 to 75°F (15 to 24°C). Place the seed trays or pots in a warm location or use a heat mat to maintain the ideal temperature. Once the seeds sprout, provide them with ample light by placing them near a sunny window or using grow lights.
- Maintain moisture: Monitor the moisture level in the soil or seed trays and keep it consistently moist but not saturated. Water gently when needed to prevent the soil from drying out. Avoid overwatering, as it can lead to dampening-off disease or root rot.
Within a week or two, you should start to see the kale seeds sprouting and tiny seedlings emerging. Congratulations, you’re on your way to growing your own kale plants! In the next section, we’ll discuss how to provide the ideal growing conditions for your kale seedlings. Stay tuned!
Providing the ideal growing conditions
Once your kale seeds have sprouted and the seedlings have emerged, it’s crucial to provide them with the ideal growing conditions to ensure healthy and vigorous growth. Here are some key factors to consider:
- Sunlight: Kale plants thrive in full sun, which is defined as at least 6 to 8 hours of direct sunlight per day. Place your kale seedlings in a location that receives ample sunlight, such as a south-facing garden bed or a spot with unobstructed sunlight.
- Temperature: Kale is a cool-season crop and grows best in temperatures between 55 to 75°F (13 to 24°C). Although kale is tolerant of colder temperatures, it prefers moderate temperatures rather than extreme heat or frost. Provide shade or use mulch during hot summer months to protect the plants from excessive heat.
- Air circulation: Good air circulation is important for preventing the buildup of moisture and reducing the risk of fungal diseases. Avoid overcrowding your kale plants by providing adequate spacing between them. Prune any nearby plants or vegetation that may obstruct airflow.
- Soil moisture: Kale plants prefer consistently moist but well-draining soil. Aim to keep the soil evenly moist, but avoid overwatering, as it can lead to root rot and other issues. Water deeply and thoroughly, allowing the water to penetrate the root zone. Mulching around the plants can help conserve moisture and reduce weed growth.
- Soil fertility: Kale is a nutrient-hungry plant. Prioritize feeding your kale plants with organic fertilizers rich in nitrogen, phosphorus, and potassium. Side-dress the plants with compost or a balanced organic fertilizer every few weeks during the growing season to promote healthy growth and ample leaf production.
By providing the ideal growing conditions, you will encourage strong and resilient kale plants that are more resistant to pests and diseases. In the next sections, we will discuss watering and fertilizing techniques, as well as how to protect your kale seedlings as they grow. Keep reading!
Start kale seeds indoors 6-8 weeks before the last frost. Plant seeds 1/4 inch deep in a seed-starting mix, keep moist, and provide plenty of light. Transplant seedlings outdoors after the last frost.
Read more: How To Grow Kale From Seed Indoors
Watering and fertilizing
Proper watering and fertilizing are essential for the healthy growth of kale plants. Here are some guidelines to follow:
- Watering: Kale plants require regular watering to maintain even soil moisture. Water deeply, providing about 1 inch of water per week. Check the moisture level in the soil by sticking your finger about an inch into the soil. If it feels dry at that depth, it’s time to water. Avoid overwatering, as it can lead to root rot. Consider using a drip irrigation system or soaker hoses to provide consistent and targeted watering.
- Fertilizing: Kale is a nutrient-hungry plant, so regular fertilizing is important for optimal growth. Start by incorporating organic matter, such as compost or well-rotted manure, into the soil before planting. This will provide a slow-release source of nutrients. During the growing season, side-dress the kale plants with compost or a balanced organic fertilizer every 3 to 4 weeks. Follow the package instructions for the appropriate amount to use.
- Additional feeding: If you notice slow growth or yellowing leaves, it may indicate a nutrient deficiency. Consider supplementing with a liquid fertilizer or foliar spray to provide a quick nutrient boost. Look for fertilizers specifically formulated for leafy greens or brassicas, which are the plant family that kale belongs to.
- Mulching: Applying a layer of organic mulch around the base of the plants helps retain moisture, regulate soil temperature, and suppress weed growth. Use materials such as straw, shredded leaves, or grass clippings. Be sure to keep the mulch a few inches away from the stems to prevent rot and pest issues.
- Monitor plant health: Regularly inspect your kale plants for any signs of stress or nutrient deficiencies. Adjust watering and fertilizing practices as needed. Remember that it’s better to start with less fertilizer and gradually increase as needed, rather than over-fertilizing and causing harm to the plants.
By following these watering and fertilizing guidelines, you will provide your kale plants with the necessary nutrients and moisture for healthy growth. In the next section, we will discuss how to protect your kale seedlings from common pests and diseases. Stay tuned!
Protecting your kale seedlings
Protecting your kale seedlings from pests and diseases is crucial to ensure their successful growth. Here are some measures you can take to keep your kale plants healthy and pest-free:
- Inspect regularly: Regularly inspect your kale plants for any signs of pests or diseases. Look for chewed leaves, holes, discoloration, or any unusual growth patterns. Early detection is key to preventing the problem from spreading.
- Handpick pests: If you spot caterpillars, aphids, or other pests on your kale plants, manually remove them by handpicking or using a strong stream of water to dislodge them. Alternatively, consider using organic insecticidal soaps or neem oil sprays to control pests.
- Encourage beneficial insects: Attracting beneficial insects like ladybugs, lacewings, and parasitic wasps can help keep pests at bay. Planting flowering herbs and companion plants nearby, such as dill, fennel, and marigolds, can help attract these beneficial insects.
- Use row covers: Covering your kale seedlings with row covers or insect netting can protect them from pests like cabbage worms and flea beetles. Make sure to secure the covers tightly to prevent pests from getting underneath.
- Practice crop rotation: Rotate your kale plantings each year to prevent the buildup of pests and diseases in the soil. Avoid planting kale in the same spot or in close proximity to other brassica crops like cabbage or broccoli.
- Maintain good airflow: Proper airflow helps prevent the establishment of fungal diseases. Avoid overcrowding your kale plants and maintain adequate spacing between them. Prune any lower leaves that touch the soil to reduce the risk of fungal infections.
By implementing these protective measures, you can significantly reduce the risk of pest and disease damage to your kale seedlings. In the next section, we will discuss when and how to transplant your kale seedlings. Keep reading!
Transplanting the seedlings
Once your kale seedlings have developed a few sets of true leaves and are sturdy enough to handle, it’s time to transplant them into their permanent growing location. Follow these steps for successful transplanting:
- Choose the right timing: It’s important to transplant your kale seedlings at the right time. Wait until all risk of frost has passed and the soil has warmed up. Typically, kale seedlings can be transplanted outdoors about 2 to 4 weeks before the last expected frost date in your area.
- Prepare the planting holes: Dig holes in the prepared soil that are slightly larger than the root balls of your seedlings. Space the holes about 12 to 18 inches apart, providing enough room for the kale plants to grow and spread.
- Gently remove the seedlings: Carefully remove the seedlings from their seed trays or pots, along with the surrounding soil. Be gentle to avoid damaging the delicate roots. If the roots are tightly wound, gently tease them apart to encourage outward growth.
- Place and backfill: Place each seedling into a planting hole and backfill the soil around it, gently firming the soil to eliminate any air pockets. Ensure that the base of the seedling is at the same soil level as it was in its original container.
- Water thoroughly: After transplanting, water the seedlings thoroughly to settle the soil around the roots. This will help the plants establish quickly and reduce transplant shock. Continue to water regularly in the following weeks to keep the soil consistently moist.
- Provide shade: If transplanting during hot weather, provide temporary shade for your newly transplanted kale seedlings. This can be done using shade cloth, row covers, or even strategically placing taller plants or structures to provide some relief from intense sunlight.
Transplanting your kale seedlings allows them to have more space to grow and ensures they have the best conditions for development. With the seedlings now in their new home, it’s time to shift our focus to caring for the growing kale plants. Read on for essential tips on nurturing your kale plants to maturity.
Caring for the growing kale plants
As your kale plants continue to grow, they require ongoing care to thrive and produce abundant, healthy leaves. Here are some essential tips for caring for your growing kale plants:
- Thin the seedlings: If you planted multiple seedlings in one hole during transplanting, it’s important to thin them out. Leave only the strongest and healthiest-looking seedling in each planting hole to give it ample space and resources to grow.
- Maintain consistent moisture: Keep the soil consistently moist by watering deeply whenever the top inch of soil feels dry. Avoid overwatering, as it can lead to root rot. Applying a layer of mulch around the plants can help conserve moisture and prevent weed growth.
- Protect from extreme temperatures: Kale is a cool-season crop but can tolerate some heat. However, in hot summer months, the leaves may become bitter and the plants may bolt prematurely. Provide shade or use shade cloth during peak heat to protect your kale plants.
- Remove weeds: Keep the area around your kale plants free from weeds. Weeds compete for nutrients and resources, so regular weeding is necessary to ensure optimal growth. Be careful not to disturb the shallow roots of the kale plants while removing weeds.
- Monitor for pests and diseases: Regularly inspect your kale plants for any signs of pests or diseases. Remove any affected leaves or plants immediately to prevent the spread of infections. Utilize organic pest control methods or consult with your local garden center for appropriate treatments if necessary.
- Continue fertilizing: Feed your growing kale plants with organic fertilizers every 3 to 4 weeks during the growing season. Side-dress the plants with compost or a balanced organic fertilizer to provide a steady supply of nutrients.
- Harvest outer leaves: As your kale plants mature, you can start harvesting the outer leaves for consumption. Gently remove the older leaves from the bottom of the plants, allowing the younger leaves in the center to continue growing. This method of harvesting, known as “cut and come again,” allows for continuous leaf production.
- Practice crop rotation: To prevent the buildup of pests and diseases, avoid planting kale or other brassica crops in the same spot for consecutive years. Rotate your crops, allowing at least a three-year gap before planting kale in the same area again.
By providing consistent care and attention to your growing kale plants, you’ll be rewarded with a bountiful harvest of nutritious and delicious leaves. In the next section, we will explore the final step in the kale-growing journey: harvesting your own kale. Keep reading!
Read more: When To Sow Kale Seeds
Harvesting your own kale
The time has finally come to enjoy the fruits of your labor! Harvesting your kale at the right time ensures that you can enjoy the freshest and most flavorful leaves. Follow these guidelines for successful kale harvesting:
- Choose mature leaves: Kale leaves are ready to be harvested once they have reached a size of about 6 to 8 inches long. Look for the outer leaves that are fully developed, dark green, and firm to the touch.
- Use a sharp knife or scissors: To harvest the leaves, use a sharp knife or scissors to cut the mature leaves off the plant. Cut the leaves at the base, just above the main stem. Avoid tearing the leaves, as this can damage the plant.
- Harvest selectively: Rather than harvesting the entire plant at once, opt for selective harvesting. Remove a few outer leaves from each plant, allowing the inner leaves to continue growing. This will extend the harvest period and promote continuous leaf production.
- Monitor the plant’s growth: Keep an eye on your kale plants as they continue to grow. Harvest the leaves regularly to prevent them from becoming overly mature and tough. Overripe leaves can have a bitter taste and may not be as enjoyable to eat.
- Store properly: Immediately after harvesting, rinse the kale leaves under cool water to remove any dirt or debris. Pat dry or use a salad spinner to remove excess moisture. Store the leaves in a sealed plastic bag or container in the refrigerator. They can stay fresh for up to a week.
- Enjoy fresh or freeze: Freshly harvested kale leaves can be used in a variety of recipes, including salads, sautés, smoothies, and soups. If you have an abundance of kale, consider blanching and freezing some for future use. Blanching helps preserve the color and nutrients of the kale.
- Regrow from cuttings: Did you know that you can regrow kale from cuttings? After harvesting the mature leaves, leave about 2 inches of stem attached to the base of the plant. Place the stem in a jar of water and keep it in a sunny location. Within a few days, new leaves will start sprouting, and you can replant the cutting in soil for a fresh batch of kale.
By harvesting your kale leaves at the right time and practicing selective harvesting, you can enjoy a steady supply of fresh and nutritious greens from your garden. Congratulations on growing your own kale! Now, it’s time to savor the flavors and explore the countless culinary possibilities with your homegrown kale.
Remember, gardening is not only about the end result but also about the joy and satisfaction of the process. Happy harvesting!
Frequently Asked Questions about How To Start Kale Seeds
Was this page helpful?
At Storables.com, we guarantee accurate and reliable information. Our content, validated by Expert Board Contributors, is crafted following stringent Editorial Policies. We're committed to providing you with well-researched, expert-backed insights for all your informational needs.


0 thoughts on “How To Start Kale Seeds”