Articles
How To Store Modeling Clay
Modified: December 7, 2023
Learn the best techniques and tips for storing modeling clay in this comprehensive article that will help preserve the quality and longevity of your precious creations.
(Many of the links in this article redirect to a specific reviewed product. Your purchase of these products through affiliate links helps to generate commission for Storables.com, at no extra cost. Learn more)
Introduction
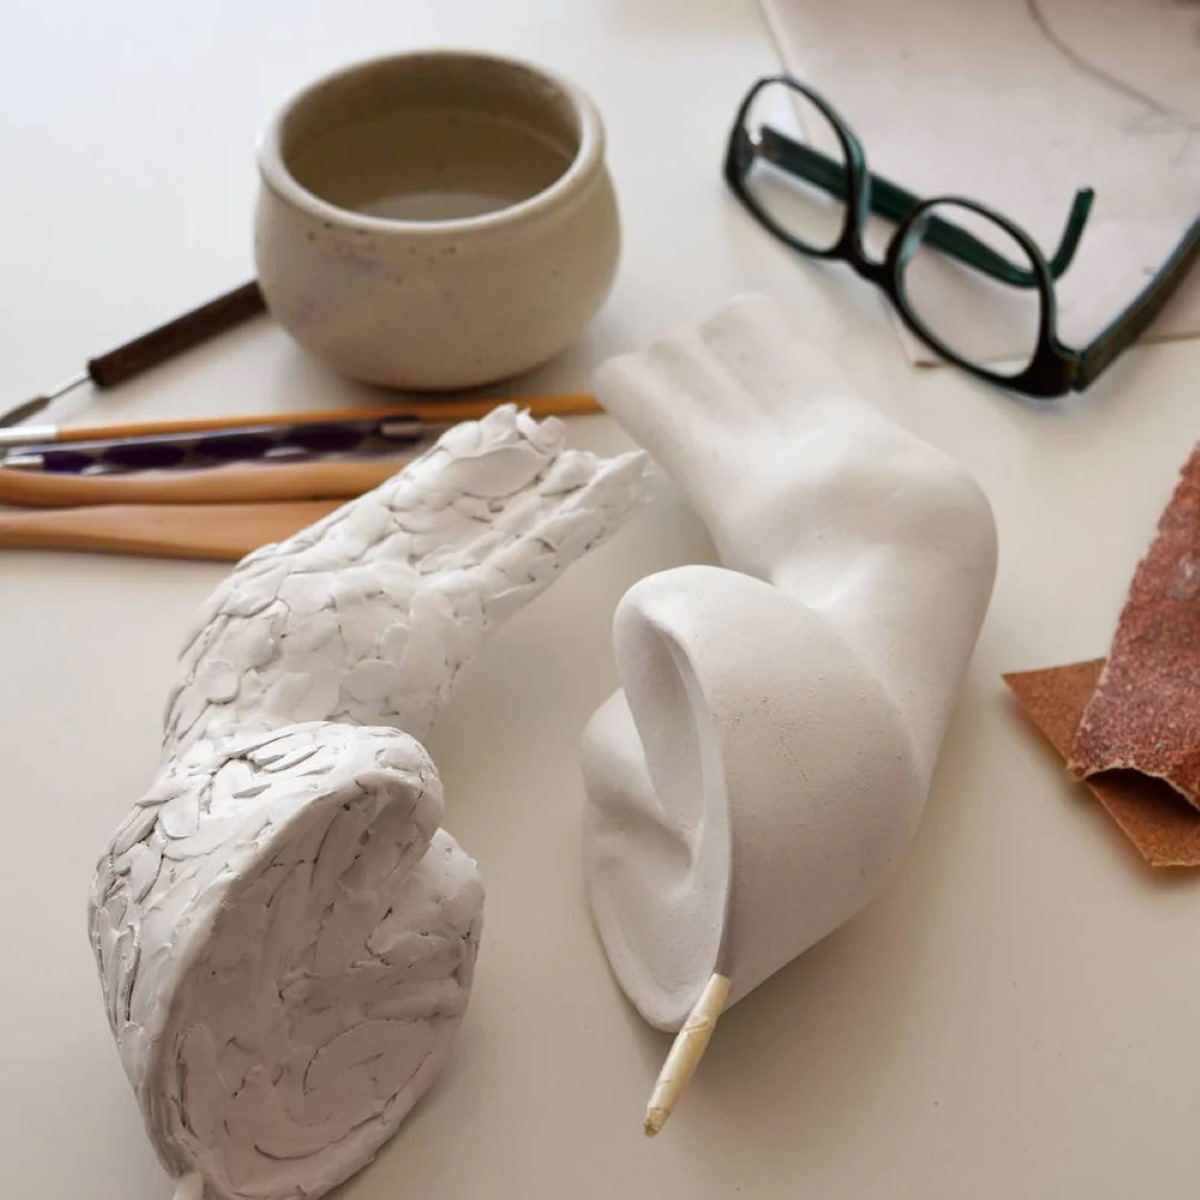
Modeling clay is a versatile and popular medium used by artists, sculptors, and hobbyists all around the world. Whether you create intricate sculptures, unique pottery, or fun crafts with clay, proper storage is crucial to maintain its quality and usability. Improper storage can lead to dried out or hardened clay, making it difficult to work with in the future. To ensure that your modeling clay remains pliable and ready for your next project, it is important to follow the right storage techniques. In this article, we will guide you through the process of storing modeling clay, from choosing the right clay to utilizing the appropriate storage containers and methods.
Key Takeaways:
- Choose the right type of modeling clay based on your project needs, and prepare it for storage by removing debris, kneading, and wrapping it in plastic to maintain its pliability and moisture content.
- Select appropriate storage containers, whether at room temperature, in the refrigerator, or in the freezer, to preserve the quality and usability of your modeling clay. Regularly inspect and maintain the stored clay to ensure its longevity and readiness for creative projects.
Read more: How To Store Clay
Choosing the Right Clay
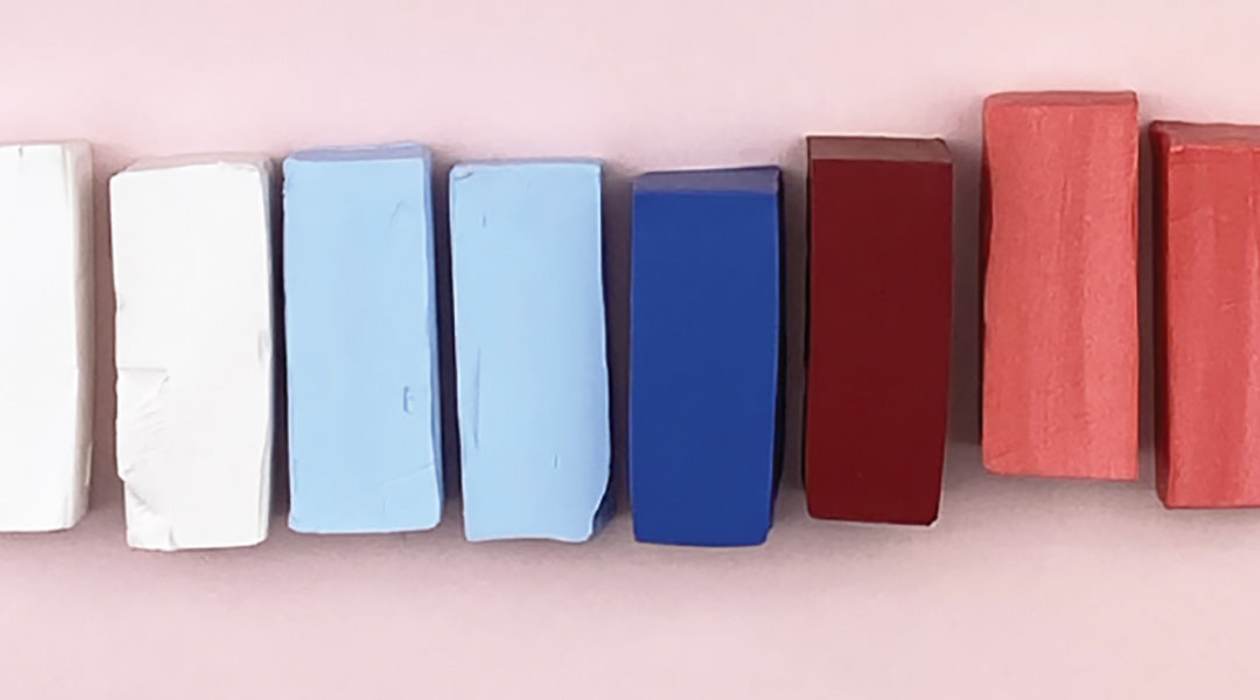
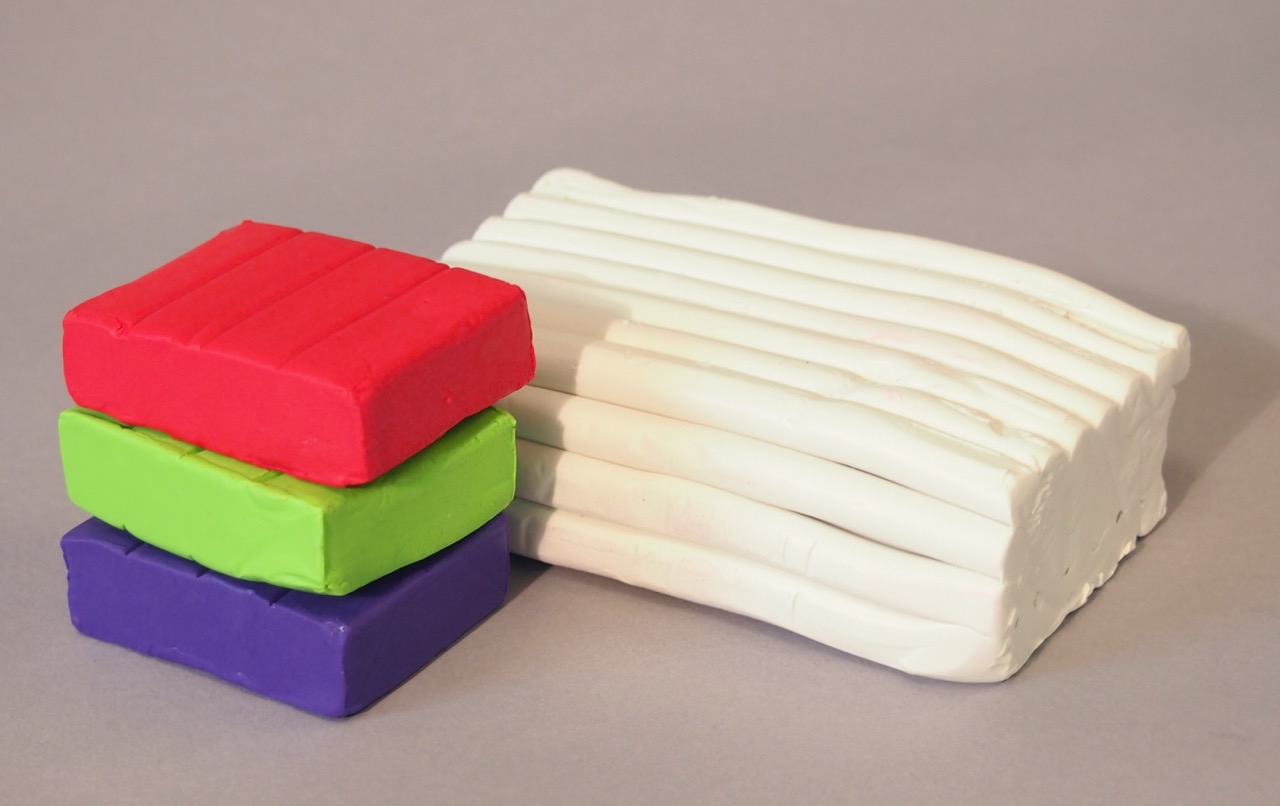
When it comes to choosing modeling clay, there are various options available in the market. The type of clay you select will depend on your specific needs and preferences. Here are some popular types of modeling clay:
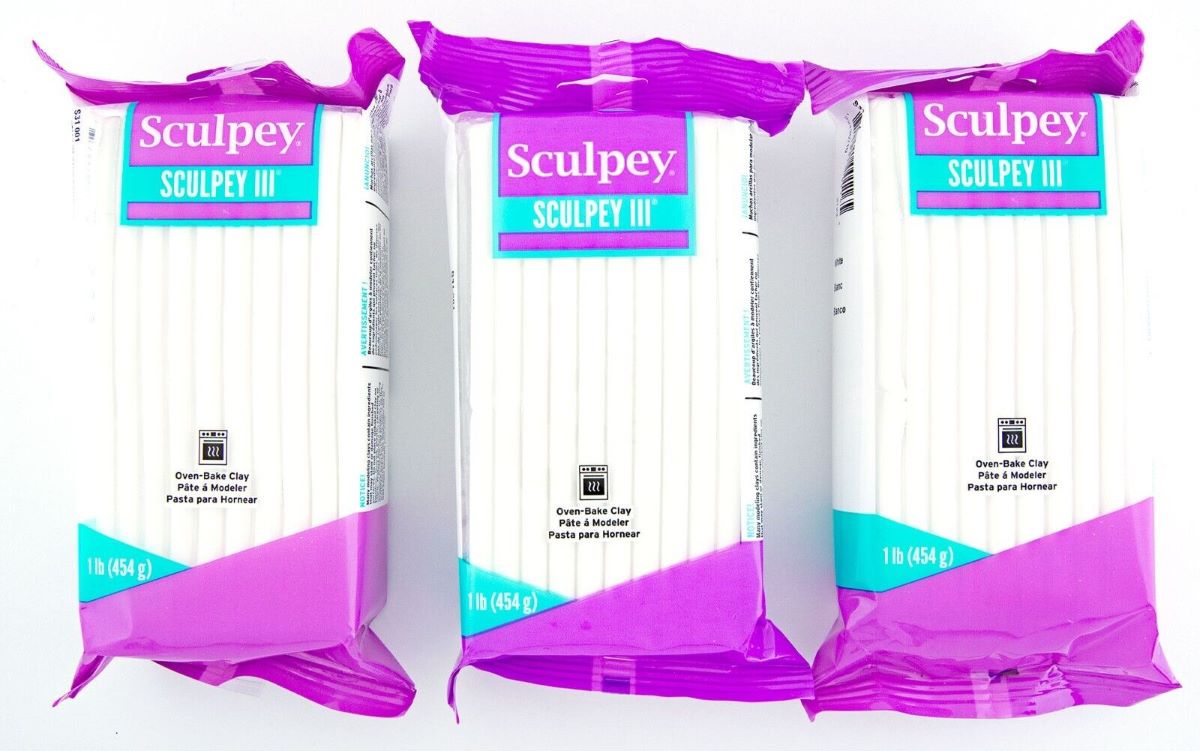
- Polymer Clay: Polymer clay is a synthetic clay that is oven-baked to harden. It is durable, comes in a wide range of colors, and is ideal for detailed sculptures and jewelry making.
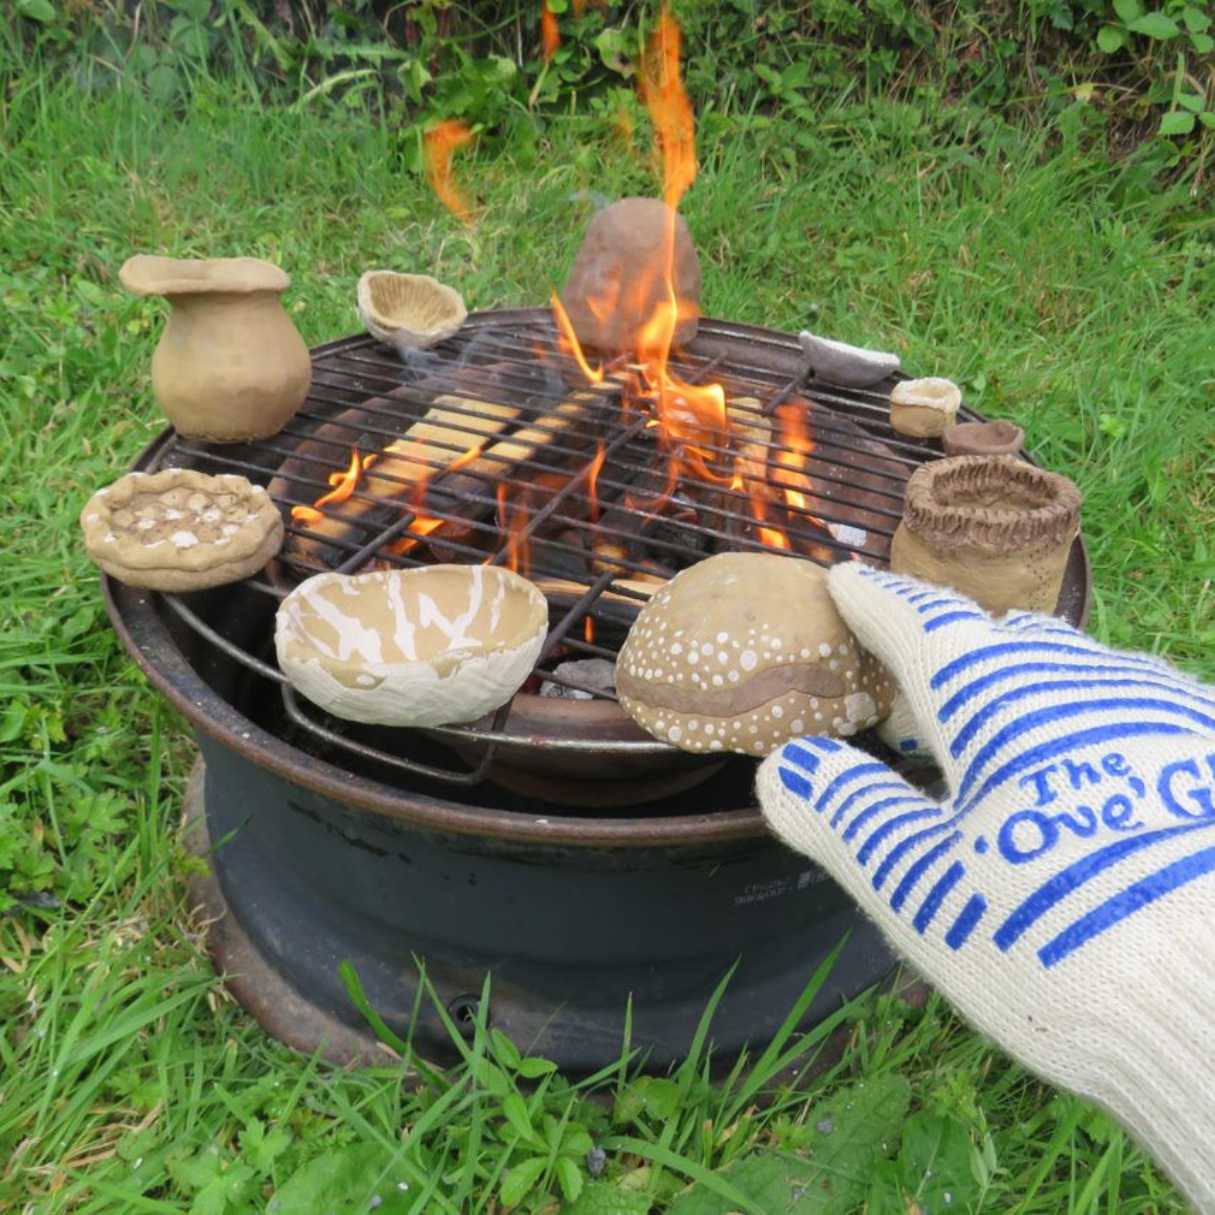
- Air Dry Clay: As the name suggests, air dry clay dries naturally when exposed to air. It is a convenient option as it does not require baking. However, it is not as durable as polymer clay.
- Oil-Based Clay: Oil-based clay, also known as plastiline, remains malleable even after long periods of time. It is commonly used by professional sculptors and is suitable for creating large-scale sculptures.
- Salt Dough: Salt dough is a homemade clay made from a mixture of flour, salt, and water. It is a popular choice for children’s crafts and can be easily dried in the oven.
Consider your project requirements, such as the desired level of detail, the permanence of the finished piece, and the age appropriateness. Make sure to read the instructions and recommendations provided by the manufacturer to select the appropriate type of clay for your needs.
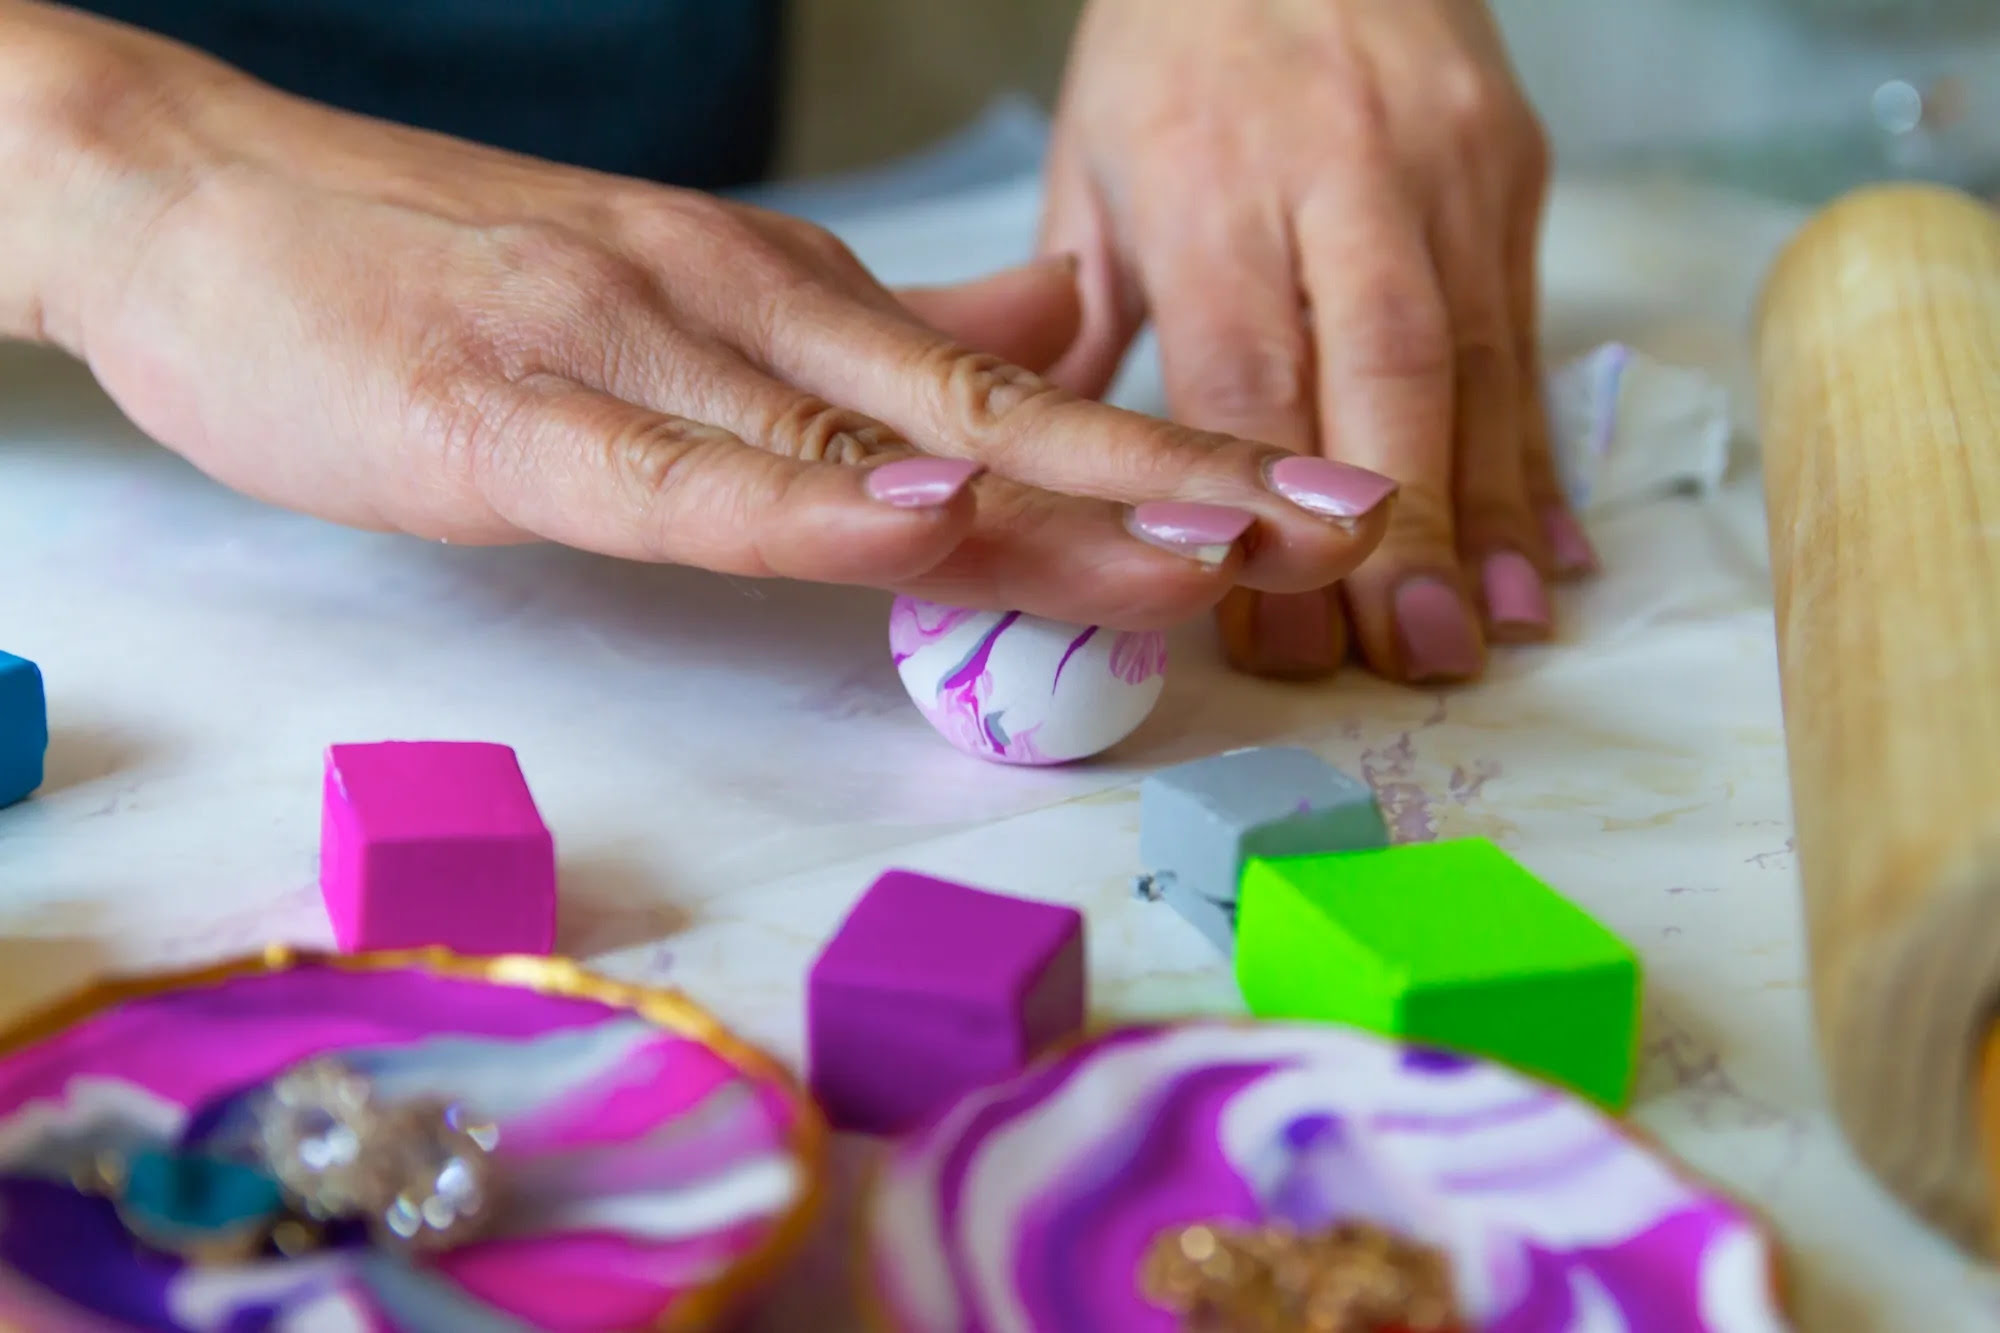
Preparing the Clay for Storage
Before storing your modeling clay, it is essential to properly prepare it to ensure its longevity. Here are some steps to follow:
- Remove Debris: Check your clay for any debris, such as dust, lint, or small particles. Clean it gently with a soft cloth or use a plastic scraper to remove any impurities.
- Knead the Clay: Depending on the type of clay, it may have become stiff or hardened over time. To restore its pliability, knead the clay in your hands or use a clay conditioning machine. This process will help to warm up the clay and make it easier to work with.
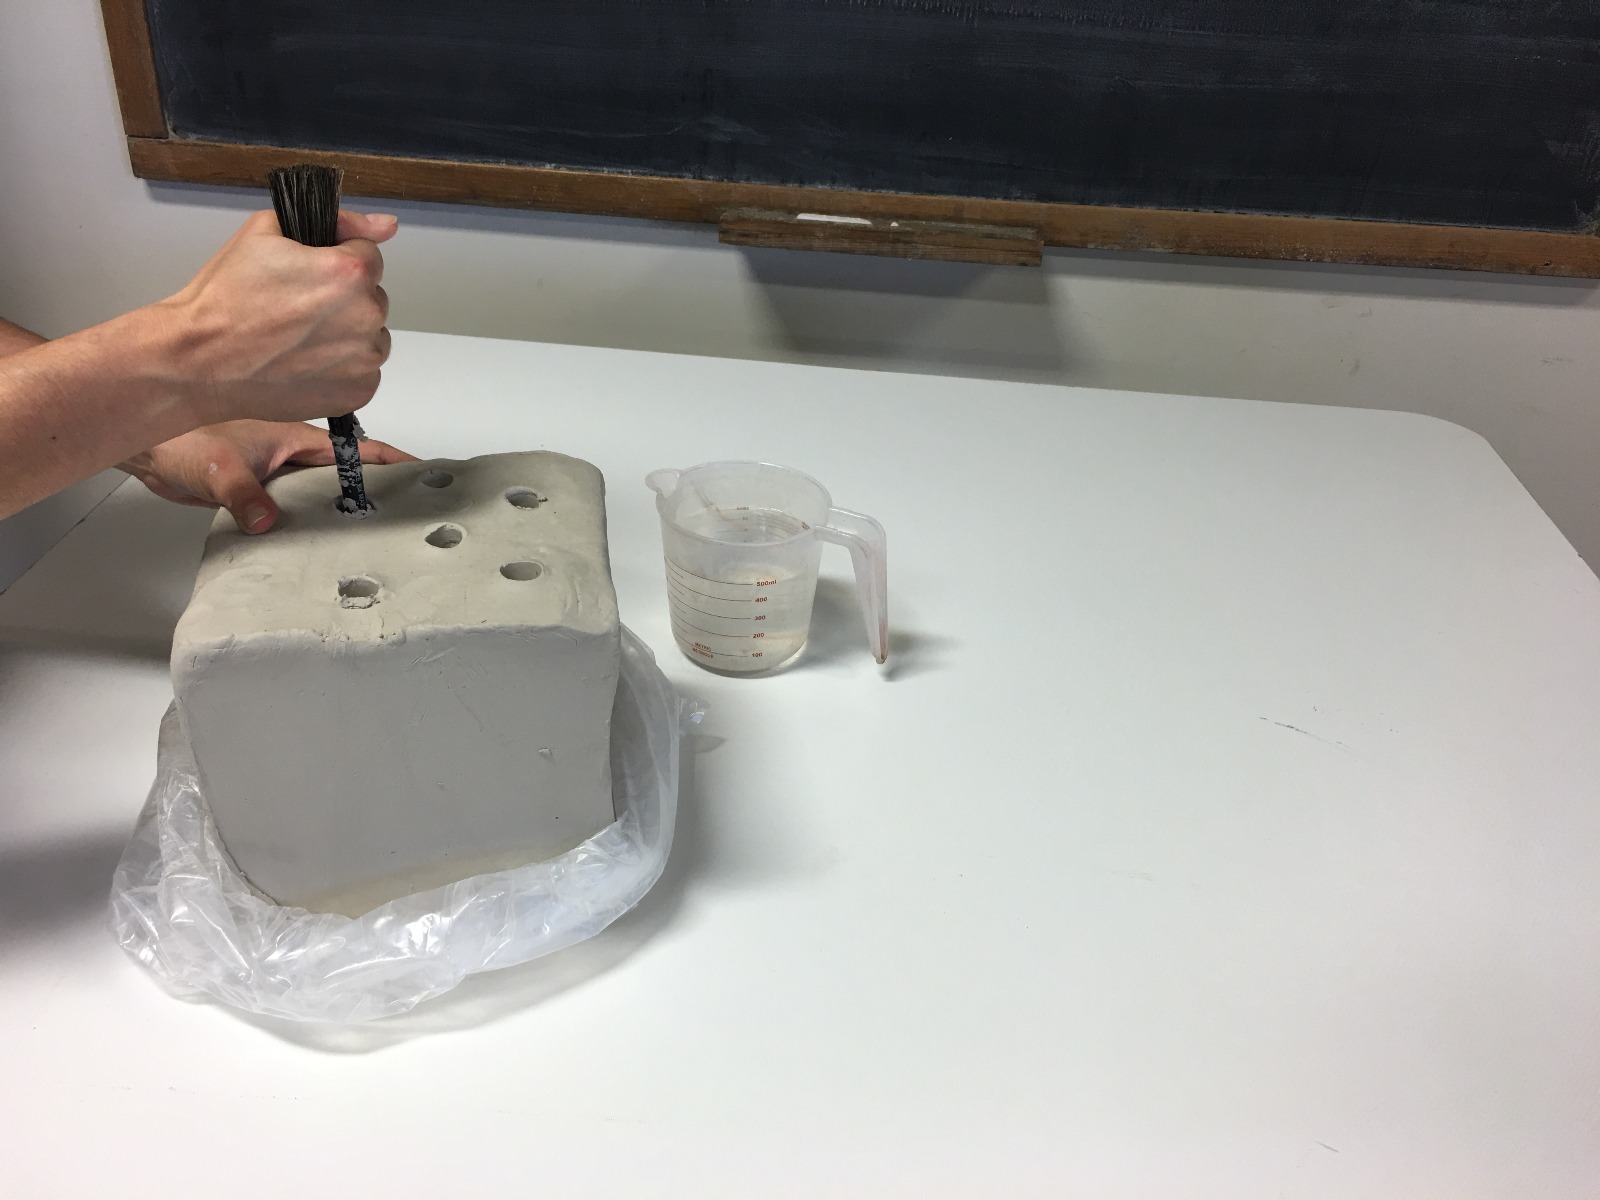
- Check for Moisture: If your clay feels too dry, you can add a small amount of water or clay softener to restore its moisture content. Be cautious not to over-moisten the clay, as it can become sticky and difficult to handle.
- Wrap in Plastic: Once the clay is soft and pliable, wrap it tightly in plastic wrap or place it in a sealed plastic bag. This will prevent the clay from drying out and maintain its moisture level.
By following these simple steps, you can ensure that your clay is in good condition and ready for storage.
Proper Storage Containers
Choosing the right storage containers for your modeling clay is crucial for maintaining its quality and preventing drying or contamination. Here are some important factors to consider when selecting storage containers:
- Airtight or Sealed Containers: Opt for containers that are airtight or have a secure seal. This helps to prevent air and moisture from entering, which can lead to drying or hardening of the clay.
- Non-Porous Containers: Use containers that are non-porous, such as plastic or glass. This prevents the clay from sticking to the surface and makes it easier to remove when you’re ready to use it again.
- Multiple Compartments: If you have different colors or types of clay, consider using storage containers with multiple compartments. This allows you to keep the clay organized and separate, preventing cross-contamination.
- Proper Sizing: Choose containers that are appropriately sized for your clay. Avoid using containers that are too large, as the excess space can lead to air circulation and affect the clay’s quality.
- Stackable Containers: If you have limited storage space, consider using stackable containers. This allows you to efficiently utilize vertical space and keep your clay collection organized.
- UV Protection: Some types of clay, such as polymer clay, can be sensitive to UV light. If you plan to store your clay in a location that is exposed to sunlight, choose containers that offer UV protection to prevent discoloration or damage to the clay.
By selecting the right storage containers, you can ensure that your clay remains fresh, pliable, and ready for use whenever inspiration strikes.
Storing Clay at Room Temperature
Storing your modeling clay at room temperature is a common and convenient option. Here are some tips for proper storage at room temperature:
- Wrap in Plastic: Before placing your clay in storage, make sure to wrap it tightly in plastic wrap or seal it in airtight plastic bags. This helps to maintain its moisture content and prevent drying.
- Choose a Cool and Dry Location: Store your clay in a cool and dry area of your home or studio. Avoid areas that are exposed to direct sunlight, as heat and UV light can affect the quality of the clay.
- Avoid Extreme Temperatures: Keep your clay away from extreme temperature fluctuations, such as near heaters or air conditioning units. Drastic temperature changes can cause the clay to expand or contract, resulting in cracking or deformation.
- Organize and Label: If you have multiple types or colors of clay, consider organizing them in labeled containers or compartments. This allows for easy identification and ensures that the clay remains separate and uncontaminated.
- Regularly Check and Replenish: Periodically check your stored clay for any signs of drying or hardening. If needed, knead the clay to restore its pliability and moisture content. Add a small amount of water or clay softener if necessary.
By following these guidelines, you can ensure that your modeling clay stays in optimal condition, ready for your creative projects.
Store modeling clay in an airtight container to prevent it from drying out. Keep it in a cool, dry place away from direct sunlight to maintain its freshness and pliability.
Read more: How To Store Pottery Clay
Storing Clay in the Refrigerator
If you’re looking for additional ways to extend the shelf life of your modeling clay, storing it in the refrigerator can be a viable option. Here’s how you can store your clay in the refrigerator:
- Wrap the Clay: Before refrigerating, tightly wrap your clay in plastic wrap or seal it in an airtight container to prevent it from drying out. This extra layer of protection will help maintain its moisture content.
- Dedicated Container: It’s important to use a dedicated container or bag for storing your clay in the refrigerator. This prevents any potential food contamination and keeps your clay separate from other items in the fridge.
- Choose a Controlled Environment: Place your clay in the refrigerator’s main compartment, away from any temperature fluctuations caused by the opening and closing of the door. This ensures a more consistent and stable environment for the clay.
- Keep Away from Food: When storing your clay in the refrigerator, ensure that it is kept separate from food items to prevent any cross-contamination. Consider using a designated container or shelf specifically for your clay.
- Check Moisture Levels: Regularly check the moisture levels of your clay while it’s stored in the refrigerator. If it begins to feel dry or stiff, lightly knead it to restore its pliability. Add a small amount of water or clay softener if necessary.
Storing your clay in the refrigerator can help prolong its shelf life, especially in hot and humid climates. However, keep in mind that refrigeration can slightly alter the texture of some types of clay, so it’s advisable to test a small amount before storing your entire stock.
Note: If you choose to store your clay in the refrigerator, avoid placing it in the freezer compartment as the extremely low temperatures can have adverse effects on the clay.
Storing Clay in the Freezer
While storing modeling clay in the freezer may not be the most common method, it can help extend the shelf life of certain types of clay. Here’s what you need to know about storing clay in the freezer:
- Wrap and Seal: Before placing your clay in the freezer, ensure it is tightly wrapped in plastic wrap or sealed in an airtight container. This prevents moisture loss and protects the clay from freezer burn.
- Dedicated Container: It’s essential to use a dedicated container or bag for storing your clay in the freezer. Make sure the container is labeled to avoid confusion and cross-contamination in your freezer.
- Choose the Right Location: Select a location in the freezer where your clay is less likely to be disturbed or bumped into. This helps prevent any potential damage to the clay while it is stored.
- Thawing Clay: When you’re ready to use the clay, allow it to thaw at room temperature. Avoid exposing the clay to abrupt temperature changes, as it can cause condensation and affect its consistency.
- Testing Before Use: After thawing, check the texture and pliability of the clay. If it feels dry or stiff, gently knead it to restore its elasticity. If needed, add a small amount of water or clay softener to rejuvenate the clay.
It’s important to note that not all types of clay are suitable for freezing. Polymer clay, for example, can be frozen without major issues. However, air-dry clay and salt dough may not handle freezing well and can become too brittle or develop cracks. Always refer to the manufacturer’s instructions to ensure that your specific type of clay is safe for freezing.
Storing clay in the freezer can be advantageous if you anticipate long periods of non-use or want to extend the shelf life of your clay. However, it’s recommended to test a small amount of clay before freezing the entire batch to ensure there are no adverse effects on its quality and performance.
Tips for Long-Term Clay Storage
Proper long-term storage of modeling clay is essential to maintain its quality and usability. Here are some valuable tips to help you preserve your clay for an extended period:
- Temperature and Humidity Control: Ensure that the storage area is kept at a stable temperature and humidity level. Extreme temperatures and high humidity can cause the clay to dry out or become too soft. Aim for a temperature between 65-75°F (18-24°C) and a moderate humidity level.
- Avoid Direct Sunlight: Keep your clay away from direct sunlight, as exposure to UV rays can cause discoloration and degradation of certain types of clay. Store it in a dark or shaded area to preserve its color and integrity.
- Regular Inspection: Periodically check your stored clay for any signs of drying, cracking, or changes in texture. If you notice any issues, take appropriate measures to revive the clay, such as kneading or adding moisture.
- Separate Colors and Types: If you have different colors or types of clay, store them separately to avoid cross-contamination. This will help preserve the integrity and color of each individual clay batch.
- Avoid Air Exposure: Whenever you’re not using the clay, ensure it is tightly sealed in airtight containers or wrapped in plastic wrap. This prevents air exposure, which can cause drying and hardening of the clay.
- Label and Date: If you have multiple batches of clay, label each container or bag with the date of storage. This will help you keep track of the age of the clay and ensure you use the oldest clay first to prevent waste.
- Rotate Stock: To ensure that your clay remains fresh, use the “first in, first out” method. Rotate your clay stock by using the oldest clay first and replenish your supply as needed.
- Store in a Dust-Free Environment: Dust can accumulate on stored clay and affect its quality. Store your clay in a clean and dust-free environment to prevent any unwanted debris from adhering to the clay’s surface.
Following these tips will help prolong the lifespan of your modeling clay, ensuring that it stays pliable, workable, and ready for your creative endeavors over an extended period of time.
Conclusion
Proper storage of modeling clay is crucial to maintain its quality, usability, and longevity. Whether you’re an artist, sculptor, or hobbyist, implementing the right storage techniques ensures that your clay remains pliable and ready for your next creative project. By following the tips outlined in this article, you can effectively store your clay and preserve its moisture content, texture, and color.
Start by choosing the right type of clay for your specific needs, considering factors such as permanence, level of detail, and age appropriateness. Make sure to properly prepare the clay before storing it, removing debris and kneading it to restore its pliability. Use appropriate storage containers that are airtight, non-porous, and properly sized for your clay collection.
Decide whether you want to store your clay at room temperature, in the refrigerator, or in the freezer, depending on your specific circumstances. Each method has its advantages and considerations, so choose the one that works best for you. Regularly inspect and maintain your stored clay, checking for any signs of drying or changes in texture. And don’t forget to keep your clay away from direct sunlight and in a dust-free environment.
By following these guidelines and taking proper care of your modeling clay, you can ensure that it remains in optimal condition, ready to be molded and shaped into your creative visions. So, store your clay with care, and let your imagination run wild with endless possibilities!
Frequently Asked Questions about How To Store Modeling Clay
Was this page helpful?
At Storables.com, we guarantee accurate and reliable information. Our content, validated by Expert Board Contributors, is crafted following stringent Editorial Policies. We're committed to providing you with well-researched, expert-backed insights for all your informational needs.


0 thoughts on “How To Store Modeling Clay”