Articles
How To Store Clay At Home
Modified: August 28, 2024
Learn how to store clay articles safely at home with our expert tips and tricks. Keep your clay organized and ready for your next creative project.
(Many of the links in this article redirect to a specific reviewed product. Your purchase of these products through affiliate links helps to generate commission for Storables.com, at no extra cost. Learn more)
Introduction
Whether you’re a hobbyist or a professional potter, proper clay storage is essential for maintaining the quality and workability of your clay. Storing clay at home requires careful consideration of factors such as moisture, temperature, and contamination. By choosing the right storage options and following a few simple guidelines, you can ensure that your clay remains fresh and ready for use whenever inspiration strikes.
In this article, we will guide you through the process of storing clay at home, from choosing the right storage options to maintaining clay freshness and organizing your clay storage area. Let’s dive in and explore the world of clay storage!
Key Takeaways:
- Proper clay storage is essential for maintaining clay quality. Choose the right storage option, clean and prepare the clay, and maintain freshness for optimal workability.
- Organize and label your clay storage area for efficiency. Follow long-term storage tips to extend clay shelf life and ensure usability for future projects.
Read more: How To Store Clay
Choosing the Right Clay Storage Option
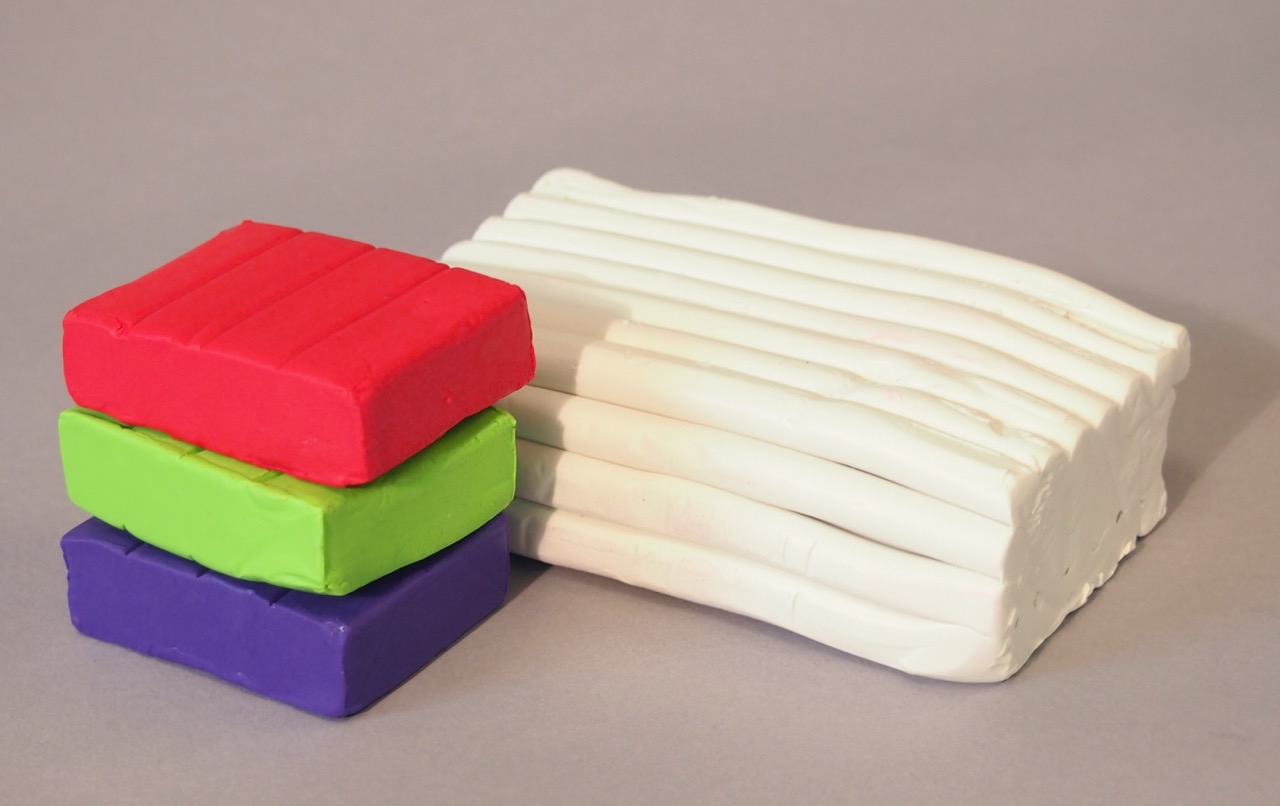
When it comes to storing clay at home, there are various storage options available. The choice of storage option depends on the amount of clay you have, the frequency of use, and the space available in your home. Let’s explore some of the clay storage options:
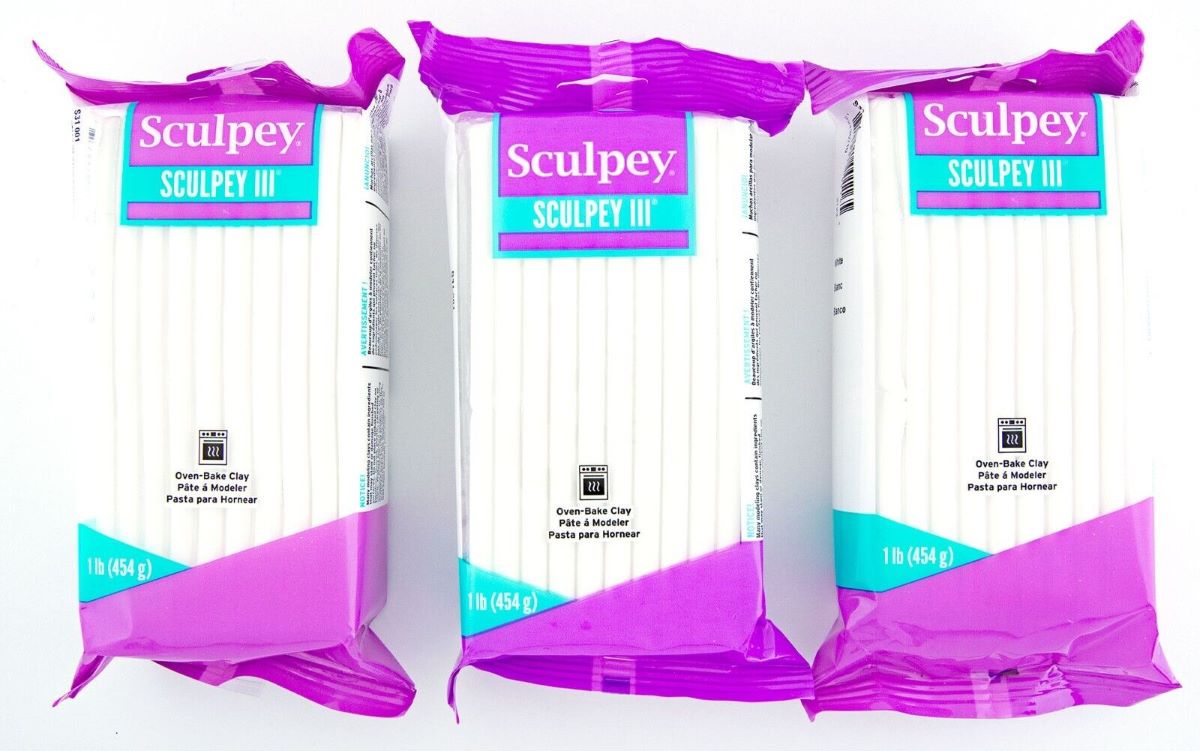
- Plastic Bags: Plastic bags are a convenient and cost-effective option for storing small amounts of clay. Make sure to seal the bags tightly to prevent moisture from entering. It’s recommended to double bag the clay to provide an extra layer of protection.
- Plastic Containers: Plastic containers with tight-fitting lids are another popular choice for storing clay. Look for containers made from durable, food-grade plastic that are air-tight and moisture-resistant.
- Sealed Buckets: If you have large quantities of clay, consider using sealed buckets. These buckets offer ample storage space and provide airtight protection for your clay. Ensure that the buckets are clean and free from any contaminants before storing the clay.
- Clay Storage Boxes: Clay storage boxes are designed specifically for storing and organizing clay. These boxes often come with multiple compartments or trays to keep different types of clay separate and easily accessible.
- Shelves or Racks: If you have a dedicated pottery studio or a larger storage area, installing shelves or racks can be a practical solution. Ensure that the shelves are sturdy and able to support the weight of the clay. Also, consider placing the clay on boards or pallets to keep it off the ground.
When choosing a storage option, it’s important to consider the environmental conditions in your storage area. Clay should be stored in a cool, dry place away from direct sunlight. Excessive heat or moisture can affect the quality and workability of the clay.
Now that you have an idea of the different clay storage options available, let’s move on to the next step: cleaning and preparing the clay for storage.
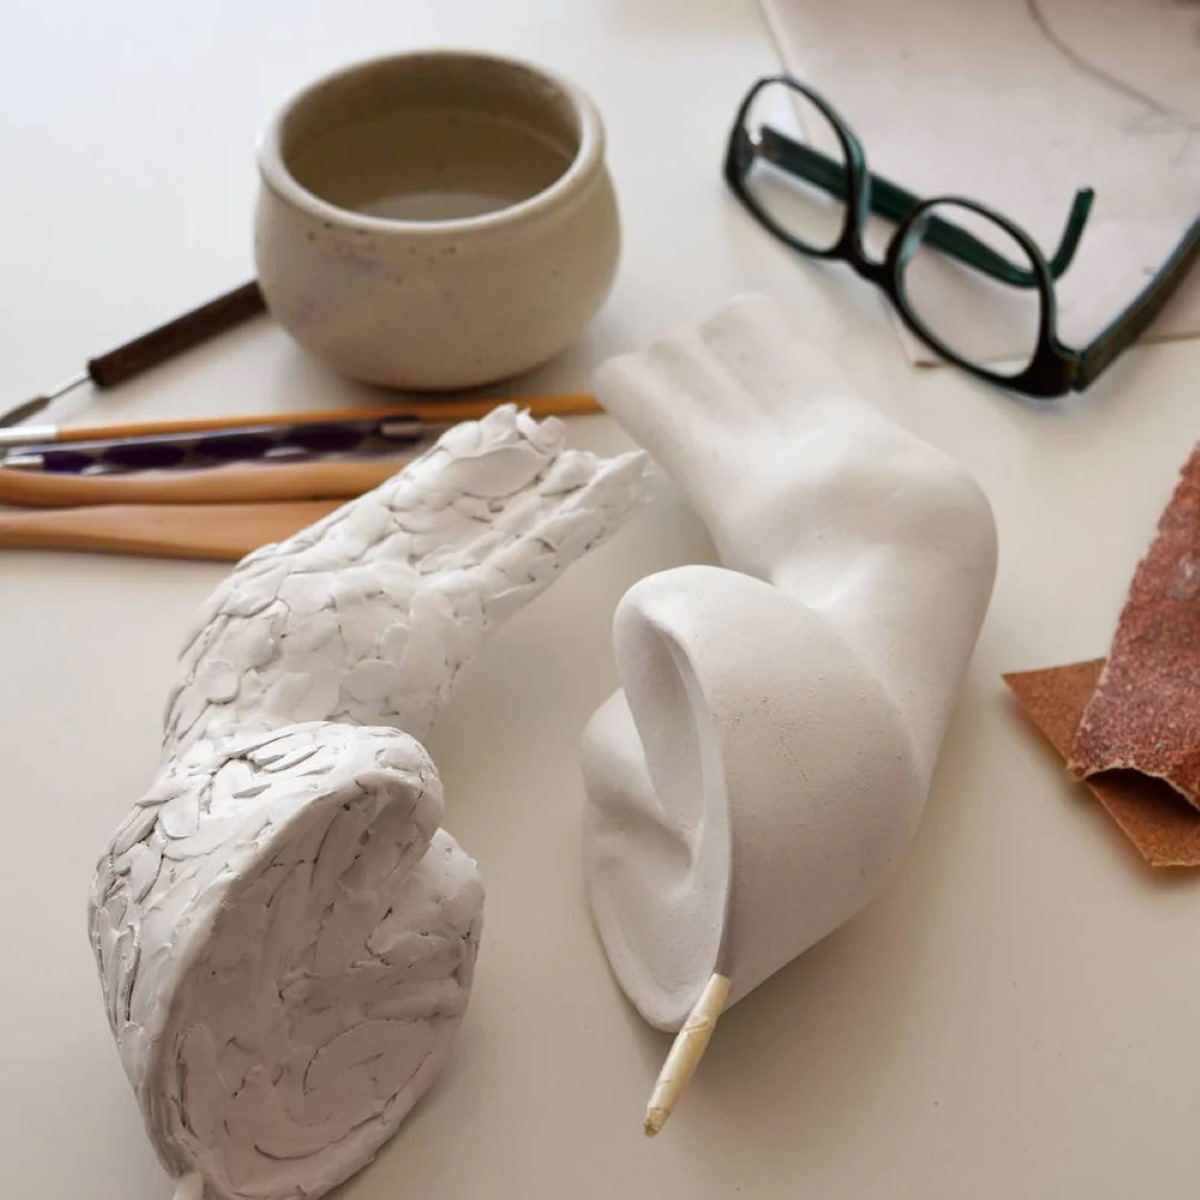
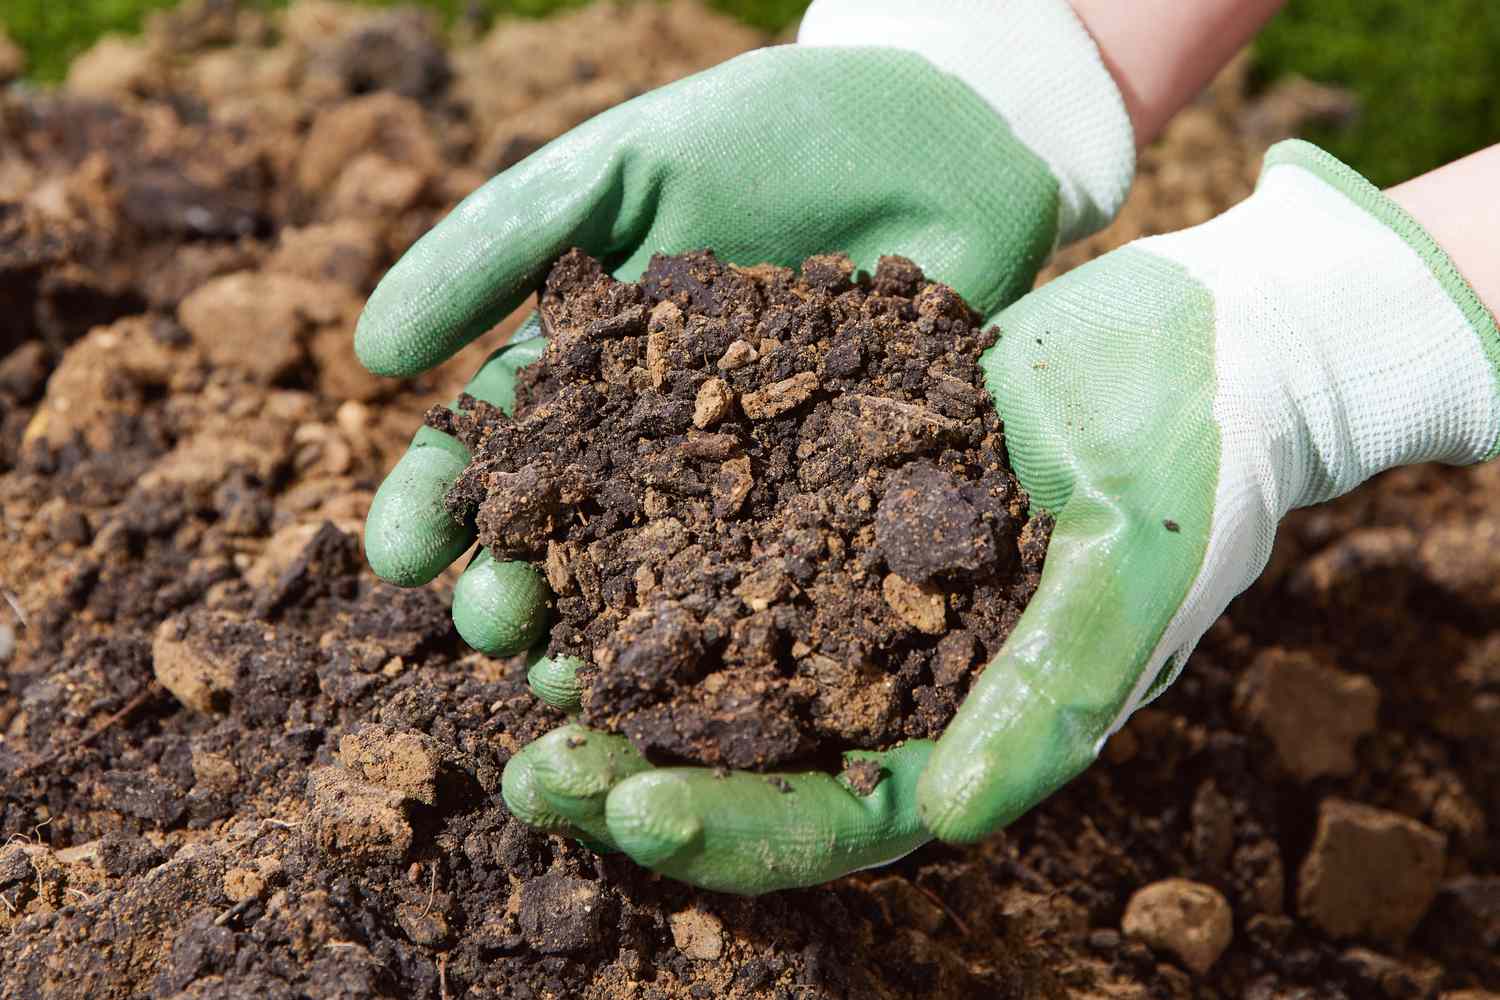
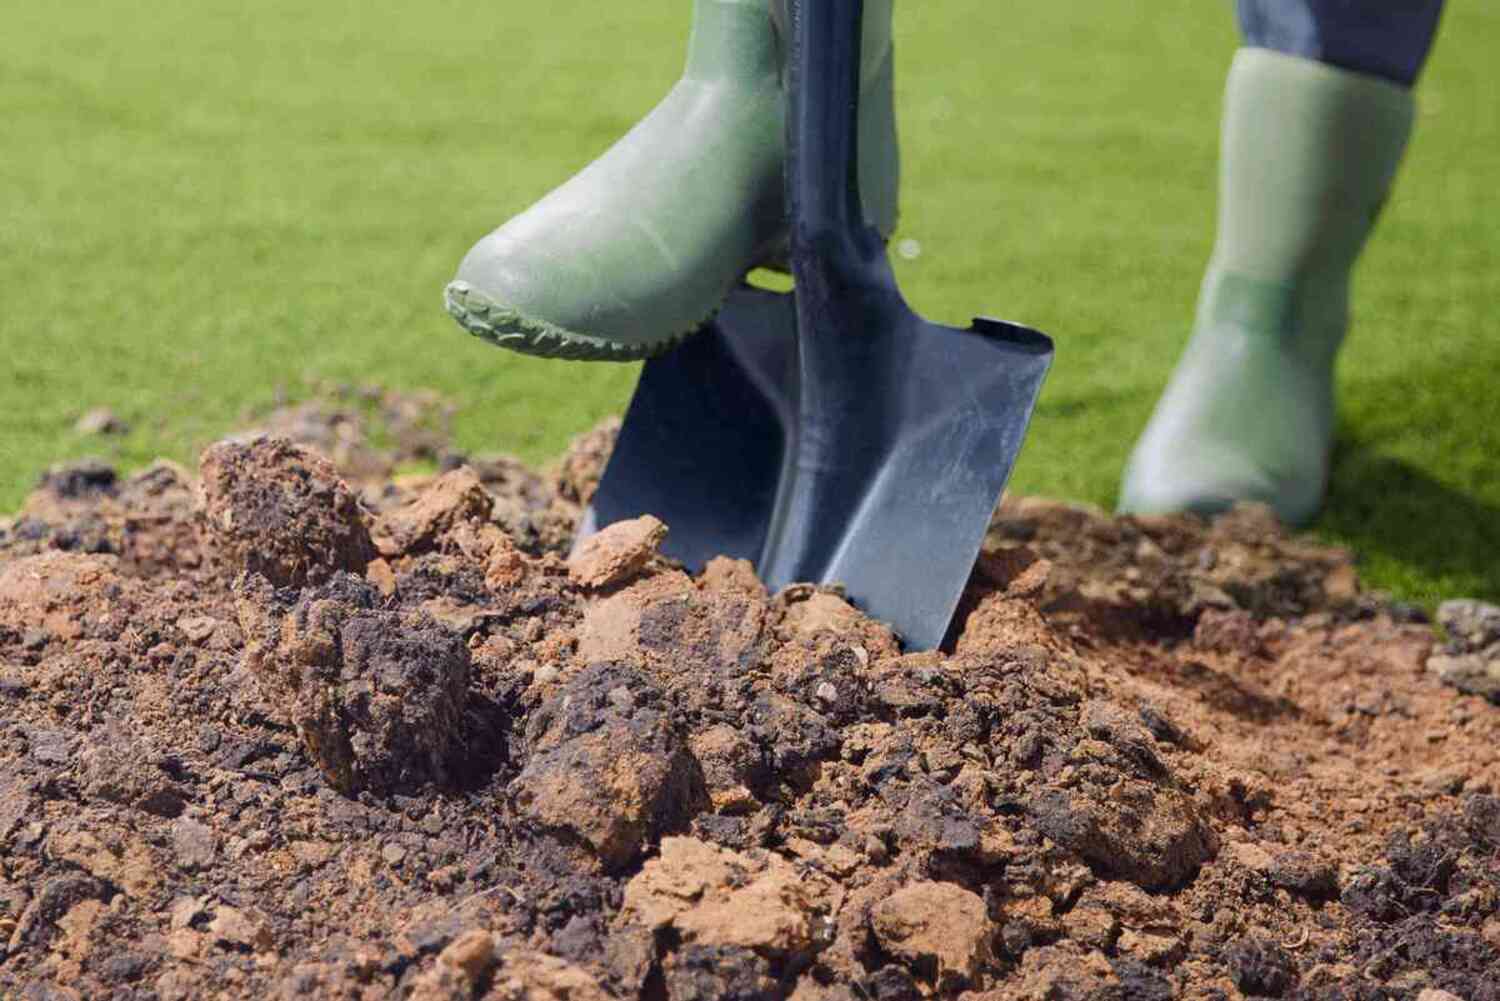
Cleaning and Preparing the Clay
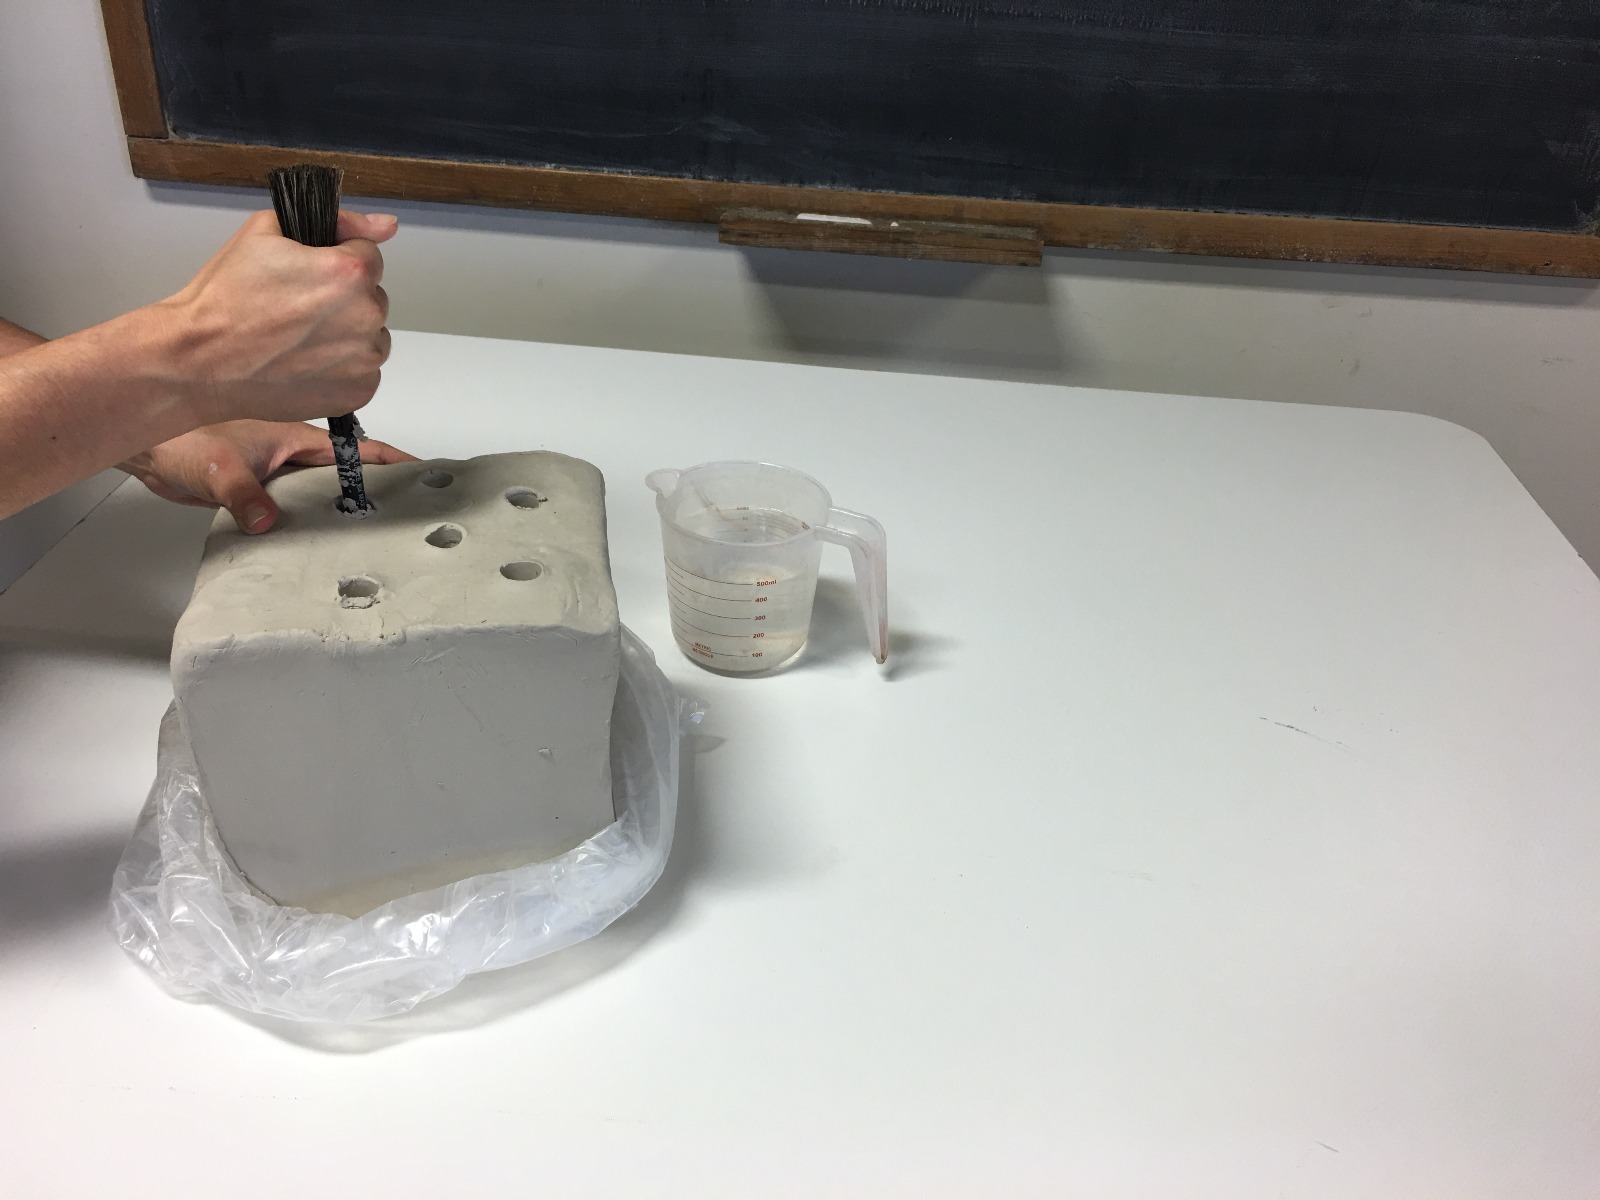
Before storing your clay, it’s important to ensure that it is clean and free from any contaminants. Follow these steps to clean and prepare your clay for storage:
- Remove any debris: Start by removing any rocks, twigs, or other debris from the clay. These foreign objects can affect the texture and workability of the clay.
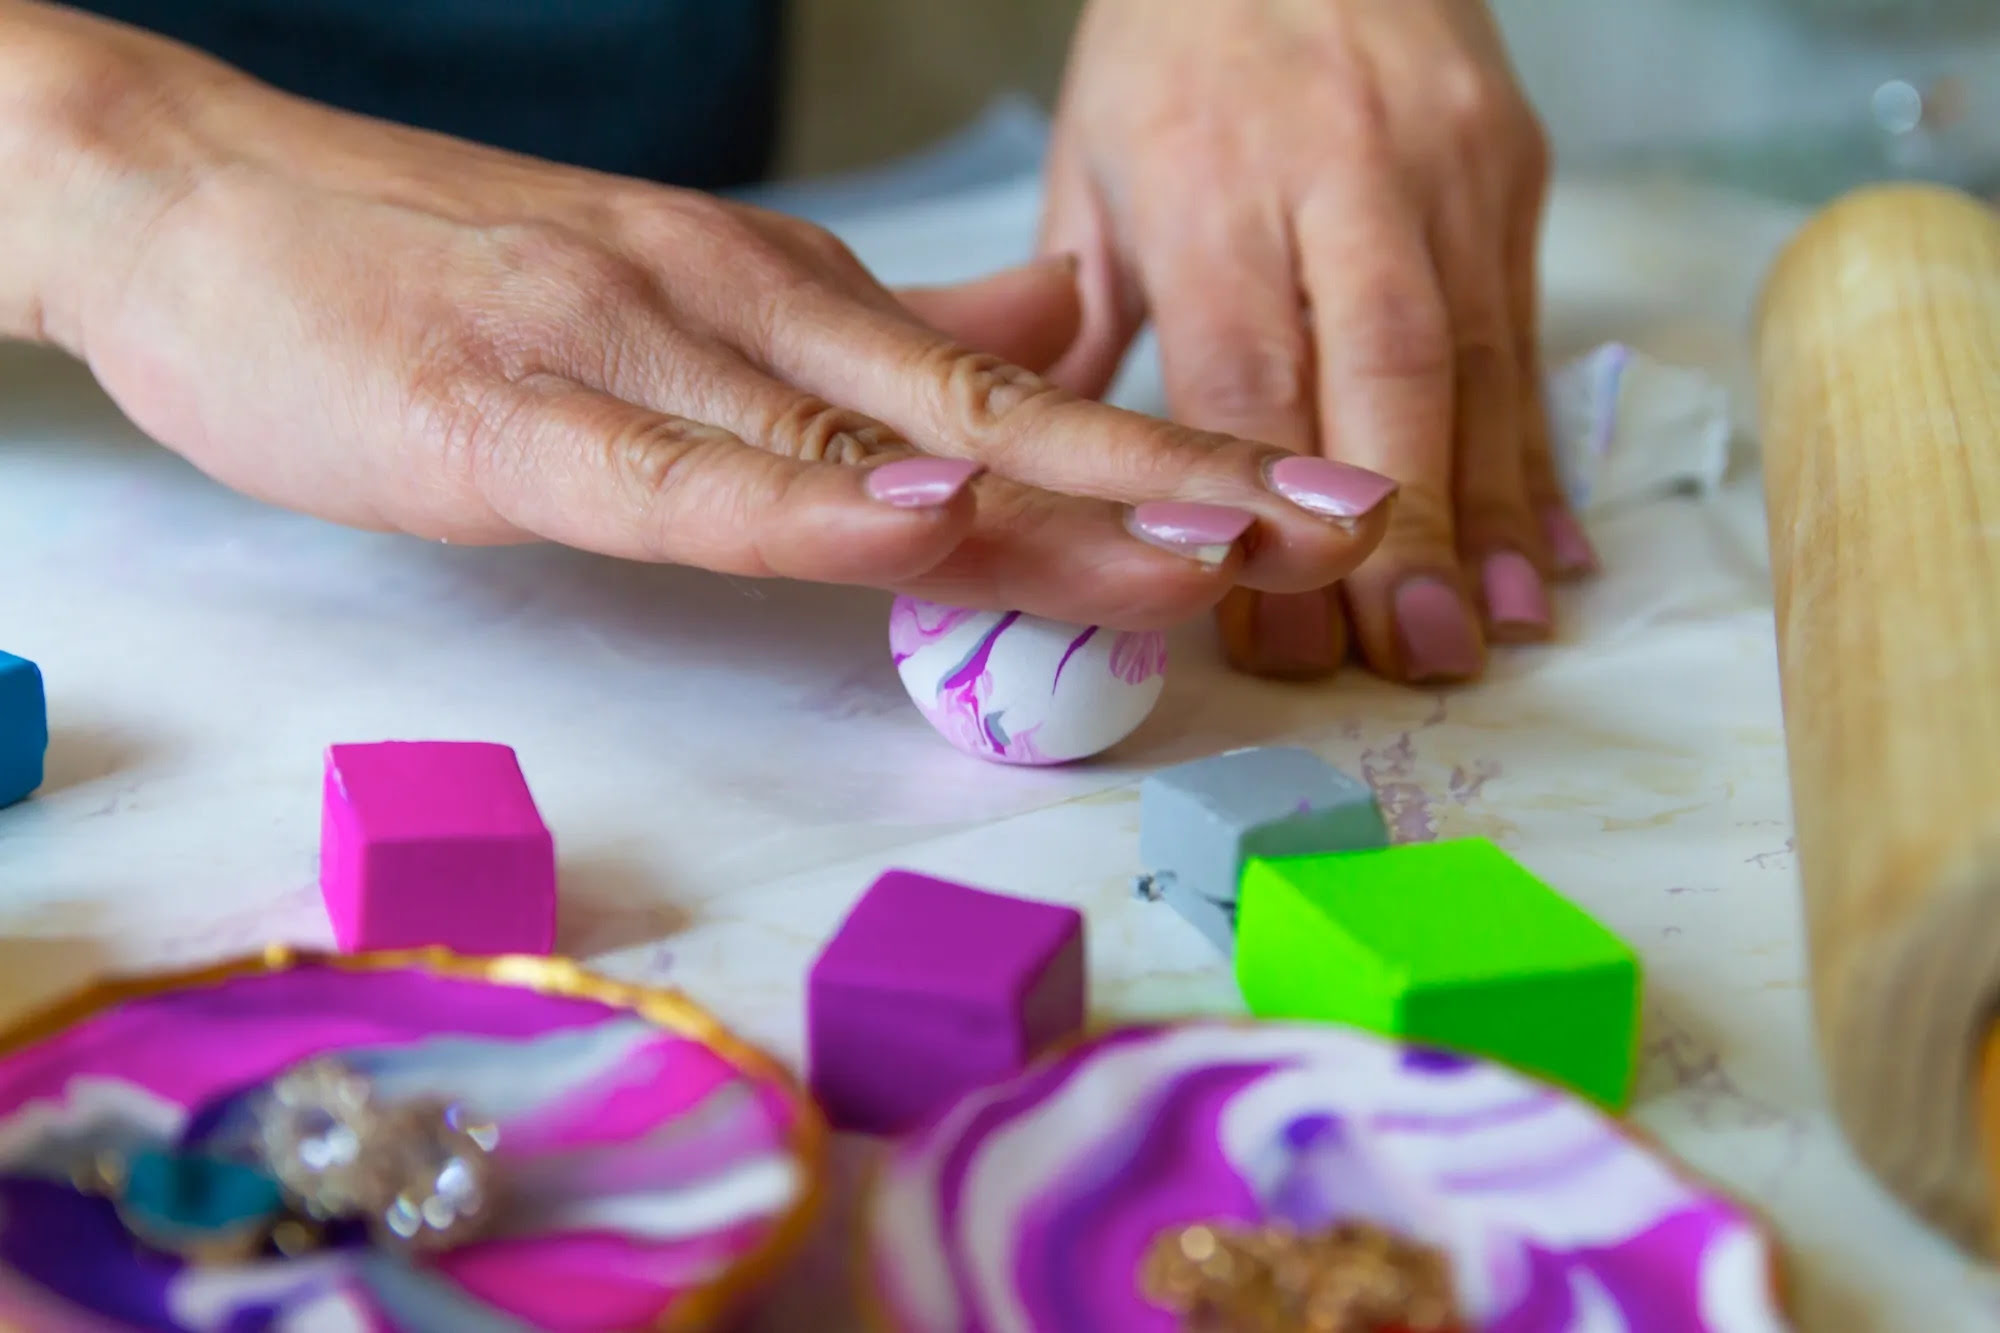
- Knead the clay: Knead the clay thoroughly to remove air bubbles and make it more pliable. This will make it easier to work with when you are ready to use it.
- Wrap the clay: After kneading, wrap the clay tightly in plastic wrap or place it in a plastic bag. This will prevent the clay from drying out and keep it moist and workable.
- Store in an airtight container: Place the wrapped clay in an airtight container, such as a plastic bag or container with a tight-fitting lid. This will provide an extra layer of protection against moisture and keep the clay fresh.
It’s important to note that different types of clay may require specific cleaning and preparation techniques. Consult the manufacturer’s instructions or seek guidance from experienced potters if you are unsure about the cleaning process for your specific type of clay.
By following these steps, you can ensure that your clay is clean and properly prepared for storage. Now let’s explore the various clay storage options for both small and larger amounts of clay.
Clay Storage Options for Small Amounts
If you are working with small amounts of clay or have limited storage space, here are some clay storage options that are ideal for you:
- Ziplock bags: Ziplock bags are a convenient and cost-effective option for storing small amounts of clay. Place the clay in the bag, remove any excess air, and seal it tightly. Double bagging can provide additional protection against moisture.
- Plastic containers: Small, airtight plastic containers are another great option for storing small amounts of clay. Look for containers with secure lids to ensure that the clay remains fresh and protected.
- Clay jars: Clay jars or small ceramic containers can provide a stylish and functional storage solution for small quantities of clay. Make sure the jar has a tight lid to prevent moisture from entering.
Regardless of the storage option you choose for small amounts of clay, remember to label the containers with the type and date of the clay. This will help you keep track of your inventory and ensure that you use the clay in a timely manner.
Now let’s move on to explore clay storage options for larger amounts of clay.
Clay Storage Options for Larger Amounts
If you frequently work with larger amounts of clay or have a surplus of clay to store, here are some clay storage options that can accommodate your needs:
- Sealed buckets: Using sealed buckets is a practical and efficient way to store larger quantities of clay. Choose food-grade plastic buckets with tight-fitting lids to ensure airtight storage. Label the buckets with the type and date of the clay for easy identification.
- Clay storage boxes: Clay storage boxes are specifically designed to store and organize larger amounts of clay. These boxes often have multiple compartments or trays, allowing you to separate different types or colors of clay. Look for boxes that have latching mechanisms to keep the clay secure.
- Shelving units: Installing shelving units in your pottery studio or storage area can provide ample space for storing larger amounts of clay. Choose sturdy, stable shelves that can support the weight of the clay. Consider using boards or pallets to keep the clay off the ground and protect it from moisture.
- Clay racks: Clay racks are specially designed to hold and organize clay. These racks typically have shelves or compartments that allow you to store clay vertically, maximizing space and accessibility. Look for racks made from durable materials that can withstand the weight of the clay.
When storing larger amounts of clay, it’s important to keep the clay well-organized to avoid confusion and ensure easy access. Label each storage container or section of the shelf/rack with pertinent information such as clay type, quantity, and date of storage.
Now that we have explored clay storage options for both small and larger amounts of clay, let’s move on to the next step: maintaining clay freshness.
Store clay in an airtight container to prevent it from drying out. You can also add a damp cloth or plastic wrap to keep it moist. Keep the container in a cool, dry place away from direct sunlight.
Read more: How To Store Pottery Clay
Maintaining Clay Freshness
Keeping your clay fresh is essential for optimal workability and results. Here are some tips to help you maintain the freshness of your clay:
- Seal the storage containers: Whether you’re using plastic bags, containers, buckets, or clay storage boxes, make sure they are properly sealed to prevent air and moisture from entering. This will help preserve the moisture content of the clay and prevent it from drying out or becoming too wet.
- Check for moisture levels: Periodically check the moisture content of your clay. If the clay is too dry, you can add a small amount of water and knead it to restore its moisture. If the clay is too wet, leave it uncovered for a short period of time to allow excess moisture to evaporate.
- Store clay away from direct sunlight: Sunlight can cause the clay to dry out and harden. Store your clay in a cool, dry place away from direct sunlight to maintain its freshness and workability.
- Rotate your clay: If you have multiple storage containers or bags of clay, rotate them every few months. This will ensure that all the clay gets equal exposure to air and prevent any sections from becoming stale or unusable.
- Avoid contamination: Keep your clay storage area clean and free from any contaminants. Avoid placing the clay near chemicals, dust, or other substances that could potentially contaminate it. Regularly clean your storage containers to prevent the buildup of dirt or clay residue.
By following these guidelines, you can maintain the freshness of your clay and ensure that it remains in optimal condition for your artistic endeavors. Now, let’s move on to organizing and labeling your clay storage area.
Organizing and Labeling Clay Storage
Organizing and labeling your clay storage area is crucial for efficient workflow and easy access to your clay. Here are some tips to help you keep your clay storage area well-organized:
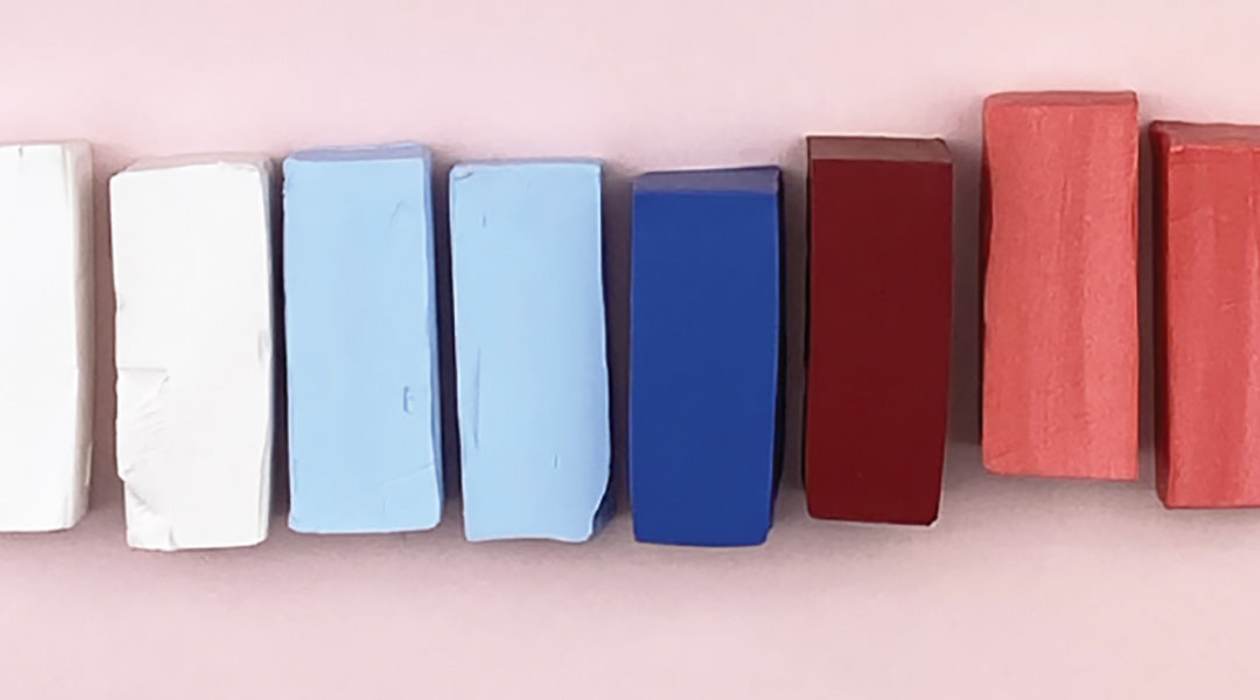
- Categorize by clay type or color: Separate your clay based on its type or color. This will make it easier for you to locate specific clay when you’re working on a project. Use separate containers or sections on the shelves/racks for different types or colors of clay.
- Use clear containers or labels: Clear plastic containers can provide visibility and allow you to easily identify the type of clay without opening the container. Alternatively, if you are using opaque containers, label them clearly with the type and date of the clay.
- Arrange clay by accessibility: Place the clay you use most frequently at the front or on lower shelves for easy access. Reserve the higher or more remote areas for less frequently used clay.
- Keep tools and accessories within reach: Consider dedicating a separate area or container within your clay storage space for tools, brushes, and other related accessories. This will keep everything organized and easily accessible when you need them.
- Maintain a clean workspace: Keep your clay storage area neat and tidy. Regularly clean any spilled clay or debris to maintain a clean and organized workspace. This will also help prevent any cross-contamination between different types of clay.
Remember to update your labels or containers whenever you add new clay or remove clay from storage. This will help you track your inventory and ensure that you use the oldest clay first to prevent wastage.
By implementing these organization and labeling practices, you can create a well-structured clay storage area that promotes efficiency, creativity, and easy navigation.
Now, let’s move on to the final section: valuable tips for long-term clay storage.
Tips for Long-term Clay Storage
Long-term clay storage requires extra care to ensure the clay remains fresh and workable over an extended period. Follow these tips to maintain the quality of your clay during long-term storage:
- Choose the right clay: Some types of clay are better suited for long-term storage than others. Choose clay that has a lower water content, as it tends to have a longer shelf life. Porcelain and stoneware clays are good options for long-term storage.
- Keep clay in airtight containers: Whether you’re using buckets, containers, or clay storage boxes, make sure they are airtight to prevent the clay from drying out. This will help maintain the moisture content and pliability of the clay over time.
- Regularly check and add water: Moisture loss can still occur over time, even in airtight containers. Periodically check the clay for dryness and add a small amount of water if needed. Knead the clay to distribute the added moisture evenly.
- Store in a cool environment: Heat can affect the quality of clay, causing it to dry out or become brittle. Choose a storage area that maintains a cool, stable temperature to prolong the freshness of your clay.
- Avoid excessive moisture: While it’s important to keep clay moist, excessive moisture can lead to mold or deterioration. Strike a balance by ensuring the clay is adequately hydrated without being overly wet.
- Protect clay from freezing: If you live in an area with freezing temperatures, be mindful of clay stored in unheated areas such as garages or sheds. Clay can expand and crack when subjected to freezing temperatures. Consider moving the clay indoors during winter months.
- Rotate clay periodically: Rotate your stored clay every few months to ensure equal exposure to air and moisture. This practice prevents any sections of your clay from becoming stale or unusable over time.
- Store clay off the ground: Prolonged contact with the ground can introduce moisture and contaminants to your stored clay. Use pallets or boards to elevate your clay containers and protect them from any potential damage.
By following these tips, you can significantly extend the shelf life of your clay and ensure its usability for future projects.
Now, armed with these valuable tips, you are equipped to store your clay at home with confidence and care. Remember to regularly evaluate the condition of your clay and make adjustments as necessary to maintain its freshness and workability.
Happy clay storing!
Would you like to ask anything else?
Conclusion
Proper clay storage is crucial for preserving the quality and workability of your clay, whether you’re a seasoned potter or an enthusiastic beginner. By choosing the right storage options, cleaning and preparing the clay, and following some essential tips, you can ensure that your clay remains fresh and ready for your artistic endeavors.
From plastic bags and containers to sealed buckets and clay storage boxes, there are a variety of storage options available to accommodate your needs based on the amount of clay you have and the space available in your home. Remember to store your clay in a cool, dry place away from direct sunlight to maintain its freshness.
Cleaning and properly preparing your clay before storage is essential to remove any debris and ensure its optimal condition. Wrapping the clay tightly and storing it in airtight containers or bags will prevent it from drying out or becoming too wet.
For small amounts of clay, options like ziplock bags and small plastic containers work well, while sealed buckets and clay storage boxes are ideal for larger quantities. Proper organization and labeling techniques will help you locate and access the clay easily.
Maintaining clay freshness requires sealing storage containers, checking moisture levels, and avoiding contamination. Regularly rotating and organizing your clay storage area will further contribute to its longevity and usability.
For long-term clay storage, choose clays with lower water content, maintain airtight containers, and store in a cool environment. Keeping a balance between moisture and avoiding excessive freezing or moisture exposure is crucial.
By implementing these practices, you can extend the shelf life of your clay and ensure it remains fresh and workable for future projects.
Now that you have a comprehensive understanding of clay storage, it’s time to put these tips into action and create an organized and efficient clay storage area in your home. Enjoy the benefits of having fresh and ready-to-use clay whenever inspiration strikes!
If you have any more questions or need further assistance, feel free to ask. Happy pottery and clay storing!
Frequently Asked Questions about How To Store Clay At Home
Was this page helpful?
At Storables.com, we guarantee accurate and reliable information. Our content, validated by Expert Board Contributors, is crafted following stringent Editorial Policies. We're committed to providing you with well-researched, expert-backed insights for all your informational needs.
0 thoughts on “How To Store Clay At Home”