
Articles
How To Store No Bake Cookies
Modified: January 5, 2024
Learn how to store no bake cookies in this informative article. Find tips and tricks for keeping your cookies fresh and delicious for longer.
(Many of the links in this article redirect to a specific reviewed product. Your purchase of these products through affiliate links helps to generate commission for Storables.com, at no extra cost. Learn more)
Introduction
No bake cookies are a quick and delicious treat that require no oven time. They are perfect for those moments when you are craving something sweet but don’t want to spend hours baking in the kitchen. Not only are no bake cookies easy to make, but they also offer a wide variety of flavor options to suit everyone’s taste buds.
Whether you are a chocolate lover, a fan of peanut butter, or enjoy the classic combination of oats and coconut, there is a no bake cookie recipe out there for you. These cookies are great for parties, gatherings, or simply as a sweet indulgence for yourself.
In this article, we will explore the process of making no bake cookies and discuss how to store them properly to maintain their freshness and flavor. So, let’s dive in and discover how to create these delectable treats and ensure they stay delicious for longer.
Key Takeaways:
- No bake cookies are a versatile and easy-to-make treat, offering endless flavor options. With simple ingredients and proper storage, you can enjoy these delicious cookies for days or even freeze them for longer shelf life.
- Proper storage is key to maintaining the freshness and taste of no bake cookies. Whether at room temperature, in the refrigerator, or frozen, storing them in airtight containers or Ziploc bags ensures you can savor these delightful treats at your own pace.
Read more: How To Store Baked Cookies
Ingredients
Making no bake cookies requires a handful of simple and readily available ingredients. Here’s a list of the essential ingredients you will need:
- 1 ½ cups of rolled oats
- ½ cup of unsweetened cocoa powder
- 1 cup of granulated sugar
- ½ cup of unsalted butter
- ½ cup of milk
- 1 teaspoon of vanilla extract
- Pinch of salt
- Optional mix-ins such as chopped nuts, dried fruits, or shredded coconut
These ingredients form the base of the no bake cookies and can be customized according to your personal preferences. If you prefer a sweeter cookie, you can add a bit more sugar. Likewise, if you want to add some texture and flavor, feel free to experiment with different mix-ins.
With just a few simple ingredients, you can create a batch of mouthwatering no bake cookies that are sure to satisfy your sweet tooth. Now, let’s move on to the equipment you’ll need to make these delectable treats.
Equipment Needed
Preparing no bake cookies doesn’t require any fancy equipment or specialized tools. Here’s a list of the essential equipment you’ll need:
- Medium-sized saucepan
- Wooden spoon or spatula
- Measuring cups and spoons
- Parchment paper or wax paper
- Baking sheet or tray
- Airtight container or Ziploc bags for storage
The medium-sized saucepan is used to melt and combine the ingredients. A wooden spoon or spatula will come in handy for stirring the mixture as it cooks. Measuring cups and spoons are essential for accurate measurement of the ingredients.
Parchment paper or wax paper is used to line the baking sheet or tray, which prevents the cookies from sticking and makes cleanup easier. An airtight container or Ziploc bags are necessary to store the cookies and maintain their freshness and texture.
With these basic kitchen tools, you’ll be well-equipped to make a batch of delicious no bake cookies. Now that we have our ingredients and equipment ready, let’s move on to the step-by-step process of making these delectable treats.
Step 1: Prepare the Base
The first step in making no bake cookies is to prepare the base mixture. This forms the foundation of the cookies and provides a delicious texture. Follow these steps to create the base:
- In a medium-sized saucepan, combine the unsalted butter, milk, sugar, cocoa powder, and a pinch of salt.
- Place the saucepan over low to medium heat and stir the mixture constantly until the butter melts and the ingredients are well combined.
- Once the mixture is smooth and fully melted, remove the saucepan from the heat.
- Add the vanilla extract and stir it into the mixture until it is thoroughly incorporated.
- Next, add the rolled oats to the saucepan and mix well until the oats are completely coated with the chocolate mixture.
By following these steps, you will create a rich and flavorful base for your no bake cookies. The oats provide a chewy texture, and the combination of cocoa powder, sugar, and butter gives the cookies their indulgent taste.
Once you have prepared the base, you can get creative and add various mix-ins to customize the flavor of your cookies. Let’s explore the different mix-in options in the next step.
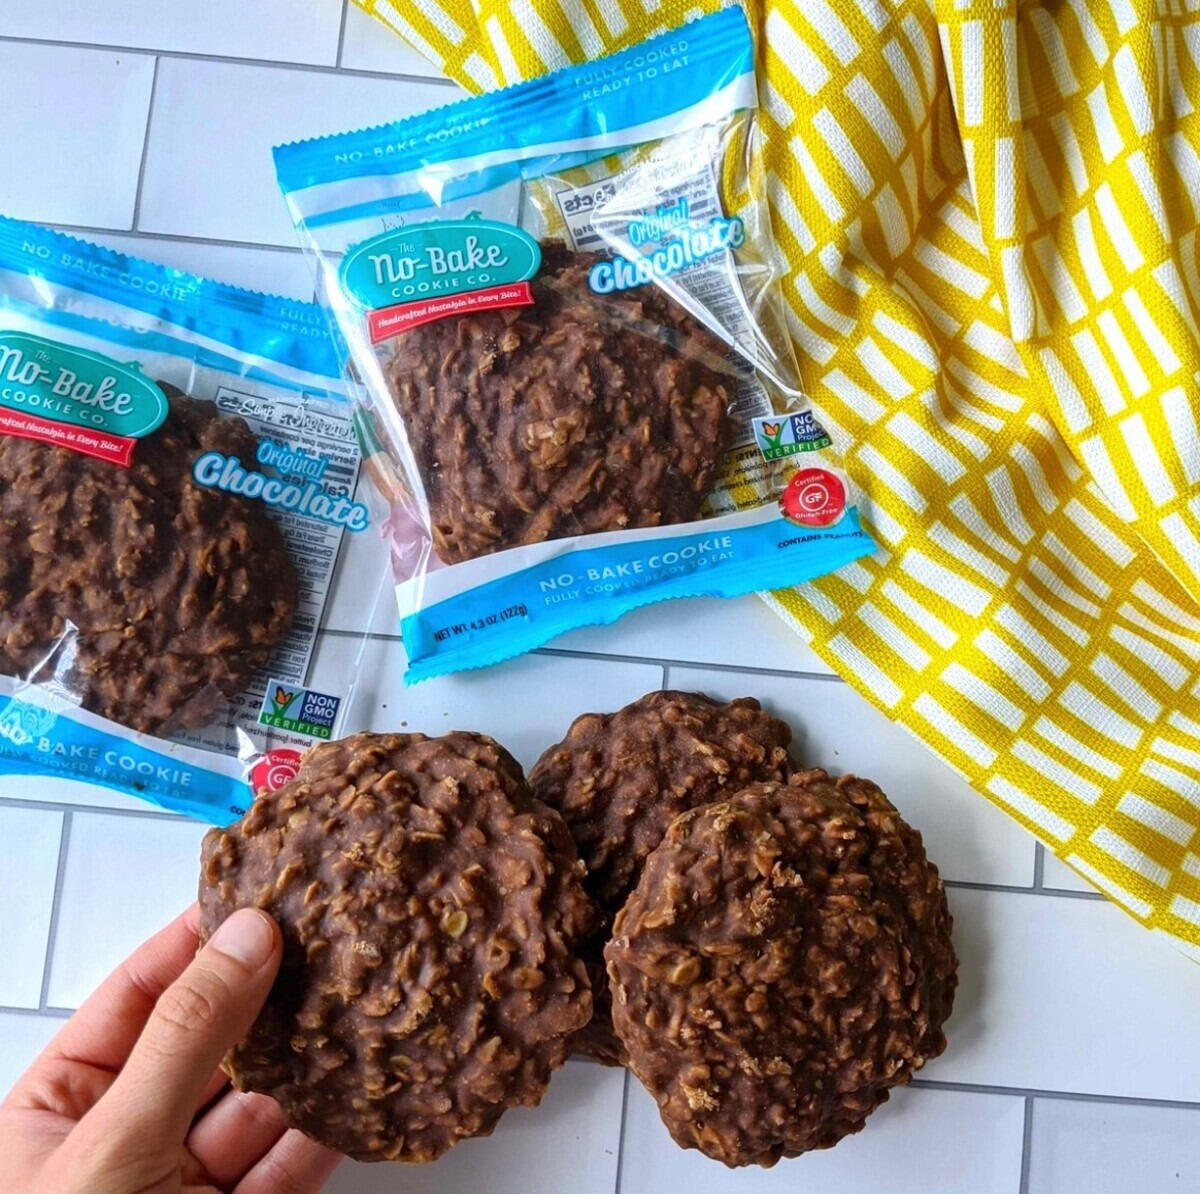
Store no bake cookies in an airtight container at room temperature for up to 1 week, or in the refrigerator for up to 2 weeks. Layer with parchment paper to prevent sticking.
Step 2: Adding Mix-Ins
After preparing the base for your no bake cookies, it’s time to add some mix-ins to enhance the flavor and texture. Mix-ins are optional but can take your cookies to a whole new level. Here’s how you can incorporate them:
- Once your base mixture is ready, you can add a variety of mix-ins according to your preference. Some popular options include:
- Chopped nuts such as almonds, walnuts, or peanuts.
- Dried fruits like raisins, cranberries, or chopped apricots.
- Shredded coconut for a tropical touch.
- Mini chocolate chips for added chocolatey goodness.
- Choose one or a combination of these mix-ins and add them to the base mixture.
- Gently stir the mixture until the mix-ins are evenly distributed throughout the cookie dough.
By adding mix-ins, you can create endless flavor variations. Whether you prefer a classic combination like peanut butter and chocolate or a more exotic combination like coconut and dried mango, the choice is yours. Get creative and experiment with different mix-ins to find your favorite flavor combination.
Once you have added the mix-ins, it’s time to move on to the next step of shaping and cooling the cookies. Let’s explore this process in detail in the following step.
Read more: How To Store Cookies After Baking
Step 3: Shaping and Cooling
After adding the mix-ins to your no bake cookie dough, it’s time to shape them and let them cool. Follow these steps to complete this stage:
- Line a baking sheet or tray with parchment paper or wax paper. This will prevent the cookies from sticking and make cleanup easier.
- Using a spoon or cookie scoop, portion out the dough onto the lined baking sheet. You can make the cookies as big or small as you prefer.
- Once you have portioned out the dough, gently flatten each cookie with the back of a spoon or the palm of your hand to your desired thickness.
- Once all the cookies are shaped, place the baking sheet in the refrigerator or freezer to allow the cookies to cool and set.
- Leave the cookies in the refrigerator or freezer for at least 15-30 minutes, or until they are firm and hold their shape.
Chilling the cookies helps them firm up and maintain their shape. This step is especially important if you live in a warm climate or if the dough is too soft to handle. Cooling the cookies also enhances their texture and makes them easier to handle when it’s time to store them.
Once the cookies have cooled and set, they are ready for storage. Let’s learn about proper storage techniques in the next step.
Step 4: Storing No Bake Cookies
Proper storage is essential to maintain the freshness and taste of your no bake cookies. Follow these guidelines to store your cookies:
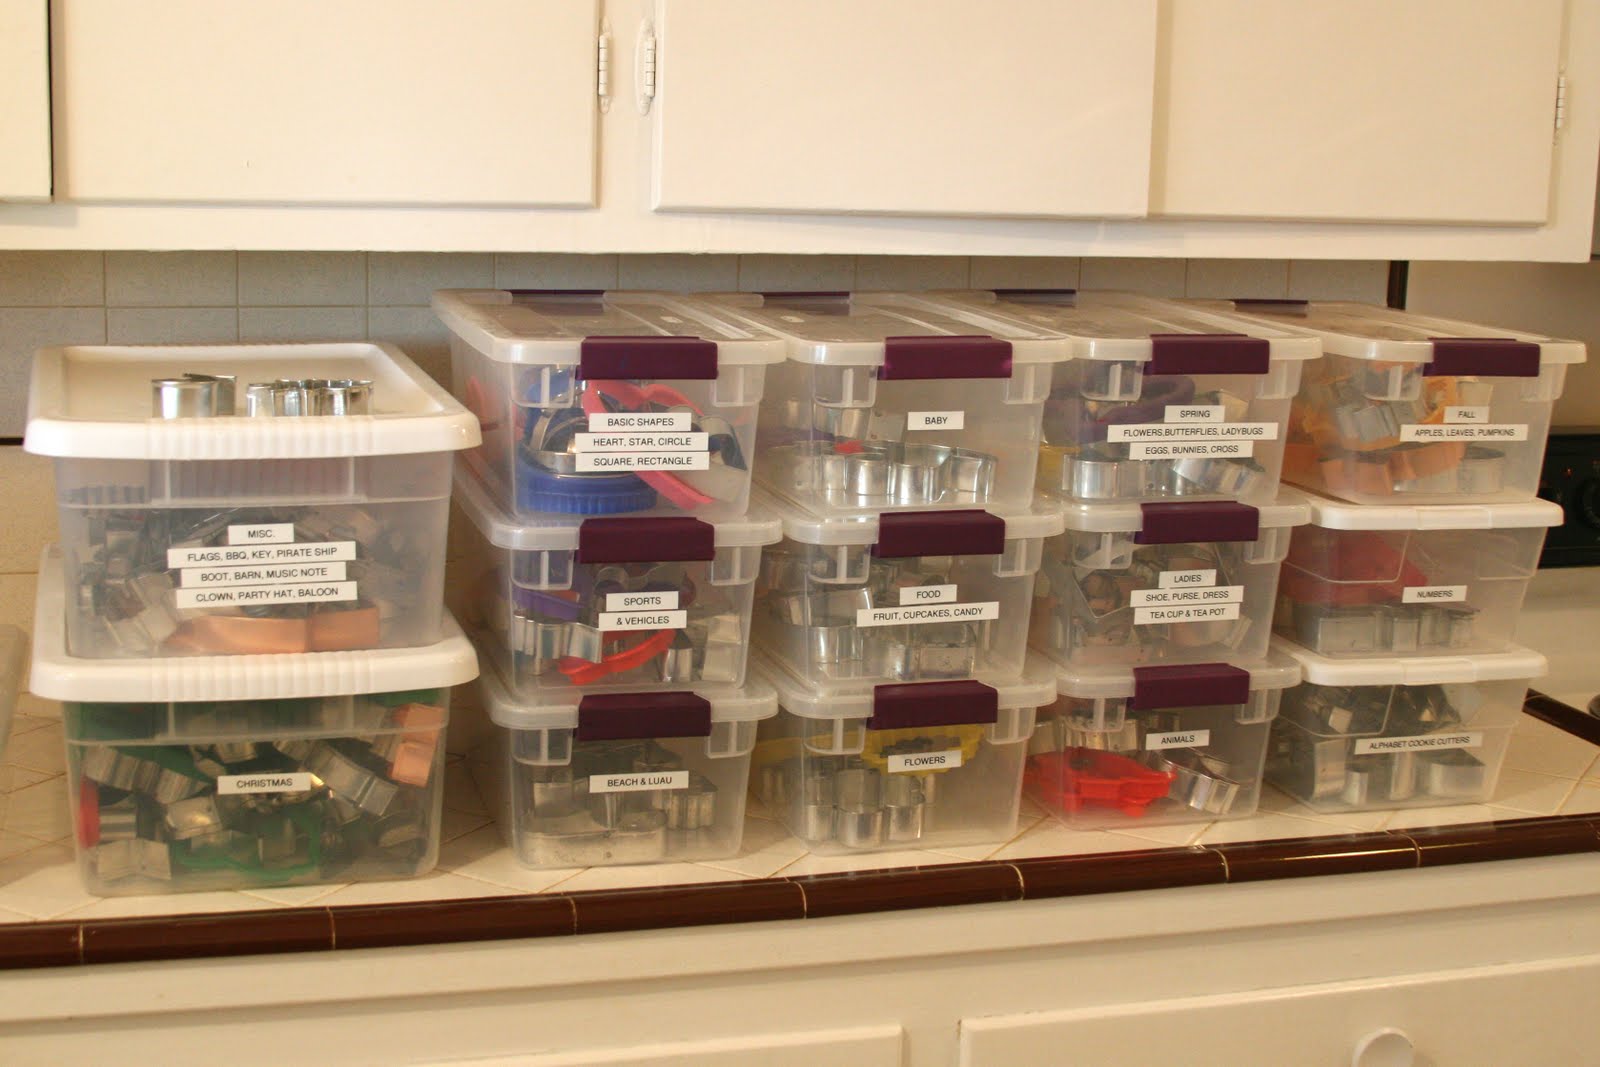
- Once the cookies have cooled and set, transfer them to an airtight container or seal them in Ziploc bags. This will protect them from air, which can cause them to become stale.
- Store the cookies at room temperature in a cool, dry place. Avoid exposing them to direct sunlight or extreme heat, as this can affect their texture and taste.
- If you live in a hot and humid climate, you may want to store the cookies in the refrigerator to keep them firm and prevent them from becoming too soft.
- No bake cookies can be stored for up to 5-7 days at room temperature or refrigerated. However, they are best enjoyed within the first few days to ensure optimal freshness.
- If you want to extend the shelf life of your cookies, they can be frozen for up to 2-3 months. Place them in an airtight container or freezer bag and label them with the date.
- When ready to enjoy the frozen cookies, simply thaw them in the refrigerator overnight or at room temperature for a few hours before serving.
Remember to label your containers or bags with the date to keep track of their freshness. This will help you identify which batch to consume first.
Now that you know how to properly store your no bake cookies, you can enjoy them at your own pace without worrying about them losing their deliciousness. Don’t forget to savor each bite!
Conclusion
No bake cookies are a delightful and hassle-free treat that can be enjoyed by both novice and experienced bakers. With a few basic ingredients and simple steps, you can create a batch of delicious cookies that are sure to impress.
In this article, we discussed the process of making no bake cookies, including preparing the base, adding mix-ins, shaping and cooling the cookies, and storing them properly. Each step plays a crucial role in ensuring the cookies turn out perfectly.
From the rich chocolatey taste to the chewy texture, no bake cookies offer endless possibilities for customization. Whether you prefer nuts, dried fruits, or coconut, you can easily tailor the recipe to suit your personal preferences.
When it comes to storing no bake cookies, it is important to keep them in an airtight container or Ziploc bag to maintain their freshness. By following proper storage techniques, you can enjoy these delightful treats for several days at room temperature or even freeze them for longer shelf life.
So, the next time you’re craving a sweet treat but don’t want to spend hours in the kitchen, give no bake cookies a try. Experiment with different flavors and enjoy the simplicity and deliciousness they offer. Happy baking!
Frequently Asked Questions about How To Store No Bake Cookies
Was this page helpful?
At Storables.com, we guarantee accurate and reliable information. Our content, validated by Expert Board Contributors, is crafted following stringent Editorial Policies. We're committed to providing you with well-researched, expert-backed insights for all your informational needs.





0 thoughts on “How To Store No Bake Cookies”