
Articles
How To Store IPhone Photos
Modified: January 6, 2024
Learn the best ways to store your iPhone photos with our informative articles. Keep your memories safe and accessible for years to come.
(Many of the links in this article redirect to a specific reviewed product. Your purchase of these products through affiliate links helps to generate commission for Storables.com, at no extra cost. Learn more)
Introduction
With the advancement of technology, smartphones have become an integral part of our lives. One of the most popular smartphones on the market is the iPhone, known for its high-quality cameras and the ability to capture stunning photos. However, as we use our iPhones to capture and store more and more photos, it can become challenging to manage and optimize the storage space on our devices.
In this article, we will explore various methods and techniques to effectively store and manage iPhone photos. Whether you are running out of storage space or simply want to organize your photo collection, these tips will help you optimize your photo storage and ensure your precious memories are safely preserved.
Let’s dive in and discover how to store, manage, and protect your iPhone photos!
Key Takeaways:
- Optimize your iPhone photo storage by enabling iCloud Photo Library, adjusting camera capture settings, and deleting unwanted photos. Explore external storage options and utilize photo management apps for efficient organization.
- Safeguard your precious memories by backing up iPhone photos using iCloud, third-party backup apps, syncing with a computer, and physical backup storage. Regularly review and update your storage and backup settings for peace of mind.
Read more: How To Store IPhone Photos On ICloud
Understanding iPhone Photo Storage
Before we delve into the strategies for optimizing iPhone photo storage, it’s important to have a clear understanding of how photos are stored on your device. iPhones typically come with a limited amount of built-in storage, ranging from 32GB to 512GB, depending on the model.
When you take a photo with your iPhone, it is saved to the device’s internal storage. The size of each photo file can vary depending on factors such as the resolution and quality settings you have chosen. A higher resolution and quality setting will result in larger file sizes.
Over time, as you capture more photos, your iPhone’s storage can fill up quickly. This can cause issues such as slow performance and the inability to capture new photos or download apps. To prevent this, it’s important to optimize your storage settings and explore alternative storage options.
It’s also worth mentioning that iPhones offer the option to optimize storage, which means lower resolution versions of your photos are stored on your device, while the full-resolution versions are stored in iCloud. This can help free up storage space on your iPhone without compromising the quality of your photos.
Now that we have an understanding of how iPhone photo storage works, let’s explore ways to optimize and manage storage settings to make the most out of your device’s available space.
Optimizing Storage Settings
One of the first steps to efficiently manage your iPhone photo storage is to optimize your device’s storage settings. Here are some key settings to consider:
- Optimize iPhone Storage: Enable this option in the Settings app under “Photos.” With this setting enabled, your iPhone will automatically manage your photo library, storing lower resolution versions of your photos on the device while keeping the full-resolution versions in iCloud. This helps free up space on your device without sacrificing photo quality.
- Disable HDR: HDR is a feature that combines multiple exposures to create a single, more vibrant image. While this feature can enhance the quality of your photos, it can also result in larger file sizes. Consider disabling HDR if you have limited storage space.
- Adjust Camera Capture Settings: In the Camera app settings, you can adjust the capture settings to control the size of the photos you take. Choosing a lower resolution or reducing the quality setting will result in smaller file sizes, giving you more available storage.
- Delete Unwanted Photos: Regularly go through your photo library and delete any unwanted or duplicate photos. This will not only free up storage space but also make it easier to find and manage your photos.
By implementing these storage settings optimizations, you can significantly improve the available storage space on your iPhone and ensure that your device is running smoothly.
Utilizing iCloud Photo Library
iCloud Photo Library is a cloud-based storage service offered by Apple that allows you to securely store and access your photos and videos across all your Apple devices. By using iCloud Photo Library, you can easily free up storage space on your iPhone while still having access to your entire photo library. Here’s how to utilize iCloud Photo Library:
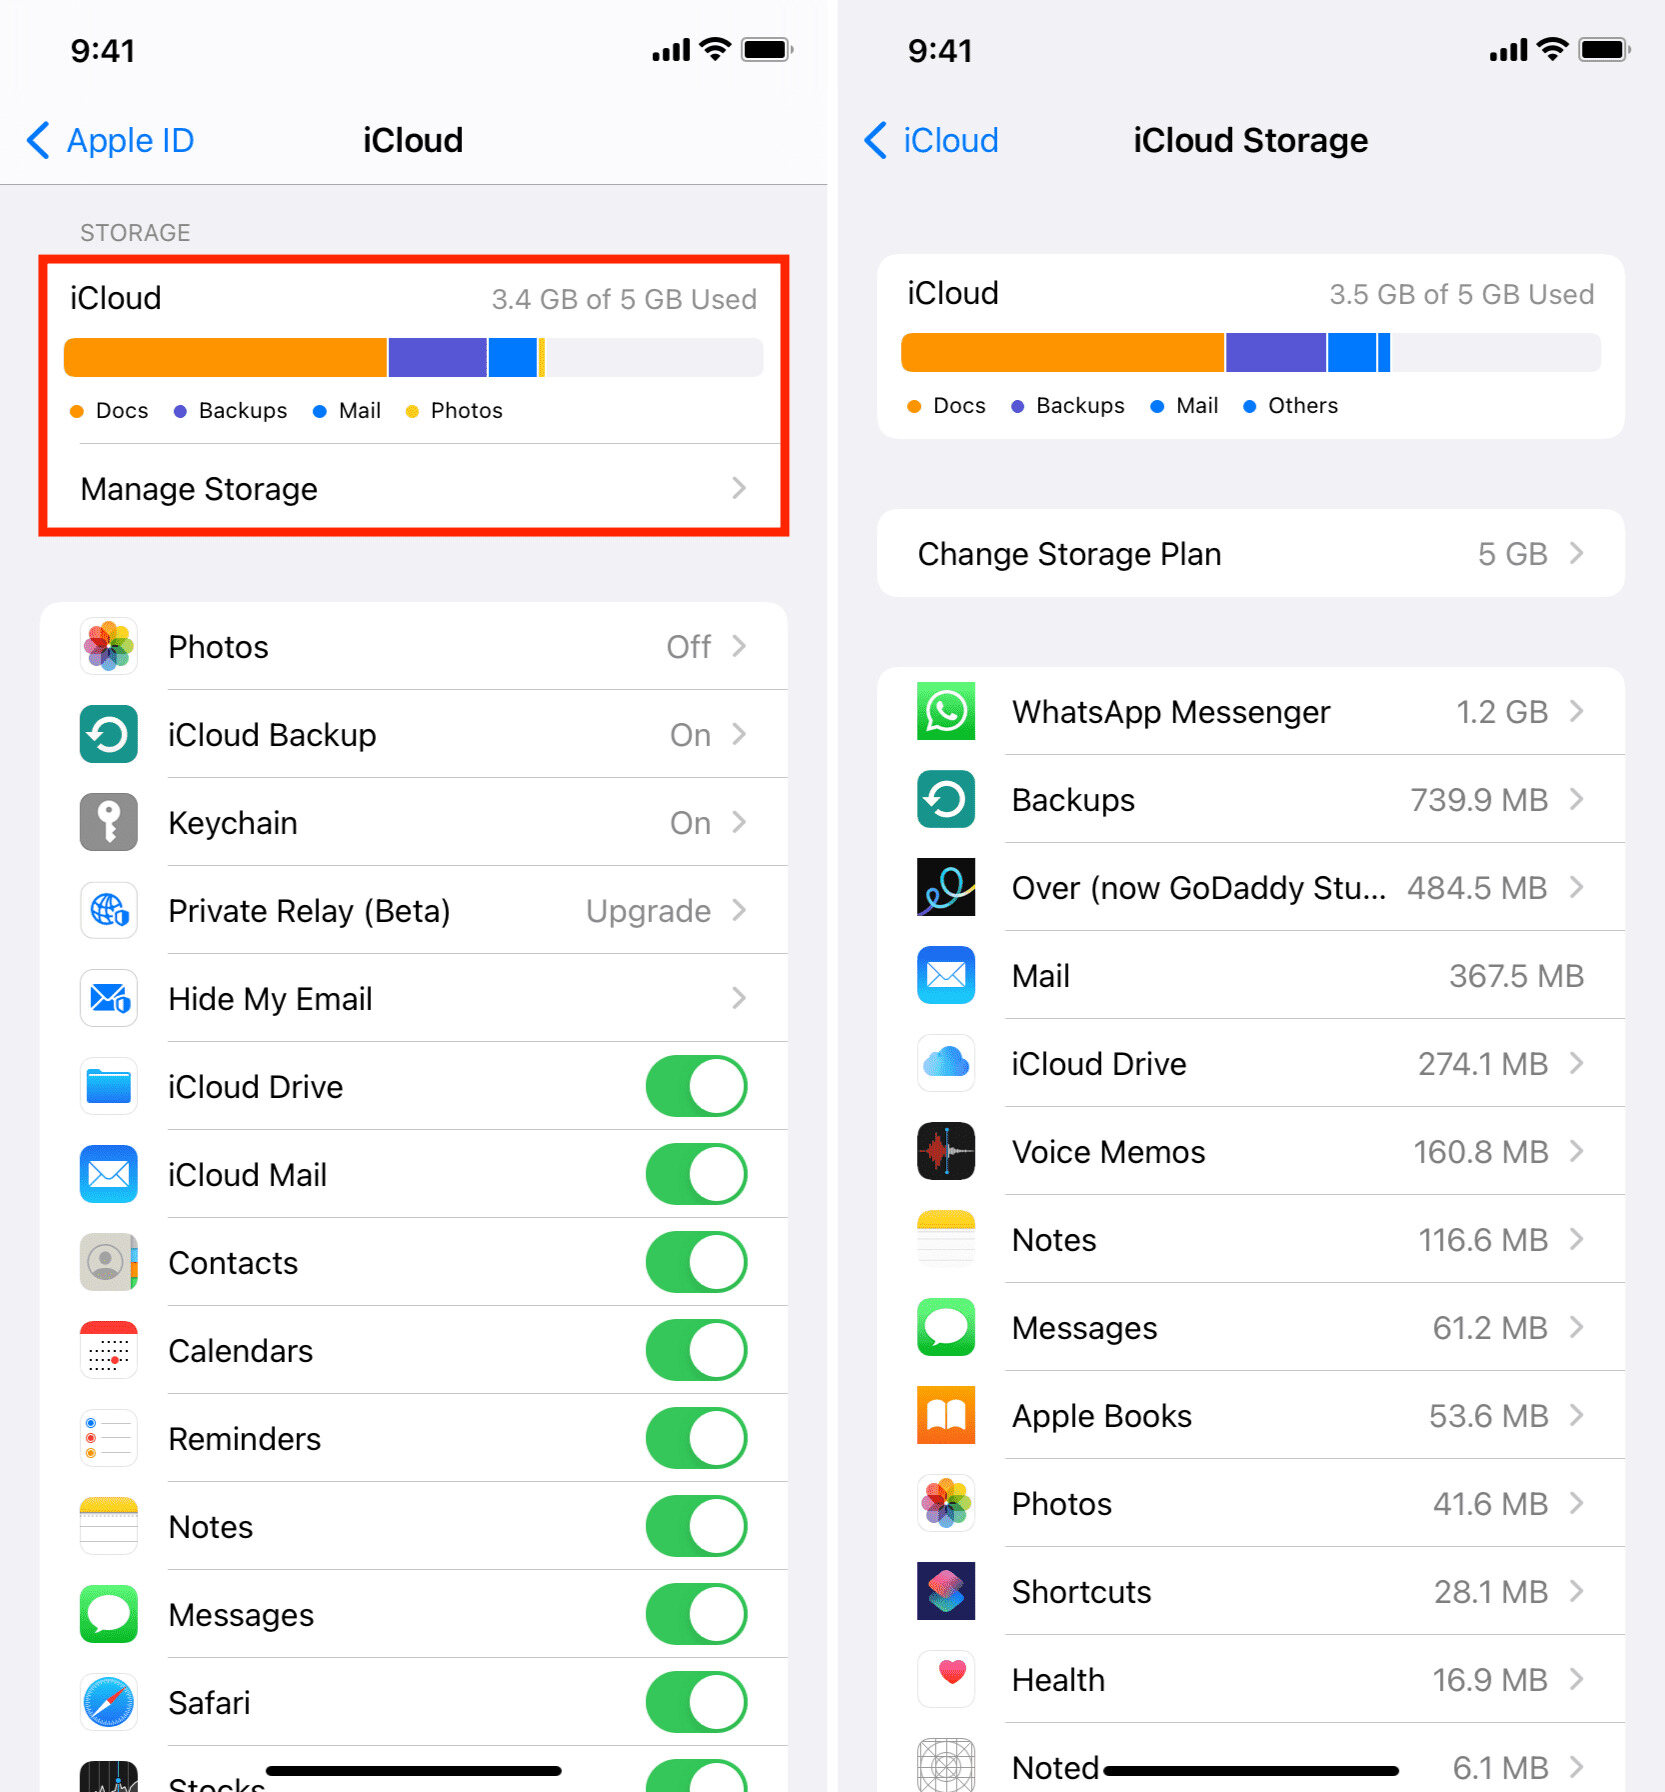
- Enable iCloud Photo Library: Go to the Settings app on your iPhone, tap on your Apple ID at the top, select “iCloud,” and then “Photos.” Toggle on “iCloud Photo Library” to enable it.
- Choose Optimize iPhone Storage: Under the iCloud Photo Library settings, select “Optimize iPhone Storage.” This will ensure that lower-resolution versions of your photos are stored on your device, saving storage space while keeping the full-resolution versions in iCloud.
- Access Your Photos: Once iCloud Photo Library is enabled, you can access your photos on any Apple device connected to the same iCloud account. Simply open the Photos app, and your entire library will be available for browsing and sharing.
- Upload New Photos: Any new photos you capture or import to your iPhone will automatically be uploaded to iCloud Photo Library and synced across all your devices. This means you can capture photos on your iPhone and instantly view them on your iPad or Mac.
- Manage Storage: If you are running out of iCloud storage space, you may need to consider upgrading your storage plan. You can do this by going to the Settings app, tapping on your Apple ID, selecting “iCloud,” then “Manage Storage,” and finally upgrading to a larger storage plan.
By utilizing iCloud Photo Library, you can securely store your entire photo library in the cloud, freeing up valuable space on your iPhone while ensuring easy access to your photos from all your Apple devices.
Exploring External Storage Options
If you find yourself constantly running out of storage space on your iPhone, exploring external storage options can provide an additional solution. Here are a few external storage options to consider:
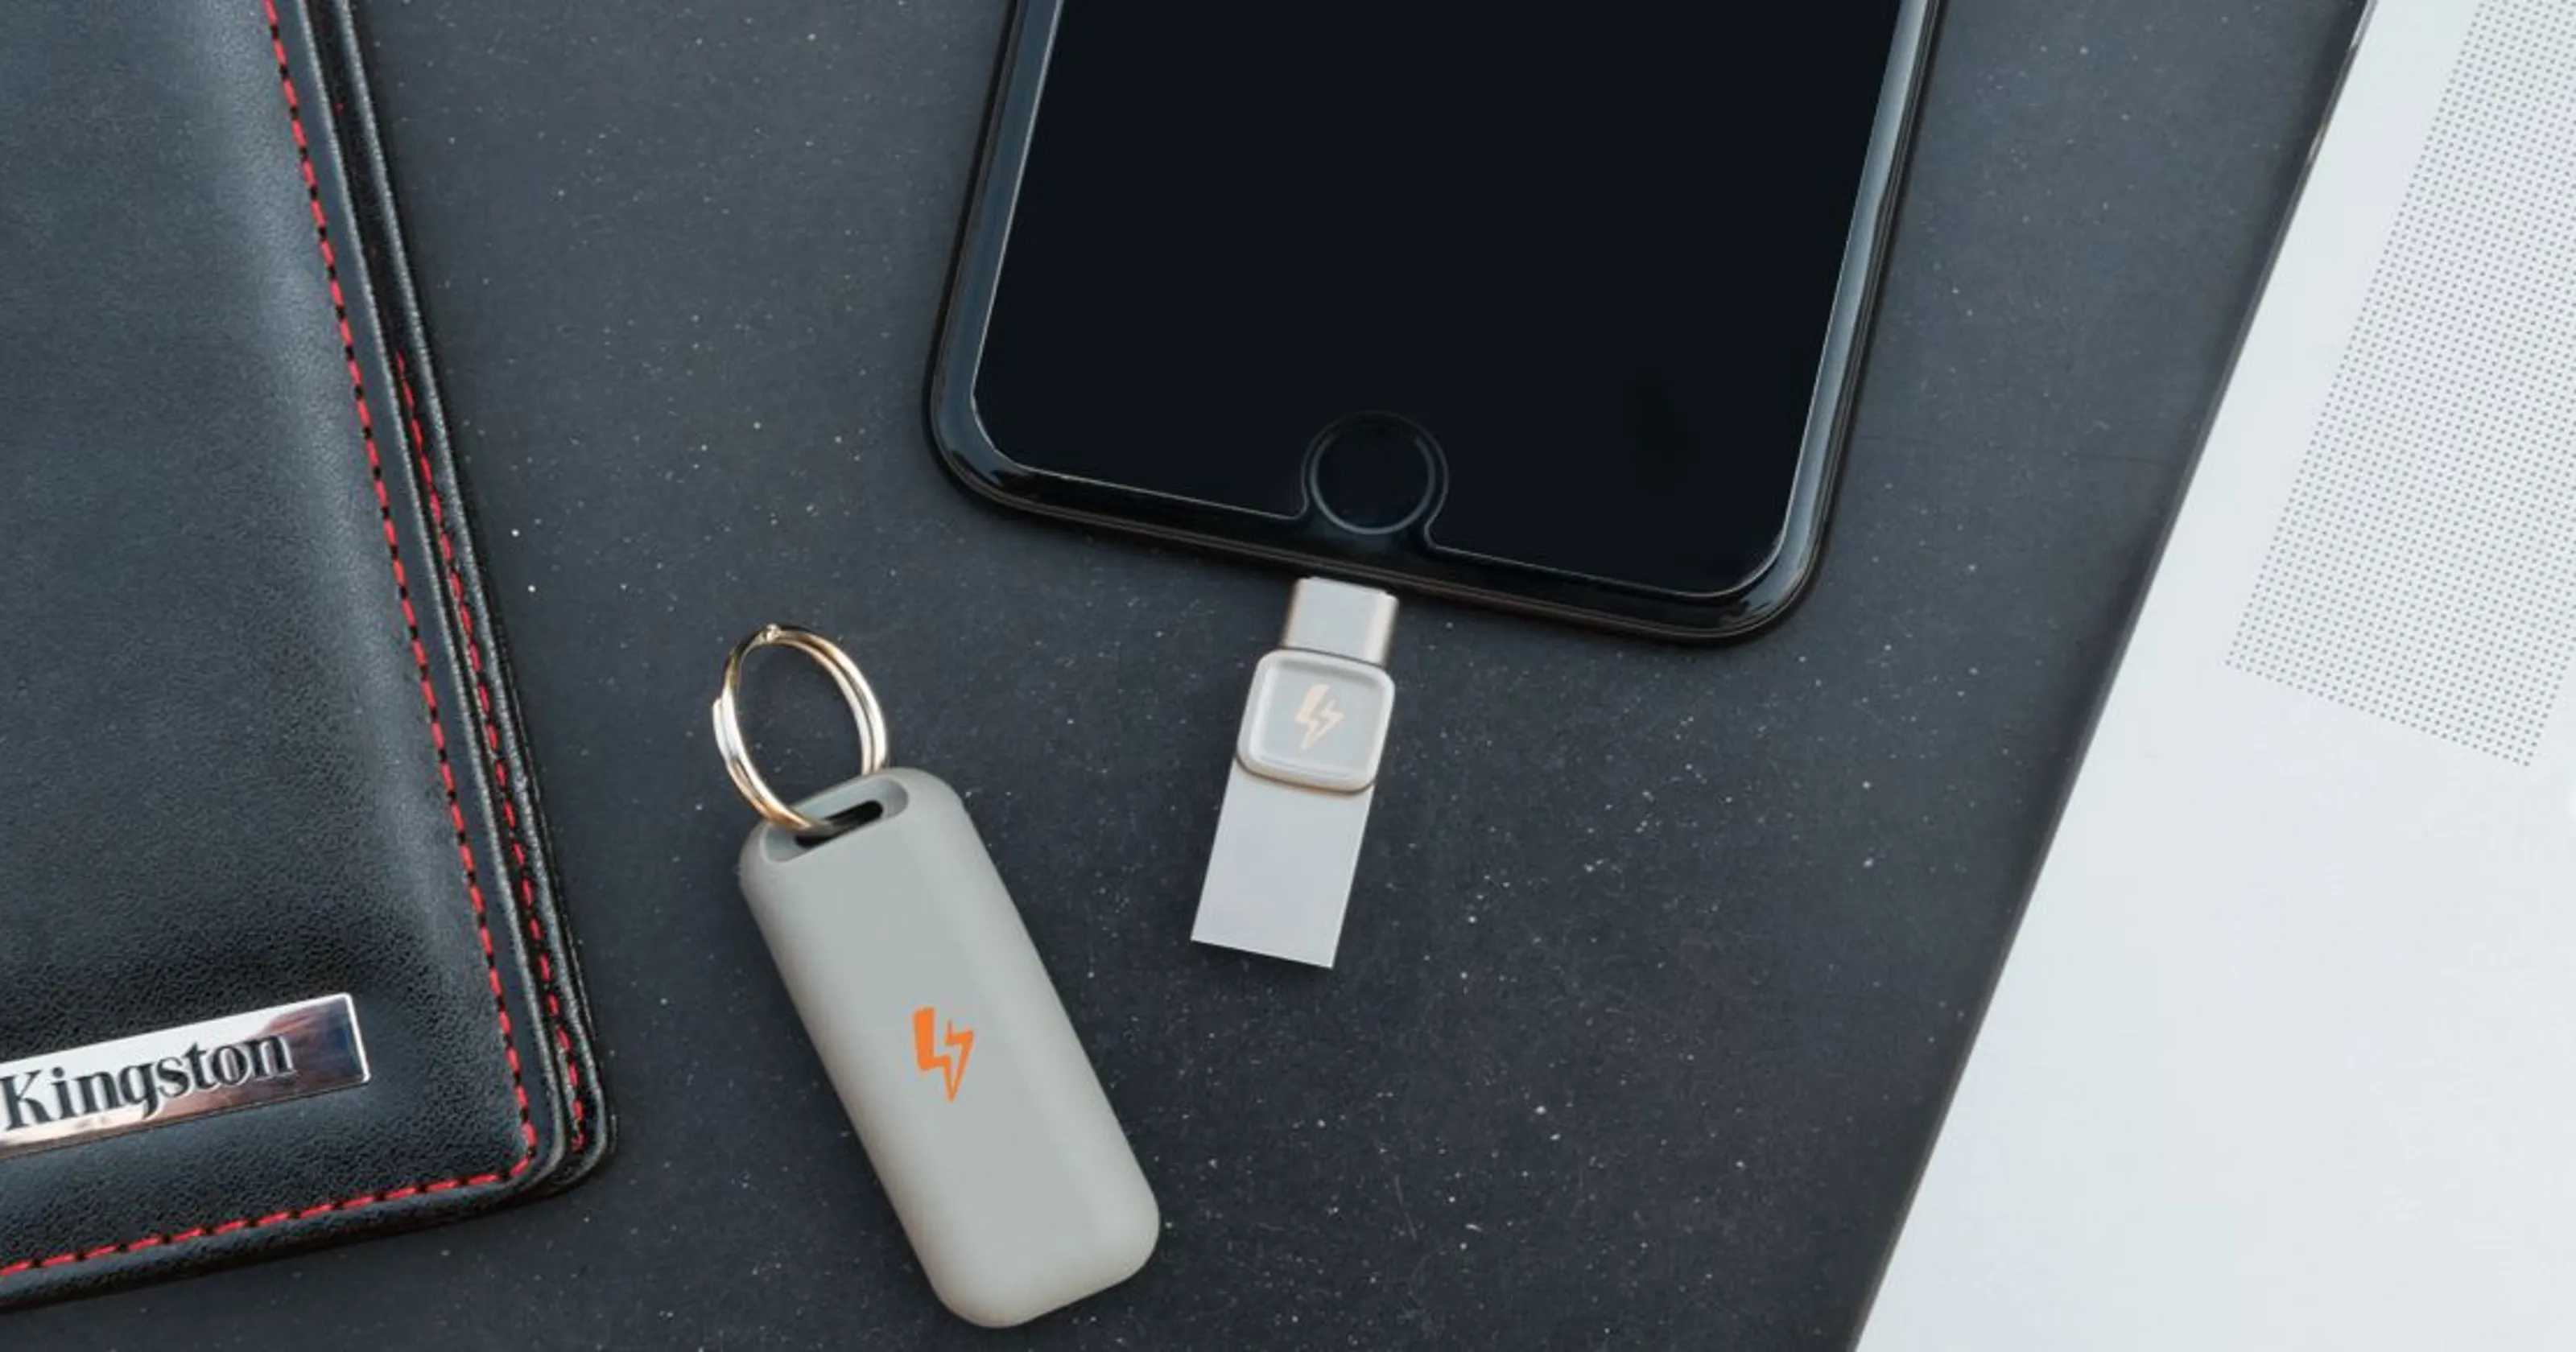
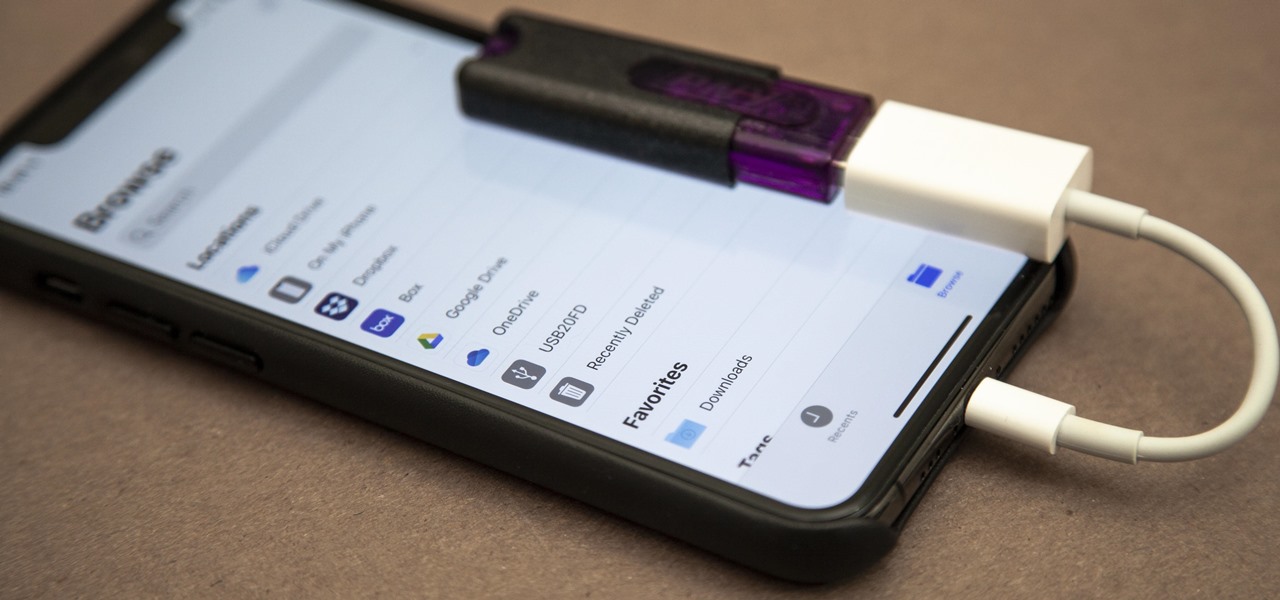
- External Storage Drives: External storage drives, such as USB flash drives or external hard drives, can be a convenient way to offload your photos from your iPhone. Simply transfer your photos to the external storage drive using a USB connection or wireless transfer, and you’ll free up valuable space on your device. Make sure to choose a storage drive that is compatible with both your iPhone and your computer.
- Wireless Storage Devices: Wireless storage devices, also known as Wi-Fi-enabled external drives, offer a wireless way to transfer and store your iPhone photos. These devices create a portable Wi-Fi network, allowing you to connect to them and transfer your photos wirelessly. Some wireless storage devices even come with dedicated apps that make it easy to manage and access your photos on the go.
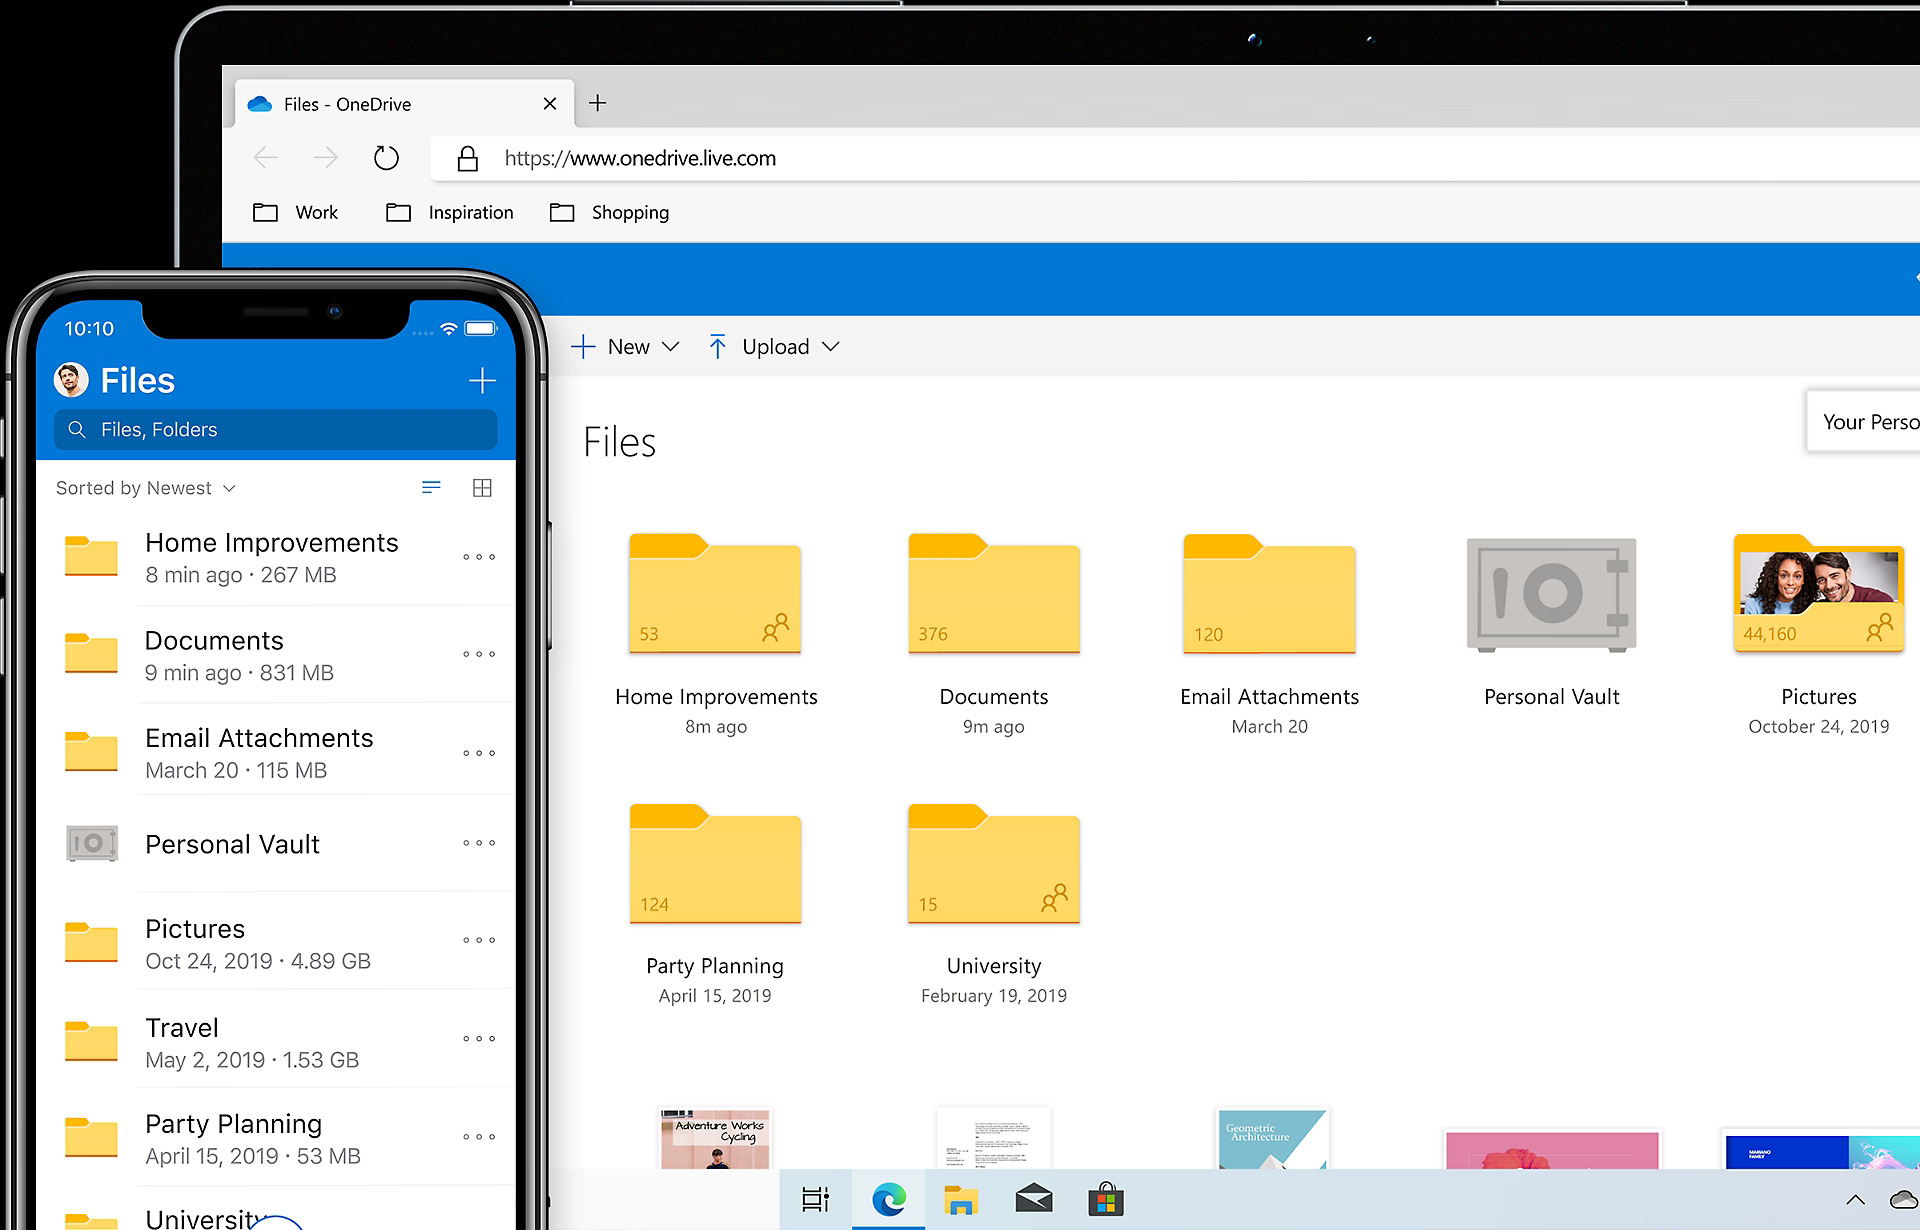
- Online Cloud Storage Services: There are various online cloud storage services, such as Google Drive, Dropbox, and OneDrive, that offer free or paid plans to store and sync your iPhone photos. With these services, you can upload your photos to the cloud, freeing up space on your device. These services often have dedicated apps that allow you to access and manage your photos from anywhere with an internet connection.
When considering external storage options, ensure that your chosen solution is compatible with your iPhone and meets your storage needs. Also, keep in mind that it’s always a good idea to create backups of your photos to multiple storage locations to prevent data loss.
By exploring these external storage options, you can expand your iPhone’s storage capacity and easily manage your ever-growing photo collection.
Use cloud storage services like iCloud or Google Photos to automatically back up your iPhone photos. This ensures that your photos are safely stored and easily accessible from any device.
Read more: How To Store IPhone Photos On PC
Utilizing Photo Management Apps
In addition to optimizing storage settings and exploring external storage options, utilizing photo management apps can help you efficiently organize and manage your iPhone photos. These apps provide various features and tools to streamline the photo management process. Here are some popular photo management apps to consider:
- Google Photos: Google Photos is a free app that offers unlimited storage for high-quality photos. It automatically backs up your iPhone photos to the cloud, and you can easily search and organize your photos using its smart tagging and searching features.
- Adobe Lightroom: Adobe Lightroom is a powerful photo editing and management app that allows you to organize, edit, and share your photos. It offers advanced editing tools and presets, as well as the ability to sync your photo library across multiple devices.
- Flickr: Flickr is a popular photo-sharing platform that also offers 1,000GB of free storage for your photos. It allows you to upload and organize your photos in albums, and you can easily share and discover photos from other users.
- Photosync: Photosync is an app that allows you to wirelessly transfer photos between your iPhone and other devices, such as your computer or external storage drives. It supports various transfer methods, including Wi-Fi, Bluetooth, and FTP.
- Microsoft OneDrive: Microsoft OneDrive is a cloud storage service that offers free storage and syncs your photos across devices. It also integrates seamlessly with other Microsoft apps and services, making it a convenient choice if you use other Microsoft products.
These photo management apps offer a range of features and functionalities to help you organize, edit, and store your iPhone photos. Depending on your preferences and needs, you can choose the app that best suits your requirements.
By utilizing these photo management apps, you can effectively manage and organize your iPhone photos, making it easier to find and cherish your precious memories.
Transferring Photos to a Computer
Transferring your iPhone photos to a computer is another efficient way to manage and backup your photo collection. By transferring your photos to a computer, you can free up storage space on your iPhone while keeping a secure copy of your photos on your computer. Here are a few methods to transfer photos from your iPhone to a computer:
- Using a USB Cable: Connect your iPhone to your computer using a USB cable. Once connected, your computer should recognize your iPhone as a storage device. Open the File Explorer or Finder on your computer and navigate to your iPhone’s storage. From there, you can simply copy and paste or drag and drop your photos from your iPhone to your computer.
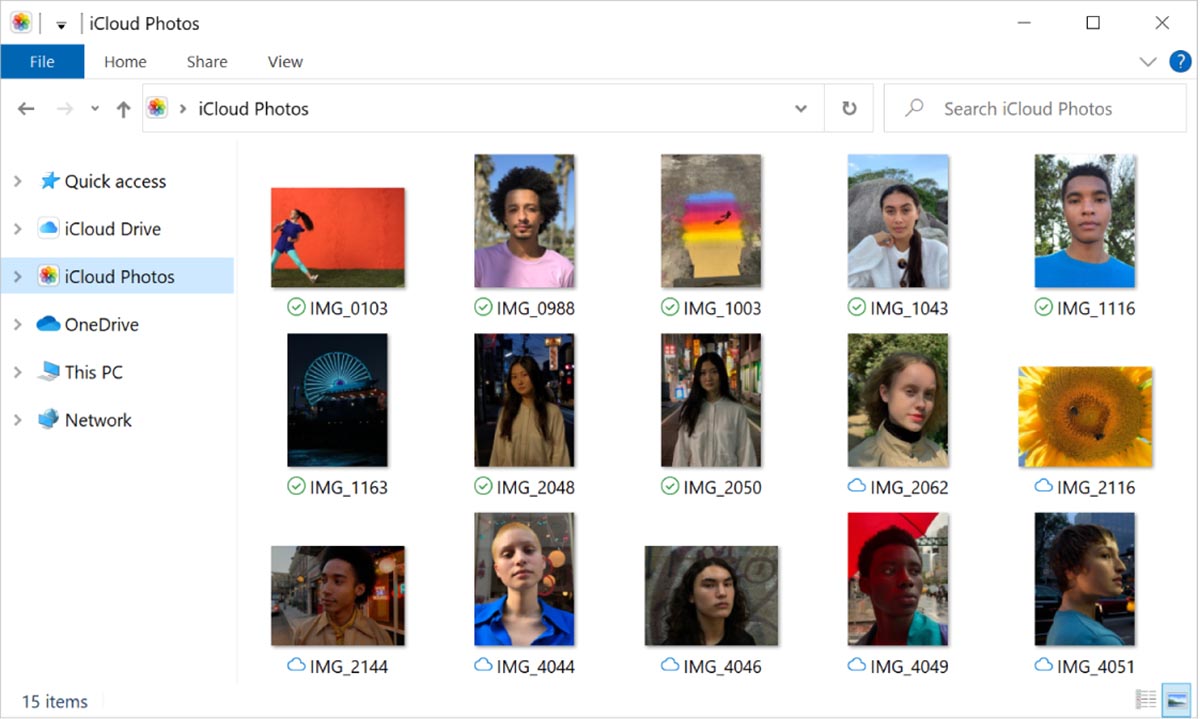
- Using iCloud: If you have enabled iCloud Photo Library, your photos are automatically synced to iCloud and can be accessed on your computer through the iCloud website or the iCloud desktop app. You can simply log in to your iCloud account on your computer and download the photos you want to save.
- Using Photo Transfer Apps: There are several third-party photo transfer apps available that allow you to wirelessly transfer photos between your iPhone and computer. These apps create a local Wi-Fi network, eliminating the need for a USB cable. Some popular photo transfer apps include PhotoSync, SnapBridge, and Dropbox.
- Using Email or Messaging Apps: If you only have a few photos to transfer, you can use email or messaging apps to send them to yourself. Simply select the photos you want to transfer, choose the option to share them, and select the email or messaging app of your choice to send them to your computer.
Choose the method that is most convenient for you, depending on the number of photos you want to transfer and your preferred transfer method. It’s a good practice to organize your transferred photos into folders on your computer for easy management and backup purposes.
By transferring your photos to a computer, you can effectively manage and backup your iPhone photo collection, ensuring your memories are safely stored and easily accessible.
Backing Up iPhone Photos
Backing up your iPhone photos is crucial to ensure the safety and preservation of your precious memories. With backups, you can rest assured that even if something happens to your iPhone, your photos will be securely stored and accessible. Here are a few methods to back up your iPhone photos:
- iCloud Backup: iCloud offers automatic backup of your entire iPhone, including your photos, when connected to Wi-Fi and plugged in. To enable iCloud Backup, go to the Settings app, tap on your Apple ID, select “iCloud,” then “iCloud Backup.” Make sure the “iCloud Backup” toggle is turned on. Your iPhone will then automatically back up your photos whenever it’s connected to Wi-Fi and charging.
- Using Third-Party Backup Apps: There are several third-party backup apps available in the App Store that offer additional backup options for your iPhone photos. These apps provide features like scheduled backups, selective backups, and additional storage space options. Some popular backup apps include Google Photos, Dropbox, and OneDrive.
- Syncing with a Computer: By regularly transferring your iPhone photos to your computer, you create a backup of your photo collection on your computer. Ensure that you have a reliable backup system in place on your computer, such as using an external hard drive or cloud storage, to protect your photos in case of any hardware failures.
- Physical Backup Storage: If you prefer a physical backup solution, consider using external storage devices, such as USB flash drives or external hard drives. Transfer your iPhone photos to the storage device regularly and keep the device in a safe and secure location.
It’s important to regularly back up your iPhone photos to ensure that you have the latest version of your photo collection in case of any loss or damage. Having multiple backup methods, such as combining iCloud Backup with a third-party backup app or syncing with a computer, adds an extra layer of protection to your photos.
Remember to periodically review your backup settings and check that your backups are up to date and successfully completed. By backing up your iPhone photos, you can have peace of mind knowing that your precious memories are safe and preserved.
Conclusion
Managing and storing your iPhone photos effectively is essential to ensure you have enough storage space and to protect your precious memories. By implementing the strategies mentioned in this article, you can optimize your photo storage and enjoy a seamless photo management experience.
Firstly, understanding how iPhone photo storage works allows you to make informed decisions about optimizing storage settings and managing your photo library. By enabling features such as iCloud Photo Library and optimizing storage options, you can strike a balance between having access to your photos and maximizing available storage space on your device.
Exploring external storage options, such as external drives or cloud storage services, can provide additional space for your growing photo collection. Photo management apps offer advanced features to organize, edit, and backup your photos, making it easier to find and cherish your memories.
Transferring your photos to a computer is a reliable method for backing up your photo library. Furthermore, regularly backing up your iPhone photos using iCloud, third-party backup apps, or physical storage devices ensures added protection against data loss.
In conclusion, by implementing these techniques, you can efficiently manage and store your iPhone photos, freeing up storage space on your device, and preserving your memories for years to come. Remember to regularly review and update your storage and backup settings to ensure the safety and accessibility of your photos.
Now, armed with the knowledge and strategies from this article, you can confidently navigate your iPhone photo storage and create a seamless and organized photo management system.
Frequently Asked Questions about How To Store IPhone Photos
Was this page helpful?
At Storables.com, we guarantee accurate and reliable information. Our content, validated by Expert Board Contributors, is crafted following stringent Editorial Policies. We're committed to providing you with well-researched, expert-backed insights for all your informational needs.







0 thoughts on “How To Store IPhone Photos”