Articles
How To Remove Faucet Stem
Modified: February 21, 2024
Learn how to remove a faucet stem with our helpful articles. Gain the knowledge you need to complete this plumbing task easily and efficiently.
(Many of the links in this article redirect to a specific reviewed product. Your purchase of these products through affiliate links helps to generate commission for Storables.com, at no extra cost. Learn more)
Introduction
Have you noticed a leaky faucet in your home? The constant dripping can be not only annoying but also wasteful. One common cause of a leaky faucet is a faulty faucet stem. The faucet stem is an essential component that controls the flow of water in your faucet. Over time, it can become worn or develop mineral deposits, leading to leaks. In this article, we will guide you on how to remove a faulty faucet stem and replace it with a new one.
Before we dive into the steps, let’s take a closer look at what exactly a faucet stem is and why it is crucial in maintaining a properly functioning faucet.
What is a faucet stem?
A faucet stem, also known as a valve stem or cartridge, is an internal part of a faucet that regulates the water flow. It is typically located beneath the handle and connects to the water supply lines. The stem controls both the hot and cold water flow and temperature. When you turn the handle to open or close the faucet, it is the stem that actually opens or closes the water flow.
Over time, due to regular use and exposure to water, the faucet stem can wear out or become corroded. This can result in leaks, reduced water pressure, or even complete faucet malfunction. Repairing or replacing a faulty stem is a relatively simple DIY task and can save you money on a plumber.
For this project, you will need a few essential tools and materials. Let’s go through what you will need before getting started.
Key Takeaways:
- Understanding the importance of the faucet stem and following the step-by-step guide can empower you to confidently remove and replace a faulty faucet stem, saving money and gaining the satisfaction of a successful DIY project.
- By gathering the necessary tools, turning off the water supply, and following the detailed instructions for removing, cleaning, and replacing the faucet stem, you can effectively tackle a leaky faucet and restore it to optimal functionality.
Read also: 11 Amazing Faucet Stem for 2024
What is a faucet stem?
A faucet stem, also referred to as a valve stem or cartridge, is a critical component of a faucet that controls the flow of water. It is responsible for regulating the water temperature and pressure, allowing you to turn your faucet on or off and adjust the water flow.
The faucet stem is typically located beneath the handle and connects the handle to the water supply lines. When you turn the handle, it rotates the stem, which, in turn, moves the internal mechanisms to control the water flow. Inside the stem, there are seals and washers that prevent water from leaking when the faucet is closed and allow water to flow when it is open.
There are various types of faucet stems, depending on the design and brand of the faucet. The most common types are compression, ball, cartridge, and ceramic disc stems.
Compression Stems: Compression stems are commonly found in older faucets. They consist of two handles – one for hot water and one for cold water. Turning the handles clockwise closes the faucet and stops the water flow. These stems have rubber washers at the end that press against the valve seat, creating a seal to prevent leaks.
Ball Stems: Ball stems are used in single-handle faucets. They have a ball-shaped mechanism with different holes and slots that control the water flow and temperature. By rotating the handle, the ball moves against the seals inside the faucet body, allowing you to adjust the water flow and temperature.
Cartridge Stems: Cartridge stems are also used in single-handle faucets but operate differently than ball stems. They use a movable stem cartridge that slides in different directions to control the water flow and temperature. Cartridge stems are often more durable and resistant to leaks compared to other types.
Ceramic Disc Stems: Ceramic disc stems are the most advanced and reliable type of faucet stems. They use two ceramic discs that slide against each other to control the water flow and temperature. These stems are highly durable and resistant to corrosion, making them ideal for long-term use.
Understanding the type of faucet stem you have is essential when it comes to removing and replacing it. Different stems have unique mechanisms and require specific steps or tools for their removal and installation.
Now that you have a better understanding of what a faucet stem is and its importance in maintaining a properly functioning faucet, let’s move on to the tools and materials you will need for this DIY project.
Tools and Materials Needed
Before you begin the process of removing and replacing a faucet stem, it is important to gather all the necessary tools and materials. Having everything prepared beforehand will ensure a smooth and efficient repair process. Here is a list of the tools and materials you will need:
- Adjustable wrench
- Phillips screwdriver
- Flathead screwdriver
- Allen wrench (if applicable)
- Socket wrench (if applicable)
- Pliers
- Replacement faucet stem
- Teflon tape
- Towels or rags
Adjustable wrench: The adjustable wrench is an essential tool for loosening and tightening various nuts and bolts. It is used to remove the retaining nut that holds the faucet stem in place.
Phillips screwdriver: The Phillips screwdriver is commonly used to remove screws that hold the faucet handle in place. Depending on the faucet model, there may be one or more screws that need to be removed before you can access the stem.
Flathead screwdriver: The flathead screwdriver is another useful tool for removing screws or prying off small components. It may be needed to remove the decorative cap on the faucet handle.
Allen wrench: An Allen wrench, also known as a hex key, is a tool with a hexagonal-shaped head. Some faucet models require an Allen wrench to remove the handle or other components. Check the manufacturer’s instructions or the faucet model to determine if an Allen wrench is necessary.
Socket wrench: Similar to an adjustable wrench, a socket wrench is used to loosen or tighten nuts and bolts. If your faucet stem is secured by a nut that requires a socket wrench, make sure you have the appropriate size on hand.
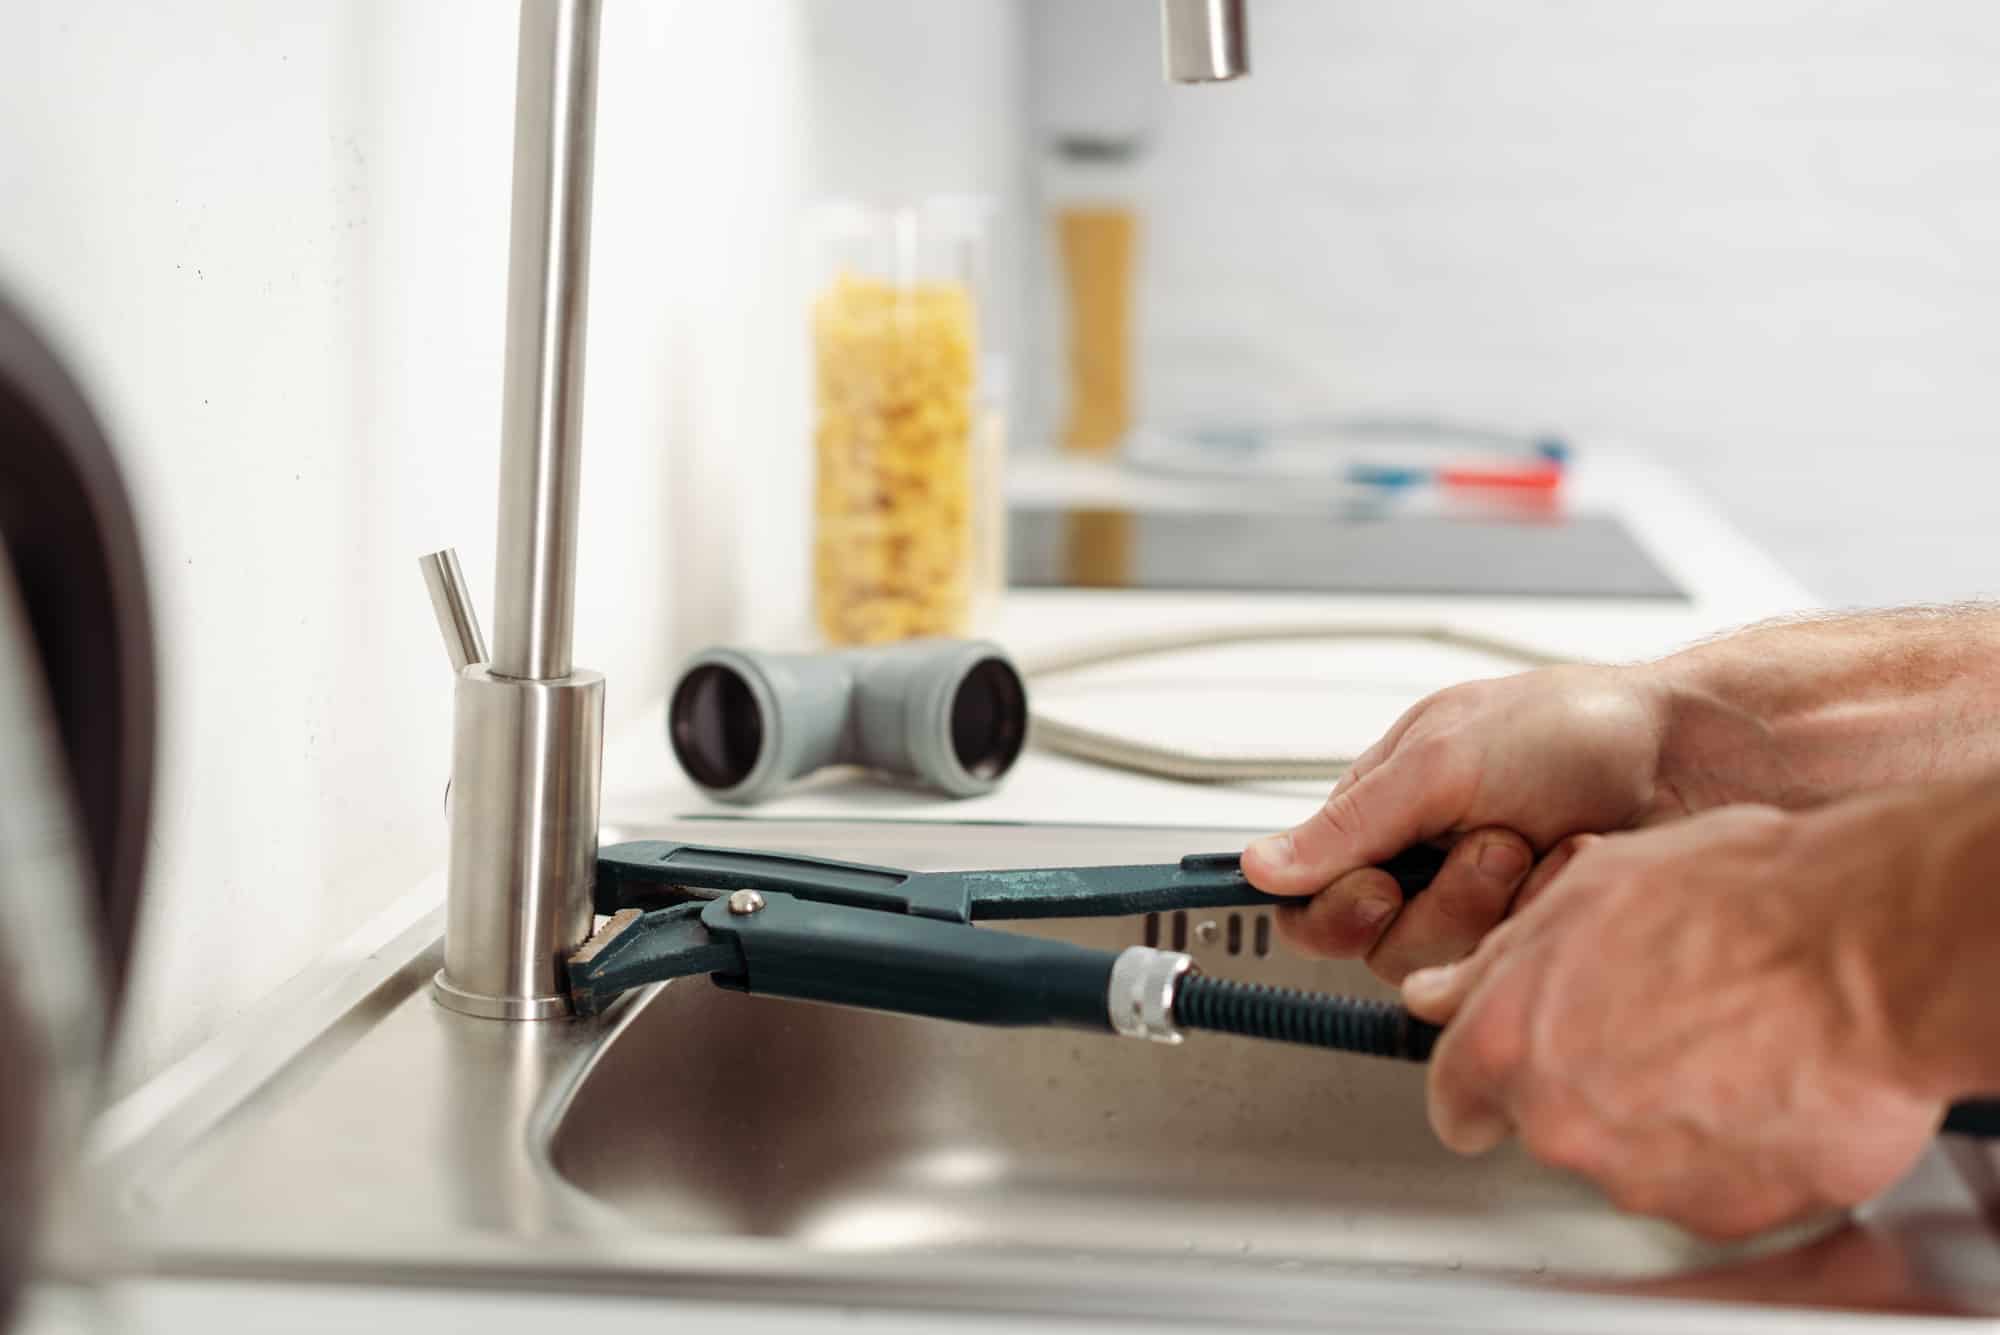
Pliers: Pliers may be needed to loosen or grip certain parts of the faucet, especially if they are stuck or difficult to remove. They can provide extra leverage when turning or twisting components.
Replacement faucet stem: Before you begin the repair process, make sure you have a replacement faucet stem that matches your existing faucet model. It is best to bring the old stem to the hardware store to ensure you get the correct replacement.
Teflon tape: Teflon tape, also known as plumber’s tape, is a thin, white tape used to create a watertight seal. It is typically wrapped around the threads of the faucet stem before installation.
Towels or rags: Have some towels or rags on hand to catch any water that may come out during the repair process. This will help to prevent any mess and keep your work area clean.
By having these tools and materials ready, you will be well-prepared to remove the faulty faucet stem and proceed with the repair. Now that you have everything you need, let’s move on to the step-by-step process of removing the faucet stem.
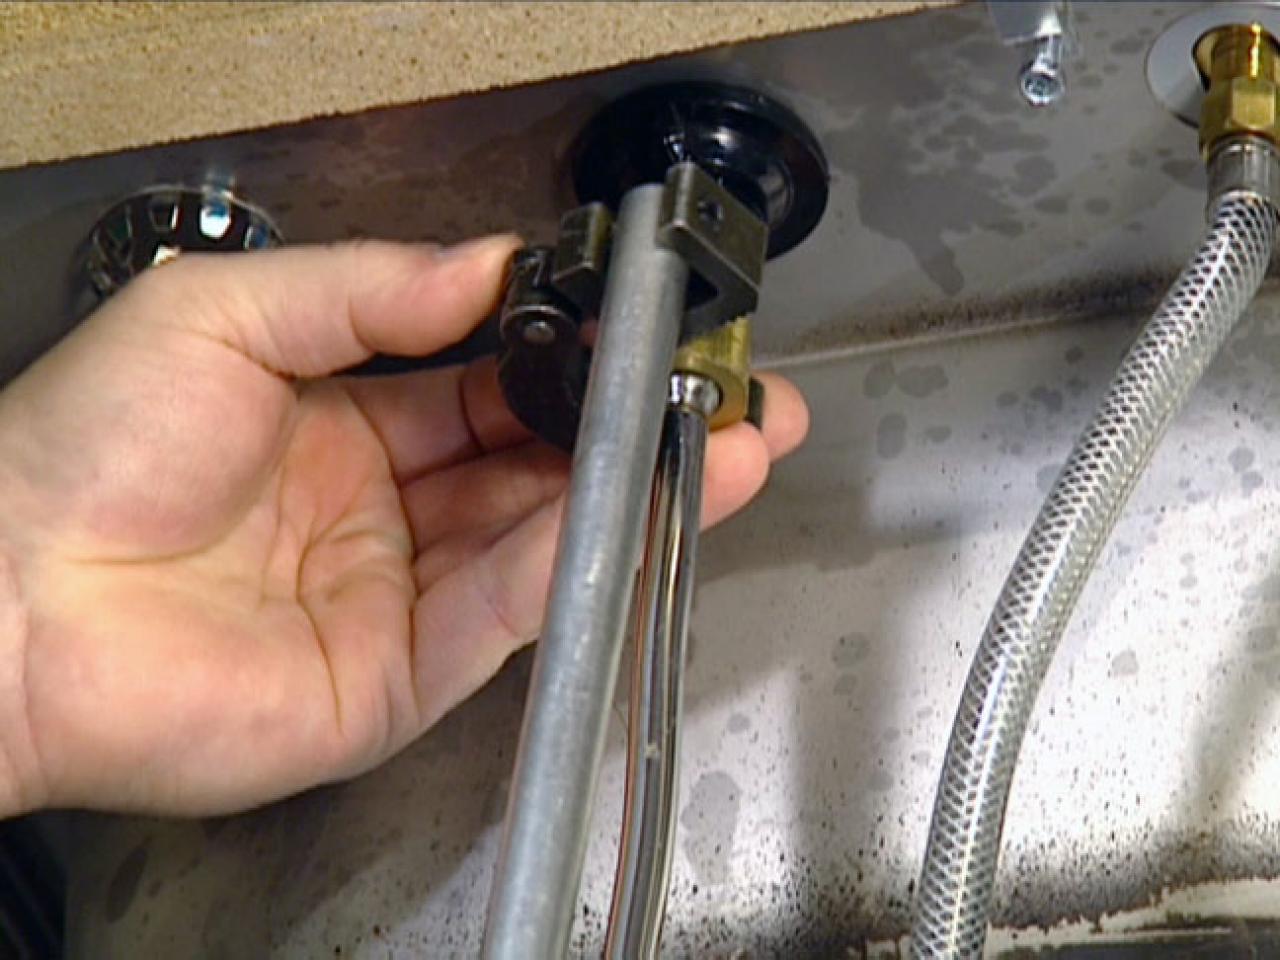
Step 1: Turn off the water supply
Before you start working on removing the faucet stem, it is crucial to turn off the water supply to prevent any leaks or water damage. Here’s how you can do it:
- Locate the shut-off valves: The shut-off valves are typically located beneath the sink. Look for two valves, one for hot water and one for cold water. These valves control the water supply to the faucet.
- Turn off the valves: Using your hands or an adjustable wrench, turn the valve clockwise or to the right to close it. This will shut off the water flow to the faucet. Make sure to close both the hot and cold water valves.
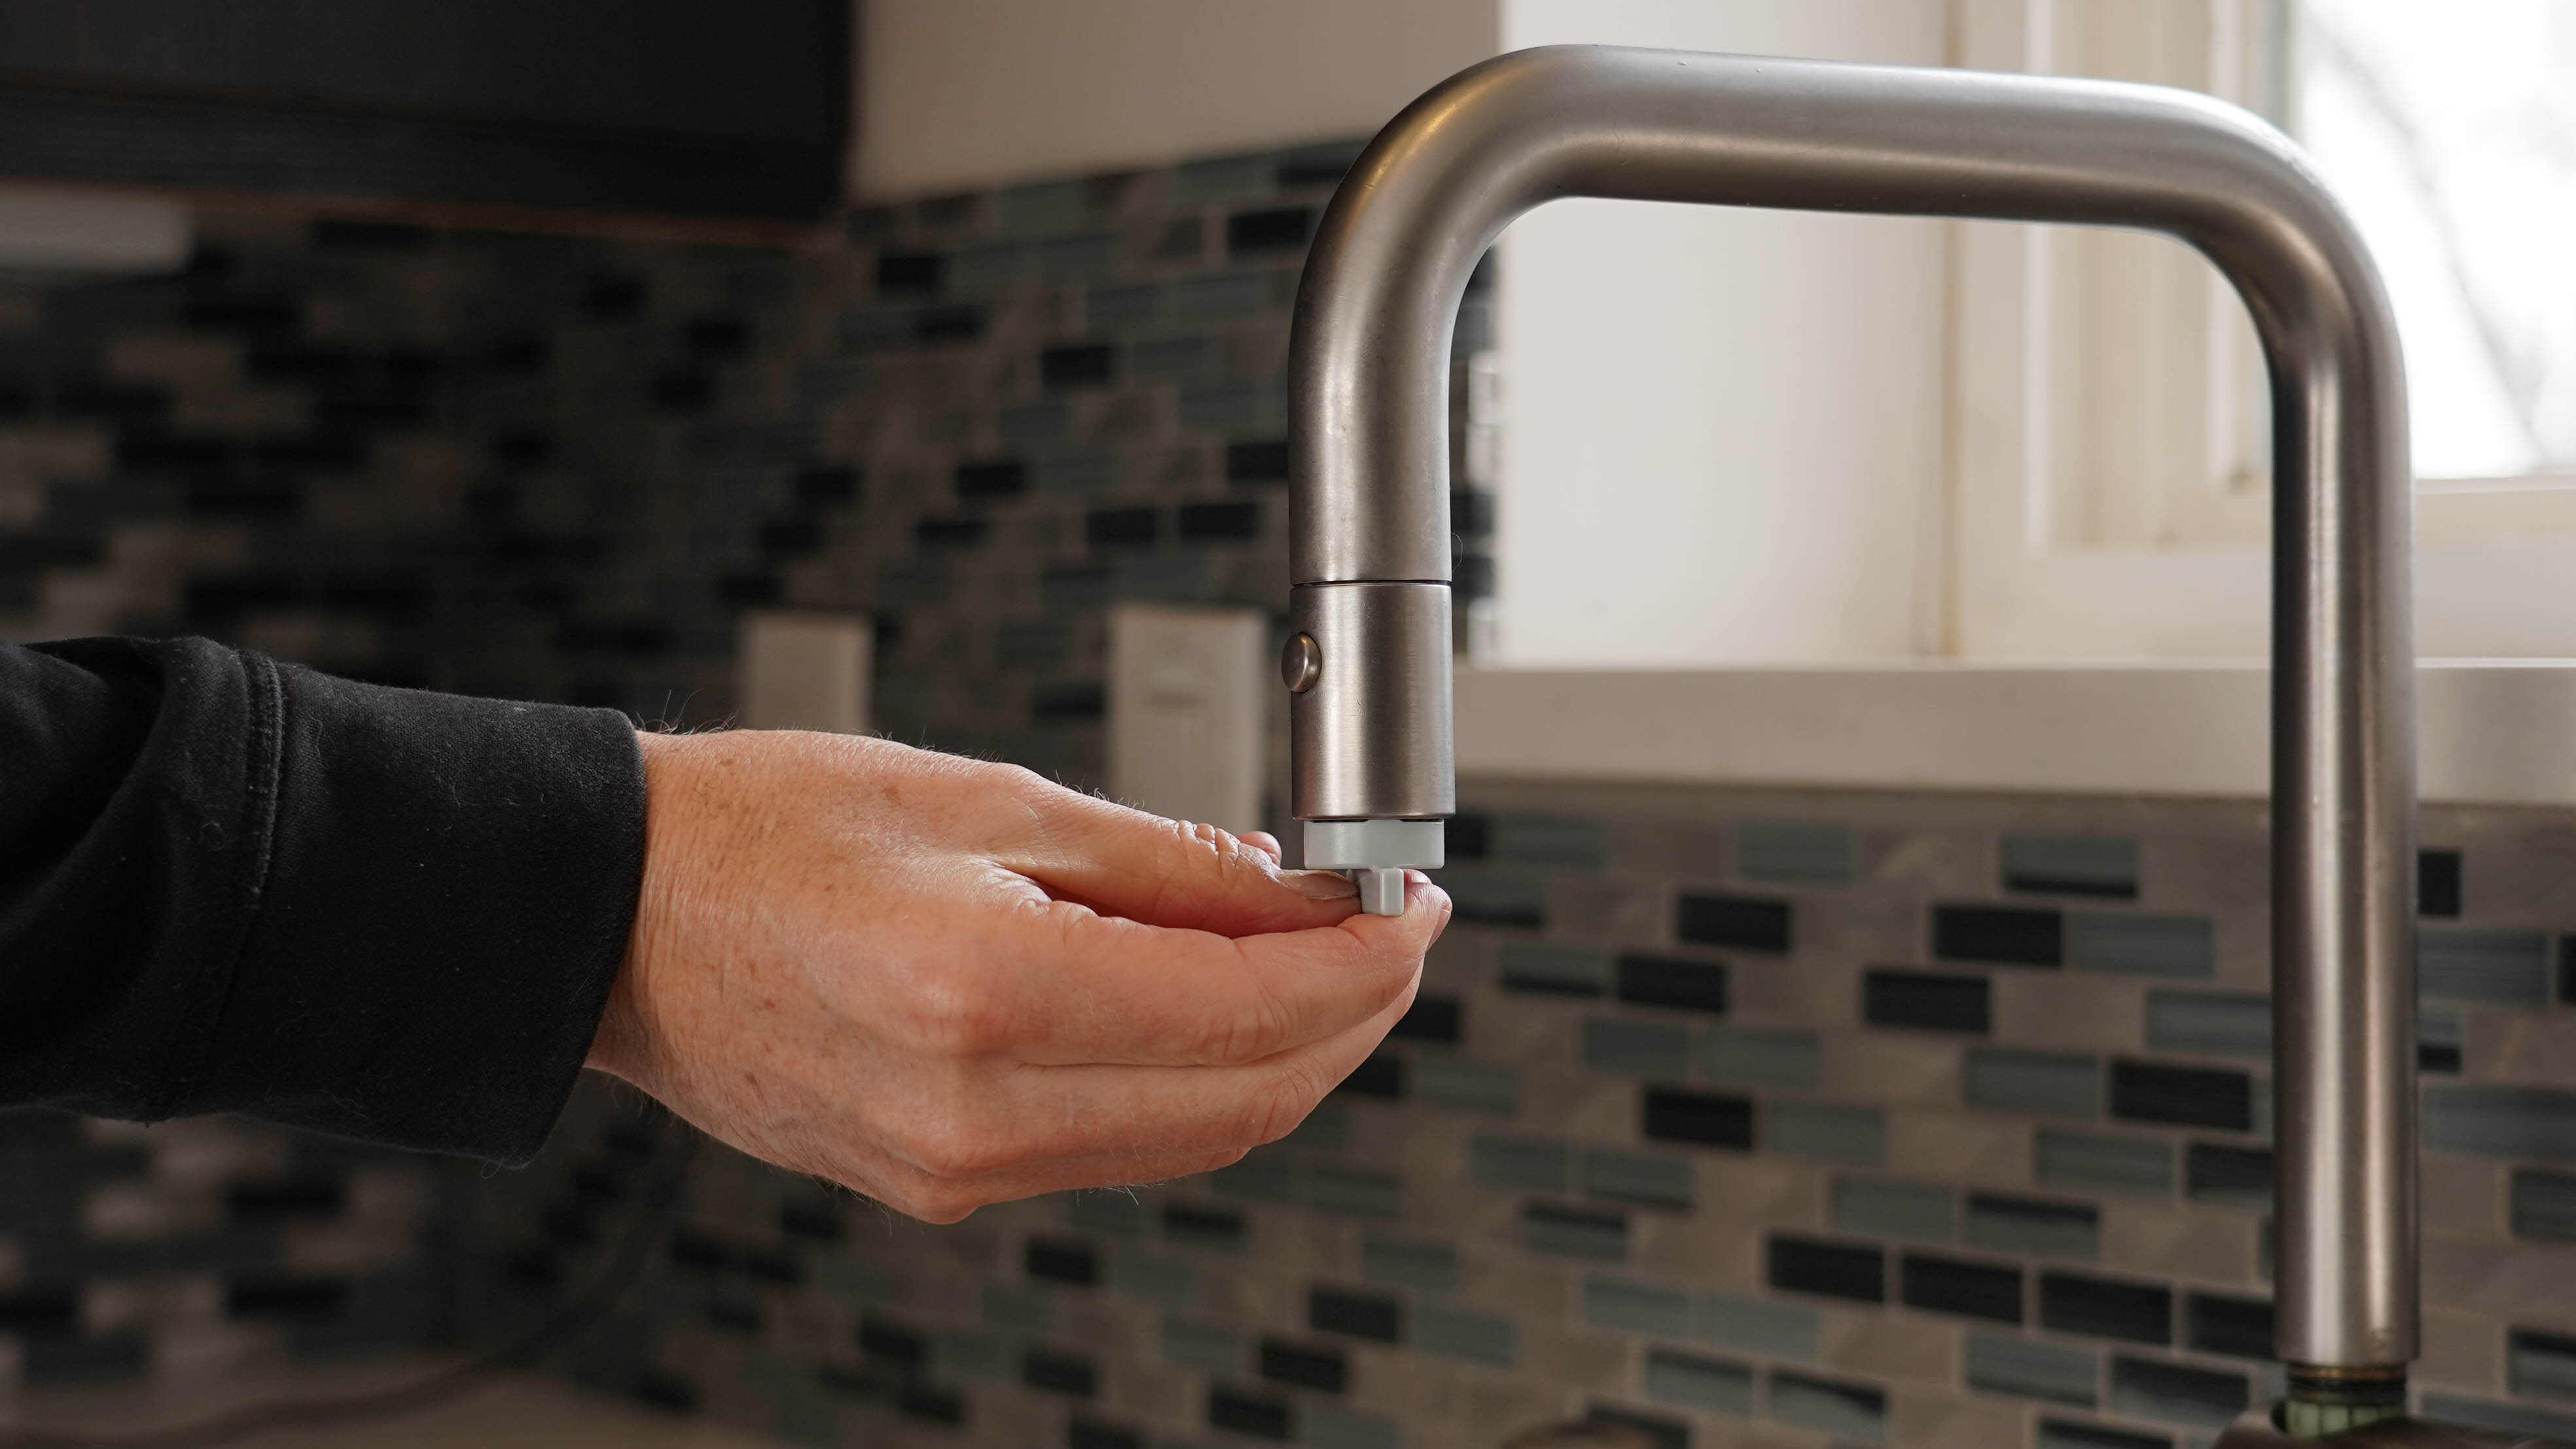
- Test the water supply: Once you have closed the valves, turn on the faucet to ensure that the water supply has been successfully shut off. If no water comes out of the faucet, you can proceed to the next step. If water still flows, double-check the valves to ensure they are fully closed.
Turning off the water supply is an essential safety measure that will prevent any accidental flooding or water damage during the repair process. By following these steps, you can ensure a dry and controlled work environment.
With the water supply turned off, you are now ready to move on to the next step: removing the faucet handle. This will allow you to access the faucet stem and proceed with the repair.
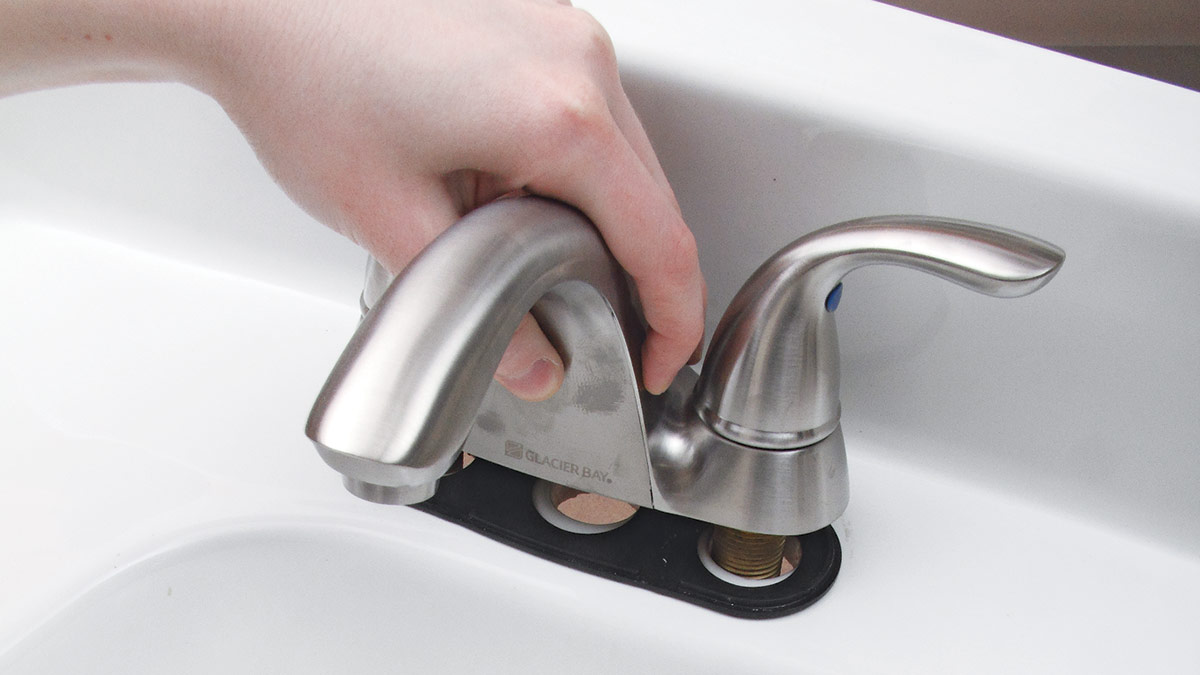
Step 2: Remove the faucet handle
Now that the water supply is turned off, the next step is to remove the faucet handle to access the faucet stem. Follow these steps to remove the handle:
- Locate the handle screws: Look for any screws or caps on the handle. These are often located on the top or underside of the handle. They may be visible or hidden beneath decorative caps.
- Remove the screws or caps: If there are screws, use a Phillips screwdriver to unscrew them. If there are caps, use a flathead screwdriver to gently pry them off.
- Remove the handle: Once the screws or caps are removed, you can now lift or pull the handle away from the faucet. Be careful not to force it as some handles may require a specific technique to remove.
If the handle is stuck or difficult to remove, try applying a small amount of lubricant or penetrating oil to loosen it. Give it a gentle wiggle or twist while pulling to help free it from any sticking points.
Once the handle is removed, you will have clear access to the faucet stem. Take a moment to inspect the exposed area for any signs of damage or mineral buildup. Cleaning the area will ensure that the repair process goes smoothly.
With the faucet handle removed, you are now ready to move on to the next step: removing the retaining nut that secures the faucet stem in place.
Read more: How To Remove Stuck Faucet Handle
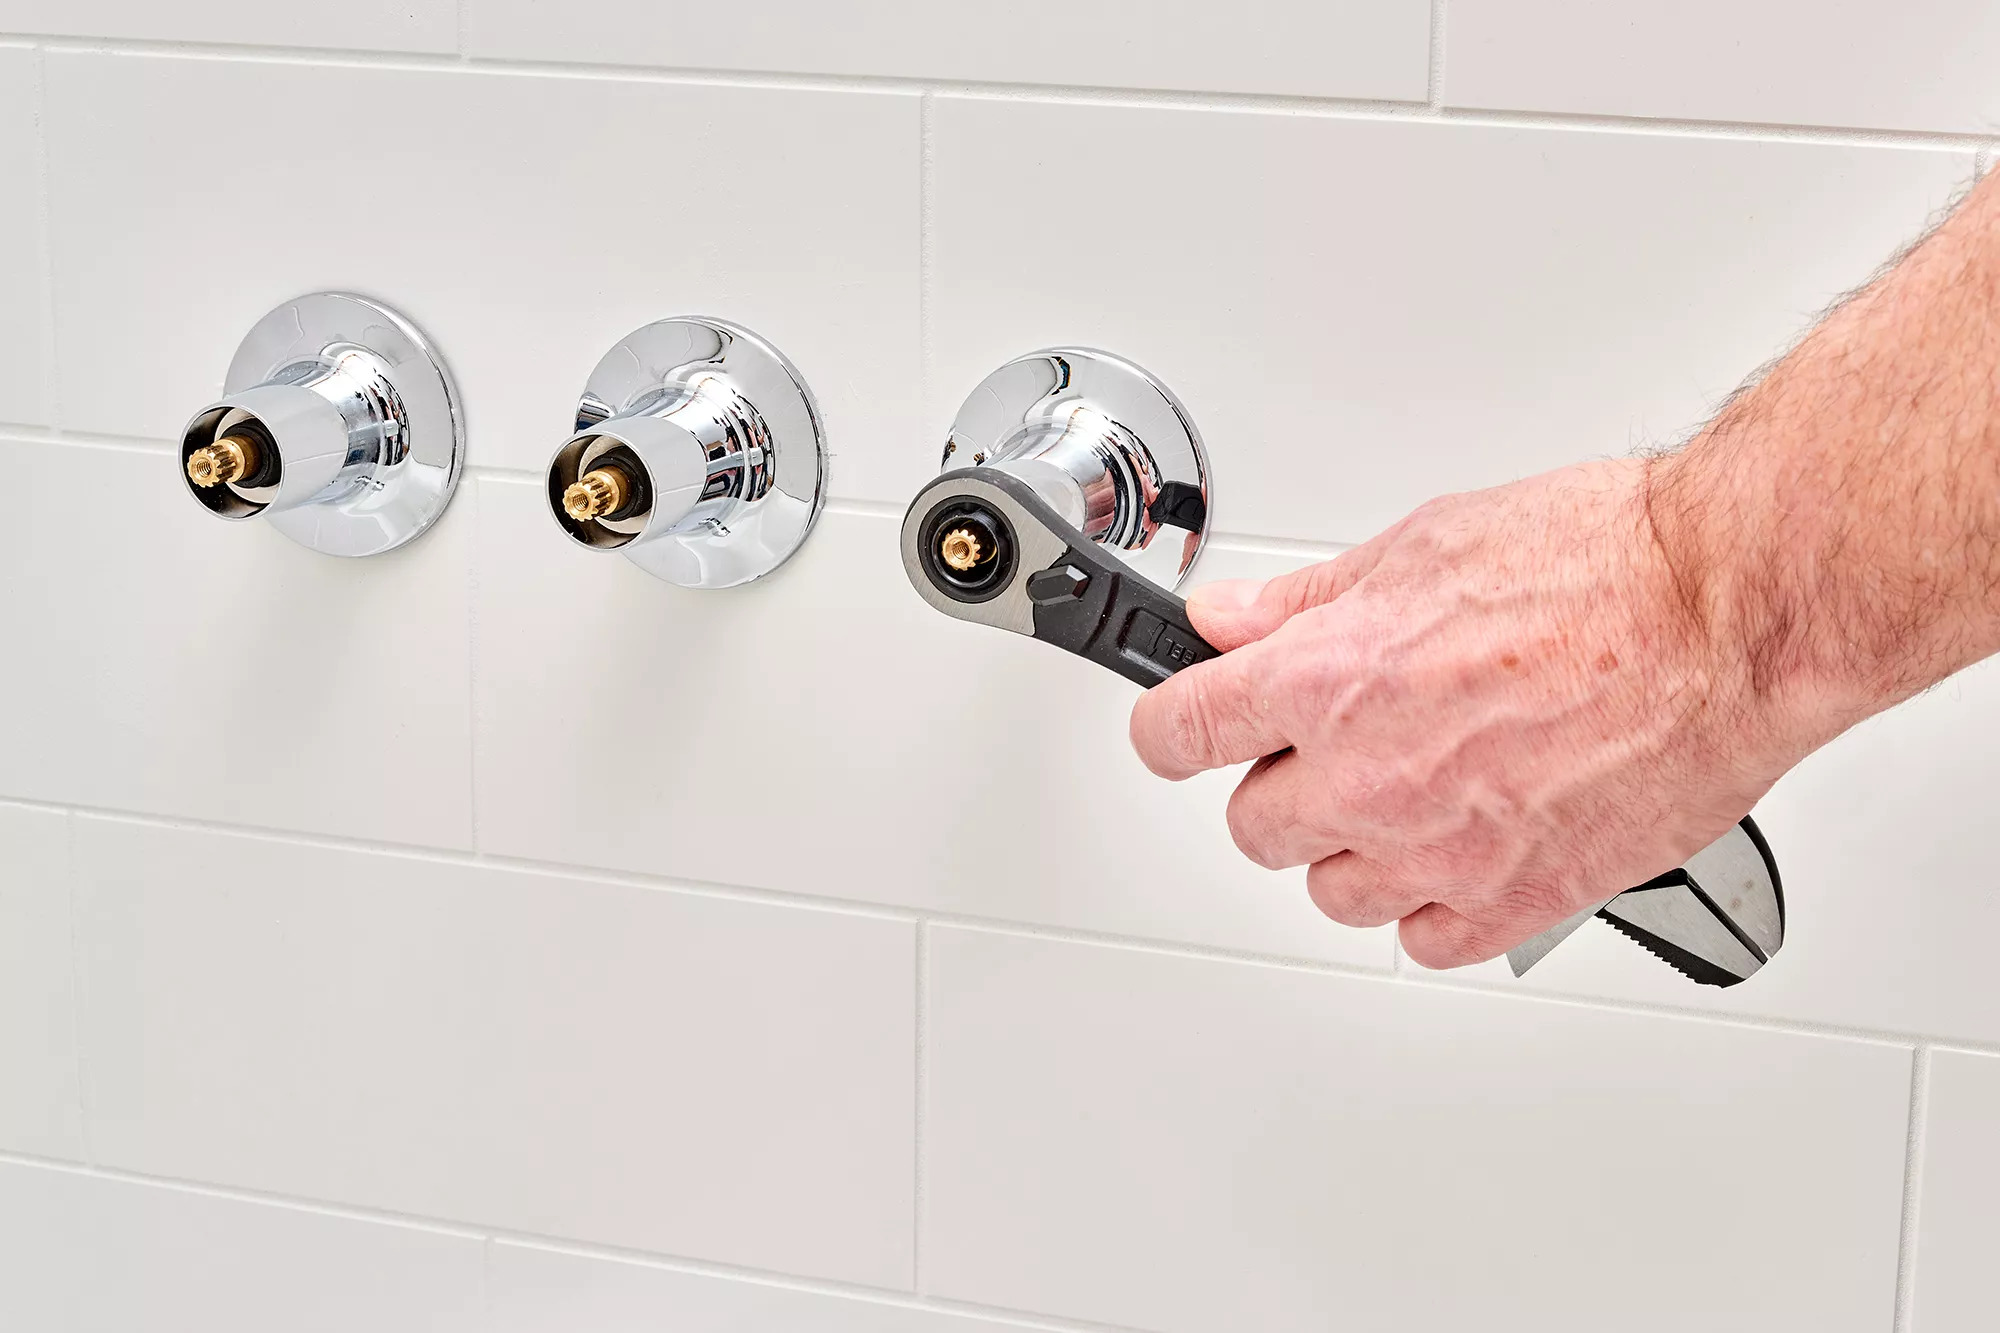
Step 3: Remove the retaining nut
With the faucet handle out of the way, the next step is to remove the retaining nut that holds the faucet stem in place. Follow these steps to remove the nut:
- Locate the retaining nut: The retaining nut is a small, round nut that secures the faucet stem to the rest of the faucet assembly. It is usually located directly above the stem.
- Loosen the retaining nut: Use an adjustable wrench or a suitable tool to grip the retaining nut firmly. Turn it counterclockwise or to the left to loosen it. The nut may be tight, so you may need to apply some force or use a penetrating oil to help loosen it.
- Remove the retaining nut: Once the nut is loose, continue turning it until it comes completely off. Set the nut aside in a safe place, as you will need it for reassembly.
Some faucet models may have additional components, such as a bonnet or cap, that need to be removed before you can access the retaining nut. If your faucet has any additional parts, consult the manufacturer’s instructions or a repair guide specific to your faucet model to determine the necessary steps to remove them.
Once the retaining nut is removed, you can proceed to the next step of removing the faucet stem itself.
Remember to keep track of all the parts you remove and their order of removal. Taking pictures or making notes can be helpful when it’s time to reassemble the faucet.
With the retaining nut successfully removed, you are now ready to move on to the next step: removing the faucet stem.
Before removing the faucet stem, make sure to turn off the water supply to the faucet. Use a wrench to carefully loosen and remove the stem, being cautious not to damage the surrounding fixtures.
Step 4: Remove the faucet stem
Now that the retaining nut is off, it’s time to remove the faucet stem. Follow these steps to take out the stem:
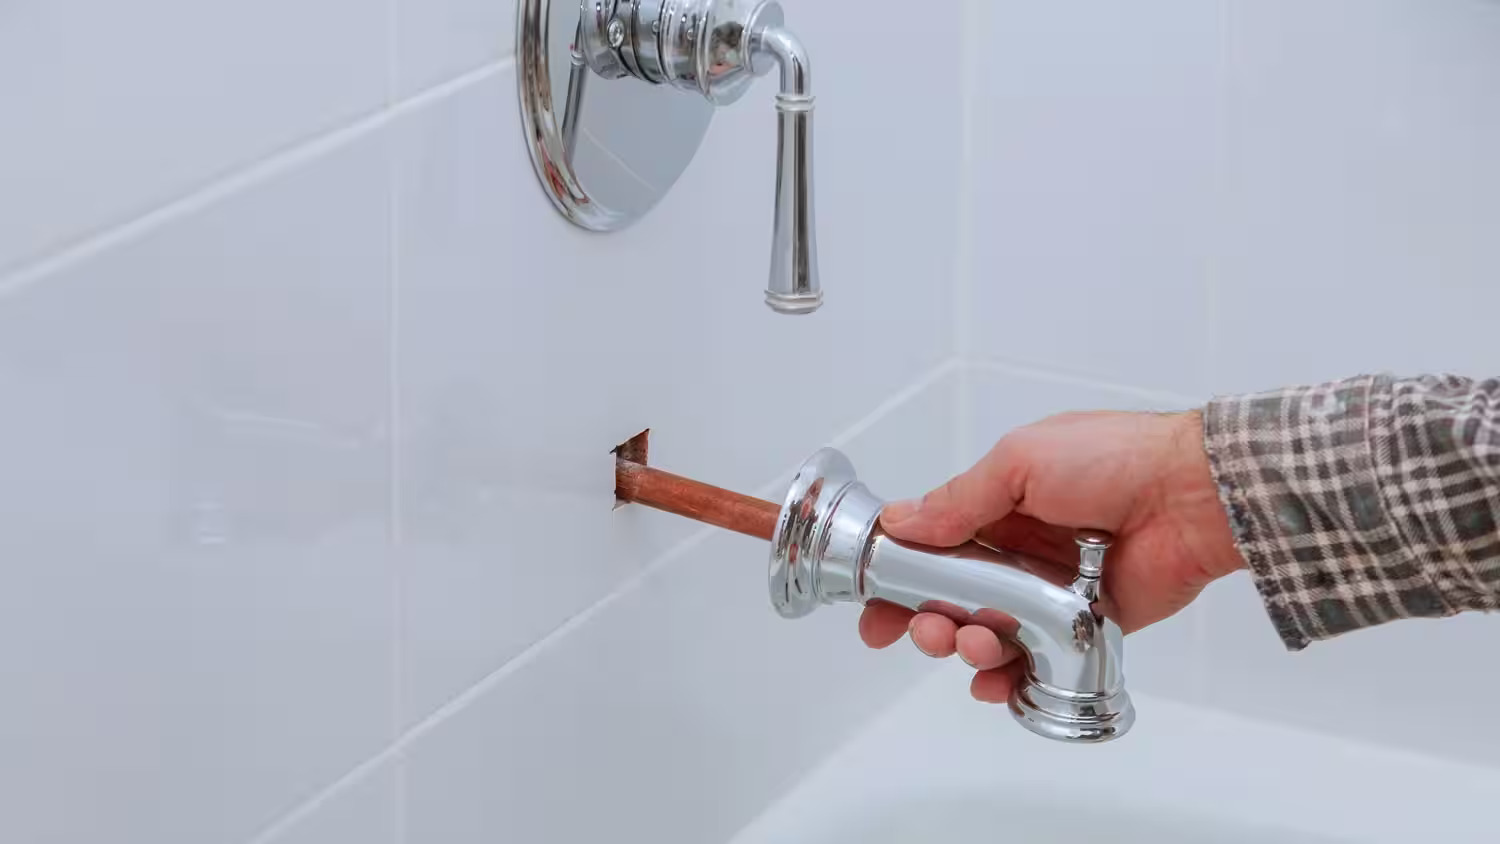
- Gently pull out the faucet stem: With the retaining nut removed, you should be able to pull the faucet stem out of the faucet body. Apply even pressure and pull straight out to avoid any damage to the stem or surrounding components.
- Inspect the faucet stem: Once the stem is removed, take a moment to inspect it for any signs of wear, damage, or mineral buildup. Check the rubber washers and seals for any cracks or deterioration. If the stem is severely damaged or corroded, it is recommended to replace it entirely.
Make sure to keep the stem in a safe place as you will need it to match it with the replacement stem or as a reference when purchasing a new one.
If the faucet stem is stuck and you are unable to pull it out, try twisting it gently with your hands or use pliers to grip the stem and give it a gentle twist while pulling. Be careful not to apply excessive force, as this can cause further damage to the faucet or stem.
With the faucet stem removed, you can move on to the next step: cleaning the faucet stem to prepare it for replacement or reinstallation.
Note: The steps for removing the faucet stem may vary slightly depending on the faucet model. Always consult the manufacturer’s instructions or a repair guide specific to your faucet to ensure you are following the correct procedure.
Step 5: Clean the faucet stem
Once the faucet stem is removed, it’s important to clean it thoroughly before proceeding with the replacement or reinstallation. Cleaning the stem will remove any mineral deposits, debris, or buildup that may affect its performance. Follow these steps to clean the faucet stem:
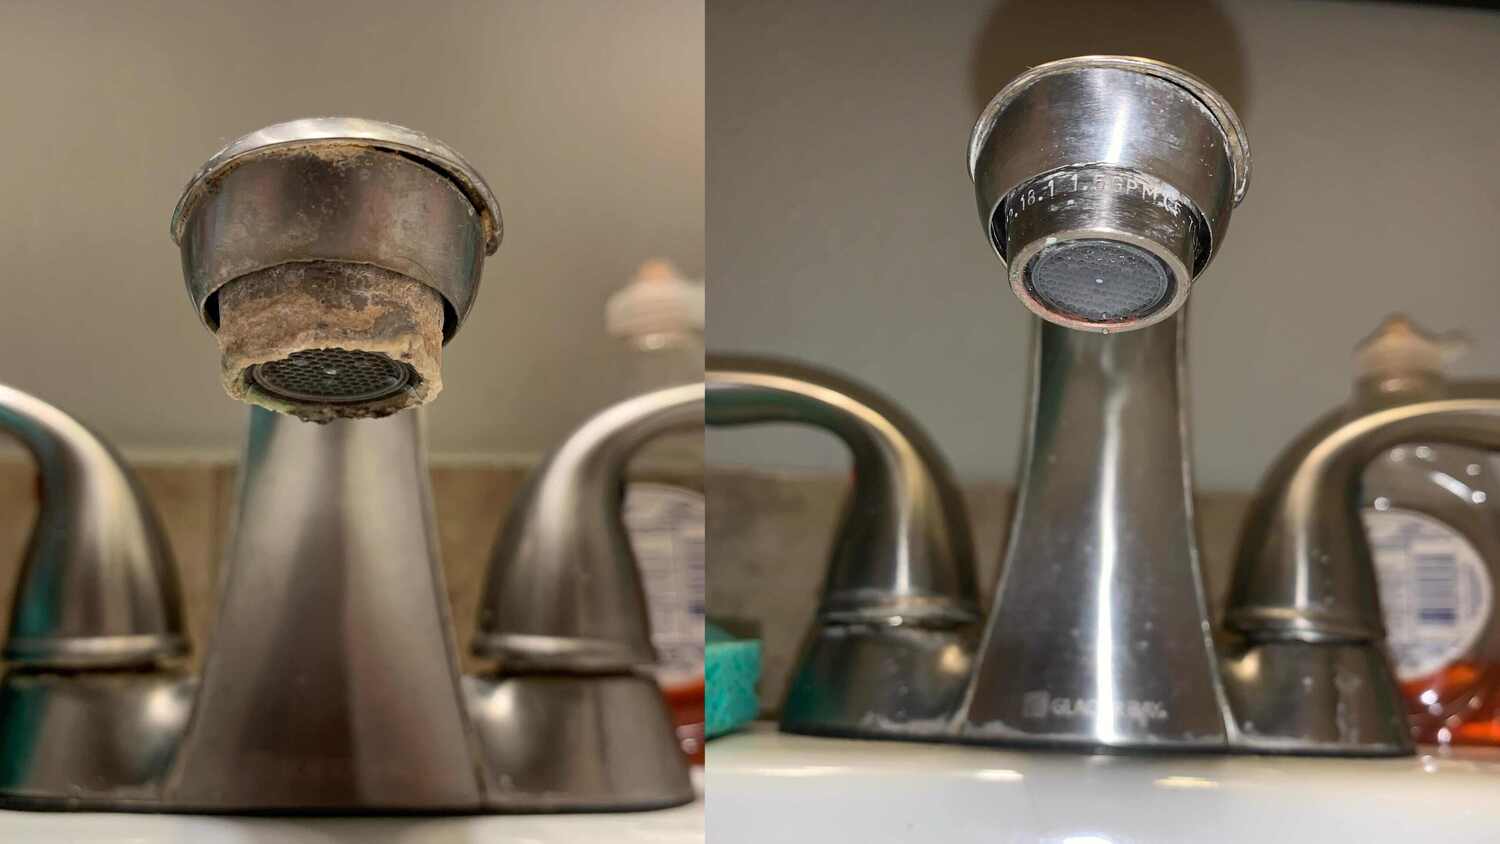
- Inspect the stem for any visible debris or mineral deposits. Use a soft cloth or brush to gently wipe away any loose dirt or buildup. Pay close attention to the threaded portion of the stem and the area where the washers and seals are located.
- If there are stubborn mineral deposits or buildup, soak the faucet stem in a mixture of vinegar and water. Fill a container or bowl with equal parts vinegar and water and place the stem inside. Let it soak for an hour or two to dissolve the mineral deposits.
- After soaking, use a soft brush or toothbrush to scrub the stem gently. Focus on areas with stubborn buildup and use small, circular motions to remove it. Rinse the stem thoroughly with clean water to remove any remaining vinegar.
- Inspect the rubber washers and seals for wear or damage. If they are cracked, deteriorated, or worn out, it’s recommended to replace them with new ones. You can find replacement washers and seals at your local hardware store or plumbing supply store.
Once the faucet stem is clean and the washers and seals are in good condition, you can proceed with the replacement or reinstallation process. Make sure the stem is completely dry before moving on to the next step to prevent any water damage or corrosion.
Cleaning the faucet stem is an essential step that ensures smooth operation and prolongs the lifespan of your faucet. By removing any debris or buildup, you can maintain optimal water flow and prevent any leaks or malfunctions.
With the stem thoroughly cleaned and inspected, you are now ready for the next step: replacing the faucet stem or reassembling the faucet.
Step 6: Replace the faucet stem
Now that the faucet stem is clean and in good condition, it’s time to replace it with a new one or reassemble the faucet if you are using the same stem. Follow these steps to replace the faucet stem:
- Match the old stem with a new one: If you are replacing the faucet stem, take the old stem to the hardware store or plumbing supply store to find a replacement that matches the same size and shape. Alternatively, consult the manufacturer’s instructions or a repair guide specific to your faucet model to determine the correct replacement.
- Apply Teflon tape: Before installing the stem, wrap the threaded portion of the stem with Teflon tape. This will create a watertight seal and prevent any leaks. Wrap the tape in a clockwise direction, ensuring that it covers the entire threaded area.
- Insert the stem back into the faucet body: Gently insert the stem into the faucet body, aligning it with the opening. Push it in firmly but carefully to ensure it is properly seated.
- Secure the stem with the retaining nut: Screw the retaining nut back onto the faucet body to secure the stem in place. Use an adjustable wrench or suitable tool to tighten the nut clockwise or to the right. Be careful not to overtighten, as this can cause damage to the stem or other components.
If you are reassembling the faucet with the same stem, follow the steps in reverse order to reinstall the stem. Make sure the stem is properly aligned and fully inserted into the faucet body before securing it with the retaining nut.
Once the stem is securely in place, give it a gentle twist or wiggle to ensure it is stable. It should not move or rotate excessively. If it feels loose, double-check the retaining nut and tighten it further if necessary.
With the faucet stem replaced or reassembled, you are now ready to proceed to the final step: reassembling the faucet and turning on the water supply.
Note: The replacement process may vary slightly depending on the faucet model. Always refer to the manufacturer’s instructions or a repair guide specific to your faucet for the most accurate and detailed steps.
Read more: How To Remove Faucet Handle
Step 7: Reassemble the faucet
With the new faucet stem in place or the existing stem reinstalled, it’s time to reassemble the faucet and get it ready for use. Follow these steps to reassemble the faucet:
- Place the faucet handle back onto the stem: Align the handle with the stem and slide it back into position. Make sure it fits snugly and is properly aligned.
- Secure the handle with screws or caps: If your faucet handle has screws, use a Phillips screwdriver to tighten them back into place. If there are decorative caps, snap them back on or press them firmly until they are secure.
- Turn on the water supply: Locate the shut-off valves beneath the sink and turn them counterclockwise or to the left to open the water supply. This will allow water to flow through the faucet.
- Test the faucet: Turn on the faucet and let the water run for a few minutes. Check for any leaks or drips around the faucet stem. If you notice any leaks, try tightening the retaining nut slightly. If the leaks persist, you may need to disassemble the faucet again and check for any damaged or faulty parts.
- Make necessary adjustments: If the water flow or temperature is not to your liking, adjust the faucet handle accordingly. Some faucets have hot and cold water limiters that can be adjusted to control the temperature range.
With the faucet reassembled and functioning properly, enjoy the satisfaction of a leak-free and fully operational faucet. Remember to keep an eye on the faucet and address any issues promptly to prevent any further damage or water waste.
Congratulations! You have successfully removed and replaced a faulty faucet stem. By following these steps, you have saved both time and money that would have been spent on calling a professional plumber. With a little bit of effort and the right tools, you can tackle many common plumbing issues on your own.
If you encounter any difficulties during the process or are unsure about any steps, it’s always a good idea to consult a plumber or seek professional advice. Additionally, refer to the manufacturer’s instructions or specific repair guides for your faucet model if available.
Thank you for following this guide. We hope you found it helpful and that you now have the confidence to tackle similar faucet repair jobs in the future!
Conclusion
Repairing a leaky faucet doesn’t always require the expertise of a professional plumber. By following the step-by-step guide outlined in this article, you can confidently remove and replace a faulty faucet stem on your own. Not only will you save money on plumbing services, but you’ll also gain the satisfaction of tackling a DIY project and restoring your faucet to its optimal functionality.
We started by understanding the importance of the faucet stem and how it controls the water flow and temperature in your faucet. We then walked through the tools and materials needed for this project, ensuring you have everything on hand before getting started.
The step-by-step instructions guided you through each stage of the process, including turning off the water supply, removing the faucet handle, taking off the retaining nut, and finally, removing and cleaning the faucet stem. With the stem cleaned and inspected, you were able to easily replace it with a new one or reassemble the faucet with the existing stem, depending on your specific needs.
Throughout the repair process, it is important to pay attention to detail, gently handle the components, and make any necessary adjustments. Testing the faucet and addressing any leaks or issues ensures that your repair job is successful and reliable.
Remember, if you feel unsure or encounter any difficulties, it’s always recommended to seek professional assistance. Plumbing can be complex, and certain faucets may have unique requirements or components that are not covered in this general guide. Consult the manufacturer’s instructions or specific repair guides for your faucet model if available.
By following these instructions and exercising caution, you can confidently tackle a leaky faucet and restore it to its full functionality. Enjoy the satisfaction of a job well done and the peace of mind that comes with fixing a common household issue on your own.
Thank you for utilizing this comprehensive guide. We hope it has been helpful in your faucet repair journey. Happy repairing!
Frequently Asked Questions about How To Remove Faucet Stem
Was this page helpful?
At Storables.com, we guarantee accurate and reliable information. Our content, validated by Expert Board Contributors, is crafted following stringent Editorial Policies. We're committed to providing you with well-researched, expert-backed insights for all your informational needs.


0 thoughts on “How To Remove Faucet Stem”