Home>Renovation & DIY>Tools & Equipment>How To Spackle A Nail Hole
Tools & Equipment
How To Spackle A Nail Hole
Modified: August 17, 2024
Learn the step-by-step process of spackling a nail hole using essential tools and equipment. Discover expert tips for achieving a flawless finish.
(Many of the links in this article redirect to a specific reviewed product. Your purchase of these products through affiliate links helps to generate commission for Storables.com, at no extra cost. Learn more)
Introduction
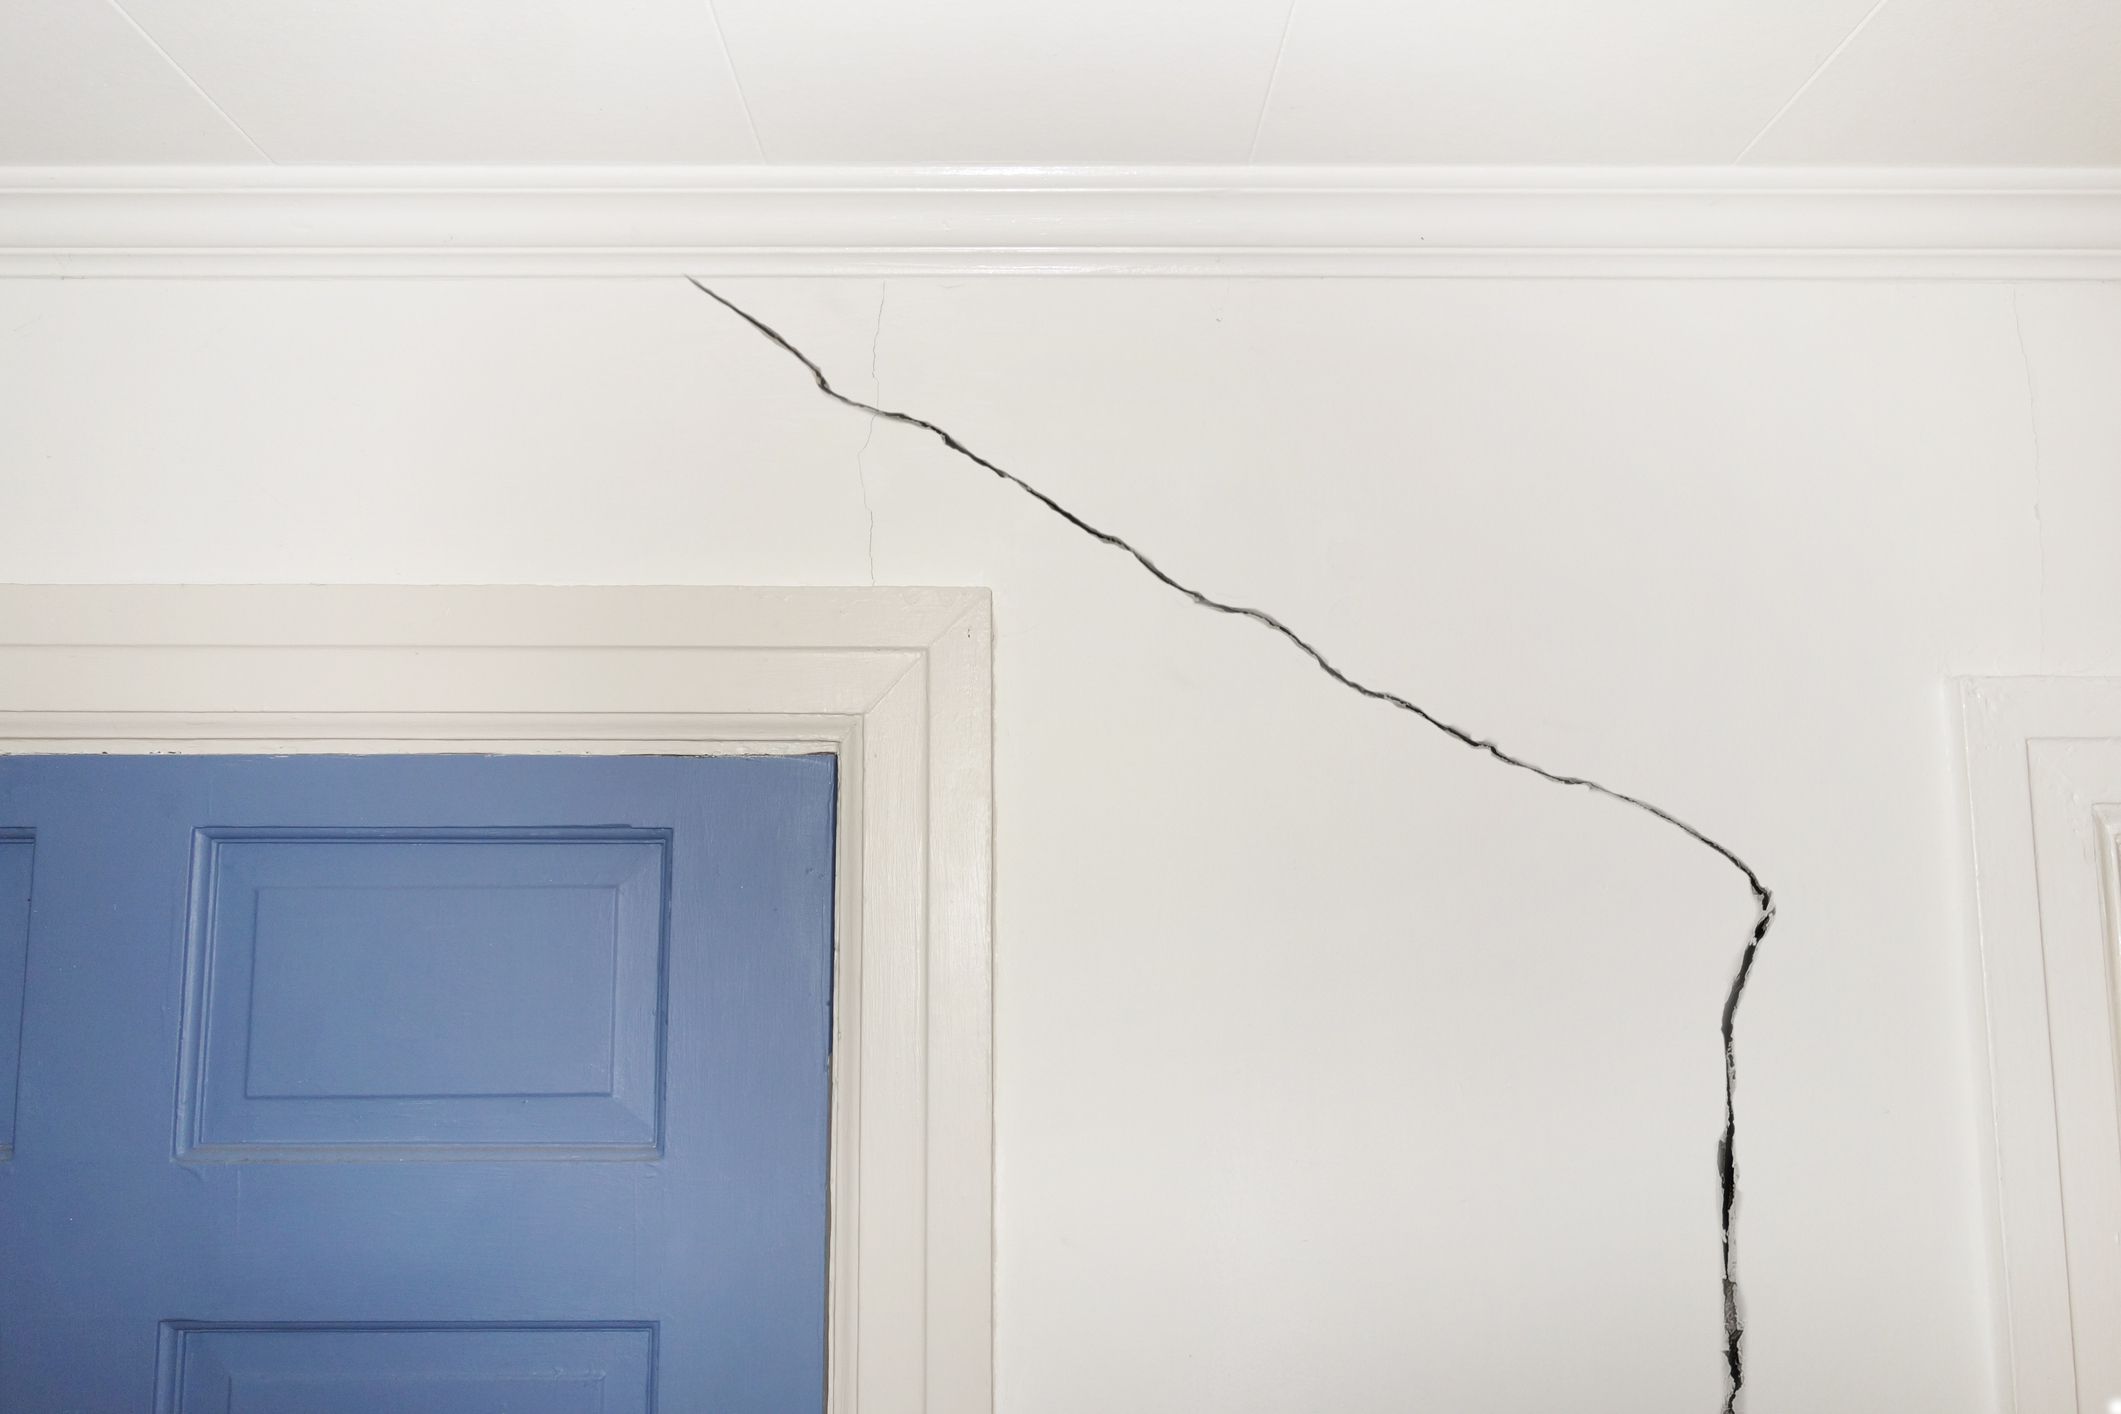
Welcome to the world of DIY home improvement! Whether you’re a seasoned DIY enthusiast or just starting to explore the realm of home repairs, learning how to spackle a nail hole is a valuable skill that can help maintain the pristine appearance of your walls. From accidentally bumping into a wall to rearranging artwork, nail holes are a common sight in most homes. Fortunately, the process of spackling a nail hole is relatively simple and can be accomplished with just a few basic tools and materials.
In this guide, we’ll walk you through the step-by-step process of spackling a nail hole, from preparing the area to applying the spackle and achieving a seamless finish. By following these instructions, you’ll be able to restore your walls to their former glory, ensuring that unsightly nail holes become a thing of the past.
Key Takeaways:
- Easily fill and smooth nail holes with spackle, putty knife, sandpaper, and paint. Achieve a seamless finish and maintain pristine walls with just a few basic tools and materials.
- Prepare, apply, smooth, and blend spackle for a flawless result. Master the art of spackling to conceal nail holes and restore walls with confidence and precision.
Read more: How To Spackle Large Holes
Materials Needed
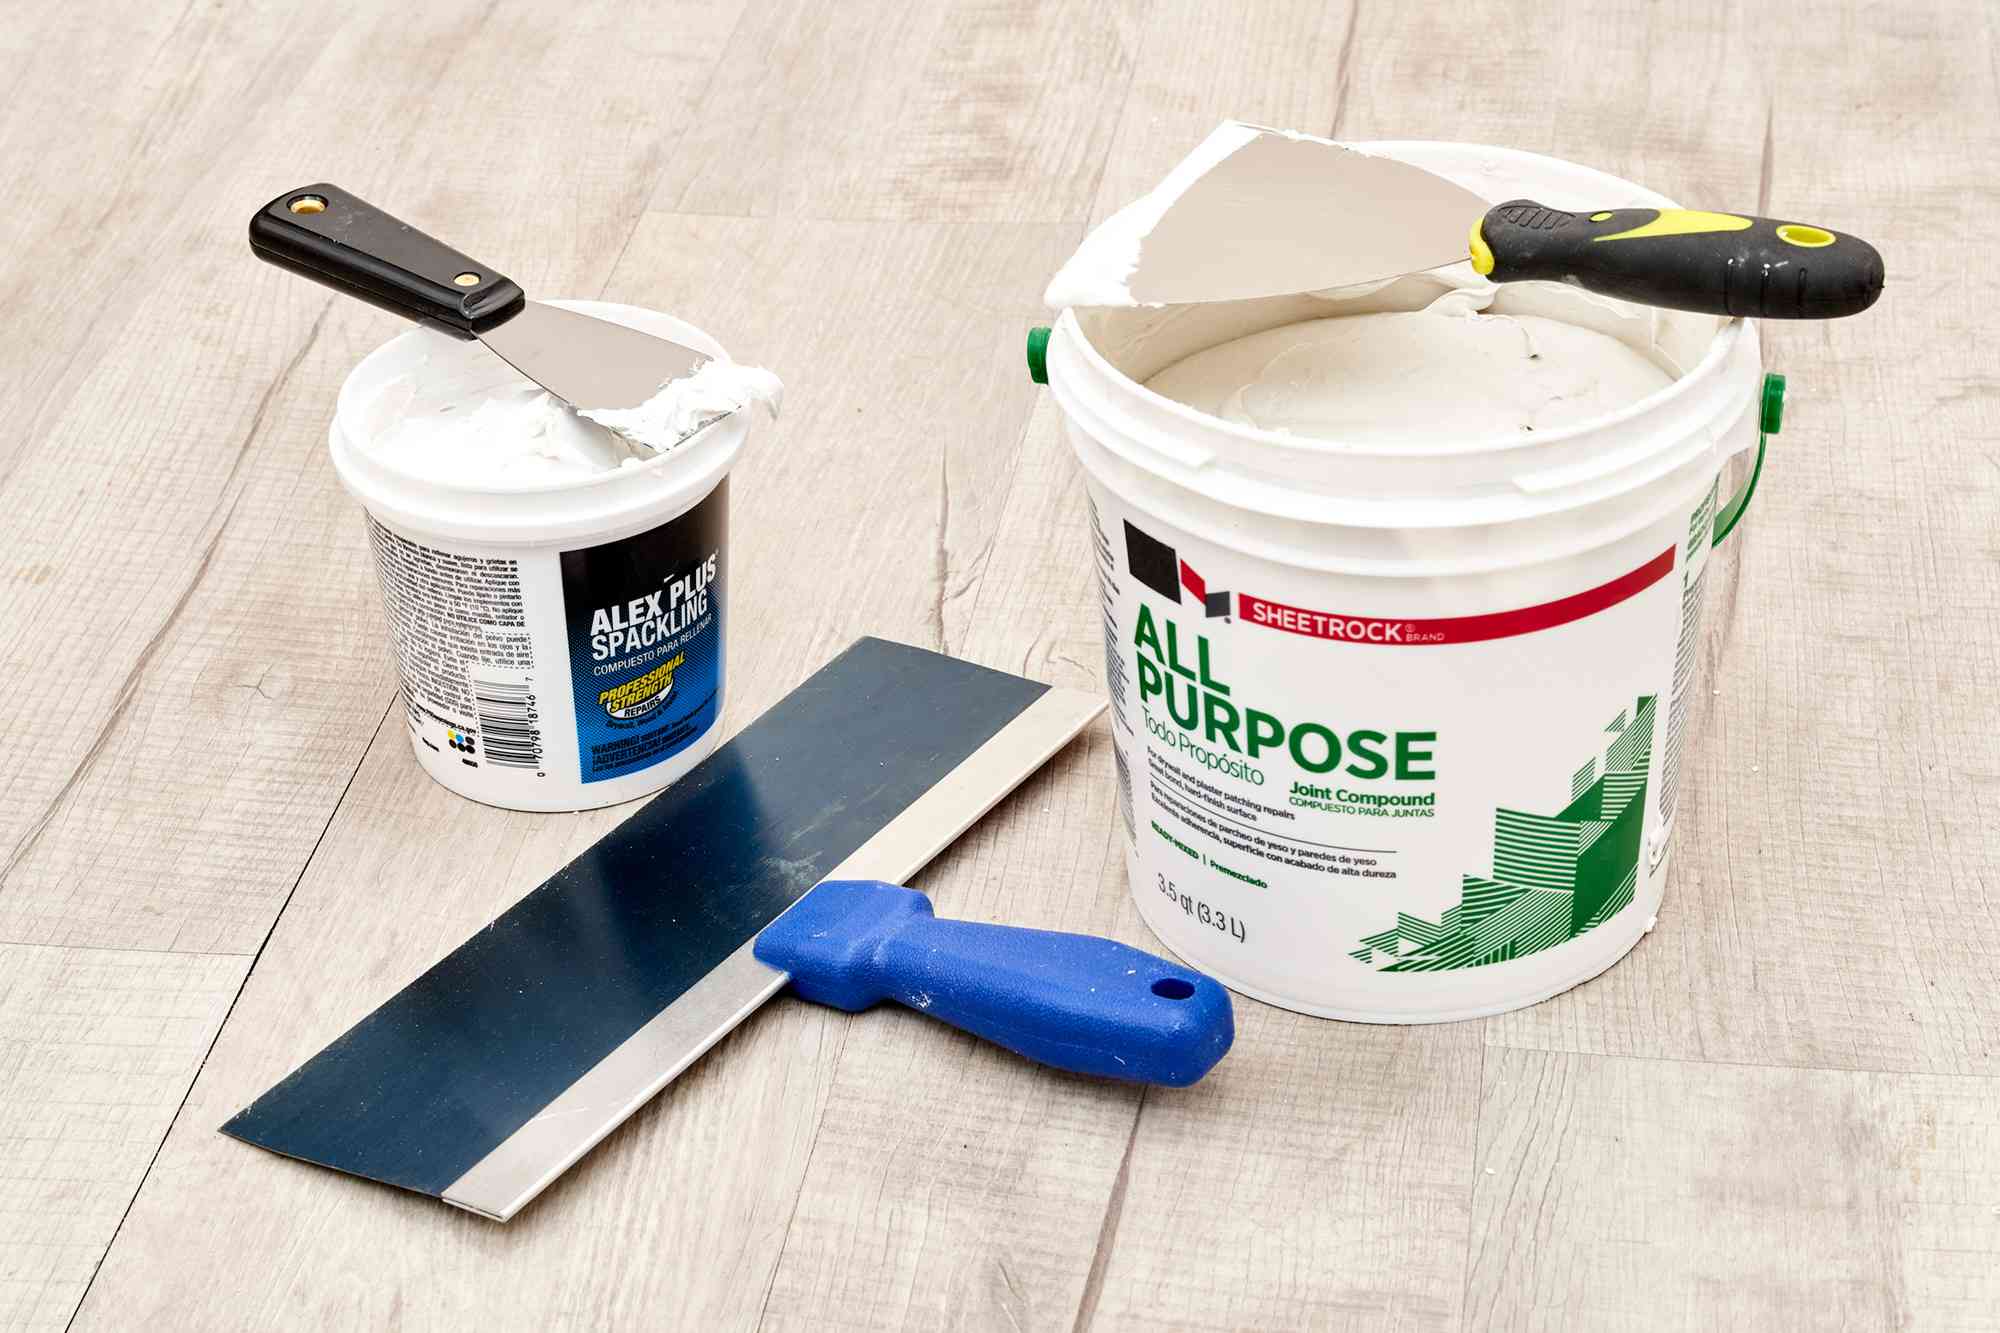
Before you begin spackling a nail hole, it’s important to gather the necessary materials. Fortunately, you won’t need an extensive array of tools and supplies for this task. Here’s what you’ll need:
- Spackle: This is the primary material used to fill the nail hole. It’s available in small containers and is easy to work with.
- Putty knife: A putty knife, also known as a spackling knife, is essential for applying and smoothing the spackle.
- Sandpaper: You’ll need fine-grit sandpaper to sand the spackled area once it’s dry, ensuring a smooth finish.
- Clean, damp cloth: A damp cloth is useful for wiping away any excess spackle and ensuring a clean, polished result.
- Primer and paint: Depending on the color of your wall, you may need a small amount of primer and matching paint to touch up the spackled area and blend it seamlessly with the surrounding wall.
With these materials on hand, you’ll be well-equipped to tackle the task of spackling nail holes effectively and efficiently.
Step 1: Prepare the Area
Before you begin spackling the nail hole, it’s essential to prepare the surrounding area to ensure a successful outcome. Here’s how to do it:
Clean the surface: Start by cleaning the area around the nail hole. Use a clean, damp cloth to remove any dust, dirt, or debris. A clean surface will allow the spackle to adhere more effectively, resulting in a smoother finish.
Assess the nail hole: Examine the nail hole to ensure that it’s free of any loose debris or old spackle. If necessary, use a small brush or the edge of your putty knife to gently remove any loose material from the hole.
Protect the surrounding area: To prevent accidental spackle application on adjacent surfaces, consider using painter’s tape to mask off the area around the nail hole. This will help maintain a clean and precise application.
By taking the time to prepare the area properly, you’ll create an optimal environment for spackling the nail hole and achieve a professional-looking result.
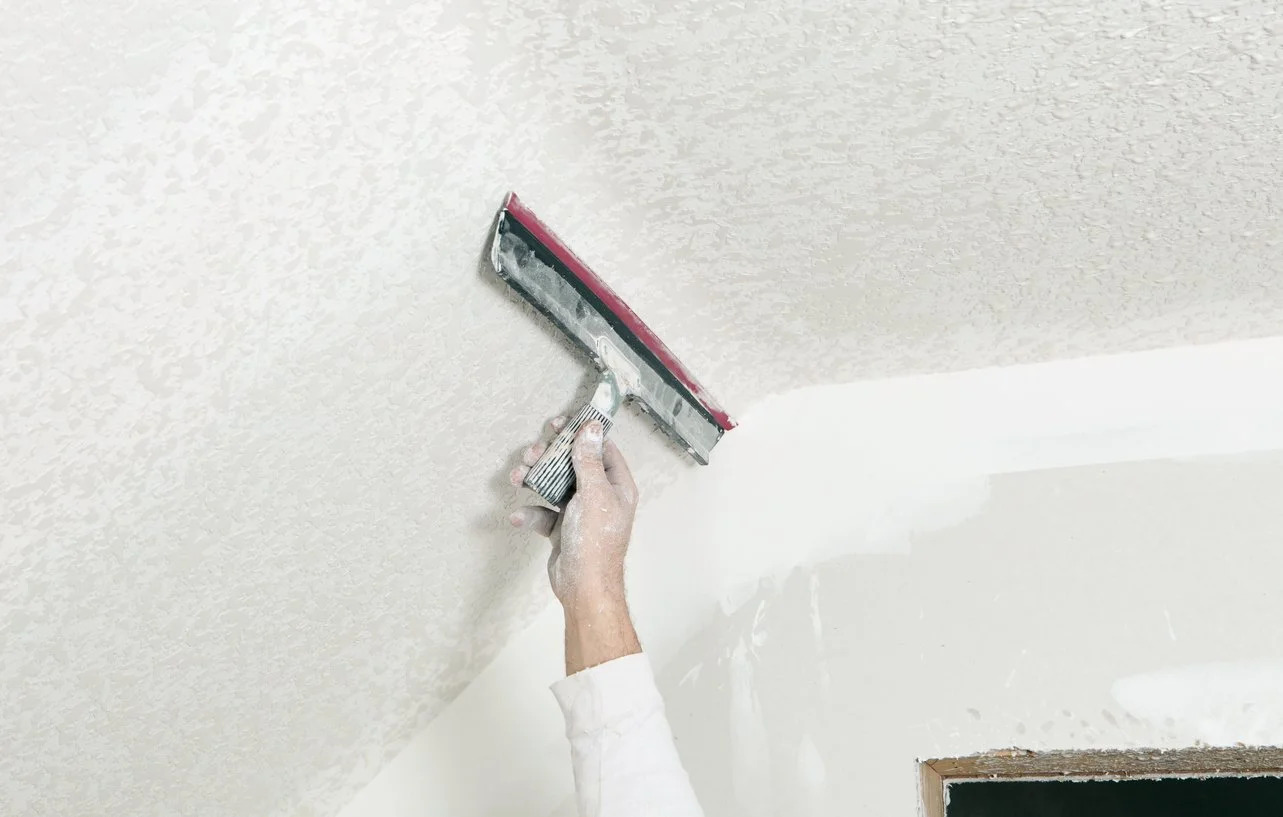
Step 2: Apply the Spackle
With the area prepared, it’s time to apply the spackle to the nail hole. Follow these steps for a successful application:
Load the putty knife: Use the putty knife to scoop a small amount of spackle from the container. If the spackle is too firm, you can soften it slightly by adding a few drops of water and mixing it until you achieve a smooth, creamy consistency.
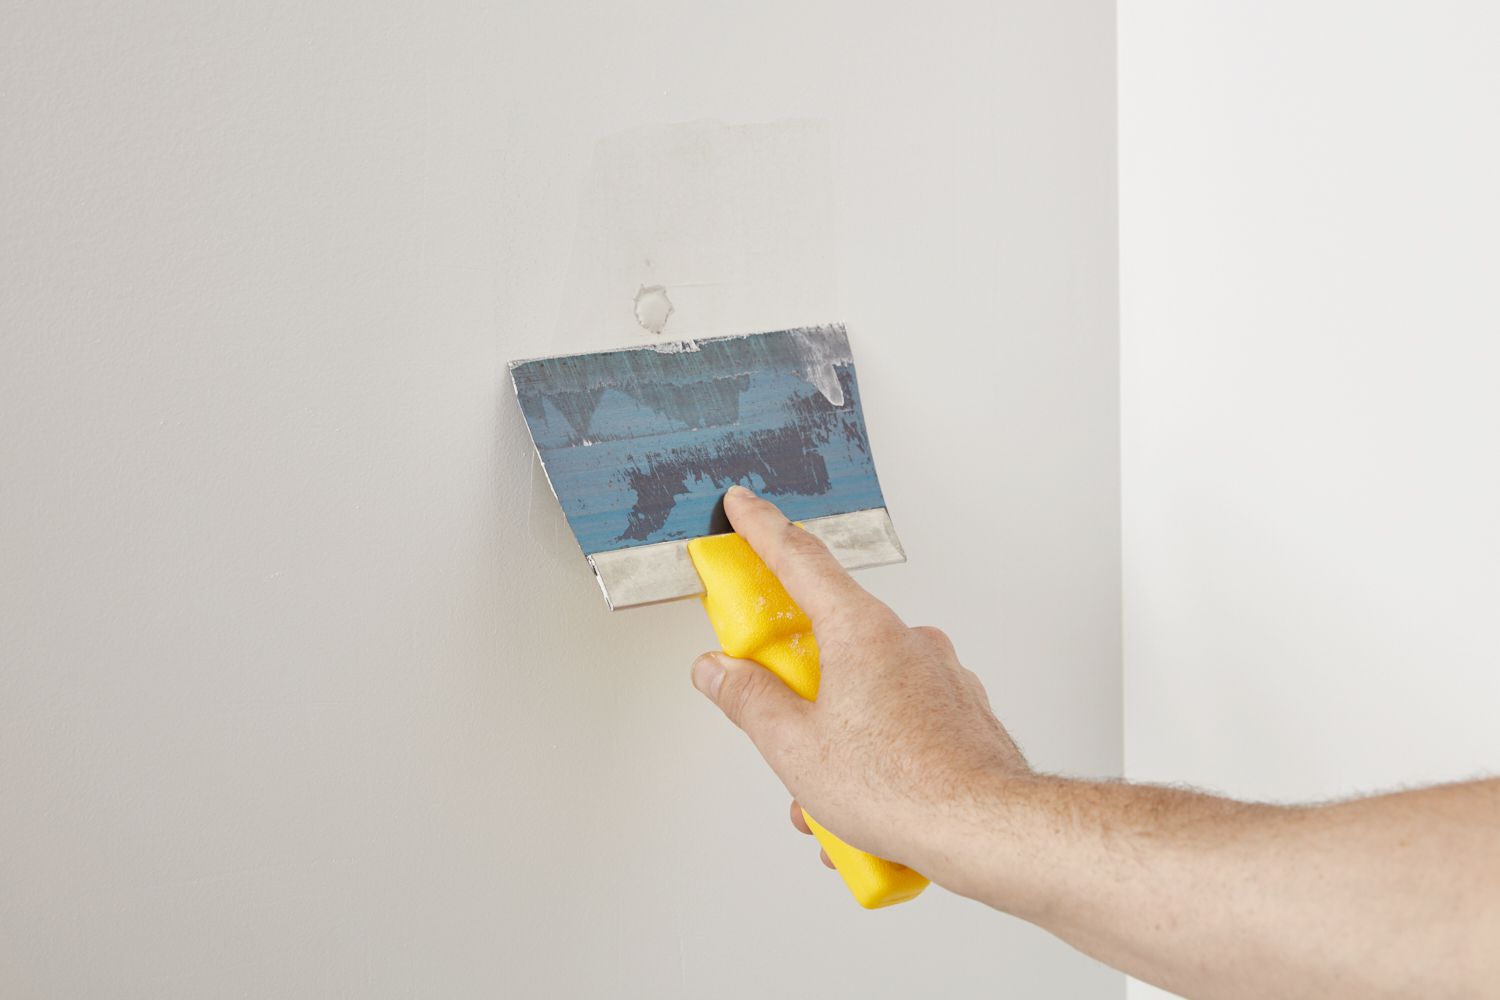
Fill the nail hole: Press the spackle firmly into the nail hole using the putty knife. Ensure that the hole is completely filled and slightly overfilled to account for shrinkage as the spackle dries. Use a slight overfill to create a smooth, flush finish once the spackle is dry.
Smooth the surface: After filling the nail hole, use the putty knife to smooth the surface of the spackle, removing any excess material and ensuring a level finish. The goal is to create a seamless transition between the spackled area and the surrounding wall.
By following these steps, you’ll effectively apply the spackle to the nail hole, setting the stage for the next phase of the spackling process.
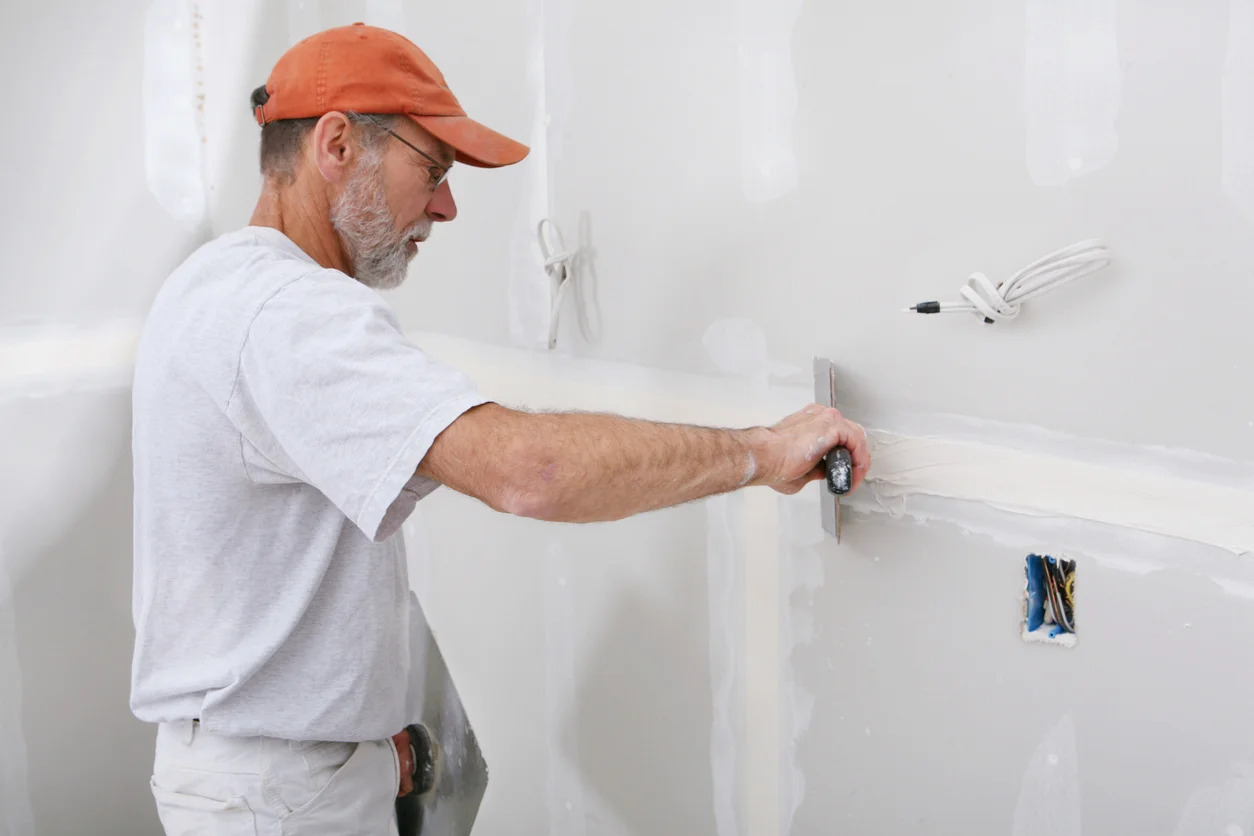
Step 3: Smooth and Blend
Once the spackle has been applied, the next crucial step is to smooth and blend it seamlessly with the surrounding wall. This process requires attention to detail and a steady hand. Here’s how to achieve a flawless finish:
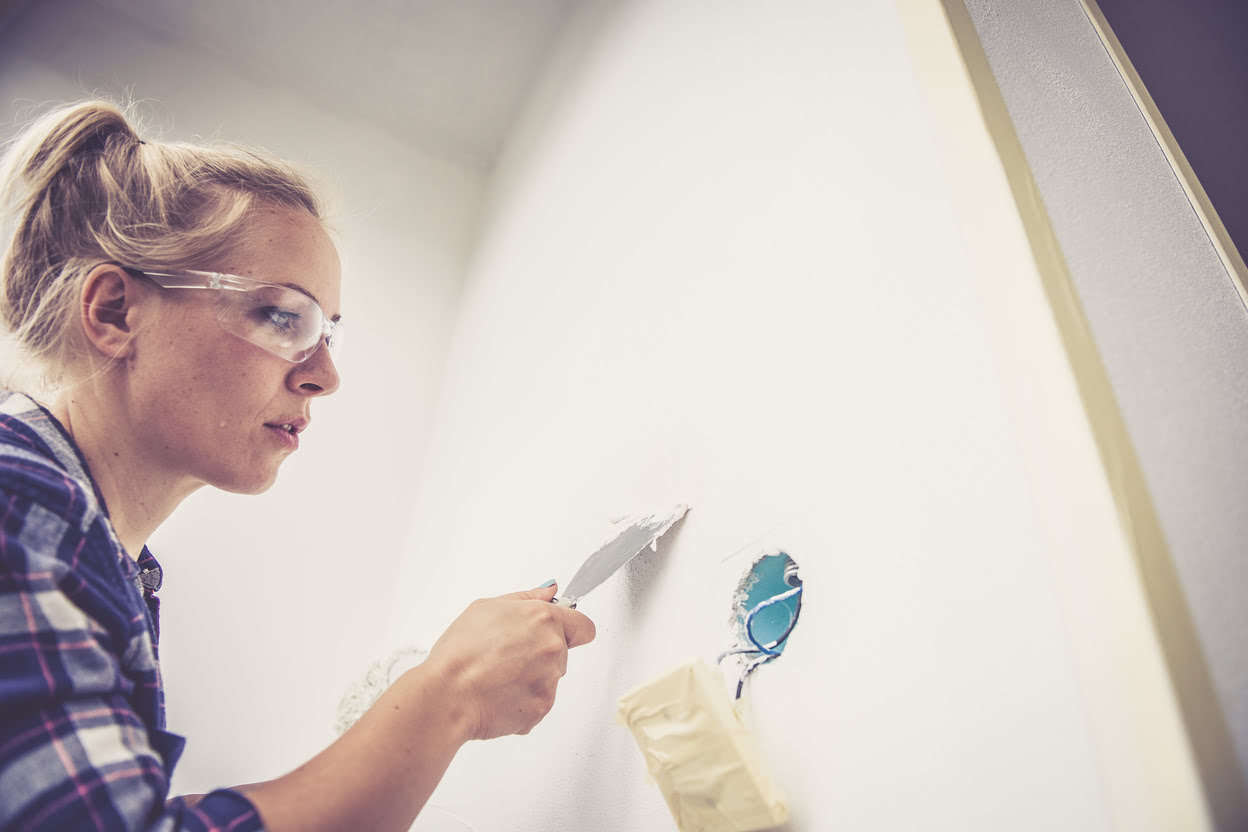
Feather the edges: Using the putty knife, gently feather the edges of the spackled area to blend it with the surrounding wall. This technique involves creating a gradual transition between the spackled spot and the wall, ensuring that there are no abrupt edges or ridges.
Check for uniformity: Step back and inspect the spackled area from different angles to ensure that it blends seamlessly with the rest of the wall. Look for any uneven spots or imperfections that may require additional smoothing.
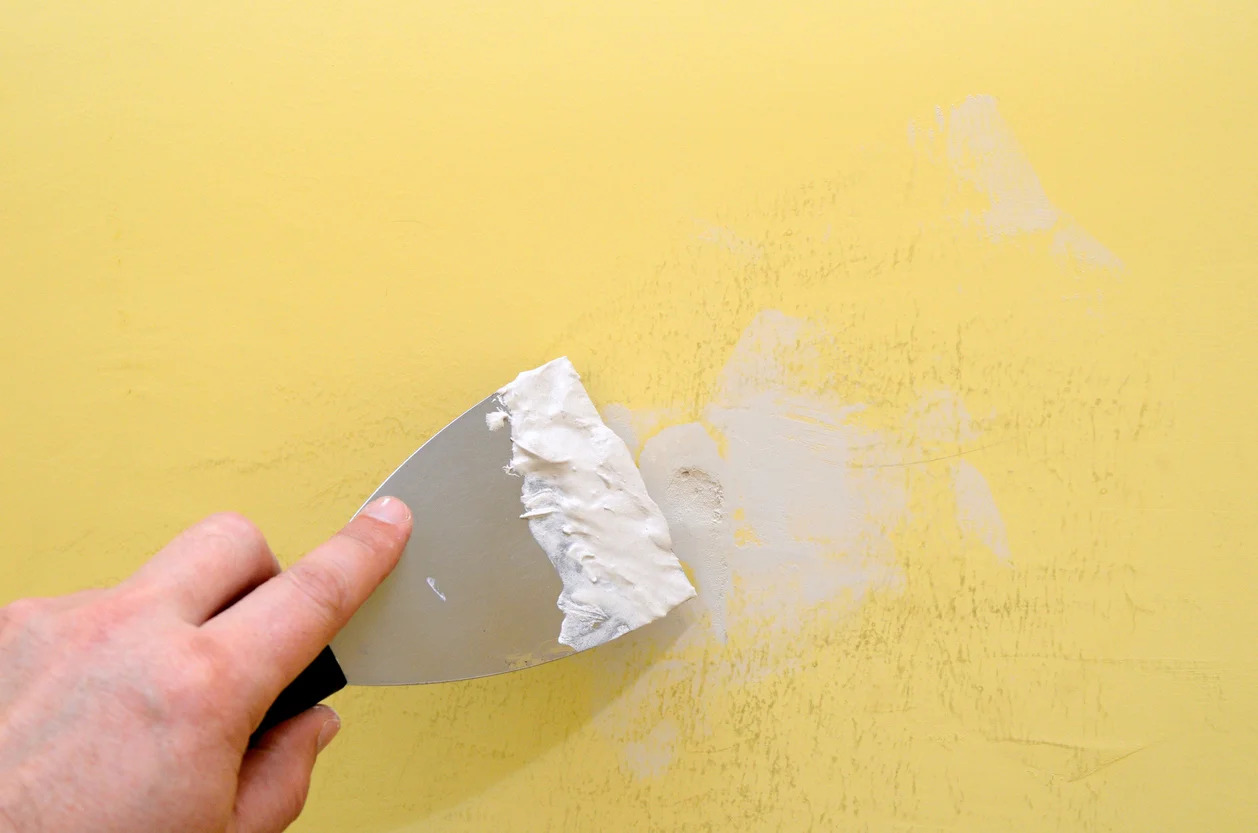
Remove excess spackle: If there is any excess spackle on the wall surrounding the nail hole, carefully remove it with the putty knife to achieve a clean and polished appearance.
By taking the time to smooth and blend the spackled area, you’ll create a seamless finish that seamlessly integrates with the surrounding wall, ensuring a professional-looking result.
Use a putty knife to apply spackle to the nail hole, then smooth it out. Let it dry, then sand it down for a smooth finish. Wipe away any excess spackle with a damp cloth.
Read more: What Is A Spackle
Step 4: Let It Dry
Once the spackle has been applied and smoothed, it’s crucial to allow sufficient time for it to dry completely. This step is essential for achieving a durable and flawless finish. Here’s what you need to know:
Follow the manufacturer’s instructions: Different types of spackle may have varying drying times. Refer to the manufacturer’s guidelines to determine the recommended drying time for the specific product you’re using. In general, spackle may take anywhere from a few hours to overnight to dry completely.
Avoid premature sanding: It’s important to resist the temptation to sand the spackled area before it’s fully dry. Sanding prematurely can compromise the integrity of the spackle and result in a subpar finish.
Check for dryness: To ensure that the spackle is thoroughly dry, lightly press your finger against the patched area. If it feels firm and no longer exhibits a soft or tacky texture, it’s likely dry and ready for the next step.
By allowing the spackle to dry completely, you’ll pave the way for the final stages of the spackling process, ultimately leading to a polished and seamless result.
Step 5: Sanding
Once the spackled area has dried completely, the next critical step is sanding. This phase is essential for achieving a smooth and seamless finish. Here’s how to approach the sanding process:
Use fine-grit sandpaper: Begin by gently sanding the dried spackle using fine-grit sandpaper. The goal is to smooth the surface of the spackled area and blend it with the surrounding wall. Avoid using coarse sandpaper, as it can create uneven patches and compromise the finish.
Work methodically: Use light, circular motions to sand the spackled area, gradually smoothing any imperfections and achieving a uniform texture. Take care to sand gently to avoid removing too much spackle or damaging the wall surface.
Check for uniformity: Periodically stop and visually inspect the sanded area to ensure that it blends seamlessly with the surrounding wall. Look for any remaining rough patches or inconsistencies that may require additional attention.
By approaching the sanding process with precision and patience, you’ll achieve a flawlessly smooth surface that seamlessly integrates with the rest of the wall, setting the stage for the final touches.
Step 6: Final Touches
As you near the completion of the spackling process, it’s time to add the final touches to ensure a seamless and professional result. Here’s how to put the finishing touches on your spackled nail hole:
Wipe the area clean: Use a clean, damp cloth to gently wipe the spackled area and remove any residual dust or debris from the sanding process. This step will ensure that the surface is clean and ready for the next phase.
Apply primer (if necessary): Depending on the color of your wall and the type of spackle used, you may need to apply a small amount of primer to the spackled area. This will help create a uniform surface and ensure that the paint adheres evenly.
Touch up with paint: Once the primer has dried, use matching paint to touch up the spackled area and seamlessly blend it with the rest of the wall. Apply the paint evenly, using a small brush or roller to achieve a uniform finish.
Inspect the final result: Step back and inspect the spackled area to ensure that it blends seamlessly with the surrounding wall. Look for any remaining imperfections or areas that may require additional touch-ups.
By adding these final touches, you’ll achieve a flawless and seamless result, effectively concealing the nail hole and restoring the wall to its original pristine condition.
Conclusion
Congratulations, you’ve successfully navigated the process of spackling a nail hole, effectively restoring your wall to its former glory. By following the step-by-step instructions outlined in this guide, you’ve acquired a valuable skill that can be applied to various home improvement projects. The seamless and professional finish you’ve achieved demonstrates your dedication to maintaining the aesthetic appeal of your living space.
Remember, spackling a nail hole is a simple yet impactful task that can make a significant difference in the appearance of your walls. Whether you’re preparing your home for a fresh coat of paint, addressing minor imperfections, or simply maintaining a polished environment, mastering the art of spackling is a valuable addition to your DIY toolkit.
As you embark on future home improvement endeavors, carry the knowledge and skills gained from this experience forward. With the right tools, materials, and a dash of creativity, you’ll continue to enhance and maintain the beauty of your living space with confidence and precision.
Thank you for joining us on this spackling journey. May your walls remain flawless and your DIY spirit continue to thrive!
Frequently Asked Questions about How To Spackle A Nail Hole
Was this page helpful?
At Storables.com, we guarantee accurate and reliable information. Our content, validated by Expert Board Contributors, is crafted following stringent Editorial Policies. We're committed to providing you with well-researched, expert-backed insights for all your informational needs.


0 thoughts on “How To Spackle A Nail Hole”