Articles
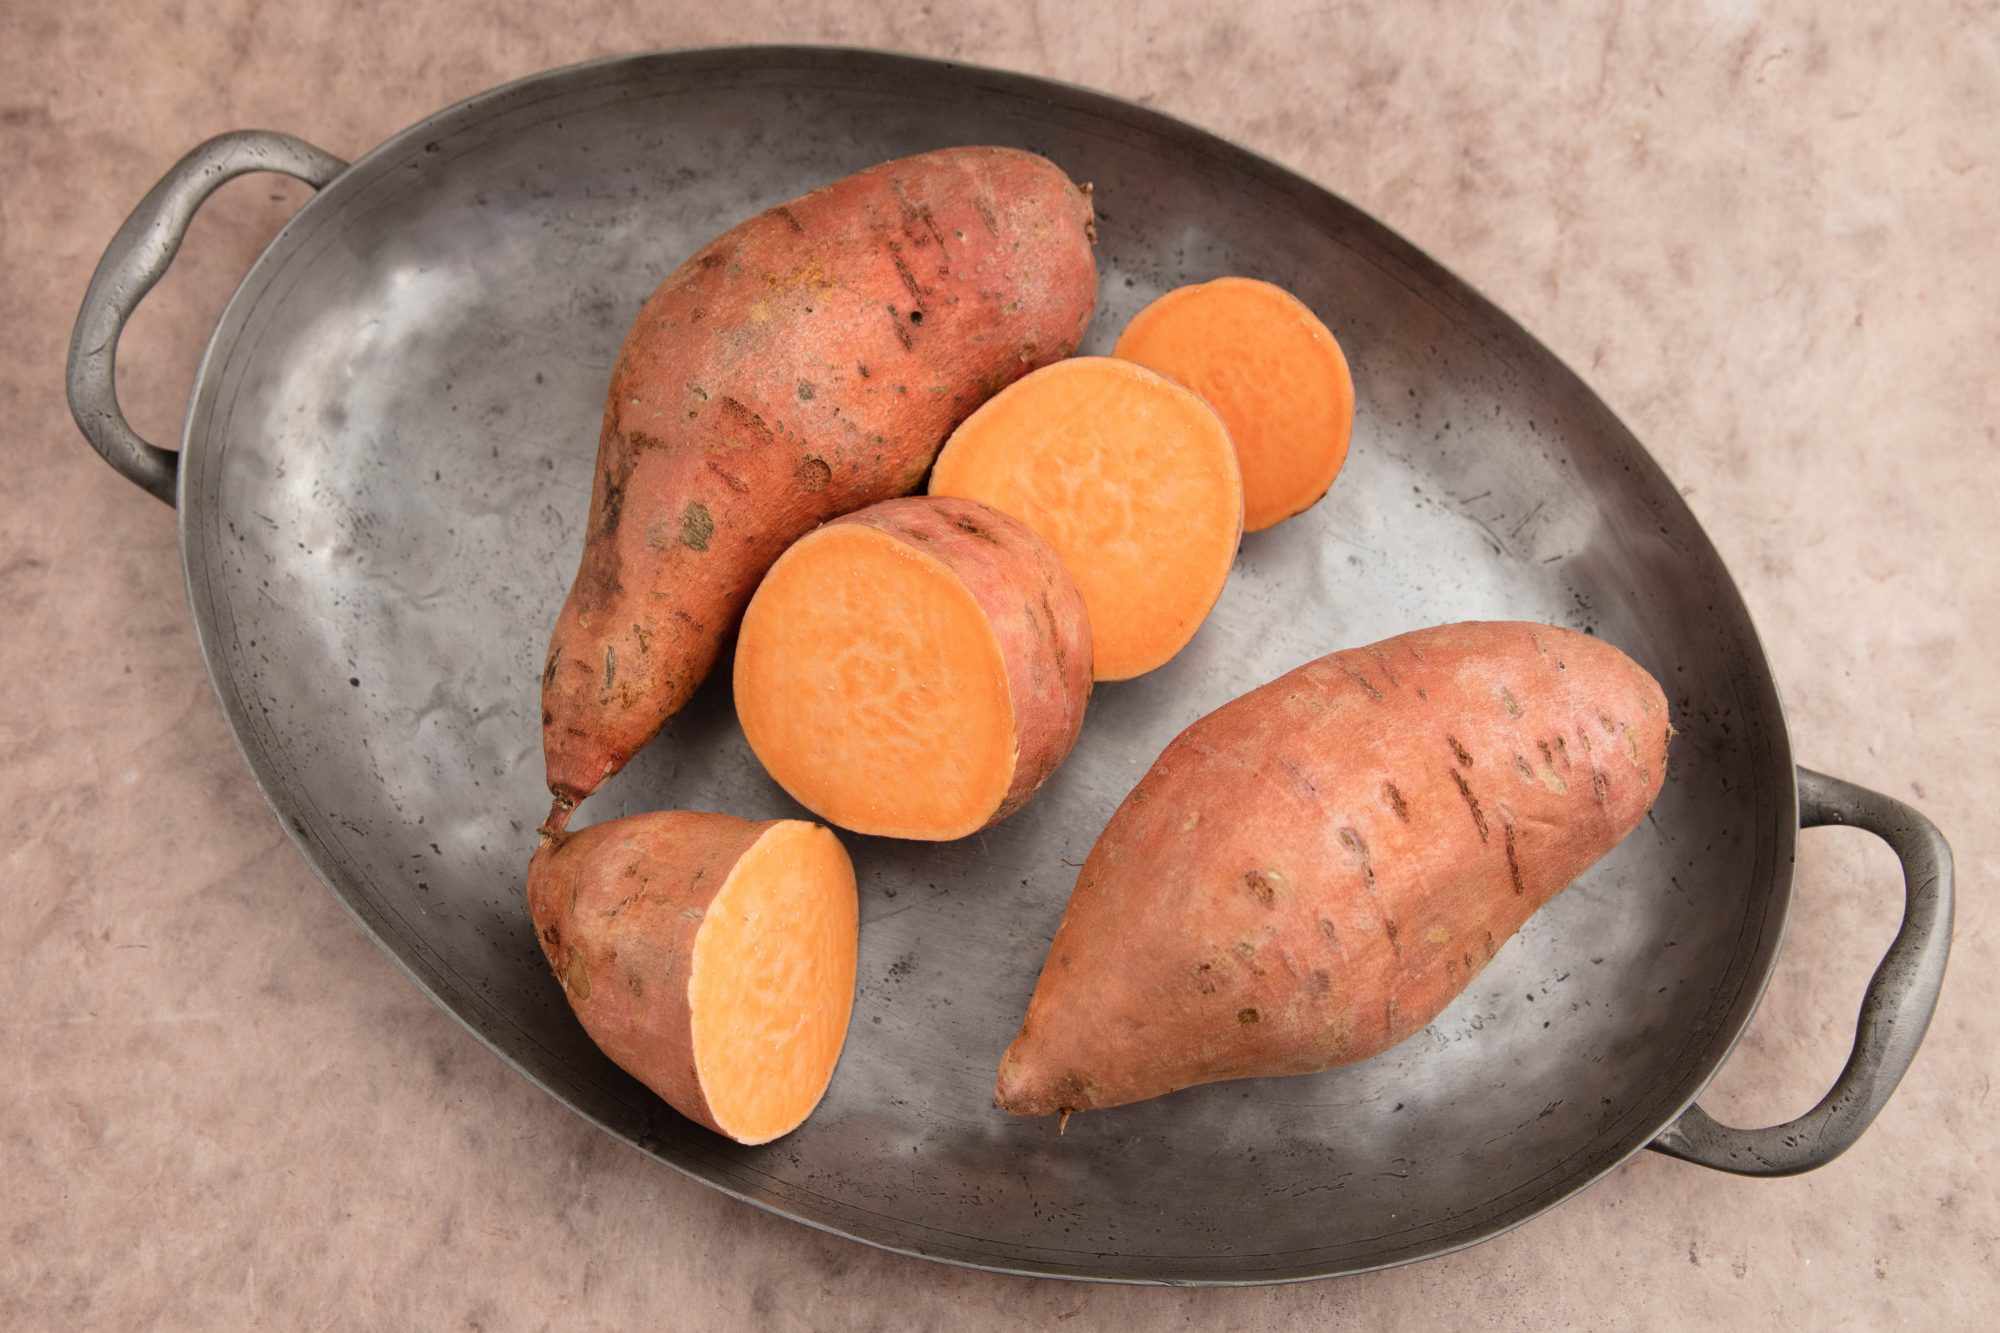
How To Store Red Potatoes From The Garden
Modified: October 20, 2024
Learn how to store red potatoes from your garden with these helpful articles. Find tips and techniques for preserving the freshness and flavor of your homegrown harvest.
(Many of the links in this article redirect to a specific reviewed product. Your purchase of these products through affiliate links helps to generate commission for Storables.com, at no extra cost. Learn more)
Introduction
Welcome to this guide on how to store red potatoes from the garden. If you’ve recently harvested a bountiful crop of red potatoes and want to keep them fresh for as long as possible, you’ve come to the right place. Proper storage is key to preserving the flavor and texture of these delicious tubers. Whether you’re planning to use them in your favorite recipes or saving them for future meals, the steps outlined in this article will help ensure that your red potatoes stay in optimal condition.
Red potatoes are a versatile and nutritious vegetable that can be enjoyed in a variety of culinary dishes. They are packed with essential nutrients such as vitamins C and B6, potassium, and dietary fiber. However, their storage requirements differ from other types of potatoes, such as russets or Yukon golds.
In this guide, we will walk you through the necessary steps to store red potatoes properly. This includes harvesting them at the right time, curing them to enhance their shelf life, cleaning and drying them to prevent decay, sorting and inspecting them for quality control, and finally selecting the best storage method for your needs. Whether you have a root cellar, a cool and dark location, or other storage options available, we will discuss the pros and cons of each method.
By following these steps, you can extend the shelf life of your red potatoes and enjoy them in your favorite dishes for weeks, if not months, after harvesting. So, let’s dive in and learn how to properly store your red potatoes to keep them fresh and delicious for as long as possible.
Key Takeaways:
- Preserve the freshness and flavor of your red potatoes by following these steps: harvest at the right time, cure for extended shelf life, and store in a cool, dark location with proper ventilation.
- Ensure the longevity of your red potatoes by carefully sorting, inspecting, and selecting the ideal storage method. Regularly monitor for spoilage to maintain their quality and enjoy delicious meals year-round.
Read more: How To Store Seed Potatoes
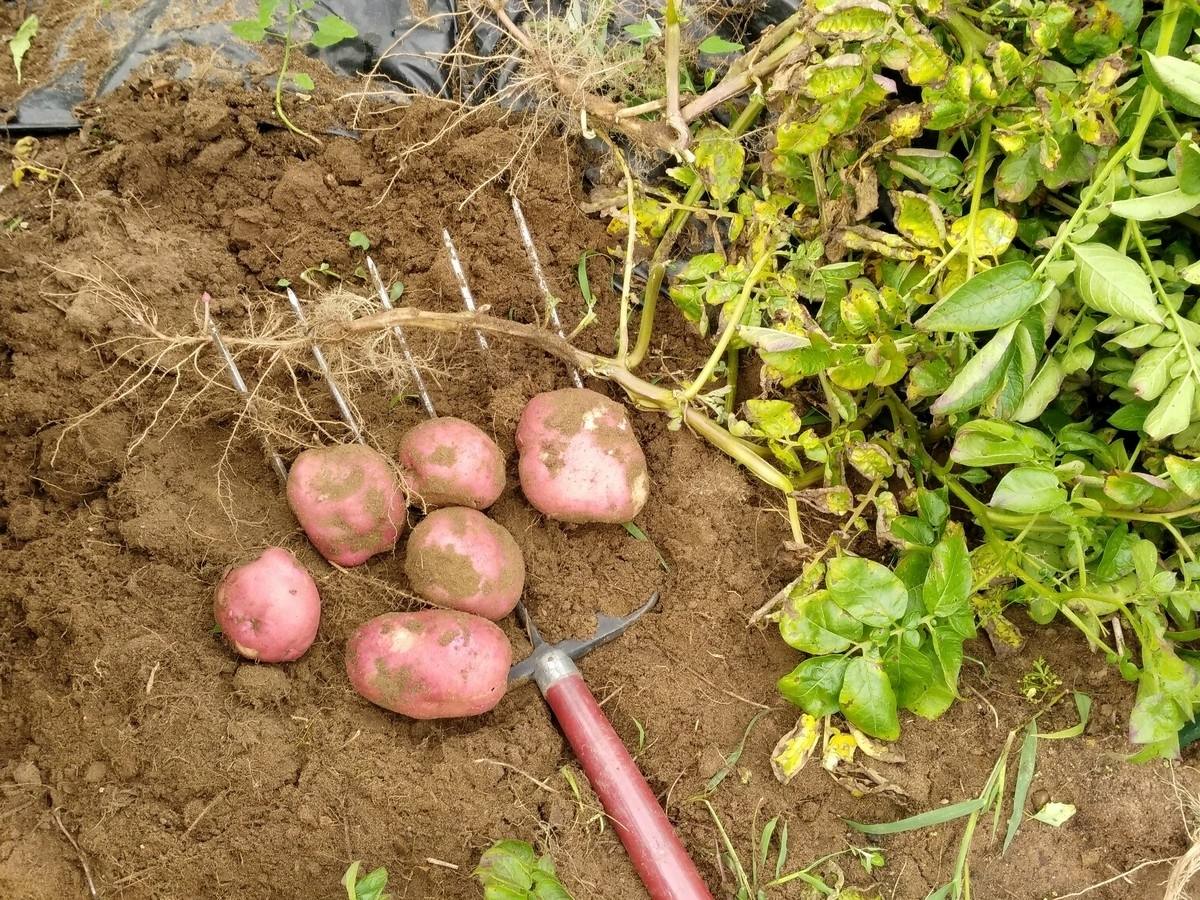
Step 1: Harvesting Red Potatoes
The first step in storing red potatoes is to ensure you harvest them at the right time. Red potatoes are typically ready for harvesting when the plants have flowered and the foliage starts to turn yellow and die back. This usually occurs around 90-110 days after planting, but it can vary depending on the specific variety and growing conditions.
When harvesting red potatoes, it’s important to handle them carefully to avoid any damage that could lead to spoilage during storage. Follow these steps to harvest your red potatoes:
- Choose a dry day to harvest when the soil is not too moist. Wet soil can make it harder to dig up the potatoes and increase the risk of damaging them.
- Using a shovel or garden fork, gently loosen the soil around the base of the potato plants. Be careful not to spear or pierce any potatoes.
- Once the soil is loosened, carefully lift the potato plants from the ground, holding them by the base of the stems.
- Gently shake off any excess soil from the potatoes, but do not wash them at this stage.
- Place the harvested potatoes in a clean, dry container or basket. Avoid overcrowding them to prevent bruising.
It’s important to note that harvesting potatoes does not necessarily mean you have to store them immediately. If the weather allows, you can leave the potatoes on the ground for a few hours to dry out and cure before storing them. However, if rain or damp conditions are expected, it’s best to move on to the next step and start the curing process right away.
Now that you’ve harvested your red potatoes, it’s time to move on to the next step: curing them to enhance their shelf life and flavor.
Step 2: Curing the Potatoes
Curing is an important step in storing red potatoes, as it helps to toughen their skin and extend their shelf life. During the curing process, excess moisture evaporates from the potatoes and their skin thickens, protecting them from disease and decay. Curing also enhances the flavor of the potatoes by allowing the natural sugars to develop.
Here’s how to properly cure your red potatoes:
- Start by placing the harvested potatoes in a single layer in a dry, well-ventilated area. Avoid direct sunlight as it can cause the potatoes to turn green.
- Keep the potatoes at a temperature of around 50-60°F (10-15°C) and a relative humidity of 85-95%. This can be achieved by storing them in a cool basement, garage, or an area specifically designated for curing.
- Allow the potatoes to cure for 1-2 weeks. During this time, the skins will become tougher and any minor cuts or bruises will start to heal.
- Periodically check the potatoes for any signs of rot or decay. Remove any potatoes showing signs of spoilage to prevent them from affecting the others.
After the curing period, the potatoes are ready for cleaning and preparation for storage. Curing not only helps extend their storage life but also improves their overall quality and taste.
Now that you’ve successfully cured your red potatoes, it’s time to move on to the next step: cleaning and drying them.
Step 3: Cleaning and Drying the Potatoes
Now that your red potatoes have been cured, it’s important to clean and dry them before storing. Cleaning them will remove any dirt or debris that may still be clinging to the potatoes, while drying them thoroughly will help prevent moisture buildup and potential rot during storage.
Follow these steps to properly clean and dry your red potatoes:
- Start by filling a large container or sink with cool water.
- Gently place the cured potatoes into the water and agitate them with your hands to remove any remaining dirt or soil. You can also use a soft brush to lightly scrub the potatoes if needed.
- Once the potatoes are clean, remove them from the water and place them on a clean towel or paper towels to dry.
- Allow the potatoes to air dry for a few hours, or alternatively, you can gently pat them dry with a clean cloth or paper towels.
- Inspect each potato for any signs of damage or decay. Remove any potatoes that show signs of spoilage to prevent them from affecting the others during storage.
It’s important to note that washing the potatoes at this stage should be done minimally. Excessive washing can remove the protective outer layer of the potatoes, making them more prone to spoiling. Therefore, only clean the potatoes if necessary and handle them gently to avoid unnecessary damage.
Now that your red potatoes are clean and dry, it’s time to move on to the next step: sorting and inspecting them to ensure their quality.
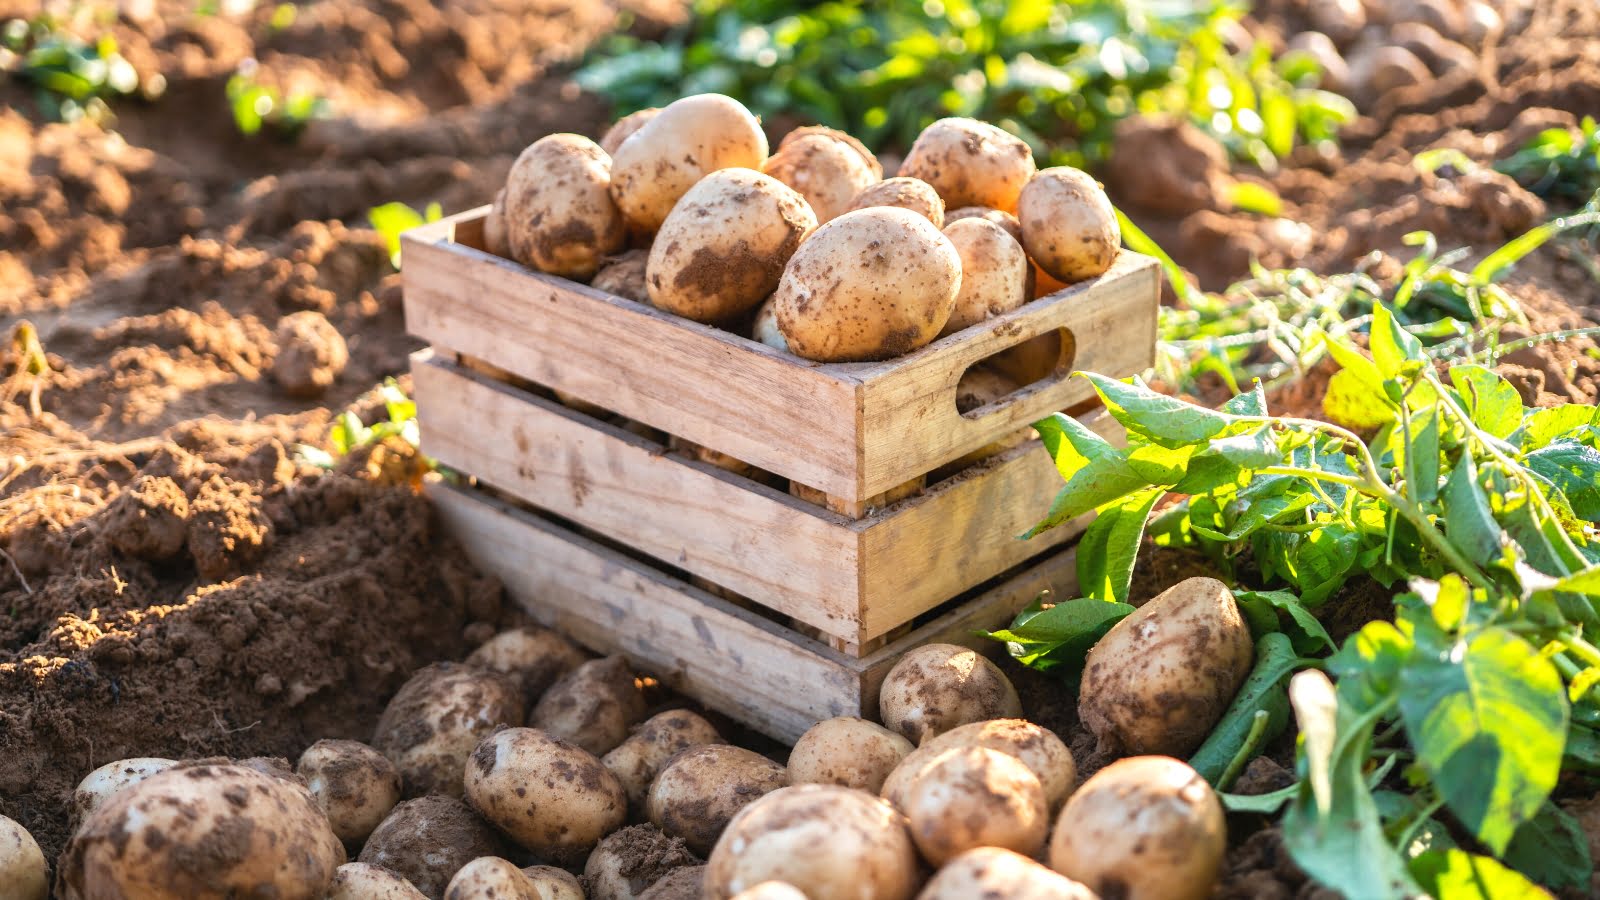
Step 4: Sorting and Inspecting the Potatoes
Sorting and inspecting your red potatoes is crucial before storing them to ensure that only high-quality potatoes are kept for long-term storage. This step allows you to identify any damaged or spoiled potatoes that could potentially affect the others during storage.
Follow these steps to properly sort and inspect your red potatoes:
- Lay out all the cleaned and dried potatoes on a clean, flat surface.
- Inspect each potato carefully for any signs of damage, such as cuts, bruises, or soft spots. These are more susceptible to rotting and should be set aside for immediate use rather than long-term storage.
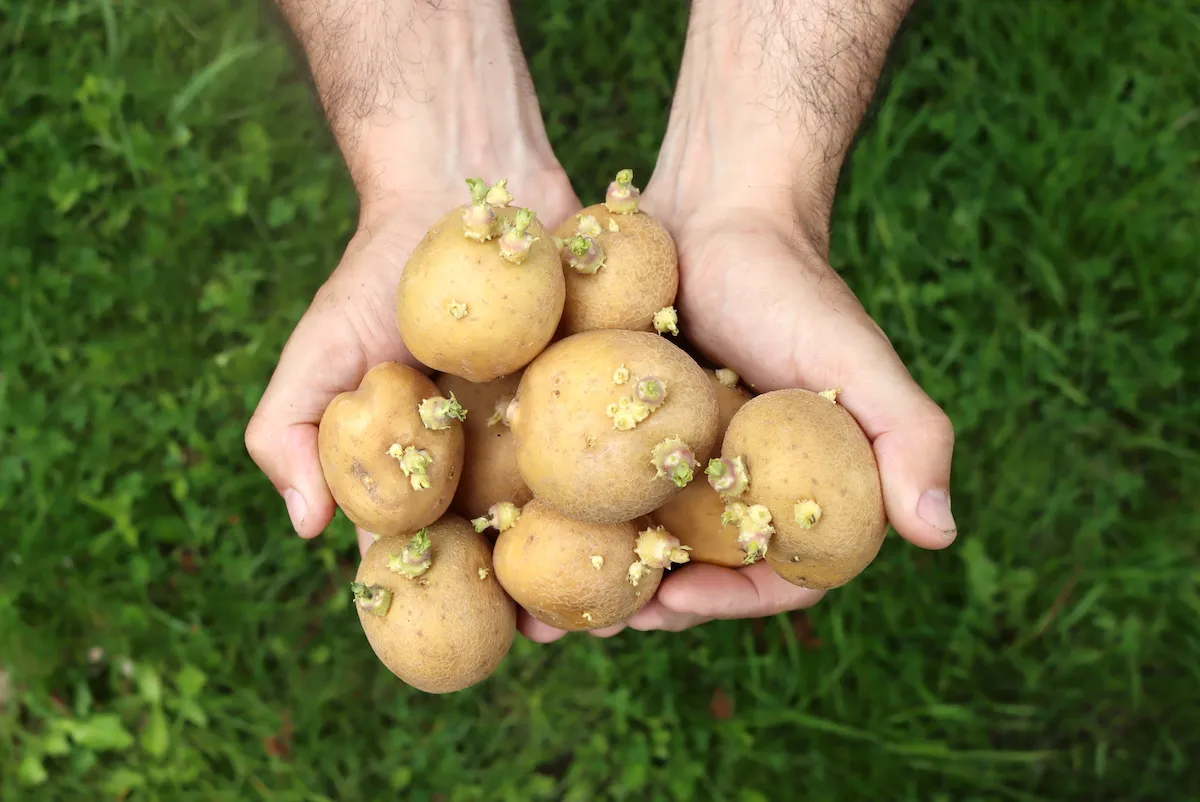
- Remove any potatoes with signs of decay or rot, as well as any green or sprouted potatoes. Green potatoes contain a toxin called solanine that can cause illness if consumed in large quantities.
- Separate the potatoes into different groups based on their size. This will make it easier to use them in recipes or to store them in appropriate containers or bags later on.
By sorting and inspecting your red potatoes, you are ensuring that only the best-quality potatoes are selected for long-term storage. Removing any damaged or spoiled potatoes will prevent them from spoiling the rest and help maintain the overall freshness of the batch.
Now that you’ve sorted and inspected your red potatoes, it’s time to move on to the next step: selecting the storage method that suits your needs.
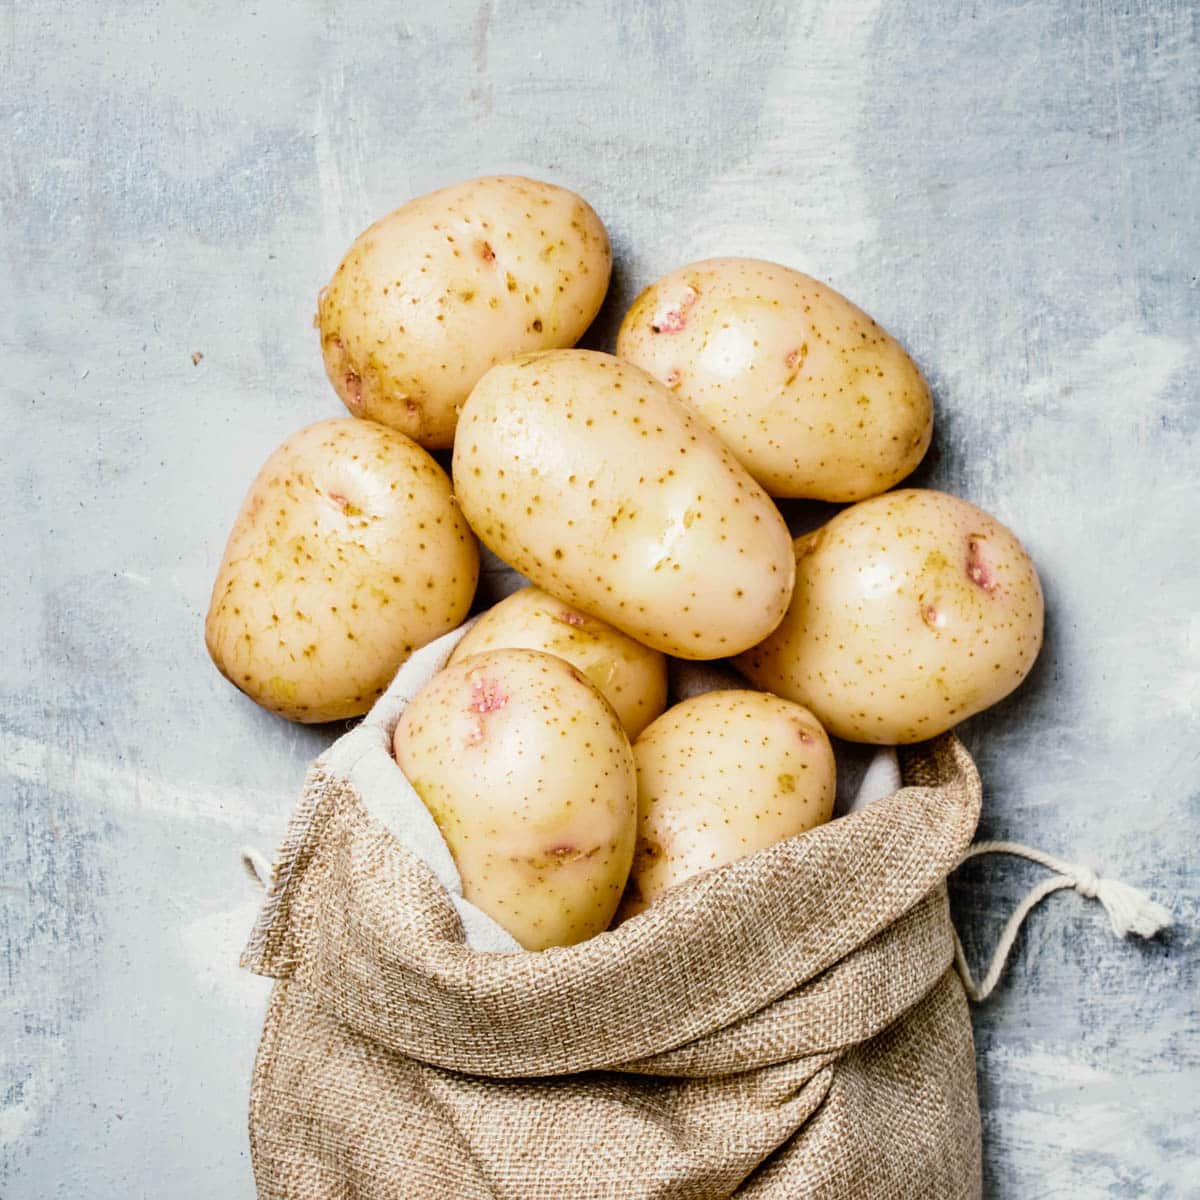
Store red potatoes in a cool, dark place with good ventilation, such as a cellar or pantry. Avoid storing them in the refrigerator, as the cold temperatures can cause the starches to convert to sugar, affecting the taste and texture.
Read more: How To Store Sprouted Potatoes For Planting
Step 5: Selecting the Storage Method
Now that your red potatoes are sorted and inspected, it’s time to choose the best storage method for preserving their freshness and quality. The ideal storage conditions for red potatoes include a cool temperature, darkness, and proper ventilation.
Here are some popular options for storing red potatoes:
- Root Cellar: If you have access to a root cellar, this is one of the best storage options for red potatoes. Root cellars provide a cool and humid environment, which helps to keep the potatoes fresh for several months. Make sure the temperature stays between 40-50°F (4-10°C) and the humidity level is around 90%.
- Cool and Dark Location: If you don’t have a root cellar, you can store your red potatoes in a cool and dark place, such as a basement, garage, or pantry. Find a spot where the temperature remains around 40-50°F (4-10°C) and there is minimal exposure to light.
- Ventilated Storage Bags or Containers: If you prefer to store your red potatoes in bags or containers, make sure they are breathable and have proper ventilation. Avoid airtight containers, as they can trap moisture and encourage the growth of mold or bacteria. Choose containers made of natural materials or use specialized potato storage bags that allow for air circulation.
Regardless of the storage method you choose, it’s important to periodically check your potatoes for any signs of decay or spoilage. Remove any potatoes that show signs of rot to prevent them from contaminating the others.
By selecting the most suitable storage method for your red potatoes, you can extend their shelf life and enjoy their delicious flavor for an extended period.
Now that you’ve selected the storage method, it’s time to proceed to the next step according to your chosen option.
Step 6: Storing Red Potatoes in a Root Cellar
If you have access to a root cellar, it is one of the best storage options for preserving the freshness and quality of your red potatoes. Root cellars provide a cool, dark, and humid environment that mimics the natural conditions in which potatoes thrive.
- Prepare the root cellar: Ensure that your root cellar is clean and free of any potential contaminants. Remove any spoiled produce or debris that may attract pests or cause mold growth.
- Adjust the temperature and humidity: The ideal temperature range for storing red potatoes in a root cellar is between 40-50°F (4-10°C). Monitor the humidity level as well, aiming for around 90%. You may need to use a hygrometer to measure the humidity or use techniques such as placing a basin of water in the cellar to maintain the desired level.
- Choose appropriate storage containers: Select breathable containers or bins for storing your red potatoes. Wooden crates or baskets lined with burlap or paper bags work well, as they allow for air circulation and prevent moisture buildup. Avoid using plastic bags, which can trap moisture and promote rot.
- Arrange the potatoes: Place your sorted and inspected red potatoes in a single layer inside the containers, ensuring they are not touching each other. This will prevent them from bruising or damaging one another.
- Store the potatoes: Carefully place the containers of red potatoes in the root cellar, ensuring they are not in direct contact with the ground to prevent any potential moisture absorption.
- Periodically check for spoilage: Regularly inspect the stored potatoes for any signs of decay or rot, and promptly remove any affected ones to prevent the spread of spoilage.
Storing your red potatoes in a root cellar can allow them to stay fresh for several months, providing you with a steady supply for your meals. Just remember to maintain the proper temperature, humidity, and ventilation to ensure optimal storage conditions.
If you don’t have access to a root cellar, don’t worry. There are alternative storage methods you can use, which will be covered in the next step.
Step 7: Storing Red Potatoes in a Cool and Dark Location
If you don’t have a root cellar, don’t worry! You can still store your red potatoes in a cool and dark location to prolong their shelf life and maintain their quality. Here’s how:
- Select a suitable storage spot: Look for a cool and dark area in your home, such as a basement, garage, or pantry. Avoid areas that experience extreme temperature fluctuations or prolonged exposure to sunlight.
- Prepare the storage area: Clean the chosen storage space to remove any dirt, dust, or potential contaminants. Ensure that the area is well-ventilated to allow for air circulation.
- Adjust the temperature: The ideal temperature for storing red potatoes is between 40-50°F (4-10°C). If necessary, use a thermometer to monitor the temperature in the selected storage location to ensure it stays within this range.
- Provide darkness: Potatoes should be stored in a dark environment to prevent them from turning green and producing solanine, a harmful toxin. Covering the containers or using opaque bags can help keep the light out.
- Use suitable storage containers: Choose breathable containers or bags for storing your red potatoes. Opt for materials like burlap or paper, as they allow for air circulation and prevent excess moisture buildup. Avoid using plastic bags or airtight containers, as these can trap moisture and encourage spoilage.
- Arrange the potatoes: Place your sorted and inspected red potatoes in the containers, ensuring they are not overcrowded and have space for air to circulate. Avoid stacking the potatoes too high, as the weight can cause bruising and spoilage.
- Monitor and inspect: Regularly check on your stored red potatoes to remove any that show signs of decay or rot. This will help prevent the spread of spoilage and maintain the overall quality of the potatoes.
By following these steps, you can store your red potatoes in a cool and dark location, extending their shelf life and allowing you to enjoy them for a longer period of time. Remember to maintain the proper temperature, darkness, and ventilation to ensure the best storage conditions.
With these storage methods, you can now confidently store your red potatoes harvested from the garden and keep them fresh and delicious for an extended period. With proper care and attention, your red potatoes will be ready to enhance your favorite recipes whenever you’re ready to enjoy them!
Conclusion
In conclusion, storing red potatoes from the garden is a simple yet important process to maintain their freshness and quality over an extended period. By following the steps outlined in this guide, you can ensure that your red potatoes remain in optimal condition for months, allowing you to enjoy their delicious flavor in various dishes.
Harvesting the potatoes at the right time, curing them to enhance their shelf life, and cleaning and drying them properly are crucial initial steps. Sorting and inspecting the potatoes help identify any damaged or spoiled ones that should be used immediately rather than for long-term storage.
Choosing the proper storage method is key to preserving the red potatoes’ freshness. Whether you have access to a root cellar or need to store them in a cool and dark location, ensure that the temperature remains around 40-50°F (4-10°C) and there is adequate ventilation.
Remember to periodically check the stored potatoes for any signs of decay or rot, and promptly remove any affected ones to avoid spoilage spreading to the rest.
Now that you have learned the step-by-step process of storing red potatoes, you can maintain a supply of these versatile and nutritious tubers throughout the year. Whether you prefer to roast, mash, or use them in soups and stews, your stored red potatoes will elevate your meals with their natural flavors.
So, take the knowledge gained from this guide and enjoy the fruits of your garden labor for months to come. Happy storing!
Frequently Asked Questions about How To Store Red Potatoes From The Garden
Was this page helpful?
At Storables.com, we guarantee accurate and reliable information. Our content, validated by Expert Board Contributors, is crafted following stringent Editorial Policies. We're committed to providing you with well-researched, expert-backed insights for all your informational needs.


0 thoughts on “How To Store Red Potatoes From The Garden”