Articles
How To Store Seed Potatoes For Winter
Modified: January 9, 2024
Learn effective techniques for storing seed potatoes during the winter months with these informative articles.
(Many of the links in this article redirect to a specific reviewed product. Your purchase of these products through affiliate links helps to generate commission for Storables.com, at no extra cost. Learn more)
Introduction
When it comes to gardening, one of the keys to a successful harvest is starting off with high-quality seed potatoes. Seed potatoes are the tubers that are used for planting and growing a new crop of potatoes. They are specifically selected and grown for their disease resistance and ability to produce healthy and abundant potato plants.
As the winter months approach, it is important to properly store your seed potatoes to ensure their viability for the next planting season. Proper storage techniques will help prevent sprouting, rot, and diseases that can impact the health of your potato crop.
In this article, we will guide you through the process of storing seed potatoes for winter. We will discuss the steps involved in choosing, harvesting, and preparing seed potatoes for storage. We will also explore different options for storing seed potatoes, such as using containers or a root cellar. Additionally, we will provide tips on how to monitor and maintain the condition of your stored seed potatoes throughout the winter months.
By following these guidelines, you can ensure that your seed potatoes remain healthy and viable until it’s time to plant them in the spring, setting the stage for a bountiful potato harvest.
Key Takeaways:
- Properly storing seed potatoes for winter involves choosing high-quality potatoes, curing and preparing them, selecting a suitable storage location, and monitoring their condition. This ensures healthy and viable seed potatoes for a bountiful harvest in the spring.
- Regularly inspecting, cleaning, and sorting stored seed potatoes, along with proper packaging and suitable storage options, are essential for maintaining their quality throughout the winter. Monitoring temperature, humidity, and airflow, as well as preparing them for planting in the spring, ensures successful growth and a delicious homegrown potato crop.
Read more: How To Store Potatoes For Winter
Choosing and Harvesting Seed Potatoes
Choosing the right seed potatoes is a crucial first step in the process of storing them for winter. It’s important to select high-quality potatoes that are free from diseases, damage, and sprouting. Here are some tips to help you choose and harvest seed potatoes:
- Select disease-free potatoes: Look for seed potatoes that are certified disease-free or have been inspected by a reputable source. Diseases such as late blight or bacterial wilt can have a detrimental impact on your potato crop.
- Choose the right potato variety: Different potato varieties have different characteristics and are suited for various purposes. Select a variety that suits your growing conditions and culinary preferences.
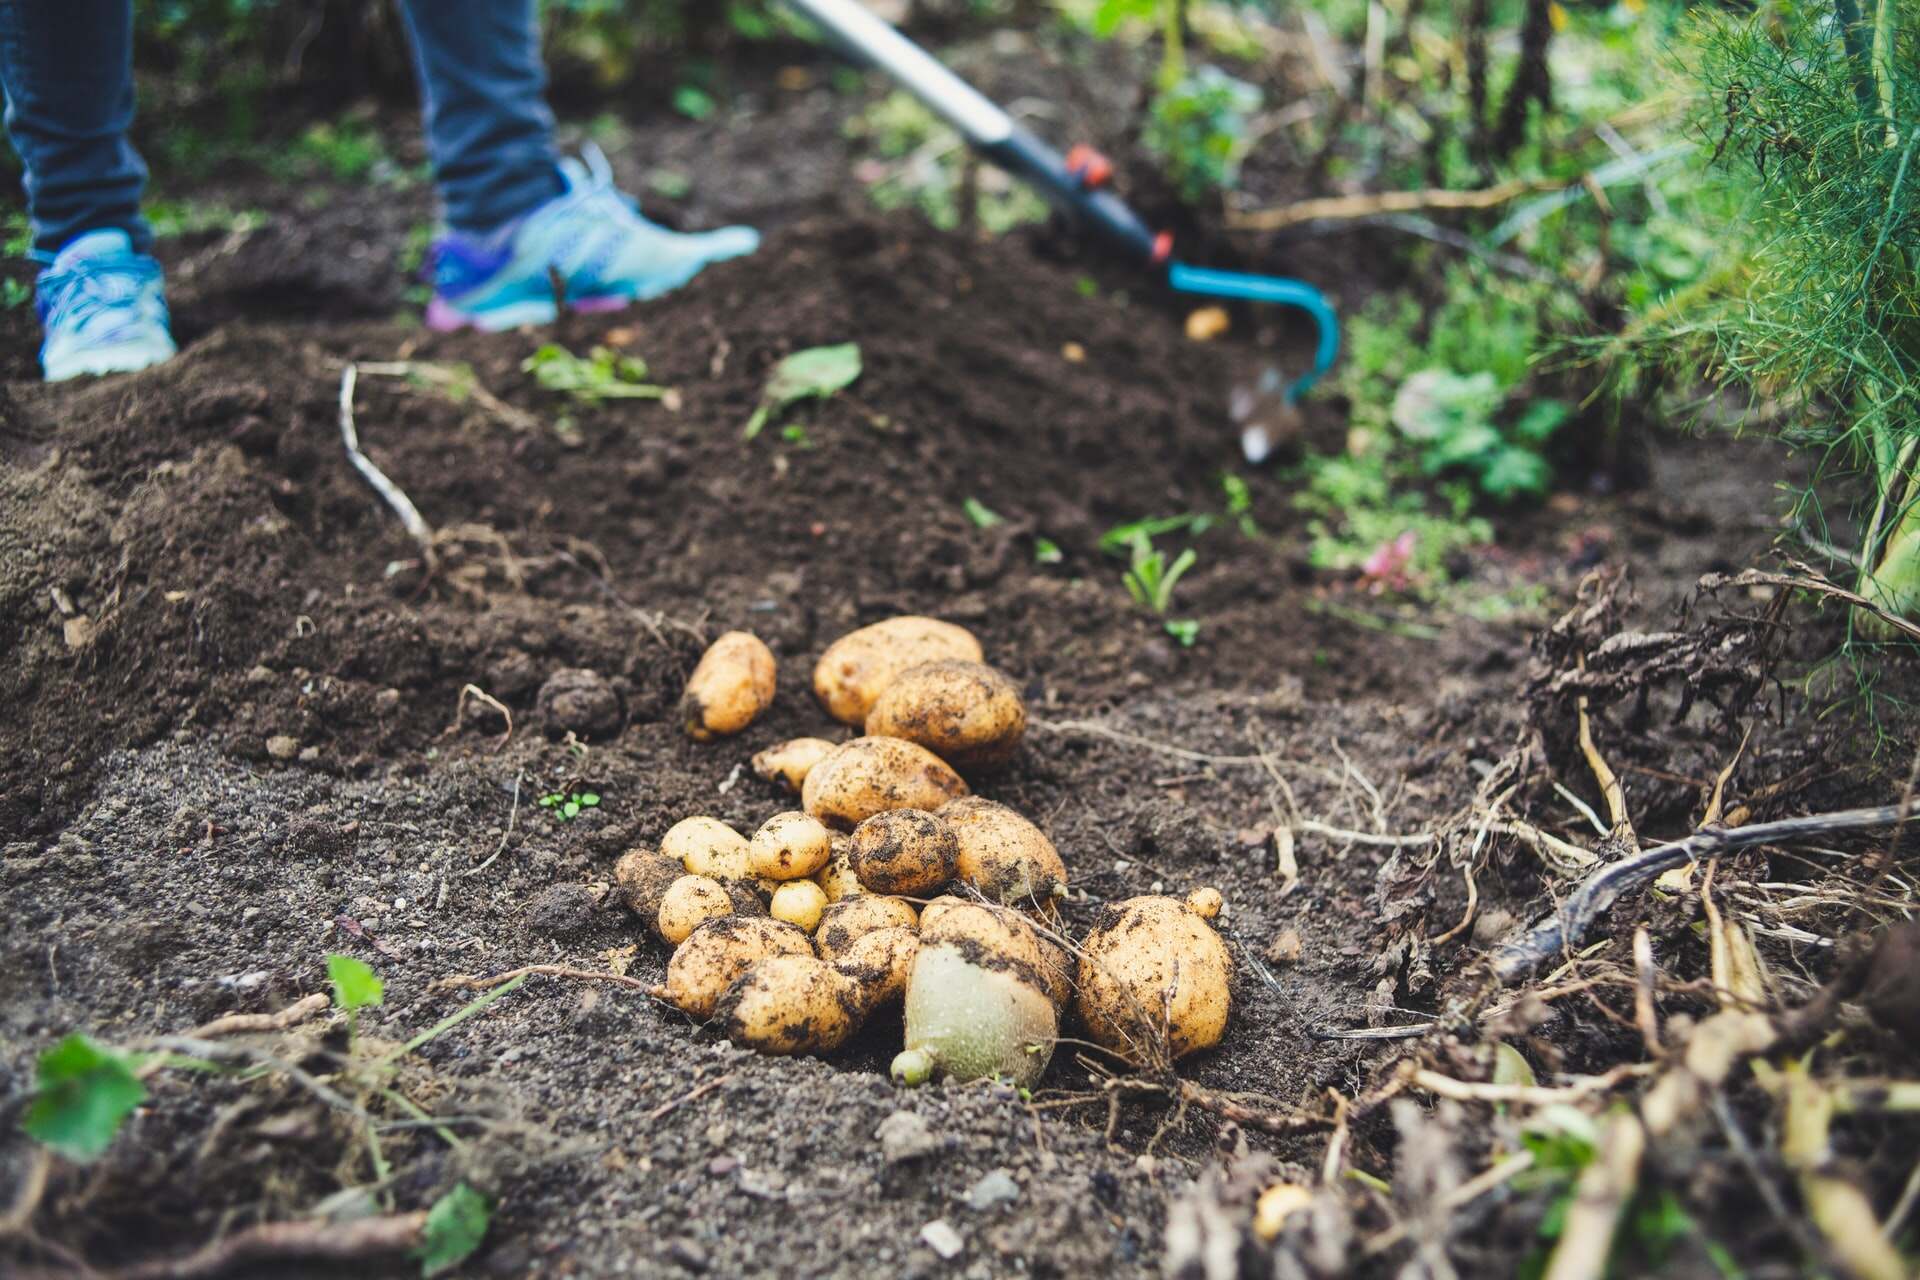
- Harvest at the right time: Harvest your potatoes when the foliage has died back and the skins are firm. Avoid harvesting potatoes during wet conditions, as damp soil can lead to rot and disease development.
- Handle potatoes with care: When harvesting, avoid bruising or damaging the potatoes. Even small cuts or bruises can provide entry points for rot-causing organisms.
- Allow potatoes to dry: After harvesting, leave the potatoes on the ground for a few hours to allow them to dry. This helps prevent excess moisture and reduces the risk of rotting during storage.
Once you have chosen and harvested your seed potatoes, it’s time to prepare them for storage. The next section will guide you through the steps of curing and preparing your seed potatoes for winter storage.
Curing and Preparing Seed Potatoes for Storage
Properly curing and preparing seed potatoes for storage is essential to maintain their quality and prevent diseases during the winter months. Here are the steps to follow:
- Cure the potatoes: After harvesting, gently brush off any excess soil from the potatoes. Place them in a well-ventilated, dry area with a temperature between 45 to 60°F (7 to 15°C) and a humidity level of around 85%. Leave them to cure for about 1 to 2 weeks. This curing process helps toughen the skin, heal any surface wounds, and increase the storage life of the potatoes.
- Check for diseases and rot: Before storing, carefully inspect each potato for signs of diseases such as rot or soft spots. Discard any potatoes that show signs of damage or disease to prevent them from spreading to the rest of the stored potatoes.
- Dust with sulfur or copper: To further prevent diseases, lightly dust the cured potatoes with powdered sulfur or copper fungicide. These natural compounds act as a protective barrier against fungal infections during storage. Be sure to follow the instructions on the product label for proper application.
- Let the potatoes air dry: Allow the potatoes to air dry for a few hours after dusting them with sulfur or copper. This ensures that any excess moisture evaporates and reduces the risk of rotting during storage.
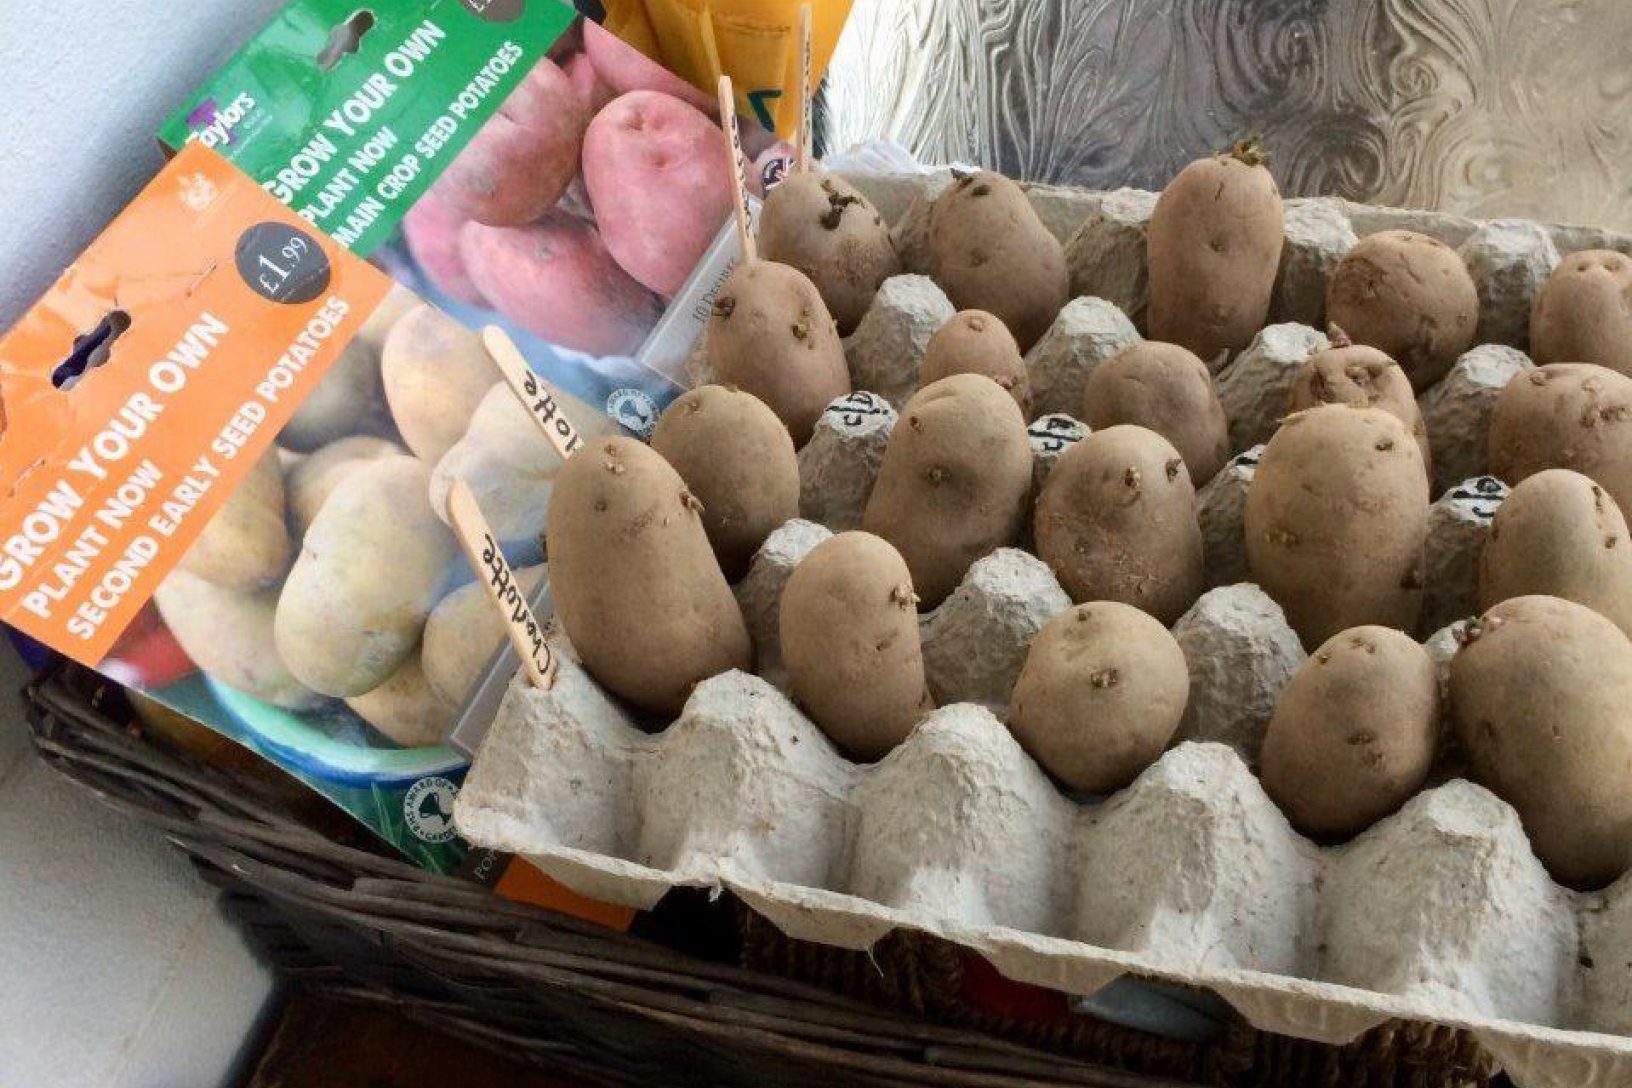
- Label and organize: Before storing the seed potatoes, label them with the variety and harvest date. This will help you keep track of different varieties and their storage duration. Furthermore, organize the potatoes in a way that allows for easy inspection and rotation during the winter months.
By following these curing and preparation steps, you can ensure that your seed potatoes are in optimal condition for long-term storage. The next section will discuss selecting a suitable storage location for your seed potatoes.
Selecting a Suitable Storage Location
Choosing the right storage location for your seed potatoes is crucial for their long-term viability and prevention of deterioration. Here are some factors to consider when selecting a suitable storage location:
- Temperature: The ideal temperature for storing seed potatoes is between 35 to 40°F (2 to 4°C). This temperature range helps keep the potatoes dormant and reduces the risk of sprouting. Avoid storing them in areas where the temperature fluctuates dramatically, as this can affect their quality.
- Humidity: Adequate humidity levels are important to prevent the potatoes from drying out and shriveling. Aim for a humidity level of around 90%. If the storage area is too dry, you can increase humidity by placing a shallow tray of water near the potatoes.
- Ventilation: Proper ventilation is essential to prevent the buildup of excess moisture, which can lead to rot. Ensure that there is a continuous flow of fresh air in the storage area. Avoid overcrowding the potatoes to allow proper airflow.
- Darkness: Potatoes should be stored in a dark environment to prevent them from turning green. Exposure to light can cause the development of solanine, a toxic substance. Use opaque containers or cover windows in the storage area to block out light.
- Protection from rodents and pests: Choose a storage location that is inaccessible to rodents and pests, as they can damage the potatoes. Use wire mesh or seal any openings to prevent their entry.
Common options for storing seed potatoes include a root cellar, basement, cool garage, or a specially designated storage area. Each location may have its own advantages and disadvantages, so choose the one that fits your circumstances and meets the necessary criteria for temperature, humidity, ventilation, darkness, and pest control.
It’s important to remember that monitoring and maintaining the stored seed potatoes throughout the winter is crucial. In the next section, we will discuss the cleaning and sorting process for stored seed potatoes.
Cleaning and Sorting Seed Potatoes
Regularly cleaning and sorting your stored seed potatoes is essential to ensure their quality and to identify any potential issues. Here are the steps to follow when cleaning and sorting your seed potatoes:
- Inspect for signs of rot or disease: Before cleaning, carefully examine each potato for any signs of rot, disease, or sprouting. Remove any potatoes that show signs of damage to prevent spreading to the rest of the stored potatoes.
- Clean the potatoes: Gently brush off any loose soil or debris from the potatoes without causing damage. Avoid washing the potatoes with water unless necessary, as excess moisture can lead to rot during storage.
- Sort by size: Group the seed potatoes according to their size. Sorting by size helps with more even planting in the spring. It also allows you to use larger potatoes for seed and smaller ones for cooking or eating.
- Separate by variety: If you’re storing multiple potato varieties, keep them separated. Label each group to ensure you can easily identify and select the right variety when it’s time for planting.
- Check for sprouting: Look for any potatoes that have started sprouting. Remove any sprouted potatoes as they may not store well and could affect the stored potatoes around them.
Cleaning and sorting your seed potatoes not only helps maintain their quality but also allows you to assess their condition and make necessary adjustments. By regularly inspecting and organizing the stored potatoes, you can minimize the risk of diseases and ensure a successful planting season.
Now that we’ve covered the cleaning and sorting process, let’s move on to the proper packaging of seed potatoes for storage.
Read more: How To Store Seed Potatoes Until Planting
Properly Packaging Seed Potatoes
Proper packaging is crucial for storing seed potatoes effectively and keeping them in optimal condition throughout the winter. Here are some tips on how to package your seed potatoes:
- Choose breathable containers: Use containers that allow for proper airflow, such as burlap sacks, mesh bags, or breathable cloth. Avoid using plastic bags or airtight containers, as they can trap moisture and lead to rotting.
- Avoid overcrowding: Do not pack the potatoes too tightly in the containers. Leave some space to allow for air circulation and to prevent bruising or damage to the potatoes.
- Layer with straw or sawdust (optional): Some gardeners choose to layer the potatoes with straw or sawdust to provide insulation and absorb excess moisture. This can help extend the storage life of the potatoes.
- Label the containers: Clearly label each container with the variety of potatoes stored inside. This will make it easier to identify and select the correct potatoes for planting in the spring.
- Stack with care: If you are stacking multiple containers, ensure they are stable and well-supported. Avoid excessive stacking to prevent crushing or damaging the potatoes.
It’s important to note that during the winter, it’s a good practice to occasionally inspect the stored potatoes. Check for any signs of rot, sprouting, or pests. Remove any affected potatoes immediately to prevent further damage.
Properly packaging your seed potatoes in breathable containers and storing them in a suitable location will help maintain their quality and ensure their viability for the next planting season. In the next sections, we will explore different storage options, such as using containers or a root cellar.
Store seed potatoes in a cool, dark place with good ventilation, such as a cellar or unheated garage. Keep them in a breathable container, like a burlap sack, and check regularly for any signs of rot or sprouting.
Storing Seed Potatoes in Containers
If you don’t have access to a root cellar or other designated storage areas, storing seed potatoes in containers can be a convenient option. Here’s how to store seed potatoes in containers:
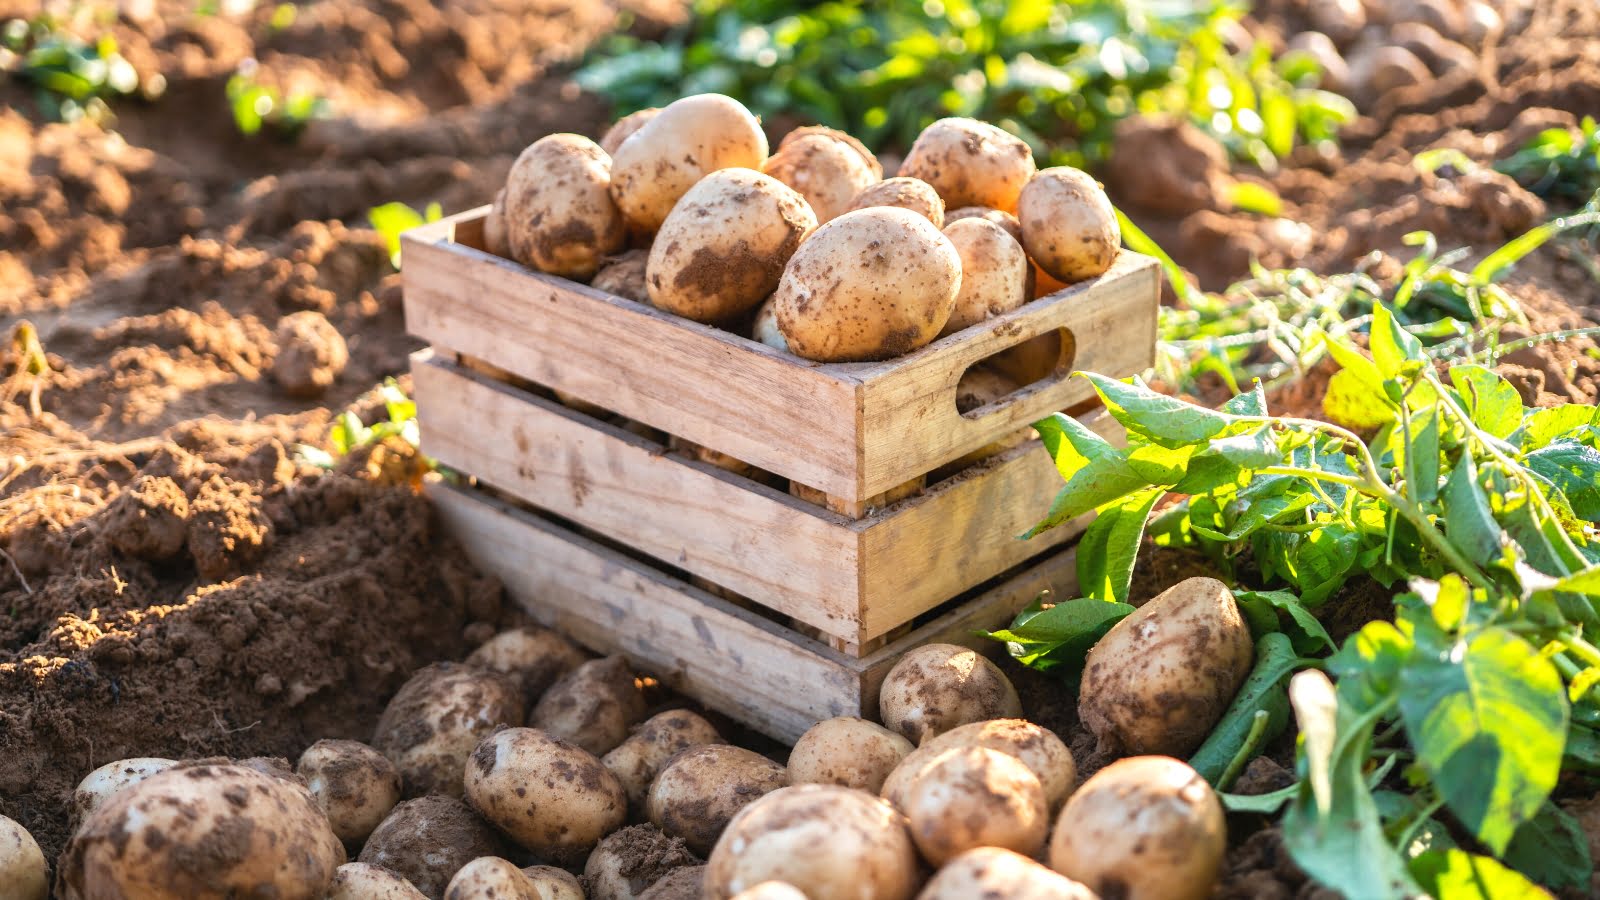
- Select appropriate containers: Choose containers that are breathable and have good air circulation. Options include burlap sacks, mesh bags, or even wooden crates with slats for ventilation.
- Prepare the containers: Ensure the containers are clean and dry before placing the potatoes inside. Avoid using containers that have previously housed chemicals or substances that could contaminate the potatoes.
- Layer the potatoes: Place a layer of potatoes in the container, making sure not to overcrowd them. Leave some space between each potato to allow for airflow.
- Separate layers: If you have a large number of potatoes, it’s advisable to separate each layer with a breathable material like straw or newspaper. This helps keep the potatoes from touching and potentially bruising each other.
- Store in a cool location: Find a cool, dark location to store the containers, such as a basement or garage. Avoid areas that are prone to extreme temperature fluctuations or excessive moisture.
- Monitor regularly: Regularly check the containers for any signs of sprouting, rot, or pests. If you notice any issues, remove the affected potatoes immediately to prevent further damage.
Storing seed potatoes in containers allows for easy access and flexibility if you need to move or rearrange them. Just ensure that the containers provide adequate airflow, darkness, and protection from rodents or pests.
Now that we know how to store seed potatoes in containers, let’s explore another option – storing them in a root cellar.
Storing Seed Potatoes in a Root Cellar
A root cellar can be an excellent choice for storing seed potatoes due to its natural cool, dark, and humid environment. Here’s how to store seed potatoes in a root cellar:
- Prepare the root cellar: Ensure that your root cellar is clean, well-ventilated, and maintains a consistent temperature and humidity level. Remove any decaying produce or items that could attract pests or contribute to rot.
- Sort and clean the potatoes: Before storing, clean and sort the potatoes as mentioned earlier. Remove any damaged or diseased potatoes to prevent them from affecting the rest of the stock.
- Choose suitable containers: Use baskets, crates, or bins that allow for proper airflow. Avoid using plastic bags or airtight containers, as they can trap excess moisture and lead to rotting.
- Layer the potatoes: Place a layer of seed potatoes in the container, leaving space between each potato to promote airflow. It’s also helpful to separate layers with straw or newspaper to prevent bruising.
- Store in root cellar: Position the containers in the root cellar, ensuring they are well-supported and won’t topple over. Keep them away from direct contact with the floor to avoid any moisture transfer.
- Maintain ideal conditions: Regularly monitor the temperature and humidity levels in the root cellar. Aim for a temperature range of 35 to 40°F (2 to 4°C) and a humidity level of around 90%. Make necessary adjustments if the conditions fluctuate.
- Check regularly: Periodically inspect the stored potatoes for any signs of sprouting, rot, or pests. Remove any affected potatoes promptly to prevent the spread of issues.
A root cellar provides the naturally cool, dark, and humid conditions that are ideal for preserving the quality of seed potatoes during the winter months. It’s a traditional and reliable storage option for many gardeners.
Whether you choose to store seed potatoes in containers or a root cellar, proper monitoring and maintenance are crucial. In the next section, we will discuss how to monitor and maintain the condition of your stored seed potatoes throughout the winter.
Monitoring and Maintaining Seed Potatoes Throughout Winter
During the winter months, it’s important to regularly monitor and maintain the condition of your stored seed potatoes to ensure their vitality for the upcoming planting season. Here are some essential tips for monitoring and maintaining seed potatoes throughout winter:
- Regular inspections: Check your stored potatoes periodically for any signs of sprouting, rot, or pest infestation. Remove any affected potatoes immediately to prevent the spread of issues to the rest of the stock.
- Adjust humidity levels: Monitor the humidity levels in the storage area and make adjustments as needed. If it’s too dry, you can increase humidity by placing a shallow tray of water nearby. If it’s too humid, you may need to improve ventilation to prevent excess moisture buildup.
- Monitor temperature: Maintain the storage area temperature within the desired range of 35 to 40°F (2 to 4°C). Extreme temperature fluctuations can negatively impact the quality and storage life of the potatoes.
- Conduct regular airflow: Ensure there is proper airflow in the storage area. Stagnant air can contribute to moisture buildup and increase the risk of rot. Avoid overcrowding the potatoes, allowing for sufficient air circulation between them.
- Rotate potatoes: Occasionally rotate the containers or baskets to ensure all the potatoes receive equal exposure to the surrounding conditions. This helps prevent uneven drying or deterioration.
- Remove any spoiled potatoes: Even with the best storage practices, potatoes can still spoil over time. Regularly inspect the stock and promptly remove any potatoes showing signs of decay or deterioration.
- Keep rodents and pests away: Monitor the storage area for any signs of rodents or pests. Ensure that the space is properly sealed and take measures to prevent their entry. If necessary, use traps or repellents to keep them at bay.
By actively monitoring and maintaining your stored seed potatoes throughout the winter, you can maximize their viability and ensure a successful planting season in the spring. Your efforts will be rewarded with healthy and robust potato plants.
Now that you know how to monitor and maintain your stored seed potatoes, let’s move on to preparing them for planting in the spring.
Read more: How Many Potatoes Per Seed Potato
Preparing Seed Potatoes for Planting in Spring
As winter gives way to spring, it’s time to prepare your stored seed potatoes for planting. Taking a few simple steps will help ensure the success of your potato crop. Here’s how to prepare seed potatoes for planting in the spring:
- Inspect the potatoes: Before planting, carefully examine each potato for any signs of rot, disease, or damage. Discard any potatoes that show signs of deterioration to prevent them from infecting the rest of the crop.
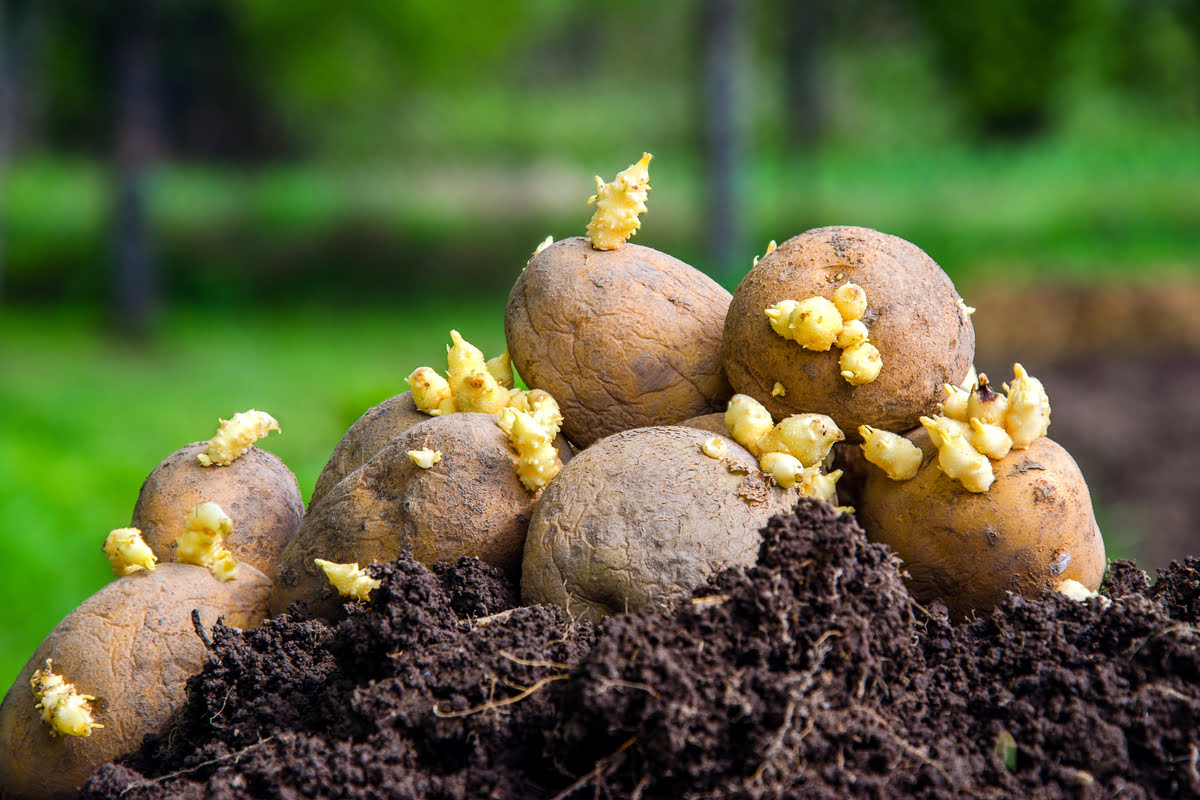
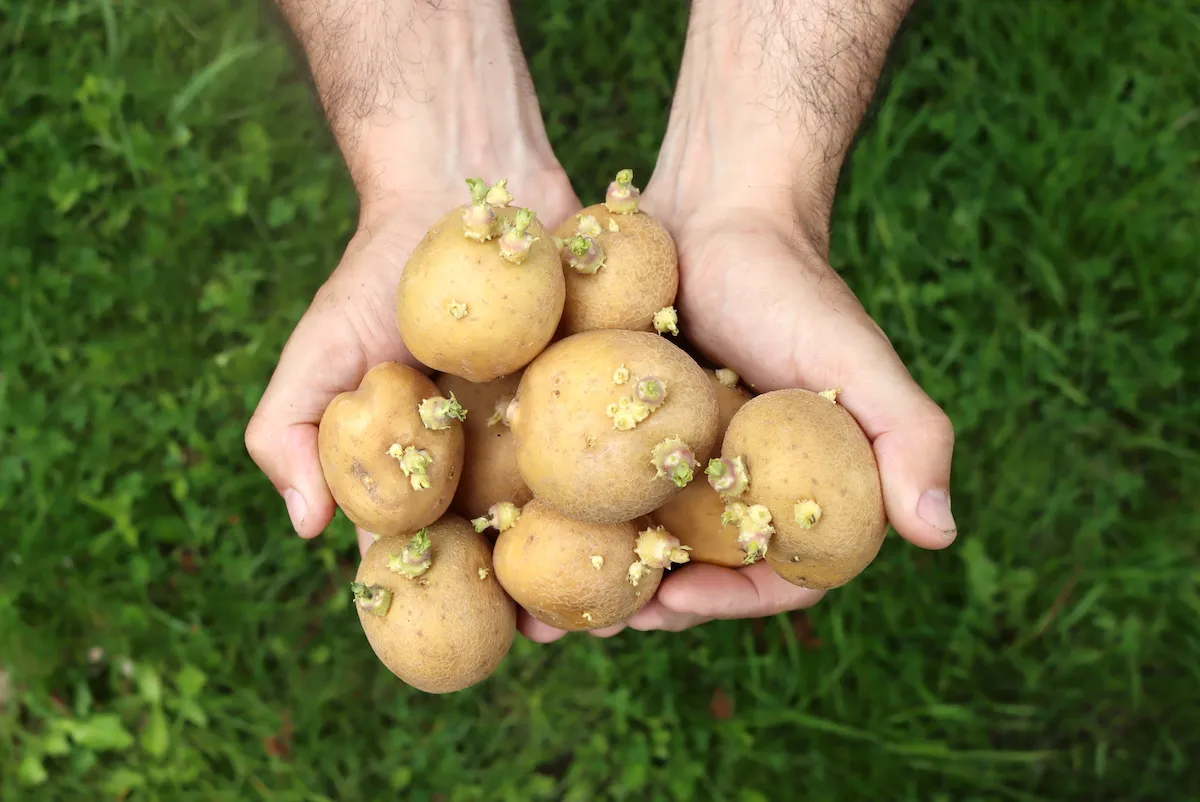
- Chit or sprout the potatoes: Place the seed potatoes in a cool, well-lit area for a few weeks prior to planting. This process, known as chitting or sprouting, allows the potatoes to develop small sprouts from the eyes. Ensure the sprouts are about ¾ to 1 inch long before planting.
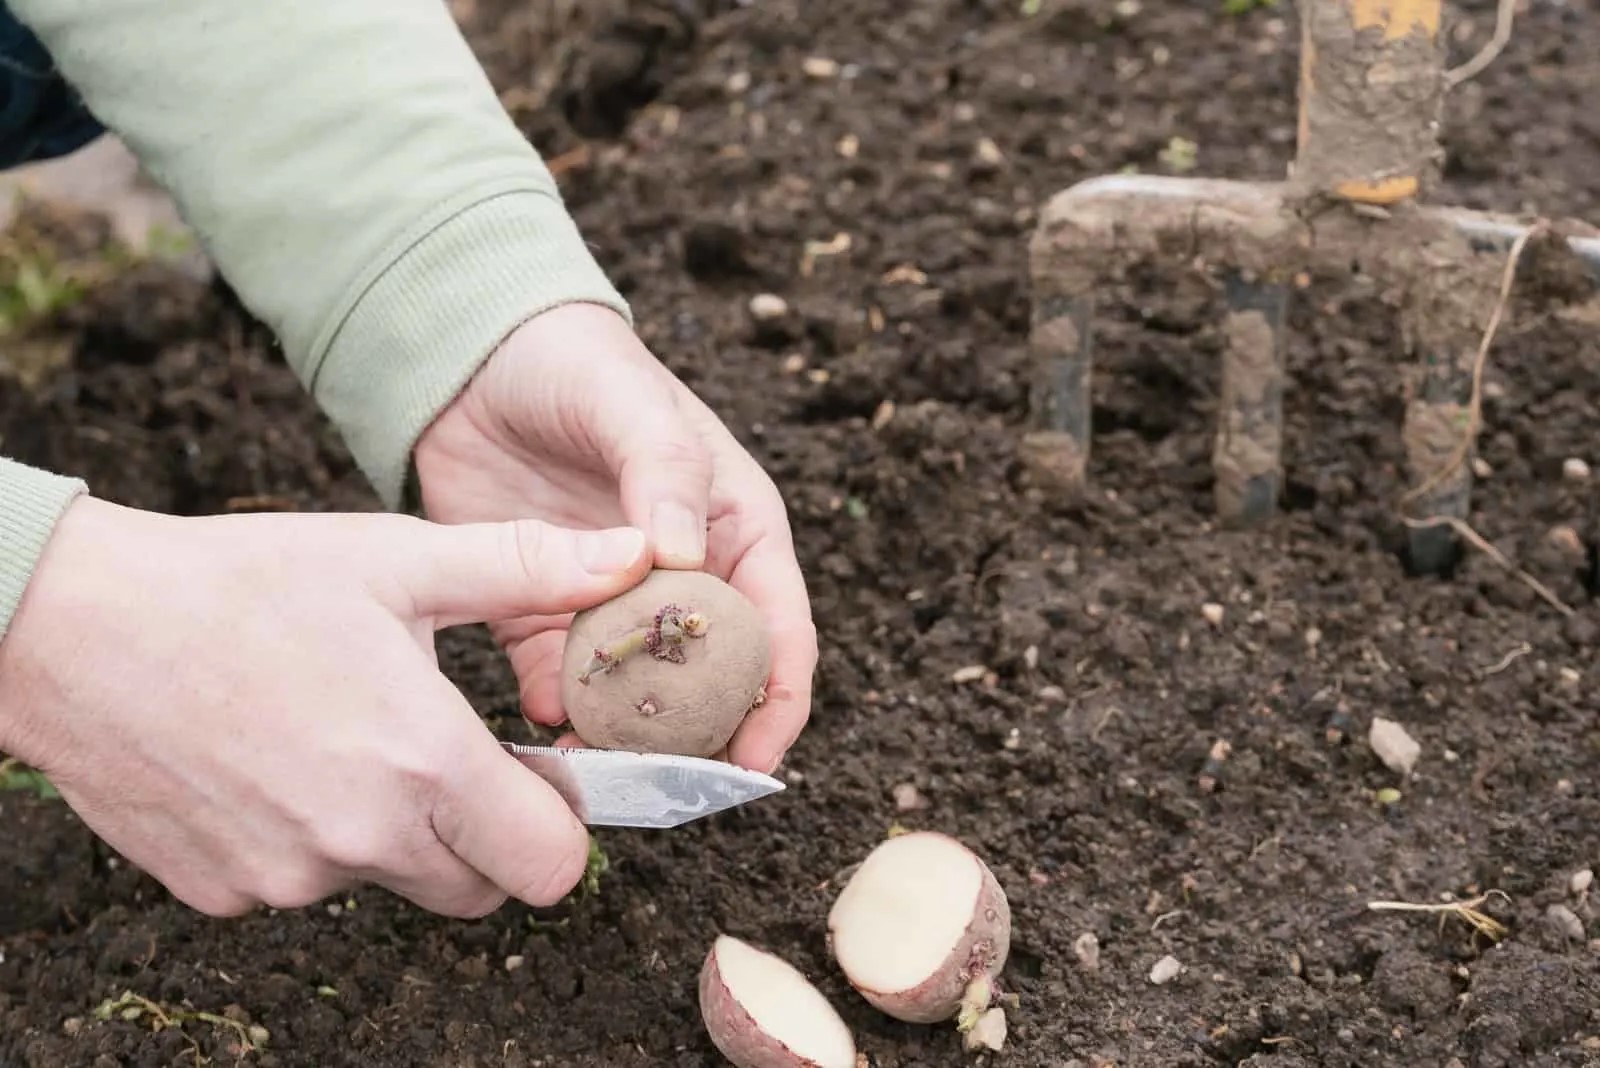
- Cut large potatoes (optional): If your seed potatoes are quite large, you can choose to cut them into smaller pieces, each containing at least one healthy sprout. Allow the cut surfaces to dry and callus over for a day or two before planting.
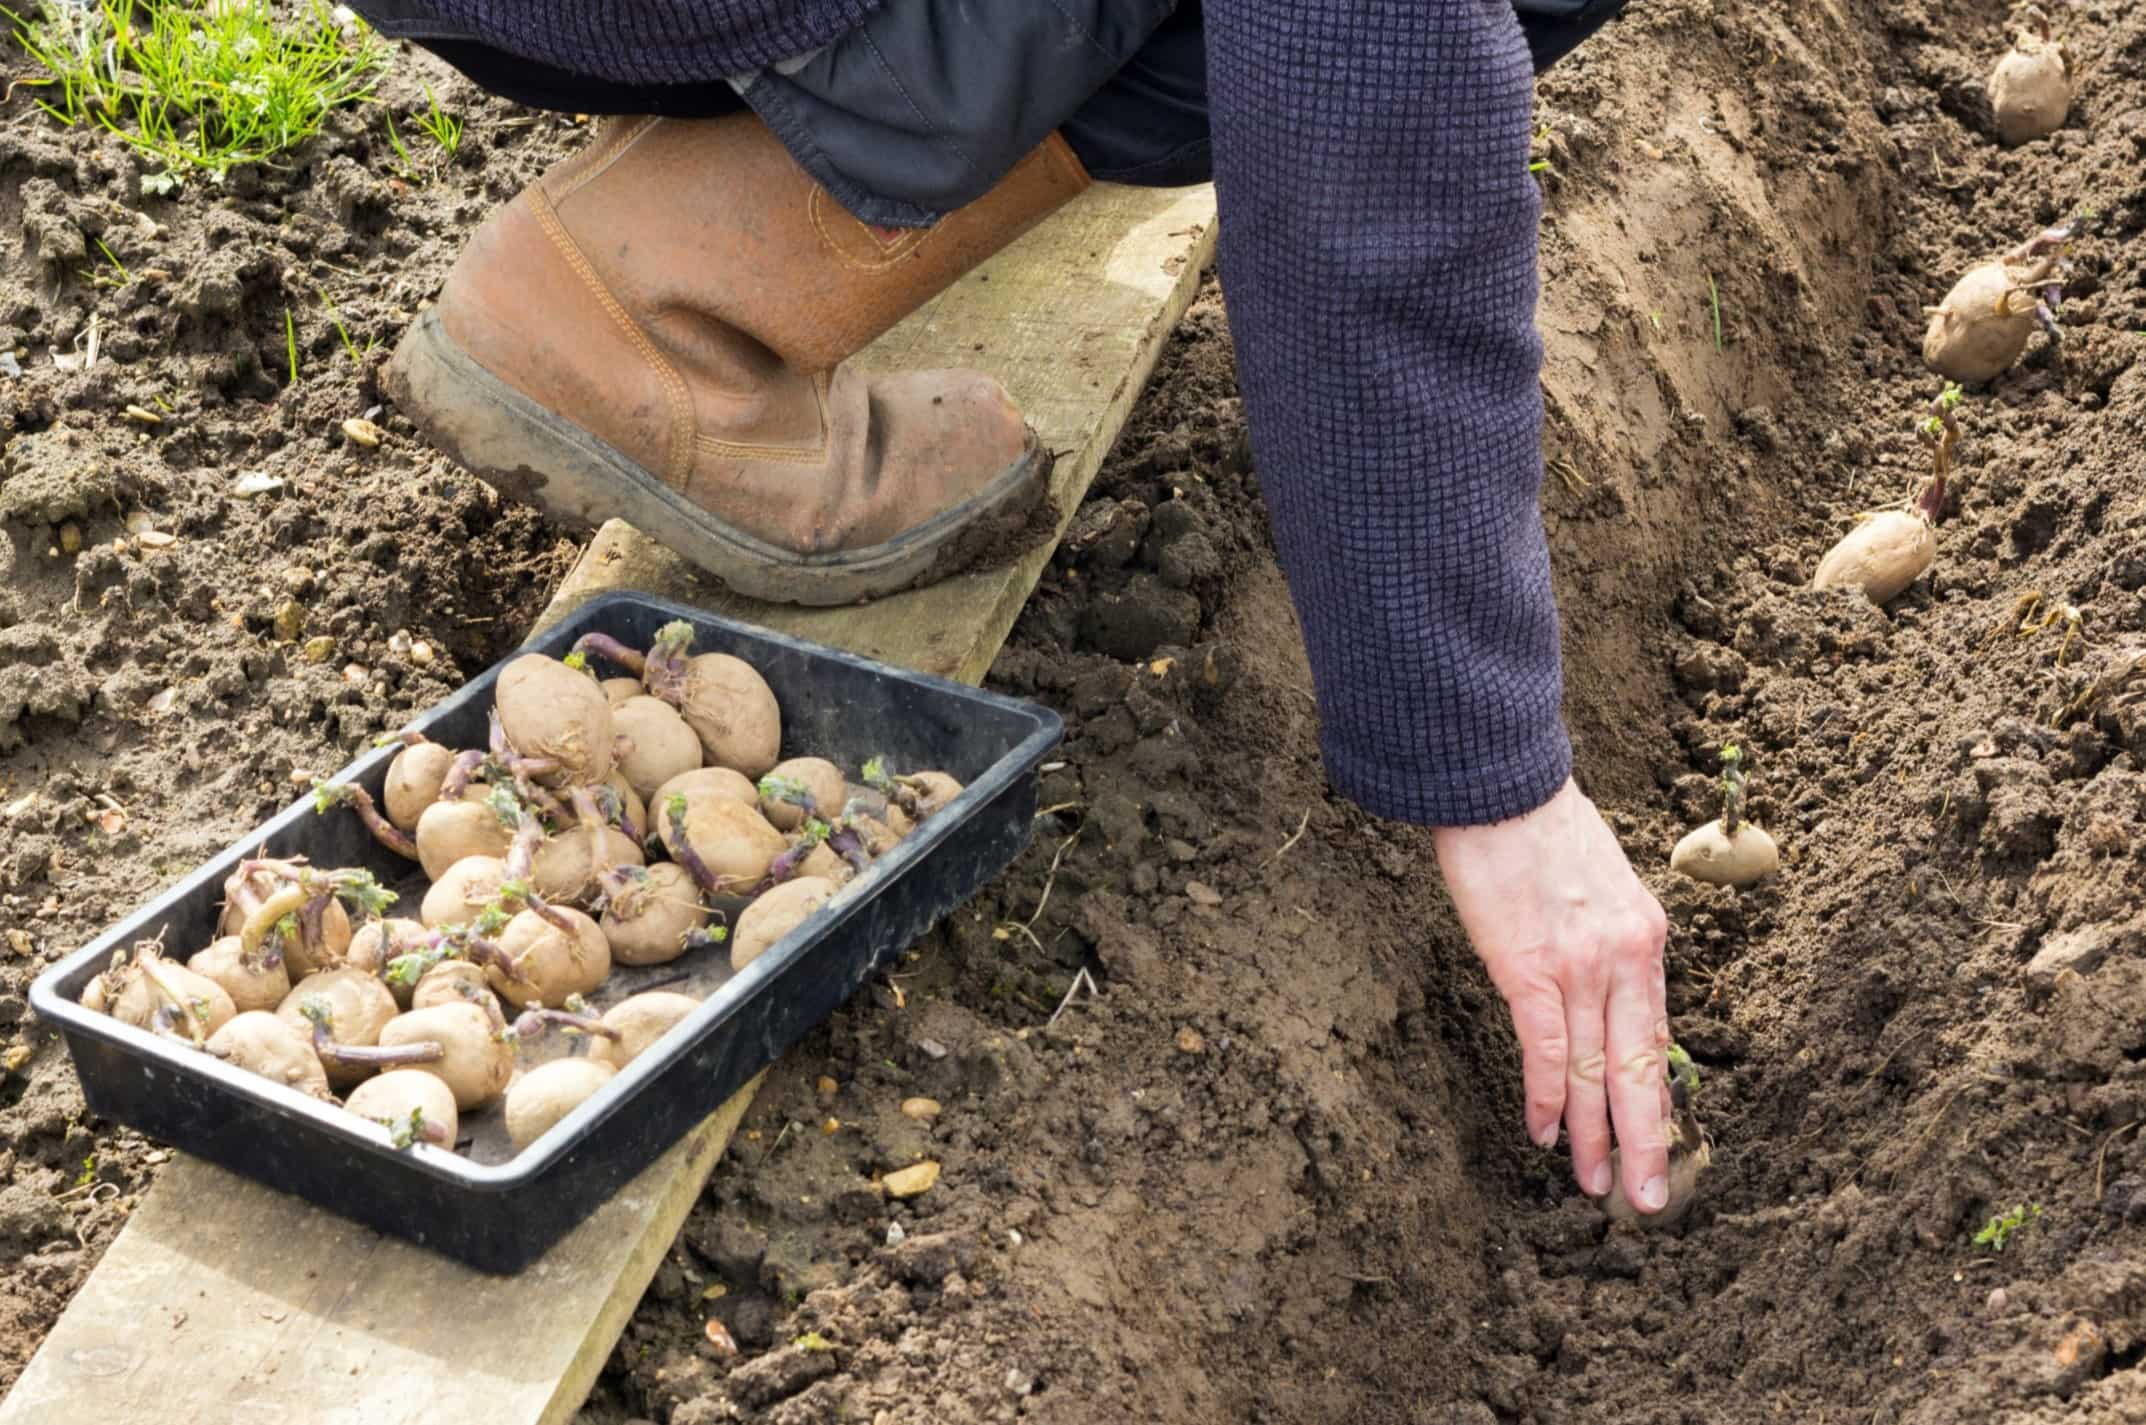
- Prepare the planting beds: Choose a sunny location with well-draining soil for your potato beds. Dig trenches that are about 4 to 6 inches deep and spaced around 2 to 3 feet apart.
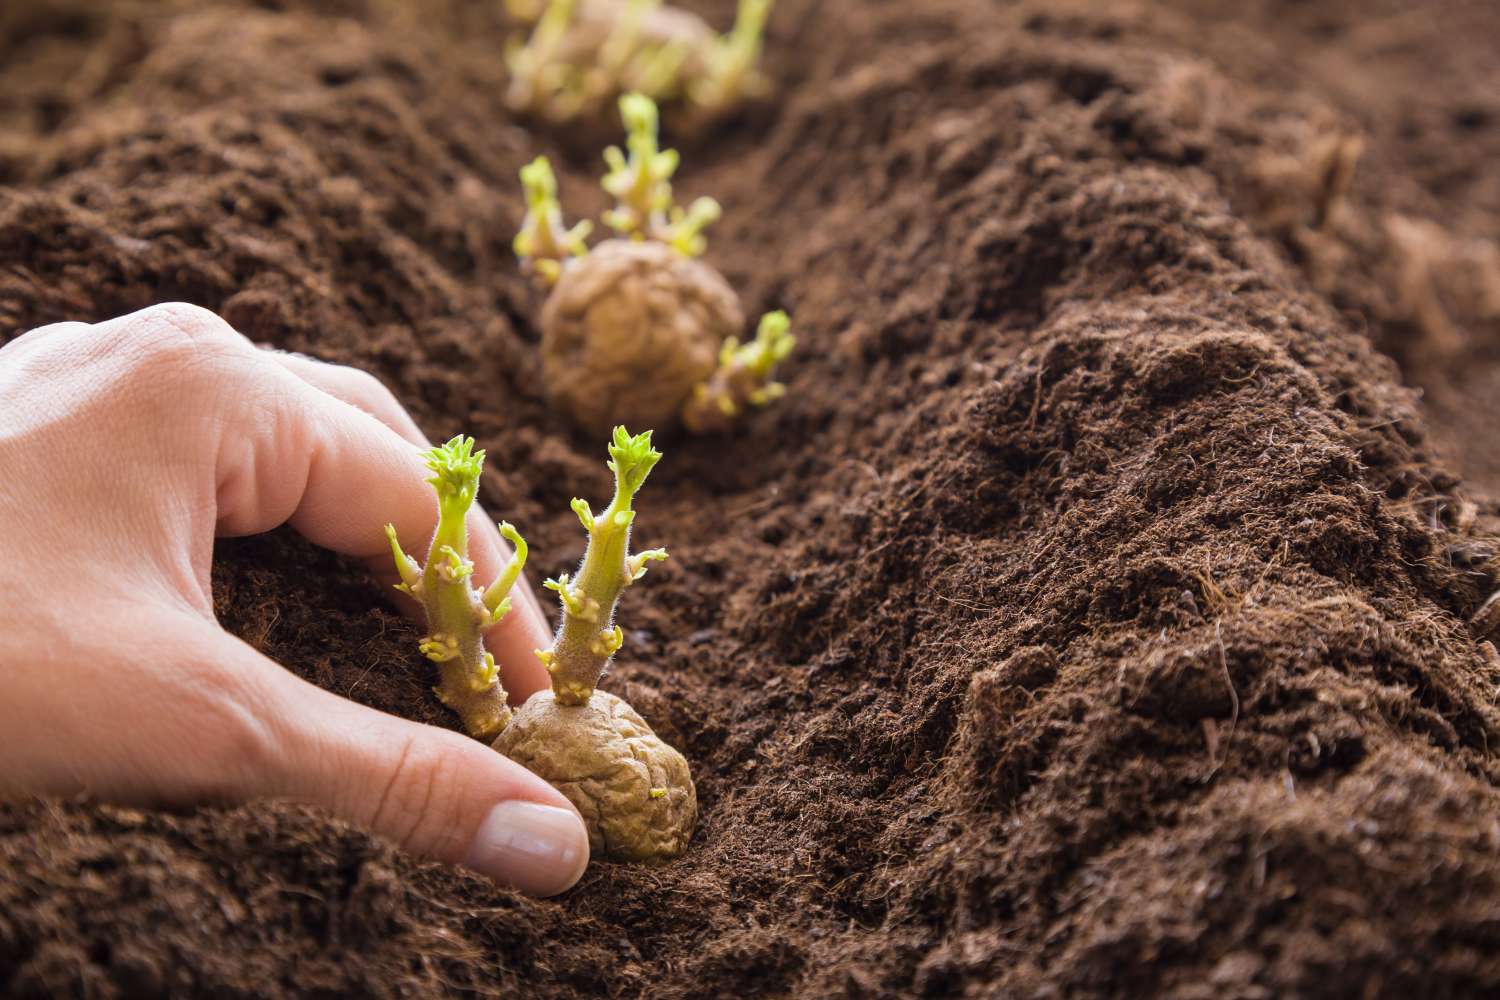
- Plant the seed potatoes: Place the sprouted or cut seed potatoes into the trenches, with the sprouts facing upwards. Space them about 12 to 15 inches apart to allow for proper growth and development.
- Cover and mound the potatoes: Gently cover the seed potatoes with soil, ensuring they are completely buried but not too deep. As the plants grow, periodically mound soil around the base of the plants to encourage tuber development.
- Provide adequate watering: Water the newly planted seed potatoes well to ensure proper moisture levels. Maintain consistent moisture throughout the growing season, but be cautious not to overwater.
By following these steps, you will give your seed potatoes the best chance for successful growth and a bountiful harvest. Remember to consider your specific climate, planting zone, and the recommended planting times for your potato variety.
Congratulations! You are now equipped with the knowledge to store, monitor, and prepare your seed potatoes for a successful planting season in the spring. By giving them proper care and attention, you’ll be rewarded with a delicious crop of homegrown potatoes!
Conclusion
Storing seed potatoes for the winter requires careful planning and proper techniques to maintain their quality and viability. By following the steps outlined in this article, you can ensure your seed potatoes remain healthy and ready for planting in the spring.
Choosing high-quality seed potatoes, curing them, and preparing them for storage are the initial steps to set the groundwork for successful storage. Sorting, cleaning, and packaging them in breathable containers or storing them in a root cellar are effective options to maintain their freshness and prevent rot or disease.
Throughout the winter, monitoring the stored seed potatoes is essential. Regular inspections, controlling temperature and humidity levels, and addressing any issues promptly will help preserve their quality and prevent spoilage or pest infestation.
Once spring arrives, it’s time to prepare the stored seed potatoes for planting. Inspecting them, allowing for sprouting, and potentially cutting them into pieces are some steps to ensure optimal growth and yield.
Remember to provide suitable planting beds, proper spacing, regular watering, and other necessary care during the growing season to maximize the potential of your seed potatoes. The joy of harvesting and enjoying your homegrown potatoes will be worth the effort.
With the knowledge gained from this article, you now have the tools to store seed potatoes successfully and embark on a rewarding potato-growing journey. Happy gardening!
Frequently Asked Questions about How To Store Seed Potatoes For Winter
Was this page helpful?
At Storables.com, we guarantee accurate and reliable information. Our content, validated by Expert Board Contributors, is crafted following stringent Editorial Policies. We're committed to providing you with well-researched, expert-backed insights for all your informational needs.


0 thoughts on “How To Store Seed Potatoes For Winter”