Articles
How To Store Sponges
Modified: January 18, 2024
Learn how to properly store and maintain your articles, including sponges, to ensure they last longer and stay hygienic. Follow our expert tips for efficient article storage.
(Many of the links in this article redirect to a specific reviewed product. Your purchase of these products through affiliate links helps to generate commission for Storables.com, at no extra cost. Learn more)
Introduction
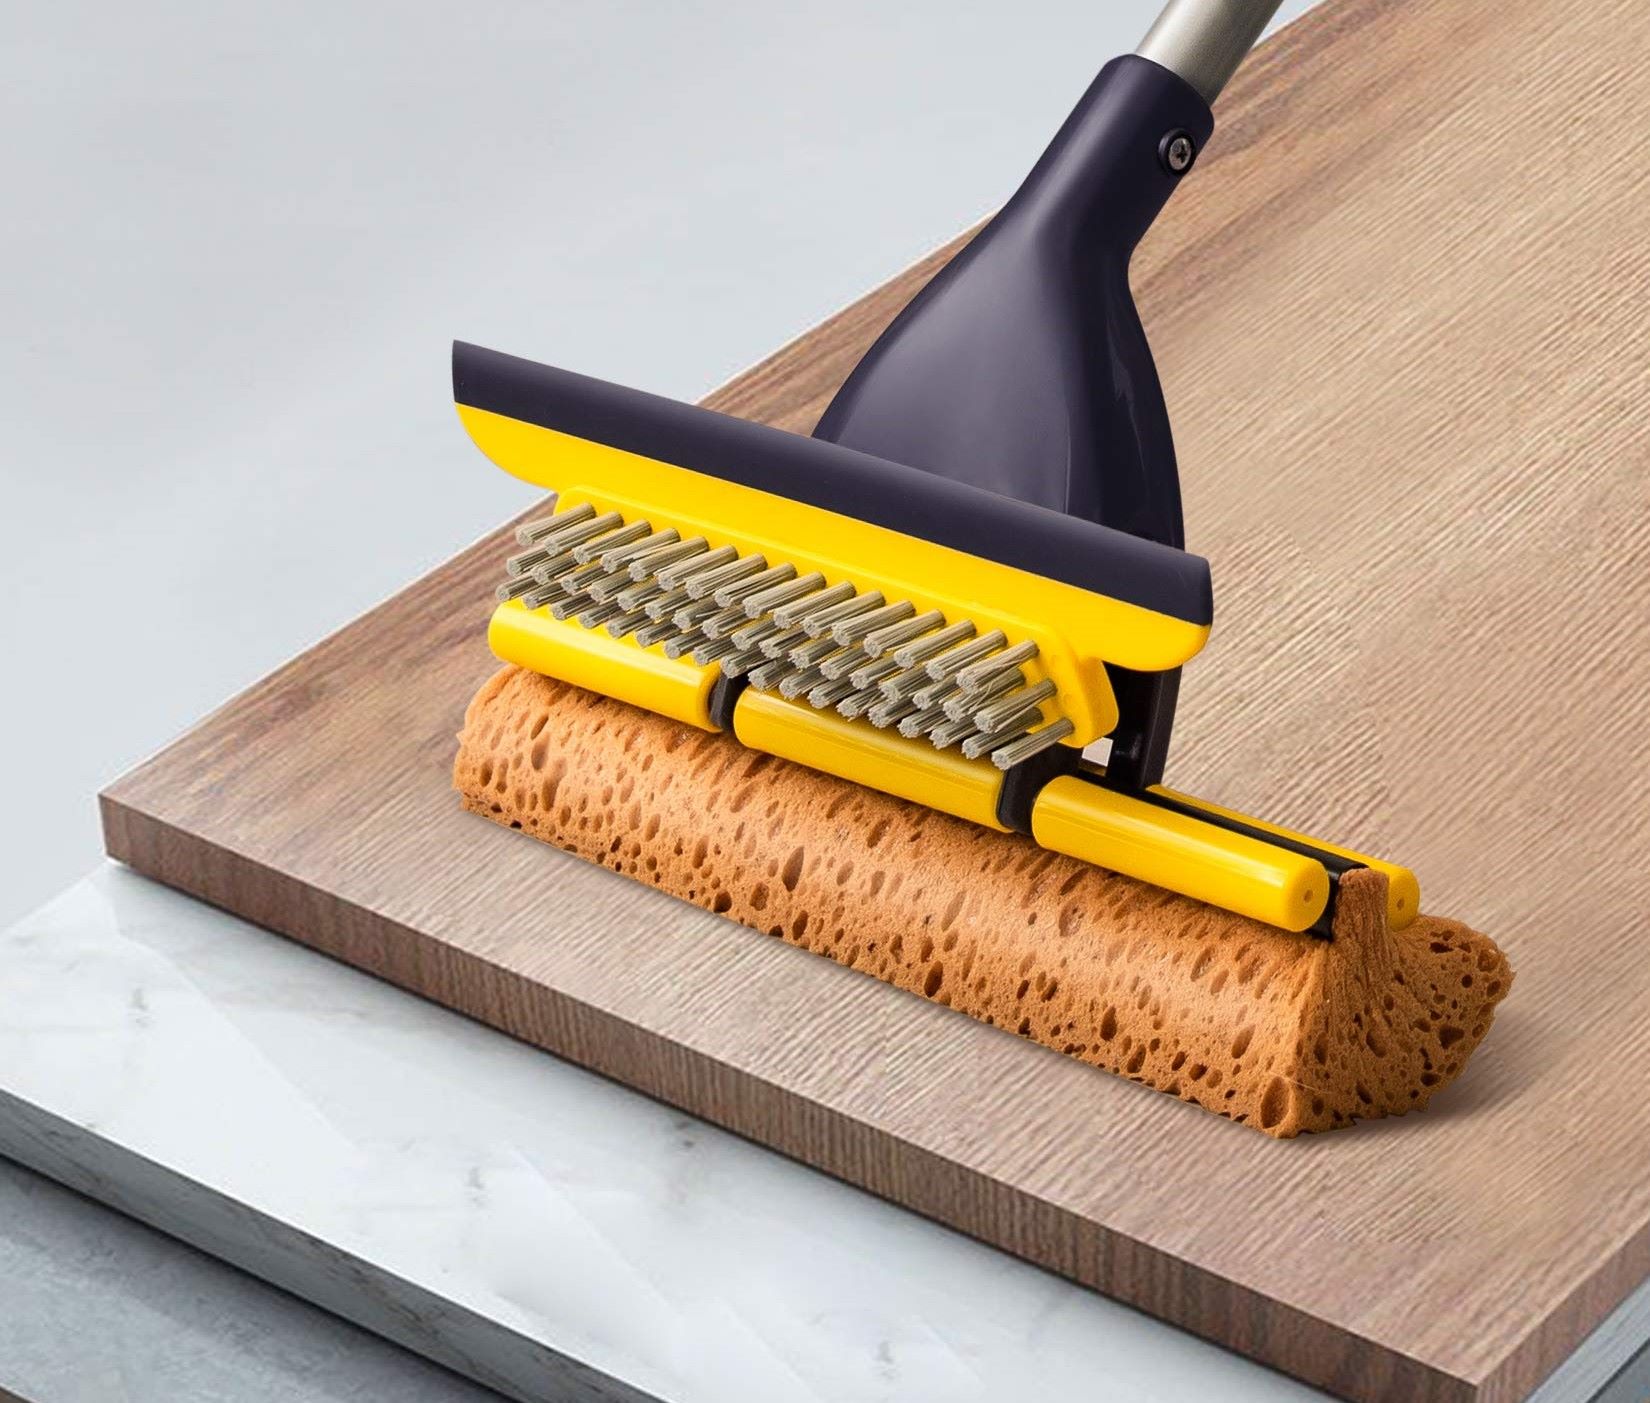
Sponges are an essential tool in any kitchen or cleaning routine. They provide convenience and efficiency, aiding in the removal of tough stains and grime. However, many people overlook the importance of properly storing their sponges. Proper sponge storage not only extends the lifespan of the sponge but also helps maintain cleanliness and prevent the growth of bacteria.
In this article, we will explore the importance of proper sponge storage and provide you with valuable tips on how to store your sponges effectively. By following these guidelines, you can ensure that your sponges remain hygienic, functional, and long-lasting.
Key Takeaways:
- Proper sponge storage is crucial for preventing bacterial growth, extending lifespan, and maintaining cleaning efficiency. Follow tips like air drying, sterilization, and using storage containers to keep sponges hygienic and effective.
- Avoid common sponge storage mistakes like leaving sponges wet, using dirty containers, and neglecting regular cleaning. Implement methods such as microwaving, vinegar soaking, and dishwasher cleaning to ensure clean and fresh sponges for effective cleaning.
Read more: How To Store Makeup Sponge
Importance of Proper Sponge Storage
Proper sponge storage is crucial for maintaining the cleanliness and functionality of your sponges. Here are a few reasons why it’s important to store your sponges correctly:
- Preventing Bacterial Growth: Sponges provide an ideal breeding ground for bacteria due to their moist and porous nature. When left damp and stored in unclean conditions, sponges can become a breeding ground for harmful bacteria such as E. coli and salmonella. Proper storage methods can help minimize bacterial growth and reduce the risk of cross-contamination.
- Extending Sponge Lifespan: By storing your sponges properly, you can extend their lifespan and save money in the long run. Sponges that are stored incorrectly, such as leaving them sitting in a pool of water or in a damp environment, can quickly deteriorate. Proper storage helps to prevent premature decay, ensuring that your sponges stay usable for a longer period of time.
- Maintaining Cleaning Efficiency: A clean sponge performs better when it comes to tackling dirt and grime. When stored properly, sponges retain their cleaning abilities and are more effective at removing stubborn stains. Proper storage also prevents the buildup of residue and odors, allowing your sponge to function optimally.
- Promoting Hygiene: Storing sponges in a clean and dry environment helps maintain hygiene standards in your home. With proper storage, you can rest assured that your sponges are not contributing to the spread of germs and bacteria.
By understanding the importance of proper sponge storage, you can ensure that your sponges remain clean, effective, and safe to use for all your cleaning needs.
Common Mistakes to Avoid
When it comes to storing sponges, there are several common mistakes that people often make. By avoiding these mistakes, you can keep your sponges in optimal condition. Here are some common sponge storage mistakes to watch out for:
- Leaving Sponges Wet: One of the biggest mistakes is leaving sponges wet after use. This creates a damp environment that promotes bacterial growth. Always squeeze out excess water from the sponge and allow it to air dry before storing.
- Storing Sponges in Unhygienic Areas: Avoid storing sponges in areas that are prone to dirt and contamination, such as near the trash can or sink drain. These areas can expose the sponge to harmful bacteria and make it less effective for cleaning.
- Using Dirty Containers: Storing sponges in dirty containers or using containers that have been used for other purposes can introduce bacteria to the sponge. Clean and sanitize the storage containers regularly to maintain optimal hygiene.
- Not Cleaning Sponges Regularly: Cleaning sponges should be a regular part of your routine. Neglecting to clean them properly can lead to increased bacterial growth and unpleasant odors.
- Using Sponges for Inappropriate Tasks: Sponges have specific purposes, and using them for tasks they are not intended for can lead to contamination and reduced effectiveness. For example, avoid using kitchen sponges for cleaning bathroom surfaces.
- Not replacing Sponges when Necessary: Sponges have a limited lifespan, and using them past their prime can result in ineffective cleaning and increased bacterial growth. Replace sponges regularly, especially if they show signs of wear and tear or have an unpleasant odor.
By avoiding these common mistakes, you can ensure that your sponges are stored correctly and remain clean and effective for a longer period of time.
Tips for Storing Sponges
To maintain the cleanliness and functionality of your sponges, here are some helpful tips for storing them properly:
- Air dry the sponge: After each use, squeeze out any excess water from the sponge and allow it to air dry completely. This helps to prevent the growth of bacteria and keeps the sponge fresh for the next use.
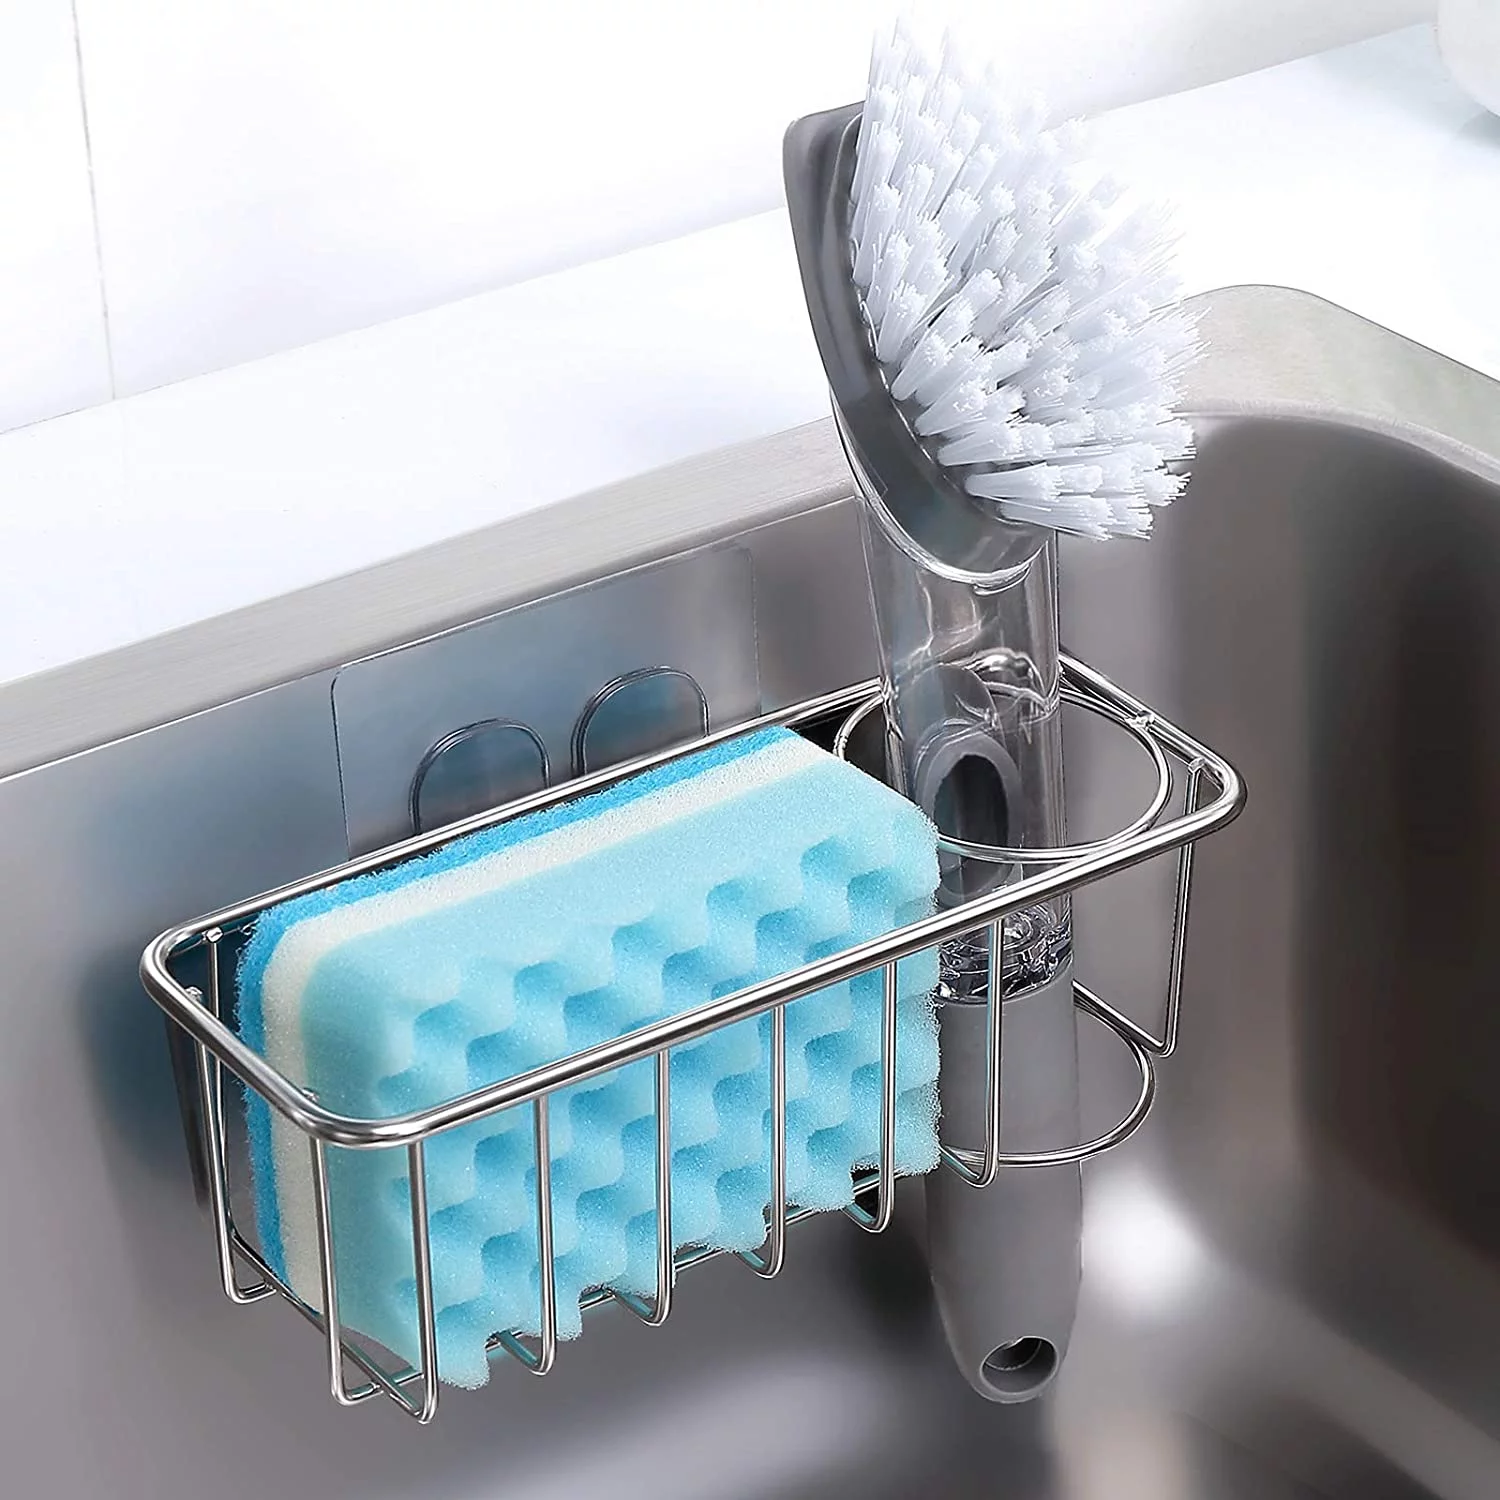
- Store in a clean and dry location: Find a clean and well-ventilated area to store your sponges. Avoid storing them near areas prone to moisture or dirt, such as the sink or trash can.
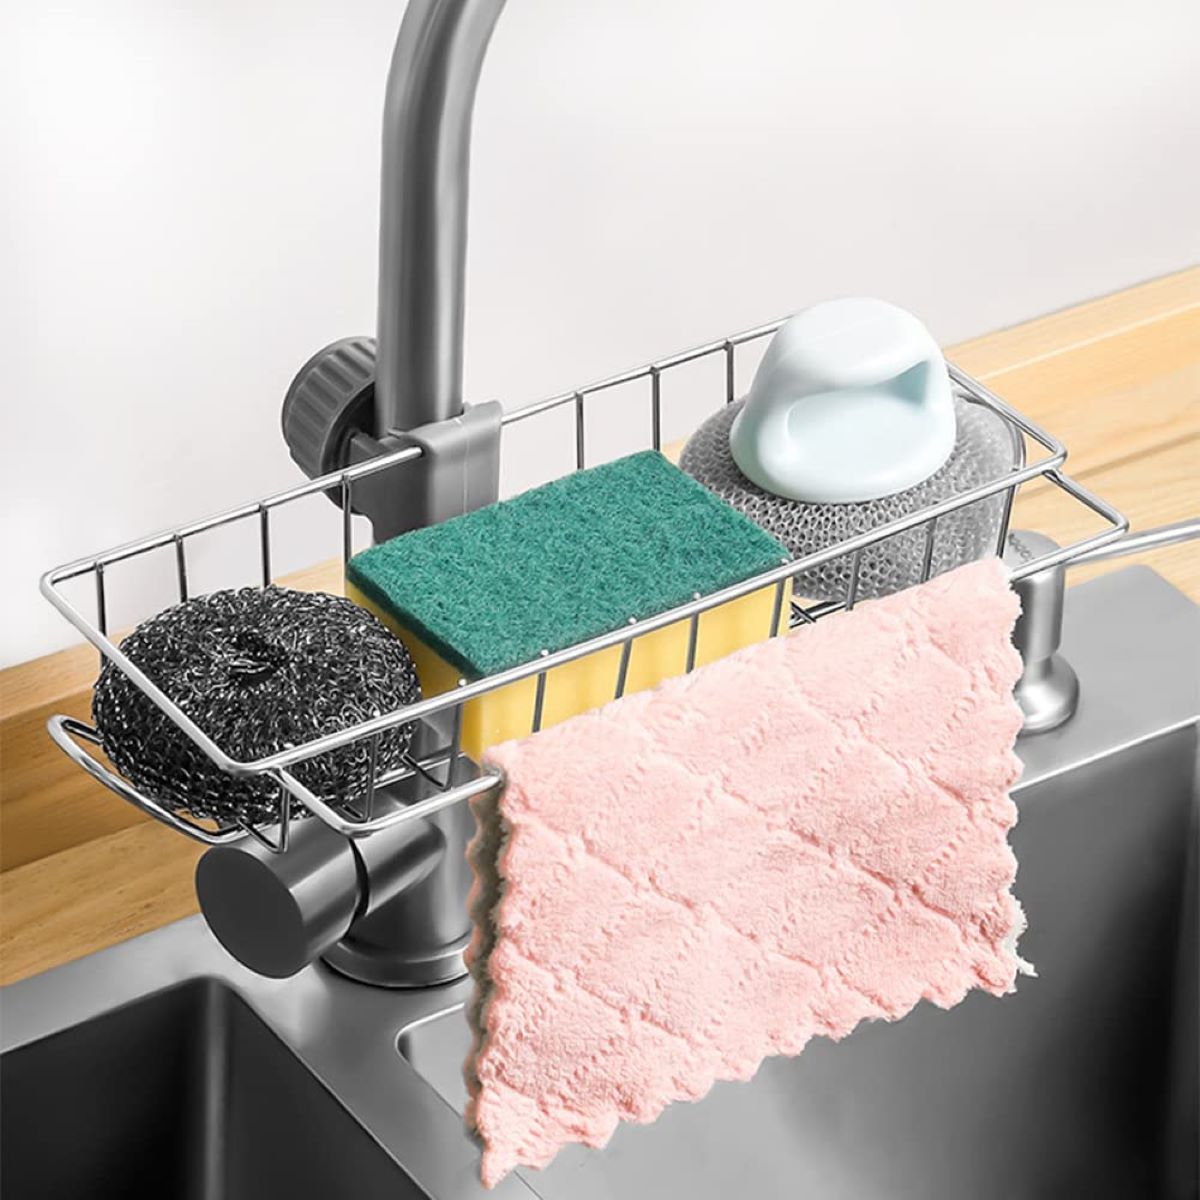
- Use a sponge holder or caddy: Invest in a sponge holder or caddy that allows air to circulate around the sponge. This helps to keep the sponge dry and prevents bacterial growth.
- Keep separate sponges for different tasks: It’s important to keep different sponges for different tasks to avoid cross-contamination. Use separate sponges for cleaning dishes, countertops, and bathroom surfaces.
- Clean and sanitize sponges regularly: To prevent the buildup of bacteria and odors, clean and sanitize your sponges regularly. You can soak them in a mixture of water and disinfectant, or run them through the dishwasher on a hot cycle.
- Replace sponges when necessary: Keep an eye on the condition of your sponges and replace them when they become worn out or develop an unpleasant odor. Using old and worn-out sponges can be ineffective and unhygienic.
- Rotate between multiple sponges: If you have multiple sponges, rotate between them to allow each sponge to fully dry out between uses. This helps to prevent bacterial growth and extends the lifespan of the sponges.
By following these tips, you can ensure that your sponges are stored correctly, remain clean and hygienic, and effectively serve their purpose in your cleaning routine.
Method 1: Air Drying
Air drying is one of the simplest and most effective methods for storing sponges. By allowing the sponge to dry completely, you can prevent bacterial growth and maintain its cleanliness. Here’s how to air dry your sponge:
- After use, thoroughly rinse the sponge to remove any residue or debris.
- Squeeze out the excess water from the sponge until it is no longer dripping.
- Find a well-ventilated area, such as a dish rack or an open space on the kitchen counter.
- Place the sponge in an upright position to allow air to circulate around it.
- Ensure that the sponge is not in contact with any surfaces, as this can hinder the drying process and promote bacterial growth.
- Leave the sponge to air dry completely before storing it.
It is important to note that air drying may take several hours, depending on the sponge and the humidity of the environment. Therefore, it’s advisable to have multiple sponges on rotation, allowing each sponge to fully dry before its next use.
By air drying your sponges, you can maintain their cleanliness and extend their lifespan, ensuring that they remain effective for your cleaning needs.
Read more: How To Store Makeup Sponges
Method 2: Sterilization
Sterilizing your sponges is an excellent way to eliminate bacteria and keep them clean and safe for use. Sterilization can be done using heat or chemical methods. Here are a few ways to sterilize your sponges:
- Boiling: This method requires a pot of boiling water. Submerge the sponge in the boiling water and let it boil for about 5 minutes. Remove the sponge using tongs and allow it to cool and dry before storing it.
- Microwaving: Place a wet sponge in the microwave and heat it on high power for 1-2 minutes. Ensure that the sponge is saturated with water to avoid any fire hazards. Be cautious when removing the sponge from the microwave, as it may be hot. Allow it to cool and dry before storing.
- Bleach Solution: Create a solution of 1 part bleach to 9 parts water. Soak the sponge in this solution for about 5 minutes. Rinse it thoroughly with water and air dry before storing.
- Vinegar Soak: Fill a container with equal parts water and white vinegar. Soak the sponge in this solution for at least 15 minutes. Rinse the sponge with water and air dry before storing.
It’s important to note that sterilizing sponges should be done occasionally, rather than as a daily routine. Sterilization methods can be harsh on the sponge and may reduce its lifespan if done too frequently.
By sterilizing your sponges, you can effectively kill bacteria and ensure a clean and hygienic tool for your cleaning tasks.
Method 3: Storage Containers
Using storage containers is a practical and convenient method for keeping your sponges clean and organized. It helps protect the sponge from contamination and allows for proper air circulation. Here’s how to utilize storage containers for sponge storage:
- Choose a storage container that is clean, dry, and non-porous. Plastic or glass containers with ventilation holes or slots are ideal.
- Before placing the sponge inside the container, make sure it is clean and dry.
- Place the sponge in the container, ensuring that it fits comfortably without being crammed or squeezed tightly.
- If using a lidded container, make sure it has ventilation holes to allow air to circulate and prevent moisture buildup.
- Store the container in a clean and dry area, away from sources of moisture and heat.
Using storage containers helps protect your sponges from coming into contact with dirt, dust, and other contaminants. It also helps to maintain the sponge’s shape and prevent it from drying out too quickly.
Remember to regularly clean and sanitize the storage container to maintain optimal hygiene for your sponges.
By storing your sponges in containers, you can keep them clean, organized, and ready for use whenever you need them.
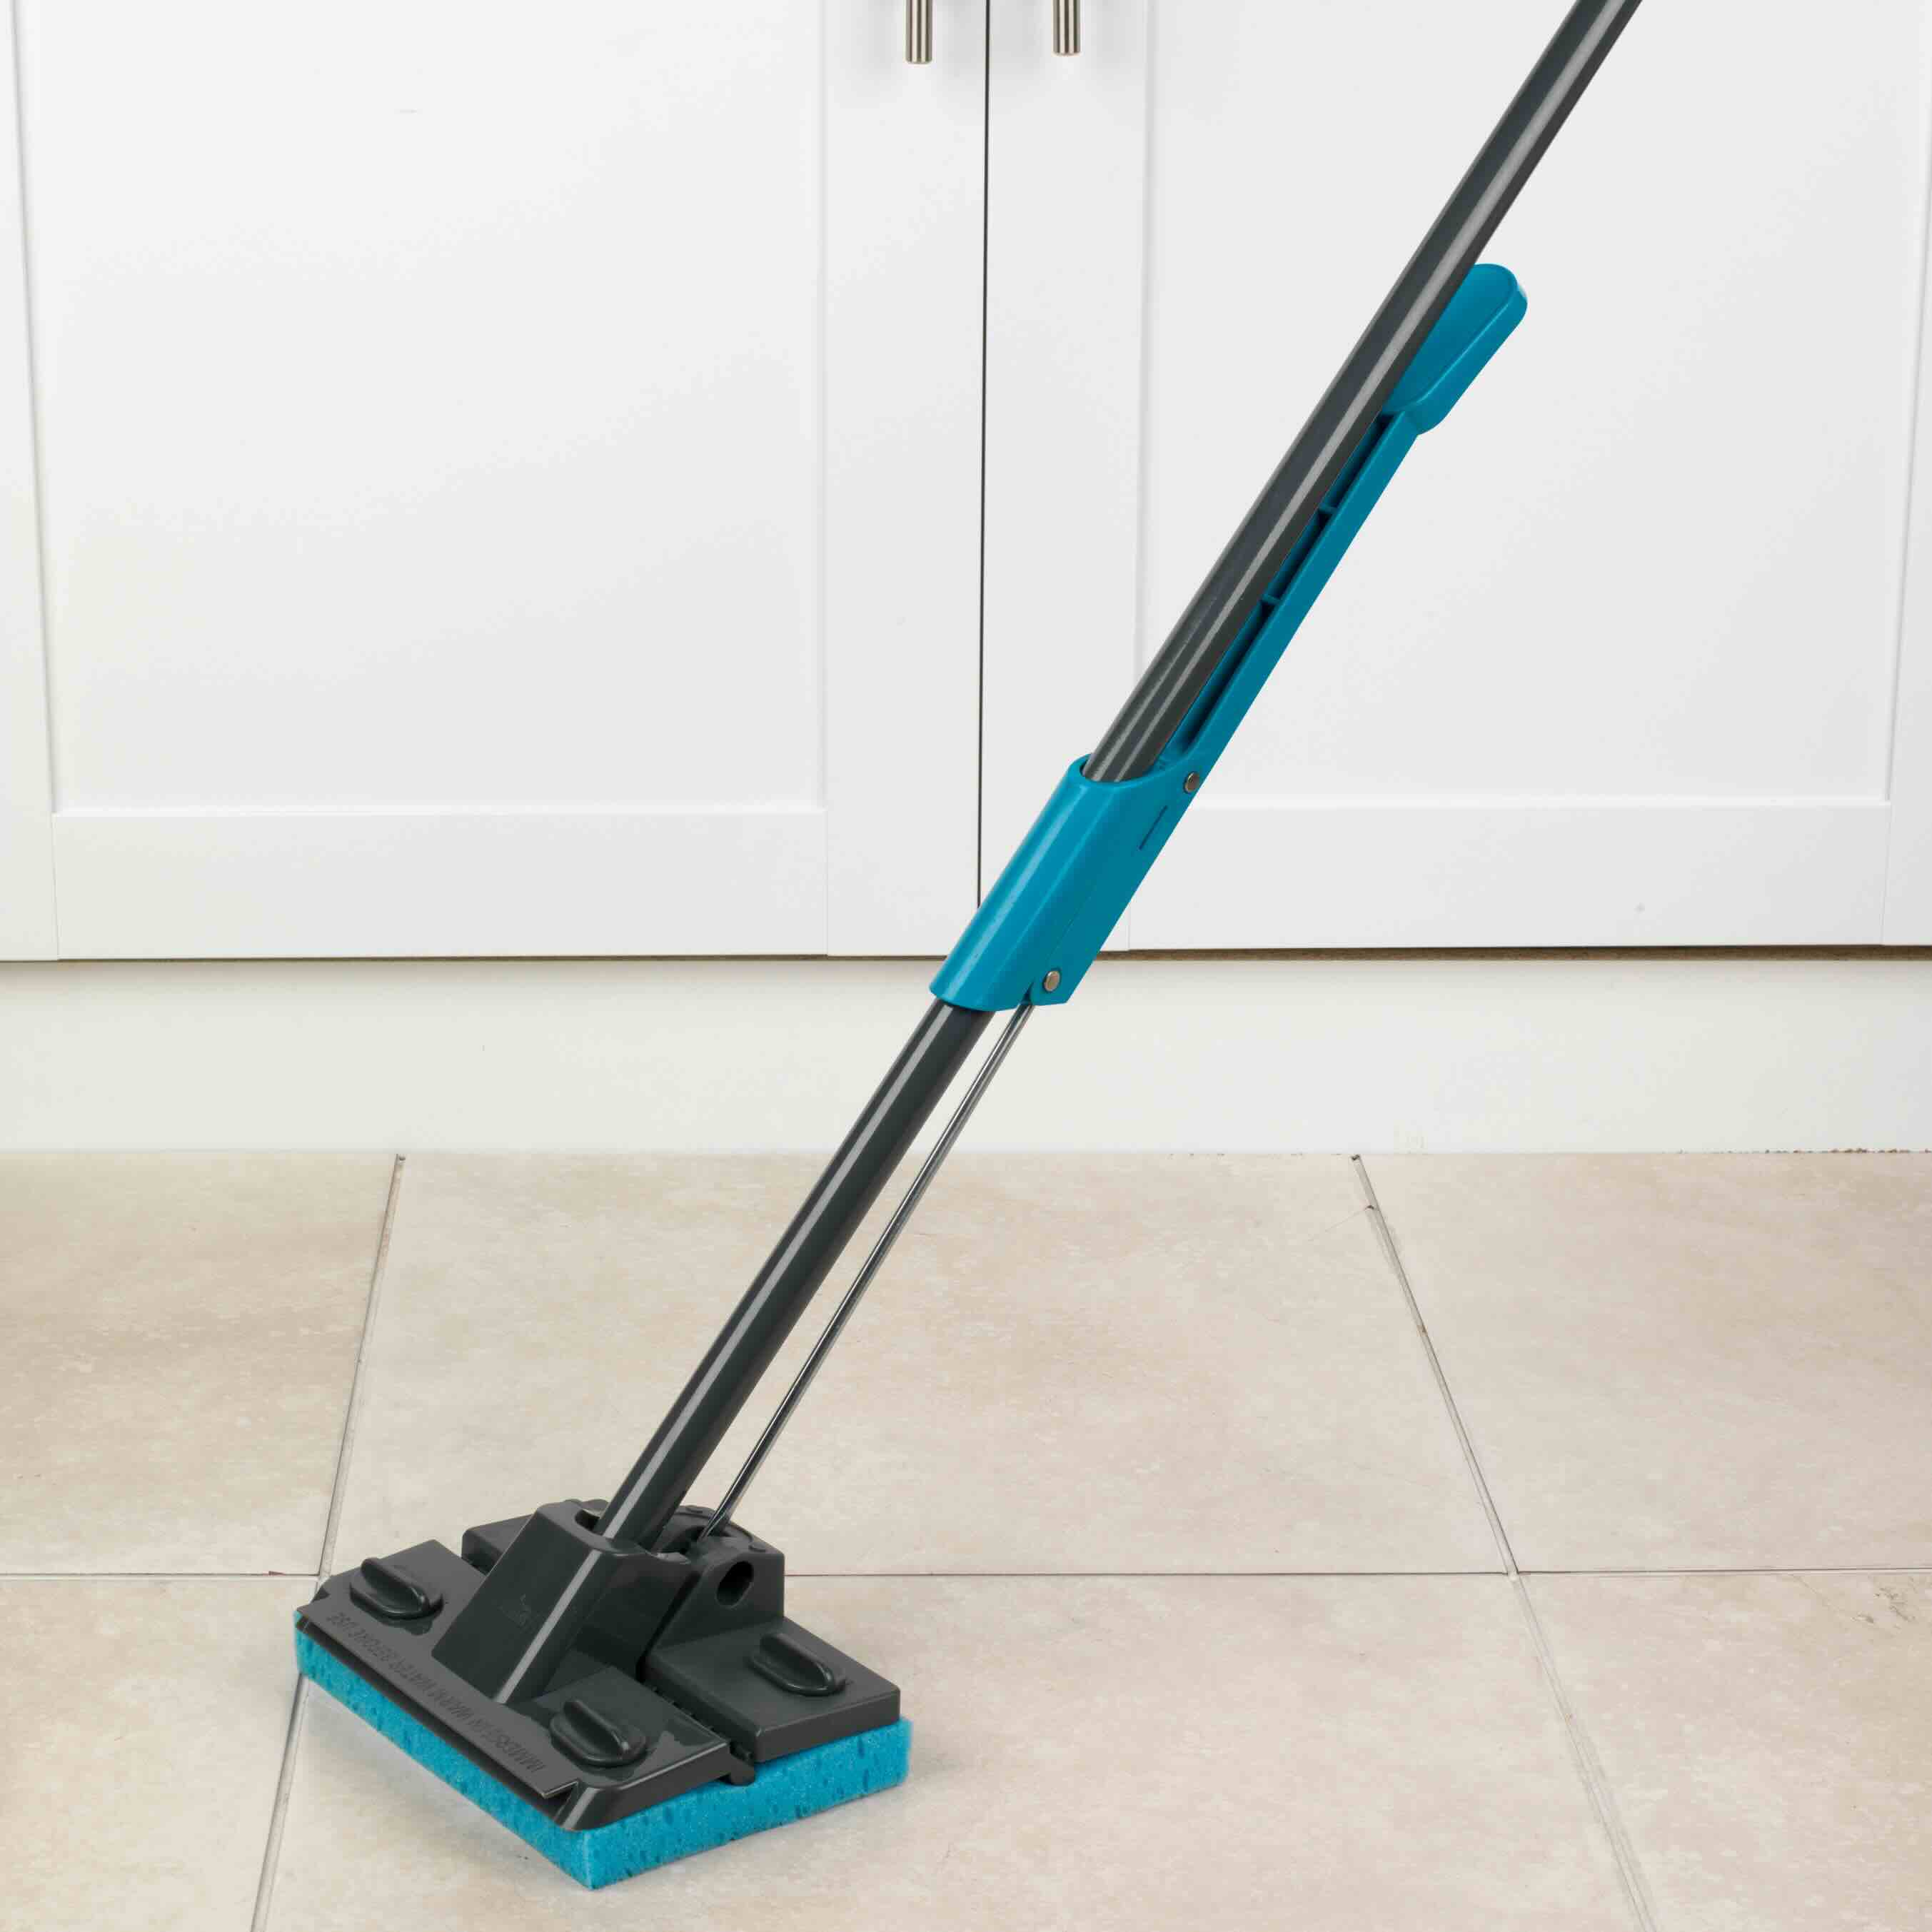
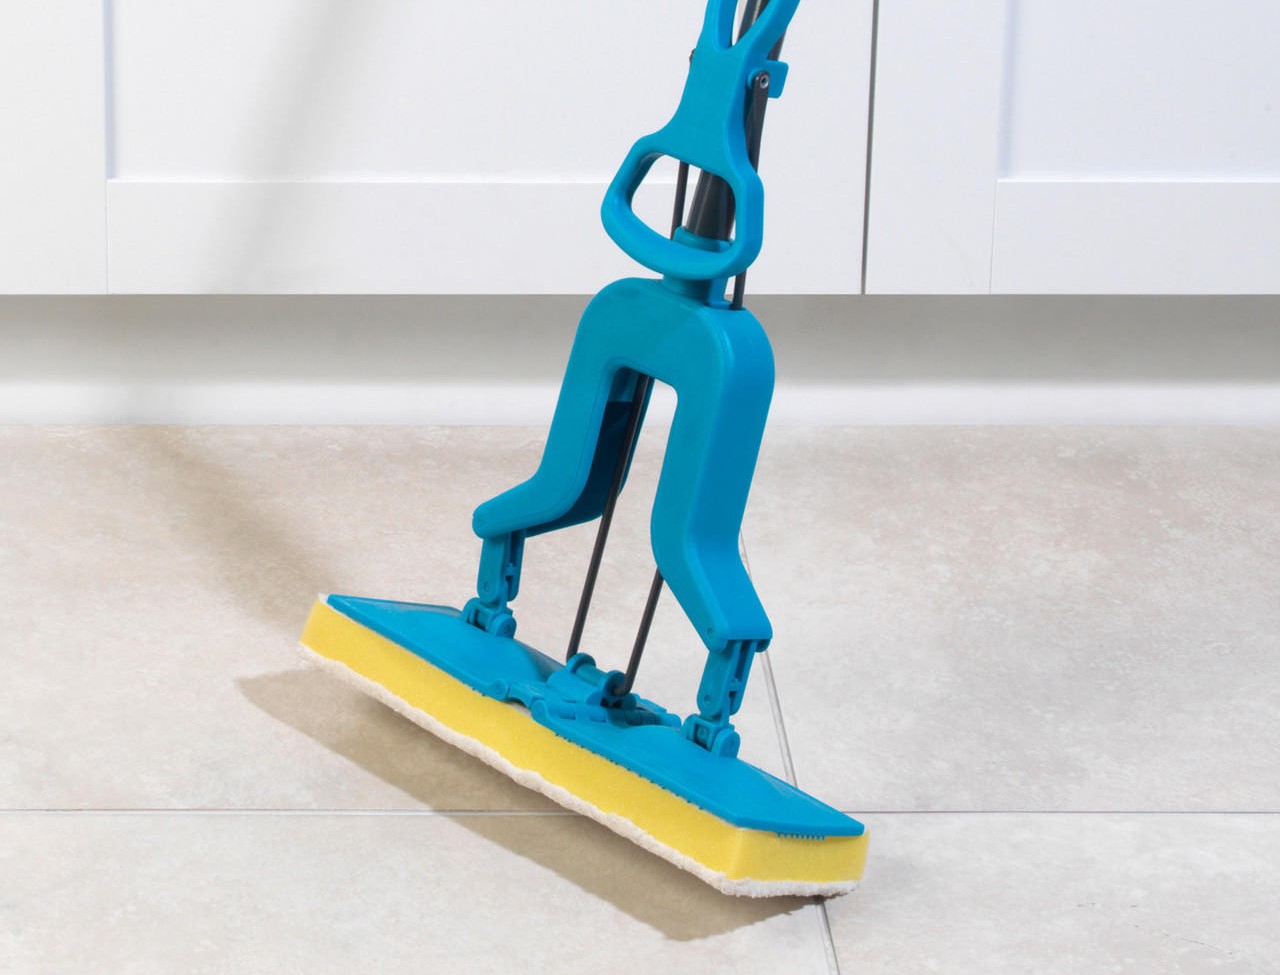
Rinse sponges thoroughly after each use and allow them to air dry completely. Store in a well-ventilated area to prevent mold and bacteria growth.
Method 4: Hanging or Mounting
Hanging or mounting your sponge is an effective method for storing it while ensuring proper air circulation and preventing bacterial growth. Here’s how you can hang or mount your sponge:
- Choose a location near your sink or in an area where you often use your sponge.
- Secure a sponge holder, hook, or adhesive clip onto the wall or sink area.
- Rinse and squeeze out excess water from the sponge.
- Hang the sponge by inserting it into the holder or hook, ensuring that it is suspended without touching any surfaces or other objects.
- Allow the sponge to air dry completely before storing or using it again.
Hanging or mounting your sponge keeps it elevated and away from potential contaminants, such as countertops or dirty surfaces. This method also promotes airflow, allowing the sponge to dry quickly and preventing the growth of bacteria.
Make sure to clean and sanitize the sponge holder or hook periodically to maintain cleanliness.
By using this storage method, you can keep your sponge within easy reach while ensuring that it remains clean, dry, and ready for use.
Method 5: Microwaving
Microwaving your sponge is a quick and effective method to kill bacteria and sanitize it. The heat generated by the microwave helps eliminate harmful microorganisms. Here’s how you can safely microwave your sponge:
- Ensure that your sponge is completely wet before microwaving it. This is crucial to prevent any fire hazards.
- Place the wet sponge in a microwave-safe bowl or on a microwave-safe plate.
- Heat the sponge in the microwave on high power for approximately 1-2 minutes.
- Use caution when removing the sponge from the microwave, as it may be hot. Allow it to cool down before handling.
- After the sponge has cooled, squeeze out any excess water before using or storing it.
Microwaving your sponge helps kill bacteria and eliminates any unpleasant odors. However, it’s important to note that microwaving is suitable for certain types of sponges and not all. Natural cellulose or microwave-safe sponges are typically recommended for this method.
Exercise caution to avoid over-microwaving the sponge, as prolonged exposure to heat can damage it. Additionally, always follow the specific instructions and wattage recommendations provided by the microwave manufacturer.
Microwaving your sponge periodically can help keep it clean and free from harmful bacteria, ensuring a more hygienic cleaning experience.
Read more: How To Store A Sponge Cake
Method 6: Vinegar Soak
Using a vinegar soak is a natural and effective way to clean and deodorize your sponge. Vinegar is known for its antimicrobial properties, making it a great option for sanitizing your sponge. Here’s how to do a vinegar soak:
- Fill a container with equal parts of water and white vinegar.
- Submerge the sponge in the vinegar-water solution.
- Allow the sponge to soak for at least 15 minutes.
- After soaking, thoroughly rinse the sponge with water to remove any vinegar residue.
- Squeeze out any excess water and allow the sponge to air dry completely before using or storing it.
The acidic nature of vinegar helps to kill bacteria, remove odors, and restore freshness to your sponge. This method is particularly effective for removing grease and food residues.
It’s important to note that some sponges may have specific cleaning instructions from the manufacturer. Carefully check the label or packaging to ensure that vinegar soaking is suitable for your sponge type.
By regularly soaking your sponge in a vinegar solution, you can maintain its cleanliness and prolong its usability for your cleaning needs.
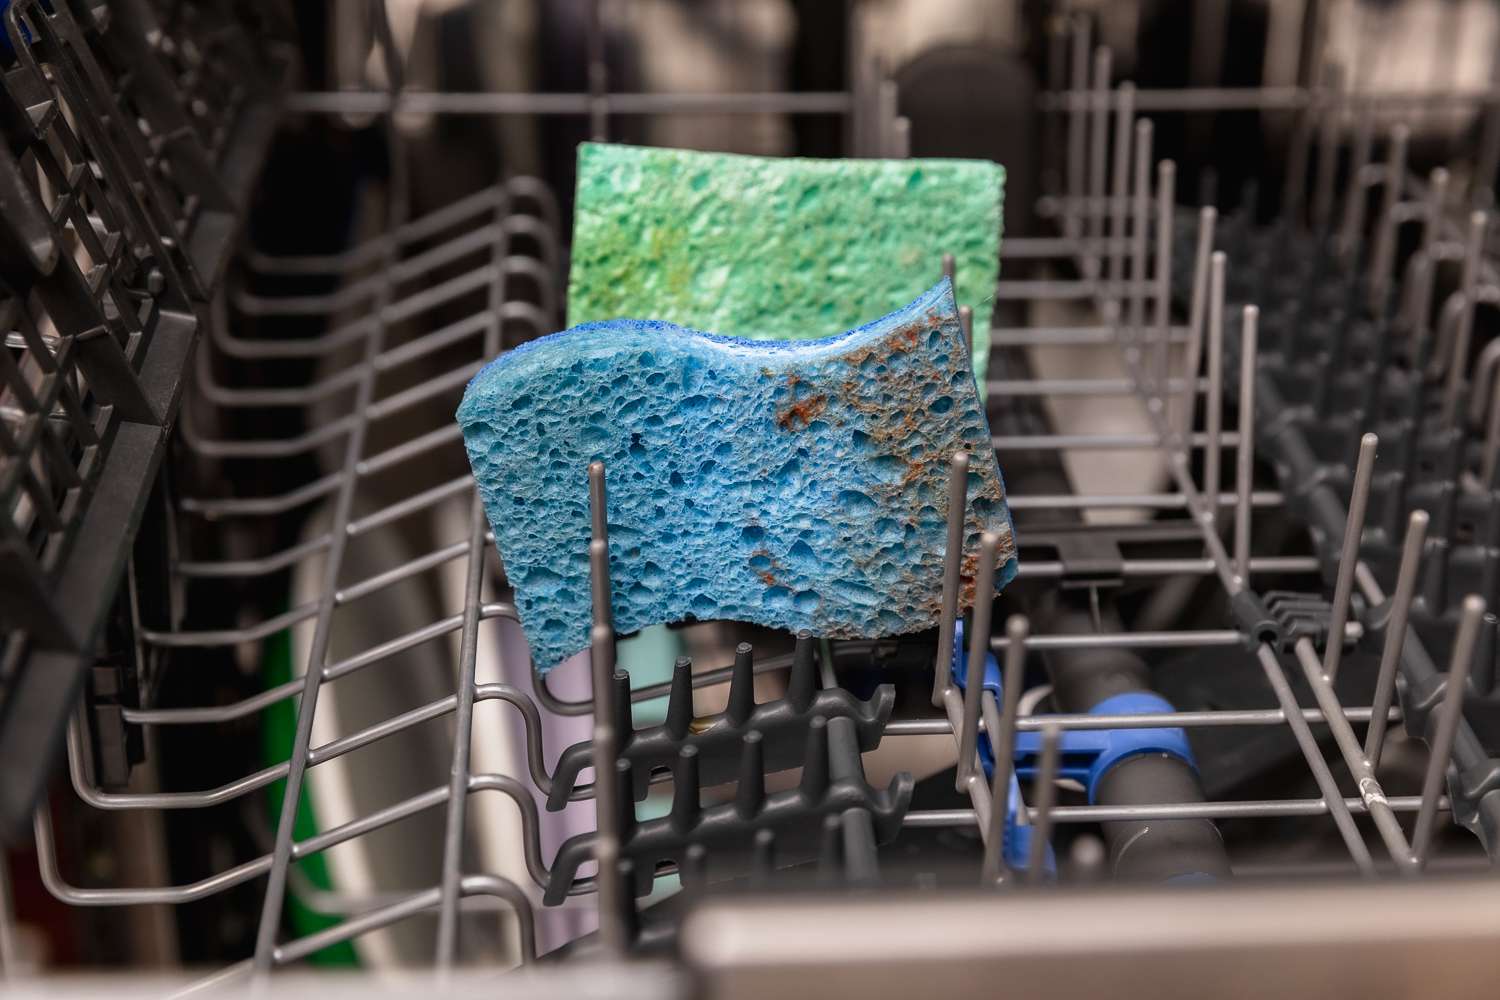
Method 7: Dishwasher Cleaning
Using a dishwasher to clean your sponge is a convenient and efficient method that ensures thorough cleaning and sanitization. The high temperatures and powerful jets of water in the dishwasher can effectively remove dirt, grime, and bacteria. Here’s how to clean your sponge in the dishwasher:
- Rinse the sponge to remove any large debris or food particles.
- Place the sponge in the utensil compartment or on the top rack of your dishwasher.
- Run the dishwasher on a hot water cycle, preferably with a sanitizing feature.
- Ensure that the sponge is thoroughly dry before using or storing it.
It’s important to note that not all sponges are dishwasher-safe. Check the manufacturer’s instructions or packaging to determine if your sponge can be safely cleaned in the dishwasher.
Additionally, avoid washing your sponge with heavily soiled dishes or items that may contain harmful chemicals, as this can transfer onto the sponge and affect its cleanliness.
Cleaning your sponge in the dishwasher periodically helps remove stubborn residue and bacteria, ensuring that it remains fresh, clean, and ready for use.
Method 8: Lemon Juice Soak
Using a lemon juice soak is a natural and refreshing way to clean and deodorize your sponge. Lemons contain citric acid, which helps break down grease, remove odors, and kill bacteria. Here’s how to do a lemon juice soak:
- Squeeze the juice of one to two lemons into a bowl.
- Fill the bowl with warm water and mix well to create a lemon juice solution.
- Submerge the sponge in the lemon juice solution and allow it to soak for approximately 1-2 hours.
- After soaking, thoroughly rinse the sponge with water to remove any lemon residue.
- Squeeze out excess water and allow the sponge to air dry completely before using or storing it.
The acidity of lemon juice helps disinfect and freshen your sponge, leaving it clean and revitalized. This method is particularly effective for removing stubborn stains and odors.
Remember to test this method on a small section of your sponge first, as the natural acids in lemon juice can potentially deteriorate certain sponge materials. Additionally, avoid using lemon juice on colored sponges, as it may cause discoloration.
By periodically soaking your sponge in a lemon juice solution, you can effectively clean and revitalize it, ensuring a fresh and pleasant cleaning experience.
Conclusion
Proper sponge storage is essential for maintaining cleanliness, hygiene, and functionality. By implementing the right storage methods, you can prevent bacterial growth, extend the lifespan of your sponges, and ensure their effectiveness in your cleaning routines.
In this article, we have explored various methods for storing sponges, such as air drying, sterilization, using storage containers, hanging or mounting, microwaving, vinegar soaking, dishwasher cleaning, and lemon juice soaking. Each method offers unique benefits and can be used depending on your preference and the type of sponge you have.
It’s important to note that no single method is universally suitable for every type of sponge. Always check the manufacturer’s instructions and recommendations for specific cleaning and storage guidelines.
By avoiding common storage mistakes, such as leaving sponges wet, storing them in unhygienic areas, or using dirty containers, you can maintain the cleanliness and functionality of your sponges.
Remember to clean and sanitize your sponges regularly, replace them when necessary, and use separate sponges for different tasks to prevent cross-contamination.
By following these guidelines and incorporating the methods discussed in this article, you can ensure that your sponges remain clean, fresh, and effective for all your cleaning needs.
Proper sponge storage not only enhances the longevity and performance of your sponges but also contributes to a more hygienic and enjoyable cleaning experience overall.
Frequently Asked Questions about How To Store Sponges
Was this page helpful?
At Storables.com, we guarantee accurate and reliable information. Our content, validated by Expert Board Contributors, is crafted following stringent Editorial Policies. We're committed to providing you with well-researched, expert-backed insights for all your informational needs.


0 thoughts on “How To Store Sponges”