Articles
How To Clean Dishwasher Drain Hose
Modified: August 31, 2024
Learn effective ways to clean and unclog your dishwasher drain hose with our informative articles. Keep your dishwasher running smoothly with expert tips and tricks.
(Many of the links in this article redirect to a specific reviewed product. Your purchase of these products through affiliate links helps to generate commission for Storables.com, at no extra cost. Learn more)
Introduction
Having a clean and properly functioning dishwasher is essential for every household. However, over time, the drain hose of your dishwasher can become clogged with food debris, grease, and other dirt, leading to drainage issues and unpleasant odors. Cleaning the dishwasher drain hose is an important maintenance task that can help improve the performance and longevity of your dishwasher.
In this article, we will provide you with a step-by-step guide on how to clean the dishwasher drain hose effectively. We will also discuss the signs of a clogged drain hose and the precautions you need to take before starting the cleaning process. Additionally, we will share some helpful tips and recommendations to ensure a thorough cleaning and prevent future clogs.
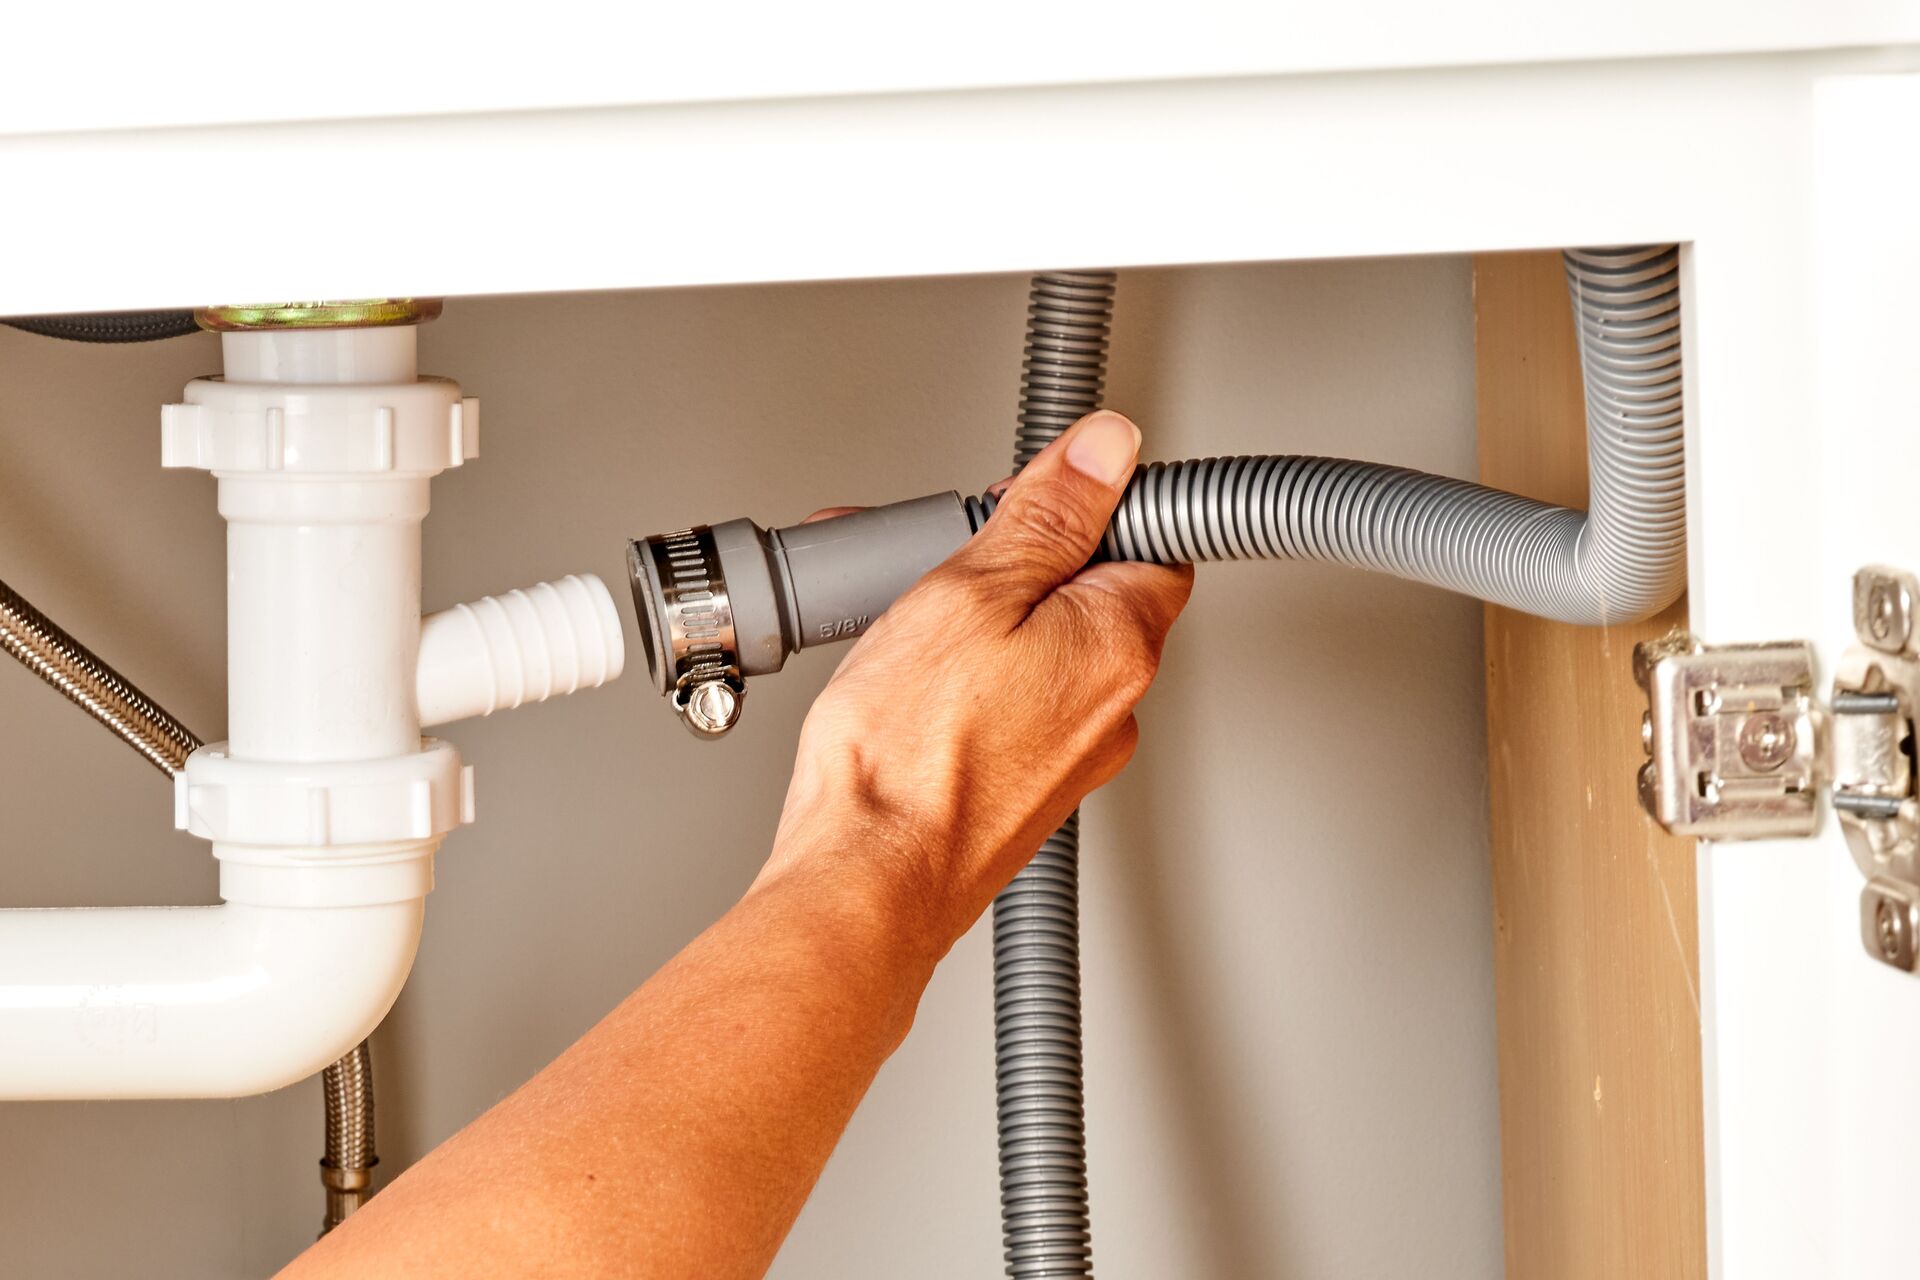
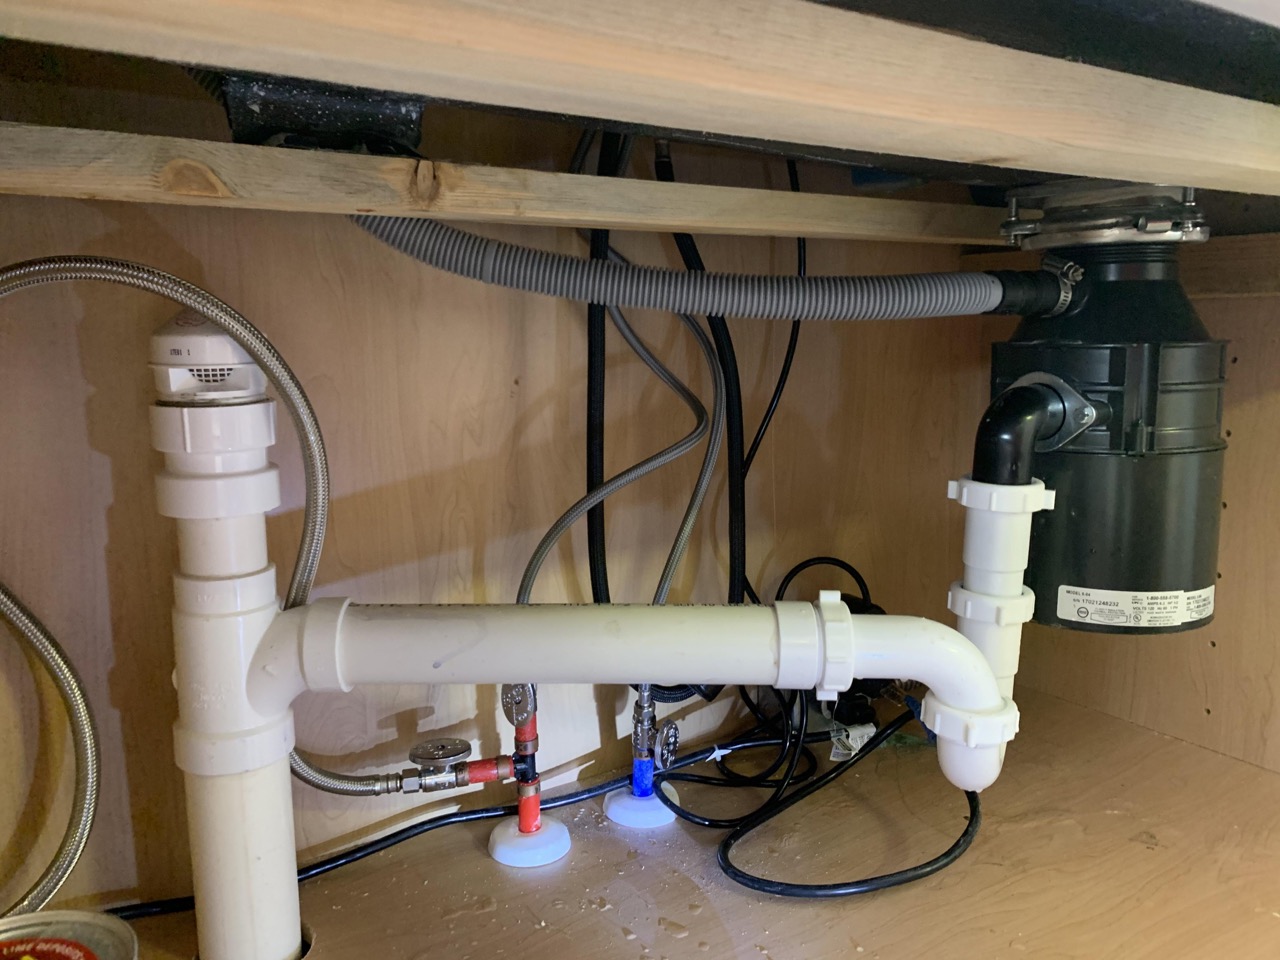
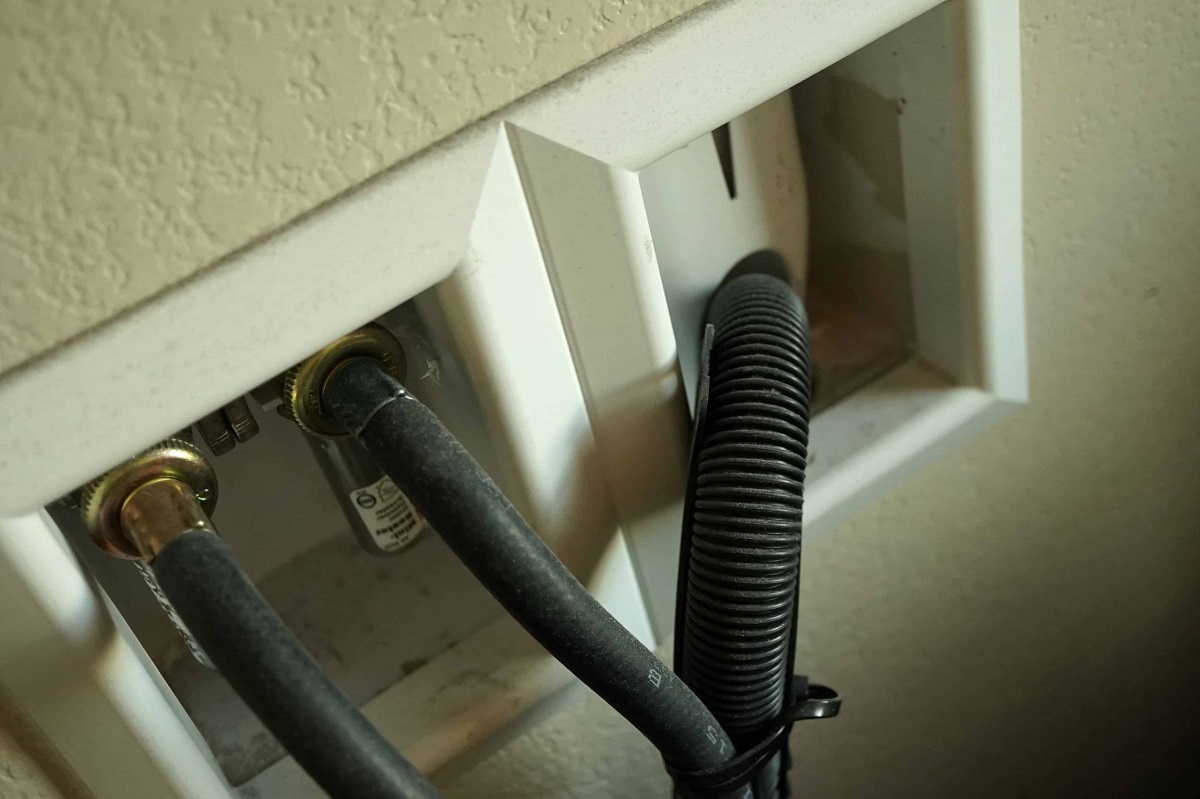
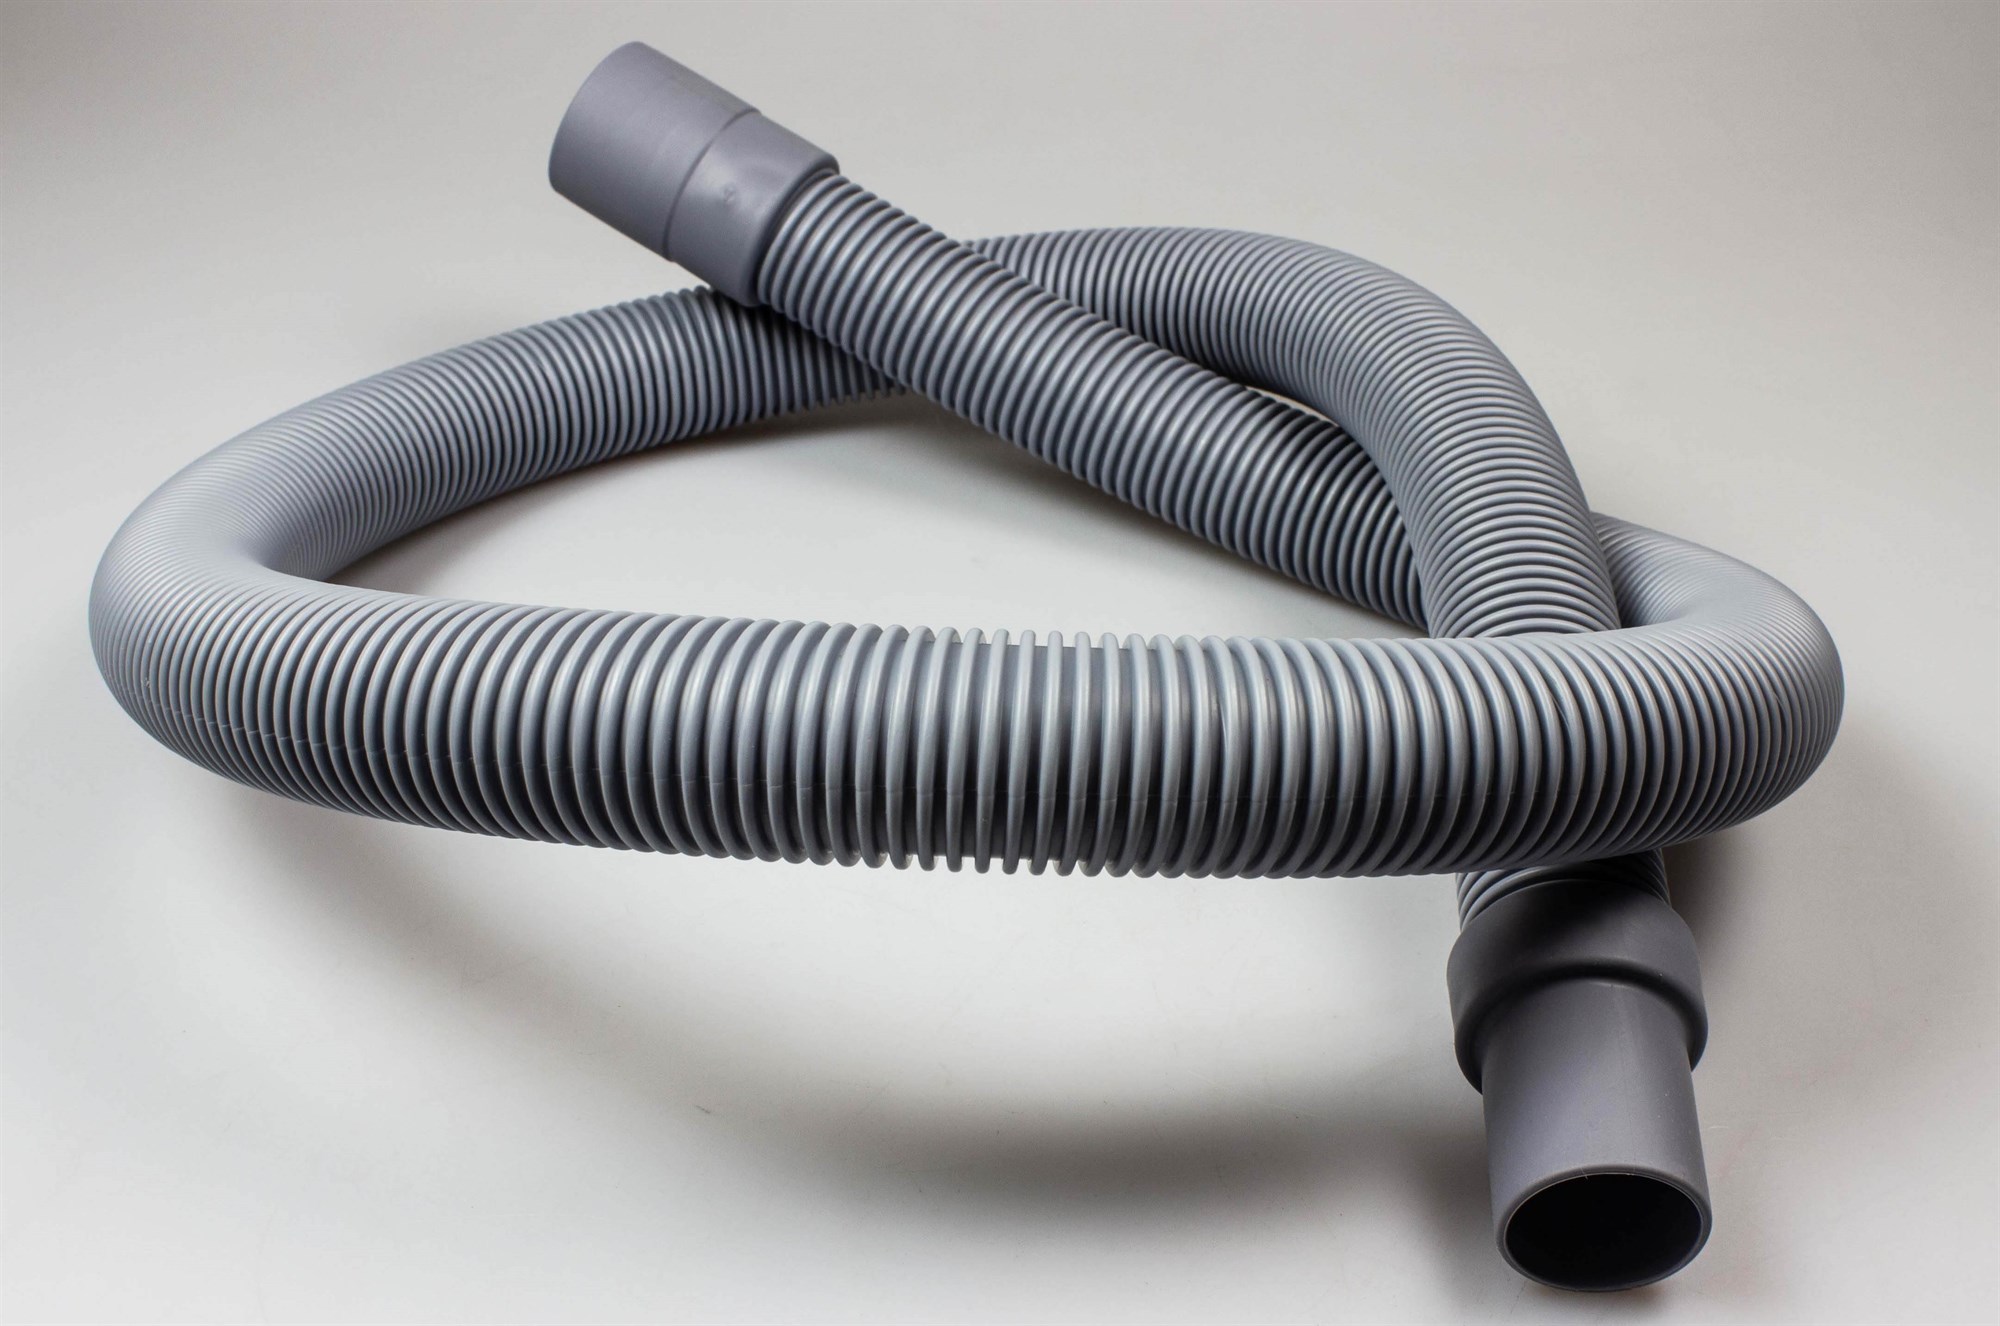
Understanding the functioning of the dishwasher drain hose is crucial for maintaining its cleanliness. The drain hose is a flexible tube that connects the dishwasher’s drain pump to the kitchen sink’s plumbing system. Its primary purpose is to carry out waste water from the dishwasher during the washing and rinsing cycles.
Over time, bits of food particles, grease, soap scum, and mineral deposits can accumulate inside the drain hose, leading to a partial or complete blockage. When the drain hose is clogged, it can cause water to back up in the dishwasher, resulting in poor cleaning performance and unpleasant odors. Cleaning the drain hose on a regular basis can prevent these issues and ensure the smooth operation of your dishwasher.
Now that we understand the importance of cleaning the dishwasher drain hose, let’s move on to the next section to learn about the common signs that indicate a clogged drain hose.
Key Takeaways:
- Regularly cleaning the dishwasher drain hose prevents clogs, improves drainage, and eliminates unpleasant odors, ensuring an efficient and long-lasting dishwasher.
- Prioritize safety, follow the step-by-step guide, and implement extra tips to maintain a clean and clog-free dishwasher drain hose for optimal performance.
Read more: How To Clean A Washing Machine Drain Hose
Understanding the Dishwasher Drain Hose
The dishwasher drain hose is an essential component of your dishwasher’s drainage system. It is responsible for carrying out the wastewater from the dishwasher, allowing it to drain into the kitchen sink’s plumbing system. Understanding the structure and function of the dishwasher drain hose is crucial for effectively cleaning and maintaining it.
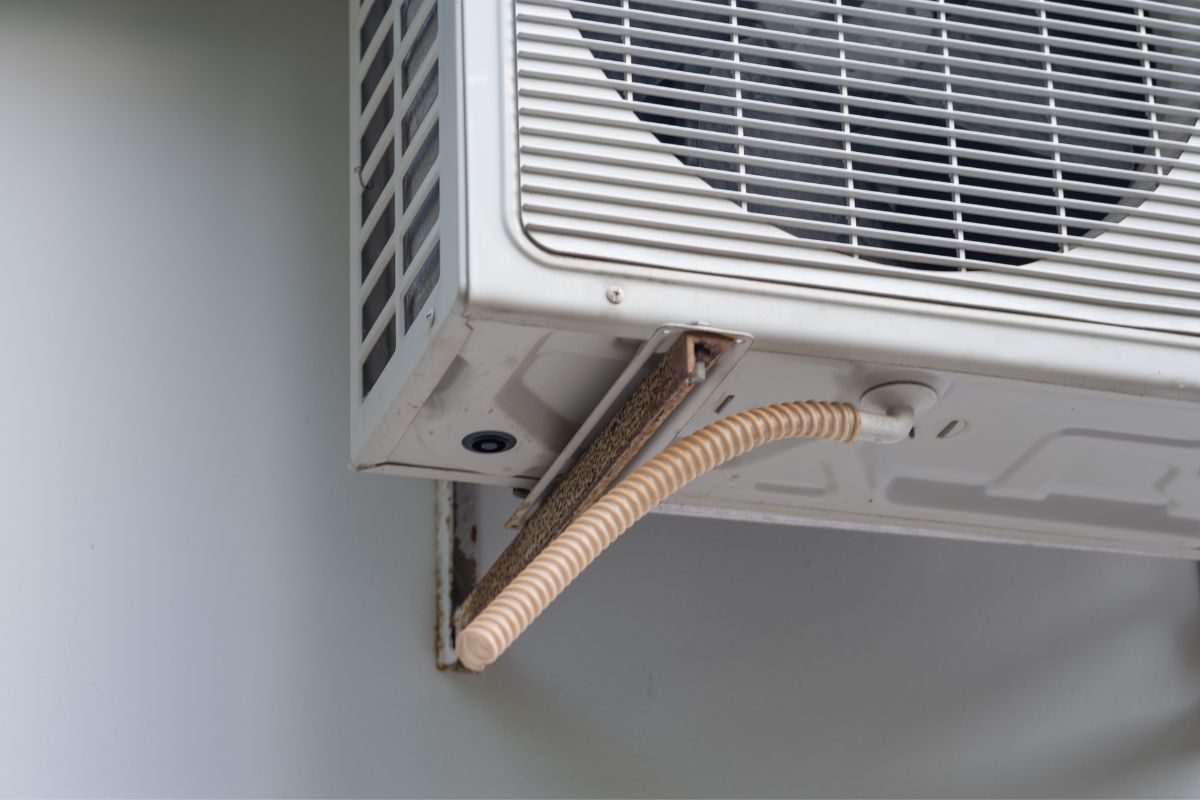
The drain hose is typically made of a flexible material, such as rubber or plastic, and is designed to be durable and resistant to heat and chemicals. It is connected to the dishwasher’s drain pump on one end and to the sink’s plumbing system on the other end.
During the washing and rinsing cycles, the drain pump in the dishwasher pumps out the wastewater from the dishwasher tub and pushes it through the drain hose. The force of the water flow, combined with gravity, allows the water to flow down the drain hose and into the sink’s drain system.
Over time, however, the drain hose can become clogged with food particles, grease, soap residue, and mineral deposits. These substances can accumulate and form a blockage inside the hose, restricting or preventing the flow of water. When the drain hose is clogged, it can lead to several issues, including poor drainage, water backup in the dishwasher, and foul odors.
It is important to regularly inspect and clean the dishwasher drain hose to prevent clogs and ensure smooth operation. Cleaning the drain hose will not only improve the dishwasher’s performance but also help prolong its lifespan.
In the next section, we will discuss the common signs that indicate a clogged dishwasher drain hose. By being aware of these signs, you can identify and address drainage issues before they worsen.
Signs of a Clogged Dishwasher Drain Hose
A clogged dishwasher drain hose can cause a range of issues that compromise the efficiency and functionality of your dishwasher. Recognizing the signs of a clogged drain hose is essential for addressing the problem promptly. Here are some common signs to watch out for:
- Poor Drainage: One of the most obvious signs of a clogged drain hose is slow or incomplete drainage. If you notice that water is pooling at the bottom of your dishwasher or taking longer than usual to drain, it could indicate a clog in the drain hose.
- Water Backing up: When the drain hose is clogged, water may back up into the dishwasher instead of draining out. This can lead to water filling up the dishwasher, potentially causing leaks and damaging your kitchen floor.
- Unpleasant Odors: As food particles, grease, and other debris accumulate in the clogged drain hose, they can produce foul odors. If you notice a persistent, unpleasant smell coming from your dishwasher, it may be a sign of a clogged drain hose that needs to be cleaned.
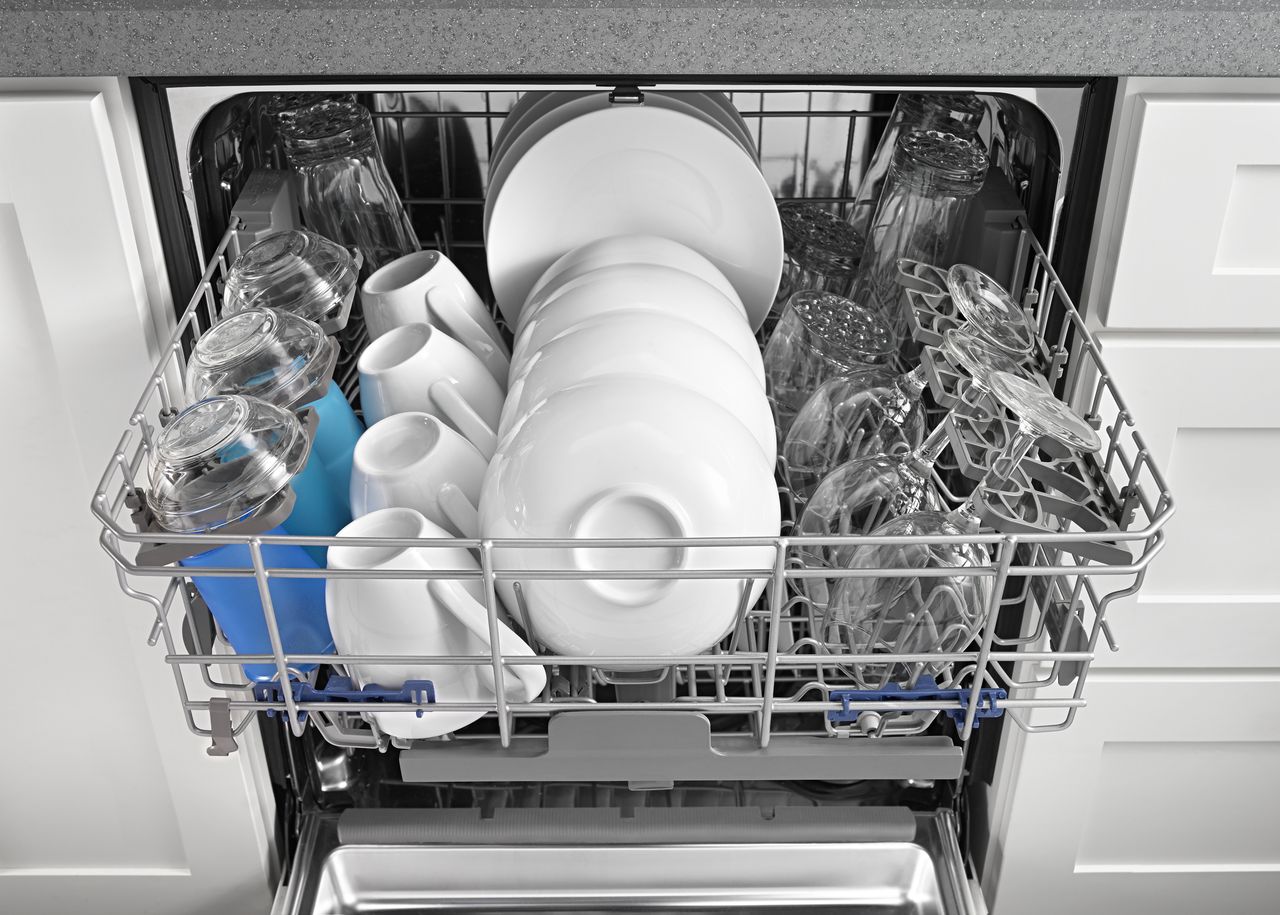
- Residue on Dishes: A clogged drain hose can result in poor water circulation inside the dishwasher, leading to inadequate cleaning. If you consistently find residue or food particles on your dishes after a wash cycle, it could mean that the drain hose needs cleaning.
- Gurgling Sounds: When the drain hose is partially blocked, you may hear gurgling sounds during the dishwasher’s drainage cycle. These sounds occur as the water struggles to flow past the blockage, indicating a potential clog in the drain hose.
By staying alert to these signs, you can identify if your dishwasher drain hose is clogged and take the necessary steps to clean it. Cleaning the drain hose regularly will not only improve the effectiveness of your dishwasher but also prevent potential damage caused by water backup and drainage issues.
Before you start cleaning the drain hose, it is important to take certain precautions to ensure your safety and avoid any damage to the dishwasher or surrounding areas. The next section will outline the precautions you should keep in mind before attempting to clean the dishwasher drain hose.
Precautions before Cleaning the Drain Hose
Before you begin the process of cleaning the dishwasher drain hose, it is important to take certain precautions to ensure your safety and prevent any potential damage to your dishwasher or the surrounding areas. These precautions will help you approach the task with confidence and minimize the risk of accidents or mishaps.
Here are some important precautions to keep in mind:
- Turn off the Power: Start by disconnecting the power supply to your dishwasher. This will reduce the risk of electric shock and protect the dishwasher’s internal components.
- Ensure the Dishwasher is Cool: Wait until the dishwasher has completely cooled down before attempting to clean the drain hose. Hot water and steam can cause burns or injuries.
- Wear Protective Gear: It is advisable to wear protective gloves and safety goggles to protect your hands and eyes from any potential debris or cleaning solutions.
- Prepare a Safe Workspace: Clear the area around the dishwasher and ensure there are no obstacles or tripping hazards. This will allow you to maneuver comfortably and avoid accidents.
- Use Proper Tools: Before you start cleaning, gather the necessary tools such as a screwdriver, pliers, and a pipe brush. Using the correct tools will make the task easier and more efficient.
- Read the Manufacturer’s Instructions: It is important to familiarize yourself with the specific instructions provided by the dishwasher manufacturer. This will ensure that you follow their guidelines and avoid any potential damage or voiding of the warranty.
- Follow Proper Disposal Methods: Dispose of any debris, cleaning solutions, or water used during the cleaning process according to local regulations. Avoid pouring chemicals or debris down sinks or drains indiscriminately.
By taking these precautions, you can approach the task of cleaning the dishwasher drain hose with confidence and reduce the risk of accidents or damage. Now that you have taken the necessary precautions, let’s move on to the next section, where we will discuss the materials and tools required for the cleaning process.
Materials and Tools Required
Before you start cleaning the dishwasher drain hose, it is important to gather the necessary materials and tools. Having everything prepared beforehand will make the cleaning process smoother and more efficient. Here is a list of the materials and tools you will need:
Read more: How To Drain A Pool With A Garden Hose
Materials:
- Vinegar: Vinegar is a natural and effective cleaning agent that can help break down grease and remove mineral deposits inside the drain hose.
- Baking Soda: Baking soda is another natural cleaning agent that can help eliminate odors and absorb any residue inside the dishwasher drain hose.
- Clean Water: You will need clean water for rinsing the drain hose after cleaning it with vinegar and baking soda.
- Clean Cloth or Sponge: Use a soft cloth or sponge to wipe down the exterior surfaces of the dishwasher and remove any dirt or debris.
- Dish Soap: Dish soap can be used to clean the exterior surfaces of the dishwasher and remove any greasy residue.
Tools:
- Screwdriver: You may need a screwdriver to remove the dishwasher’s access panel or any other components that provide access to the drain hose.
- Pliers: Pliers can be helpful for loosening and tightening hose clamps or connectors.
- Pipe Brush: A pipe brush is a long, flexible brush that is designed to fit inside the drain hose and remove any debris or buildup.
- Bucket or Container: A bucket or container will come in handy for catching any water that may spill out during the cleaning process.
Having all these materials and tools ready in advance will save you time and ensure that you have everything you need to effectively clean the dishwasher drain hose. In the next section, we will provide a step-by-step guide on how to clean the dishwasher drain hose, so you can start the cleaning process with confidence.
To clean a dishwasher drain hose, first disconnect it from the sink and use a long, flexible brush to remove any debris. Then, flush the hose with hot water to clear out any remaining buildup.
Step-by-Step Guide to Cleaning the Dishwasher Drain Hose
Cleaning the dishwasher drain hose requires a systematic approach to ensure a thorough and effective cleaning. Follow these step-by-step instructions to clean the dishwasher drain hose:
- Step 1: Disconnect the Power: Before you begin, turn off the power supply to the dishwasher at the circuit breaker. This will prevent any potential electric shock while working on the dishwasher.
- Step 2: Remove the Access Panel: Locate the access panel on the front or back of the dishwasher. Use a screwdriver to remove the screws securing the panel and carefully set it aside.
- Step 3: Locate the Drain Hose: Once the access panel is removed, you will be able to see the drain hose. It is typically a flexible tube connected to the dishwasher’s drain pump.
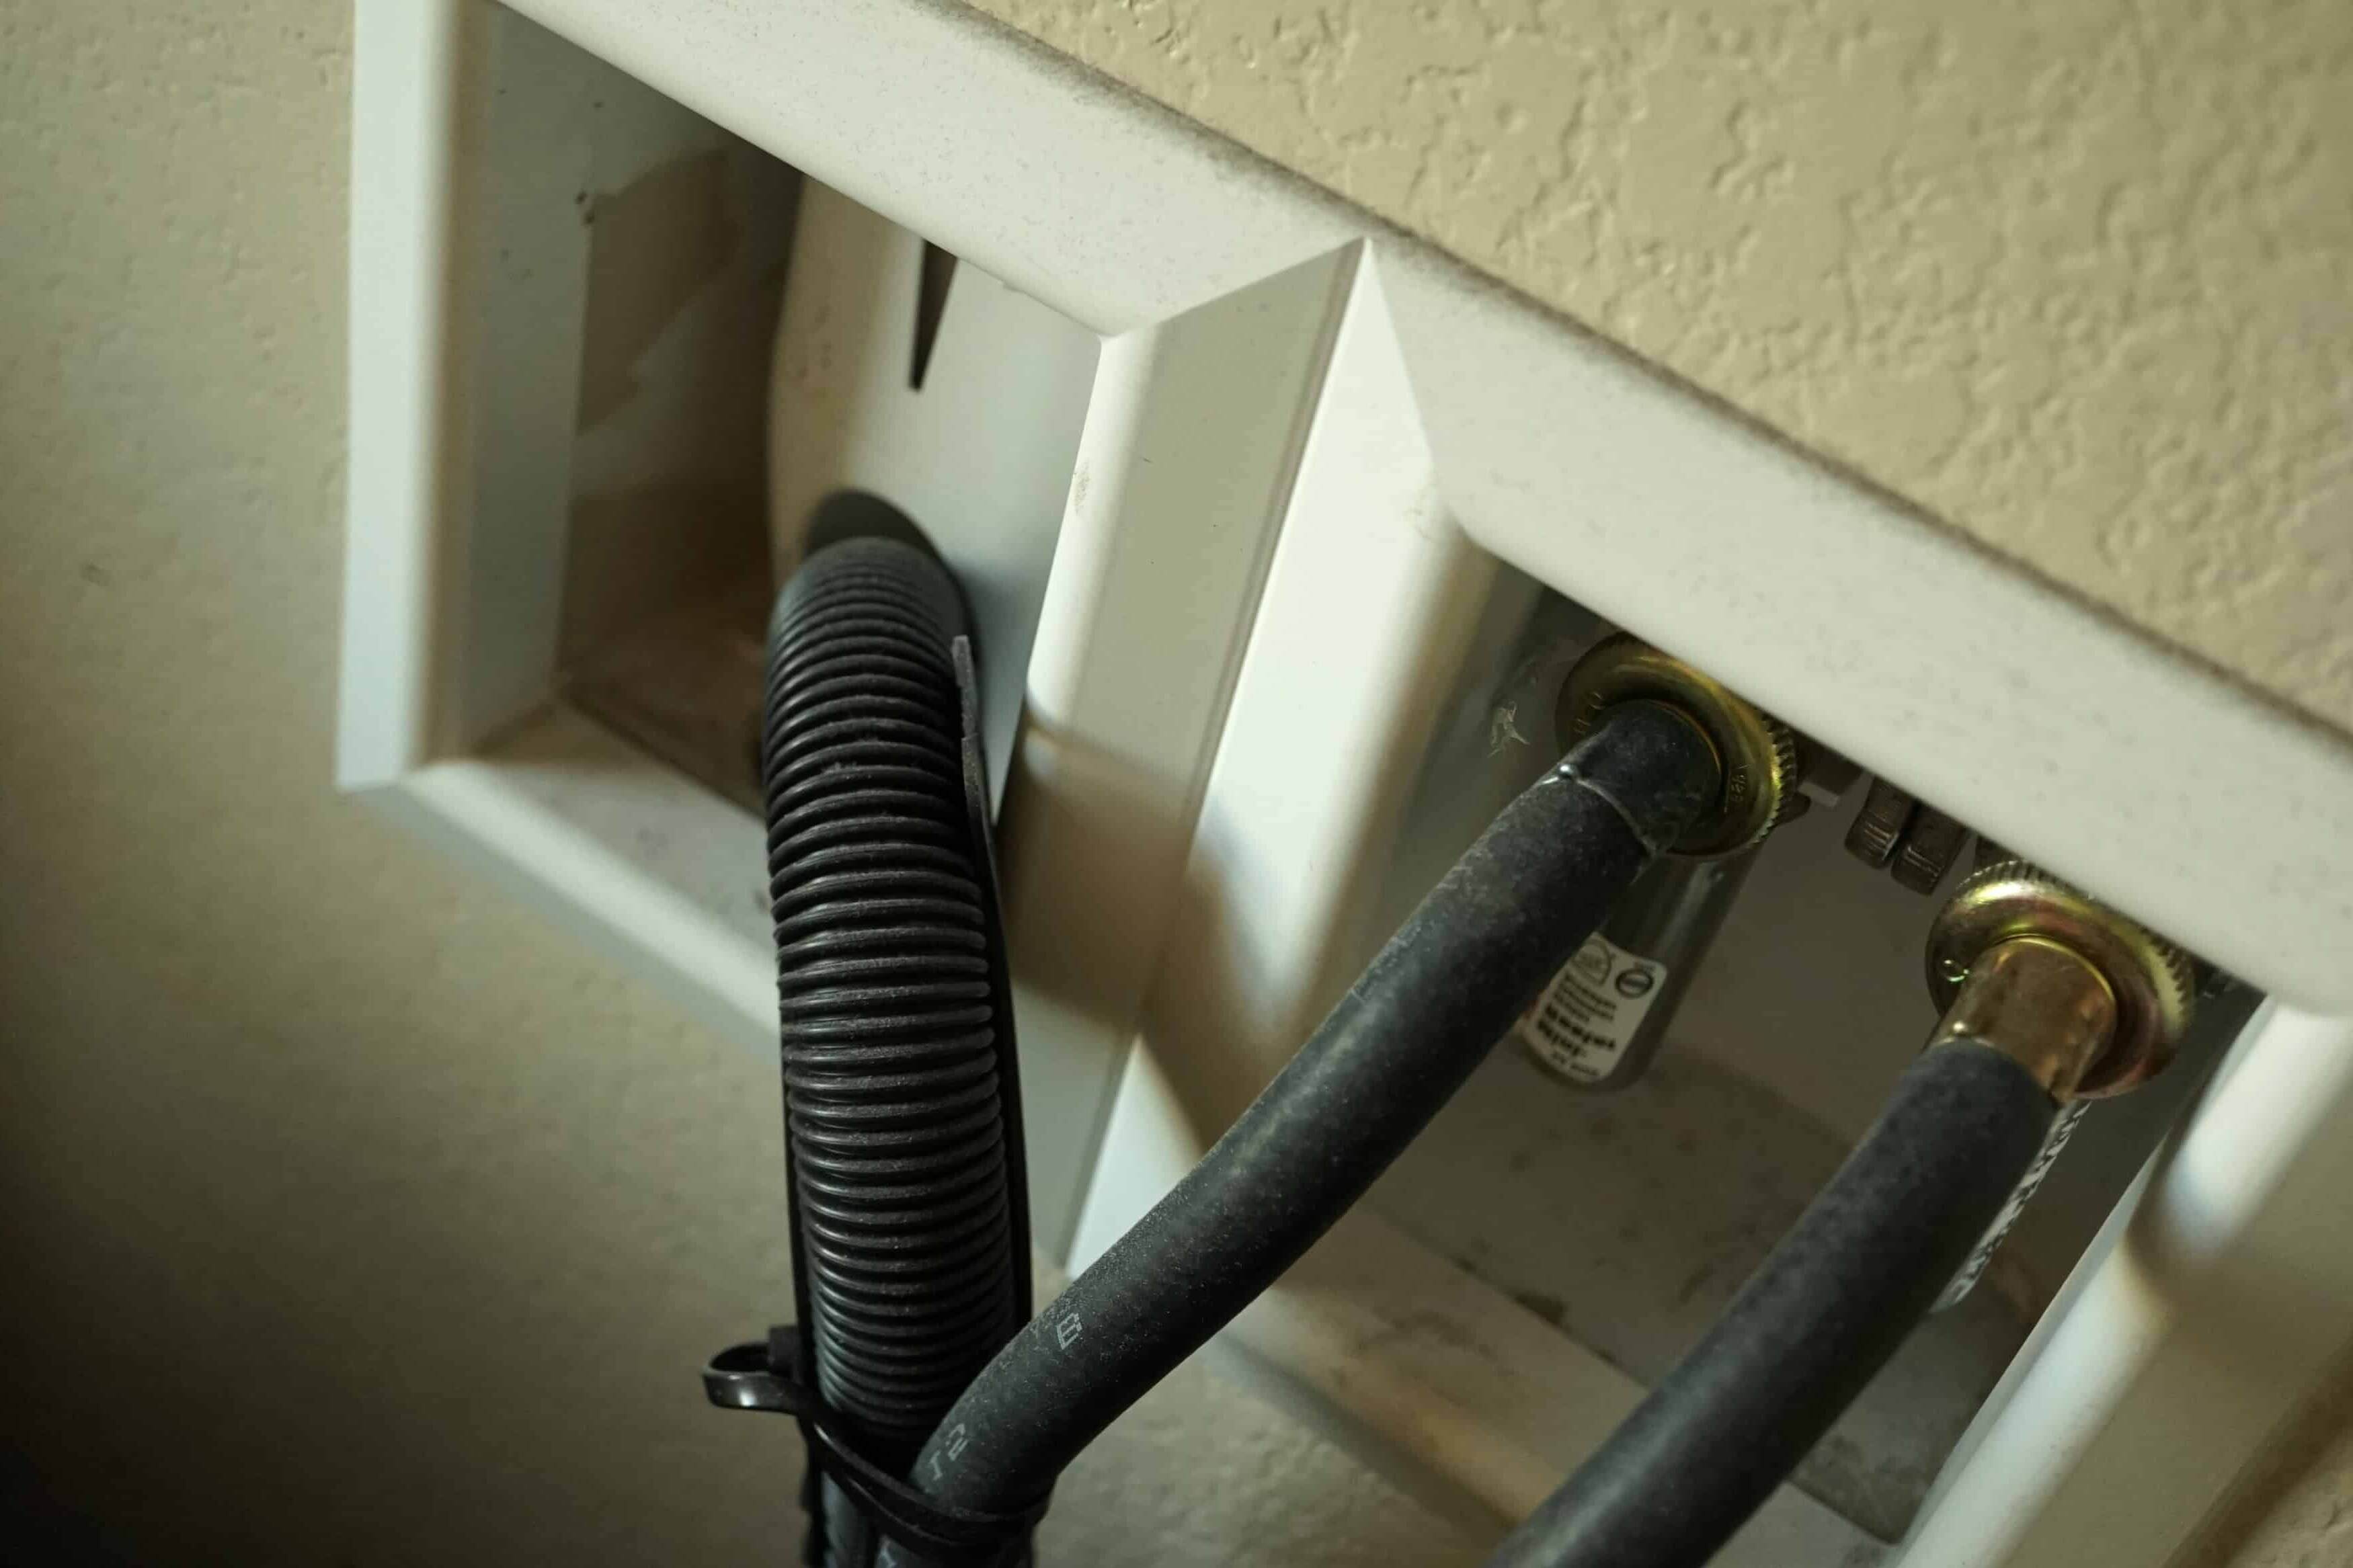
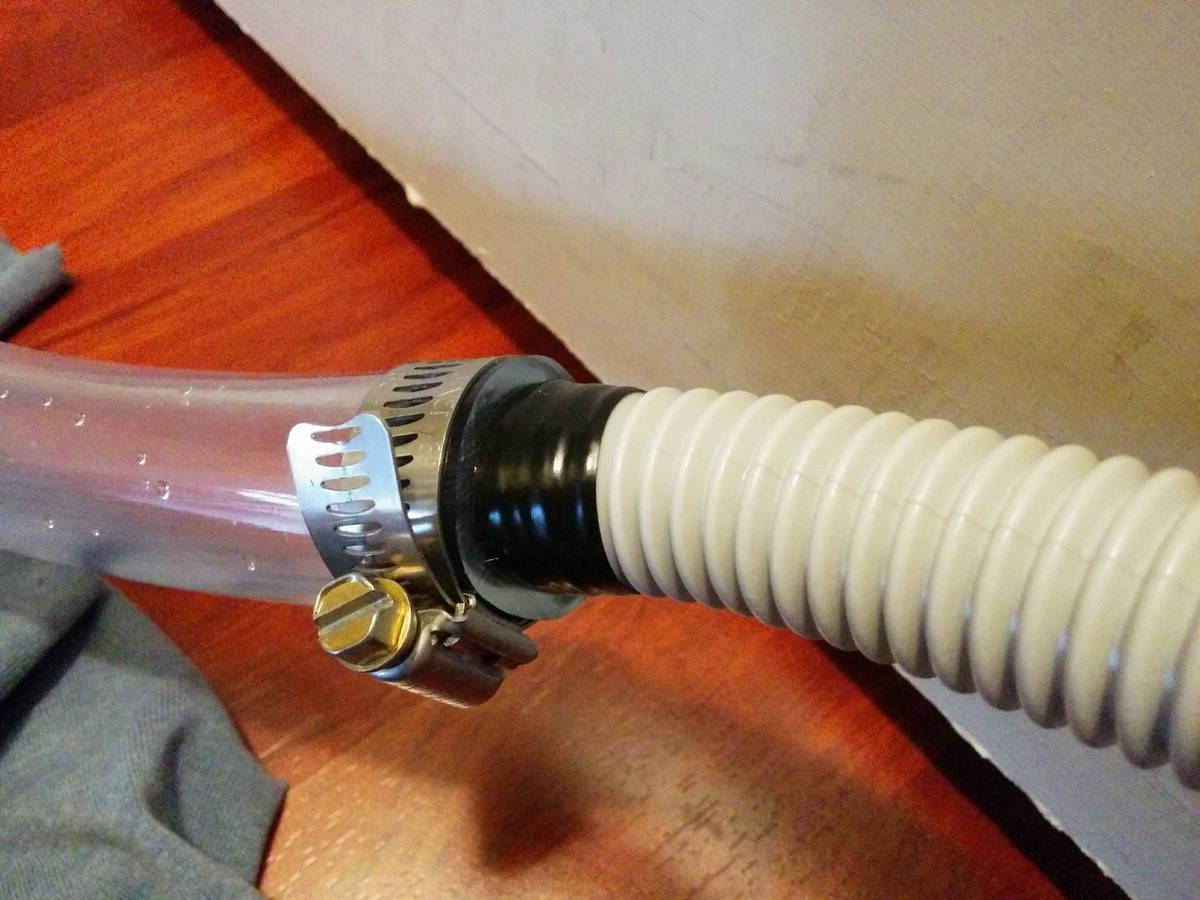
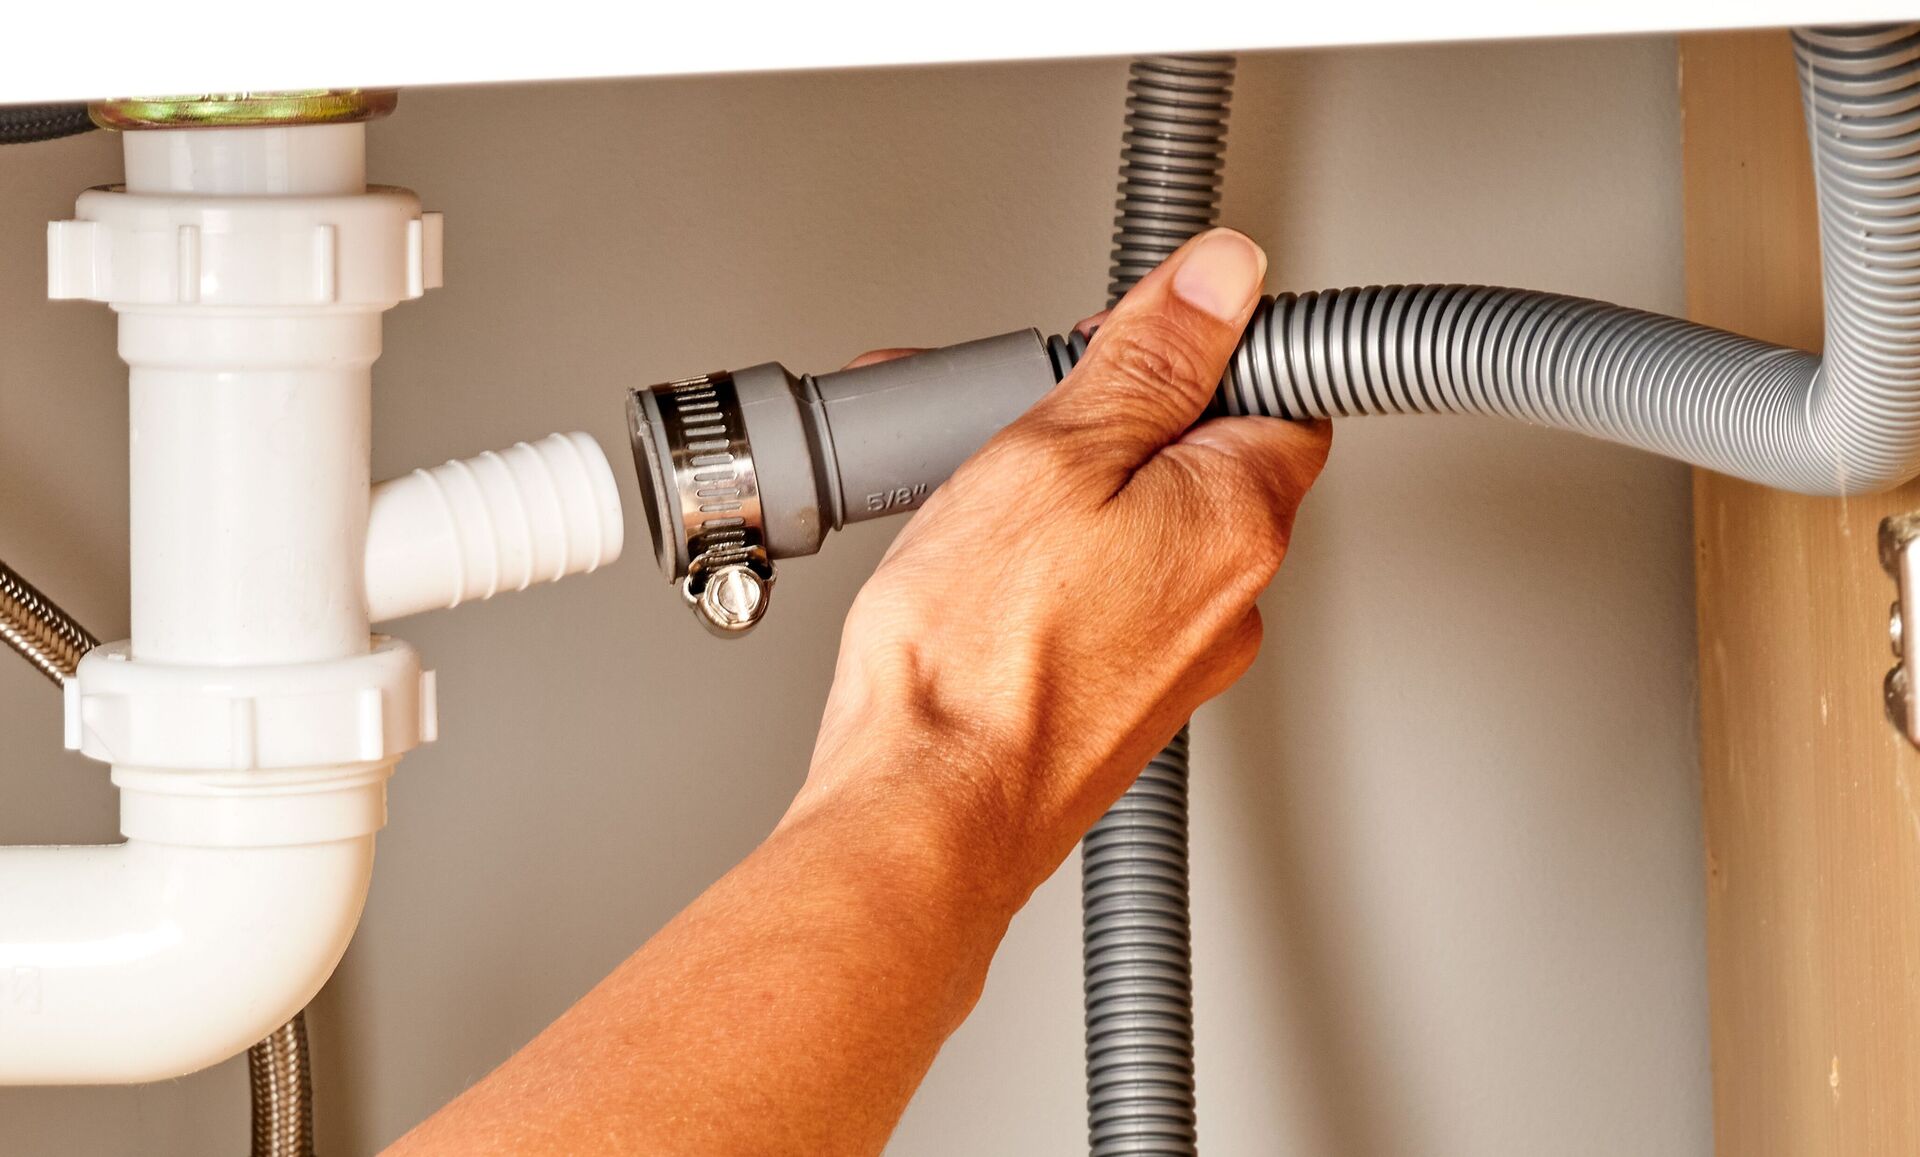
- Step 4: Disconnect the Drain Hose: Depending on the configuration of your dishwasher, you may need to use pliers to loosen the hose clamps or connectors that secure the drain hose. Carefully detach the drain hose from the dishwasher and the sink’s plumbing system.
- Step 5: Rinse the Drain Hose: Take the detached drain hose and rinse it with clean water. Use a pipe brush to scrub the inside of the hose and remove any debris or buildup. Alternatively, you can soak the drain hose in a mixture of vinegar and water for a few hours to help break down stubborn residue.
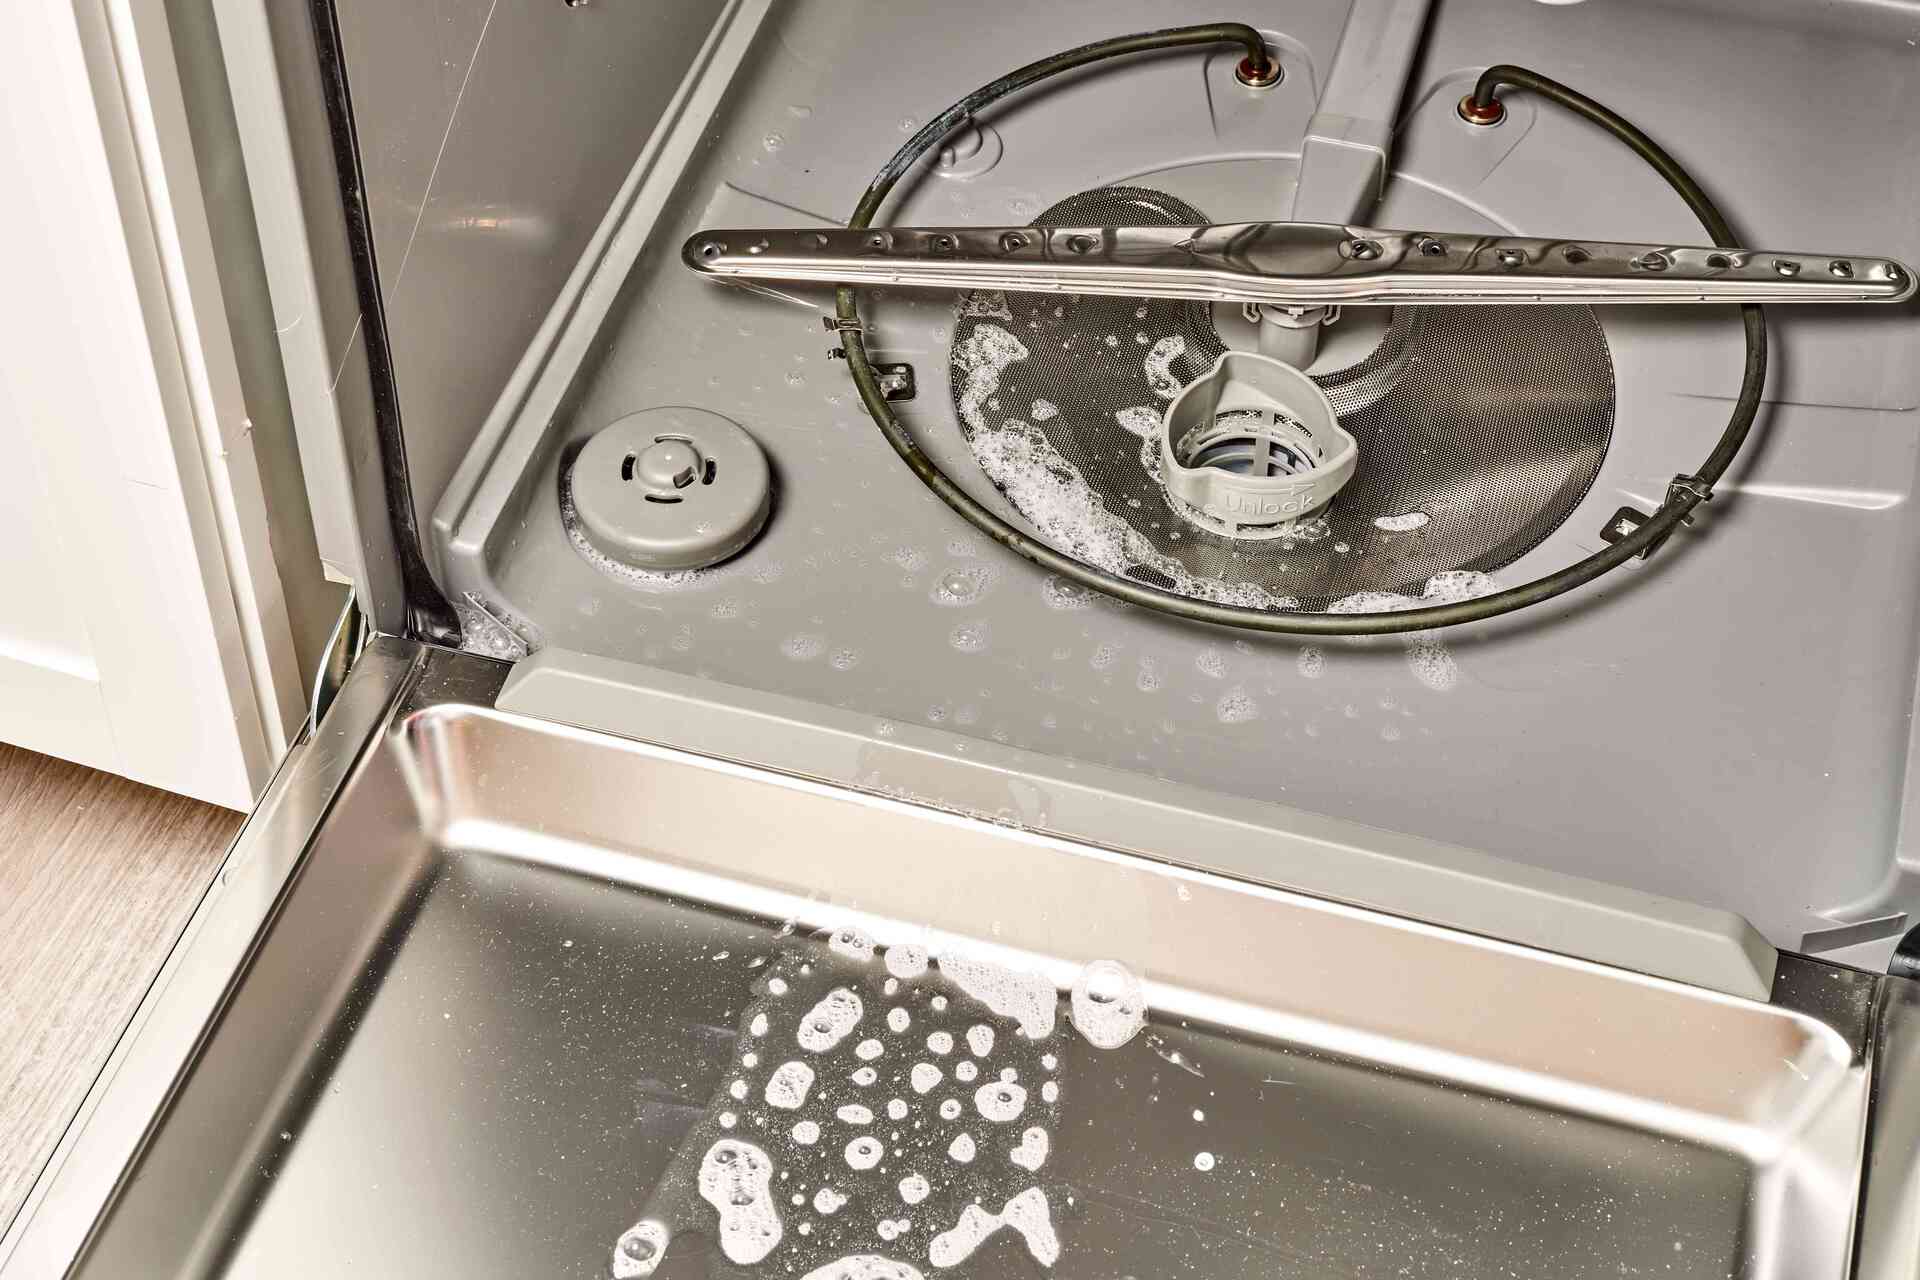
- Step 6: Clean the Dishwasher: While the drain hose is being cleaned, take the opportunity to clean the dishwasher interior and exterior surfaces. Use a damp cloth or sponge soaked in a mixture of dish soap and water to wipe down the walls, racks, and door of the dishwasher. Remove any food particles or residue that may have accumulated.
- Step 7: Reinstall the Drain Hose: Once the drain hose is thoroughly cleaned and rinsed, reattach it securely to the dishwasher and the sink’s plumbing system. Make sure the hose clamps or connectors are tightened properly to prevent any leaks.
- Step 8: Replace the Access Panel: Put the access panel back in place and secure it with the screws. Ensure that the panel is fitted snugly and does not obstruct any dishwasher components.
- Step 9: Restore the Power: Finally, go back to the circuit breaker and restore the power supply to the dishwasher. Test the dishwasher to ensure it is draining properly without any issues.
Following these steps will help you effectively clean the dishwasher drain hose and restore its optimal functionality. However, it is important to note that if you encounter any complex issues or are unsure about the process, it is recommended to seek professional assistance.
In the next section, we will provide some additional tips and recommendations to help you maintain a clean dishwasher drain hose and prevent future clogs.
Additional Tips and Recommendations
Keeping your dishwasher drain hose clean and free from clogs is essential for maintaining the efficiency and longevity of your dishwasher. Here are a few additional tips and recommendations to help you in this endeavor:
- Regular Maintenance: Schedule regular maintenance for your dishwasher, including cleaning the drain hose. A thorough cleaning every few months will help prevent clogs and ensure optimal performance.
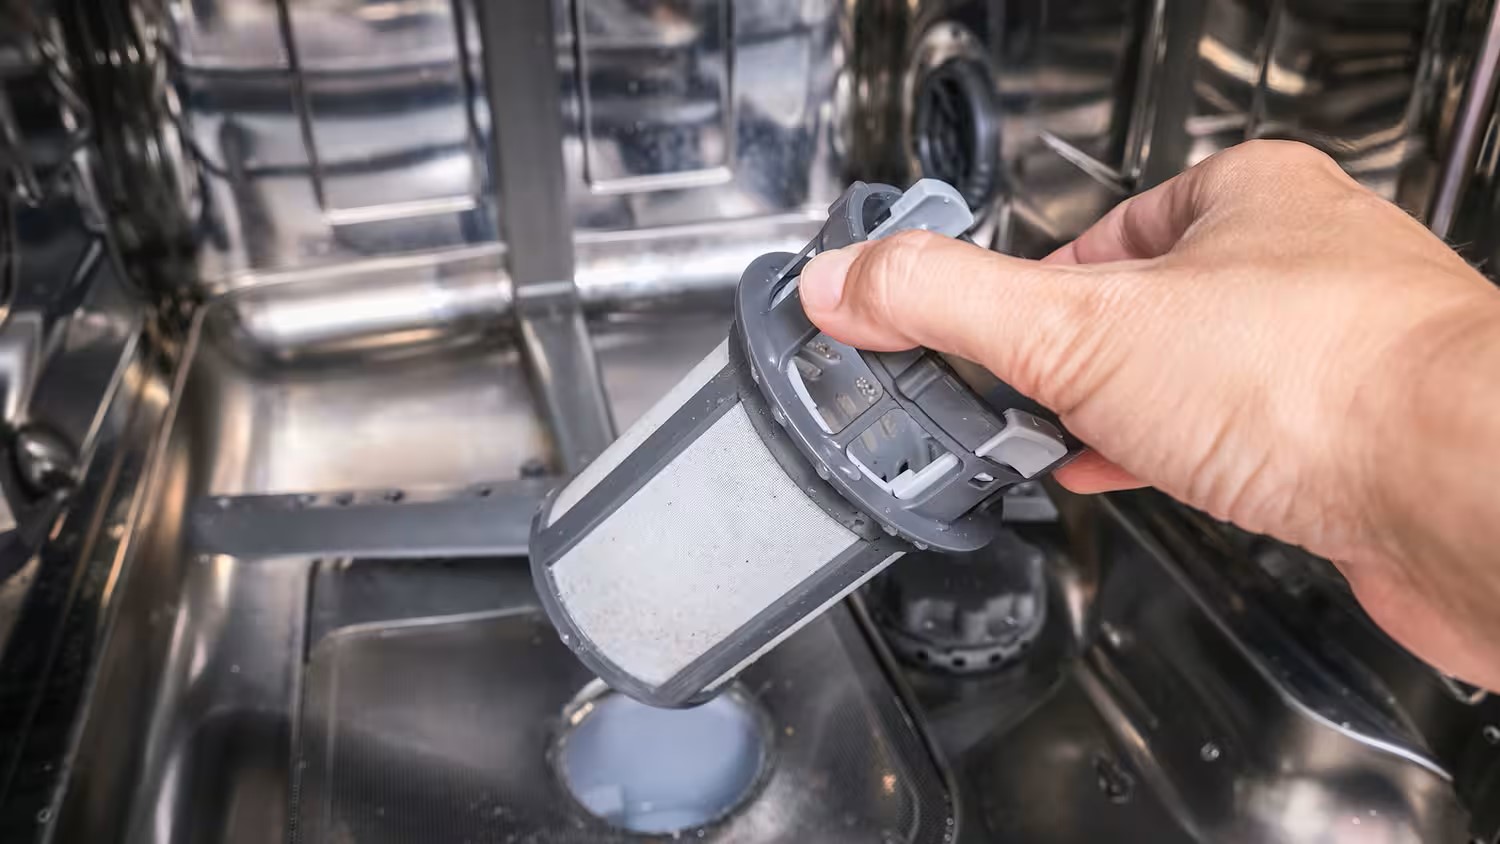
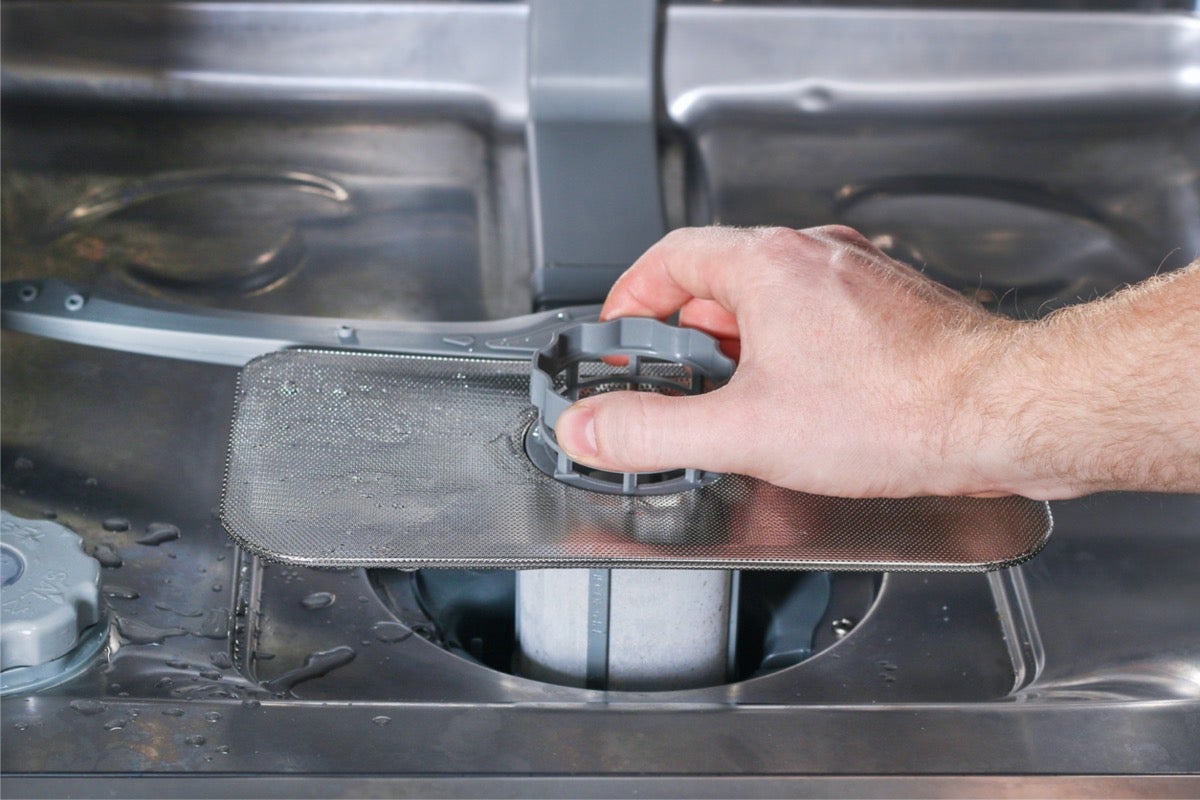
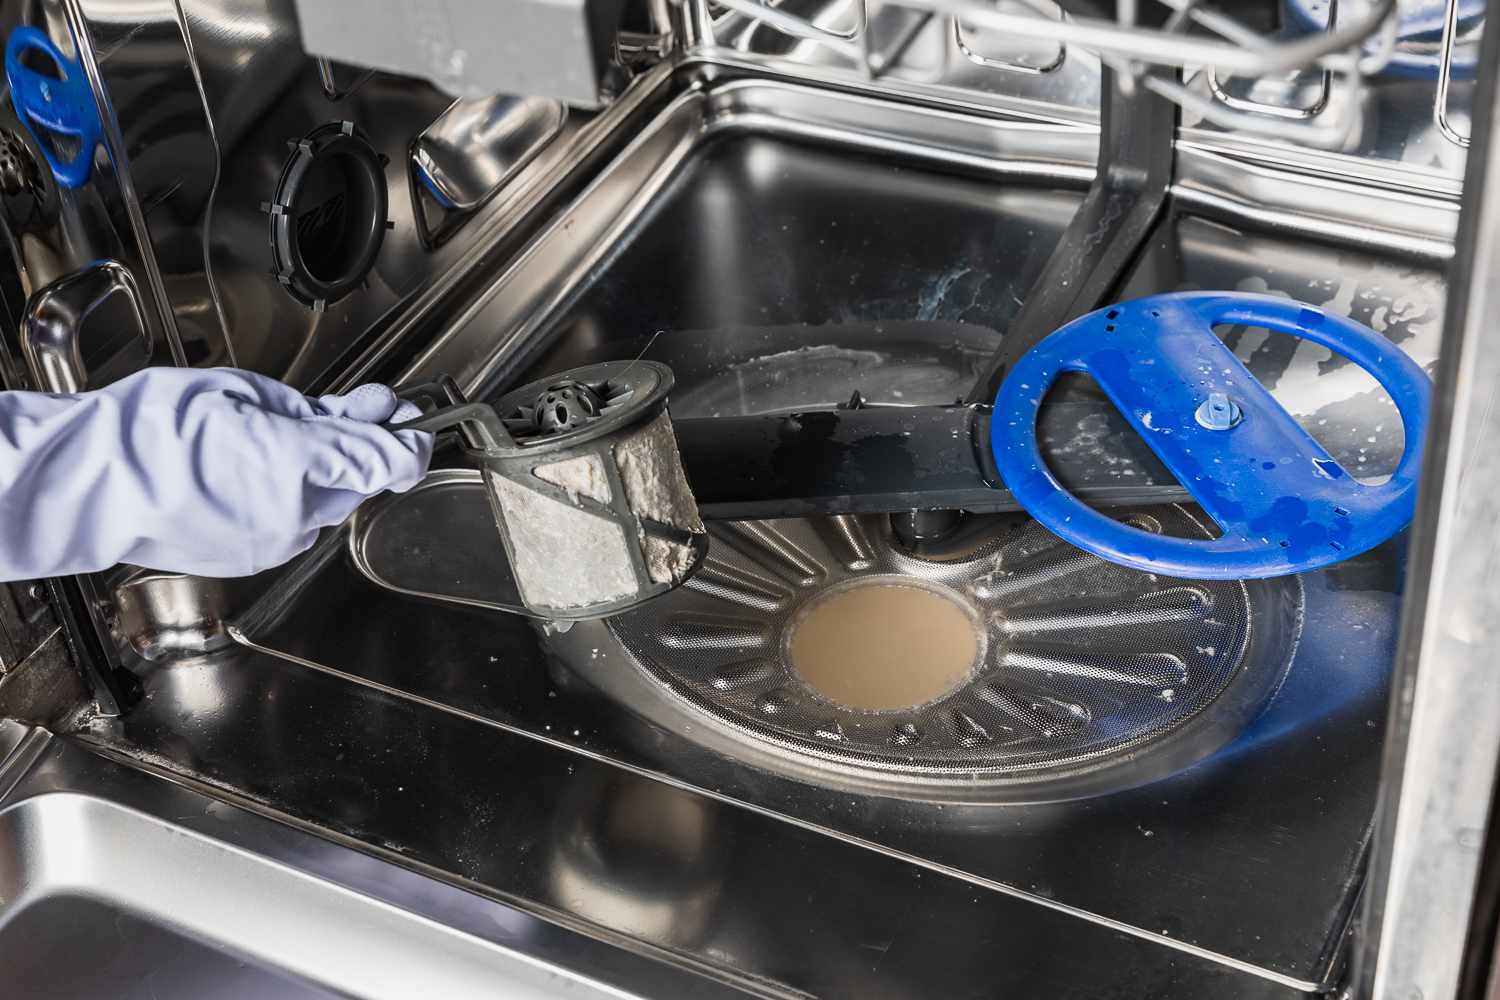
- Maintain a Clean Dishwasher: Regularly clean the interior of the dishwasher to prevent debris and residue from accumulating. Remove any food particles from the filter, rinse the spray arms, and wipe down the walls and racks.
- Use Vinegar and Baking Soda: Periodically run a cycle with a mixture of vinegar and baking soda to clean the dishwasher and remove any buildup in the drain hose. This natural solution is effective in breaking down grease and eliminating odors.
- Avoid Excessive Detergent: Using too much detergent can contribute to clogs in the drain hose. Follow the manufacturer’s recommendations for detergent usage and consider using a dishwasher cleaner to remove any buildup.
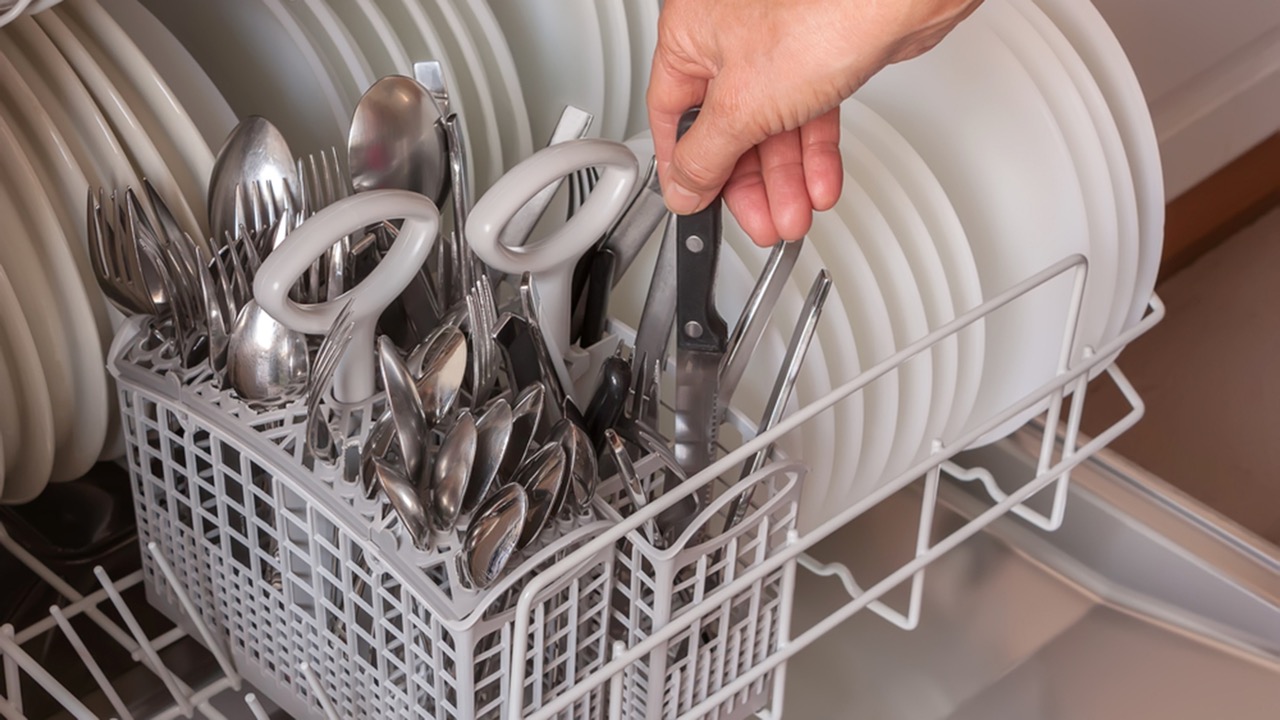
- Be Mindful of What Goes into the Dishwasher: Pre-rinse or scrape off excess food from dishes before loading them into the dishwasher. Avoid putting large food particles or non-dishwasher safe items into the dishwasher to prevent clogs in the drain system.
- Check for Leaks: Regularly inspect the drain hose for any leaks or cracks. Replace the hose if you notice any signs of damage to prevent water leakage and potential damage to your kitchen.
- Consider Professional Maintenance: If you are unsure about cleaning the dishwasher drain hose or if you encounter persistent drainage issues, it is advisable to seek professional assistance. They can perform a thorough cleaning and address any underlying issues with your dishwasher.
By following these additional tips and recommendations, you can maintain a clean and clog-free dishwasher drain hose, ensuring optimal performance and preventing future issues.
With these steps, precautions, and tips in mind, you are now equipped with the knowledge to effectively clean your dishwasher drain hose. Regular maintenance and proper cleaning will not only improve the functionality of your dishwasher but also extend its lifespan. Remember to always prioritize safety, follow the manufacturer’s instructions, and seek professional help when needed. Cheers to a clean and efficient dishwasher!
Would you like to ask anything else?
Read more: How To Connect A Dishwasher Drain
Conclusion
A clean and properly functioning dishwasher drain hose is crucial for the efficient operation of your dishwasher. Regular maintenance and cleaning of the drain hose will help prevent clogs, improve drainage, and eliminate unpleasant odors.
In this article, we provided a comprehensive guide on how to clean the dishwasher drain hose effectively. We discussed the importance of understanding the drain hose’s structure and function, as well as the common signs of a clogged drain hose. We also outlined the precautions to take before cleaning the hose and the materials and tools required for the task.
We then provided a step-by-step guide to cleaning the dishwasher drain hose, emphasizing the importance of disconnecting the power, removing the access panel, rinsing the hose, and properly reinstalling it. Additionally, we offered extra tips and recommendations to help you maintain a clean and clog-free drain hose.
Remember, regular maintenance and care will not only enhance the performance of your dishwasher but also extend its lifespan. By following the steps outlined in this article and implementing the tips provided, you will be able to enjoy a clean and efficient dishwasher for years to come.
If you encounter any complex issues or are unsure about the cleaning process, it is recommended to seek professional assistance to avoid any damage to your dishwasher or harm to yourself.
We hope this article has been helpful in guiding you through the process of cleaning the dishwasher drain hose. With proper maintenance and regular cleaning, you can ensure that your dishwasher continues to work at its best, providing you with sparkling clean dishes every time.
Happy cleaning!
Is there anything else we can assist you with?
Frequently Asked Questions about How To Clean Dishwasher Drain Hose
Was this page helpful?
At Storables.com, we guarantee accurate and reliable information. Our content, validated by Expert Board Contributors, is crafted following stringent Editorial Policies. We're committed to providing you with well-researched, expert-backed insights for all your informational needs.
0 thoughts on “How To Clean Dishwasher Drain Hose”