Home>Home Appliances>Cleaning Appliances>How To Remove Sponge Mop Head
Cleaning Appliances
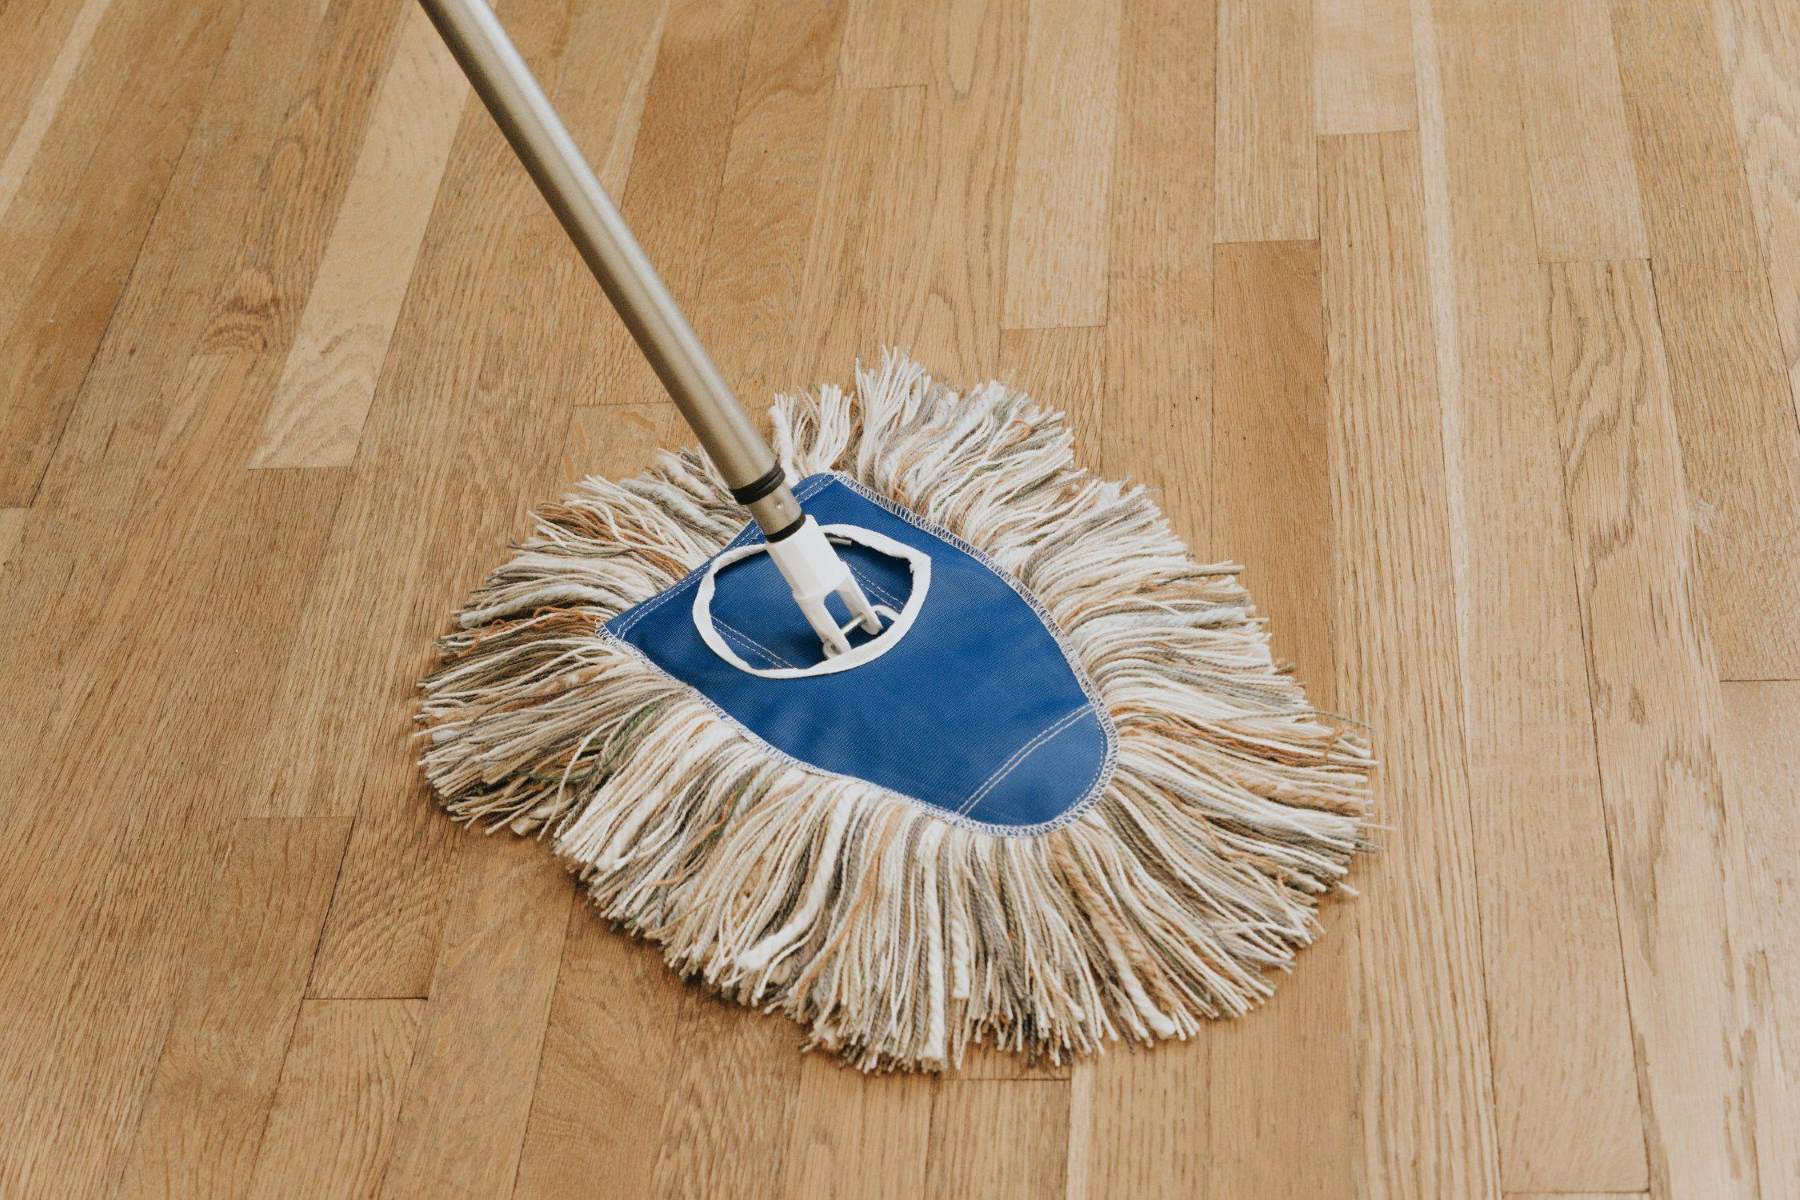
How To Remove Sponge Mop Head
Modified: March 25, 2024
Learn how to easily remove the sponge mop head for cleaning appliances. Follow our step-by-step guide to keep your cleaning tools in top condition.
(Many of the links in this article redirect to a specific reviewed product. Your purchase of these products through affiliate links helps to generate commission for Storables.com, at no extra cost. Learn more)
Introduction
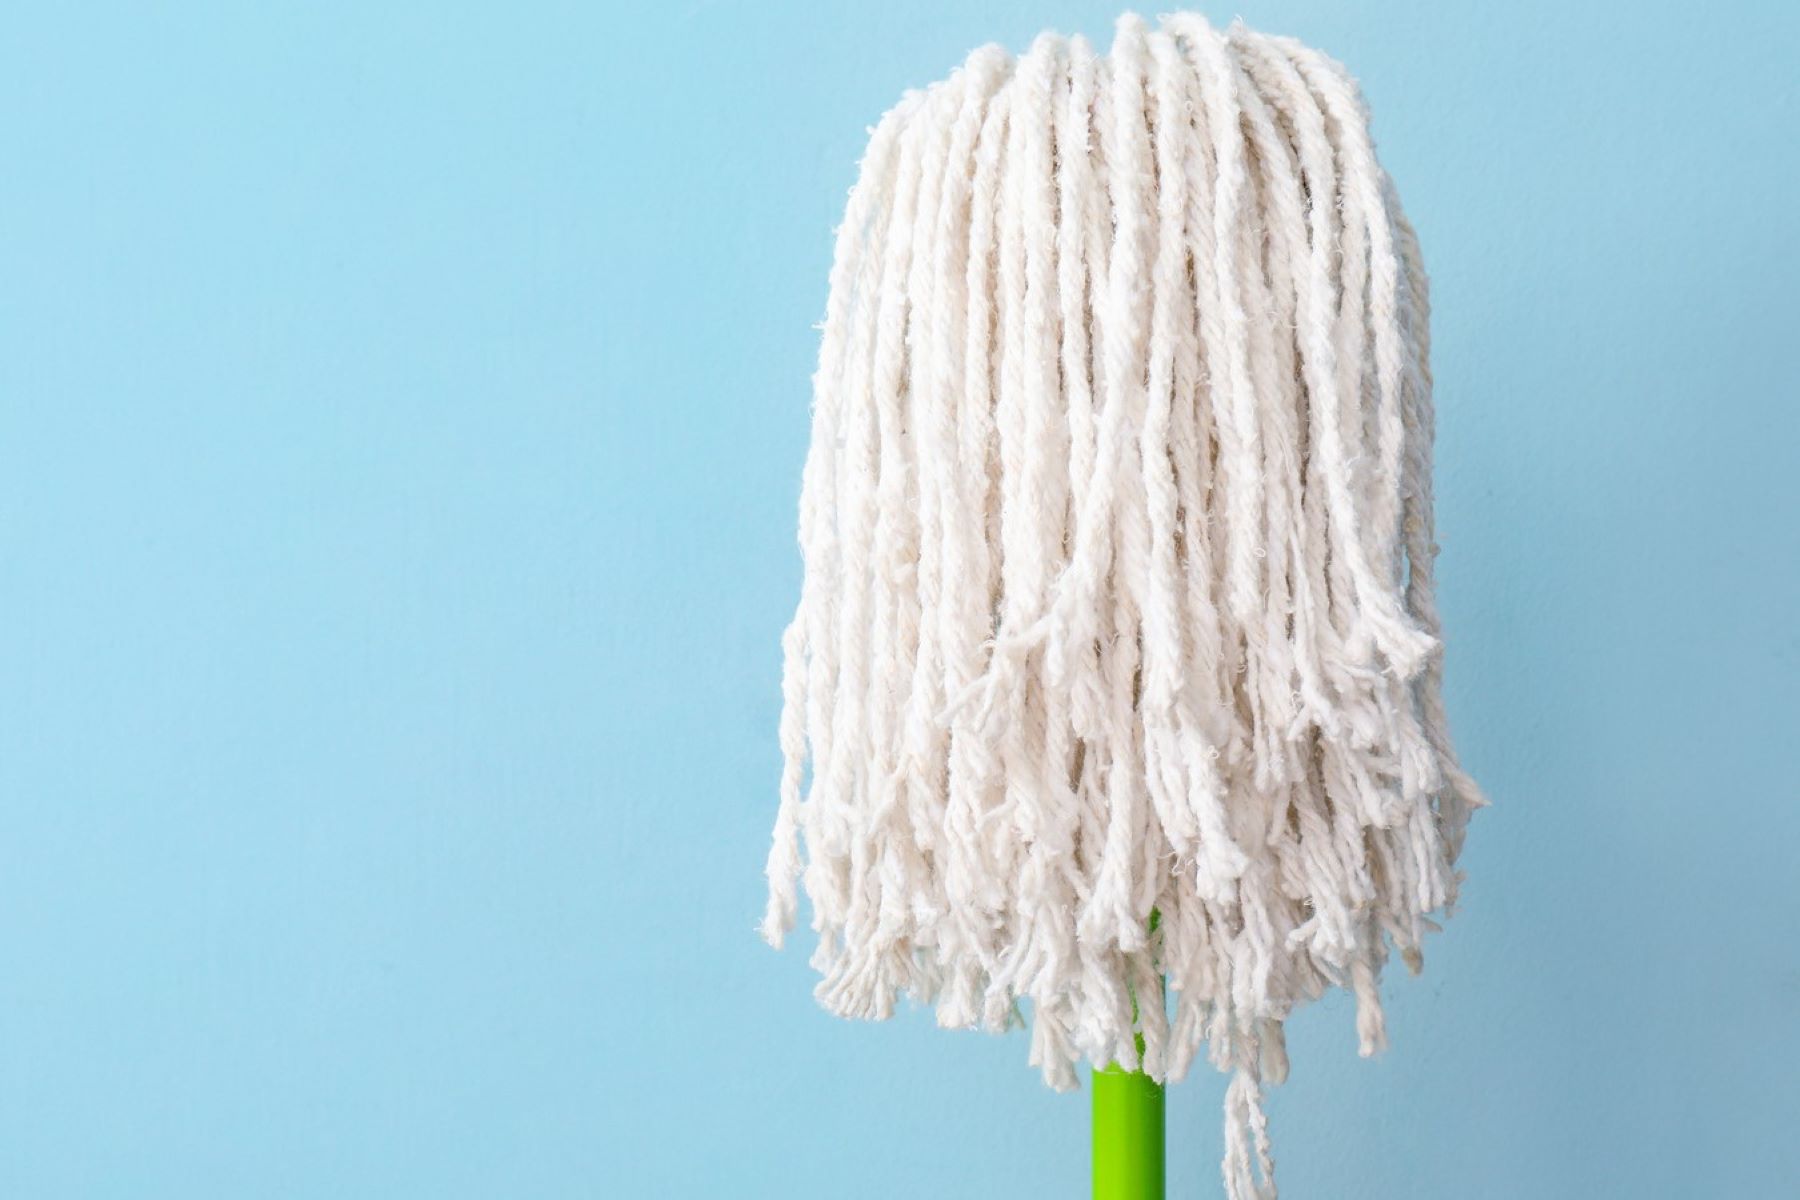
Welcome to our guide on how to remove a sponge mop head! Over time, the sponge on your mop head can become worn out and less effective at cleaning your floors. Luckily, replacing a sponge mop head is a simple and cost-effective solution to restore your mop's cleaning power. In this comprehensive guide, we'll walk you through the step-by-step process of removing the old sponge mop head and installing a new one, ensuring that your cleaning routine remains efficient and hassle-free.
Whether you're dealing with stubborn stains on your kitchen floor or simply aiming to maintain a sparkling clean home, having a functional mop is essential. By following the instructions outlined in this guide, you'll be equipped with the knowledge and skills to seamlessly remove the old sponge mop head and replace it with a fresh, high-performing one. So, let's dive in and learn how to rejuvenate your mop for effective cleaning sessions!
Key Takeaways:
- Easily replace your worn-out sponge mop head with a few simple steps, ensuring your mop remains effective for sparkling clean floors.
- Keep your mop in top condition by cleaning the handle and testing the new sponge mop head for optimal performance.
Read also: 8 Best Sponge Mop Head Replacement For 2024
Step 1: Prepare the Materials
Before you begin the process of removing the old sponge mop head, it’s essential to gather the necessary materials and ensure that you have a clean and organized workspace. Here’s what you’ll need:
- New Sponge Mop Head: Ensure that you have a compatible replacement sponge mop head ready for installation. It’s important to select a high-quality sponge that is designed for your specific mop model to achieve optimal cleaning results.
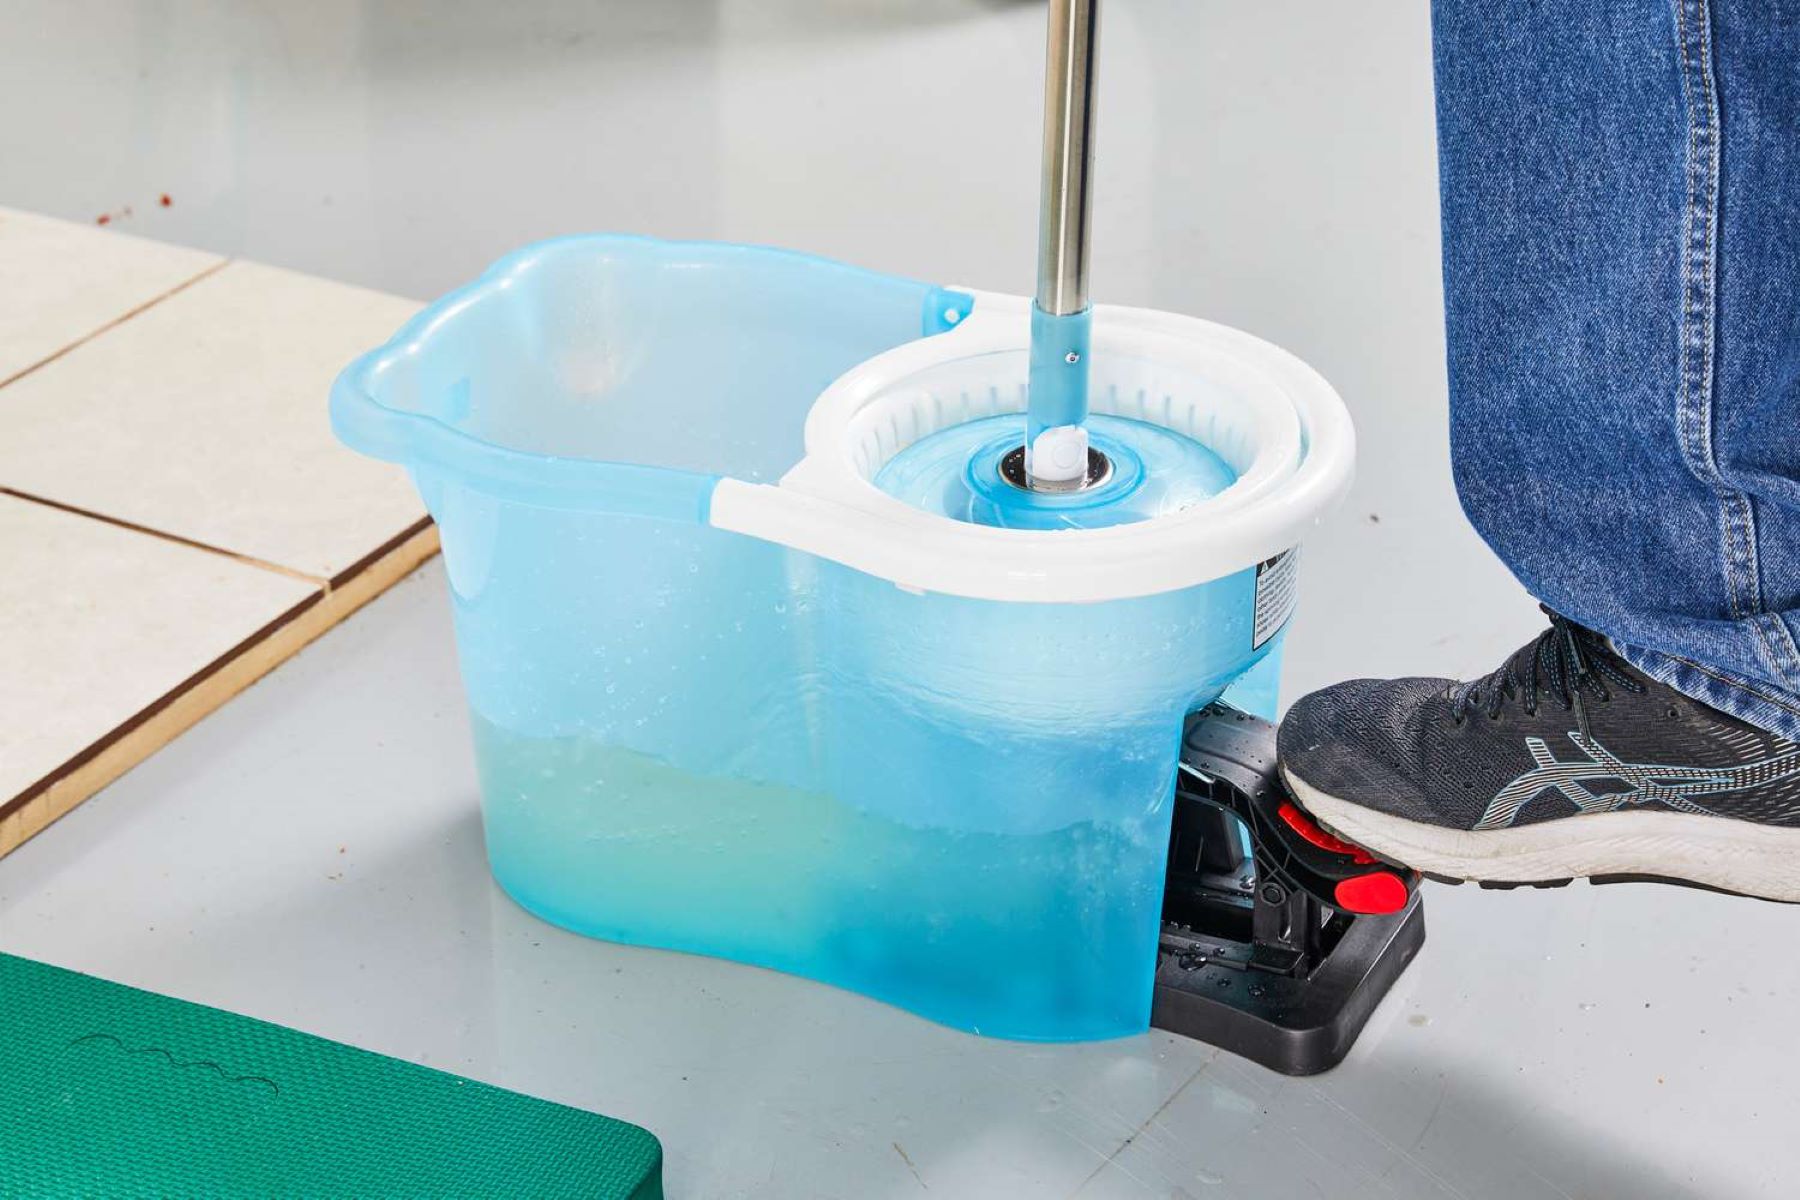
- Work Surface: Choose a well-lit and spacious area to work on, such as a kitchen or bathroom floor. Having ample space will allow you to maneuver the mop handle and perform the replacement process with ease.
- Cleaning Solution: Depending on the condition of your mop handle, you may need a mild cleaning solution and a clean cloth to remove any dirt or grime that has accumulated over time.
- Gloves (Optional): If you prefer to wear gloves while handling cleaning materials, it’s a good idea to have a pair of protective gloves on hand.
By ensuring that you have all the necessary materials ready, you’ll be well-prepared to tackle the task of removing the old sponge mop head and installing the new one. With these items at your disposal, you can proceed with confidence, knowing that you have everything you need for a successful mop head replacement.
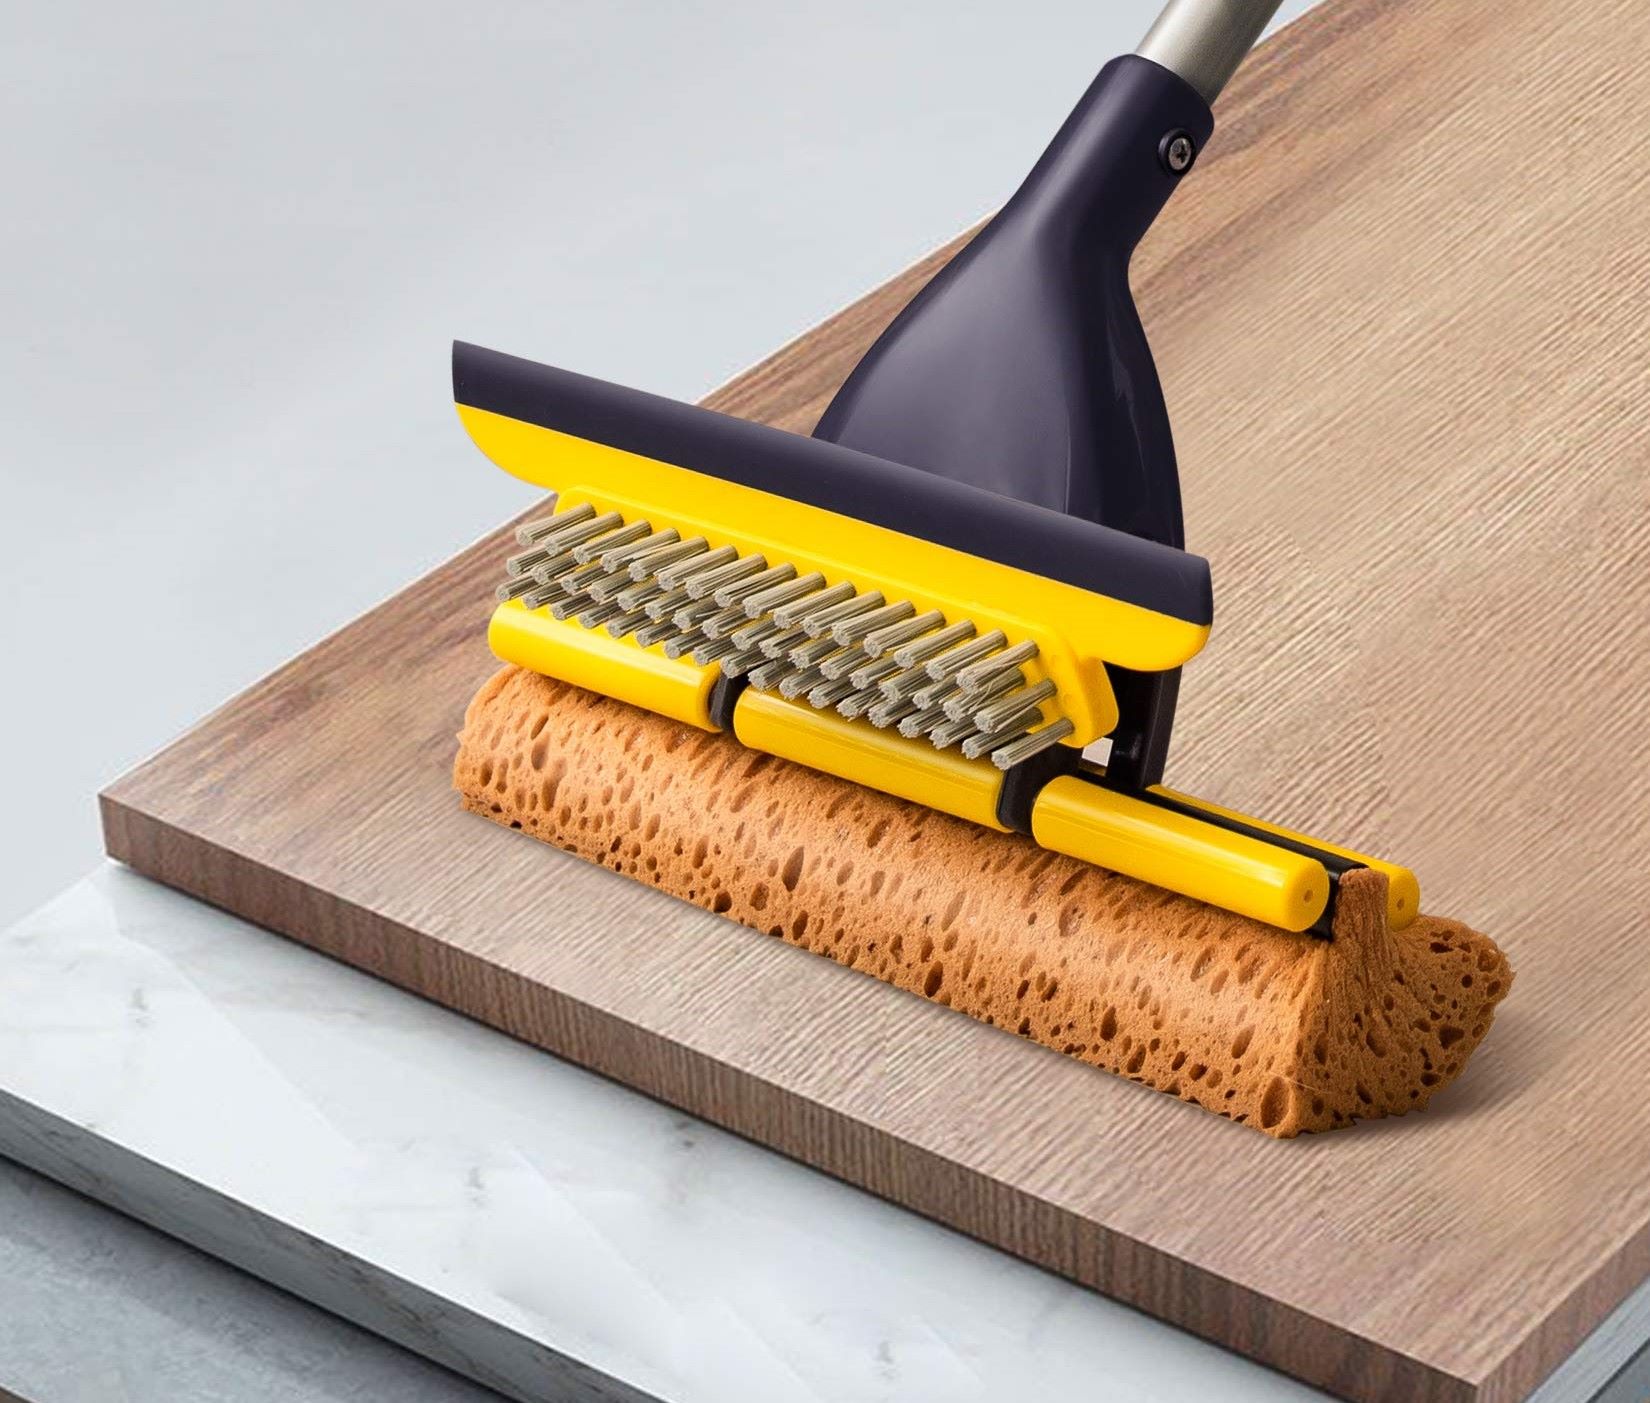
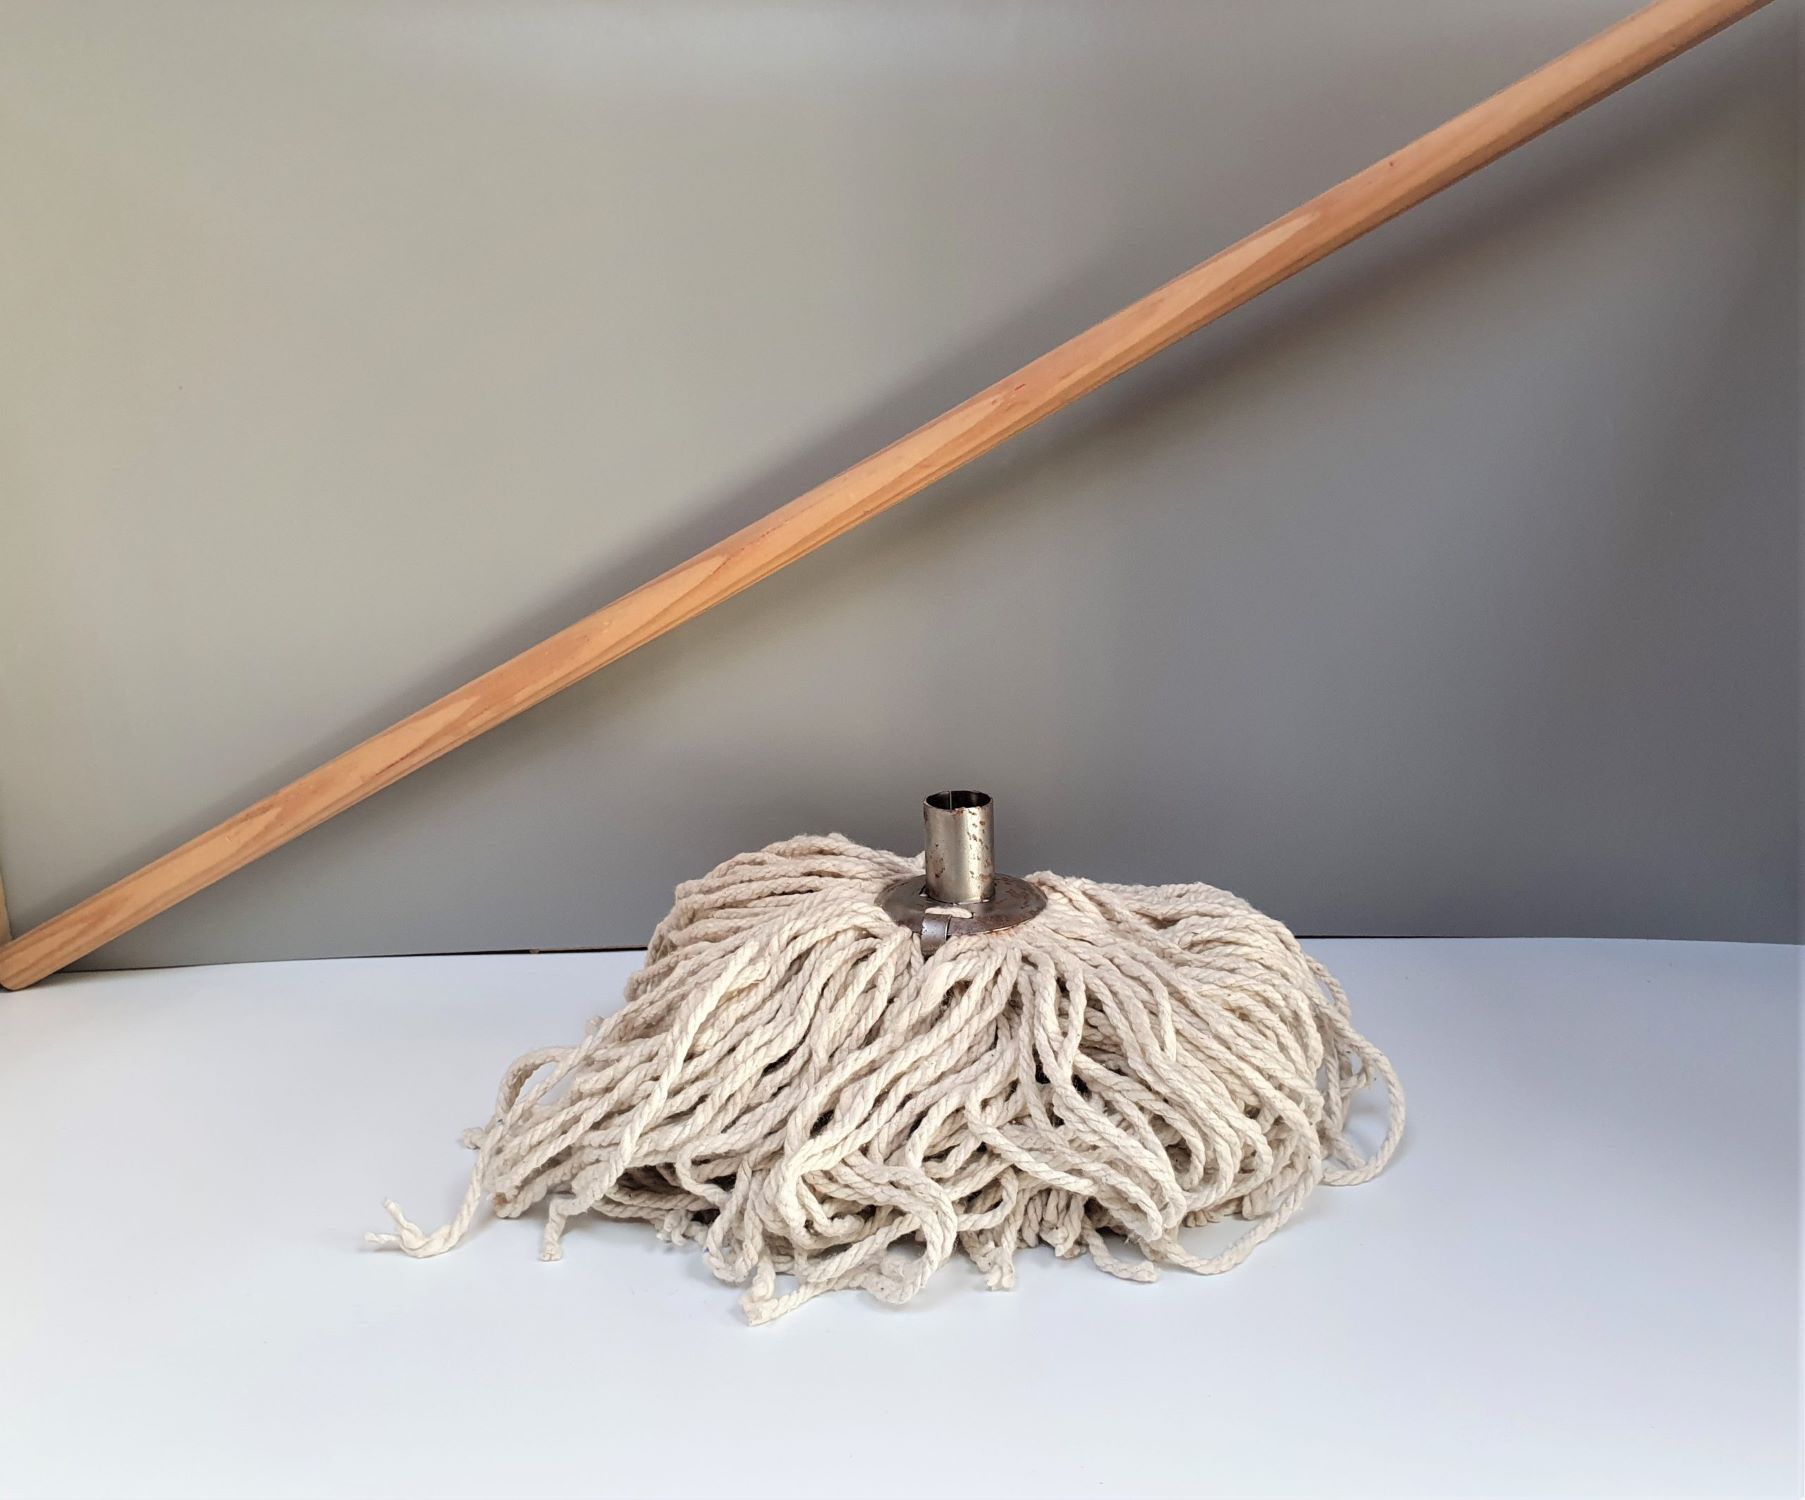
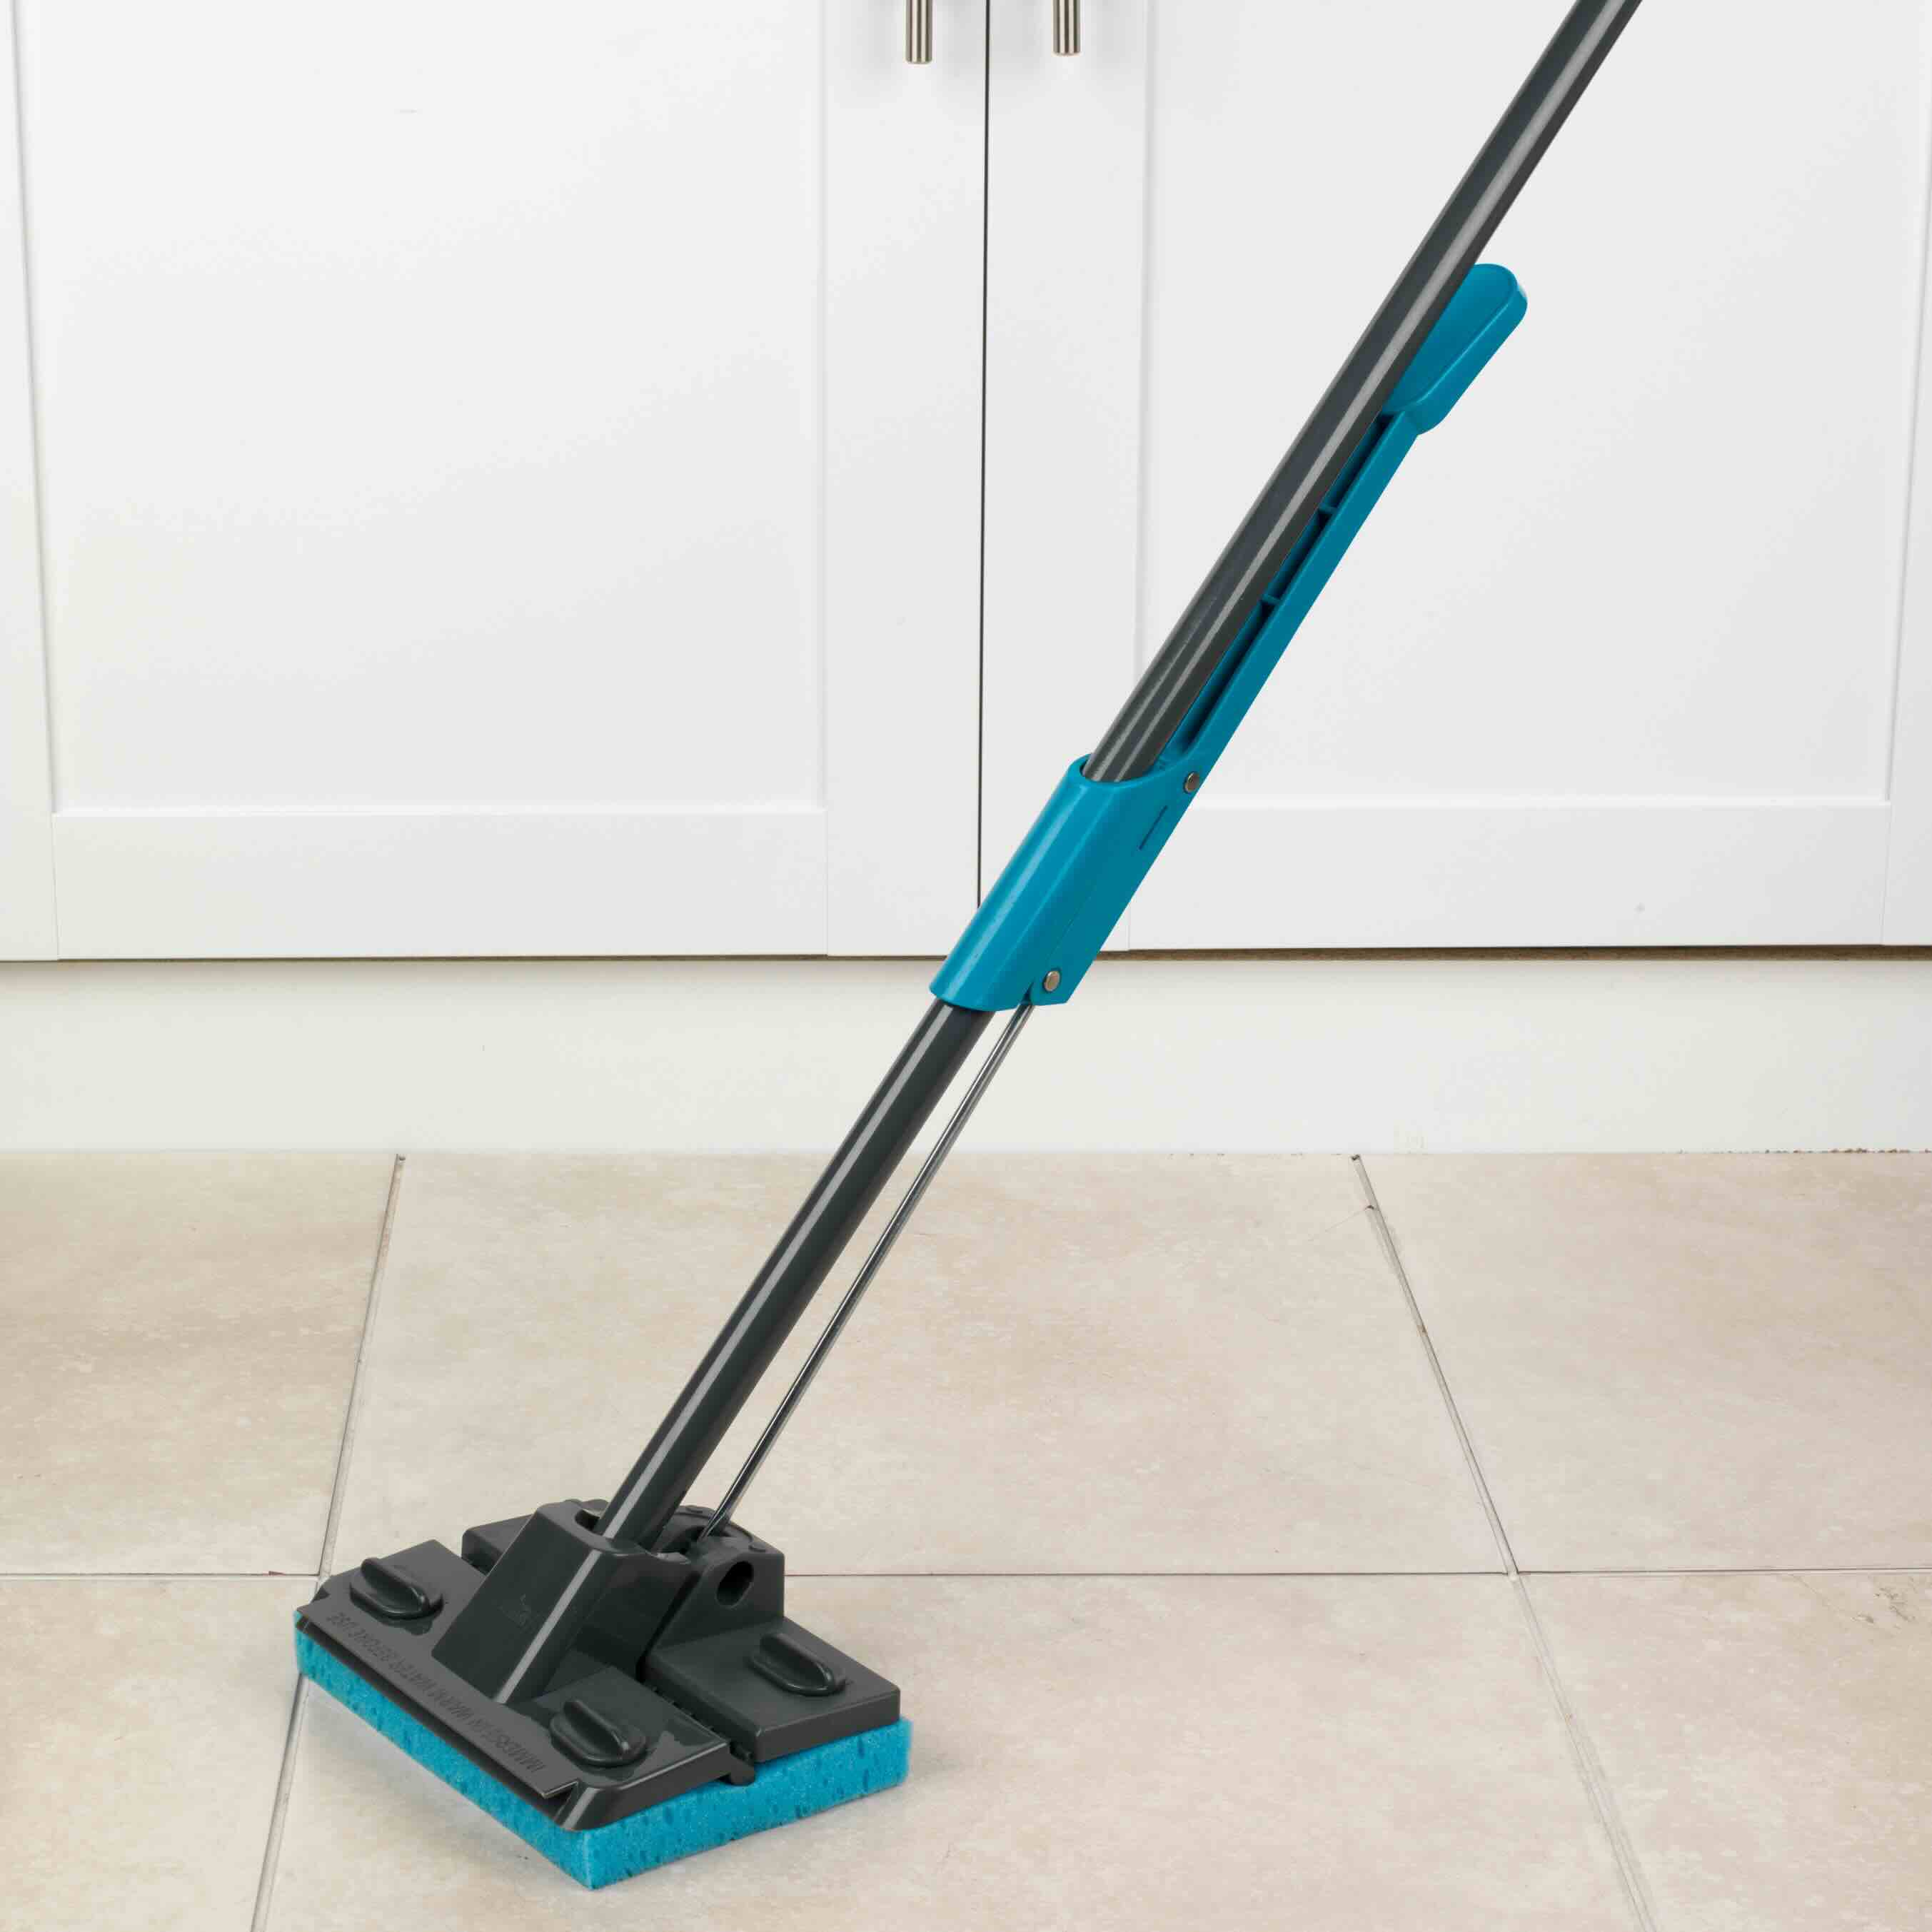
Step 2: Remove the Old Sponge Mop Head
Now that you’ve gathered your materials, it’s time to begin the process of removing the old sponge mop head. Follow these step-by-step instructions to ensure a smooth and efficient removal:
- Unscrew the Mop Head: If your mop head is attached to the handle with screws, use a screwdriver to carefully loosen and remove the screws. Place the screws in a secure location to prevent misplacement.
- Release the Latch: Some mop heads are equipped with a latch mechanism that secures the sponge in place. If your mop features a latch, carefully release it to free the old sponge.
- Detach the Sponge: With the screws removed and the latch released, gently detach the old sponge from the mop head. Take care not to force the sponge, as it may be held in place by clips or other fastening mechanisms.
- Dispose of the Old Sponge: Once the old sponge is removed, dispose of it properly according to your local waste disposal guidelines. If the sponge is still in decent condition, it may be suitable for repurposing in other cleaning tasks.
By following these steps, you’ll successfully remove the old sponge mop head, paving the way for the installation of a new, fresh sponge. As you progress through the process, handle the mop head and its components with care to avoid any damage or misplacement of parts.
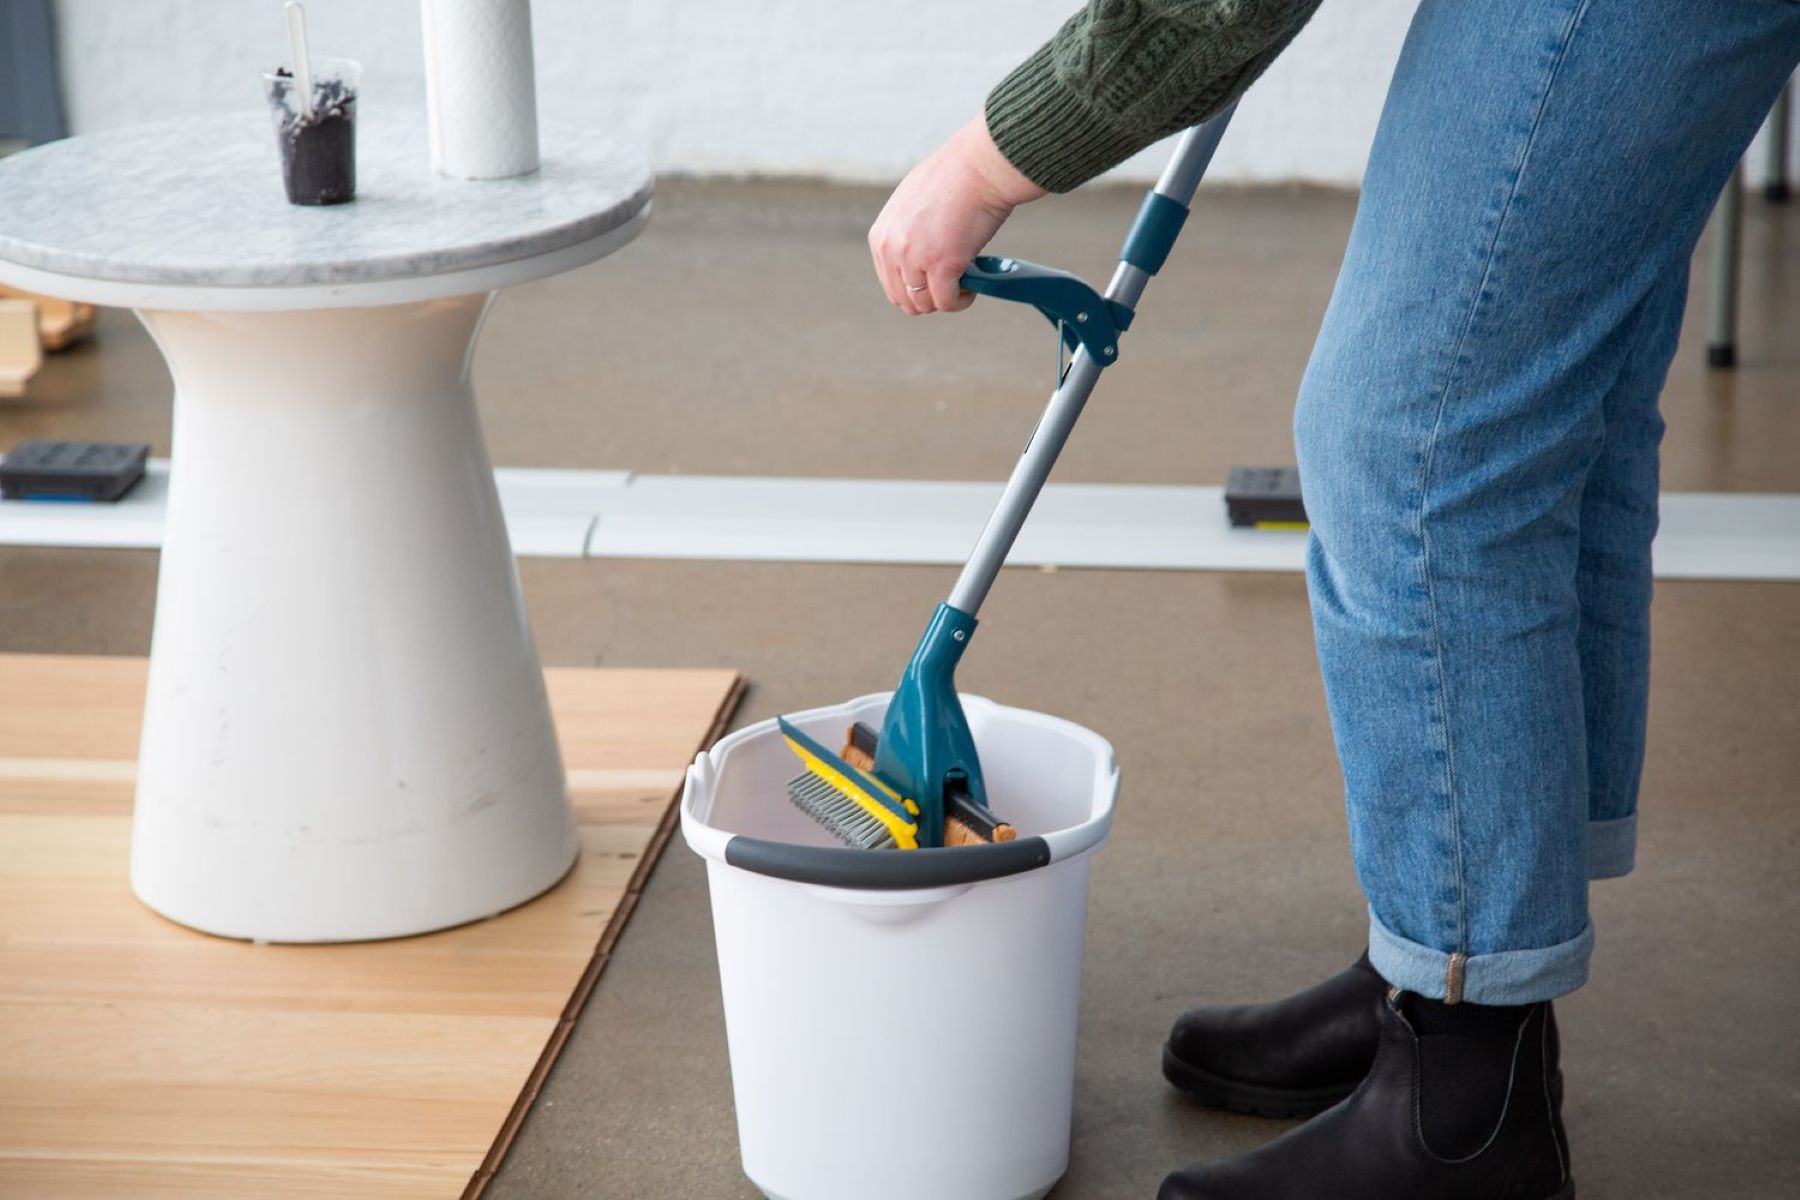
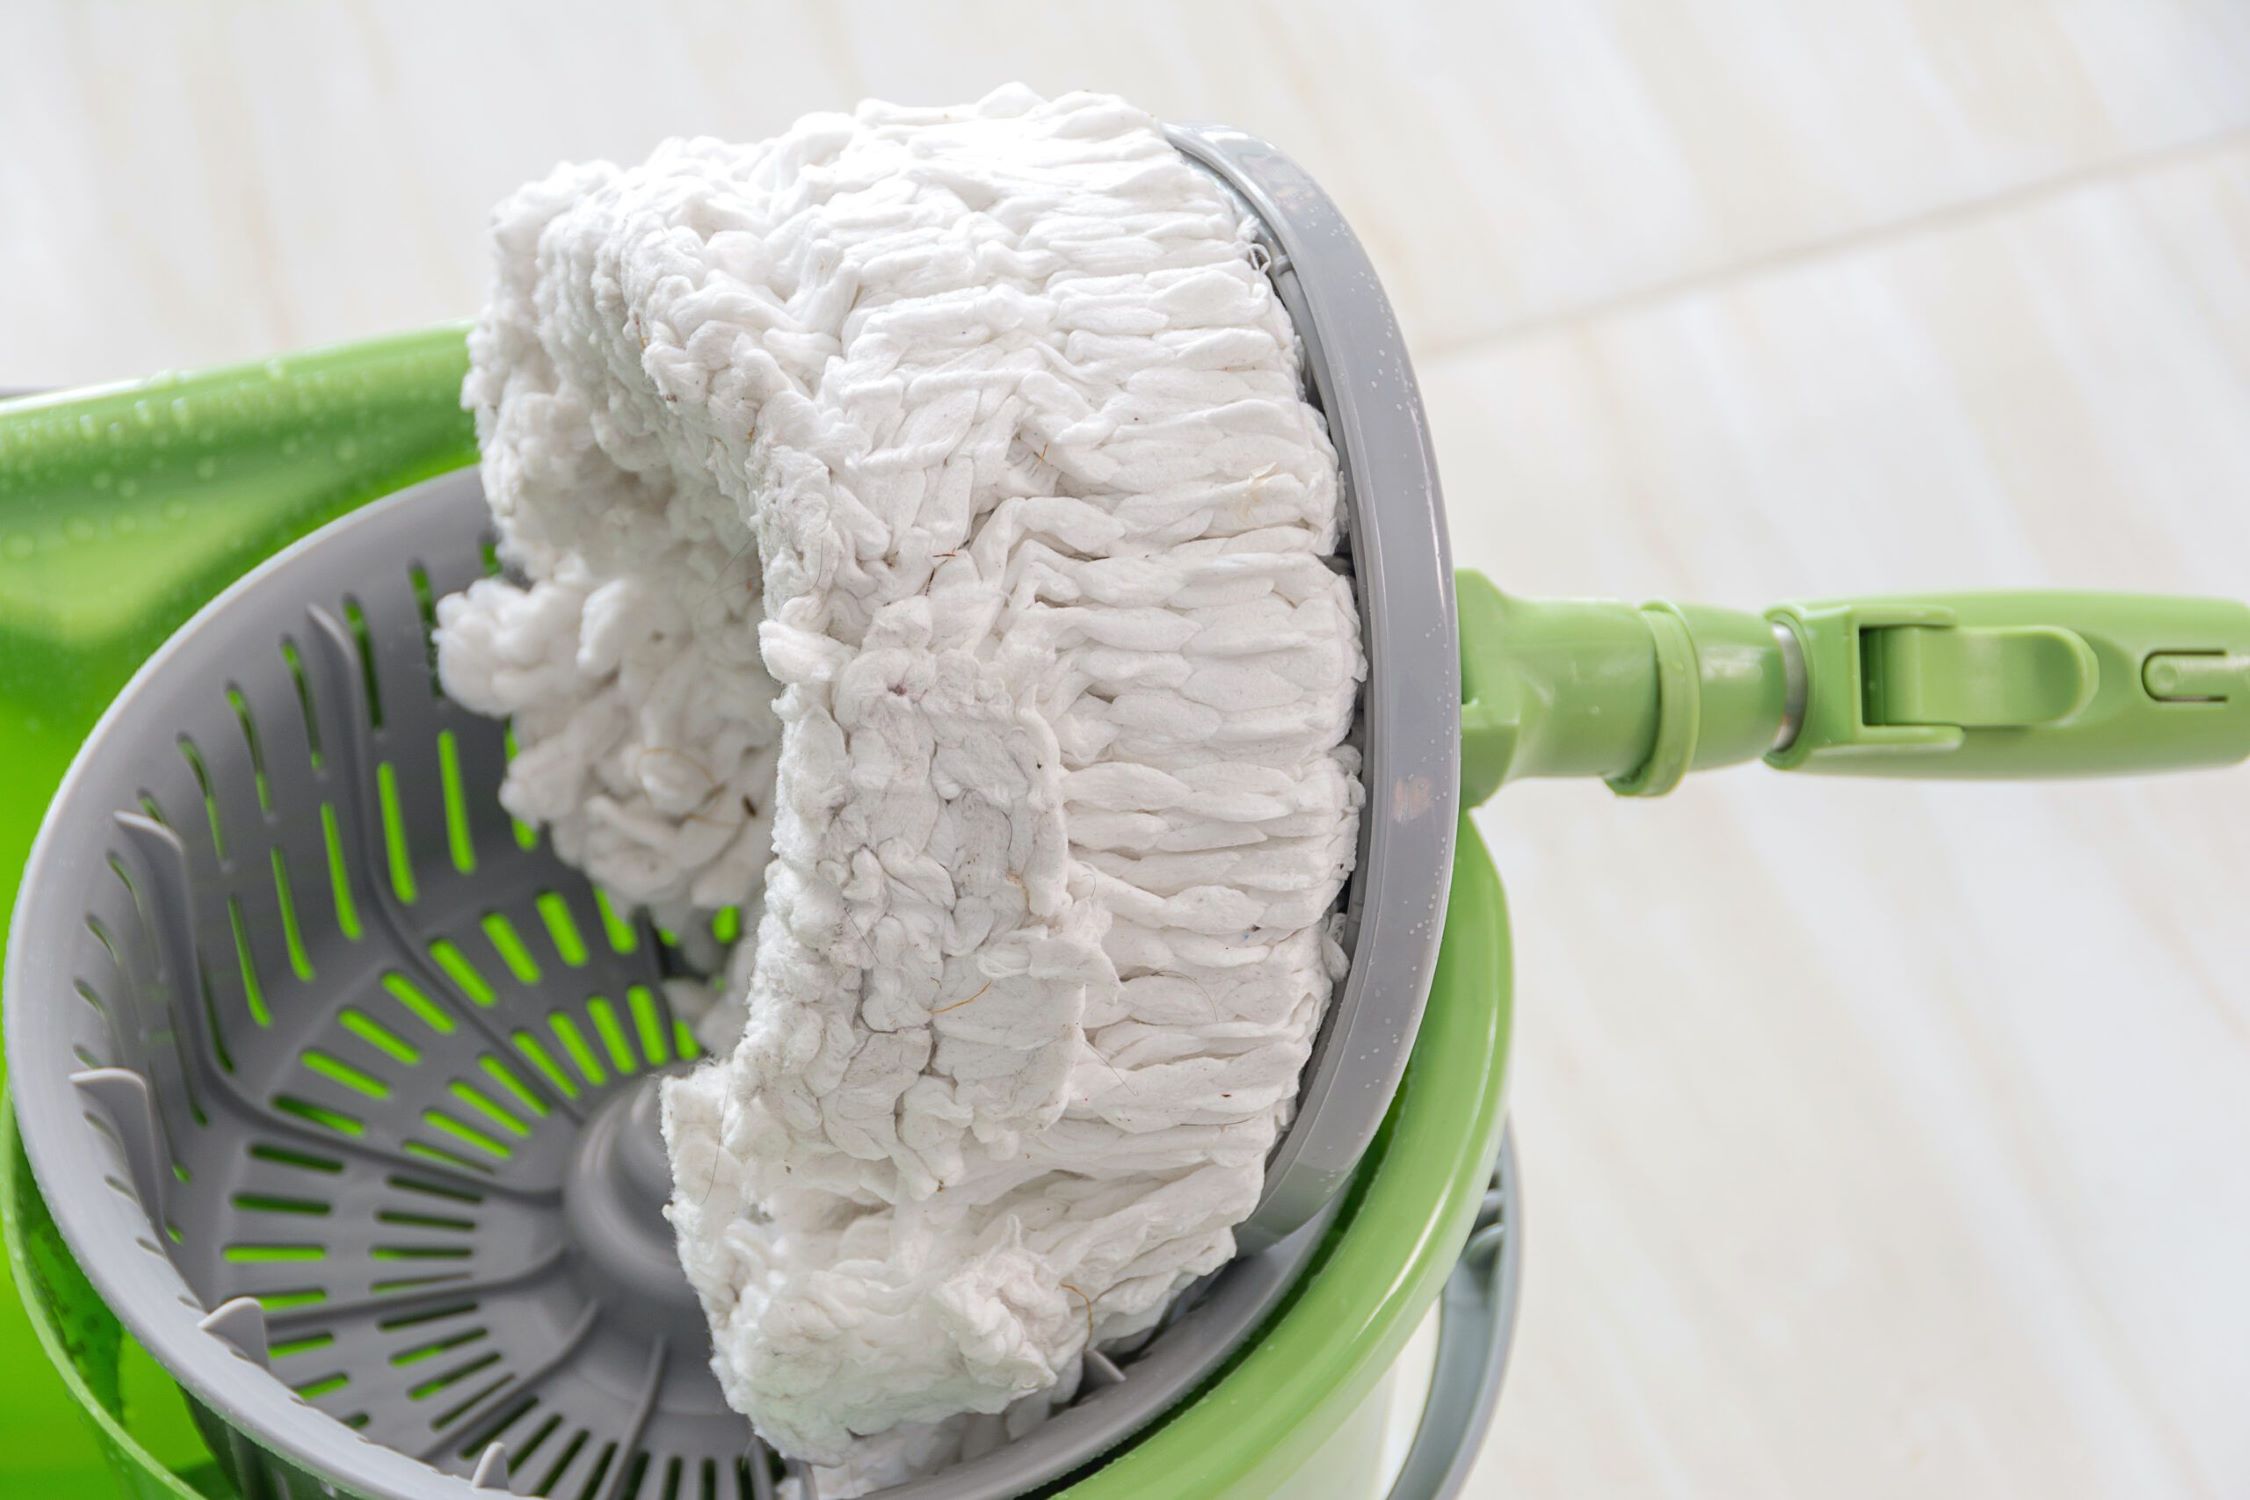
Step 3: Clean the Mop Handle
With the old sponge mop head removed, it’s an opportune time to give the mop handle a thorough cleaning. Over time, dirt, grime, and cleaning residues can accumulate on the handle, potentially hindering the effectiveness of your mop. Follow these steps to ensure that your mop handle is clean and ready for the new sponge mop head:
- Inspect for Residue: Examine the mop handle for any residual dirt, sticky substances, or cleaning product buildup. Pay close attention to areas where the mop head was attached, as these regions are prone to collecting debris.
- Use a Mild Cleaning Solution: Dampen a clean cloth with a mild cleaning solution or soapy water. Gently wipe down the entire mop handle, focusing on areas that require extra attention due to visible residue or grime.
- Rinse and Dry: After cleaning the handle, rinse the cloth thoroughly and wipe away any soapy residue. Then, use a dry cloth to ensure that the mop handle is completely dry before proceeding to the next step.
- Inspect for Damage: While cleaning the handle, take the opportunity to inspect it for any signs of wear, damage, or corrosion. If you notice any issues, consider addressing them before installing the new sponge mop head.
By cleaning the mop handle, you’ll not only maintain a hygienic cleaning tool but also ensure that the new sponge mop head attaches securely to a clean surface. This step sets the stage for a successful installation and optimal performance of your mop during future cleaning tasks.
To remove a sponge mop head, locate the release button or lever on the mop handle. Press or pull the release to detach the mop head from the handle. If there is no release, twist and pull the mop head to remove it from the handle.
Step 4: Install the New Sponge Mop Head
With the mop handle clean and prepped, it’s time to install the new sponge mop head. Follow these straightforward steps to securely attach the fresh sponge, ensuring that it is ready for effective cleaning:
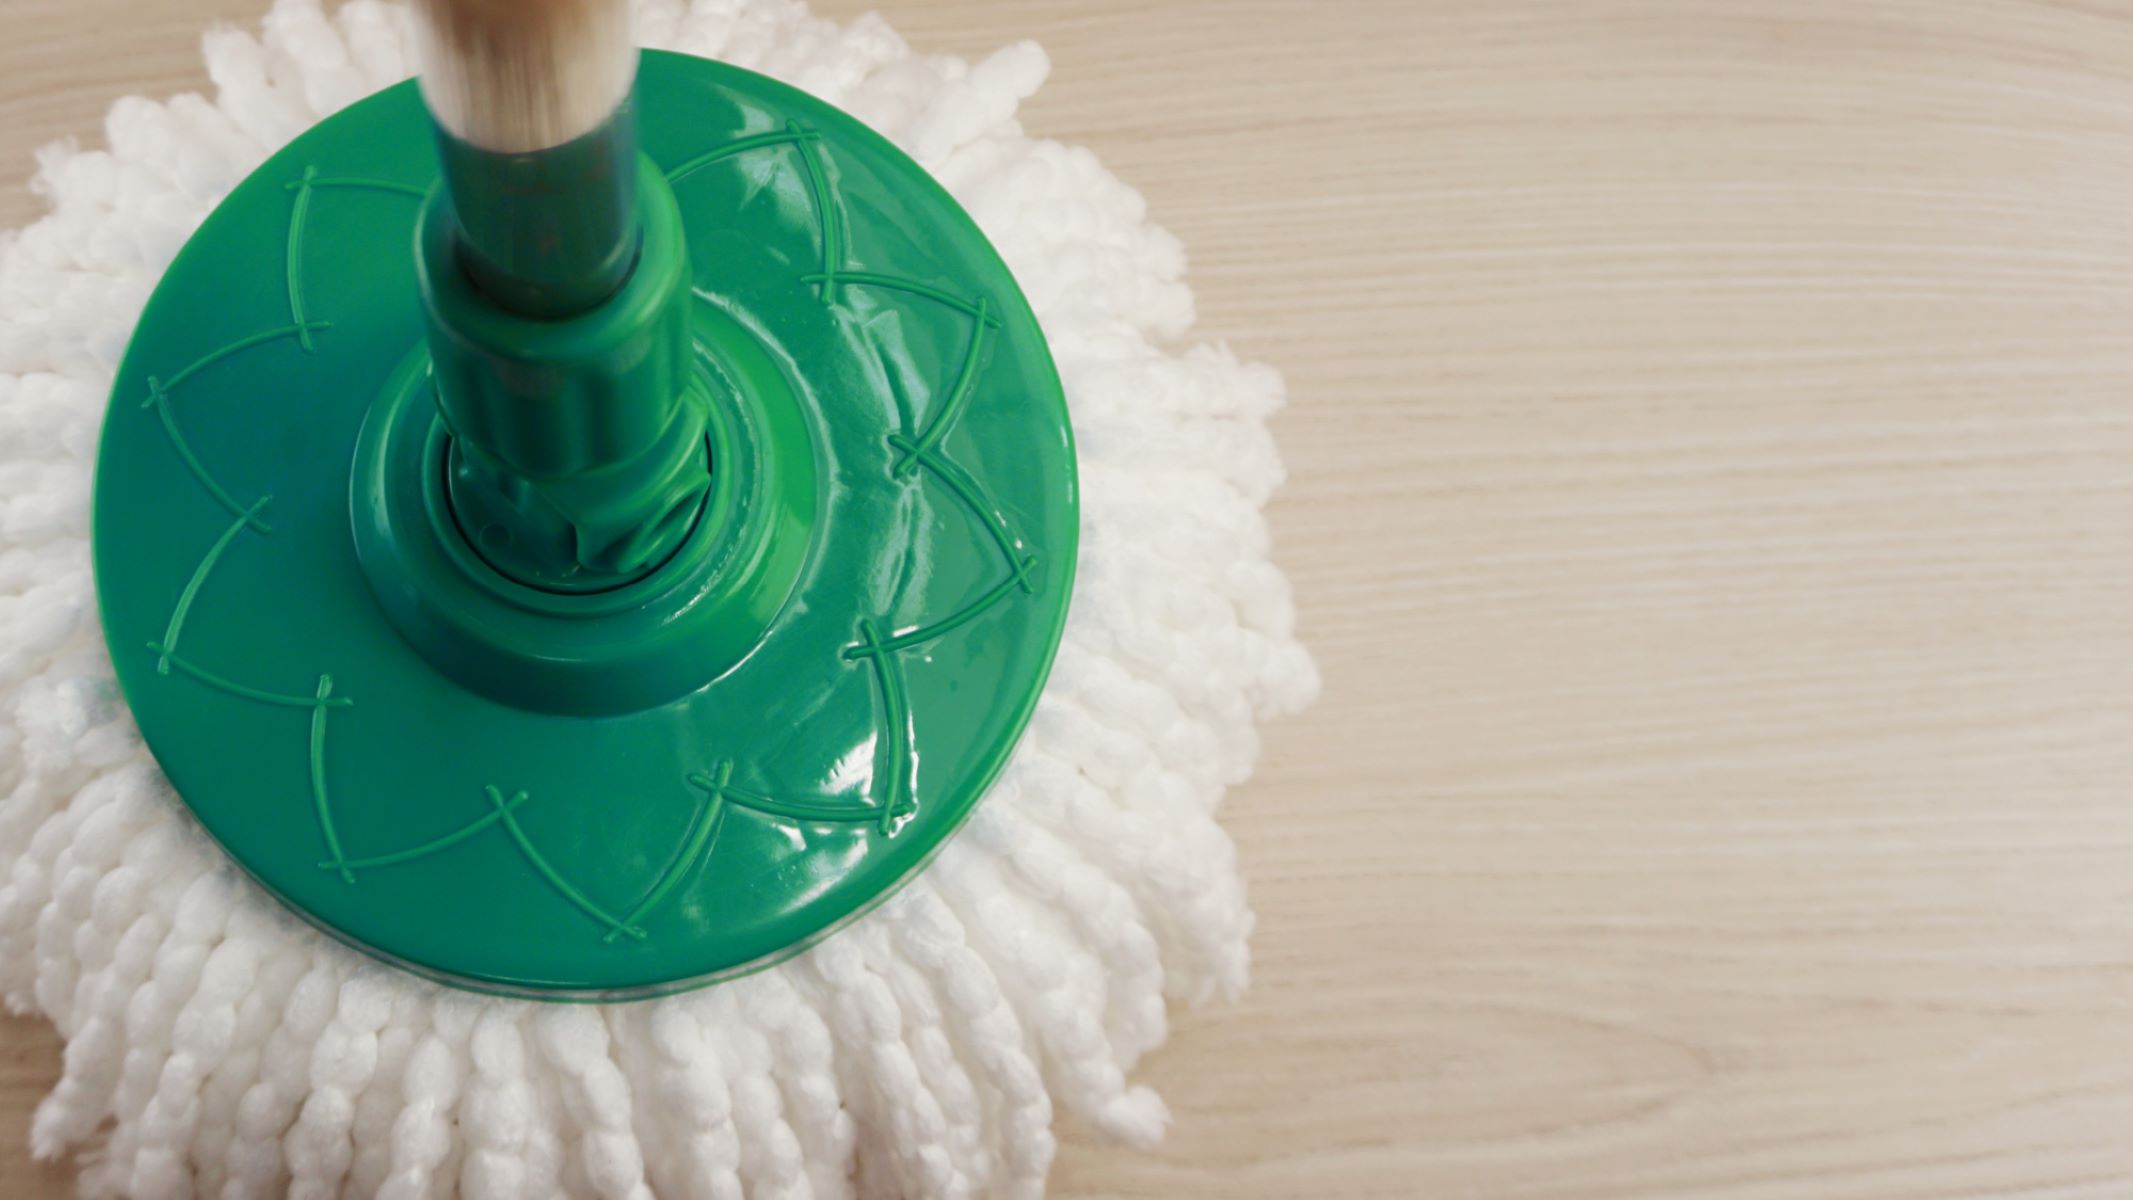
- Align the New Sponge: Position the new sponge mop head in alignment with the mop handle. Ensure that the sponge is oriented correctly and ready to be secured in place.
- Secure the Sponge: If your mop head features a latch mechanism, engage the latch to hold the sponge in place. For mop heads with screws, carefully position the sponge and proceed to reattach the screws to secure it firmly.
- Verify Stability: Once the sponge is in place, gently test its stability by giving it a light tug. Confirm that it is securely attached to the mop handle and does not shift or come loose easily.
By following these steps, you’ll successfully install the new sponge mop head, revitalizing your mop and ensuring that it is ready to tackle your cleaning needs with efficiency and effectiveness.
Read more: How To Remove Rubbermaid Mop Head
Step 5: Test the New Mop Head
After installing the new sponge mop head, it’s essential to conduct a quick test to ensure that it is securely attached and ready for use. Follow these simple steps to verify the functionality and stability of the new mop head:
- Perform a Dry Run: Without applying any cleaning solution, maneuver the mop across a small section of your floor to assess how the new sponge glides and makes contact with the surface. Pay attention to any unusual movements or instability that may indicate a loose attachment.
- Apply Water or Cleaning Solution: If the dry test yields positive results, dampen the sponge with water or your preferred cleaning solution. Test the mop head’s absorbency and its ability to effectively clean the floor surface.
- Inspect for Leaks or Drips: While testing the mop head, keep an eye out for any leaks or excess dripping from the sponge. A well-installed mop head should distribute moisture evenly without leaving behind excessive water or cleaning solution.
By conducting these tests, you’ll ensure that the new sponge mop head is fully functional, securely attached, and capable of delivering the cleaning performance you expect. If any issues are identified during the testing phase, revisit the installation process to address any potential concerns before proceeding with your cleaning tasks.
Conclusion
Congratulations! You’ve successfully learned how to remove and replace a sponge mop head, revitalizing your cleaning tool and ensuring that it is ready to tackle your household cleaning tasks with renewed efficiency. By following the step-by-step instructions in this guide, you’ve gained the knowledge and skills necessary to maintain a functional and reliable mop for your home cleaning needs.
Remember, regular maintenance and timely replacement of the sponge mop head are essential for preserving the effectiveness of your mop and achieving optimal cleaning results. By preparing the necessary materials, carefully removing the old sponge mop head, cleaning the mop handle, and installing the new sponge mop head, you’ve taken proactive steps to uphold the cleanliness and hygiene of your living spaces.
As you continue to utilize your freshly-installed sponge mop head, keep an eye on its performance and be attentive to any signs of wear or reduced effectiveness. By maintaining a proactive approach to the care and maintenance of your cleaning tools, you’ll ensure that your floors remain spotless and inviting, enhancing the overall cleanliness and comfort of your home.
We hope this guide has empowered you to confidently manage the upkeep of your mop, enabling you to maintain a clean and welcoming environment for yourself and your loved ones. With your newly-installed sponge mop head, you’re ready to tackle any cleaning challenges that come your way, armed with a reliable and efficient cleaning tool at your disposal.
Frequently Asked Questions about How To Remove Sponge Mop Head
Was this page helpful?
At Storables.com, we guarantee accurate and reliable information. Our content, validated by Expert Board Contributors, is crafted following stringent Editorial Policies. We're committed to providing you with well-researched, expert-backed insights for all your informational needs.


0 thoughts on “How To Remove Sponge Mop Head”