
Articles
How To Store Wall Decals
Modified: August 28, 2024
Learn the best techniques for storing wall decals and keep your articles organized and protected. Find out how to maintain the quality and adhesive of your decals with proper storage methods.
(Many of the links in this article redirect to a specific reviewed product. Your purchase of these products through affiliate links helps to generate commission for Storables.com, at no extra cost. Learn more)
Introduction
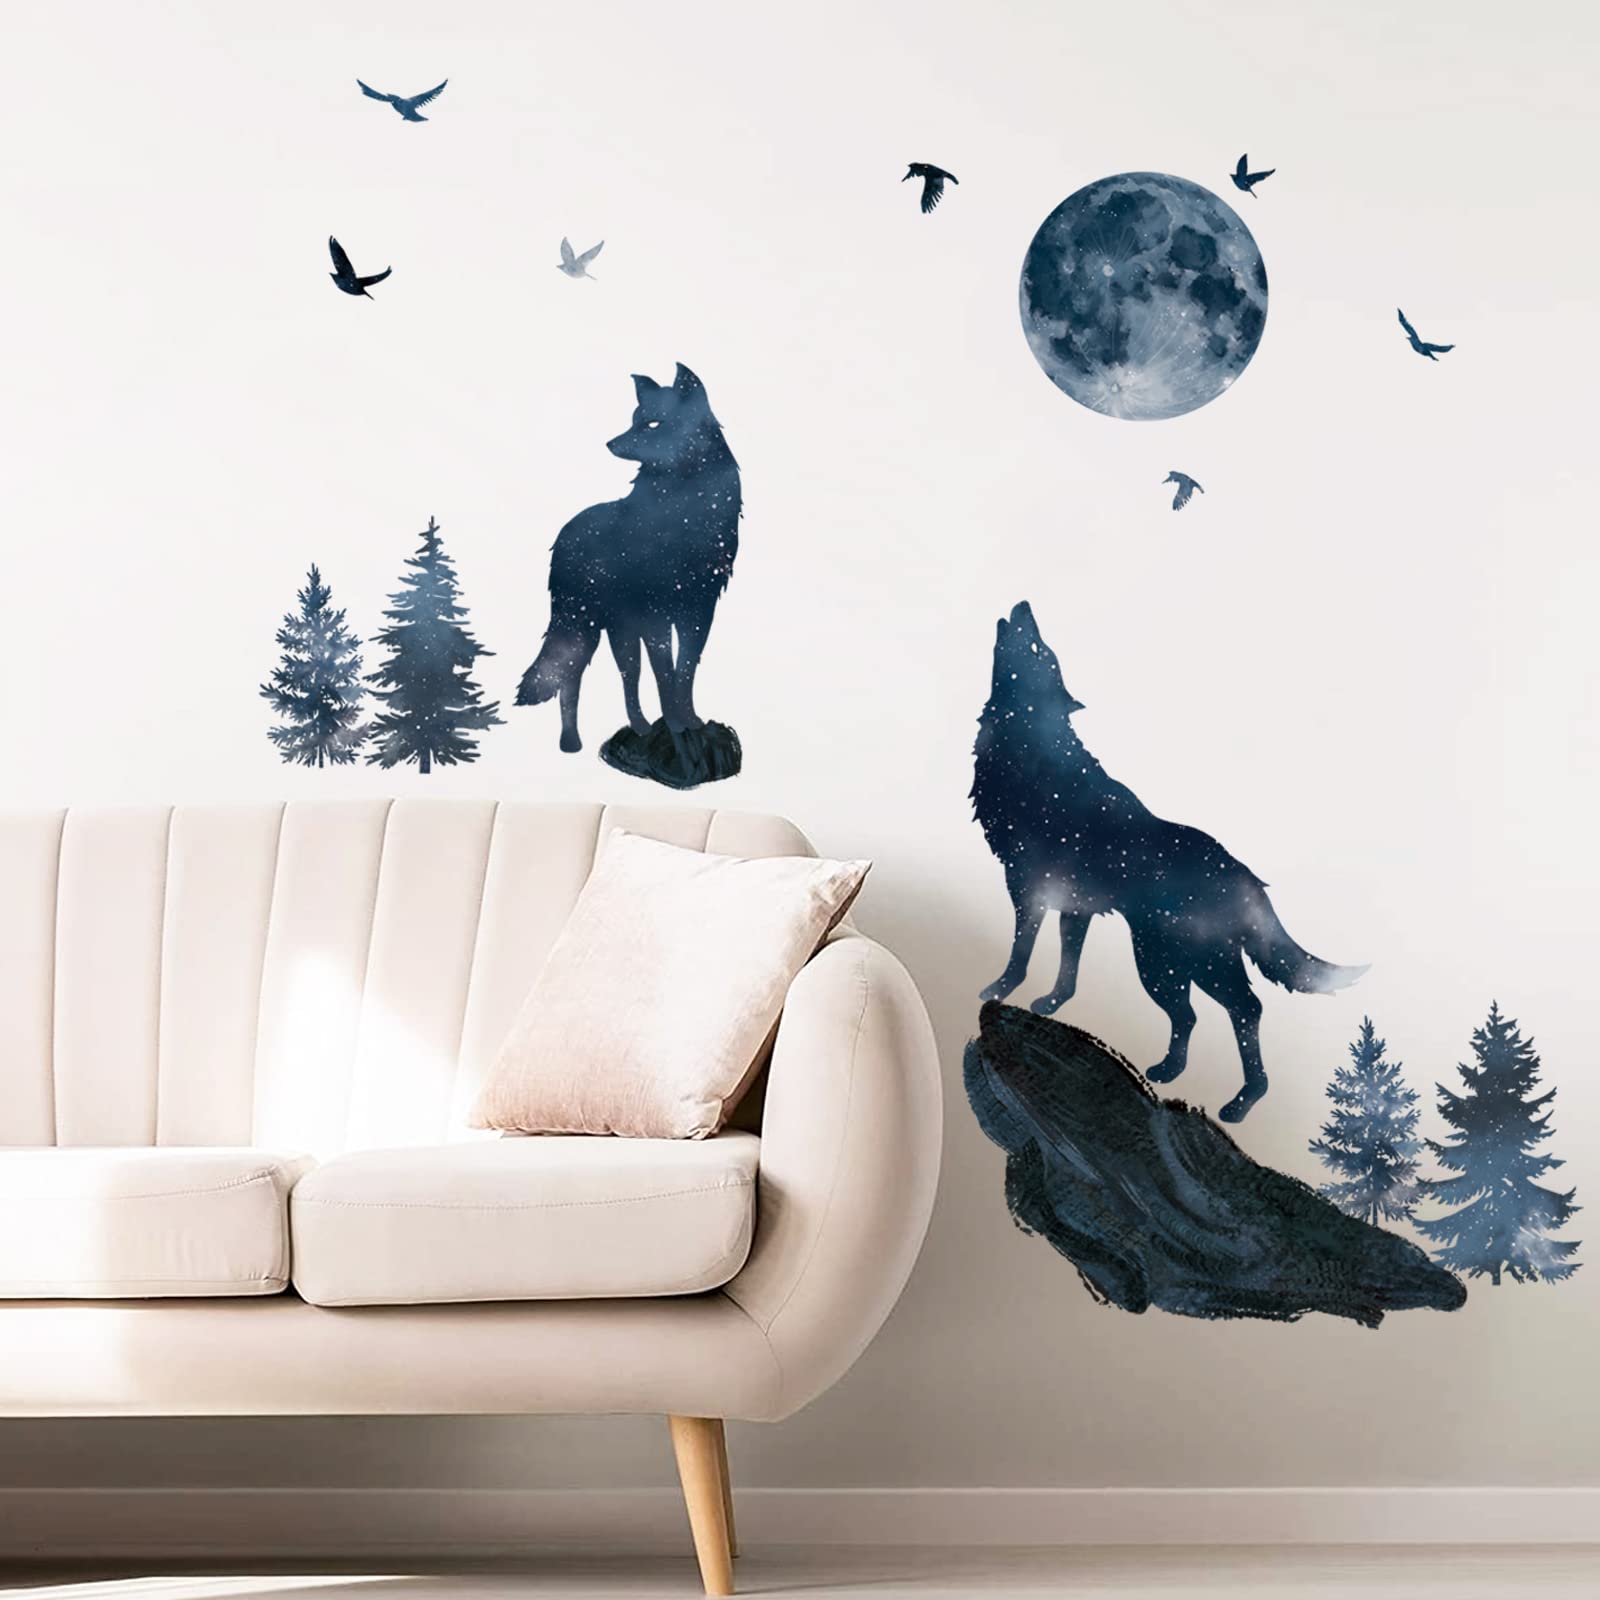
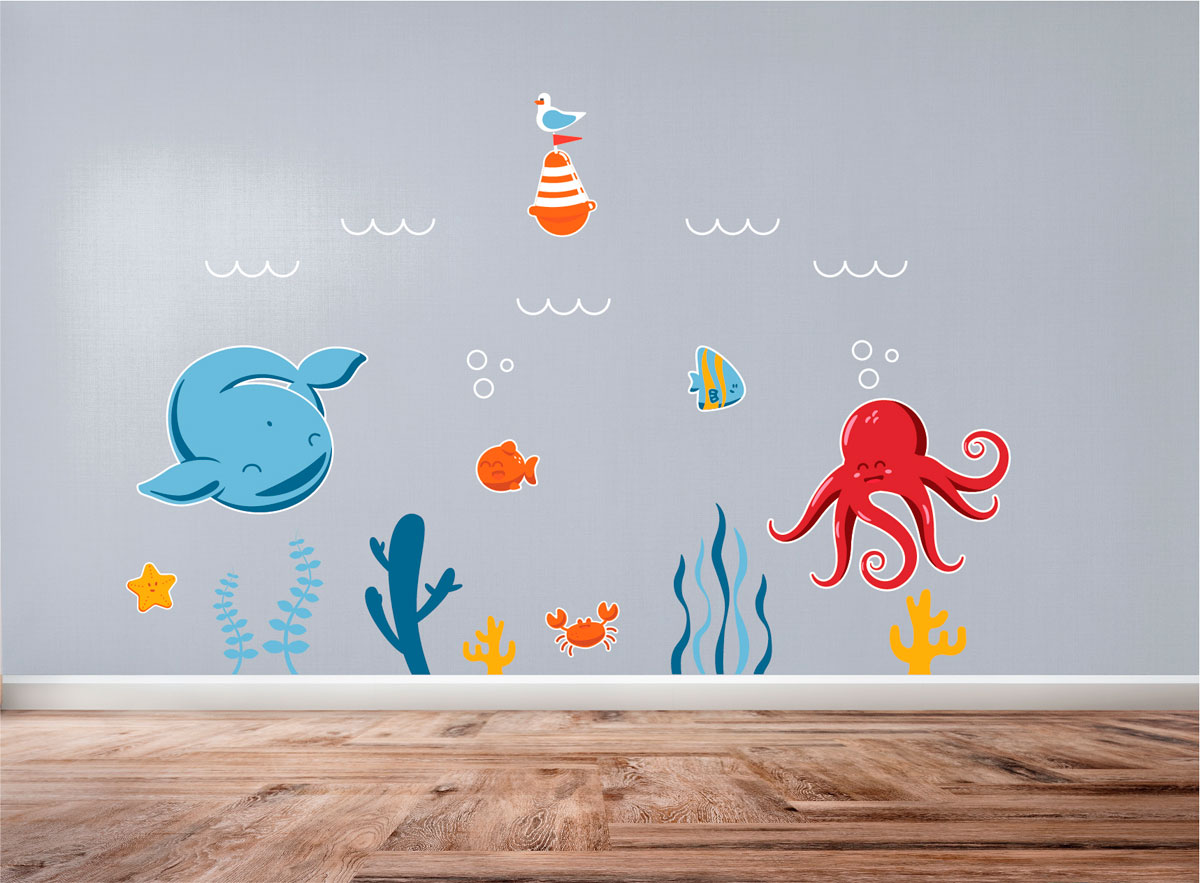
Wall decals have become a popular choice for adding a touch of creativity and personality to any living space. Whether you have decals featuring inspiring quotes, colorful graphics, or intricate designs, it’s important to know how to properly store them when not in use. Storing wall decals correctly will help maintain their quality, adhesive strength, and overall lifespan.
In this article, we will guide you through the process of storing wall decals effectively. We will cover everything from preparing the decals for storage to choosing the right storage method, cleaning the wall surface before removal, and safely removing and storing the decals. We will also provide tips on properly labeling storage containers and maintaining the adhesive quality of your wall decals. By following these steps, you can ensure that your wall decals stay in excellent condition and are ready to be used again whenever you desire.
So, let’s get started and learn how to store wall decals like a pro!
Key Takeaways:
- Properly preparing and storing wall decals is crucial for maintaining their quality and adhesive strength, ensuring they remain in excellent condition for future use.
- Careful removal, proper storage, and maintenance of wall decals are essential for preserving their effectiveness and reusability, allowing for hassle-free application and long-lasting decor.
Read more: What Are Wall Decals
Section 1: Preparing the Decals for Storage
Before you can store your wall decals, it is crucial to prepare them properly. This will help prevent any damage or deterioration during the storage period and ensure that they remain in good condition for future use.
The first step is to clean the surface of the decals. Use a soft, lint-free cloth or a gentle cleaning solution to remove any dust, dirt, or debris that may have accumulated on the surface. This will help maintain the adhesive quality and prevent any contaminants from causing damage.
Next, carefully inspect the decals for any signs of damage, such as peeling edges or discoloration. If you come across damaged decals, it is best to repair them before storing. You can use clear adhesive tape to reinforce any loose edges or corners, and if there are any minor scratches or tears, you can apply a thin layer of clear adhesive to protect them.
If your decals came with a backing paper or a protective film, make sure to reattach it before storage. This will provide an extra layer of protection against dust and scratches. If the backing paper or protective film is missing, you can use wax paper or parchment paper as an alternative.
Once your decals are clean and repaired, it’s time to consider the size of your storage space. If the decals are small, you can store them together in a plastic bag or a clear storage container. However, if you have larger decals or multiple pieces, it’s best to roll them up individually using a cardboard tube or a PVC pipe to prevent creasing or folding. Make sure to secure the rolled-up decals with a rubber band or a piece of twine to keep them in place.
Lastly, it is important to find a cool, dry, and dark storage area for your wall decals. Exposing them to direct sunlight, heat, or excessive moisture can cause the adhesive to deteriorate and the decals to fade or warp. A closet, a drawer, or a shelf in a temperature-controlled room would be ideal for storing your decals.
By following these steps and taking proper care of your wall decals before storing them, you can ensure that they remain in excellent condition and ready to use whenever you want to refresh your space with a new design.
Section 2: Choosing the Right Storage Method
When it comes to storing wall decals, choosing the right storage method is essential to maintain their quality and ensure they stay in excellent condition. The storage method you choose will depend on the size, material, and shape of your decals.
If you have small or medium-sized decals, a plastic bag or a clear storage container can be a convenient and practical option. Make sure the container is clean and free from dust before placing the decals inside. It is also a good idea to add a layer of tissue paper or bubble wrap between each decal to prevent them from sticking together or getting damaged during storage.
For larger wall decals or decals with intricate designs, rolling them up individually is a better storage method. Start by placing the rolled-up decal on a clean surface and securing it with a rubber band or a piece of twine. This will help maintain the shape and prevent any creasing or folding. Store the rolled-up decals in a sturdy cardboard tube or a PVC pipe to provide extra protection against damage.
If your decals are made of delicate or fragile materials, such as vinyl or fabric, it is best to store them flat. Lay the decals on a clean, flat surface and cover them with acid-free tissue paper or parchment paper to prevent any sticking or discoloration. Place a heavier object, like a book or a board, on top to keep the decals flat and protected.
In addition to the storage containers or methods mentioned above, you might consider using a filing system for storing smaller decals. This is particularly useful if you have multiple designs or sets of decals. Use file folders or clear plastic sleeves to store the decals and keep them organized. Label each folder or sleeve with the design name or category for easy retrieval.
When choosing a storage location, be mindful of the environmental conditions. Avoid storing decals in areas that experience high humidity, extreme temperatures, or direct sunlight, as these conditions can degrade the adhesive and cause color fading or warping. Opt for a cool, dry, and dark space, such as a closet or a dedicated storage area.
By choosing the appropriate storage method based on the size and material of your wall decals and considering the environmental conditions, you can ensure that your decals stay protected, organized, and ready to use whenever you decide to redecorate your space.
Section 3: Cleaning the Wall Surface Before Removal
Before you can safely remove your wall decals, it is important to prepare the wall surface to ensure a smooth and residue-free removal process. Cleaning the wall surface beforehand will help ensure that the adhesive residue left behind by the decals is minimized, making it easier to clean and prepare the wall for future applications.
The first step is to gather the necessary cleaning supplies. You will need a soft, lint-free cloth or sponge, warm water, mild soap or detergent, and a bucket. Avoid using harsh cleaners or abrasive materials, as they can damage the paint or wallpaper on your walls.
If your wall is painted, start by mixing warm water with a small amount of mild soap or detergent in the bucket. Dip the cloth or sponge into the soapy water and wring out any excess liquid. Begin gently wiping the wall surface, focusing on the areas surrounding the decals.
If your wall has wallpaper, you need to be extra careful to avoid damaging it. Instead of using soapy water, dampen the cloth or sponge with plain warm water and gently wipe the wall, being mindful not to apply too much pressure or saturate the wallpaper.
As you clean, pay close attention to any stubborn adhesive residue left behind by the decals. If you come across such residue, you can try using a mild adhesive remover or rubbing alcohol. Apply a small amount of the remover or alcohol to a clean cloth or sponge and gently rub the residue until it starts to dissolve. Be sure to follow the manufacturer’s instructions for the adhesive remover and test it on a small, inconspicuous area of the wall first to ensure it doesn’t cause any damage.
After cleaning the wall surface, rinse the cloth or sponge with clean water and wipe away any remaining soap residue. This step is important to ensure that no soapy residue is left on the wall, which can attract dirt and dust over time.
Once the wall surface is clean and free from any adhesive residue, allow it to air dry completely before proceeding with the removal of the decals. This will help ensure that the decals come off smoothly without leaving any sticky residue behind.
It is worth mentioning that if your wall decals have been in place for a long time or are particularly large or intricate, there might be some discoloration or fading on the wall that is not reversible. In such cases, you may have to consider repainting or wallpapering the wall to restore its original appearance.
By taking the time to properly clean and prepare the wall surface before removing the decals, you can ensure a hassle-free removal process and minimize any potential damage or residue left behind.
When storing wall decals, roll them up with the adhesive side facing outwards to prevent sticking. Store them in a tube or flat in a protective sleeve to avoid damage.
Section 4: Removing and Storing Wall Decals
Now that you have prepared the wall surface, it’s time to remove the wall decals carefully and store them properly for future use. Proper removal and storage techniques are crucial to ensure that your decals remain intact and can be re-applied without any issues.
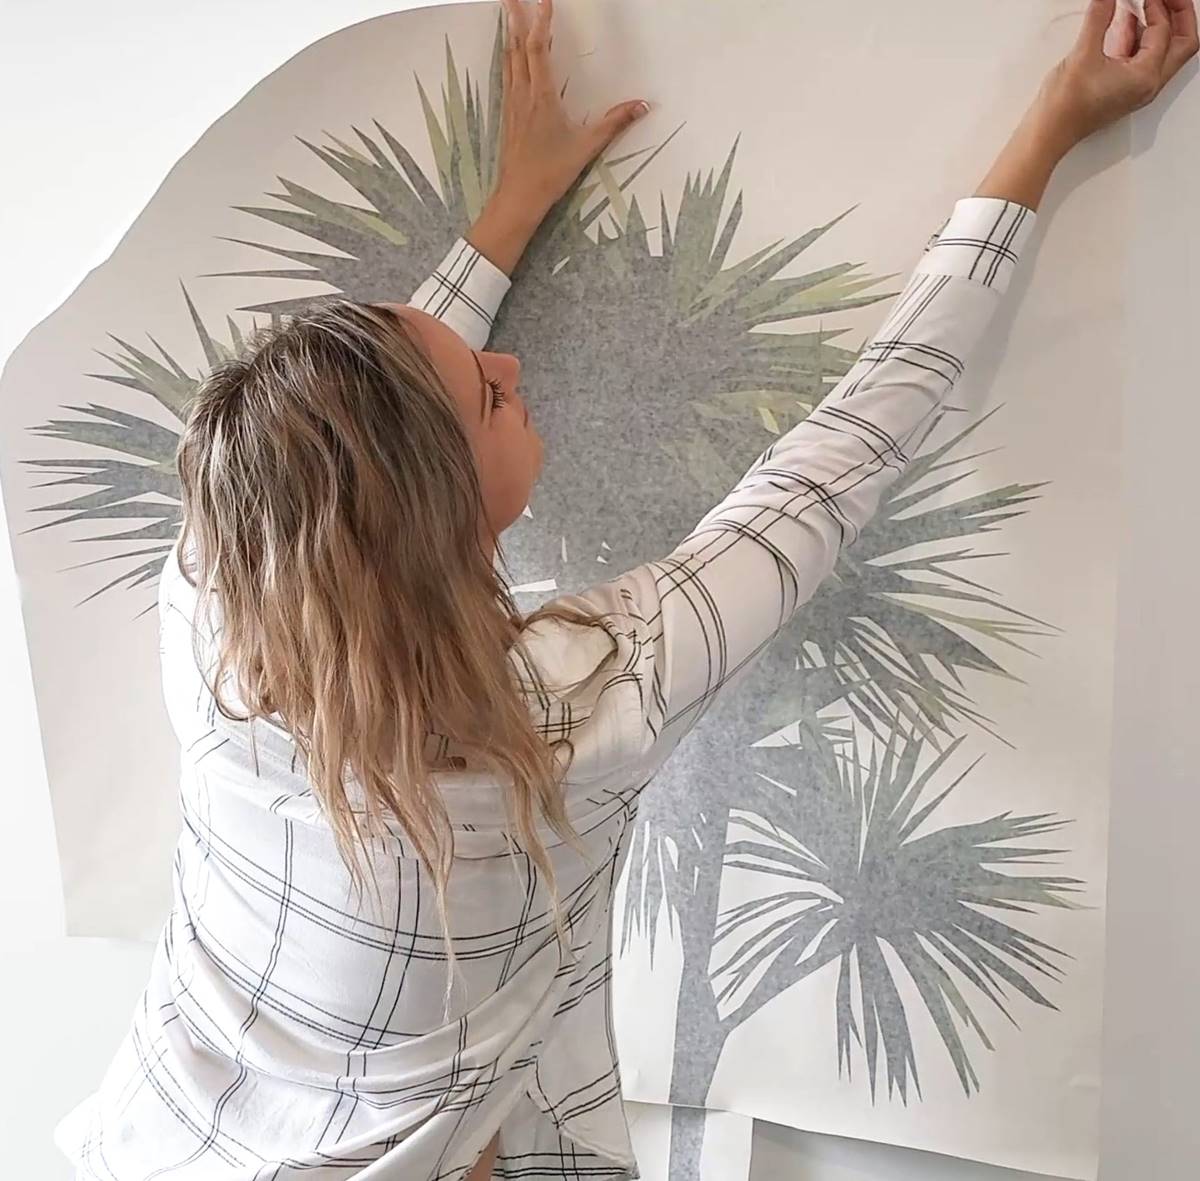
Start by finding a corner or an edge of the decal and gently peel it back, taking care not to apply too much force or pull too hard. Pulling too aggressively can damage the decal or leave behind sticky residue on the wall. If the decal resists, use a hairdryer on a low heat setting to warm up the adhesive, which should make it easier to peel off.
As you remove the decal, try to peel it at a 45-degree angle rather than pulling it straight off the wall. This will help minimize any tearing or stretching of the decal and ensure that it comes off smoothly without leaving behind any residue.
If you encounter any stubborn spots or areas where the decal is not coming off easily, you can use a plastic card or a spatula to gently scrape it off. Be cautious while doing this to avoid scratching or damaging the wall surface.
Once the decal is completely removed, gently fold it or roll it up, depending on its size and shape. If using a folding method, make sure the adhesive side is facing inward to prevent sticking to itself. If rolling it up, secure it with a rubber band or twine to keep it in place. It is important to handle the decals with clean, dry hands, as oils or moisture from your fingers can affect the adhesive quality.
Next, choose the appropriate storage method based on the size and material of the decal, as discussed in Section 2. Whether using a plastic bag, a clear storage container, or a flat storage method, find a cool, dry, and dark location to store the decals, as exposure to sunlight, heat, or moisture can damage the adhesive or cause the decal to fade.
Labeling the storage containers is also crucial for easy retrieval. Use a permanent marker or labels to clearly indicate the design or category of each set of wall decals. This will save you time and effort when you decide to use them again in the future.
Properly storing your wall decals will not only keep them protected from damage but also make it easier to find and use them when you want to refresh your living space or change the decor.
Remember, if you no longer have plans to use certain decals or if they have been damaged during removal, it’s best to discard them and avoid cluttering your storage space.
By following these tips for safe removal and proper storage, you will be able to enjoy the versatility and reusability of your wall decals for years to come.
Read more: How To Reuse Wall Decals
Section 5: Properly Labeling the Storage Containers
When it comes to storing your wall decals, properly labeling the storage containers is crucial for easy retrieval and organization. A well-labeled storage system ensures that you can quickly find the decals you need without the hassle of rummaging through multiple containers or bags.
The first step in labeling is to gather the necessary materials. You will need a permanent marker, labels, or adhesive tags. Choose a marker that is waterproof and fade-resistant to ensure that the labels remain legible over time.
Start by selecting an appropriate labeling method that works best for your storage containers. You can either write directly on the container itself or use adhesive labels or tags that can be attached to the container. If you choose to write on the container, make sure to do so in a clear and legible manner.
When labeling, it is important to include relevant information such as the design name, category, size, or any other details that will help you quickly identify the contents of the container. For example, if you have multiple sets of floral-themed decals, you can label the container as “Floral Decals” or “Floral Designs” to distinguish them from other designs or themes.
Consider organizing the storage containers based on different themes, seasons, or rooms. This will further streamline the retrieval process and make it easier to find the specific decals you’re looking for. For example, you can have separate containers for holiday-themed decals, kids’ room decals, or kitchen decals.
If you prefer a more visual approach, you can take pictures of the decals and attach them to the respective storage containers. This can be helpful if you have a large collection or if the decals are intricate and detailed, making it easier to identify them at a glance.
Remember to place the labels or tags in a prominent and easily visible location on the containers. Avoid covering them with tape or placing them in areas that may get obstructed when stacking the containers.
Lastly, as you add new decals to your collection or remove and reuse existing ones, make sure to update the labels accordingly. This will ensure that the information remains accurate and up-to-date, preventing any confusion or frustration when searching for a specific decal.
By properly labeling your storage containers, you will create an efficient and organized system that allows for easy retrieval and hassle-free access to your wall decals. This will not only save you time but also ensure that your decals are well-preserved and ready to use whenever inspiration strikes!
Section 6: Tips for Maintaining the Adhesive Quality of Wall Decals
Proper maintenance of the adhesive quality is essential to ensure that your wall decals remain effective and long-lasting. By following these simple tips, you can help preserve the adhesive strength and integrity of your decals, allowing for easy reapplication and a professional-looking finish.
1. Avoid placing decals in high-traffic areas: While wall decals are designed to withstand normal wear and tear, placing them in areas that are frequently touched or bumped can increase the risk of damage. Avoid placing decals in busy corridors, near doorways, or in areas prone to moisture or excessive heat.
2. Clean the wall surface before reapplication: Before reapplying a stored decal or applying a new decal to your wall, make sure to clean the wall surface thoroughly. This will help remove any dust, dirt, or residue that can interfere with the adhesive bond. Follow the cleaning steps mentioned in Section 3 to prepare the wall surface properly.
3. Test the adhesive strength before application: If you have stored decals for an extended period or are unsure about the adhesive quality, conduct a simple adhesive test before applying them to the wall. Choose a small, inconspicuous area and apply the decal temporarily. Leave it for a few hours or overnight to ensure that it adheres securely without any issues.
4. Avoid reusing decals too many times: While wall decals can be reused multiple times, excessive reuse can weaken the adhesive over time. It is recommended to limit the number of reapplications to maintain the best adhesive performance. If a decal is damaged or no longer adheres properly, it is best to retire it and replace it with a new one.
5. Store decals away from extreme temperatures: Extreme temperatures can affect the adhesive properties of wall decals. Avoid storing them in areas that are subject to excessive heat or cold, such as attics or basements. Instead, choose a cool and moderate temperature storage location to ensure the adhesive remains intact.
6. Avoid exposing decals to direct sunlight: Prolonged exposure to direct sunlight can cause the colors of the decals to fade over time. It is best to store them in a dark or dimly lit area to preserve their vibrancy. Similarly, when applying decals to the wall, consider positioning them away from windows or areas that receive direct sunlight to prevent fading.
7. Handle decals with clean, dry hands: Oils, dirt, or moisture from your hands can affect the adhesive quality of the decals. Before handling them, make sure your hands are clean and dry. Avoid touching the adhesive surface as much as possible to prevent any contaminants from transferring onto the decal.
By following these tips, you can maximize the adhesive strength of your wall decals and ensure they maintain their quality and effectiveness for a longer period. This will allow you to enjoy the benefits of beautiful and removable wall decorations for years to come.
Conclusion
Storing wall decals properly is essential for preserving their quality, adhesive strength, and overall lifespan. By following the steps outlined in this article, you can ensure that your wall decals remain in excellent condition and ready to be used again whenever you desire to refresh your living space.
Start by preparing the decals for storage, ensuring they are clean, repaired (if necessary), and properly protected with backing paper or a protective film. Consider the size of your decals and choose the appropriate storage method, whether it be using plastic bags, clear storage containers, or rolling them up individually. Find a cool, dry, and dark storage area to prevent any damage from sunlight or extreme temperatures.
Before removing the decals from your walls, take the time to clean the wall surface to minimize any adhesive residue left behind. Use mild soap or detergent and warm water to gently wipe the wall surface with a soft cloth or sponge. If necessary, use a mild adhesive remover or rubbing alcohol to tackle stubborn residue.
When removing the decals, do so carefully and at a 45-degree angle to avoid tearing or stretching. Store them properly by folding or rolling them up, and ensure they are kept in labeled containers or bags for easy retrieval in the future.
Maintaining the adhesive quality of your wall decals is crucial for their effective reapplication. Avoid placing them in high-traffic areas, clean the wall surface before reapplying them, and conduct adhesive tests if needed. Limit the number of reapplications and store decals away from extreme temperatures and direct sunlight. Handle decals with clean, dry hands to avoid any contaminants affecting the adhesive.
In conclusion, by following these guidelines for storing, removing, and maintaining the adhesive quality of your wall decals, you can extend their lifespan and have them ready for use whenever you want to refresh your living space. Properly stored and maintained wall decals can bring life, color, and personality to your walls for years to come.
Frequently Asked Questions about How To Store Wall Decals
Was this page helpful?
At Storables.com, we guarantee accurate and reliable information. Our content, validated by Expert Board Contributors, is crafted following stringent Editorial Policies. We're committed to providing you with well-researched, expert-backed insights for all your informational needs.


0 thoughts on “How To Store Wall Decals”