Home>Interior Design>How To Put Up Wall Decals
Interior Design
How To Put Up Wall Decals
Modified: September 1, 2024
Discover the best way to put up wall decals and transform your space with our interior design tips. Easy step-by-step instructions for a stunning home makeover.
(Many of the links in this article redirect to a specific reviewed product. Your purchase of these products through affiliate links helps to generate commission for Storables.com, at no extra cost. Learn more)
Introduction
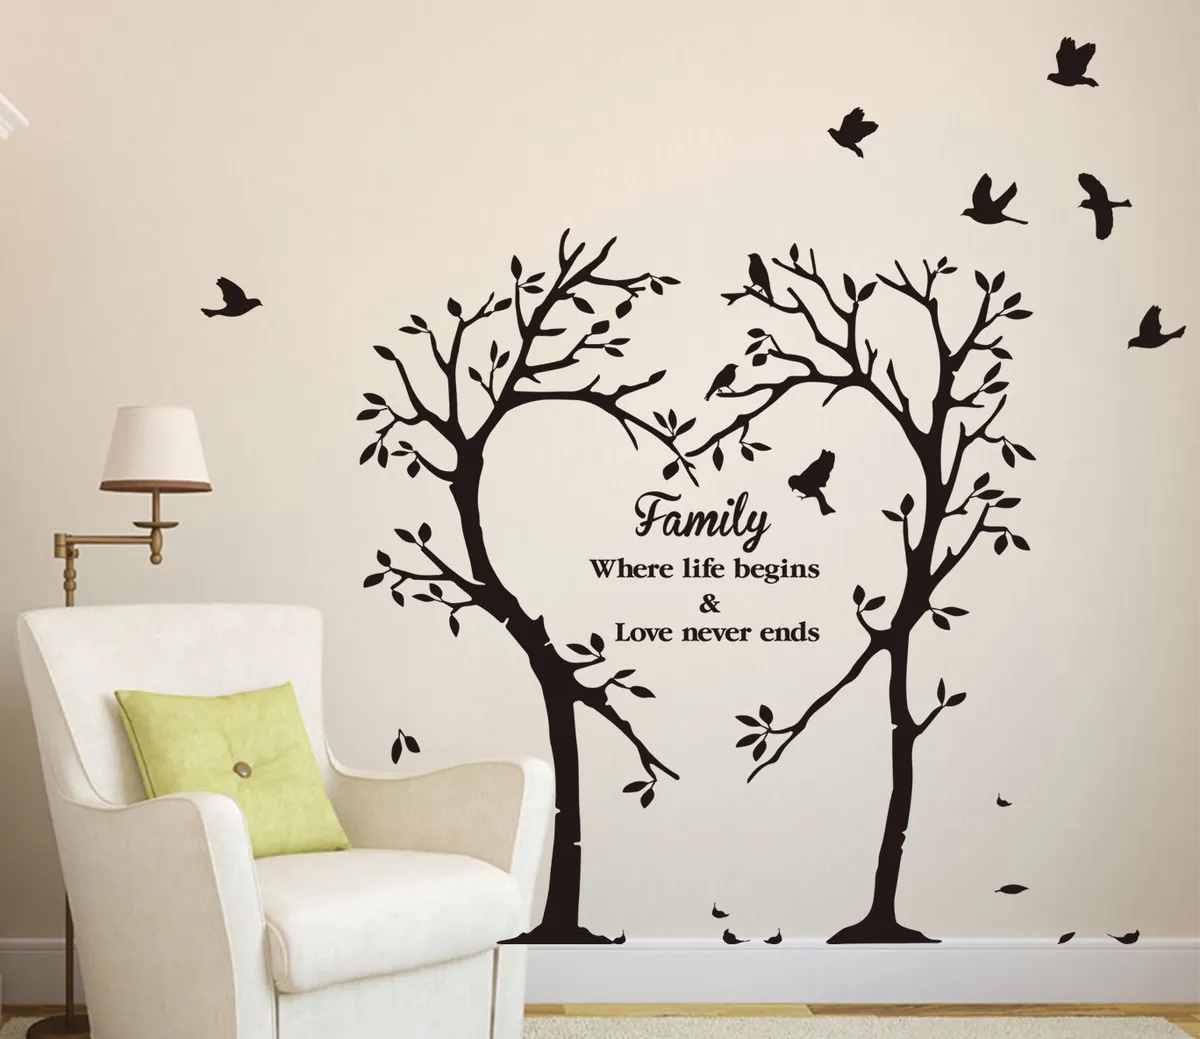
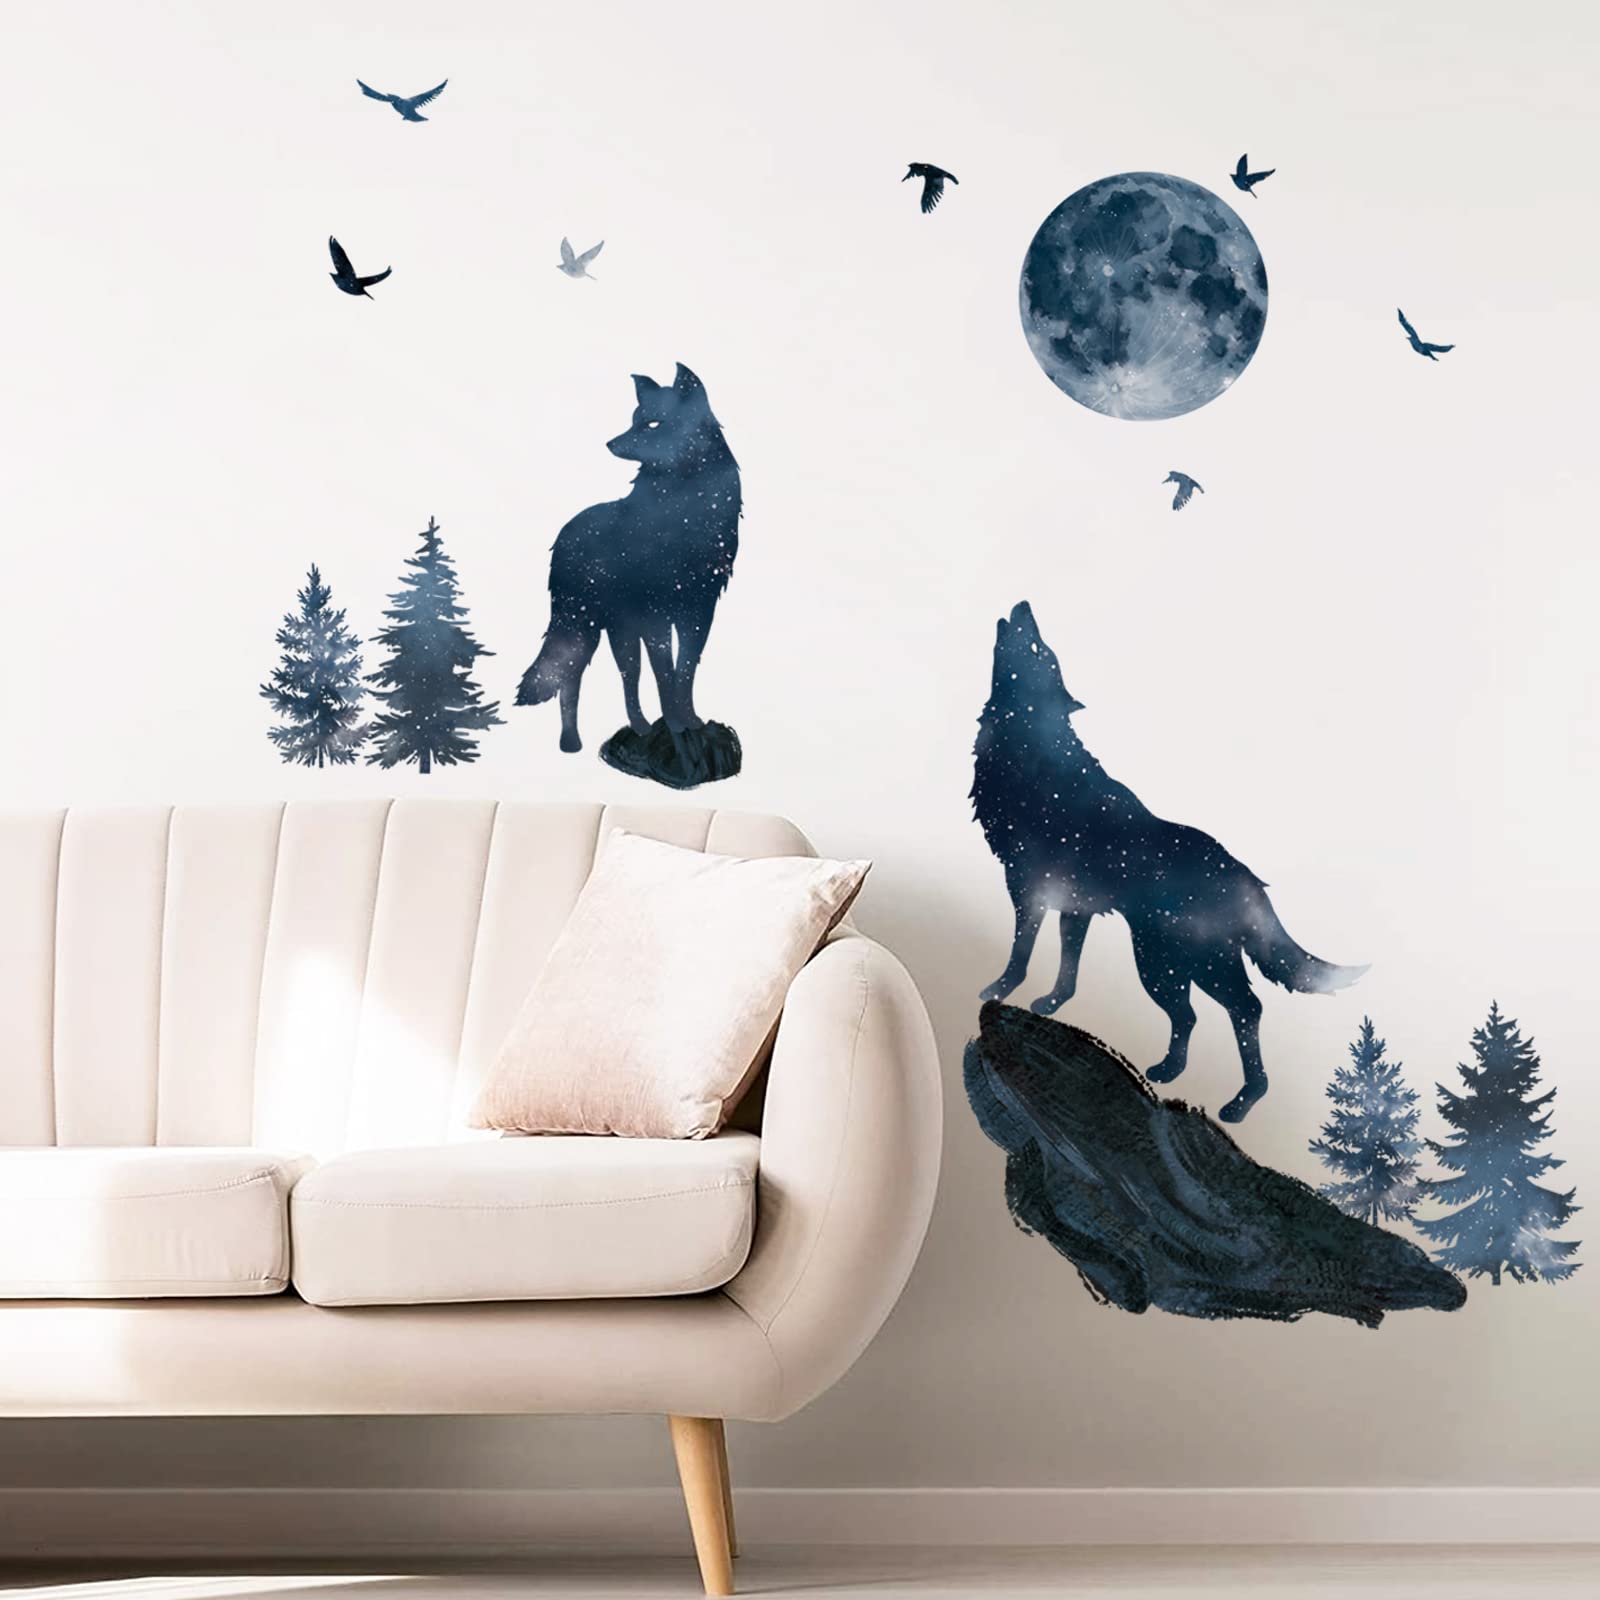
When it comes to interior design, one of the most cost-effective ways to transform a space is by using wall decals. Wall decals, also known as wall stickers or wall graphics, are adhesive designs that can be easily applied to any smooth surface, giving a room an instant makeover without the need for paint or wallpaper. Whether you want to add a pop of color, create a focal point, or showcase your personal style, wall decals offer endless possibilities for customization and creativity.
In this article, we will provide you with a comprehensive guide on how to put up wall decals. From choosing the right design to properly applying them to your wall, we will cover all the steps you need to take to ensure a successful installation. So, let’s dive in and learn how to transform your space with these versatile and stylish decor elements.
Key Takeaways:
- Transform your space with wall decals by choosing designs that reflect your style and personality. Properly prepare the wall surface, apply with precision, and add finishing touches for a professional and personalized look.
- When putting up wall decals, take your time to measure and align accurately, smooth out air bubbles, and add personal touches. When it’s time to remove them, use heat and patience for a smooth process.
Read more: What Are Wall Decals
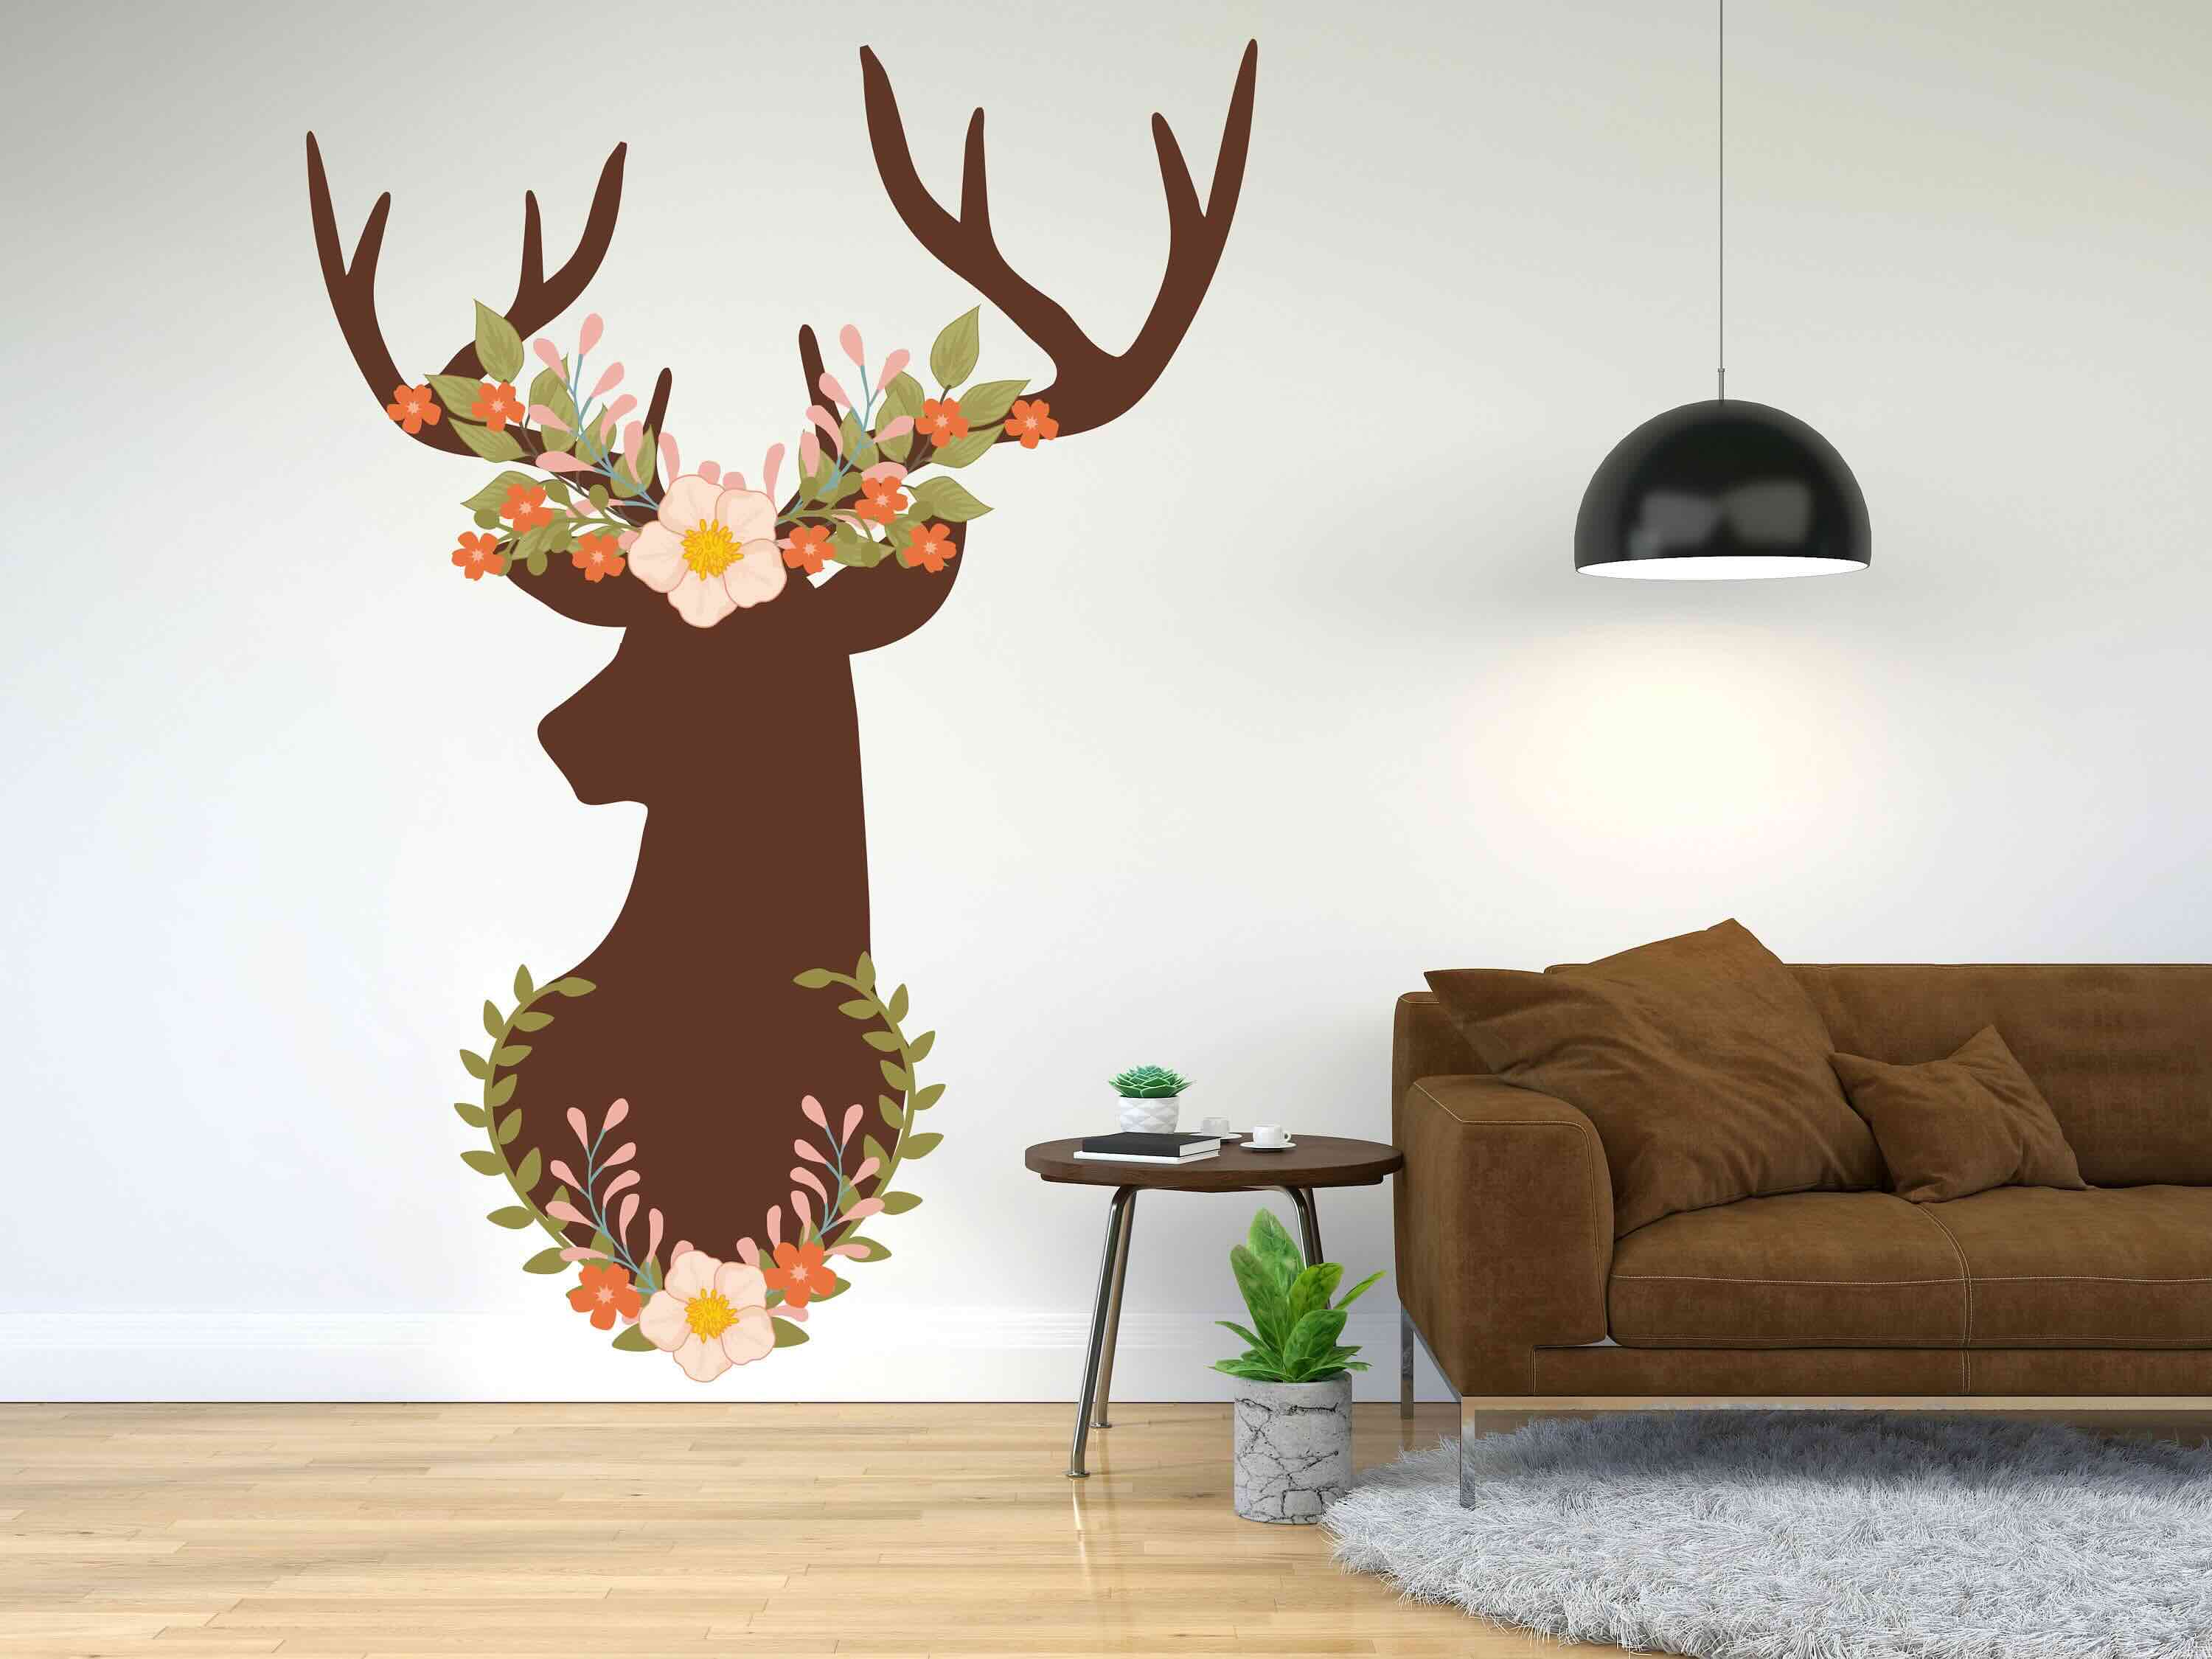
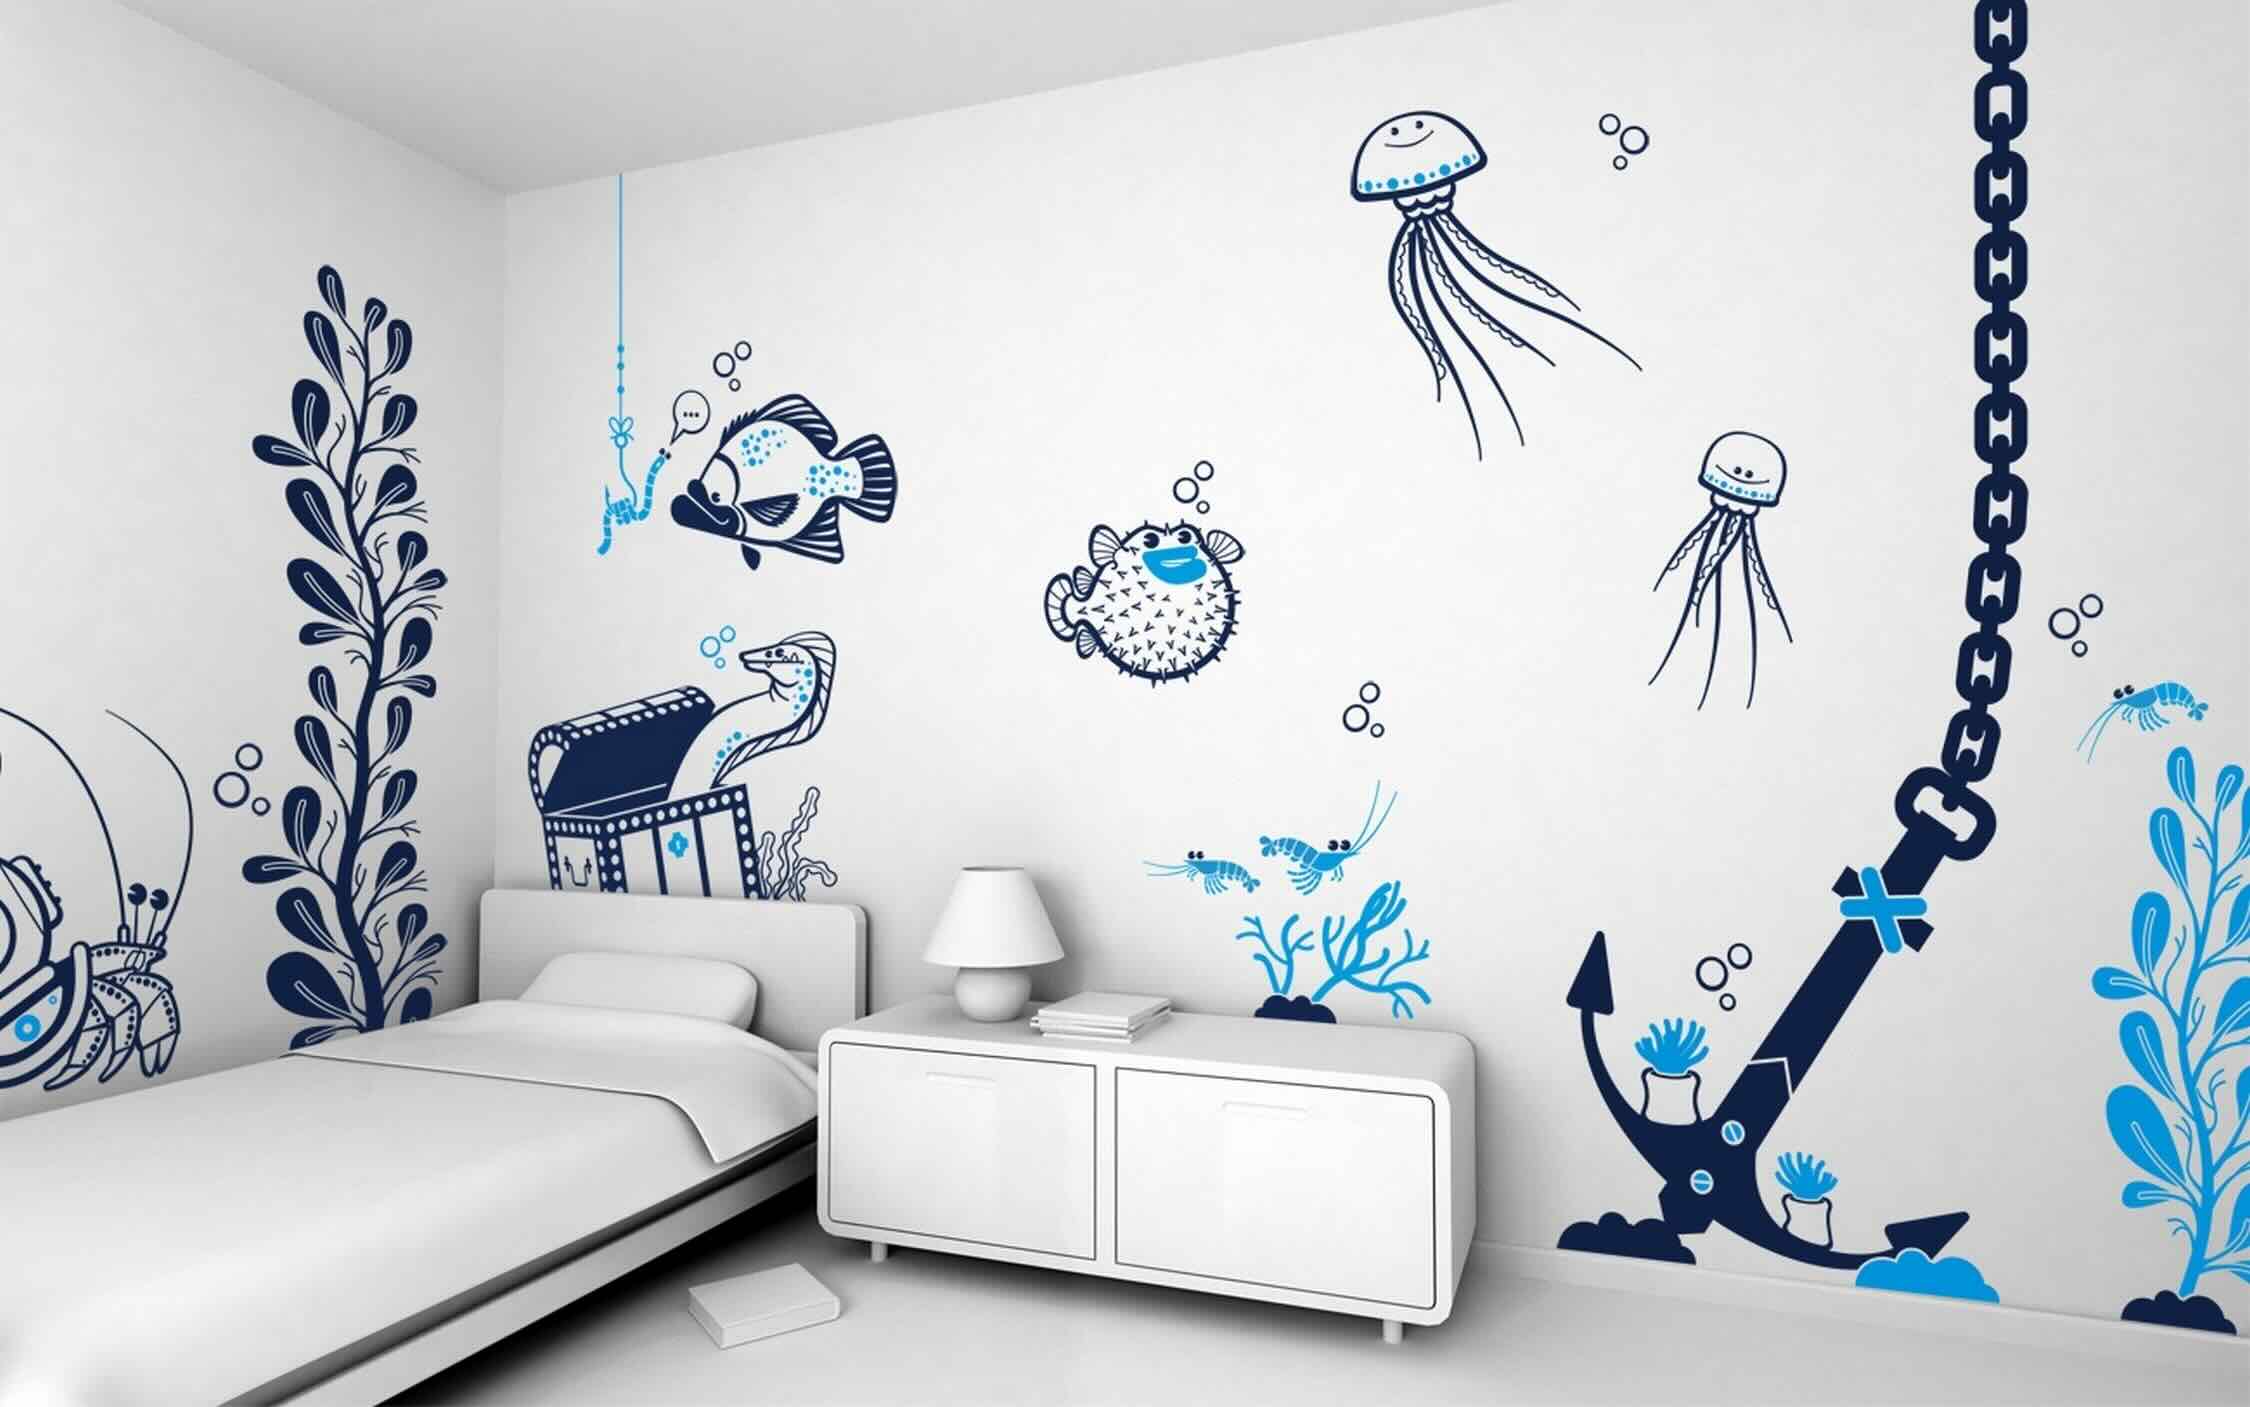
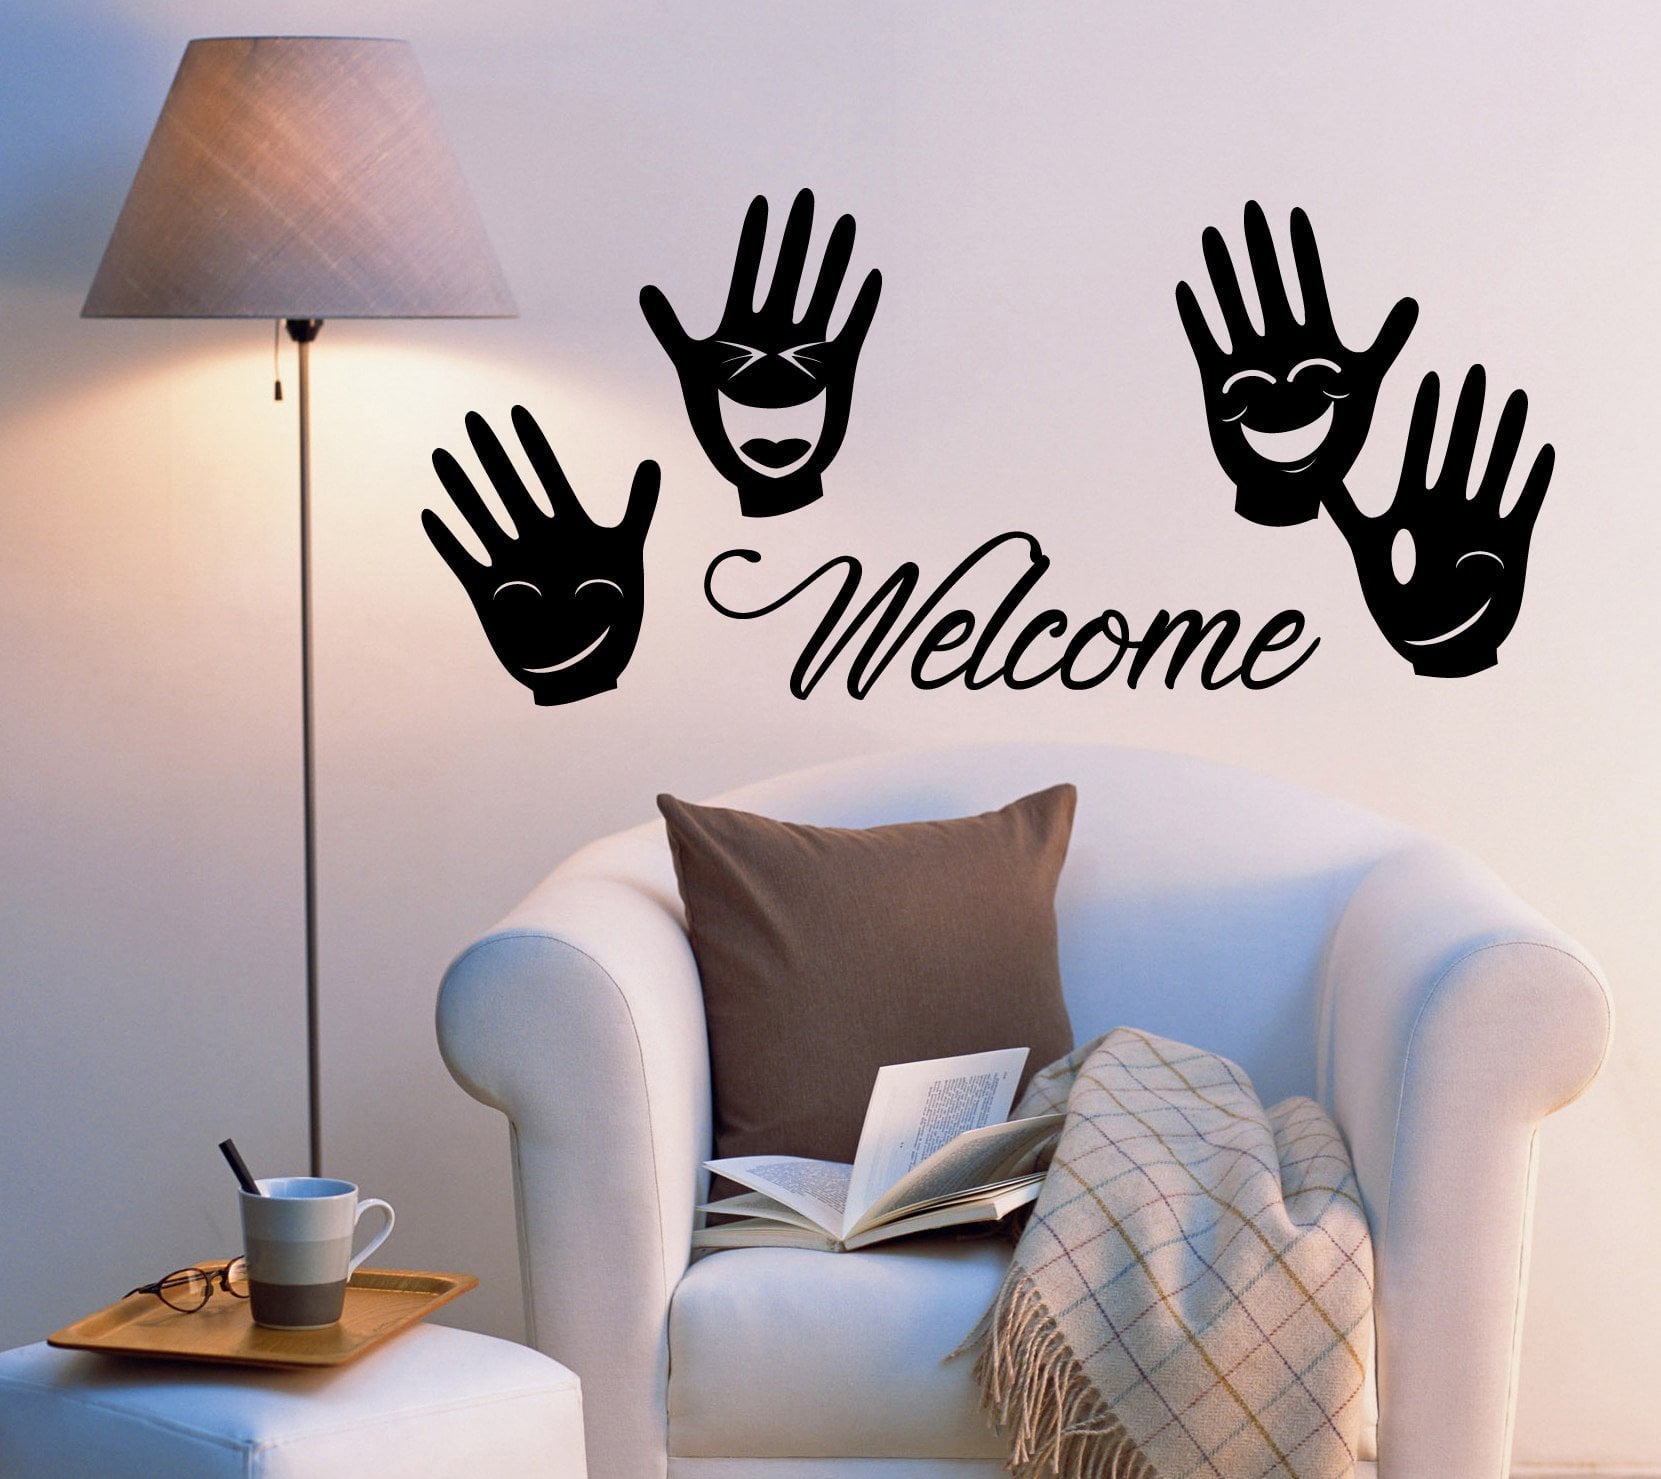
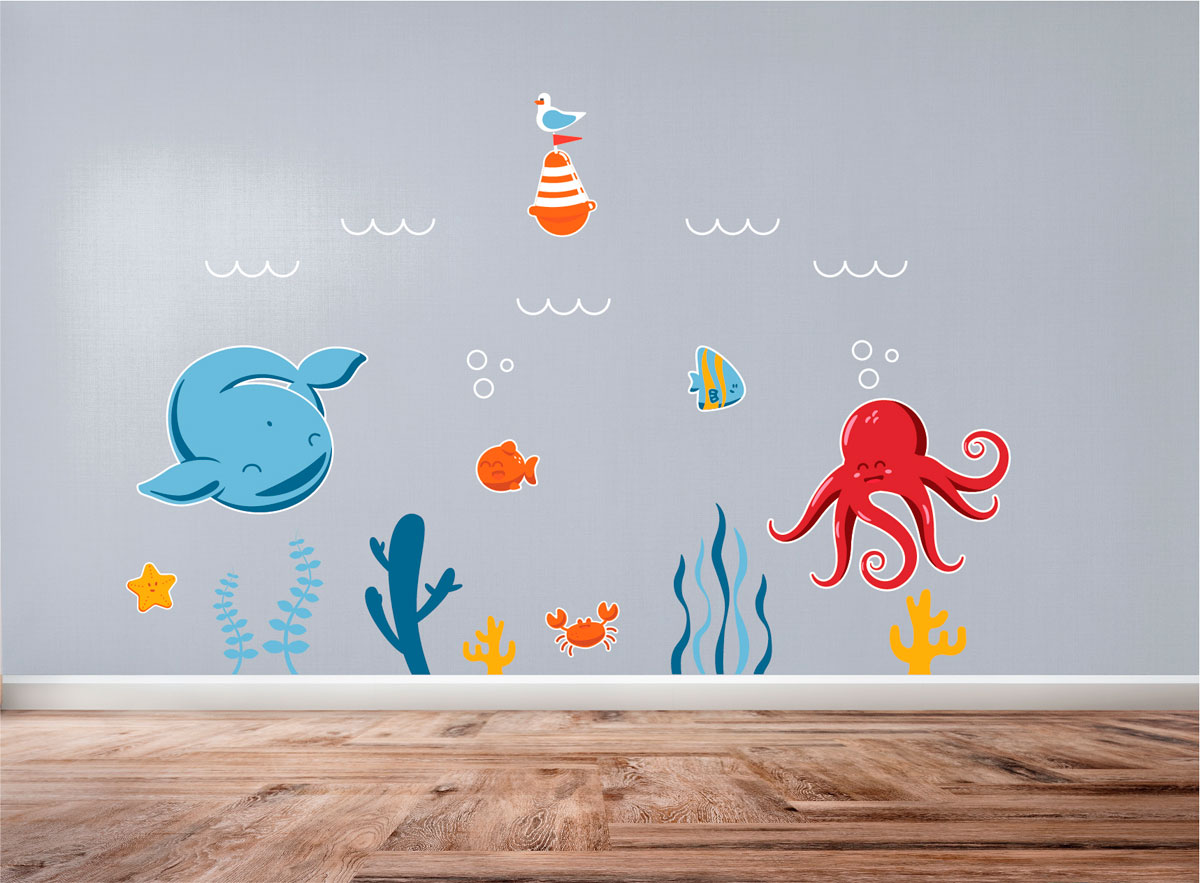
Choosing the Right Wall Decals
Before you start the process of putting up wall decals, it’s essential to select the right ones that will complement your space and suit your personal style. Here are a few factors to consider when choosing wall decals:
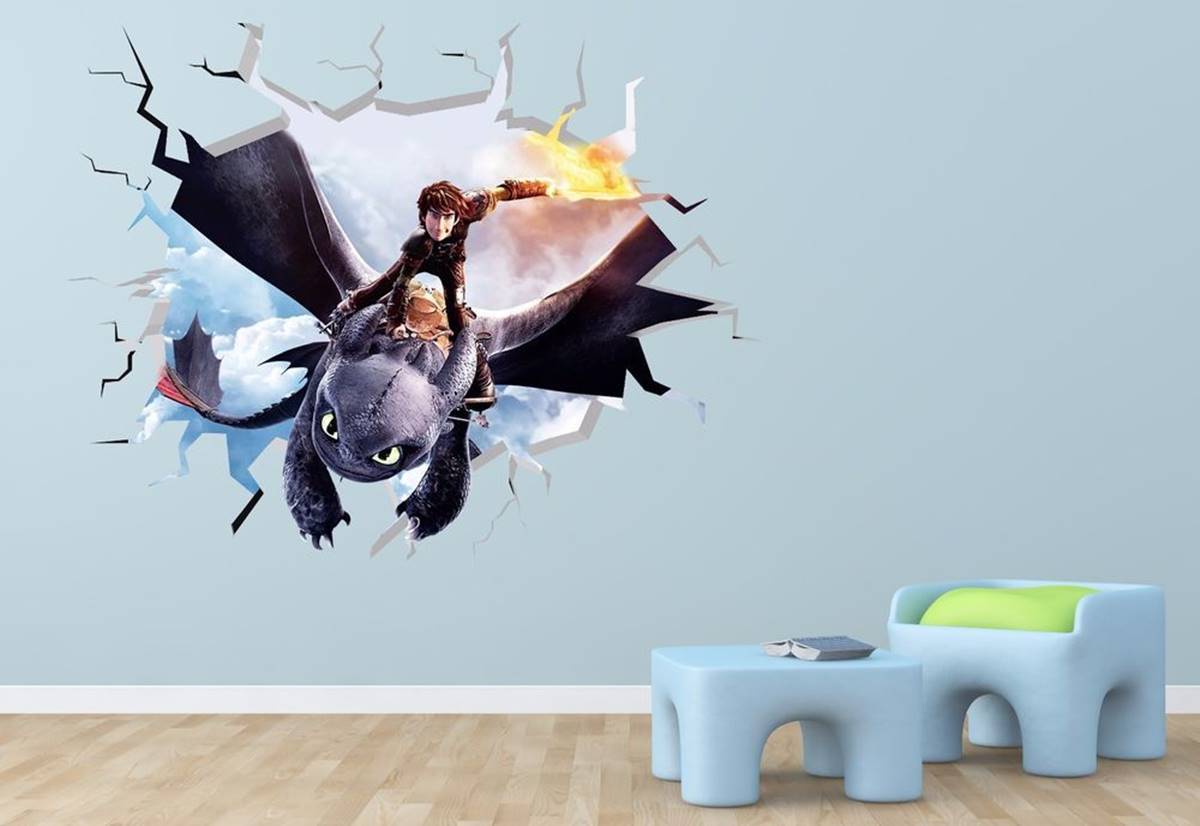
- Design: Determine the overall theme or aesthetic you want to achieve in the room. Are you looking for something bold and vibrant, or subtle and minimalist? Browse through different designs such as florals, geometric patterns, quotes, or nature-inspired motifs to find the perfect fit.
- Size: Consider the size of the wall and the available space where you plan to place the decals. Measure the area and choose decals that will proportionally fill the space without being overwhelming or too small.
- Color: Reflect on the color scheme of the room. Decide whether you want the decal to blend in harmoniously or stand out as a focal point. Consider contrasting colors to create visual interest or select decal colors that complement the existing color palette.
- Quality: It’s important to choose high-quality wall decals that are made from durable materials and have a strong adhesive backing. This will ensure that the decals stick to the wall securely and last for a long time without peeling or fading.
- Removability: If you’re renting your space or like to change up your decor frequently, opt for removable wall decals. These decals can be easily removed without leaving behind any residue or damaging the wall surface, making them ideal for temporary decorating.
Take your time to explore different options and envision how the chosen decals will enhance the ambiance of your space. Remember, wall decals are a fantastic way to add personality and character to any room, so choose designs that resonate with you and reflect your unique style.
Preparing the Wall Surface
Properly preparing the wall surface before applying wall decals is crucial for achieving a smooth and long-lasting installation. Here are the steps you should follow:
- Clean the wall: Start by cleaning the wall surface to remove any dust, dirt, or grease. Use a mild detergent mixed with water and a soft cloth to gently wipe down the walls. Ensure that the surface is completely dry before proceeding to the next step.
- Smooth out imperfections: Inspect the wall for any bumps, cracks, or unevenness. Fill in any holes or cracks with spackling compound and smooth them out with a putty knife. Allow the compound to dry and lightly sand it to create a smooth surface.
- Sand the wall: If the wall has a glossy or textured finish, it’s recommended to lightly sand the surface. This will help the wall decal adhere more effectively. Use fine-grit sandpaper and gently sand the entire wall area where you plan to apply the decals.
- Prime the wall (optional): If you’re working with a wall that has a highly porous or rough surface, consider applying a coat of primer. Primer helps create a smoother and more adhesive-friendly surface for the decals. Allow the primer to dry completely as per the manufacturer’s instructions.
By preparing the wall surface properly, you are creating a clean and even canvas for your wall decals. This will ensure that they adhere securely and adhere smoothly without any imperfections or air bubbles.
Cleaning the Wall
Before applying wall decals, it’s crucial to thoroughly clean the wall surface to ensure optimal adhesion. Here are the steps to properly clean the wall:
- Gather the necessary cleaning supplies: Prepare a bucket of warm water, mild detergent, and a soft sponge or cloth.
- Dust the wall: Start by removing any loose dust or dirt from the wall surface. You can use a dry cloth or a duster for this step.
- Prepare the cleaning solution: Fill the bucket with warm water and mix in a small amount of mild detergent. Avoid using harsh chemicals or abrasive cleaners, as they can damage the wall or interfere with the adhesive of the decals.
- Clean the wall: Dip the sponge or cloth in the cleaning solution and gently scrub the wall surface. Work in small sections, starting from the top and moving downwards. Use gentle, circular motions to remove any stains, marks, or grease. Apply slight pressure, but avoid scrubbing too vigorously to prevent damaging the wall surface.
- Rinse the wall: Once you have cleaned the entire wall, rinse the sponge or cloth with clean water and go over the surface again to remove any soap residue. Make sure to wring out the excess water, as you want the wall to be damp but not wet.
- Dry the wall: Allow the wall to air dry completely before proceeding. This step is important because applying wall decals to a damp surface can affect their adhesion and cause them to peel off prematurely.
By properly cleaning the wall, you are ensuring that the surface is free from dirt, dust, and oils that could potentially hinder the adhesive quality of the wall decals. A clean and dry wall surface provides a solid foundation for a successful installation.
Measuring and Marking the Placement
Accurate measurement and proper placement are essential steps in putting up wall decals. Follow these guidelines to ensure precise positioning:
- Gather the necessary tools: You will need a measuring tape, a level, a pencil, and masking tape.
- Measure the area: Determine the exact dimensions of the space where you want to place the wall decal. Use a measuring tape to measure the height and width of the area. This will help you choose the right-sized decal or adjust its position accordingly.
- Find the center point: Once you have measured the area, locate the center point of the wall or the specific section where the decal will be placed. Use the measuring tape to divide the width or height measurement in half and mark the center point with a small pencil dot.
- Use a level: Place a level horizontally or vertically against the wall to ensure that the decal will be straight. Adjust the position of the level until the bubble is centered, indicating that it is level. Make small pencil marks at the top and bottom or left and right sides of the level to denote the straight line.
- Apply masking tape: To further guide your placement, use masking tape to create an outline of the decal’s boundaries or desired position. Secure the tape to the wall, following the straight pencil marks and the measurements you took earlier.
By measuring and marking the placement of the wall decal, you are ensuring that it is positioned accurately and aligned properly with the surrounding space. This step is essential for creating a balanced and visually appealing final result.
Read more: How To Reuse Wall Decals
Removing the Backing Paper
Once you have determined the placement of the wall decal, it’s time to remove the backing paper and prepare it for application. Follow these steps for a smooth removal process:
- Flip the decal: Carefully flip the decal over so that the adhesive side is facing you, and the backing paper is on the bottom.
- Locate the peel tab: In some cases, wall decals come with a peel tab or an easy-to-find corner that indicates where to start peeling. Look for this tab and if present, gently lift it to separate the backing paper from the adhesive.
- Peel off the backing: Begin peeling the backing paper away from the adhesive gradually. Take your time and work slowly to avoid any tears or damage to the decal. Continue peeling the backing paper until it is completely removed.
- Be cautious of intricate designs: If your wall decal has intricate designs or delicate pieces, such as small letters or intricate shapes, take extra care when removing the backing paper. Use a pair of tweezers if needed to ensure precision and prevent any accidental damage.
- Avoid touching the adhesive: Try not to touch the adhesive side of the decal with your fingers. Oils from your skin can interfere with the adhesive quality and affect how well the decal sticks to the wall.
Removing the backing paper requires patience and a gentle touch to prevent any damage to the decal. Take your time and ensure that the adhesive side is clean and free from any debris before moving on to the next step of applying the wall decal to the wall surface.
Make sure the wall is clean and dry before applying the decal. Use a level to ensure it’s straight. Start from the top and smooth out any air bubbles as you go.
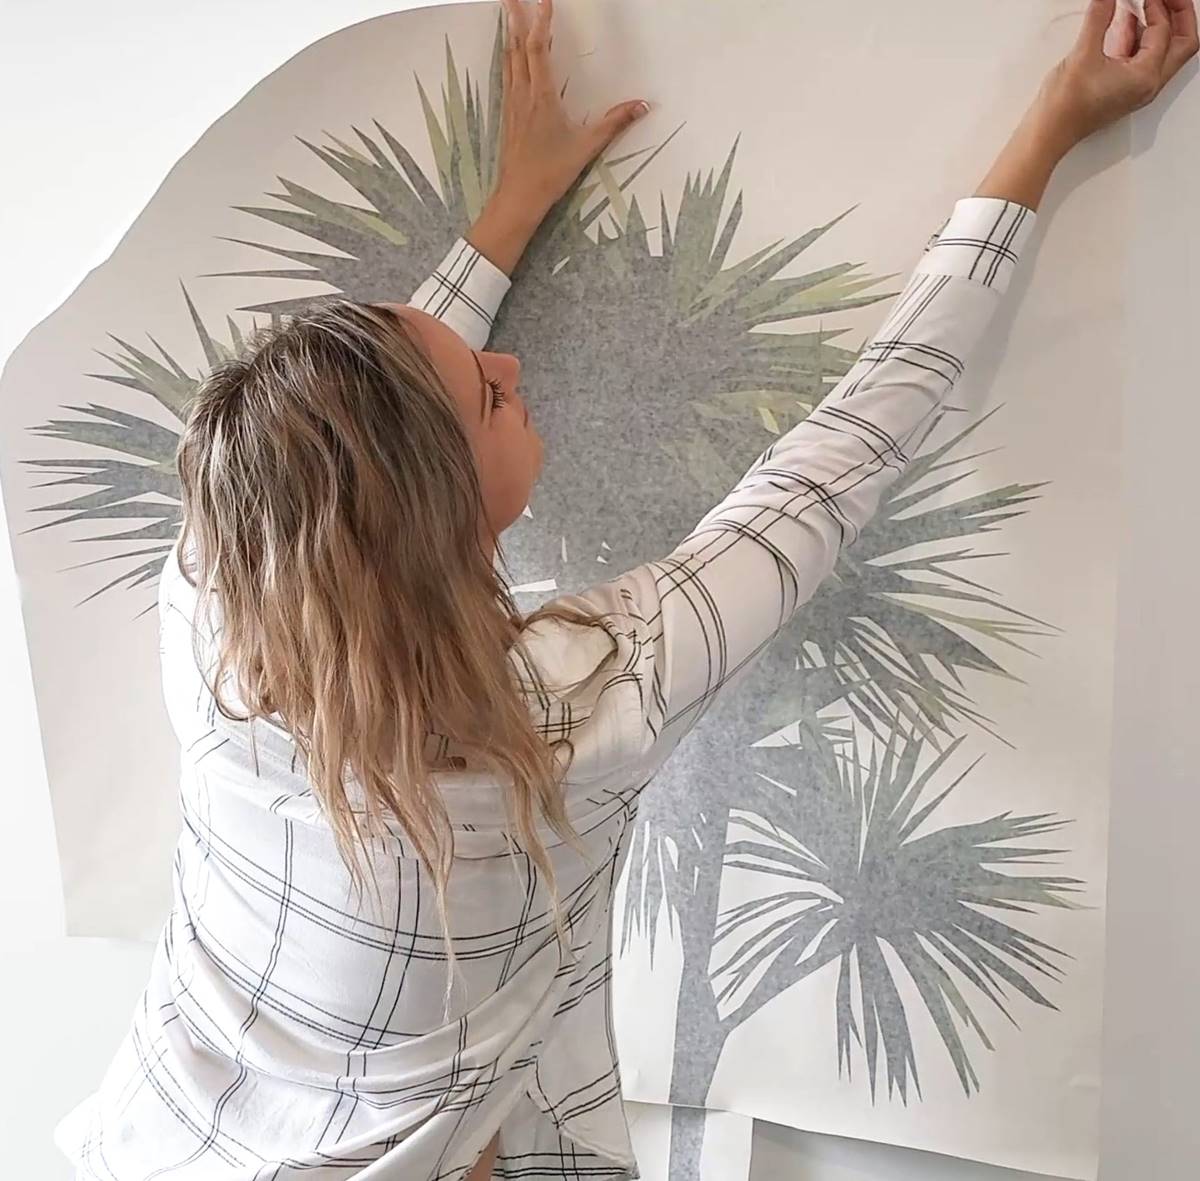
Applying the Wall Decal
With the backing paper removed, it’s time to apply the wall decal to the prepared surface. Follow these steps for a successful application:
- Align the decal: Hold the decal by its edges or use masking tape to secure it in place. Align the decal with the marked position on the wall or within the outlined area created by the masking tape.
- Start from the center: Beginning from the center of the decal, gently press the adhesive side onto the wall surface. Smooth out any air bubbles or wrinkles using your hand or a soft cloth as you gradually work your way towards the edges.
- Use a squeegee or credit card: For larger wall decals, you may find it helpful to use a squeegee or a credit card to smooth out the decal and ensure proper adhesion. Start from the center and move outward, applying even pressure to remove any air bubbles and create a smooth surface.
- Peel off the application tape (if applicable): Some wall decals come with a transparent application tape on top. If yours has this, follow the instructions provided to carefully peel off the application tape, leaving the decal securely adhered to the wall.
- Smooth out any remaining air bubbles: If you notice any small air bubbles or wrinkles after applying the decal, gently lift the affected area and smooth it out with your hand or a squeegee. Take your time to ensure a smooth, bubble-free application.
It’s important to follow the manufacturer’s instructions for applying the wall decal, as different products may have specific guidelines or recommendations. Taking your time and being patient during the application process will help ensure a professional-looking result.
Smoothing out Air Bubbles
During the application process, you may encounter air bubbles trapped between the wall decal and the wall surface. It’s important to smooth out these air bubbles to achieve a seamless and professional-looking installation. Follow these steps to effectively remove air bubbles:
- Identify the air bubbles: Carefully inspect the wall decal for any visible air bubbles. They may appear as small pockets of trapped air or as areas that have not adhered properly to the wall.
- Lift the decal: Gently lift the edge of the decal that contains the air bubble using your fingers or a sharp, pointed object like a needle or pin. Take caution not to damage the wall or the decal.
- Release the trapped air: Once the edge of the decal is lifted, lightly press down on the area surrounding the air bubble to release the trapped air. Use your fingers or a smooth object, such as the back of a spoon, to flatten the decal against the wall surface.
- Smooth it out: Once the air bubble is released, continue to smooth out the decal from the center towards the edges. Use your hand or a soft cloth to apply even pressure and ensure proper adhesion.
- Repeat if necessary: If you encounter multiple air bubbles, repeat the process of lifting the decal, releasing the trapped air, and smoothing it out until all the bubbles are removed.
Keep in mind that it’s normal to have a few tiny air bubbles initially. However, by carefully following these steps, you can effectively smooth them out and achieve a flawless appearance. Take your time during this process to ensure a professional and pristine installation.
Adding Finishing Touches
Once you have successfully applied the wall decal and smoothed out any air bubbles, it’s time to add the finishing touches to enhance its overall appearance. Here are a few tips to consider:
- Trim any excess: If there are any excess parts or edges of the decal that extend beyond the desired area, carefully trim them using a sharp pair of scissors or a craft knife. This will give the decal a clean and seamless look.
- Blend with the surroundings: Take a step back and assess how the wall decal fits within the overall design of the room. You may want to add complementary elements such as framed artwork, decorative items, or furniture to create a cohesive and well-balanced space.
- Consider layering: If you have multiple wall decals or want to create a more intricate design, consider overlapping or layering different decals. This can add depth and visual interest to the wall while showcasing your creativity.
- Personalize with additional elements: Add a personal touch by incorporating your own artwork, photographs, or customized elements around the wall decal. This will make the space feel unique and truly reflect your individual style and personality.
- Regularly clean and maintain: To keep your wall decal looking its best, gently wipe it with a soft cloth or sponge periodically to remove any dust or smudges. Avoid using abrasive cleaners or rough cloths that could damage the decal’s surface.
Remember that the finishing touches are an opportunity to personalize and customize the overall look and feel of the space. Experiment with different ideas and elements to create a visually stunning and inviting environment that showcases your style and creativity.
Read more: How To Store Wall Decals
Tips for Removing Wall Decals
There may come a time when you want to remove or replace your existing wall decals. Here are some helpful tips to ensure a smooth and damage-free removal process:
- Apply heat: Use a hairdryer or heat gun to gently warm up the decal. The heat will soften the adhesive, making it easier to peel off. Keep the heat source a few inches away from the decal to avoid causing any damage to the wall.
- Start from the corners: Begin by peeling off a corner of the decal. Slowly and steadily peel it away from the wall surface, applying even pressure. Pull at a sharp angle, keeping the decal parallel to the wall to avoid tearing or leaving adhesive residue.
- Use a plastic scraper: If you encounter stubborn residue or parts of the decal that don’t easily peel off, gently scrape them off with a plastic scraper or a credit card. Be careful not to scratch or damage the wall surface while doing so.
- Use adhesive remover (if needed): If there is stubborn adhesive residue left on the wall after removing the decal, you can use a mild adhesive remover or rubbing alcohol. Apply it to a clean cloth and gently rub the residue until it lifts off. Test the adhesive remover on a small, inconspicuous area of the wall first to ensure it doesn’t damage the paint or finish.
- Take your time: Removing wall decals requires patience. Take your time to avoid rushing the process, as this may result in damage to the wall surface. Work slowly and gently to ensure a clean removal.
- Consider a professional: If you’re unsure about removing the wall decals yourself or if you have a complex design that requires special care, consider consulting a professional. They have the expertise and tools to safely remove decals without causing any damage.
Remember that the ease of removing wall decals may vary depending on factors such as the type of adhesive used, the duration of the decal’s installation, and the condition of the wall surface. By following these tips and exercising caution, you can successfully remove wall decals and prepare for a fresh new look.
Conclusion
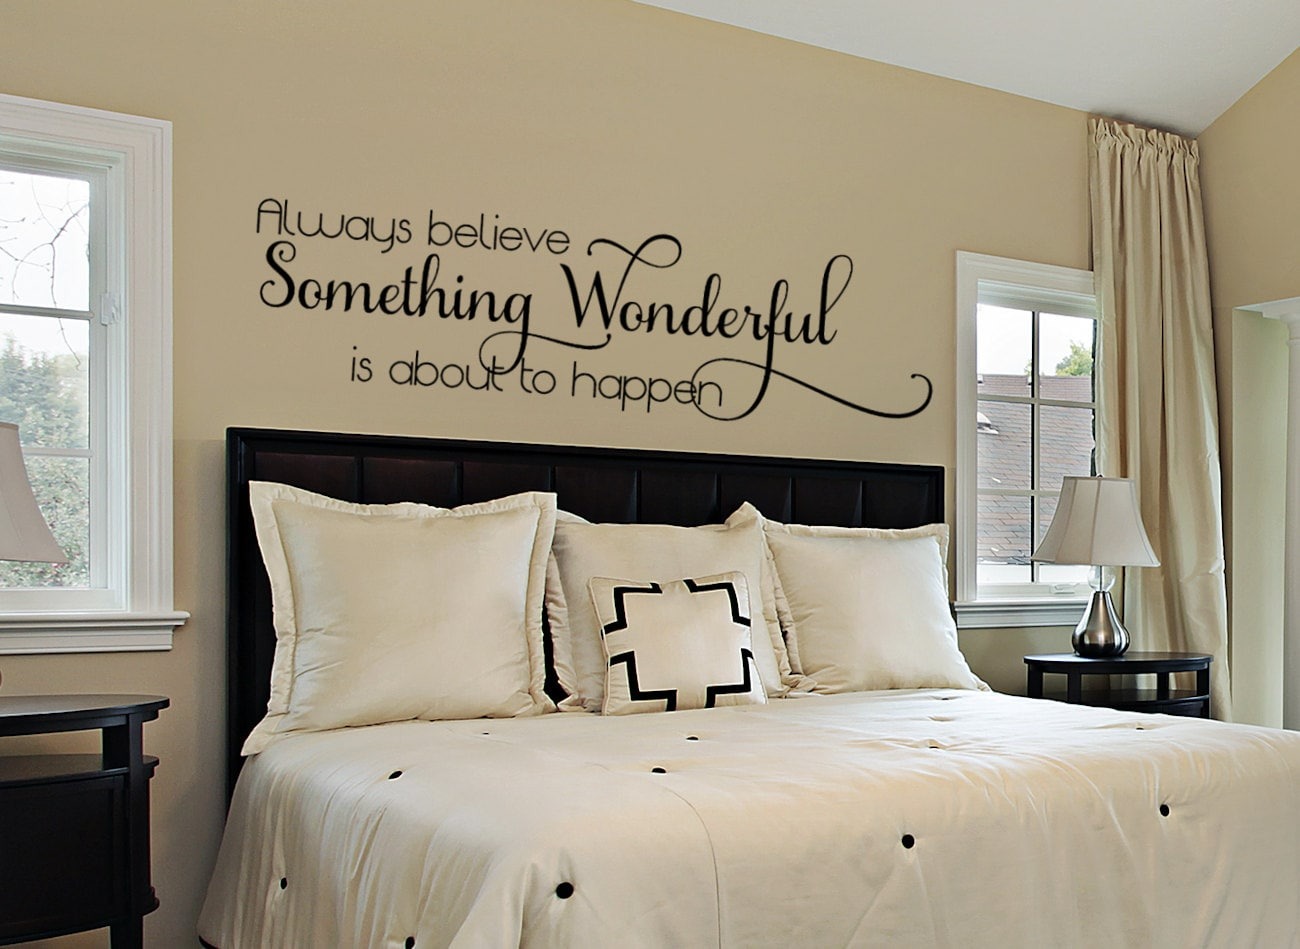
Wall decals offer a simple and versatile way to transform the look and feel of any space. With a wide range of designs and styles available, you can easily personalize your walls and create a unique ambiance that reflects your personality and preferences.
Throughout this comprehensive guide, we have explored the various steps involved in putting up wall decals. From choosing the right design and properly preparing the wall surface to applying the decals with precision and removing them when needed, each step plays a crucial role in achieving a successful installation.
Remember to take your time during the process, ensuring proper measurements, alignment, and smoothing out any air bubbles. By following the tips and guidelines provided, you can achieve a professional-looking result and enjoy the visual impact of your chosen wall decals.
Whether you want to add a splash of color, showcase your favorite quotes, or create a whimsical atmosphere, wall decals offer endless possibilities for creativity and customization. Don’t be afraid to experiment with different designs, layering techniques, and complementary elements to create a truly one-of-a-kind space.
Lastly, if you decide to remove or replace your wall decals in the future, refer back to our tips to ensure a smooth and damage-free removal process.
Now, it’s time to unleash your creativity and transform your walls into a captivating reflection of your personal style. Explore the world of wall decals and discover the countless ways you can beautify your space, one decal at a time.
Frequently Asked Questions about How To Put Up Wall Decals
Was this page helpful?
At Storables.com, we guarantee accurate and reliable information. Our content, validated by Expert Board Contributors, is crafted following stringent Editorial Policies. We're committed to providing you with well-researched, expert-backed insights for all your informational needs.


0 thoughts on “How To Put Up Wall Decals”