Home>Interior Design>How To Make Wall Decals With Cricut
Interior Design
How To Make Wall Decals With Cricut
Modified: March 16, 2024
Learn how to create stunning wall decals for your interior design projects using Cricut. Get step-by-step instructions and unleash your creativity today!
(Many of the links in this article redirect to a specific reviewed product. Your purchase of these products through affiliate links helps to generate commission for Storables.com, at no extra cost. Learn more)
Introduction
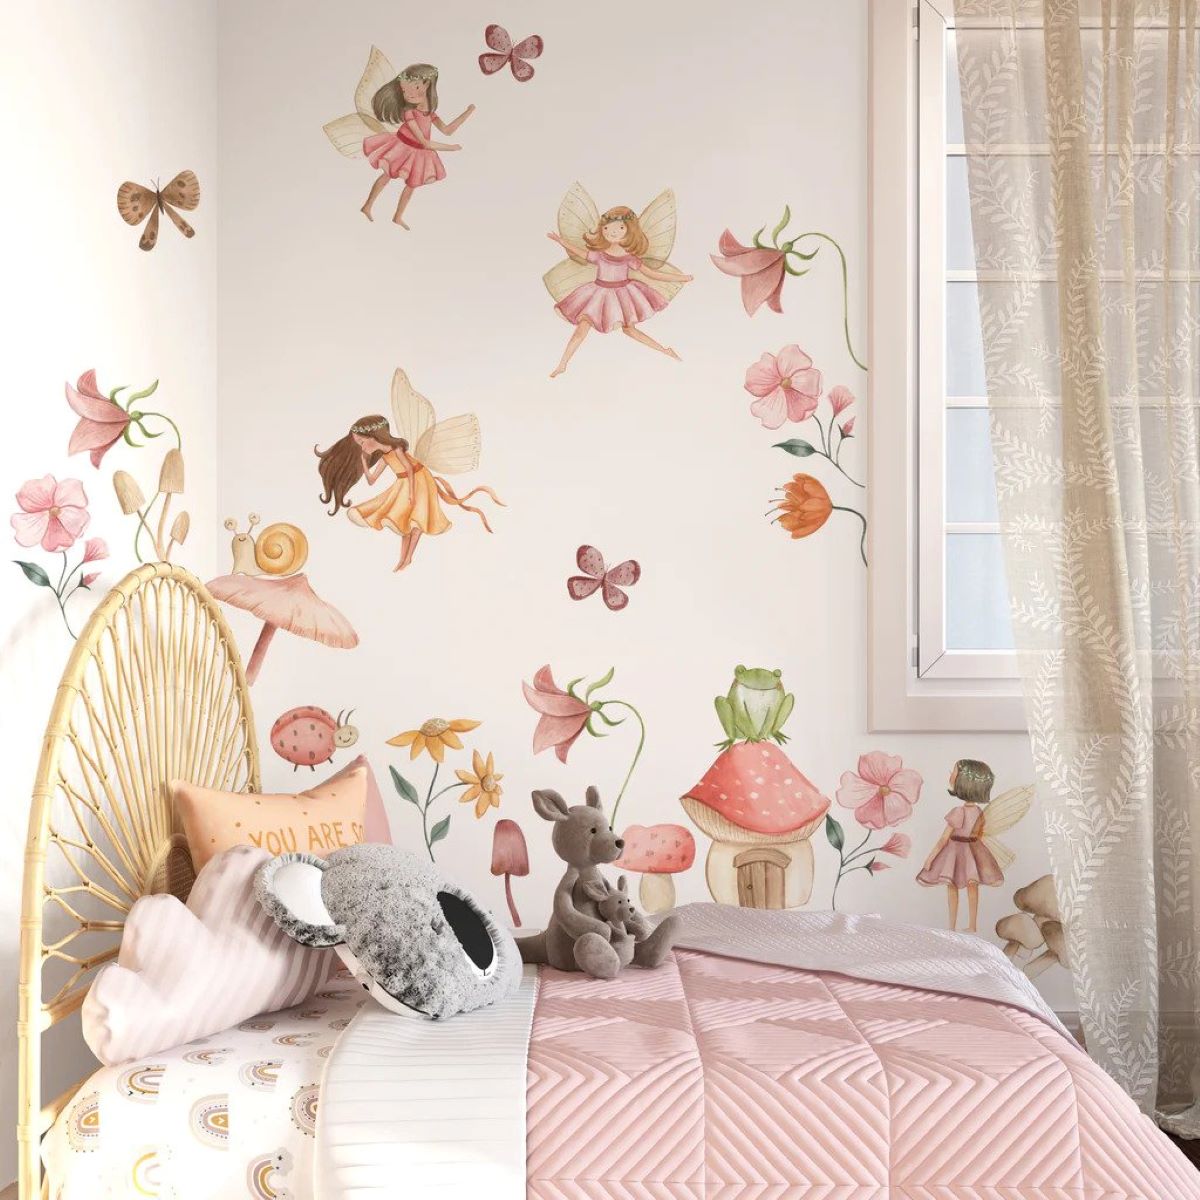
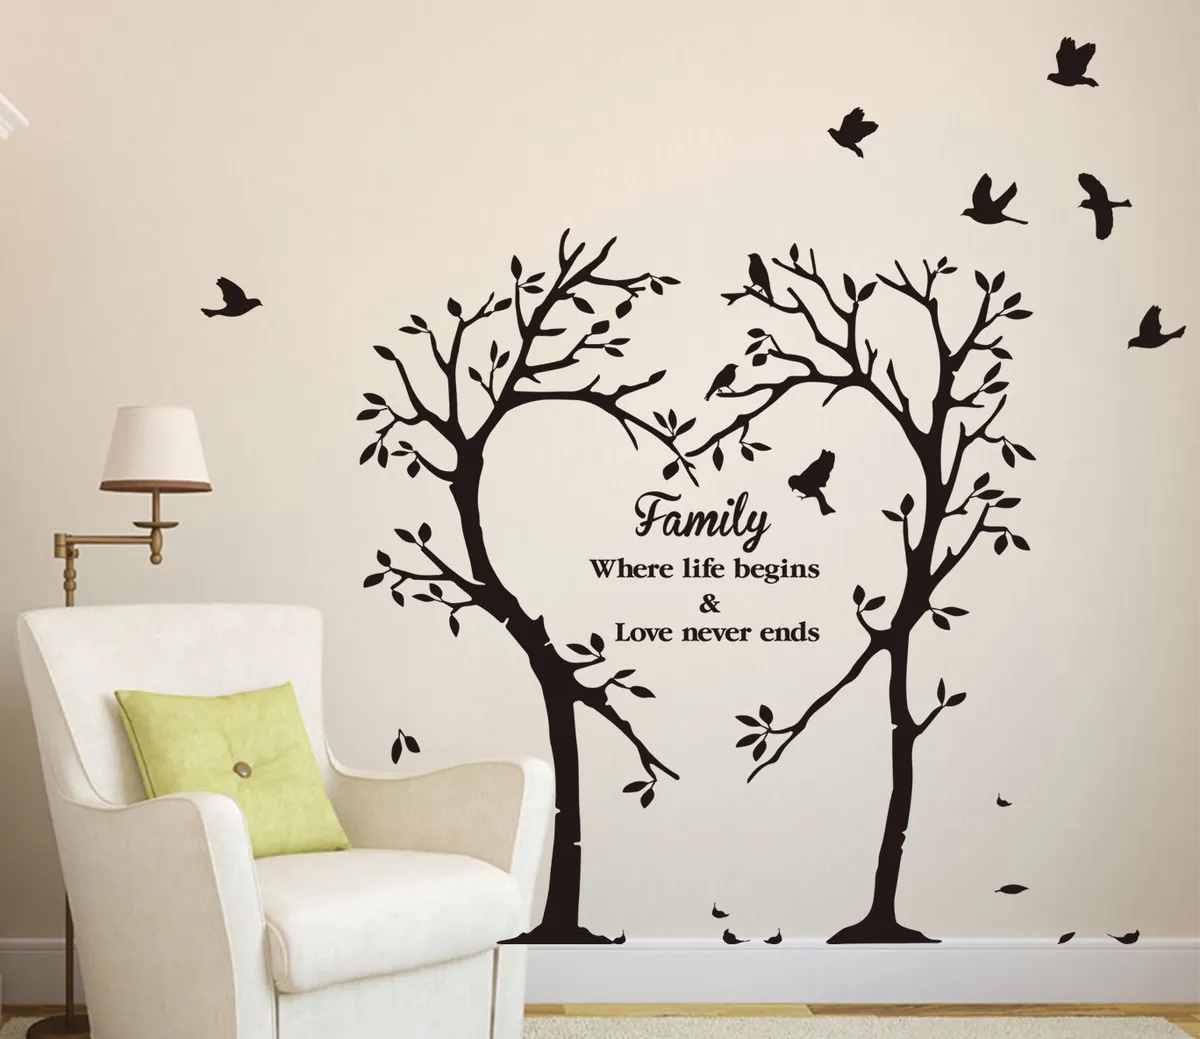
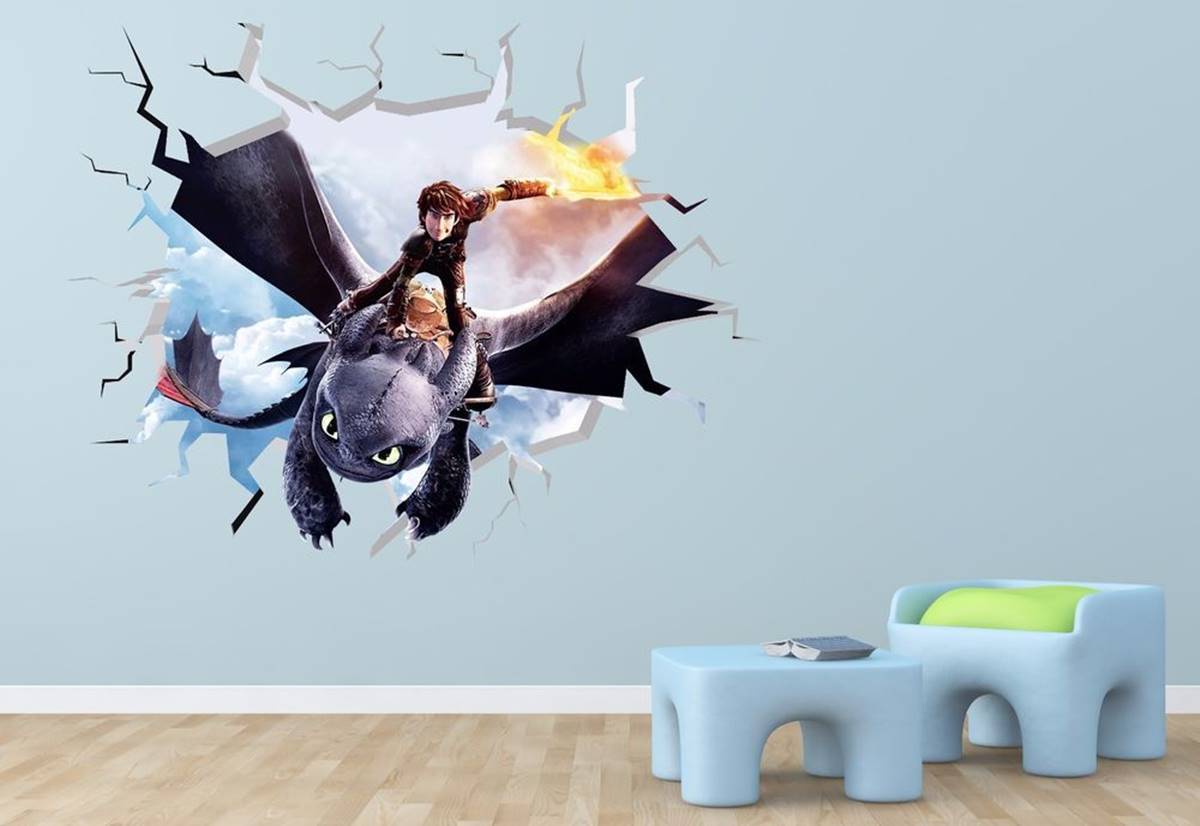
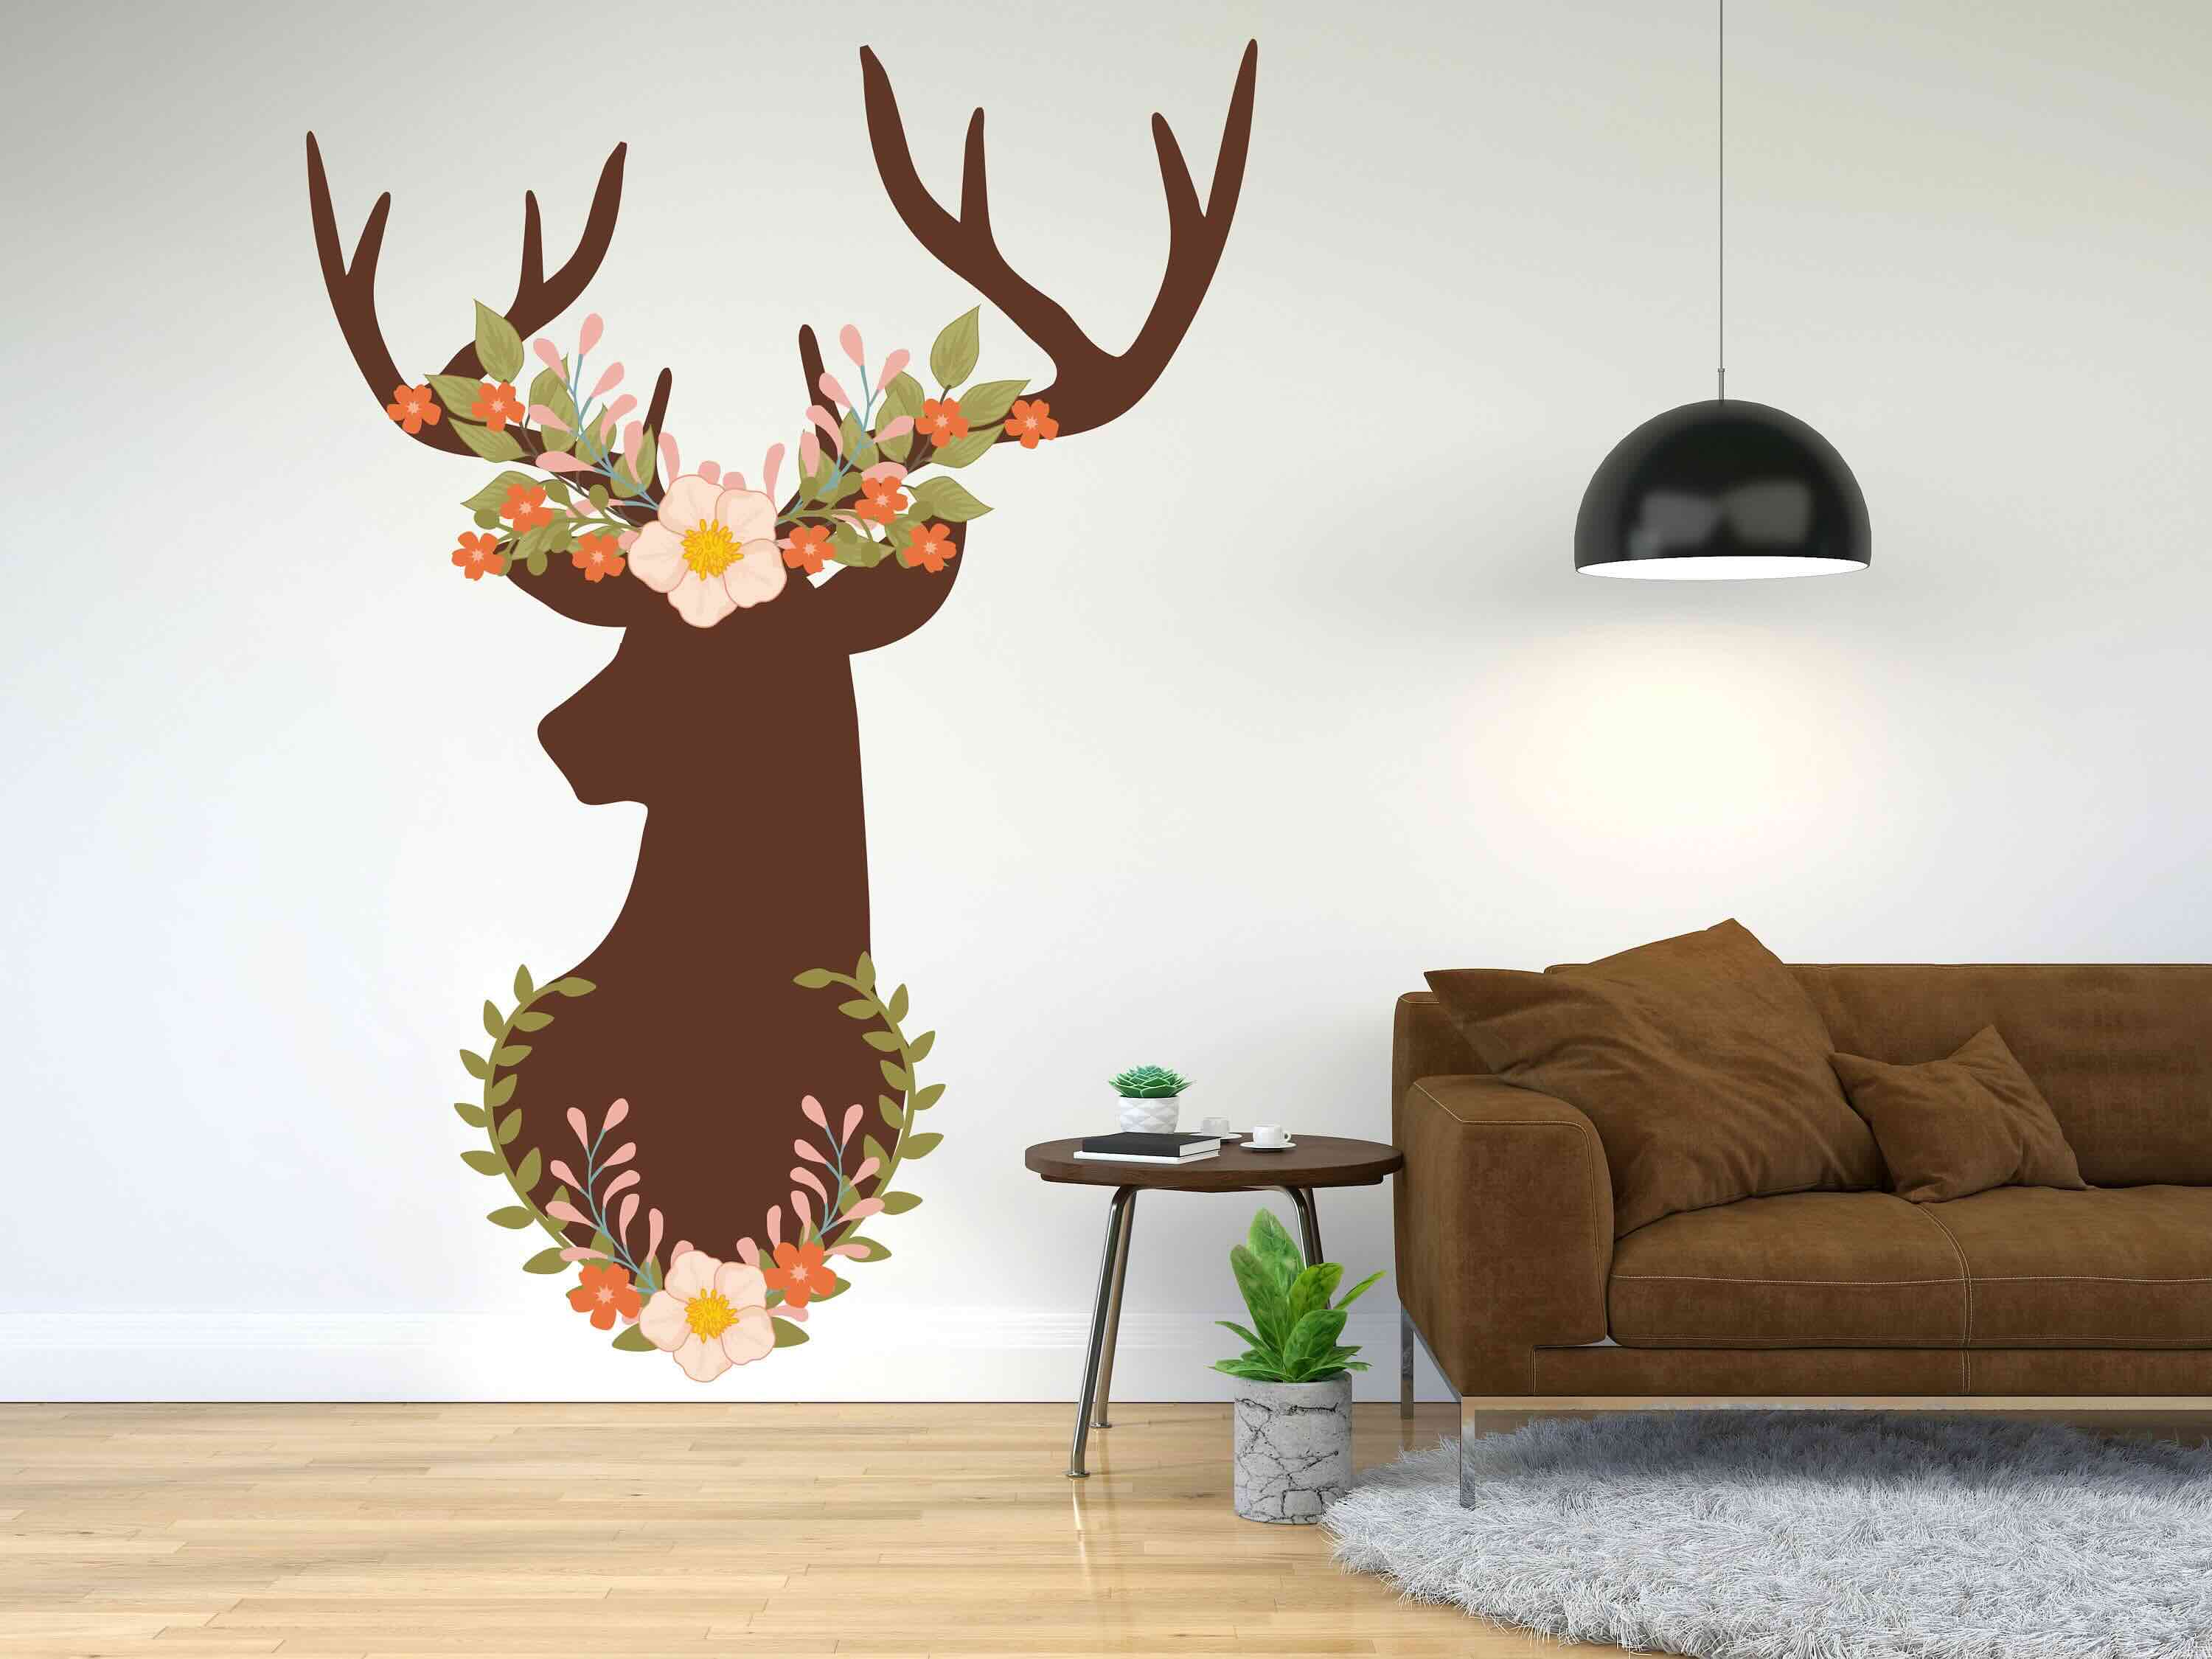
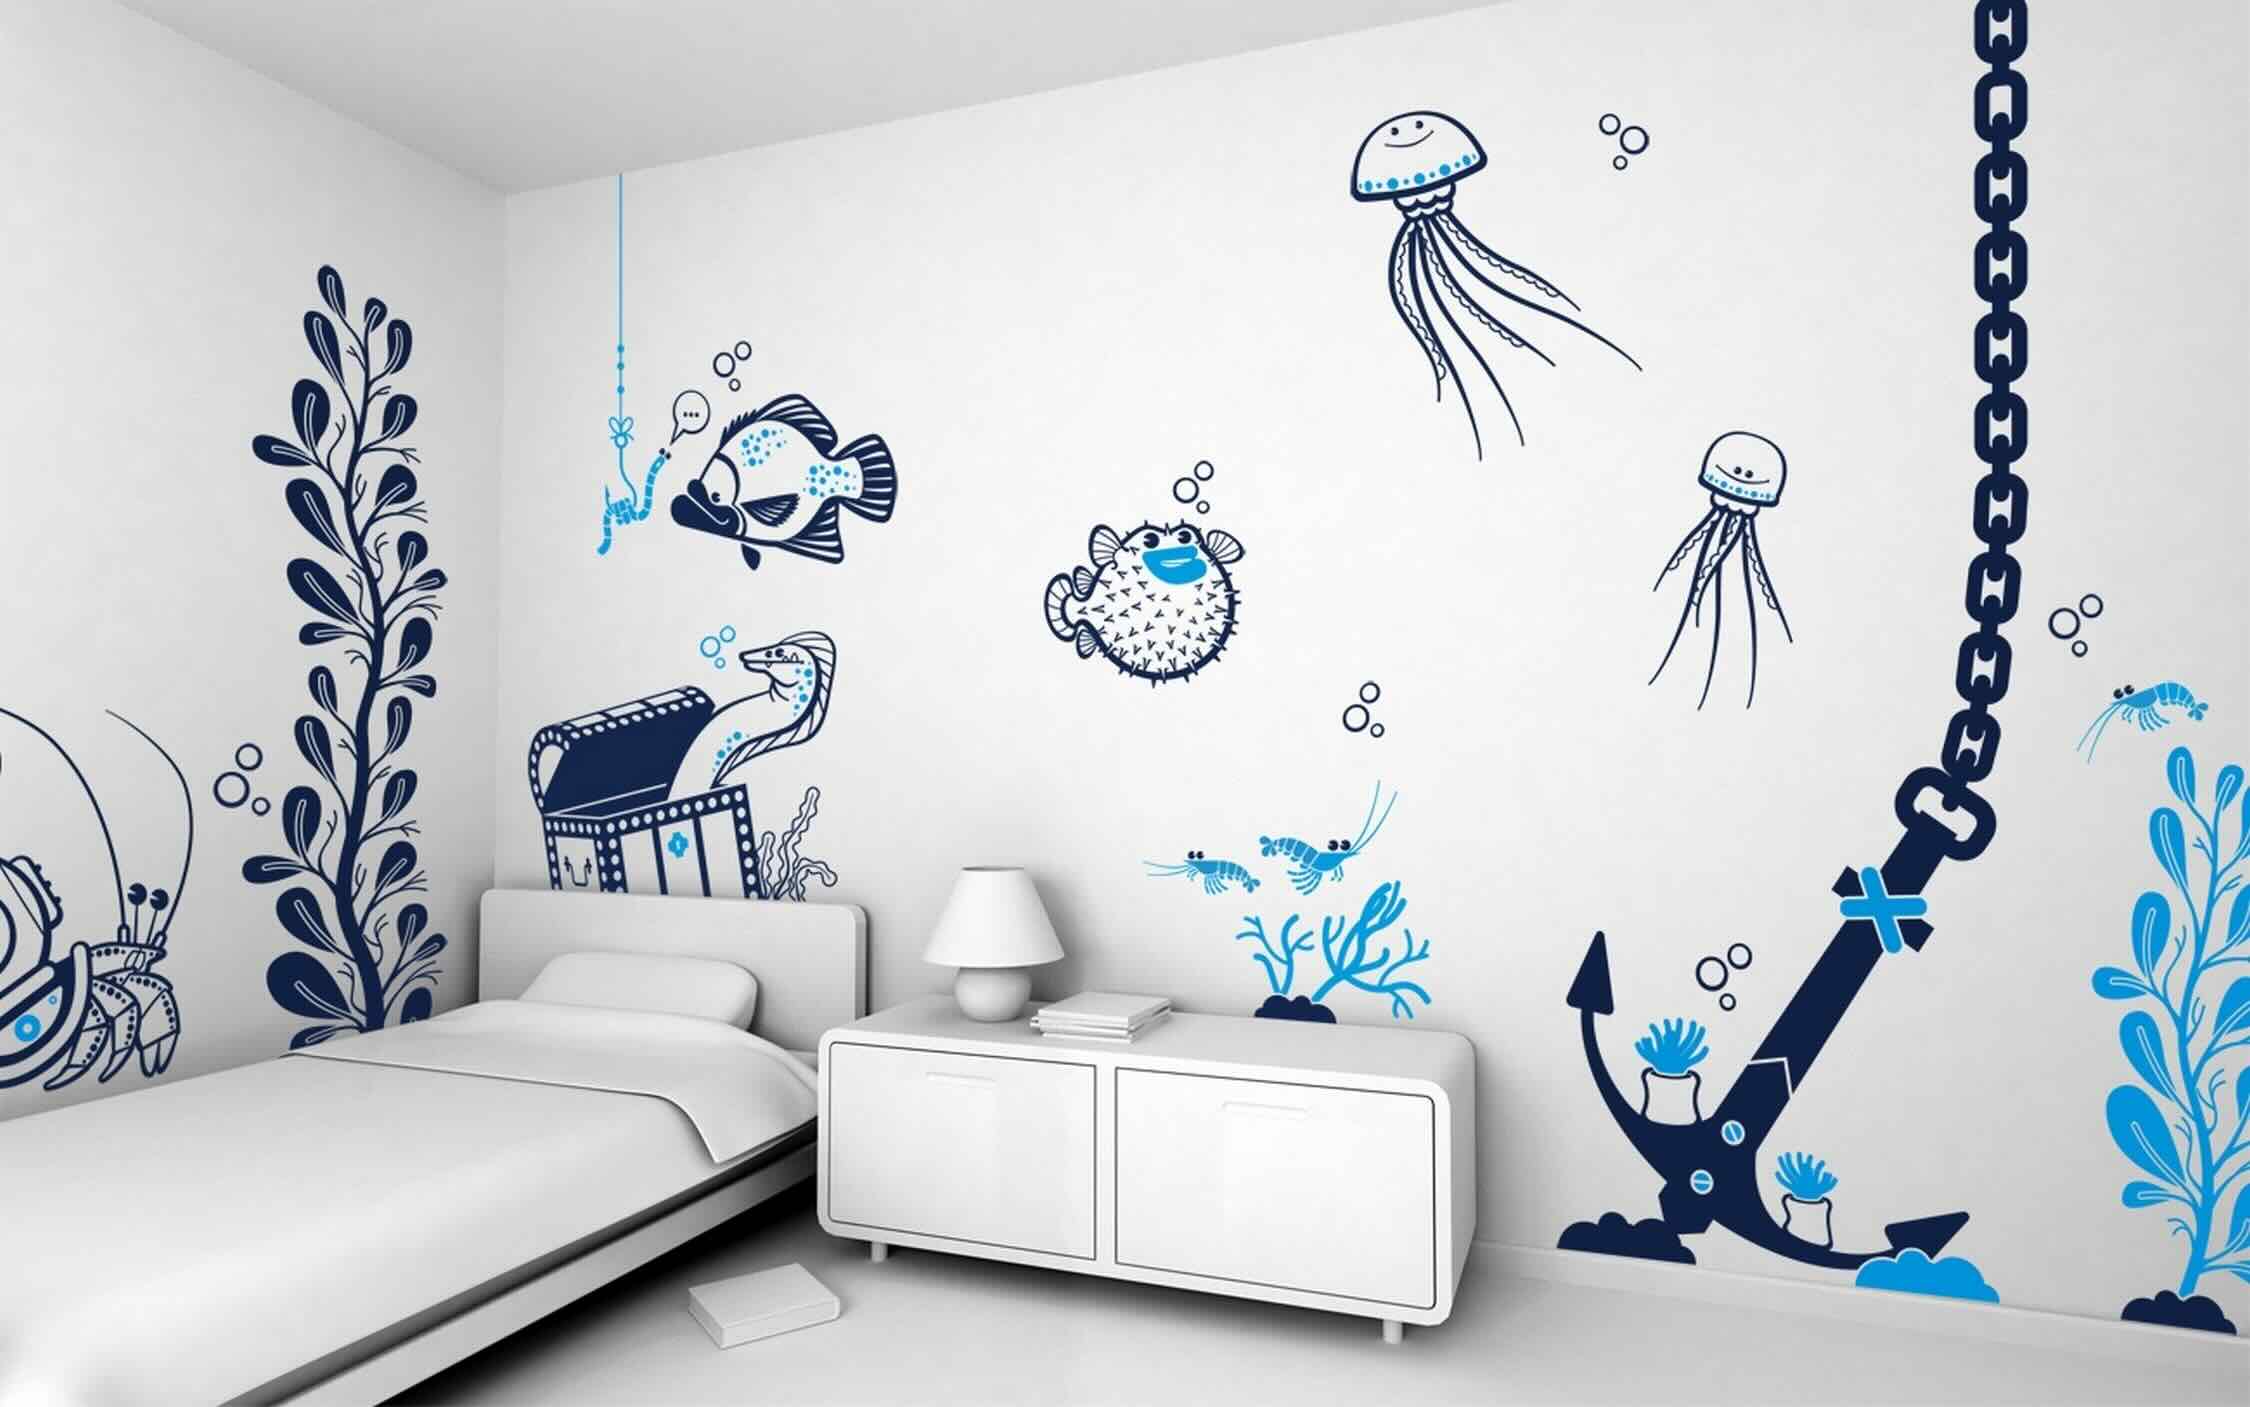
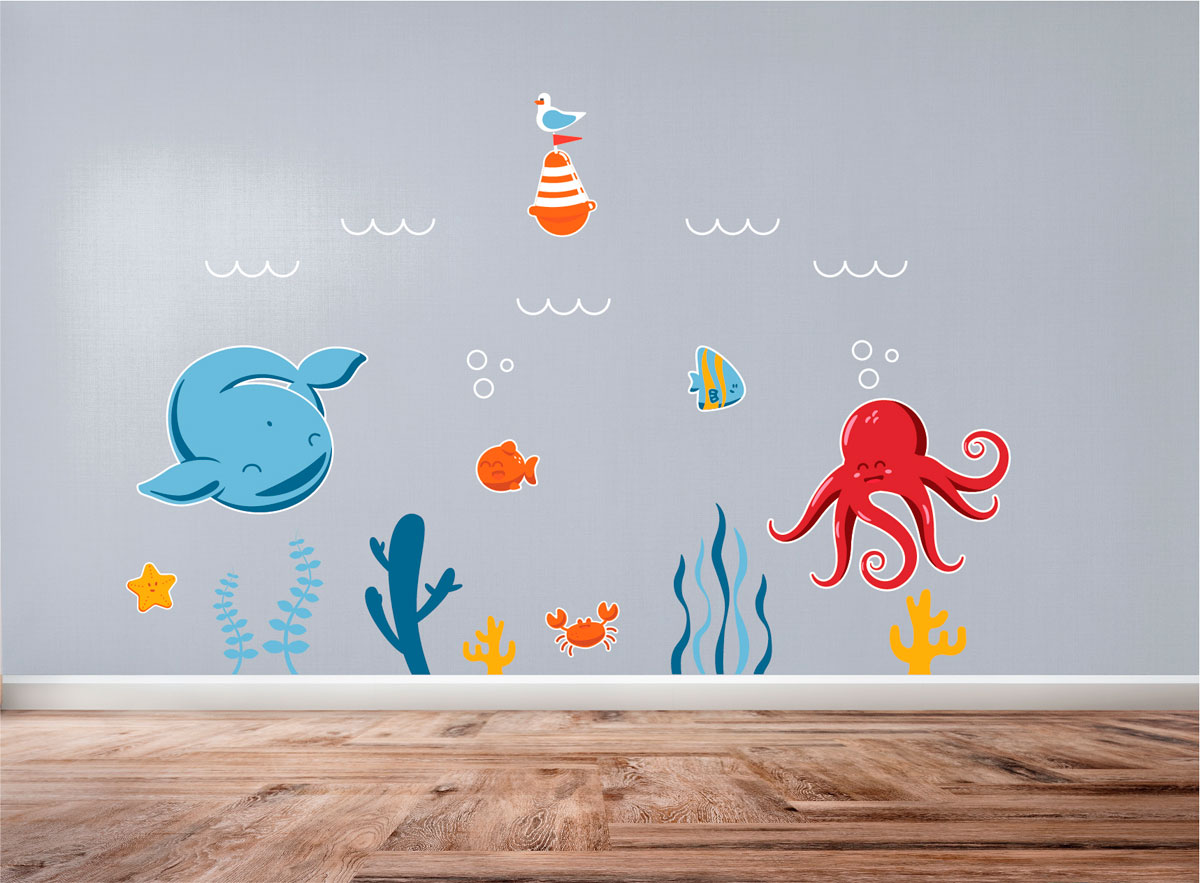
Wall decals have become a popular way to add a personal touch to your home’s interior design. Whether you want to add a motivational quote to your office space or create a whimsical mural in your child’s bedroom, wall decals are a versatile and impactful option. While you can purchase pre-made decals from various retailers, there is something special about creating your own custom designs.
In this article, we will guide you through the process of making wall decals using a Cricut machine. Cricut is a popular brand that offers cutting machines and design software to help you bring your creative visions to life. With a Cricut machine, you can easily design and cut out intricate shapes and patterns on vinyl, making it the perfect tool for creating personalized wall decals.
Creating wall decals with a Cricut machine allows you to unleash your creativity and showcase your unique style. Whether you are a seasoned DIY enthusiast or a beginner, this step-by-step guide will help you navigate the process with ease. So, let’s gather the necessary materials and dive into the world of DIY wall decals!
Key Takeaways:
- Unleash your creativity and personalize your space by designing and creating custom wall decals with a Cricut machine. Add a unique touch to your home’s interior design with DIY decals!
- Transform any room into a personalized haven with endless variations of wall decals. Enjoy the process of expressing your creativity and adding a personal touch to your home’s interior design.
Materials Needed
Before we begin, let’s gather all the materials you will need to create your own wall decals with a Cricut machine. Having these items on hand will ensure a smooth and efficient process:
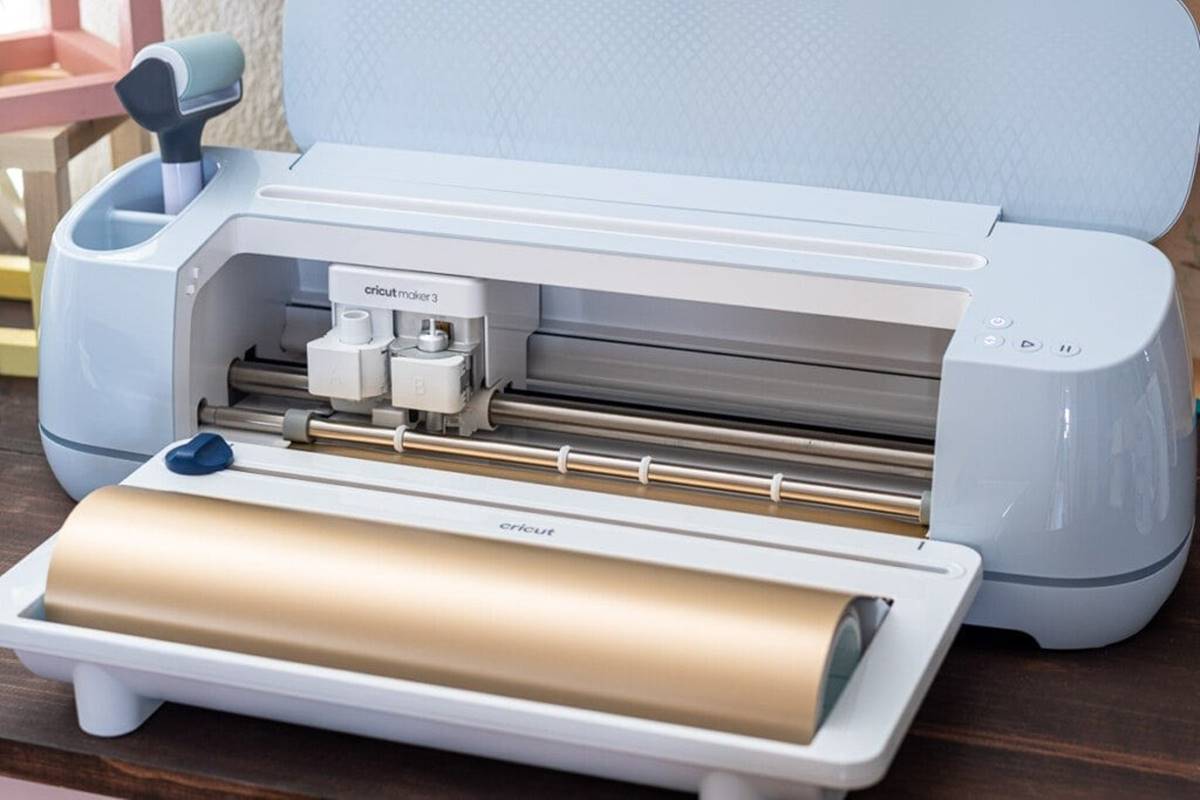
- Cricut cutting machine: This is the essential tool that will allow you to cut out your designs on vinyl. There are different models available, so choose the one that suits your needs and budget.
- Computer or smartphone: You will need a device to access Cricut’s design software, which allows you to create and customize your decal designs.
- Vinyl sheets: Look for adhesive vinyl sheets specifically designed for wall decals. Choose the colors that match your design and the size that fits your space. Matte or glossy finishes are available depending on your preference.
- Transfer tape: This is a crucial element for transferring your decal from the vinyl backing to the wall. Transfer tape allows you to transfer the design seamlessly without any wrinkles or bubbles.
- Weeding tools: These tools, such as a weeding hook or tweezers, are used to remove the excess vinyl from your design. They help to achieve clean and precise cuts.
- Scissors or cutting mat: You may need scissors or a cutting mat to trim the vinyl sheets to the desired size before loading them into the Cricut machine.
- Crafting scraper or credit card: A crafting scraper or an old credit card will come in handy for smoothing out any air bubbles or wrinkles that may occur during the application process.
- Crafting mat: A crafting mat provides a protective surface for cutting and weeding your vinyl sheets. It also makes it easier to clean up any adhesive residue.
- Design software or app: Download Cricut’s design software or app on your computer or smartphone to create and edit your decal designs.
- Access to electrical outlet: Make sure you have access to an electrical outlet to plug in your Cricut machine.
Once you have gathered all the necessary materials, you are ready to embark on your wall decal-making journey. Now let’s move on to the step-by-step process of designing and cutting out your custom decals using Cricut.
Step 1: Design Your Decal
Designing your decal is where the fun begins! With Cricut’s design software or app, you have the flexibility to create your own unique designs or choose from a wide range of pre-made templates. Here’s how you can design your decal:
- Open the Cricut design software or app on your computer or smartphone.
- Create a new project and select the shape and size for your decal. You can choose from various options like a square, circle, or custom dimensions.
- Customize your design by adding text, shapes, images, or uploading your own artwork. Be creative and let your imagination run wild!
- Experiment with different fonts, colors, and effects until you are satisfied with the design. You can align the elements, resize them, or even rotate them to achieve the desired look.
- If you want to include multiple layers or colors in your decal, make sure to separate the design into different layers. This will allow you to cut each layer separately and assemble them later.
- Preview your design to ensure it looks exactly how you envisioned it. Make any necessary adjustments before proceeding.
- Once you are happy with the design, save it and prepare it for cutting.
Designing your decal is an opportunity to let your creativity shine. Whether you want a simple and minimalistic design or a complex and detailed one, take your time to create something that resonates with your personal style and complements your space.
Once you have designed your decal, it’s time to move on to the next step: preparing your material for cutting.
Step 2: Prepare Your Material
Now that you have your decal design ready, it’s time to prepare your vinyl material for cutting. Follow these steps to ensure a smooth and precise cutting process:
- If your vinyl sheet is larger than your design, trim it down to the appropriate size using scissors or a cutting mat.
- Place your vinyl sheet on a clean and flat surface, ensuring that the adhesive side is facing up.
- If your vinyl sheet has a protective backing, carefully peel off the backing to expose the adhesive side of the vinyl.
- Smooth out any wrinkles or air bubbles using a crafting scraper or an old credit card. This will help ensure a clean and precise cut.
- If you have multiple layers or colors in your decal design, repeat the above steps for each layer, making sure to keep them separate and organized.
Preparing your material correctly is essential to achieving a high-quality end result. Make sure to handle the vinyl with care to avoid any damage or distortion.
Once your vinyl material is prepared, it’s time to load the design into your Cricut machine. Let’s move on to the next step!
Step 3: Load the Design into Cricut
Now that your decal design is ready and your vinyl material is prepared, it’s time to load the design into your Cricut machine. Follow these steps to ensure a successful transfer of your design:
- Connect your Cricut machine to your computer or smartphone using the provided USB cable or Bluetooth connection.
- Open the Cricut design software or app and select the “Make It” or “Cut” option for your project.
- In the material selection menu, choose the appropriate material setting for the type of vinyl you are using. This will ensure that your Cricut machine cuts the vinyl with the correct settings.
- If you have multiple layers or colors in your design, you will need to select the appropriate cut settings for each layer. Make sure to match the settings to the specific vinyl material being used.
- Place your prepared vinyl material onto the cutting mat, aligning it with the top left corner or the marked guidelines.
- Gently press down on the vinyl material to ensure it adheres securely to the cutting mat.
- Insert the cutting mat into the Cricut machine, aligning it with the guides or loading the mat according to the machine’s instructions.
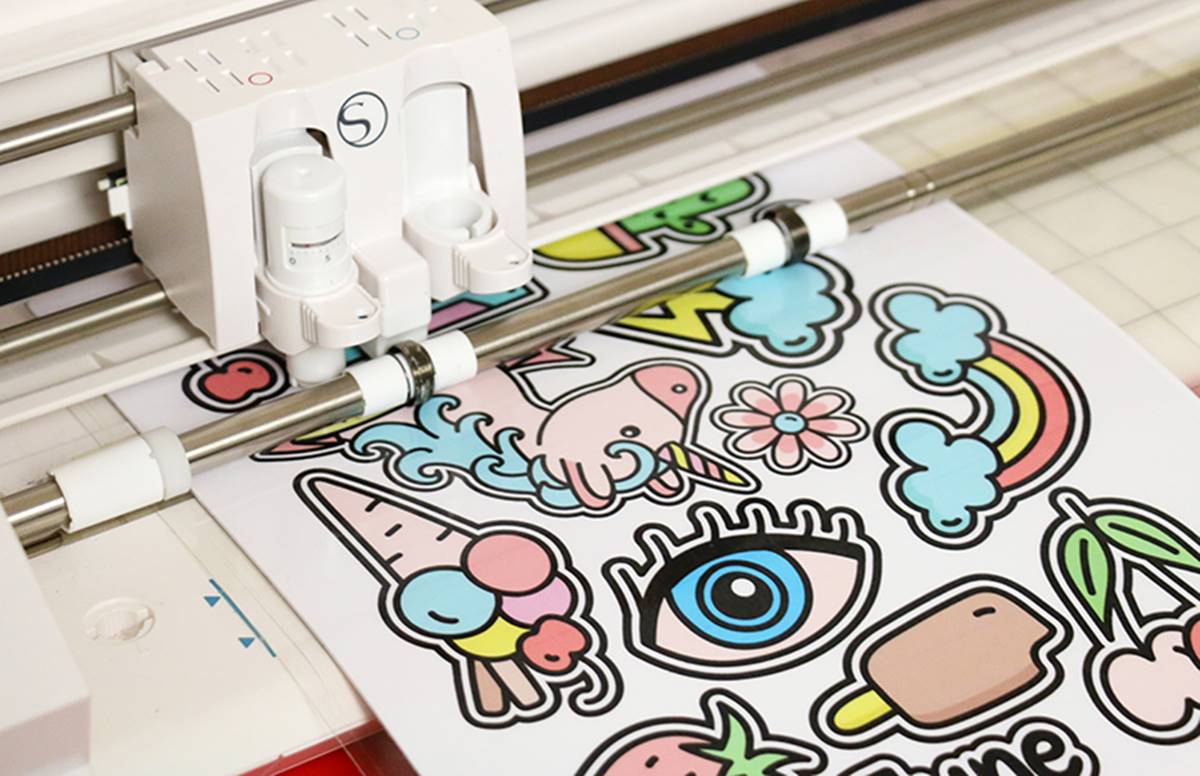
- Press the “Load” or “Go” button on the Cricut machine to start the cutting process.
- Wait for the Cricut machine to cut out your design. This process may take a few minutes depending on the complexity of your design.
- Once the cutting process is complete, press the “Unload” button to remove the cutting mat from the machine.
By following these steps, you can confidently load your decal design into the Cricut machine for precise cutting. Now that your decal is cut, it’s time to move on to the next step of weeding the excess vinyl.
When making wall decals with Cricut, be sure to use high-quality vinyl to ensure the decals adhere well to the wall. Also, make sure to properly clean and dry the wall before applying the decal for best results.
Read more: What Are Wall Decals
Step 4: Cut Out Your Decal
Now that you have loaded your design into the Cricut machine and it has cut out your decal, it’s time to carefully remove the excess vinyl. This process, known as weeding, allows your design to stand out and takes it one step closer to being ready for application. Follow these steps for a successful weeding process:
- Remove the cutting mat from the Cricut machine and place it on a clean and flat surface.
- Gently peel off the vinyl sheet from the cutting mat, being careful not to distort or damage the cut pieces.
- Inspect your design and identify the areas where you want the vinyl to remain. These are the parts that will form your decal.
- Using a weeding tool, such as a weeding hook or tweezers, carefully lift and remove the excess vinyl around your design. Start from the outer edges and work your way towards the center.
- Be patient and take your time to ensure precise and clean cuts. Pay attention to small details and intricate parts of your design.
- Continue weeding until all the excess vinyl is removed, leaving only your desired decal on the backing sheet.
- Inspect your decal to make sure there are no stray pieces of vinyl or unintended cuts. Trim any unwanted or overlapping areas if necessary.
Weeding can be a meticulous process, especially for intricate designs, but it is essential for achieving a professional-looking decal. Take your time and work carefully to ensure that your decal is free from unwanted vinyl.
With the weeding process complete, you are now ready to transfer your decal onto transfer tape, which will make it easier to apply to your wall. Let’s move on to the next step!
Step 5: Weed the Excess Vinyl
After cutting out your decal with the Cricut machine, it’s time to weed the excess vinyl. Weeding is the process of removing the unwanted vinyl surrounding your design, leaving behind only the desired elements. Follow these steps to successfully weed your decal:
- Take your cut vinyl sheet and lay it on a clean and flat surface with the adhesive side facing up.
- Inspect your design and identify the areas where you want the vinyl to remain. These are the parts that will form your decal.
- Using a weeding tool, such as a weeding hook or tweezers, carefully lift and remove the excess vinyl around your design. Begin from the outer edges and work your way towards the center.
- Be patient and work slowly to avoid damaging or misplacing any of the vinyl pieces that are part of your design. Pay close attention to intricate details and small letters if present.
- Continue weeding until all the excess vinyl is removed, leaving behind only your desired decal on the vinyl backing.
- Inspect your decal to ensure that it is free from any unwanted vinyl pieces or rough edges.
Weeding may require a bit of patience and precision, especially for intricate designs or small lettering. Take your time and work carefully to ensure that your decal looks as intended.
With the excess vinyl weeded, you are now ready to transfer your decal onto transfer tape, which will help facilitate the application process. Let’s move on to the next step!
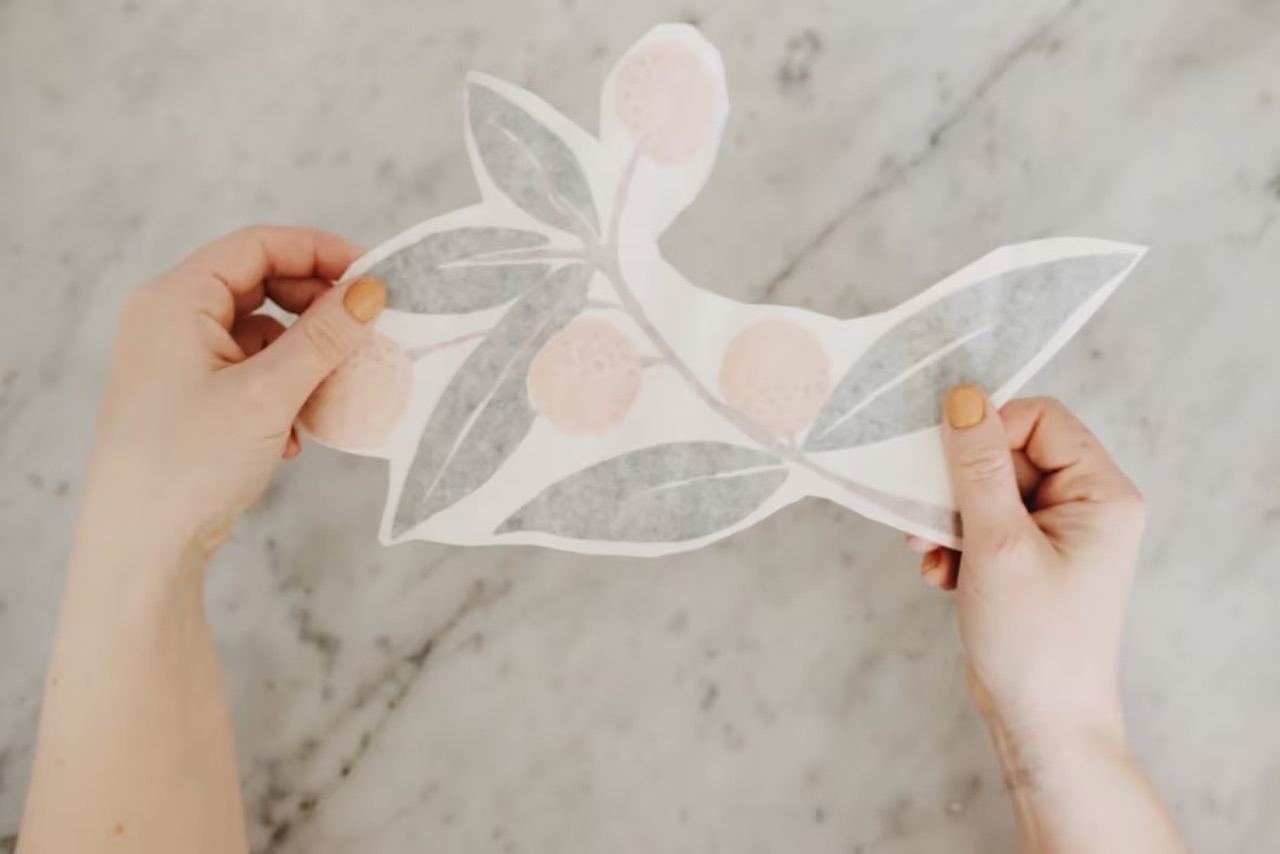
Step 6: Transfer the Decal onto Transfer Tape
Now that your decal is weeded and ready, it’s time to transfer it onto transfer tape. The transfer tape acts as a temporary carrier for your decal, allowing you to easily apply it to your desired surface. Follow these steps to transfer your decal onto transfer tape:
- Cut a piece of transfer tape slightly larger than your decal design.
- Peel off the backing of the transfer tape to expose the adhesive side.
- Align one edge of the transfer tape with one edge of your decal, ensuring that the adhesive side of the transfer tape is facing down onto the decal.
- Slowly and carefully lower the transfer tape, applying it bit by bit and smoothing it down with your fingers or a scraper as you go.
- Continue to press the transfer tape onto the decal until the entire design is covered.
- Use a scraper or your fingers to firmly adhere the transfer tape to the decal, ensuring that there are no air bubbles or wrinkles.
- Gently peel back the vinyl backing, starting from one corner. This will leave your decal adhered to the transfer tape.
The transfer tape securely holds your decal in place, allowing you to move it and apply it without losing any of the individual pieces. Take your time and be gentle when peeling back the vinyl backing to ensure your decal remains intact on the transfer tape.
With your decal successfully transferred onto the transfer tape, you are now ready to apply it to the wall. Let’s move on to the final step!
Step 7: Apply the Decal to the Wall
Now comes the exciting part—applying your decal to the wall. Follow these steps to ensure a smooth and successful application:
- Clean the surface of the wall where you plan to place your decal. Ensure it is free from dust, dirt, or any other debris that may affect adhesion.
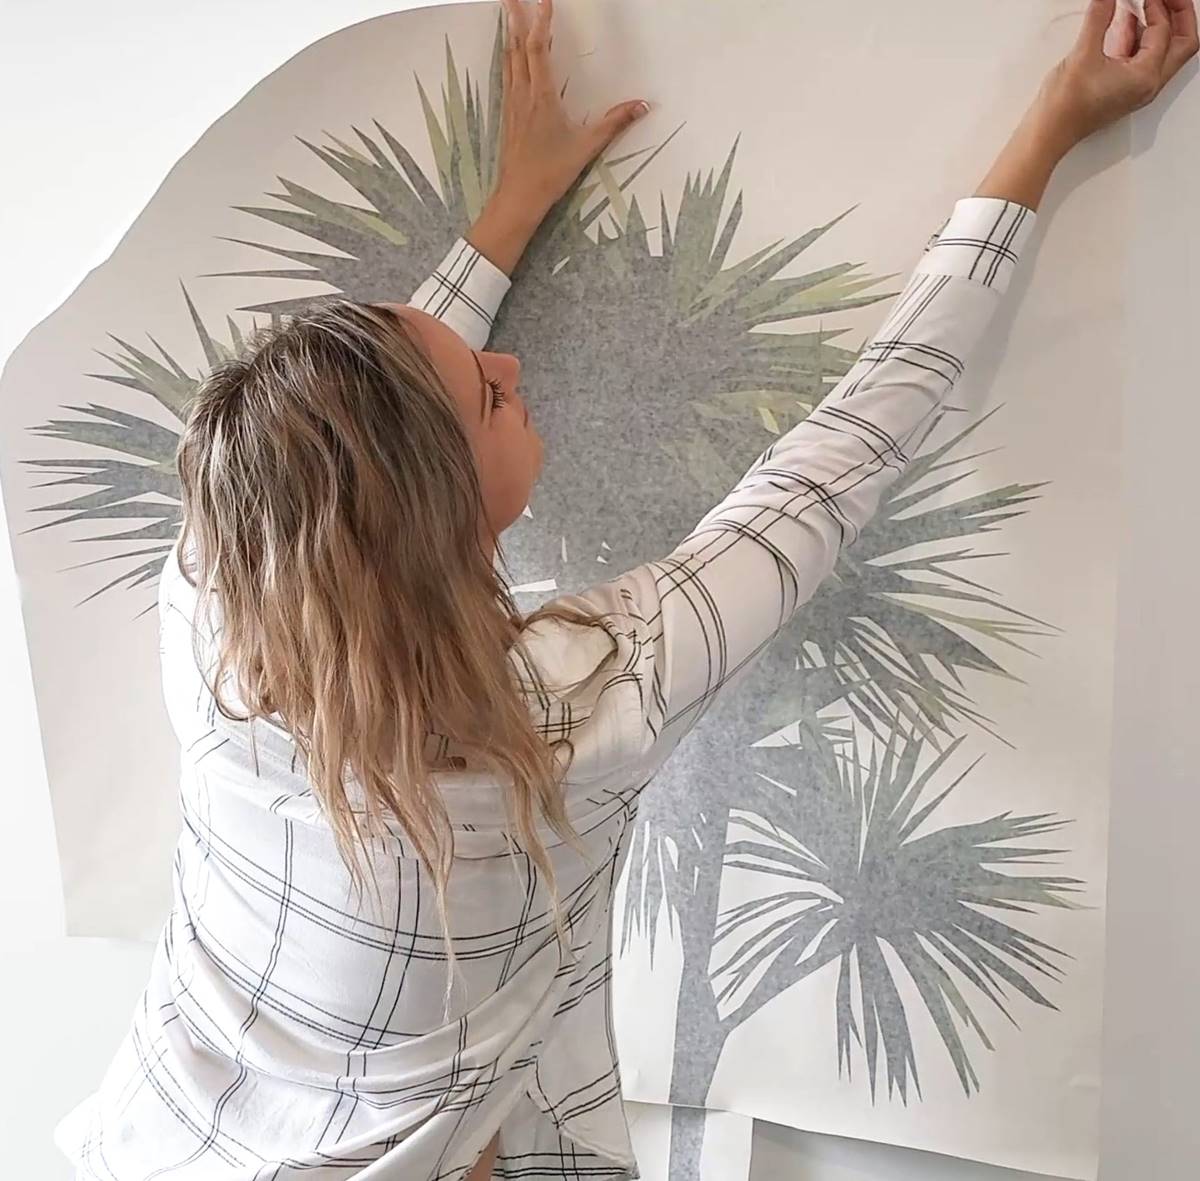
- Position the decal with the transfer tape against the wall, aligning it exactly where you want it to be placed.
- Using a scraper or a credit card, gently rub over the transfer tape to adhere the decal to the wall. Start from the center of the design and work your way outward to eliminate any air bubbles and ensure a secure attachment.
- Once the decal is firmly adhered to the wall, begin peeling back the transfer tape slowly and at a sharp angle. This will ensure that the vinyl sticks to the wall while the transfer tape is removed.
- Continue to peel away the transfer tape, ensuring that all parts of the design adhere to the wall. If any pieces of the decal lift with the transfer tape, press them back down and rub over them to ensure proper adhesion.
- Take your time and be careful while removing the transfer tape to avoid any damage or distortion to the decal.
- Once the transfer tape is fully removed, step back and admire your newly applied wall decal!
Applying the decal to the wall requires patience and precision. Take your time during this process to ensure that the decal is correctly positioned and smoothly adhered to the wall. If you encounter any difficulties, you can use a scraper or your fingers to warm the vinyl slightly, which can make it more pliable and easier to work with.
Congratulations! You have successfully created and applied your custom wall decal using a Cricut machine. Enjoy the personal touch it adds to your space and bask in the satisfaction of your DIY accomplishment!
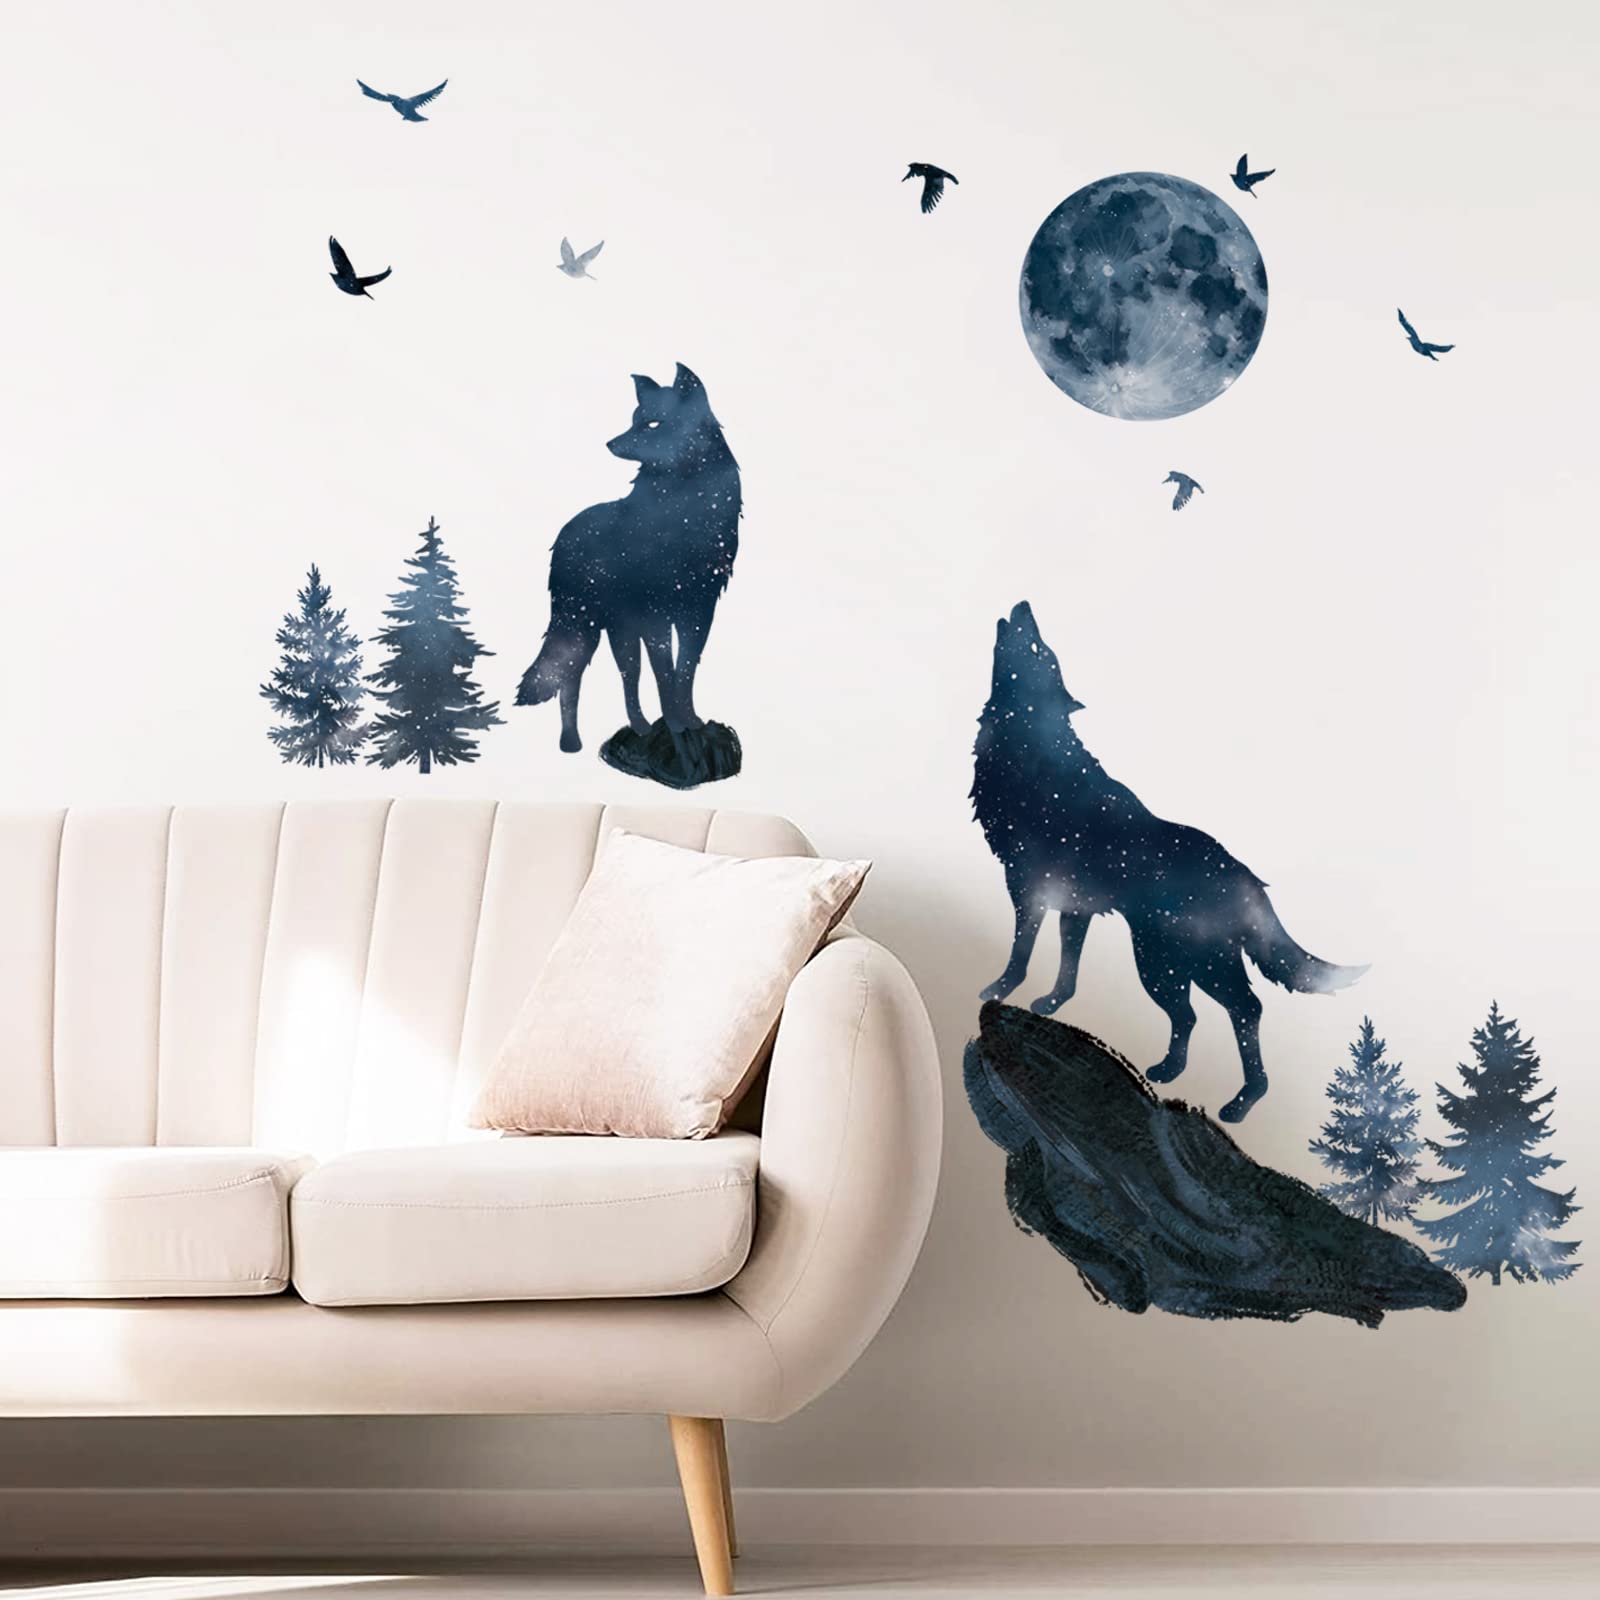
Now that you know the step-by-step process, you can create and apply endless variations of wall decals to suit your style and decor preferences. Let your creativity soar and transform any space into a personalized haven!
Remember, practice makes perfect. The more you experiment with designing and creating decals, the more confident and skilled you will become. Have fun and enjoy the process of expressing your creativity through DIY wall decals!
Read more: How To Reuse Wall Decals
Conclusion
Creating your own wall decals with a Cricut machine can be a rewarding and creative endeavor. It allows you to add a personal touch to your home’s interior design and showcase your unique style. By following the step-by-step process outlined in this article, you can design, cut, and apply custom decals to transform any space in your home.
From designing your decal to preparing the materials, loading the design into the Cricut machine, cutting out the decal, weeding the excess vinyl, transferring it onto transfer tape, and finally applying it to the wall, each step is crucial and contributes to the overall success of your project.
Remember to gather all the necessary materials, take your time with the design process, and handle the vinyl with care. Each step is an opportunity to showcase your creativity and attention to detail, resulting in a beautifully crafted wall decal.
Whether you want to add inspirational quotes to your office, create a whimsical mural in your child’s room, or add a touch of elegance to your living space, the possibilities are endless. With practice and experimentation, you can master the art of creating wall decals and bring your interior design vision to life.
So, gather your materials, fire up your Cricut machine, and let your imagination run wild. Design, cut, weed, transfer, and apply—the process may seem intricate, but with each successful project, you’ll gain confidence and enjoy the satisfaction of creating something unique for your home.
Now go forth and transform your space with custom wall decals. Your walls are waiting to showcase your style and personality!
Frequently Asked Questions about How To Make Wall Decals With Cricut
Was this page helpful?
At Storables.com, we guarantee accurate and reliable information. Our content, validated by Expert Board Contributors, is crafted following stringent Editorial Policies. We're committed to providing you with well-researched, expert-backed insights for all your informational needs.


0 thoughts on “How To Make Wall Decals With Cricut”