Home>Interior Design>How To Make Wall Decals Stick To Textured Walls

Interior Design
How To Make Wall Decals Stick To Textured Walls
Modified: March 16, 2024
Discover effective techniques for making wall decals stick to textured walls and enhance your interior design with ease.
(Many of the links in this article redirect to a specific reviewed product. Your purchase of these products through affiliate links helps to generate commission for Storables.com, at no extra cost. Learn more)
Introduction
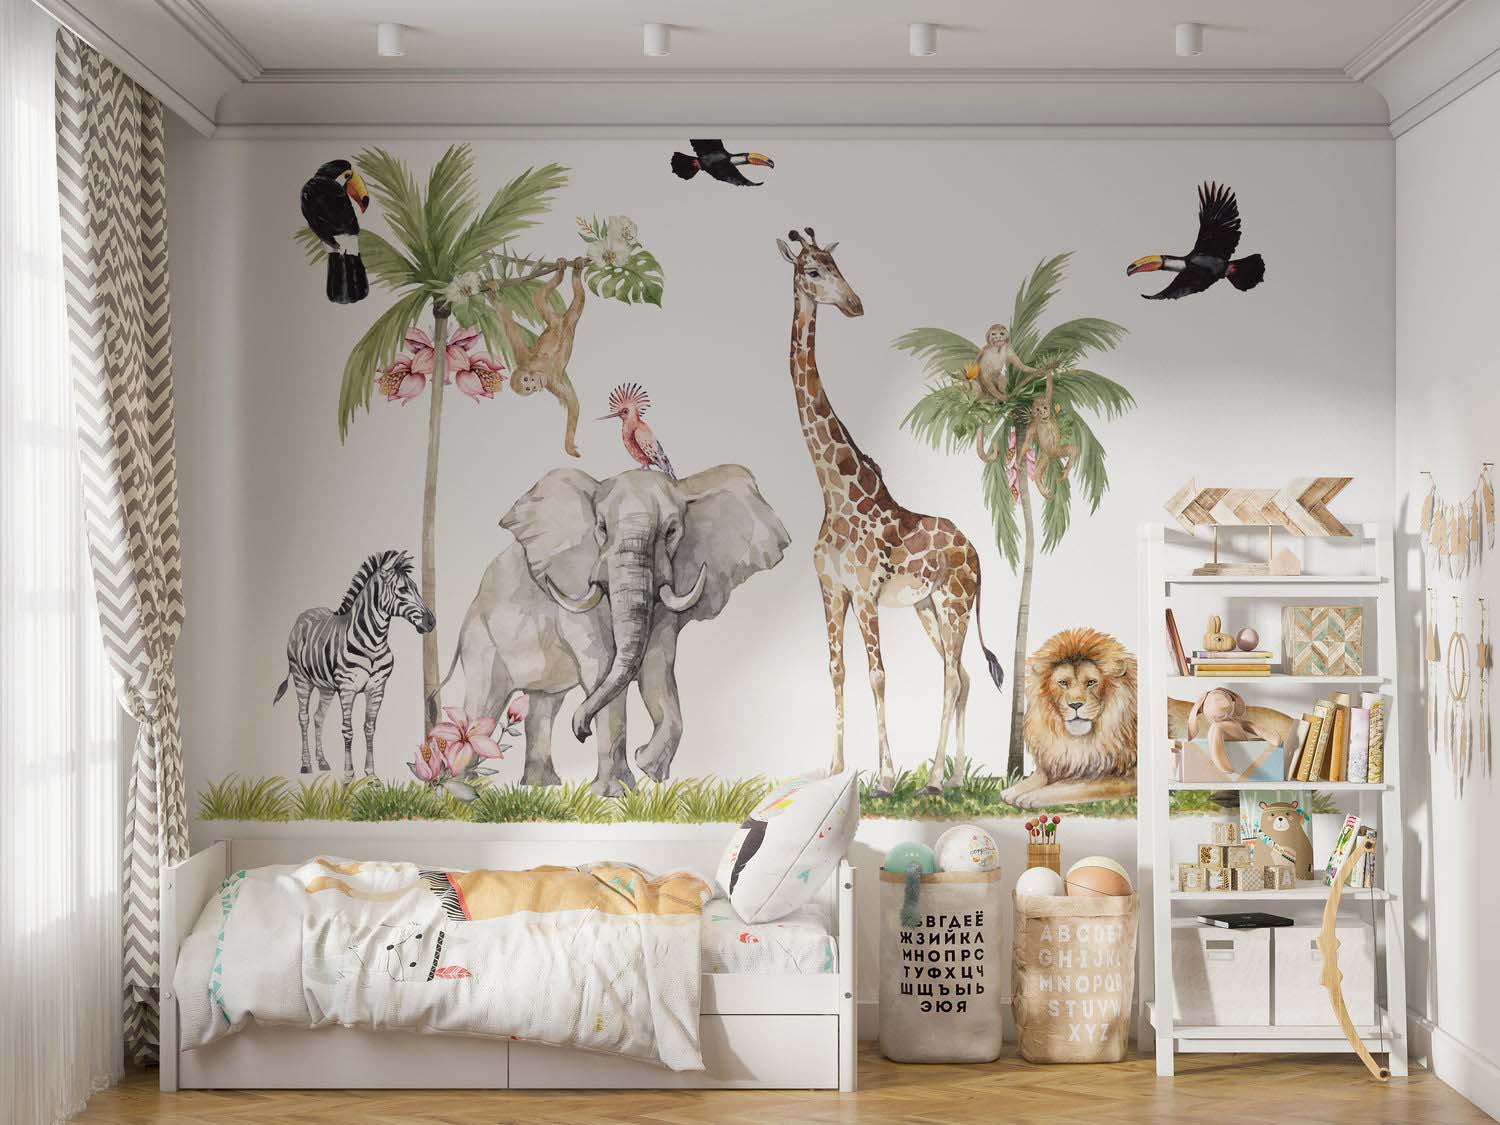
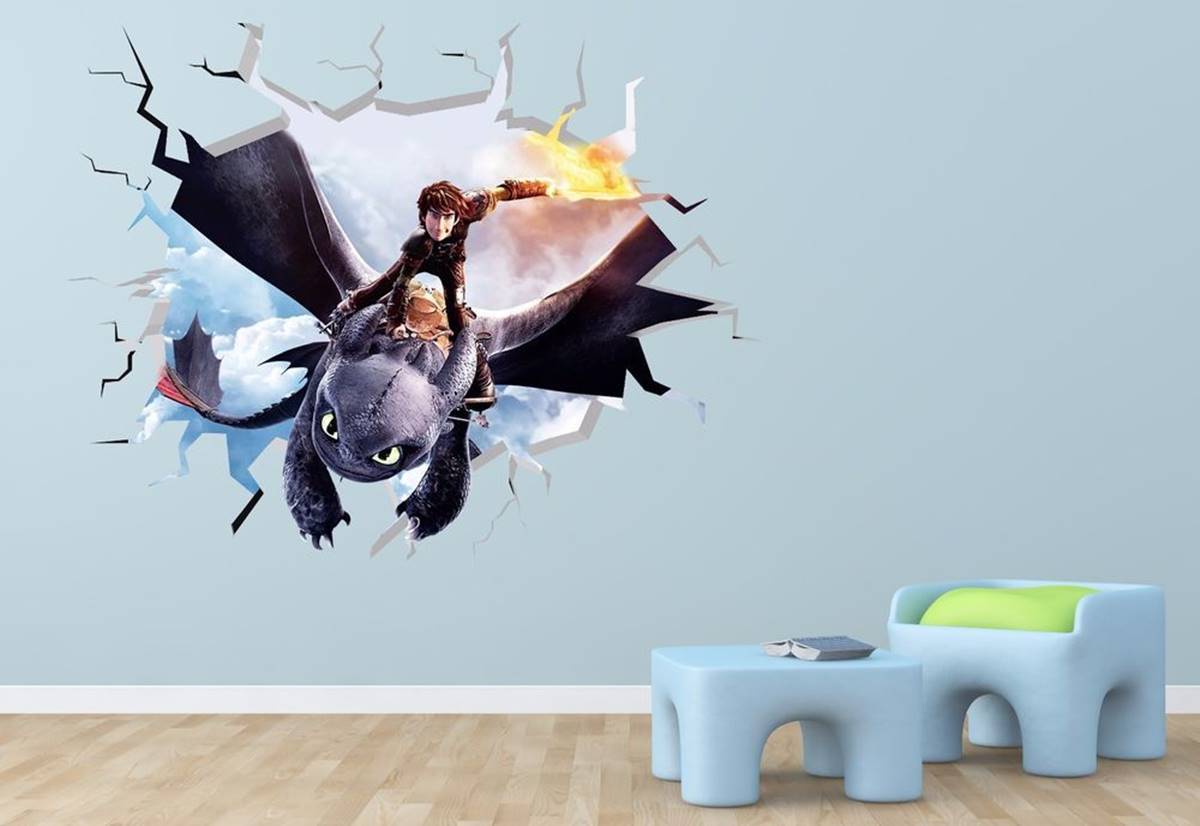
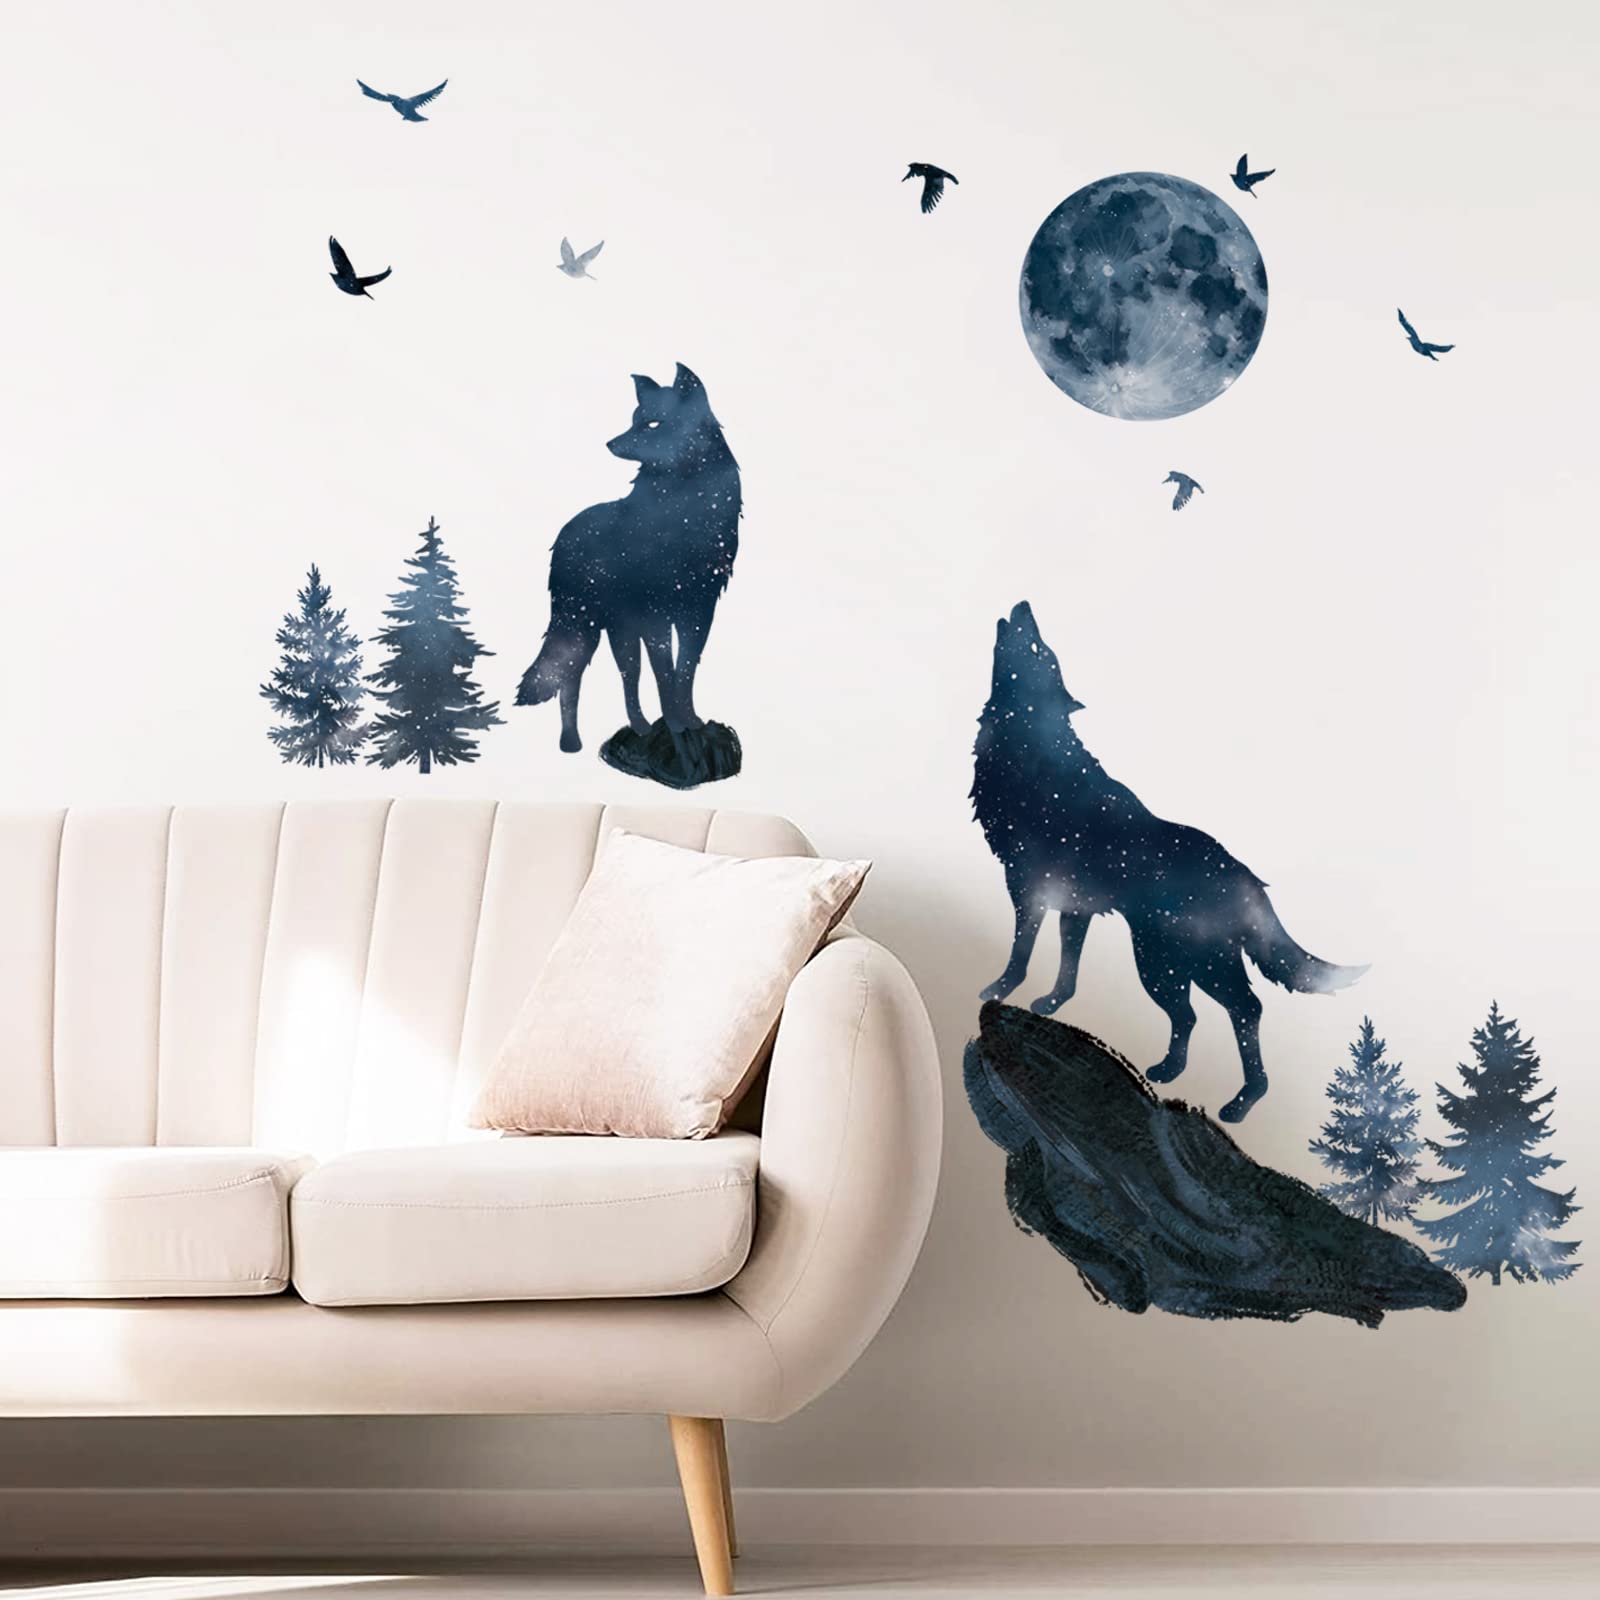
Welcome to the world of interior design, where creative expression and personal style come to life. One of the most exciting aspects of interior design is the ability to transform a space with simple additions, such as wall decals. Wall decals are a fantastic way to add personality, charm, and visual interest to any room. However, when it comes to textured walls, the process of applying wall decals can present a unique set of challenges.
Textured walls add depth and dimension to a space, creating a visually appealing backdrop. From subtle patterns to more pronounced textures, textured walls can enhance the overall aesthetic of a room. However, the uneven surface of textured walls can make it difficult for wall decals to adhere properly. Without proper preparation and techniques, wall decals on textured walls may peel or not stick at all.
In this article, we will guide you through the process of making wall decals stick to textured walls. We will explore the different types of textured walls, offer step-by-step instructions on how to apply wall decals, and provide tips on removing them safely. By the end of this article, you will be equipped with the knowledge and skills to enhance your textured walls with beautiful wall decals.
Key Takeaways:
- Transform textured walls with stunning wall decals by preparing the surface, choosing the right decals, and applying them with care. Embrace creativity and personalize your space with beautiful and long-lasting results.
- Overcome challenges of applying wall decals to textured walls by understanding the texture, selecting suitable decals, and using proper techniques. With patience and attention to detail, achieve a seamless and captivating transformation.
Read more: How To Make Peel And Stick Decals
Understanding Textured Walls
Before we dive into the process of applying wall decals to textured walls, it’s essential to understand the different types of textured walls and the challenges they present. By having a clear understanding of the texture you’re working with, you can better prepare and find the most suitable application techniques.
Common types of textured walls:
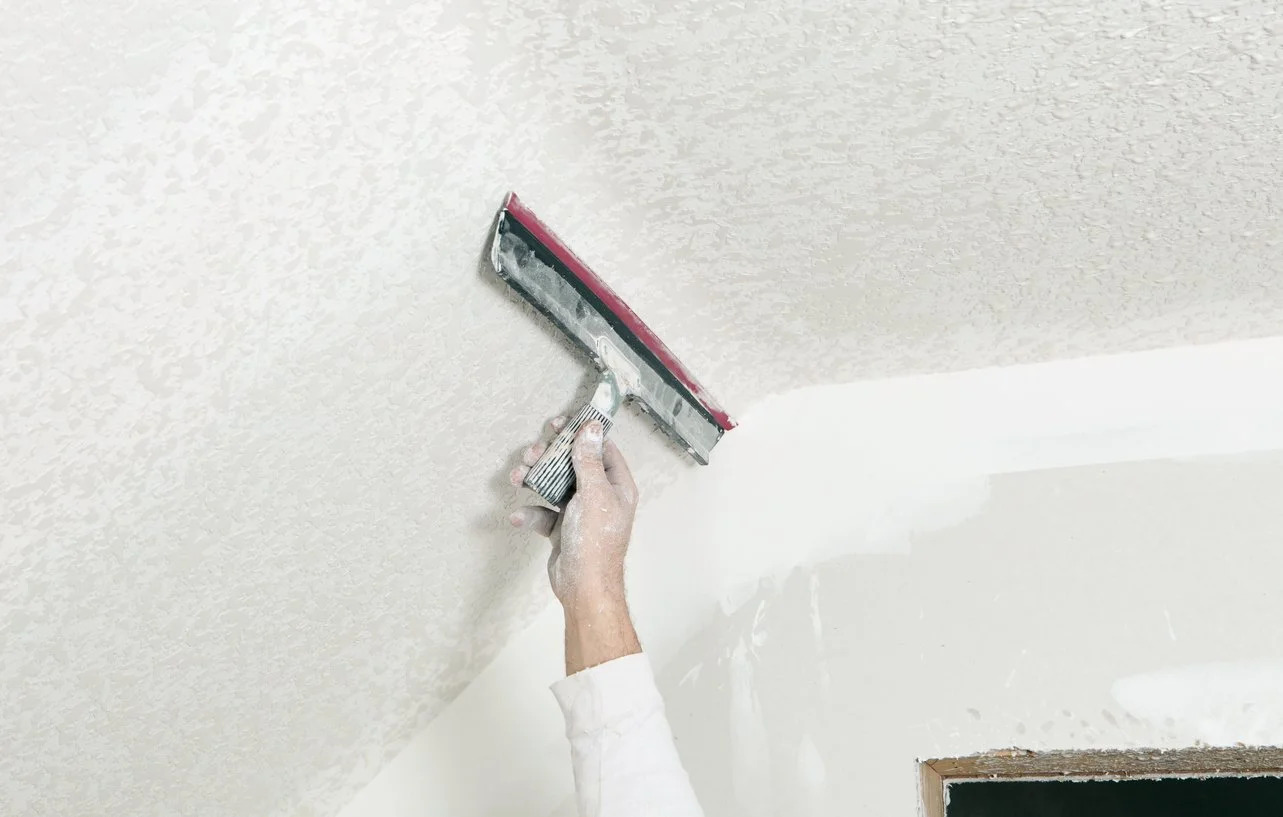
- Popcorn Texture: Popcorn texture, also known as stipple or acoustic texture, is a bumpy texture commonly found in older homes. It is created by spraying a mix of water and texture material onto the wall, resulting in a rough and uneven surface.
- Knockdown Texture: Knockdown texture is similar to popcorn texture but has a more subtle and flattened appearance. It is achieved by spraying the texture material onto the wall and then “knocking down” or flattening the peaks with a trowel.
- Orange Peel Texture: Orange peel texture resembles the texture of an orange peel, with small bumps and dimples across the surface. It is achieved by spraying a thin layer of texture material onto the wall.
- Swirl Texture: Swirl texture, as the name suggests, features swirled patterns across the wall’s surface. It is created by applying texture material in a swirling motion using a trowel.
- Slap Brush Texture: Slap brush texture, also known as crow’s foot or stomp texture, is achieved by using a brush or a stomping tool to create a pattern of random peaks and swirls on the wall.
- Trowel Texture: Trowel texture involves using a trowel to spread joint compound or texture material onto the wall, creating a textured pattern.
Challenges when applying wall decals to textured walls:
Due to their uneven surface, textured walls present several challenges when it comes to applying wall decals. The bumps and ridges on the wall can prevent the adhesive from making full contact, leading to poor adhesion and potential peeling. It’s important to address these challenges to ensure a successful application:
- Lack of Smooth Surface: Textured walls lack a smooth and flat surface, making it difficult for the adhesive to adhere properly. The unevenness of the wall can cause air bubbles to form, affecting the appearance and longevity of the wall decal.
- Adhesive Interference: The texture itself can interfere with the adhesive strength of the wall decal. Some textures may be too rough or have a high degree of tackiness, causing the decal to have difficulty sticking and staying in place.
- Texture Removal: It’s crucial to avoid damaging or removing the texture while applying or removing the wall decal. Mishandling the decal or using improper removal techniques can result in damage to the wall’s texture.
With a solid understanding of the types of textured walls and the associated challenges, let’s move on to the preparation and techniques required to make wall decals stick to textured walls effectively.
Preparing the Wall
Proper preparation of the wall is crucial for ensuring the successful application of wall decals on textured walls. Taking the time to prepare the surface will help create a smooth and even base for the decals to adhere to. Here are the steps to prepare your textured wall:
- Cleaning the wall surface: Start by thoroughly cleaning the wall surface. Use a mild detergent, warm water, and a soft cloth or sponge to gently remove any dirt, dust, or grease. Pay attention to the textured areas and ensure all debris is removed. Let the wall dry completely before moving on to the next step.
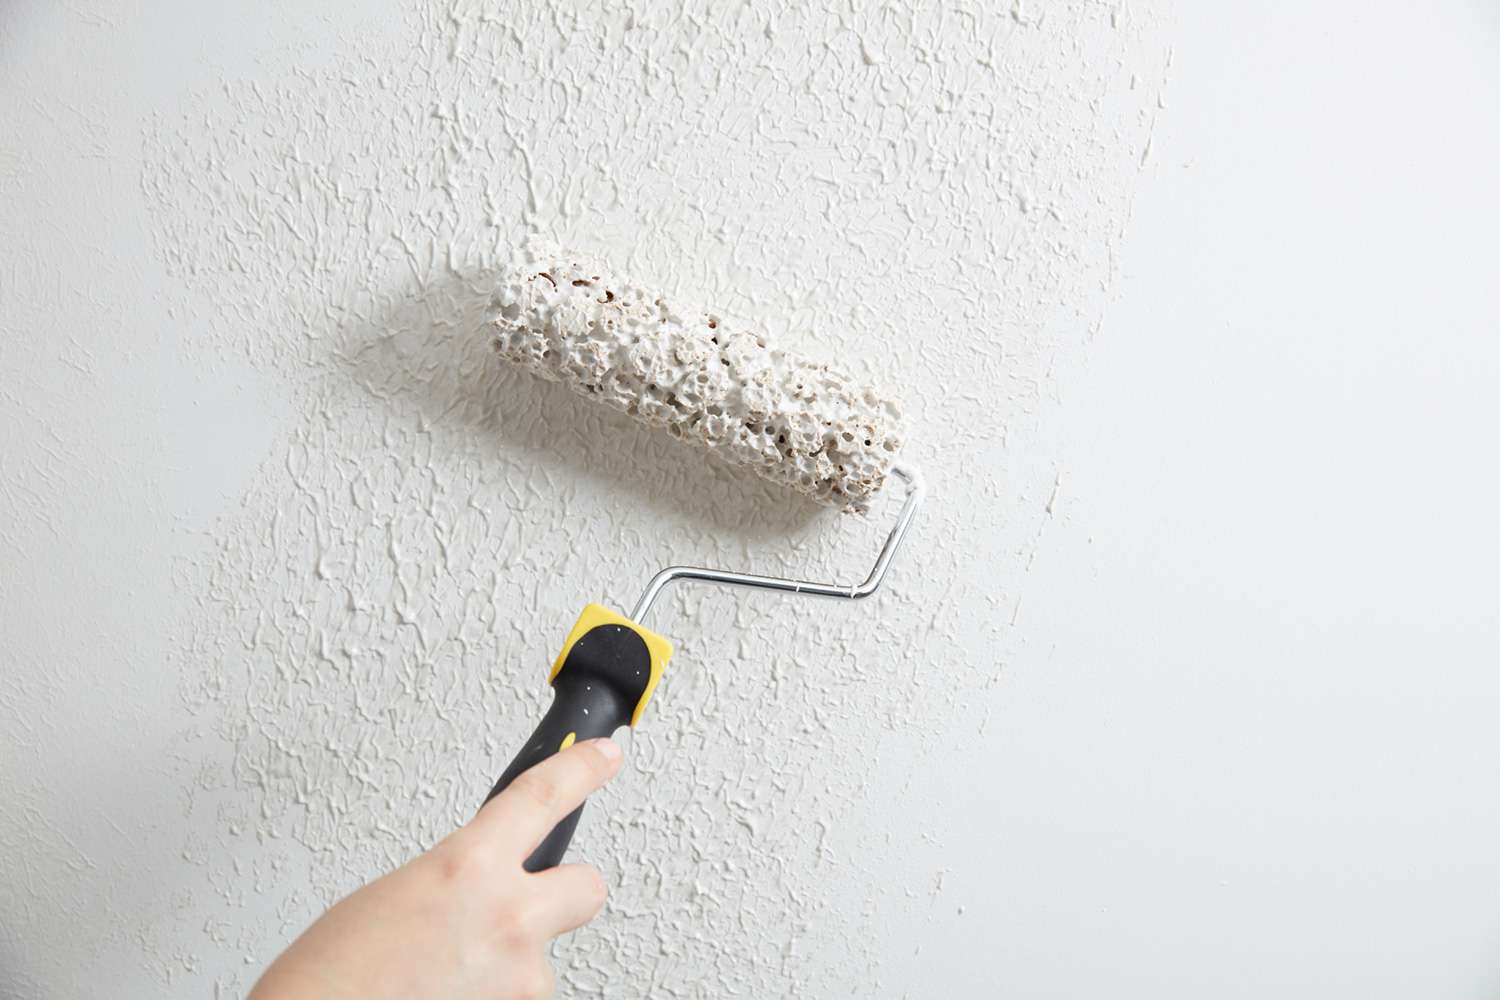
- Patching and smoothing out any imperfections: Examine the wall for any cracks, holes, or other imperfections. Use a joint compound or spackling paste to fill in these problem areas. Apply the compound or paste using a putty knife, following the manufacturer’s instructions. Smooth out the surface with the putty knife to create an even texture. Allow the compound to dry thoroughly before proceeding.
- Priming the wall if necessary: Depending on the condition of the wall and the type of texture, priming the wall may be necessary to enhance the adhesion of the wall decals. Use a high-quality primer that is suitable for textured surfaces. Apply the primer evenly using a paint roller or brush, following the manufacturer’s instructions. Allow the primer to dry completely before moving forward.
By cleaning the wall surface, patching any imperfections, and priming if necessary, you are creating a clean and smooth base for the wall decals. These steps will improve the adhesive strength and longevity of the decals, ensuring they stick securely to the textured wall.
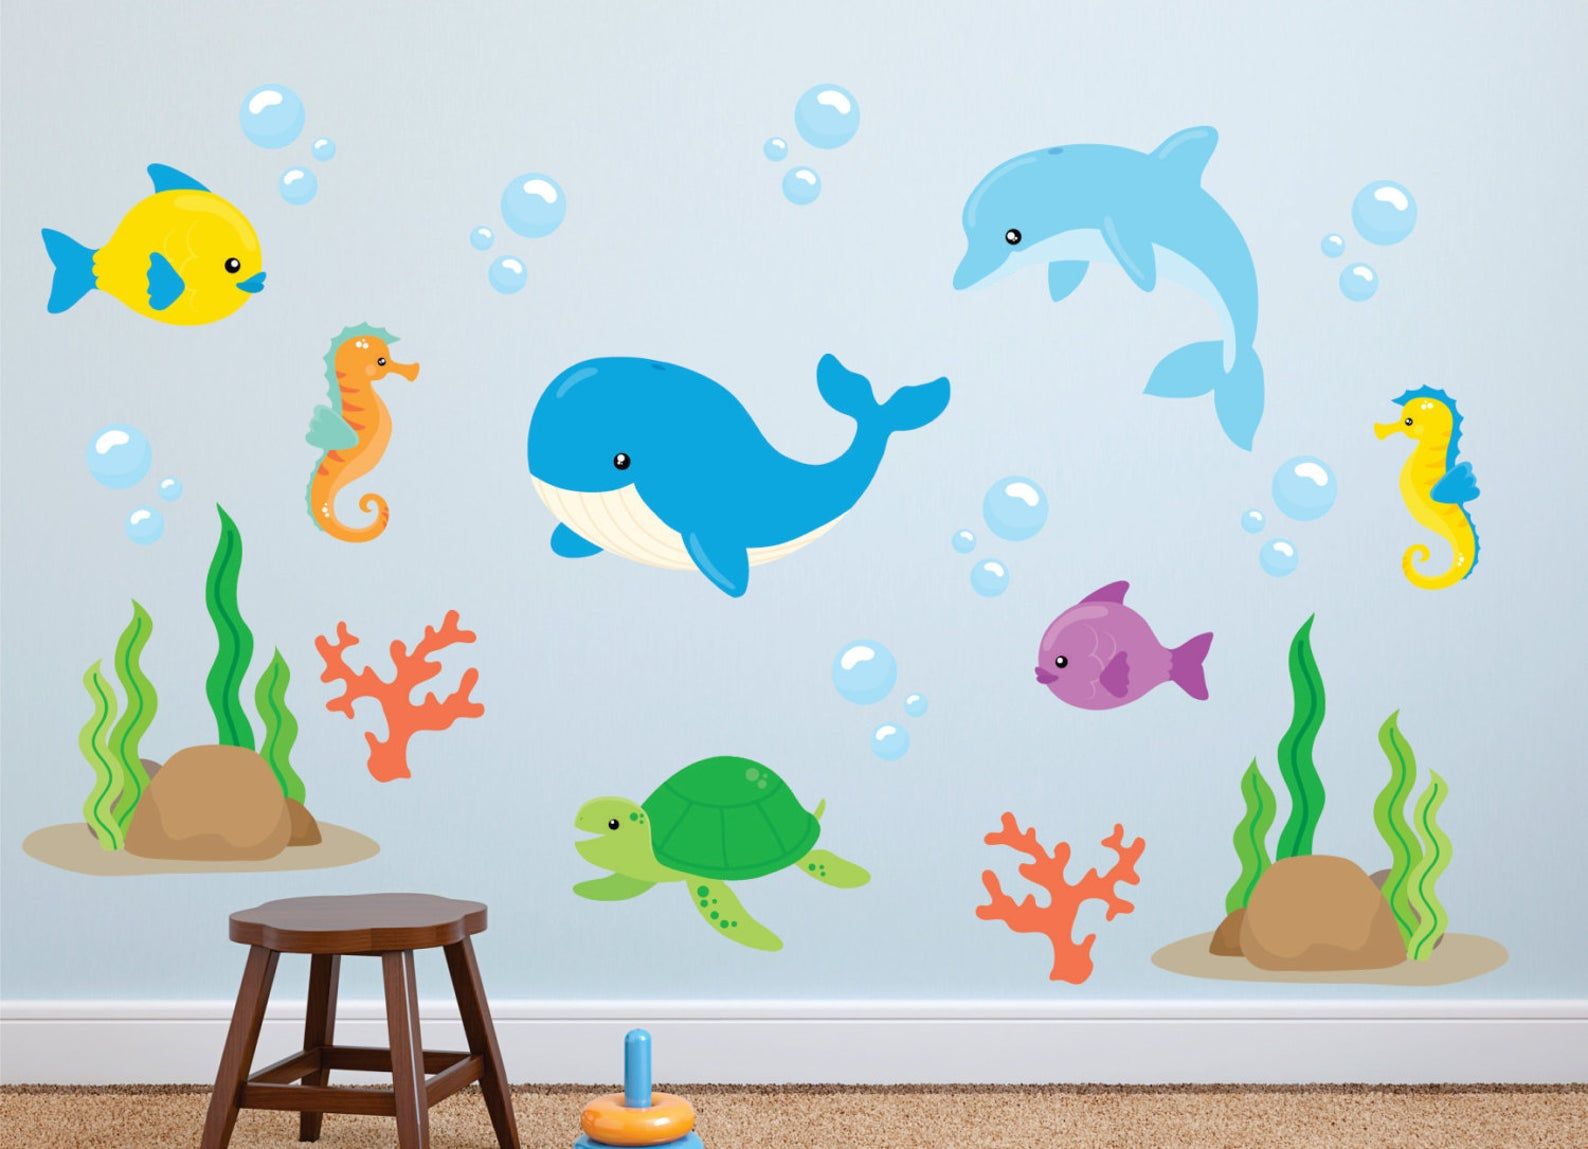
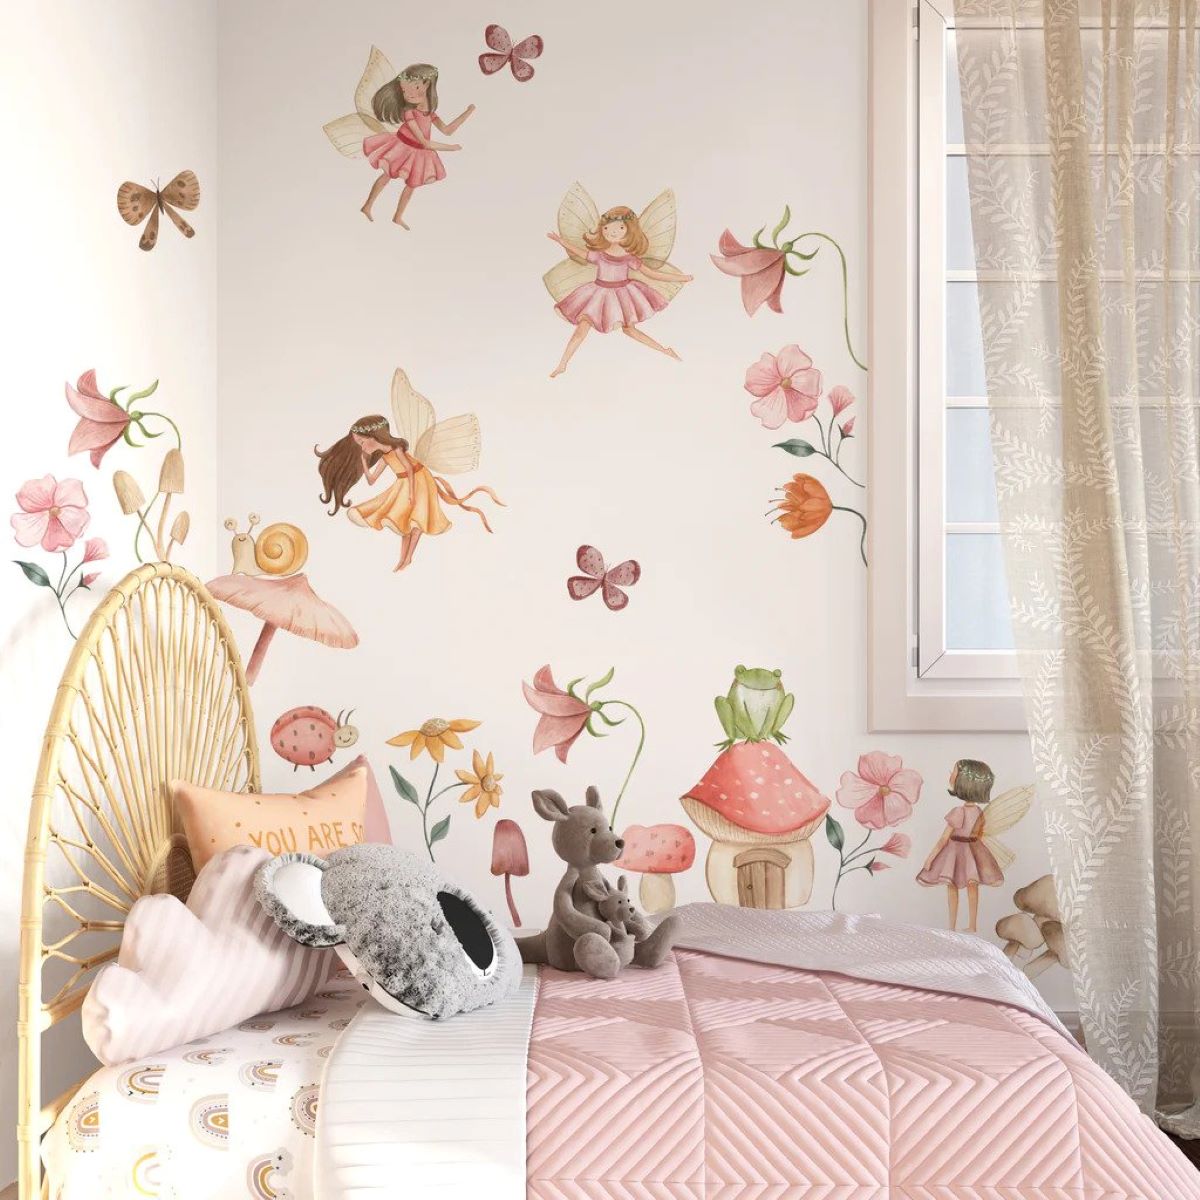
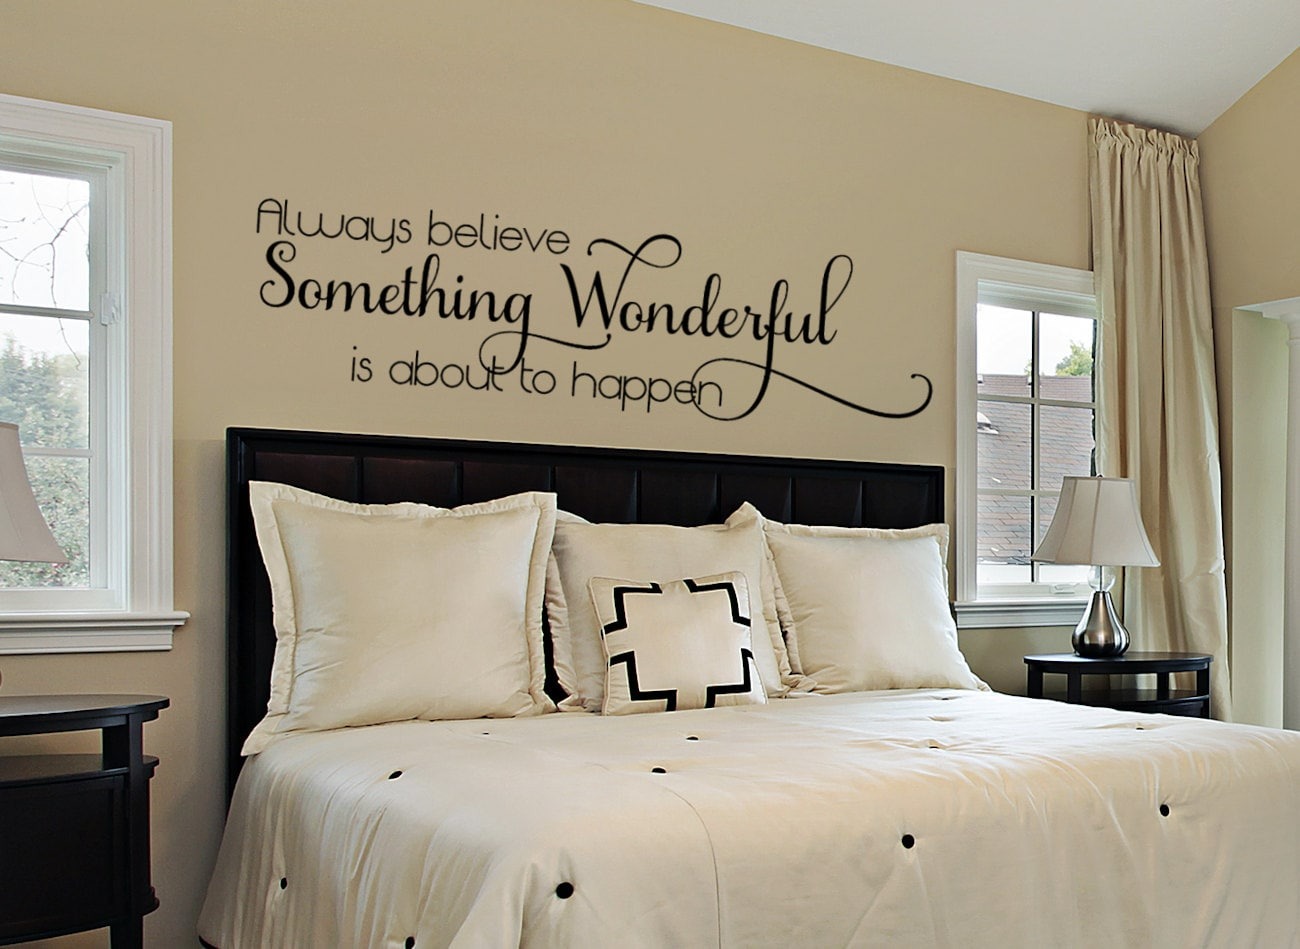
Choosing the Right Wall Decals
When it comes to applying wall decals on textured walls, selecting the right decals is crucial for a successful application. Not all decals are suitable for textured surfaces, so it’s important to consider a few key factors before making your choice. Here are some tips to help you choose the right wall decals for textured walls:
Selecting decals suitable for textured walls:
- Look for decals specifically designed for textured surfaces. These decals are often thicker and more flexible, allowing them to conform to the uneven texture of the wall.
- Opt for larger decals. Larger decals have a better chance of adhering to the walls since they have more surface area to grab onto.
- Choose decals with a strong and aggressive adhesive. The adhesive should be able to grip onto the textured surface effectively.
- Consider the design and pattern of the decals. Some intricate or highly detailed designs may not work well with textured walls as they may not conform to the irregularities of the surface.
Considerations regarding adhesive strength:
- Ensure the adhesive strength of the decals is appropriate for your textured walls. The adhesive should be strong enough to hold the decal in place but not too strong that it damages the wall’s texture when removed.
- Read the product descriptions and reviews to get an idea of how well the decals adhere to textured surfaces. Look for feedback from customers who have used the decals on textured walls.
- If you’re unsure about the adhesive strength, consider using additional adhesives or applying a clear sealant to reinforce the bond between the decal and the wall.
By selecting decals specifically designed for textured walls and considering the adhesive strength, you can ensure that the decals will adhere properly and stay in place on your textured wall. This will help you achieve the desired look without worrying about the decals peeling or falling off.
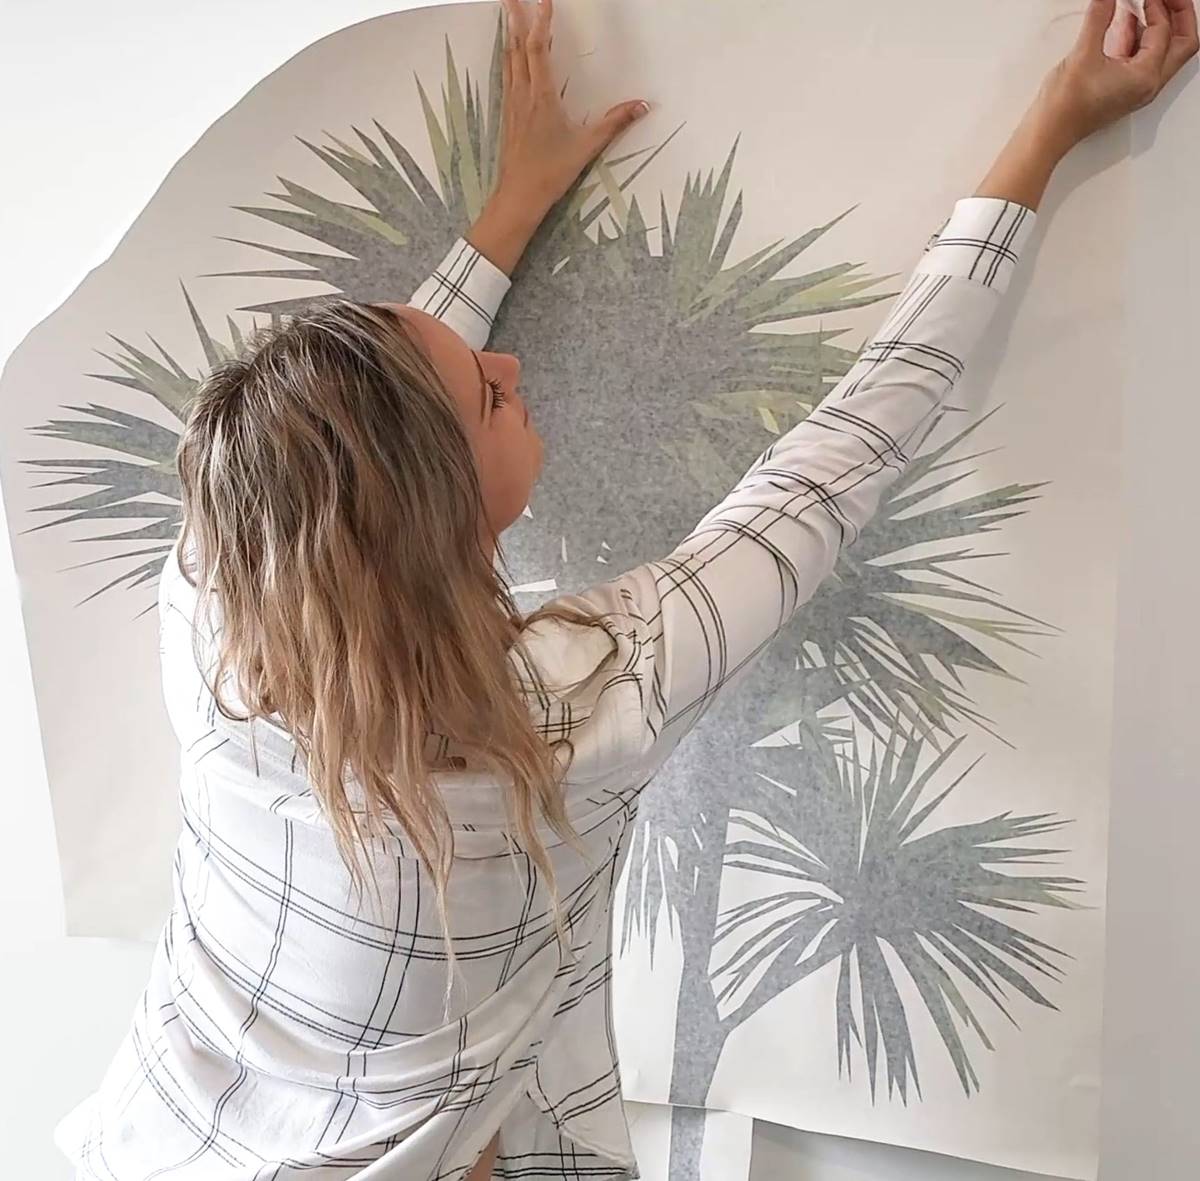
Applying Wall Decals on Textured Walls
Applying wall decals on textured walls requires special attention to ensure proper adherence and a seamless finish. Follow these step-by-step guidelines and tips to successfully apply your decals on textured surfaces:
Step-by-step guide on application techniques:
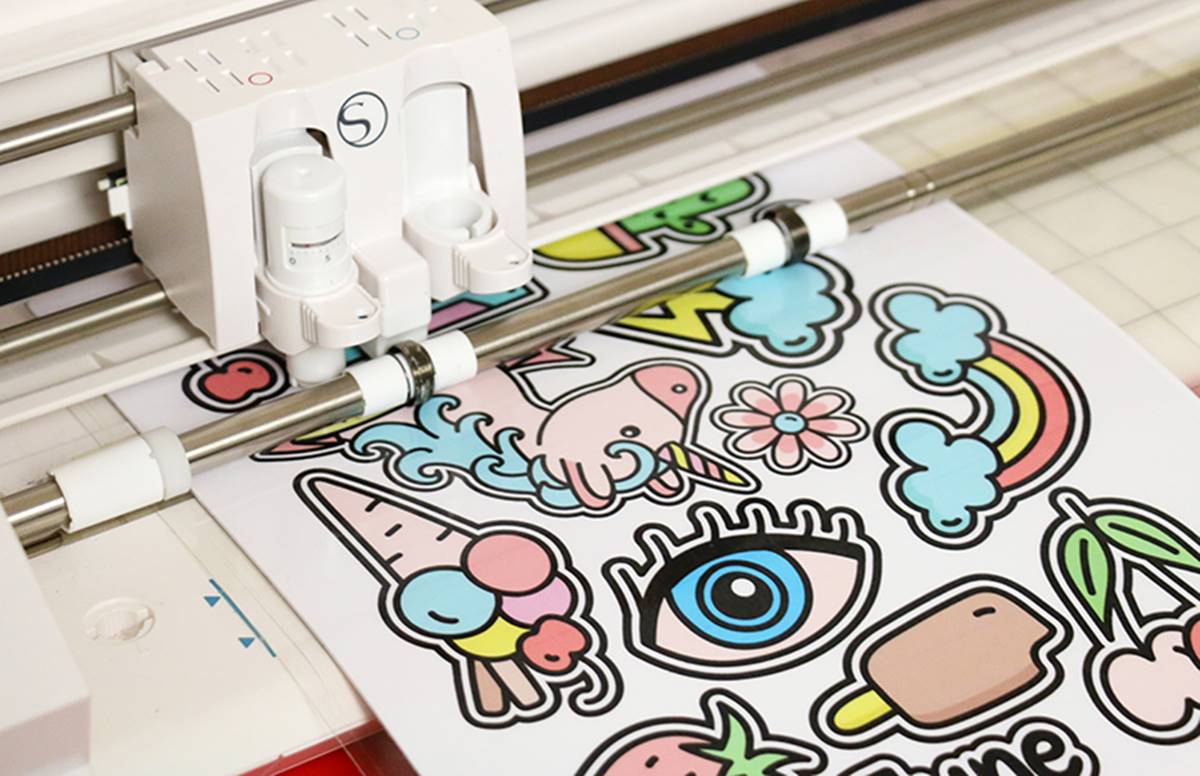
- Cut the decal: Begin by cutting your decal into manageable sizes for easier handling.
- Position the decal: Hold the decal against the wall and determine the desired placement. Use masking tape to temporarily secure the decal in place.
- Peel off the backing: Carefully peel off the backing of the decal, starting from one corner. Avoid touching the adhesive side to prevent any dirt or oil transfer.
- Apply the decal: Slowly and smoothly apply the decal to the wall, starting from the top and working your way down. Use a squeegee or a credit card to press the decal onto the textured surface, working out any air bubbles or wrinkles.
- Smooth out the decal: Gently press and smooth out the decal using the squeegee or credit card, ensuring it adheres to the textured wall. Pay extra attention to the edges and corners to ensure they are well stuck.
- Remove the transfer tape: Once the decal is firmly in place, carefully remove the transfer tape by pulling it back at a sharp angle. Take your time to avoid peeling off the decal along with the tape.
- Inspect and adjust: After removing the transfer tape, inspect the decal for any air bubbles or imperfections. If needed, use a pin or needle to puncture and smooth out any air bubbles, working from the center towards the edges.
Tips for dealing with textured surfaces:
- Choose larger decals or designs with fewer intricate details. These types of decals are more forgiving on textured walls.
- Press the decal firmly onto the textured surface to ensure good contact between the adhesive and the wall’s uneven surface.
- If the decal doesn’t stick smoothly, gently lift and reposition it, ensuring the adhesive side is free from dirt or debris.
- When smoothing out the decal, work from the center towards the edges to avoid trapping air bubbles.
By following these application techniques and tips for dealing with textured surfaces, you can achieve proper adherence of the wall decals and reduce the presence of air bubbles or wrinkles. This will result in a clean and seamless look on your textured walls, enhancing the overall aesthetic of your space.
Before applying wall decals to textured walls, make sure to clean the surface thoroughly to remove any dust or debris. Use a hairdryer to warm up the decal before applying it, and then use a credit card to smooth out any air bubbles for better adhesion.
Sealing and Protecting Wall Decals
Sealing wall decals on textured walls can help enhance their longevity and protect them from wear and tear. While sealing is not always necessary, it can provide an extra layer of protection and ensure the decals stay in place on the uneven surface. Here are some recommendations for sealing decals on textured walls and the products and techniques you can use:
Recommendations for sealing decals on textured walls:
- Clear Sealants: Look for clear sealant sprays or liquids specifically designed for wall decals. These sealants help protect the decal by creating a transparent and durable layer over it. Make sure to choose a sealant suitable for the textured surface you’re working with.
- Matte or Gloss Finish: Consider whether you prefer a matte or gloss finish for your wall decals. Matte finishes give a subtle and natural look, while gloss finishes provide a shiny and vibrant appearance. Choose a sealant with the desired finish to complement the overall aesthetic of the room.
- Read the instructions: Always read and follow the instructions provided by the manufacturer of the sealant. Different products may have specific application techniques or drying times, so it’s important to follow these guidelines for the best results.
Products and techniques for added protection:
- Clear Contact Paper: Clear contact paper can provide an additional layer of protection for wall decals. Cut a piece of clear contact paper slightly larger than the decal, carefully remove the backing, and place it over the decal, smoothing out any air bubbles. This technique helps protect the decal from damage and makes it easier to clean.
- Heat Gun or Hair Dryer: If you’re experiencing difficulty with the decal adhering to the textured surface, you can use a heat gun or hair dryer on a low heat setting to warm the adhesive. Gently heat the decal and press it onto the wall, ensuring better adherence to the textured surface.
- Extra Adhesive: If you find that the adhesive on the decal is not strong enough for your textured walls, you can use additional adhesive specifically designed for wall decals. Apply a thin layer of the adhesive to the back of the decal before positioning it on the wall. Always test the adhesive on a small area of the wall before applying it to the entire decal.
Sealing wall decals on textured walls provides an extra layer of protection and ensures they stay in place for a longer period. By choosing the appropriate clear sealants, reading the instructions carefully, and considering additional products and techniques, you can help extend the lifespan of your wall decals and maintain their visual appeal.
Removing Wall Decals from Textured Walls
When it comes time to remove wall decals from textured walls, it’s important to use proper techniques to minimize wall damage and ensure a safe removal process. Although removing decals from textured surfaces can be more challenging than from smooth walls, following these techniques will help you remove the decals effectively:
Techniques for safe removal:
- Heat and Peel Method: Use a heat gun or hair dryer on a low heat setting to warm the decal. Gently heat a corner or edge of the decal and peel it off slowly. Applying heat helps soften the adhesive and makes it easier to remove the decal. Be cautious not to overheat the decal or the wall’s surface.
- Plastic Card or Credit Card: If the decal is not easily peeling off, use a plastic card or credit card to gently lift the edges. Slide the card beneath the decal and apply gentle pressure to loosen it. Work from one side to the other, gradually peeling off the decal as you go.
- Adhesive Removers: If the decal leaves behind adhesive residue or does not come off completely, you can use an adhesive remover specifically designed for walls. Apply a small amount of the remover to a cloth and gently rub the adhesive residue until it lifts off. Always test the adhesive remover on a small, inconspicuous area of the wall before using it more widely.
Minimizing wall damage during removal:
- Be patient and gentle when removing the decals to avoid damaging the textured surface. Rushing the process can lead to tears or marks on the wall.
- Use plastic tools or soft cloths to prevent scratching or damaging the textured surface while removing the decal.
- If some adhesive residue remains on the wall after removing the decal, avoid scrubbing or scraping it off aggressively, as this may damage the texture. Instead, use an adhesive remover or a mild soapy solution to dissolve and remove the residue gently.
By employing these techniques for safe removal and taking care to minimize wall damage, you can successfully remove wall decals from textured walls without leaving significant marks or impairing the texture’s appearance. With a little patience and the right approach, you can transition your walls smoothly to accommodate new decal designs or give your space a fresh look.
Troubleshooting and Additional Tips
While applying wall decals to textured walls can present challenges, being prepared and knowing how to troubleshoot common issues can help ensure a successful application. Here are some troubleshooting strategies and additional tips to overcome specific challenges and achieve the best results:
Dealing with specific challenges and issues:
- Air Bubbles: If air bubbles appear during the application process, gently lift the decal and smooth it out from the center towards the edges using a squeegee or credit card. If stubborn bubbles persist, use a pin or needle to puncture them and smooth out the decal.
- Non-Adhesive Areas: Some textured walls may have areas where the adhesive doesn’t stick properly. In such cases, consider using an extra adhesive specifically designed for wall decals, applying it to those areas for better adherence.
- Difficult Removal: If a decal is not peeling off easily, try using a heat gun or hair dryer to warm the adhesive and then carefully remove the decal. If the decal leaves behind residue, use an adhesive remover or warm soapy water to clean it off.
Additional tips and recommendations for success:
- Before applying decals, allow new paint or wallpaper to cure for at least a few weeks to ensure proper adhesion.
- Avoid applying decals in areas with excessive humidity, as moisture can affect the adhesive’s effectiveness.
- Clean the wall decals gently with a soft cloth or sponge to avoid damaging the design or texture.
- Test the decal’s adhesion on a small, inconspicuous area of the textured wall before applying it fully to ensure it sticks properly.
- Choose lighter-colored decals for textured walls, as they may blend better and appear more visually appealing on the uneven surface.
- Regularly inspect the decals for any signs of lifting or peeling. If you notice any issues, gently press them back onto the wall to ensure they remain in place.
By following these troubleshooting techniques and additional tips, you can overcome challenges associated with textured walls and achieve successful results. Remember to be patient and take your time during the application and removal processes, as proper care and attention will help ensure the longevity and visual appeal of your wall decals.
Conclusion
Transforming your textured walls with stunning wall decals is a fantastic way to add personality and charm to any space. While applying decals to textured walls may present unique challenges, with the right techniques and preparation, you can achieve beautiful and long-lasting results.
By understanding the different types of textured walls and the challenges they pose, you can tailor your approach to ensure proper adhesion. Preparing the wall by cleaning, patching imperfections, and priming when necessary creates a smooth base for the decals to adhere to.
Choosing the right wall decals specifically designed for textured walls is essential. Look for decals with a strong adhesive that will adhere well to the uneven surface. Consider the design and size of the decals to ensure they can properly conform to the texture of the wall.
When it comes time to apply the wall decals, following proper techniques such as using heat to soften the adhesive, smooth application, and addressing air bubbles will help ensure the decals stick securely to the textured wall. Applying a sealant or using additional protection techniques can further enhance the longevity of the decals and protect them from wear and tear.
When it’s time to remove the wall decals, use gentle techniques such as heating and peeling or using plastic cards to minimize wall damage. Take care to remove any adhesive residue with adhesive removers or warm soapy water, especially on more delicate textured surfaces.
With troubleshooting strategies and additional tips in mind, you can address specific challenges that may arise and achieve the best results for your textured walls. Always be patient, follow instructions carefully, and test new techniques on a small area before applying them more extensively.
In conclusion, with the right knowledge and techniques, you can successfully make wall decals stick to textured walls, transforming your space into a captivating and personalized environment. Embrace the unique texture of your walls and let your creativity shine through with the addition of beautiful wall decals.
Frequently Asked Questions about How To Make Wall Decals Stick To Textured Walls
Was this page helpful?
At Storables.com, we guarantee accurate and reliable information. Our content, validated by Expert Board Contributors, is crafted following stringent Editorial Policies. We're committed to providing you with well-researched, expert-backed insights for all your informational needs.


0 thoughts on “How To Make Wall Decals Stick To Textured Walls”