Articles
How To Store Window Clings
Modified: December 7, 2023
Learn how to properly store window clings with our informative articles. Preserve the quality and lifespan of your window decorations for long-lasting use.
(Many of the links in this article redirect to a specific reviewed product. Your purchase of these products through affiliate links helps to generate commission for Storables.com, at no extra cost. Learn more)
Introduction
Window clings are a popular and versatile form of signage that can be used for both personal and business purposes. Whether you want to promote a sale, display your business hours, or add a decorative touch to your home, window clings offer a convenient and temporary solution. But what do you do when you want to store these clings for future use? In this article, we will discuss the benefits of window clings, how to select the right ones, cleaning and preparing the window surface, and ultimately, the proper storage techniques to ensure they can be safely reused whenever needed.
Key Takeaways:
- Proper storage of window clings is crucial to maintain their quality and reusability. Follow step-by-step instructions to clean, organize, and store clings in a cool, dry place for long-lasting effectiveness.
- Consider long-term storage tips such as using airtight containers, avoiding extreme temperatures and direct sunlight, and periodically rotating clings to ensure their durability and usability over time.
Read more: How To Store Window Screens
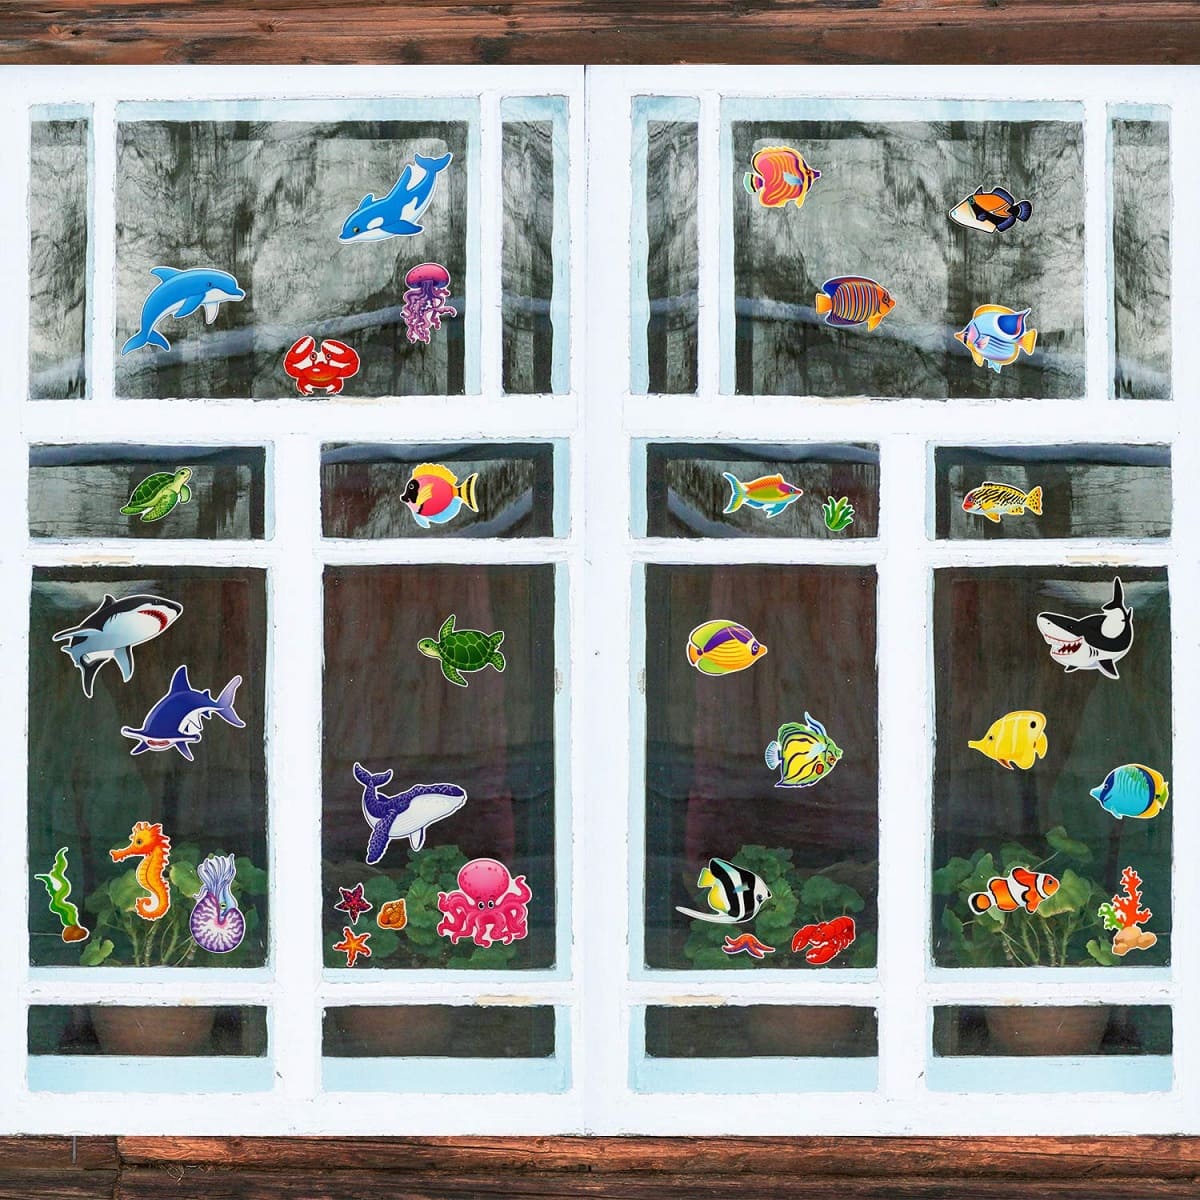
Benefits of Window Clings
Window clings offer numerous advantages that make them a popular choice for both personal and business use. Here are some of the key benefits:
1. Easy Application and Removal: One of the biggest advantages of window clings is their ease of use. Unlike permanent signage that requires adhesive or fixtures, window clings can be easily applied and removed without leaving any residue behind. This makes them ideal for temporary promotions or events.
2. Versatility: Window clings can be customized to suit various purposes. Whether you want to display your logo, share important information, or simply add a decorative touch, window clings can be designed to meet your specific needs. They come in different shapes, sizes, and colors, allowing for creative and eye-catching designs.
3. Cost-Effective: Compared to other forms of signage, window clings are a budget-friendly option. They are relatively inexpensive to produce, especially when compared to options like permanent vinyl signage. This makes them a cost-effective choice for small businesses or individuals who want to promote their brand or message without spending a fortune.
4. Temporary and Reusable: Window clings are designed to be temporary, which allows for flexibility in changing your messaging or design as needed. They can be easily removed and stored for future use, making them a sustainable and practical signage solution.
5. Protection from UV Rays: Some window clings are designed with UV protection, which helps to block harmful UV rays from entering your space. This not only protects your furniture, flooring, and other interior elements from fading, but it also helps to reduce heat and glare, improving your overall comfort.
6. Privacy and Security: Window clings can also be used to provide privacy and security. Frosted or opaque window clings can be applied to windows to prevent outsiders from seeing into your space, while still allowing natural light to filter through. This is particularly useful for office spaces or areas where privacy is desired.
Overall, window clings are a versatile, cost-effective, and eye-catching form of signage, offering numerous benefits for both personal and business use. The next step is to select the right window clings for your specific needs.
Selecting the Right Window Clings
When it comes to selecting the right window clings, there are a few factors to consider to ensure that you choose the most suitable options for your needs. Here are some key points to keep in mind:
1. Purpose and Message: Determine the purpose of your window clings and the message you want to convey. Are you promoting a sale, displaying business information, or simply adding a decorative touch? Understanding your objective will help you select the right design, size, and style.
2. Size and Placement: Consider your available window space and the desired placement of the clings. Measure the dimensions of your windows and choose clings that fit appropriately. It’s also essential to consider whether you want the clings to cover the entire window or just a portion of it.
3. Design and Colors: Window clings offer a wide range of design options, from simple text to full-color graphics. Consider the overall aesthetic you want to achieve and select designs and colors that align with your branding or personal style.
4. Type of Cling: There are two main types of window clings: static cling and adhesive cling. Static cling clings adhere to windows using static electricity, making them easy to apply, remove, and reposition. Adhesive clings, on the other hand, use a low-tack adhesive to stick to windows. Consider the longevity and reusability you require when choosing between these two options.
5. UV Protection: If you want to protect your space from UV rays while displaying your clings, look for options that offer UV protection. These clings will help block harmful rays and keep your interior elements safe from fading.
6. Weather Resistance: Depending on where your windows are located, you may need window clings that are weather-resistant. If your windows are exposed to direct sunlight, rain, or extreme temperatures, choose clings that are designed to withstand these conditions and maintain their quality over time.
7. Customization: If you have specific design requirements, consider working with a company that offers customization options. This allows you to create unique and personalized window clings that perfectly match your branding or style.
By considering these factors, you can select window clings that not only fulfill their intended purpose but also meet your aesthetic preferences and durability requirements. Once you have chosen the right window clings, it’s essential to properly clean and prepare the window surface before applying them.
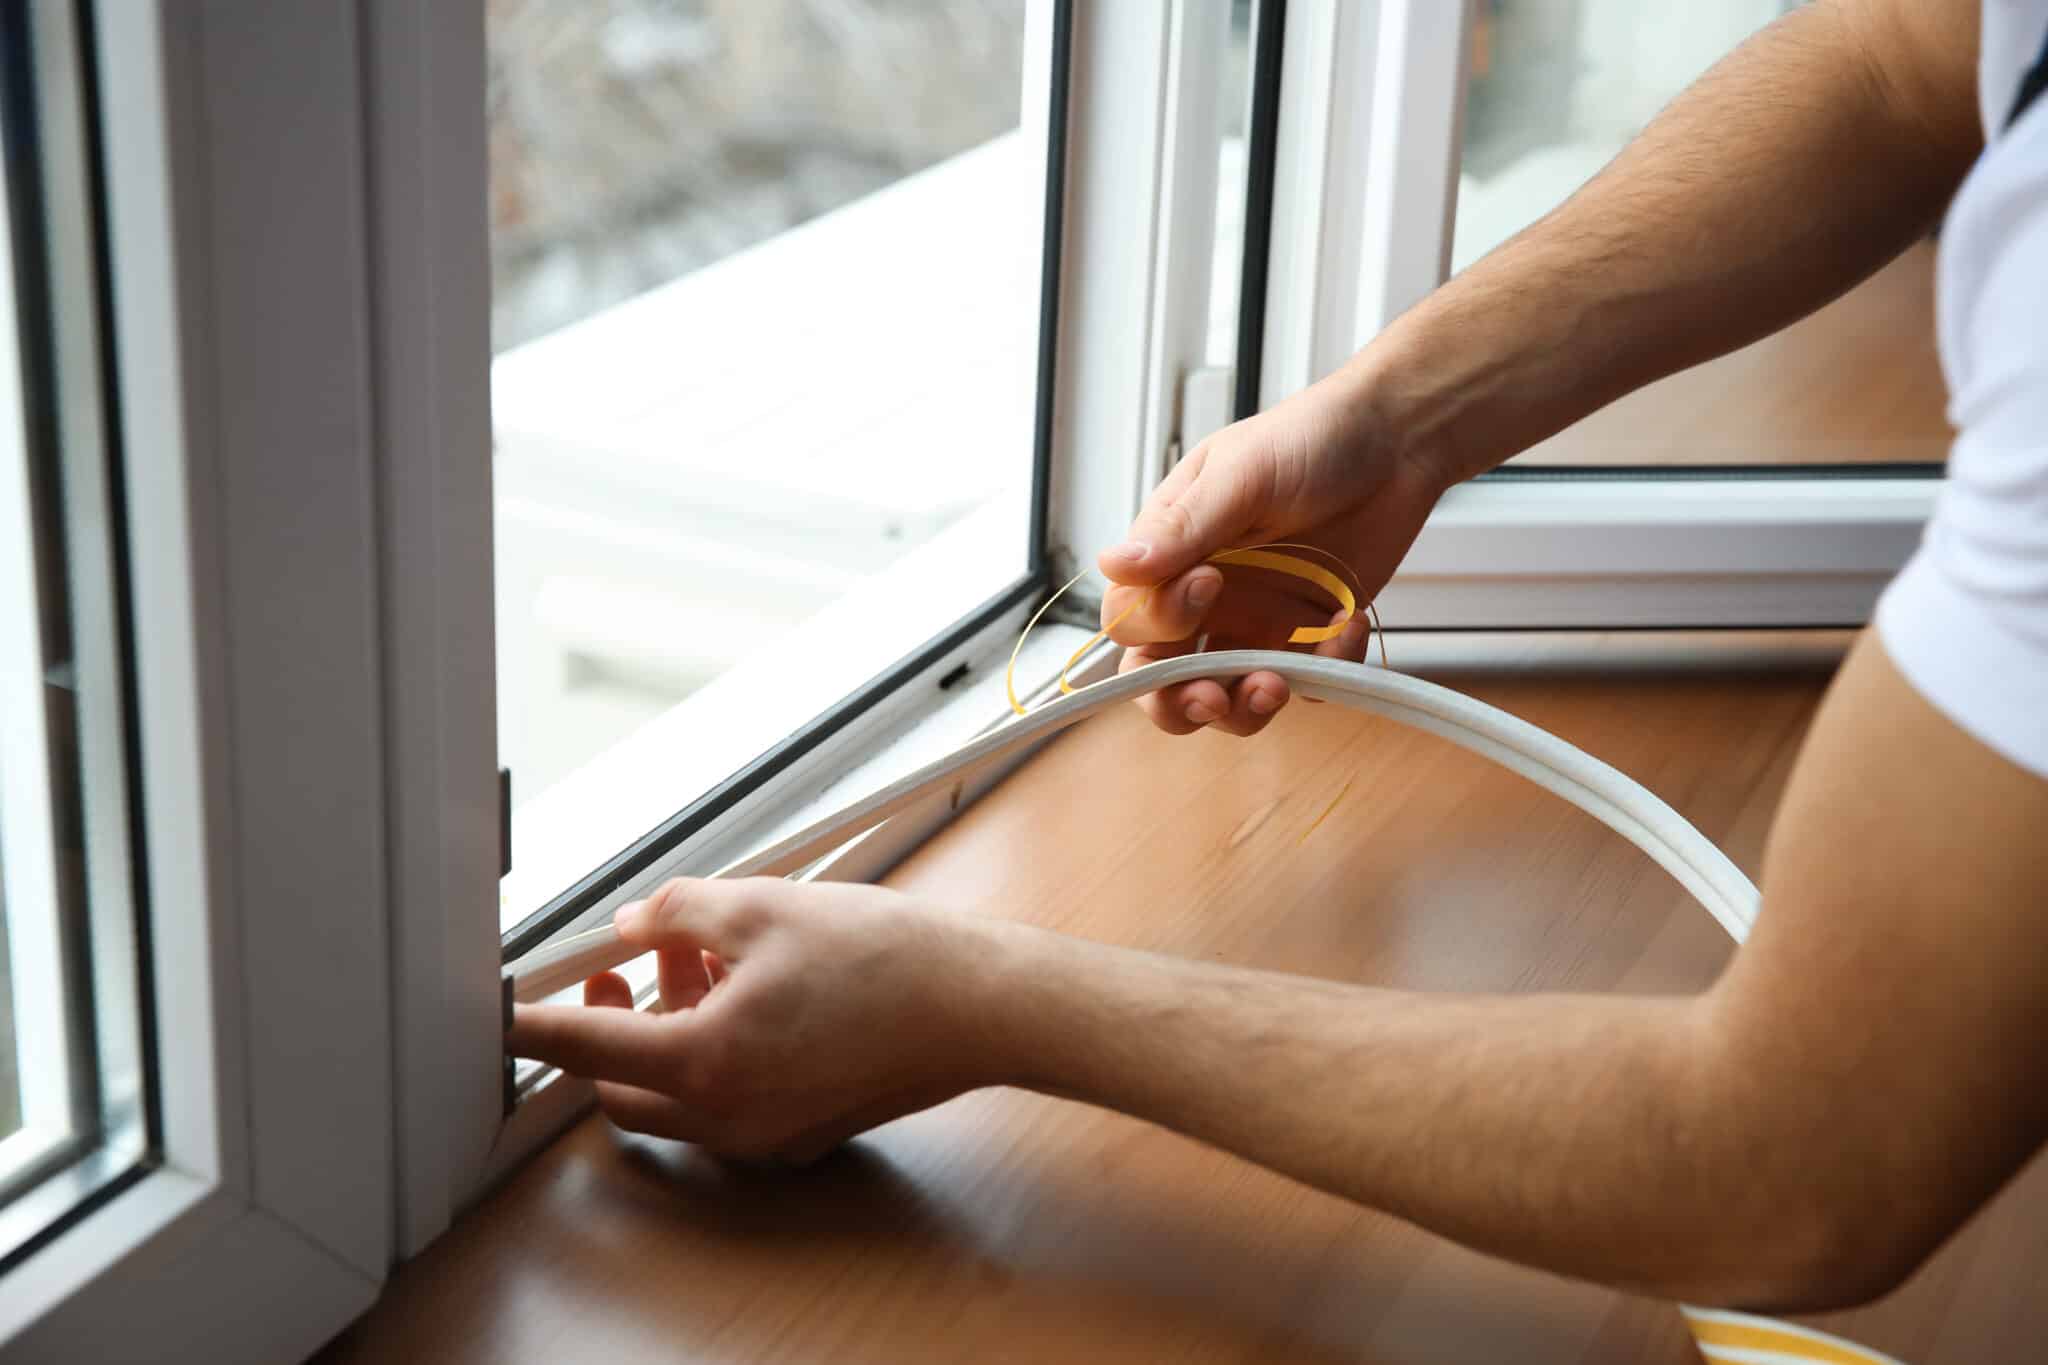
Cleaning and Preparing the Window Surface
Before applying window clings, it’s important to ensure that the window surface is clean and properly prepared. This ensures better adhesion and helps to prevent any dirt or debris from interfering with the clings’ appearance. Here are some steps to follow for cleaning and preparing the window surface:
1. Gather the necessary supplies: To clean the window surface, you’ll need a few basic supplies, including a mild glass cleaner, a soft cloth or sponge, and a squeegee or lint-free towel for drying.
2. Remove any existing window clings or stickers: If there are any old window clings or stickers on the surface, gently remove them using a plastic scraper. Be careful not to scratch the window while doing so.
3. Clean the window surface: Spray the mild glass cleaner onto the window surface and use a soft cloth or sponge to gently scrub away any dirt or fingerprints. Focus on areas where the window clings will be applied. Rinse the surface with clean water and pat it dry with a lint-free towel or squeegee.
4. Remove any streaks or residue: After drying the surface, check for any streaks or residue that may be left behind. If necessary, re-wet the cloth with the glass cleaner and go over any remaining marks until the surface is clear and smooth.
5. Ensure the surface is fully dry: It’s crucial to ensure that the window surface is completely dry before applying the window clings. Any moisture or dampness can prevent proper adhesion and may cause the clings to peel or bubble. Wait for the surface to air dry, or use a lint-free towel or squeegee to speed up the drying process.
6. Check for any imperfections: Before applying the window clings, inspect the window surface for any imperfections or damages. If there are any chips, cracks, or uneven areas, it’s recommended to address these issues before applying the clings. Repairing or replacing the window will provide a smooth and clean surface for optimal cling adhesion.
7. Consider using a primer: If you have an extremely smooth or non-porous window surface, especially for adhesive clings, it may be beneficial to use a primer designed for window films. This primer creates a better surface for the clings to adhere to, improving longevity and preventing peeling.
By following these steps and properly cleaning and preparing the window surface, you are now ready to apply your selected window clings. However, when the time comes to remove and store them, it’s important to know the proper techniques for storage to ensure their longevity and reusability.
Store window clings by placing them between sheets of wax paper to prevent sticking and then placing them in a flat, dry place away from direct sunlight to avoid discoloration.
Proper Storage of Window Clings
Proper storage of window clings is essential to maintain their quality and ensure that they can be safely reused whenever needed. By following a few simple guidelines, you can preserve the adhesive properties and prevent damage to the clings. Here are some tips for properly storing window clings:
1. Clean and dry the clings: Before storing the window clings, make sure they are clean and dry. If there is any dirt or residue on the clings, gently clean them with a mild soap solution and let them air dry completely. This helps to prevent any transfer of dirt or debris to other clings during storage.
2. Separate and organize: If you have multiple window clings, separate them and organize them based on size, design, or any other relevant criteria. This will make it easier to locate and access specific clings when you need them in the future.
3. Use protective sheets or backing: To prevent the clings from sticking to each other or to other surfaces, consider using protective sheets or backing. You can either cut sheets of wax paper or purchase protective sleeves specifically designed for window clings. Insert the clings between these protective layers to provide a barrier and keep them in pristine condition.
4. Store in a cool, dry place: It’s important to store window clings in a cool, dry place to prevent any moisture or humidity from causing damage. Excessive heat or moisture can compromise the adhesive properties of the clings and lead to peeling or warping. Choose a storage area away from direct sunlight, and ensure that the temperature and humidity levels are controlled.
5. Avoid folding or creasing: Window clings should be stored flat to avoid any folding or creasing, as this can damage the cling material and cause it to lose its shape. If you need to store larger clings that cannot fit in a single flat position, roll them gently using a cardboard tube or store them in a large flat envelope to minimize the risk of damage.
6. Label and date: To keep track of the window clings and their storage duration, consider labeling and dating them. This will help you identify the clings easily and determine their usability over time.
7. Regularly inspect and replace: Periodically inspect your stored window clings for any signs of damage, such as peeling edges or discoloration. If any clings are compromised, it’s best to replace them to ensure quality and adhesion when using them in the future.
By following these storage guidelines, you can prolong the lifespan of your window clings and ensure that they remain in excellent condition for future use. Now let’s proceed to a step-by-step guide on how to store your window clings properly.
Read more: How To Store Window Ac Unit
Step-by-Step Guide to Storing Window Clings
Proper storage of window clings is crucial to preserving their quality and ensuring that they can be safely reused. Follow these step-by-step instructions to store your window clings effectively:
Step 1: Clean the clings
Before storing the window clings, ensure that they are clean and free of any dirt or residue. Use a mild soap solution and a soft cloth to gently clean the clings. Allow them to air dry completely before proceeding.
Step 2: Organize and separate
If you have multiple window clings, organize them based on size, design, or any other relevant criteria. This will make it easier to locate and access specific clings in the future.
Step 3: Use protective sheets or backing
To prevent the clings from sticking to each other or to other surfaces, place them between protective sheets or backing. You can use wax paper or purchase protective sleeves designed for window clings. Insert the clings between these protective layers to provide a barrier and keep them in good condition.
Step 4: Store in a cool, dry place
Choose a cool, dry place to store your window clings. Avoid storing them in areas exposed to direct sunlight, as excessive heat can compromise the adhesive properties. A controlled temperature and humidity level will help prolong the lifespan of the clings.
Step 5: Avoid folding or creasing
Store window clings flat to avoid any folding or creasing, as this can damage the cling material. If you have larger clings that cannot fit in a single flat position, roll them gently using a cardboard tube or store them in a large flat envelope.
Step 6: Label and date
To keep track of your stored window clings, label and date them. This will help you easily identify and determine their usability over time. Use adhesive labels or markers to add clear and visible labels on the protective sheets or backing.
Step 7: Regularly inspect and replace
Periodically inspect your stored window clings for any signs of damage, such as peeling edges or discoloration. If any clings are compromised, replace them to ensure quality and adhesion when using them in the future.
Following these step-by-step instructions will help you store your window clings properly, ensuring their longevity and reusability. By taking the time to store them correctly, you’ll be able to enjoy their benefits for years to come.
Tips for Long-Term Storage
When it comes to long-term storage of window clings, there are a few additional tips to keep in mind to ensure their durability and usability. Follow these tips to maximize the lifespan of your stored window clings:
1. Store in airtight containers: Consider storing your window clings in airtight containers to provide an extra layer of protection against dust, moisture, and pests. Plastic storage bins or resealable bags are excellent options for keeping the clings safe and secure.
2. Avoid extreme temperatures: Extreme temperatures can damage window clings, causing them to warp or lose their adhesive properties. Avoid storing them in areas that are too hot or cold, such as attics, garages, or basements. Choose a location with a consistent temperature to ensure the longevity of the clings.”
3. Keep away from direct sunlight: Prolonged exposure to direct sunlight can cause the colors of window clings to fade over time. Store them in a place where they are protected from UV rays to maintain their vibrancy and visibility. If necessary, opt for UV-resistant storage containers or areas.
4. Rotate the clings: If you have several window clings in storage, consider rotating them periodically. This will prevent any one cling from being compressed or folded for an extended period, helping to maintain their shape and adhesive quality.
5. Reapply adhesive if needed: Over time, the adhesive on window clings may lose its effectiveness. If you notice that the cling is not adhering well when you attempt to reuse it, consider applying a thin layer of adhesive, such as a static spray or window cling adhesive, to restore its sticking power.
6. Store with care: When handling and storing window clings, be gentle to avoid any unnecessary damage. Handle them with clean hands and avoid any sharp objects or rough surfaces that could scratch or tear the clings.
7. Maintain proper inventory: It’s beneficial to keep an inventory of your stored window clings. This will help you keep track of the designs, sizes, and conditions of each cling, making it easier to retrieve the desired cling when you need it in the future.
By following these tips for long-term storage, you can ensure that your window clings remain in excellent condition and are ready for use whenever you need them. Proper storage practices will help extend their lifespan and preserve their visual appeal, allowing you to make the most of your window clings for years to come.
Conclusion
Window clings are a versatile and convenient form of signage that can be used for both personal and business purposes. Whether you want to promote a sale, display important information, or add a decorative touch, window clings offer an easy and temporary solution. When it comes to storing window clings for future use, following the proper techniques is essential to maintaining their quality and usability.
In this article, we discussed the benefits of window clings, including their easy application and removal, versatility, cost-effectiveness, and temporary and reusable nature. We also provided guidance on selecting the right window clings based on the purpose, size, design, and type of cling. Additionally, we covered the importance of cleaning and preparing the window surface before applying the clings to ensure optimal adhesion.
Proper storage techniques were then discussed, including cleaning the clings, organizing and separating them, using protective sheets or backing, storing in a cool and dry place, avoiding folding or creasing, and labeling and dating. We also provided extra tips for long-term storage, such as storing in airtight containers, avoiding extreme temperatures and direct sunlight, rotating the clings, and reapplying adhesive if needed.
By following these guidelines and best practices, you can ensure that your window clings remain in excellent condition and can be safely reused whenever needed. Proper storage will help preserve the adhesive properties, maintain the clarity of the designs, and extend the lifespan of the clings.
So, whether you are a business owner looking to promote your brand or an individual seeking to add a personal touch to your space, with the proper storage techniques, you can enjoy the benefits of window clings for years to come. Invest some time and effort in storing your window clings correctly, and you’ll be rewarded with high-quality, reusable signage that effectively conveys your message and captures attention.
Frequently Asked Questions about How To Store Window Clings
Was this page helpful?
At Storables.com, we guarantee accurate and reliable information. Our content, validated by Expert Board Contributors, is crafted following stringent Editorial Policies. We're committed to providing you with well-researched, expert-backed insights for all your informational needs.


0 thoughts on “How To Store Window Clings”