Articles
How To Store Window AC Unit For Winter
Modified: April 23, 2024
Learn how to properly store your window AC unit for the winter in this informative article. Protect your investment and ensure it's ready for next summer.
(Many of the links in this article redirect to a specific reviewed product. Your purchase of these products through affiliate links helps to generate commission for Storables.com, at no extra cost. Learn more)
Introduction
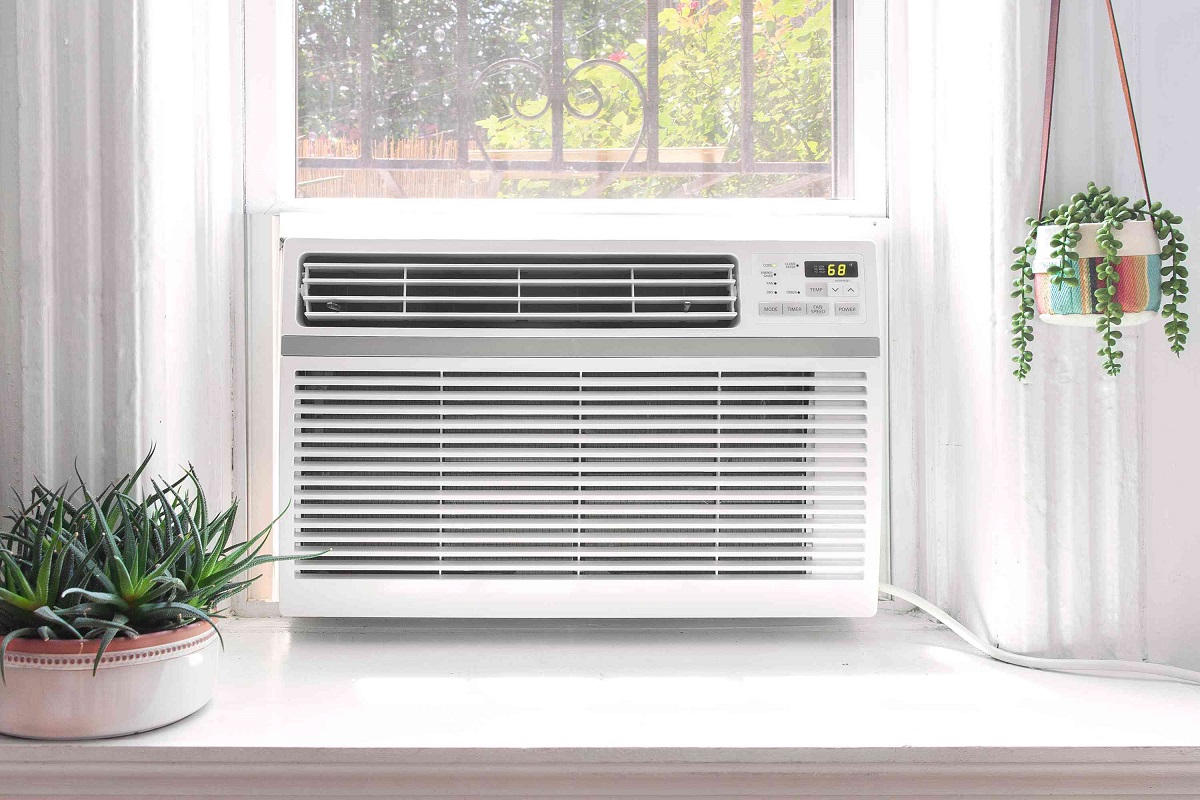
As the winter season approaches, it’s time to start thinking about storing your window AC unit to protect it from the harsh weather conditions. Properly storing your AC unit during the winter months will not only extend its lifespan but also ensure its optimal performance when you need it again in the summer.
In this article, we will guide you through the step-by-step process of storing your window AC unit for the winter. From cleaning the unit to choosing the right storage location, we will provide you with all the information you need to keep your AC unit safe and well-maintained.
Before we dive into the details, it’s important to note that the specific steps may vary depending on the make and model of your AC unit. Always refer to the manufacturer’s guidelines for any specific instructions related to your unit. With that said, let’s get started!
Key Takeaways:
- Properly storing your window AC unit for winter involves thorough cleaning, safe removal from the window, clearing the window area, preparing the unit for storage, choosing the right storage location, and covering it with a waterproof cover.
- Maintenance tips for the next season include referring to the manufacturer’s guidelines, cleaning or replacing filters, inspecting for damage, scheduling professional maintenance, testing the unit before reinstalling, keeping the area clean, and monitoring energy usage for efficient cooling.
Read also: 10 Best Window AC Covers For Winter for 2024
Step 1: Cleaning the AC Unit
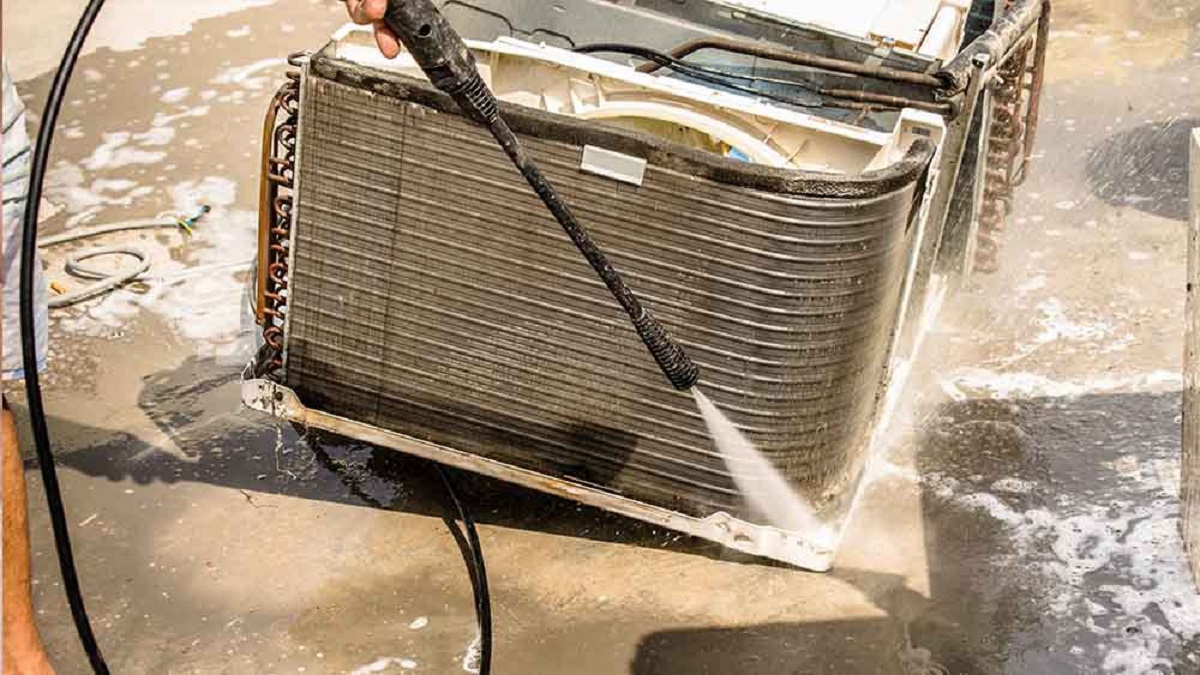
The first step in preparing your window AC unit for winter storage is to thoroughly clean it. Over time, dust, dirt, and debris can accumulate on the unit’s filters, coils, and exterior, reducing its efficiency and potentially causing damage. Follow these steps to ensure a clean and well-maintained AC unit:
- Turn off the power: Before starting the cleaning process, make sure to turn off the power supply to the unit. This can usually be done by switching off the circuit breaker or unplugging the unit from the electrical outlet.
- Remove the filter: The filter is responsible for trapping dust and other particles from the air. Remove the filter from the unit and rinse it under running water to remove any dirt or debris. If the filter is clogged or damaged, consider replacing it with a new one.
- Clean the coils: The evaporator and condenser coils are essential components of the AC unit. Use a soft brush or a vacuum cleaner with a brush attachment to gently remove any dirt or dust from the coils. Avoid using excessive force or sharp objects that can damage the delicate fins.
- Wipe the exterior: Use a damp cloth or mild cleaning solution to wipe down the exterior of the unit, including the front grille and control panel. Pay extra attention to any areas with stubborn stains or accumulation of dirt.
- Inspect for any damage: While cleaning, take the time to inspect the AC unit for any signs of damage, such as bent fins, leaks, or loose wires. If you notice any issues, it’s best to address them before storing the unit.
Cleaning your AC unit not only ensures its efficiency but also prevents the buildup of mold and mildew during storage. Once you have thoroughly cleaned the unit, it’s time to move on to the next step: removing the AC unit from the window.
Step 2: Removing the AC Unit from the Window
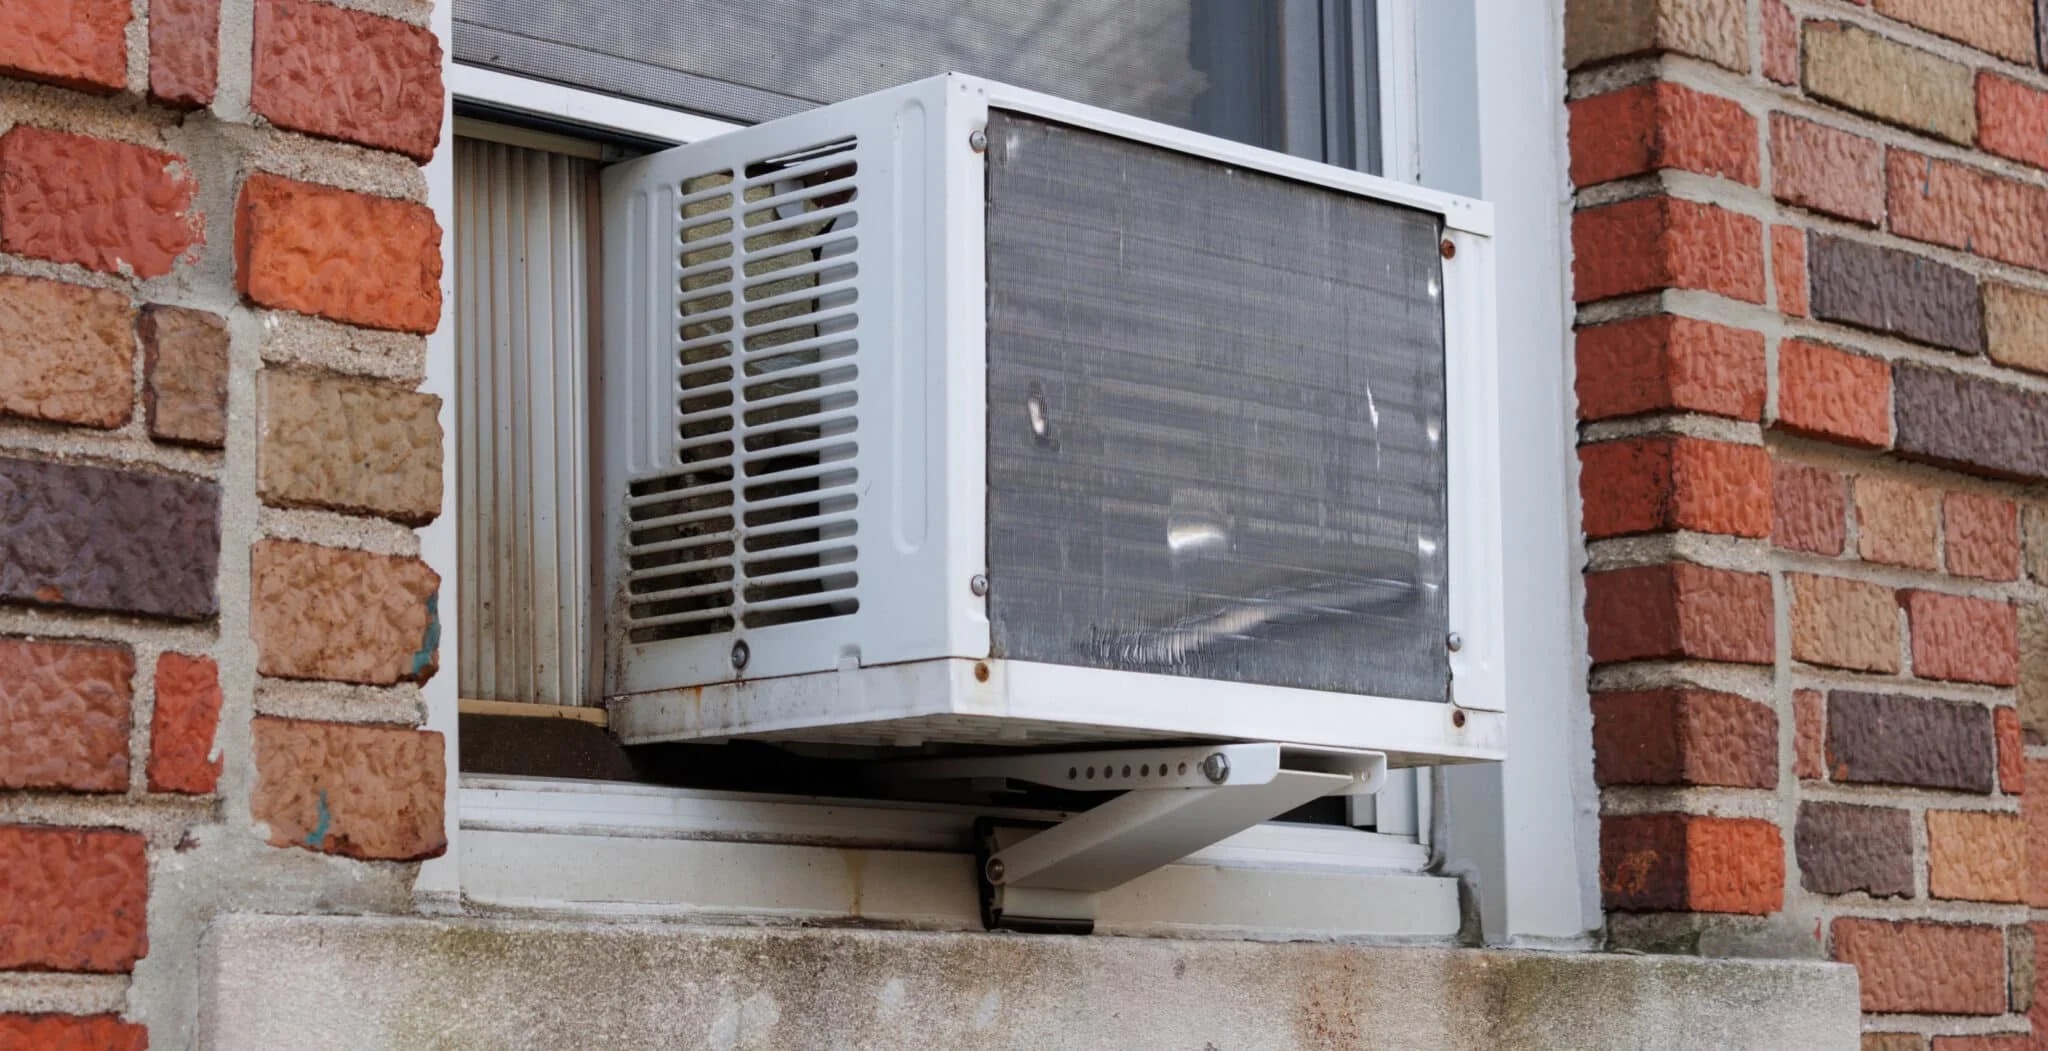
Now that you have cleaned your window AC unit, it’s time to safely remove it from the window. Removing the unit properly will prevent any damage to both the unit and your window. Follow these steps to ensure a smooth removal process:
- Disconnect the power: Before starting, make sure to disconnect the power supply to the AC unit. This is important for your safety as well as to avoid any electrical damage during the removal process.
- Remove the securing brackets: Most window AC units are held in place by securing brackets. These brackets can usually be found on the bottom of the unit or on the window frame. Use a screwdriver or the appropriate tools to remove these brackets.
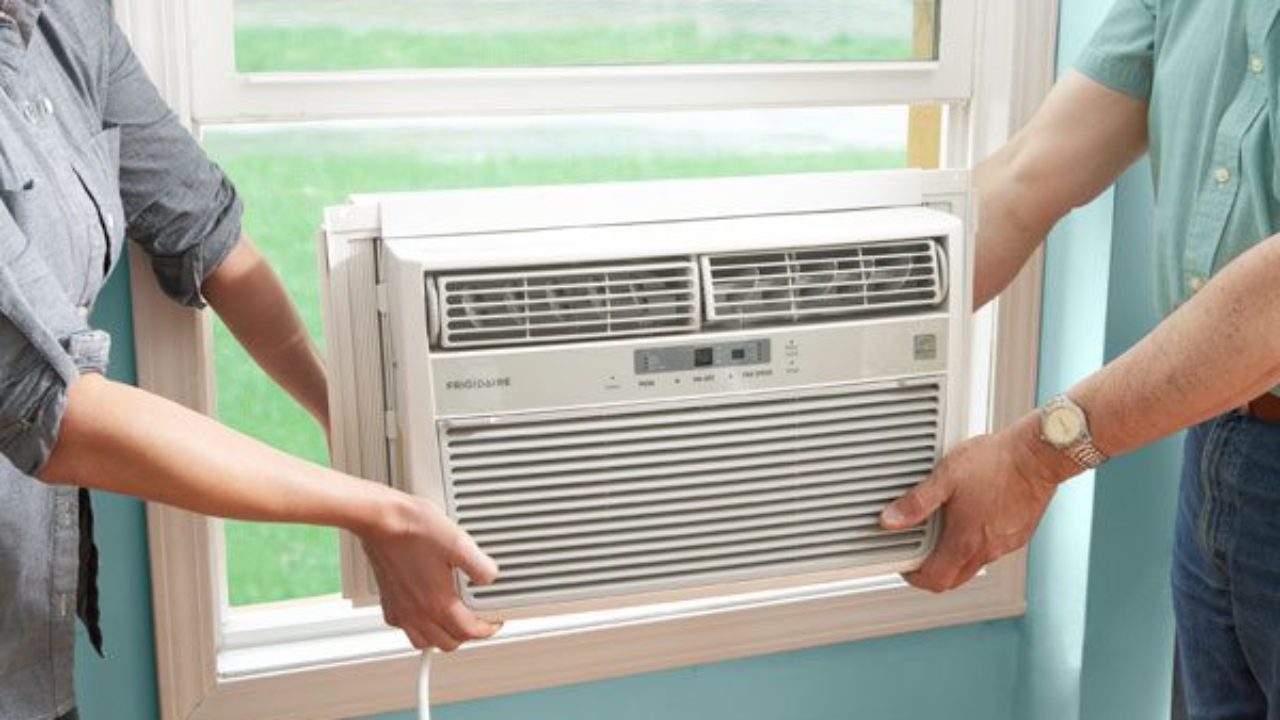
- Enlist a helper: Removing a window AC unit can be a heavy and cumbersome task, so it’s recommended to have an extra pair of hands to assist you. Coordinate with your helper to ensure a smooth removal process without any strain or accidents.
- Gently lift the unit: With the help of your helper, carefully lift the AC unit straight up from the window sill. Make sure to lift with your legs and not your back to avoid any injuries. Take your time and be cautious throughout this step.
- Clear any obstacles: As you remove the unit, be aware of any obstructions such as curtains, blinds, or furniture. Move them out of the way or enlist your helper to ensure a clear and safe path for the AC unit.
By following these steps, you can safely remove your window AC unit from the window without causing any damage. Once the unit is successfully removed, it’s time to move on to the next step: clearing the window area.
Step 3: Clearing the Window Area
Once you have safely removed the window AC unit, it’s important to clear the window area to prepare it for winter storage. Clearing the window area not only ensures a clean and organized space but also prevents any potential damage to your window and surroundings during the winter months. Follow these steps to clear the window area effectively:
- Remove any debris: Thoroughly clean the window sill and surrounding area to remove any dirt, leaves, or other debris. Use a broom, vacuum cleaner, or a damp cloth to ensure a clean surface.
- Inspect the window: Take the time to inspect the window for any damage or cracks. If you notice any issues, such as broken seals or damaged frames, consider repairing them before storing the AC unit.
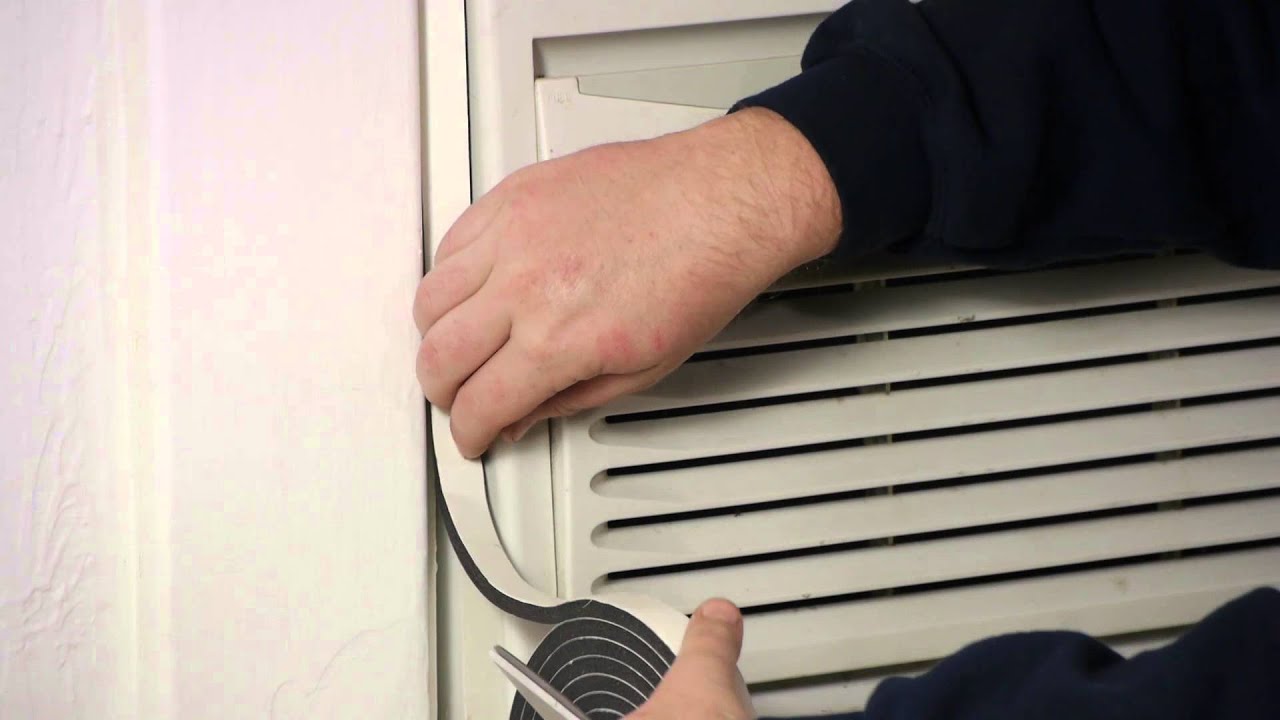
- Check for drafts: Check for any air leaks or drafts around the window. Use weatherstripping or caulk to seal any gaps or openings that may cause heat loss during the winter months.
- Clear space around the window: Ensure that there are no objects or furniture obstructing the window area. Clearing the space will not only make it easier to reinstall the AC unit in the future but also prevent any potential damage to the items or the unit itself.
- Consider window coverings: If you don’t already have them, consider installing window coverings such as blinds, curtains, or window film to provide additional insulation and protect the window from the elements.
Clearing the window area before storing your window AC unit ensures a clean and well-prepared space for both the unit and the window itself. Once you have cleared the window area, it’s time to move on to the next step: preparing the AC unit for storage.
Step 4: Preparing the AC Unit for Storage
Before storing your window AC unit for the winter, it’s important to properly prepare it to ensure its safety and longevity. Taking the time to prepare the unit for storage will help prevent any damage and ensure that it functions effectively when you reinstall it in the summer. Follow these steps to prepare your AC unit for storage:
- Drain any excess water: If your window AC unit has a water reservoir or drain pan, make sure to empty it to prevent any stagnant water from causing mold or rust. Allow the unit to dry completely before proceeding.
- Remove batteries: If your AC unit uses batteries for its control panel or remote, be sure to remove them. This will prevent any potential damage from battery leakage during the storage period.
- Protect delicate parts: To ensure the longevity of your AC unit, it’s a good idea to protect delicate parts such as the fan blades or vents. You can cover them with a soft cloth or use specialized AC unit covers available in the market.
- Tape or secure loose parts: To prevent any accidental damage, tape or secure any loose parts of the AC unit, such as control knobs or flaps. This will help to keep everything intact during the storage period.
- Store the remote: If your window AC unit comes with a remote control, store it in a safe and easily accessible place. You don’t want to misplace it during the winter months.
- Keep the manual: It’s always a good idea to keep the manual of your AC unit for future reference. Store it in a safe place so you can easily access it when you need to reinstall the unit.
By following these steps, you can ensure that your window AC unit is properly prepared for storage. Taking the time to prepare the unit will help protect it from any potential damage and ensure its longevity for many seasons to come.
To store a window AC unit for winter, make sure to clean the filters, coils, and exterior. Then, cover the unit with a waterproof cover to protect it from the elements. Finally, store it in a dry, cool place to prevent damage.
Read more: How To Remove A Window AC Unit
Step 5: Choosing the Right Storage Location
Choosing the right storage location for your window AC unit is crucial to ensure its safety and preserve its lifespan during the winter months. The storage location should provide adequate protection from the elements, moisture, and potential damage. Consider the following factors when selecting the storage location:
- Indoor storage: Opt for indoor storage whenever possible. Storing the AC unit indoors, such as in a basement or garage, provides better protection against extreme temperatures, moisture, and potential damage from snow or rain.
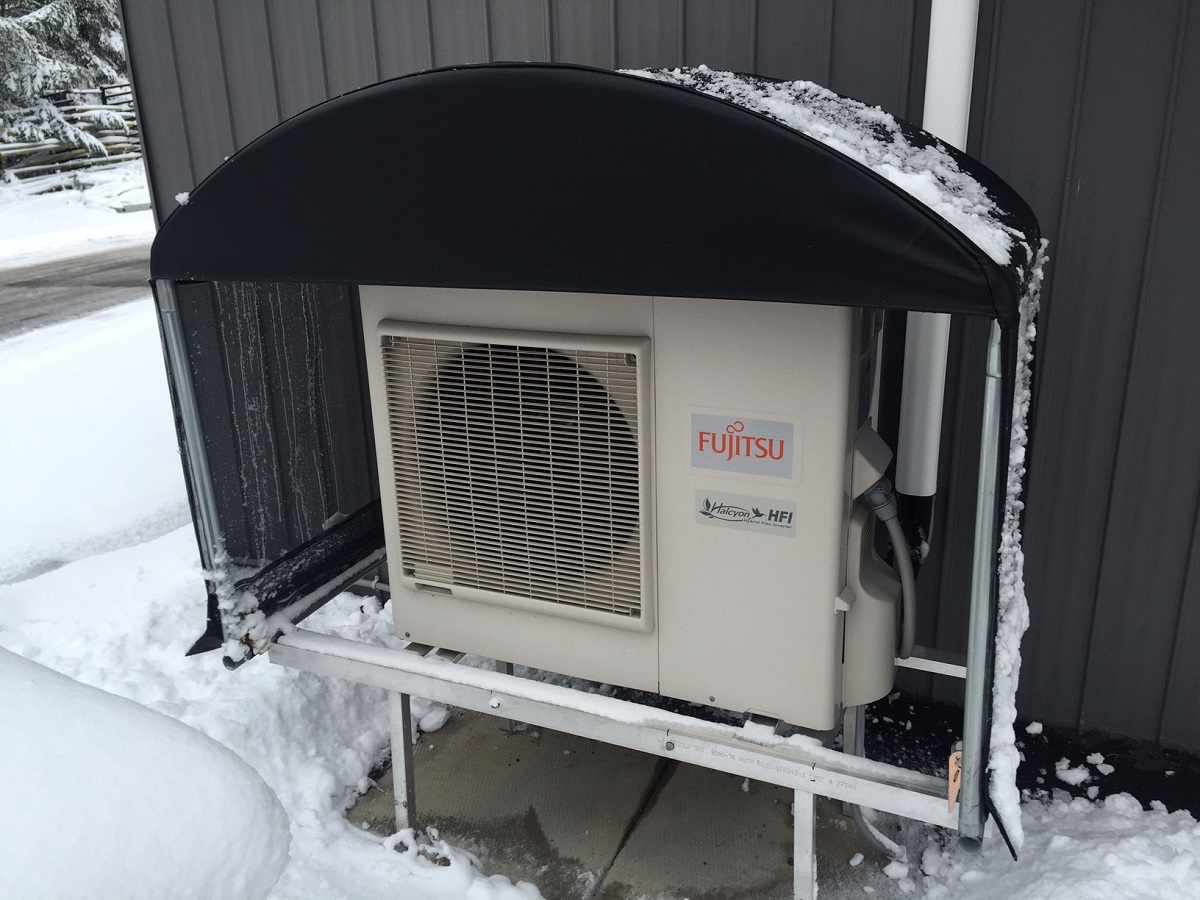
- Avoid outdoor elements: If indoor storage is not available, ensure that the unit is protected from direct exposure to outdoor elements. Consider using a waterproof cover to shield it from rain, snow, or debris.
- Avoid humidity and moisture: Moisture is one of the biggest enemies of your AC unit. Avoid storing it in areas with high humidity, such as a damp basement. Moisture can cause mold, corrosion, and damage to electrical components.
- Elevated storage: If possible, store the AC unit on an elevated surface to prevent it from coming into contact with any potential spills or flooding.
- Secure location: Choose a storage location that is secure and protected. The AC unit should be kept away from any potential accidents or damage, such as heavy items that could fall on it or high traffic areas.
- Consider climate-controlled storage: If you have access to climate-controlled storage, it’s highly recommended. Temperature and humidity fluctuations can damage the AC unit, but a climate-controlled environment will provide more stable conditions.
By carefully considering these factors, you can choose a suitable storage location that will protect your window AC unit from the elements and ensure its safe storage during the winter months.
Step 6: Covering and Storing the AC Unit
Now that you have prepared your window AC unit and chosen the right storage location, it’s time to cover and store the unit properly. Properly covering and storing the AC unit will provide an extra layer of protection and help ensure its longevity during the winter months. Follow these steps to cover and store your AC unit:
- Secure the cover: If you haven’t already, invest in a high-quality AC unit cover that is specifically designed for your unit’s size and shape. The cover should be made of durable, waterproof material to protect your unit from moisture and debris.
- Wrap the unit: Carefully wrap the AC unit with the cover, making sure it fully encloses and secures the unit. The cover should fit snugly to prevent any water or debris from entering. Ensure that the cover is tightly fastened or secured, so it doesn’t get blown away by strong winds.
- Avoid plastic or tarp: Avoid using plastic or tarp as a cover as they can trap moisture and lead to mold or rust. Opt for specialized AC unit covers that are breathable and designed to protect the unit without causing damage.
- Store it upright: When storing the AC unit, keep it in an upright position to prevent any oil or refrigerant from leaking. Storing it on its side or upside down can cause damage to the internal components of the unit.
- Create space: Make sure the stored AC unit has enough space around it, allowing for proper airflow and ventilation. Storing it in a cramped or crowded space can contribute to moisture buildup and potential damage.
- Label and organize: If you have multiple AC units, it’s a good idea to label and organize them to easily identify and locate the specific unit when you need it again in the future.
By following these steps, you can ensure that your window AC unit is properly covered and stored for the winter. Taking the time to cover and store the unit correctly will protect it from moisture, debris, and potential damage, ensuring its longevity and performance when you reinstall it in the summer.
Step 7: Maintenance Tips for Next Season
As you store your window AC unit for the winter, it’s important to consider some maintenance tips for the next season. These tips will help ensure that your AC unit is in optimal condition when you reinstall it for the summer. Follow these maintenance tips to keep your AC unit in top shape:
- Refer to the manufacturer’s guidelines: Before reinstalling the AC unit, make sure to review the manufacturer’s guidelines and recommendations. This will help you understand any specific instructions or maintenance requirements for your particular unit.
- Clean and replace filters: Before reinstalling the AC unit, clean or replace the filters as necessary. Filters can become dirty and clogged over time, reducing the unit’s efficiency. Clean filters ensure better airflow and help improve the performance of your AC unit.
- Inspect for any damage: Before reinstalling the unit, carefully inspect it for any signs of damage, such as cracks, leaks, or loose components. Address any issues promptly to prevent further damage and ensure the unit’s proper functionality.
- Schedule professional maintenance: Consider scheduling a professional tune-up and maintenance service for your AC unit before the start of the season. A professional technician can conduct a thorough inspection, clean the unit, and address any potential issues.
- Test the unit before reinstalling: Before reinstalling the AC unit, give it a test run to ensure that it is functioning properly. Check for any unusual noises, leaks, or performance issues. If you notice any problems, contact a professional for further inspection or repairs.
- Keep the area clean: During the summer season, regularly clean the area around the AC unit to prevent debris from entering. Trim any vegetation that may obstruct the airflow and keep the area free from dirt and obstructions.
- Monitor energy usage: Keep an eye on your AC unit’s energy usage to make sure it is operating efficiently. If you notice any significant increase in energy consumption or inefficient cooling, it may be a sign of a problem that requires attention.
By following these maintenance tips, you can ensure that your window AC unit is well-maintained and ready for the next season. Regular cleaning, inspections, and professional tune-ups will help prolong its lifespan and ensure optimal cooling performance.
Conclusion
Storing your window AC unit properly during the winter months is essential for its longevity and performance. By following the step-by-step process outlined in this article, you can ensure that your AC unit remains well-maintained and protected until the next summer season.
Remember to start by thoroughly cleaning the AC unit, removing any dirt or debris from the filters, coils, and exterior. Safely remove the unit from the window, taking care not to damage it or the surrounding area. Clear the window area and prepare the unit for storage by draining any excess water and protecting delicate parts.
Choosing the right storage location is crucial, whether it’s indoors or outdoors, ensuring protection from elements and pests. Covering the AC unit with a waterproof cover and storing it upright will help guard against moisture and damage. Label and organize your stored units for easy retrieval in the future.
As you prepare to reinstall the AC unit in the next season, perform maintenance tasks such as cleaning or replacing filters, inspecting for damage, and scheduling professional maintenance if needed. Test the unit before reinstalling to ensure it functions properly and monitor energy usage for efficient cooling.
By taking the time to properly store and maintain your window AC unit, you’ll not only extend its lifespan but also enjoy optimal cooling performance when you need it. Remember to consult the manufacturer’s guidelines and follow any specific instructions for your particular unit.
With your AC unit safely stored, you can look forward to a cool and comfortable summer without any worries. Stay proactive with maintenance, and your window AC unit will continue to provide you with reliable cooling for many seasons to come.
Frequently Asked Questions about How To Store Window AC Unit For Winter
Was this page helpful?
At Storables.com, we guarantee accurate and reliable information. Our content, validated by Expert Board Contributors, is crafted following stringent Editorial Policies. We're committed to providing you with well-researched, expert-backed insights for all your informational needs.

0 thoughts on “How To Store Window AC Unit For Winter”