Articles
How To Store A Window Ac Unit
Modified: January 18, 2024
Learn the best techniques and tips for storing a window AC unit in this informative article. Get expert advice on how to properly prepare and protect your unit for long-term storage.
(Many of the links in this article redirect to a specific reviewed product. Your purchase of these products through affiliate links helps to generate commission for Storables.com, at no extra cost. Learn more)
Introduction
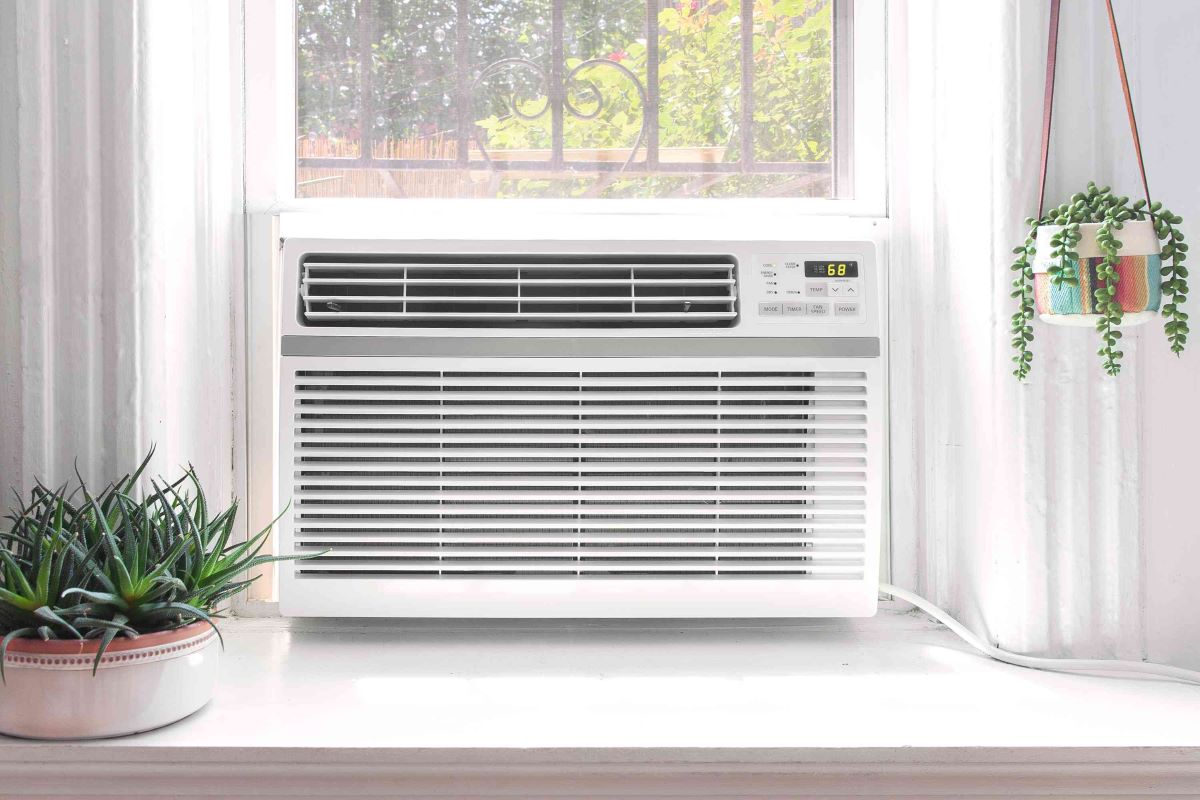
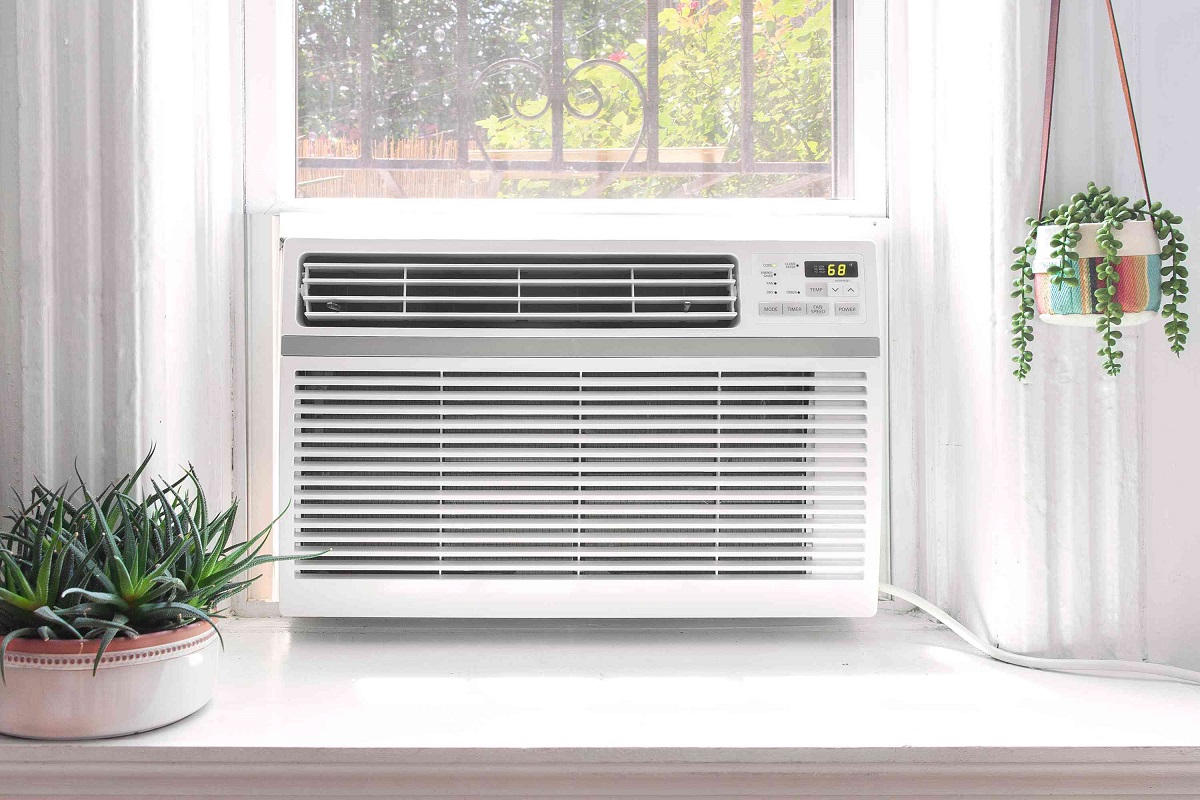
As the summer comes to an end, it’s time to start thinking about storing your window air conditioning unit until next year. Properly storing your window AC unit during the off-season is essential to ensure its longevity and performance. By following a few simple steps, you can protect your investment and be ready to beat the heat when summer rolls around again.
In this article, we will guide you through a comprehensive process for storing your window AC unit. From disconnecting the unit and cleaning it, to removing it from the window and choosing an appropriate storage space, we have you covered.
So, let’s get started and make sure your window AC unit is safely stored away until it’s needed again!
Key Takeaways:
- Properly storing your window AC unit involves disconnecting, cleaning, and choosing an appropriate storage space. Regular maintenance checks during storage are crucial for ensuring its longevity and functionality.
- By following the comprehensive process outlined in this article, you can confidently store your window AC unit and be prepared to beat the heat when the next summer arrives. Each step, from disconnecting to covering and securing, plays a vital role in maintaining the unit’s performance and preventing potential damage.
Read more: How To Seal Window AC Unit
Step 1: Disconnecting the Window AC Unit
Before you can store your window AC unit, you need to properly disconnect it from the power source and any external components. Follow these steps to ensure a safe disconnection:
- Turn off the AC unit: Start by turning off the power to the AC unit using the on/off switch or by unplugging it from the electrical outlet.
- Unplug and remove any accessories: If you have any accessories attached to the AC unit, such as extension cords or surge protectors, unplug them and remove them from the unit.
- Remove the window seal: If your AC unit is secured with a window seal or foam strips, remove them carefully to prevent any damage.
- Disconnect the drainage hose: If your AC unit has a drainage hose, disconnect it from the unit and make sure the hose is empty of any water.
- Secure the electrical cord: Bundle up the electrical cord neatly and secure it with zip ties or cord organizers. This will prevent any tangling or damage during storage.
By following these steps, you can ensure that your window AC unit is safely disconnected and ready for the next phase of the storage process.
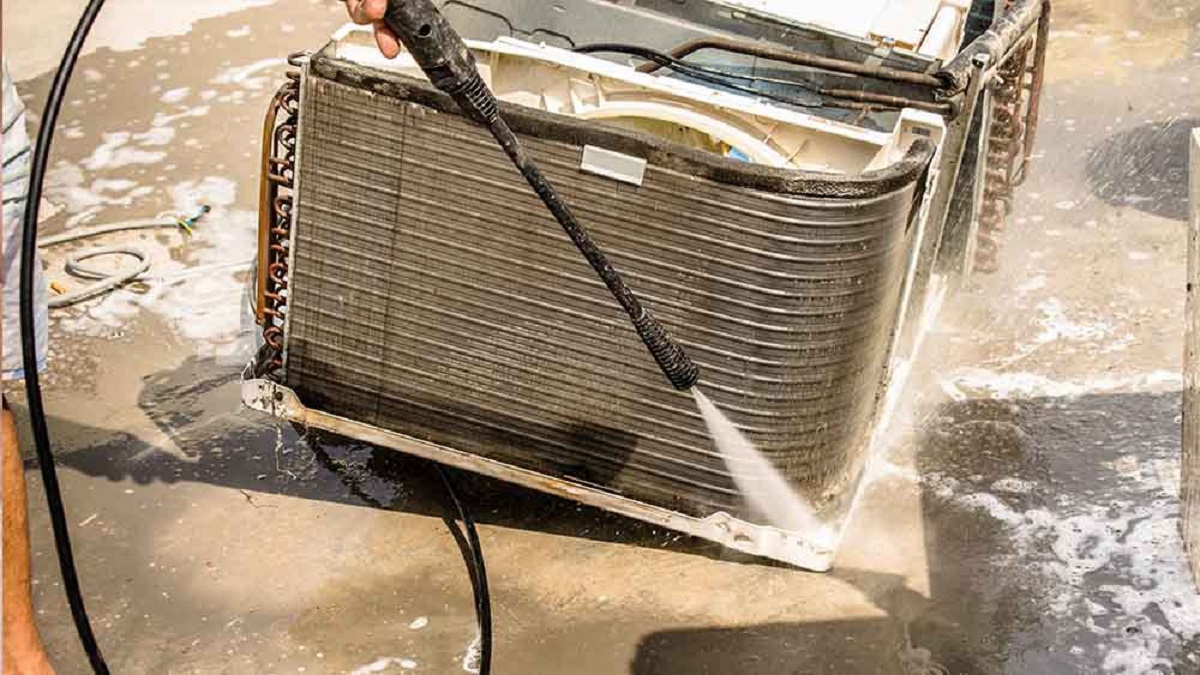
Step 2: Cleaning the AC Unit
Before storing your window AC unit, it’s important to thoroughly clean it to remove any dirt, dust, and debris that may have accumulated during the cooling season. Cleaning your AC unit not only helps maintain its performance but also prevents any potential issues when you start using it again. Follow these steps to clean your window AC unit:
- Remove the filter: Start by removing the filter from the AC unit. Most window AC units have a removable filter that can be easily taken out. Check the manufacturer’s instructions if you’re unsure about how to remove it.
- Wash the filter: Carefully wash the filter using mild soap and warm water. Gently scrub away any dirt or dust particles. Rinse the filter thoroughly and let it air dry completely before reinstalling it.
- Clean the exterior: Wipe down the exterior surfaces of the AC unit using a soft cloth dampened with a mixture of mild detergent and water. Pay attention to any grime or dust buildup on the vents, fan blades, and control panel.
- Check the coils: If your AC unit has exposed coils, use a soft brush or vacuum cleaner with a brush attachment to remove any dirt or debris. Be gentle to avoid damaging the coils.
- Clear the condensate drain: Check the AC unit’s condensate drain for any clogs or blockages. If necessary, use a pipe cleaner or small brush to clear the drain and ensure proper water drainage.
Once you have completed these cleaning steps, your window AC unit will be fresh and ready for storage. A clean unit will not only function better but also help maintain good indoor air quality when it’s time to use it again.
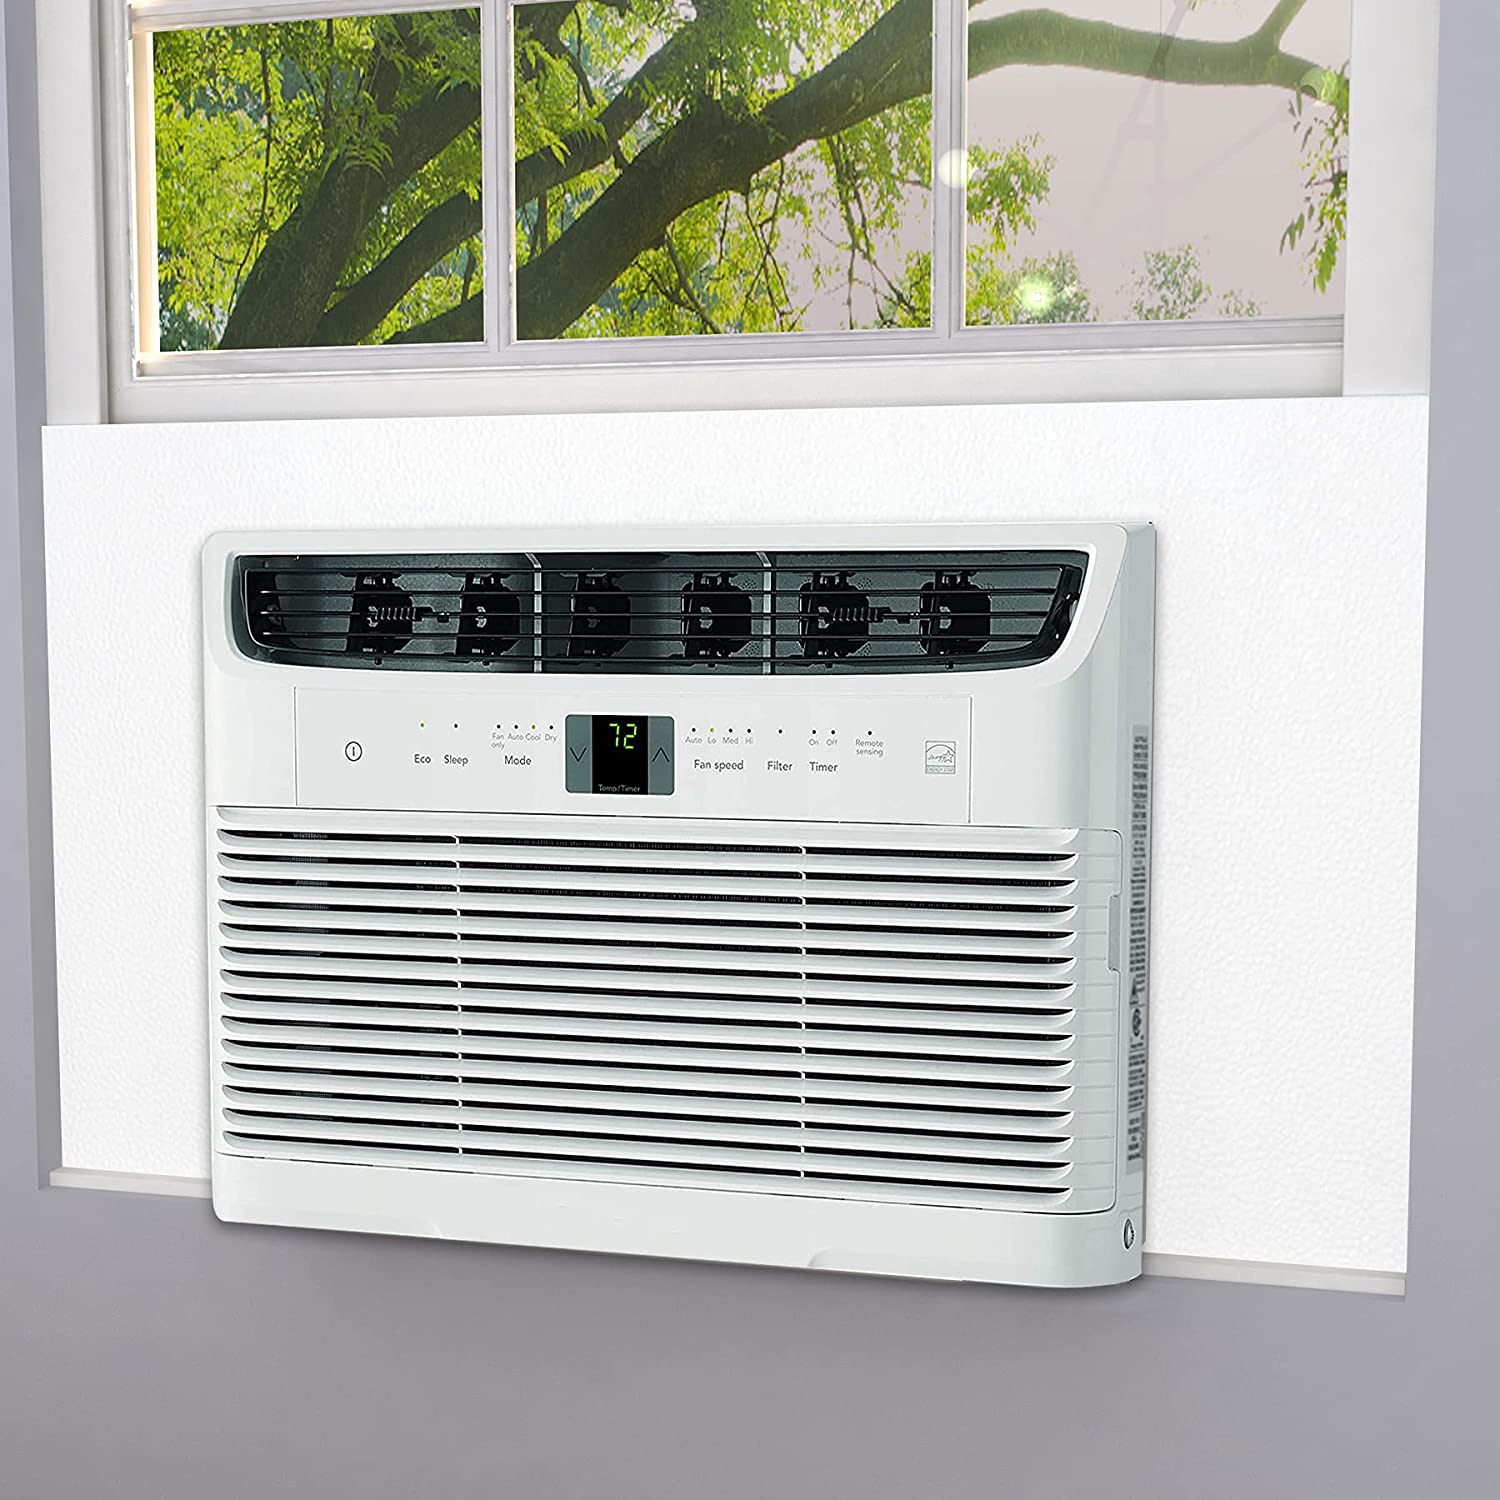
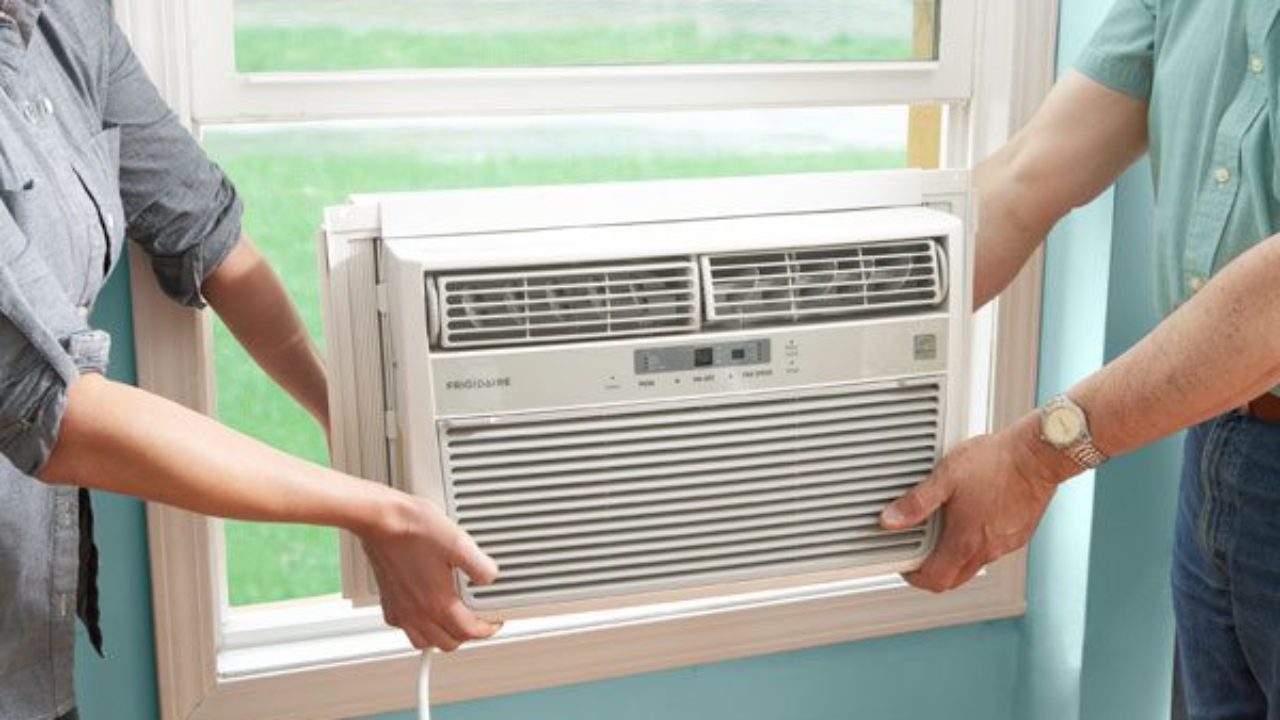
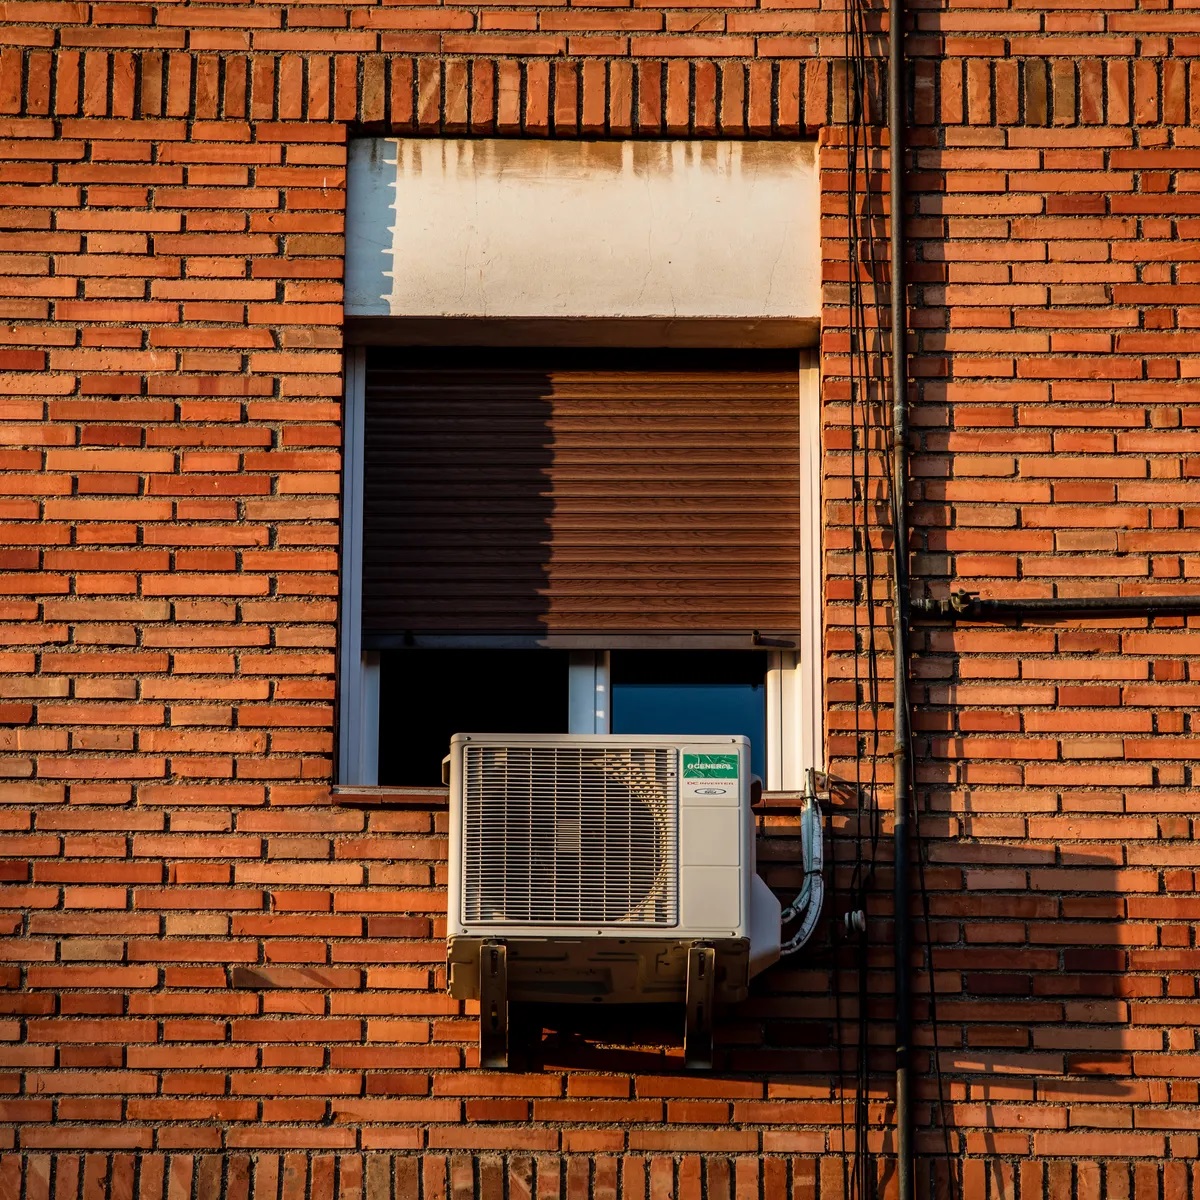
Step 3: Removing the AC Unit from the Window
Now that your window AC unit is disconnected and clean, it’s time to remove it from the window. Removing the unit properly will prevent any damage to the unit and ensure a smooth transition to storage. Follow these steps to remove your window AC unit:
- Enlist help if needed: Window AC units can be heavy, so it’s a good idea to have someone assist you with the removal process. This will make it easier and safer to handle.
- Secure the sash window: If your window has a sash that slides up and down, use a dowel or piece of wood to secure it in the closed position. This will provide stability while removing the AC unit.
- Remove any brackets or supports: If your AC unit is secured to the window with brackets or supports, carefully remove them using a screwdriver or the appropriate tool. Keep all hardware safely stored for reinstallation in the future, if necessary.
- Lift the AC unit out of the window: With the help of your assistant, lift the AC unit straight up and out of the window frame. Be mindful of any obstacles or protruding parts.
- Place the AC unit on a stable surface: Find a sturdy surface, such as a table or elevated platform, to place the AC unit on. This will prevent any damage to the unit and make it easier to prepare for storage.
By following these steps, you can safely remove your window AC unit from the window and get ready for the next step in the storage process.
Step 4: Choosing an Appropriate Storage Space
Once you have removed your window AC unit from the window, it’s important to choose an appropriate storage space to ensure its safety and longevity. Selecting the right storage area will protect the unit from extreme temperatures, humidity, and potential damage. Follow these guidelines when choosing a storage space for your window AC unit:
- Indoor storage: Ideally, store your window AC unit indoors rather than in an outdoor shed or garage. This will protect it from exposure to the elements and potential damage from pests or rodents.
- Climate-controlled space: Look for a storage area that is climate-controlled, such as a basement or a temperature-regulated storage unit. Extreme temperature fluctuations can damage the internal components of the unit.
- Well-ventilated area: Choose a storage space with good ventilation to prevent the accumulation of moisture. Moisture can lead to mold growth and deterioration of the AC unit.
- Avoid damp areas: Avoid storing the AC unit in damp or humid areas, as this can contribute to rust and damage. If necessary, use a dehumidifier or moisture absorber in the storage space.
- Keep away from direct sunlight: Direct exposure to sunlight can cause the unit’s exterior materials to deteriorate over time. Choose a storage area away from windows or cover the unit to prevent sunlight exposure.
By following these guidelines, you can ensure that your window AC unit is stored in an optimal environment that will preserve its condition and functionality until it’s time to use it again.
When storing a window AC unit, make sure to clean the filters and coils, remove any excess water, and cover the unit with a waterproof cover to protect it from dust and moisture. Store it in a dry, cool place to prevent damage.
Read more: How To Remove A Window AC Unit
Step 5: Preparing the Storage Space
Now that you have chosen an appropriate storage space for your window AC unit, it’s time to prepare the area to ensure the safety and protection of the unit. Properly preparing the storage space will help prevent any damage from moisture, dust, or other potential hazards. Follow these steps to prepare the storage space:
- Clean the storage area: Thoroughly clean the storage space, removing any dust, debris, or potential hazards. Sweep or vacuum the area to create a clean and dust-free environment for the AC unit.
- Clear the surrounding area: Remove any objects or obstacles near the storage space that may pose a risk to the AC unit. This will prevent accidental damage and ensure easy access to the unit when needed.
- Provide cushioning: Place a protective layer on the floor or surface of the storage area to provide cushioning for the AC unit. This could be a foam mat, cardboard, or a soft cloth to prevent any scratches or impacts.
- Elevate the AC unit: If possible, elevate the AC unit off the ground to avoid potential moisture damage. You can use wooden blocks or a small platform to keep the unit raised.
- Ensure proper airflow: Make sure there is adequate airflow around the AC unit in the storage space. This will help prevent the buildup of moisture and provide proper ventilation.
By following these steps, you can ensure that your storage space is well-prepared, providing a safe and secure environment for your window AC unit during the off-season.
Step 6: Placing the AC Unit in Storage
Now that you have prepared the storage space, it’s time to carefully place your window AC unit in storage. Proper placement will help protect the unit from potential damage and ensure its longevity. Follow these steps to place your AC unit in storage:
- Position the unit securely: Place the AC unit in a stable position within the storage space, ensuring that it is not at risk of falling or tipping over.
- Avoid stacking heavy objects: Do not stack heavy objects on top of the AC unit as this can cause damage. Keep the area surrounding the unit clear to prevent accidental impacts.
- Leave enough space: Provide enough clearance around the AC unit to allow for proper airflow and ventilation. This will help prevent the buildup of moisture.
- Keep the unit upright: Store the AC unit in an upright position to prevent any potential damage to internal components or the refrigerant system.
- Face the front cover: If your AC unit has a removable front cover, face it towards the open space in the storage area. This will make it easier for future access if any maintenance or repairs are needed.
By following these steps, you can ensure that your window AC unit is safely placed in storage, ready to be retrieved when the next cooling season arrives.
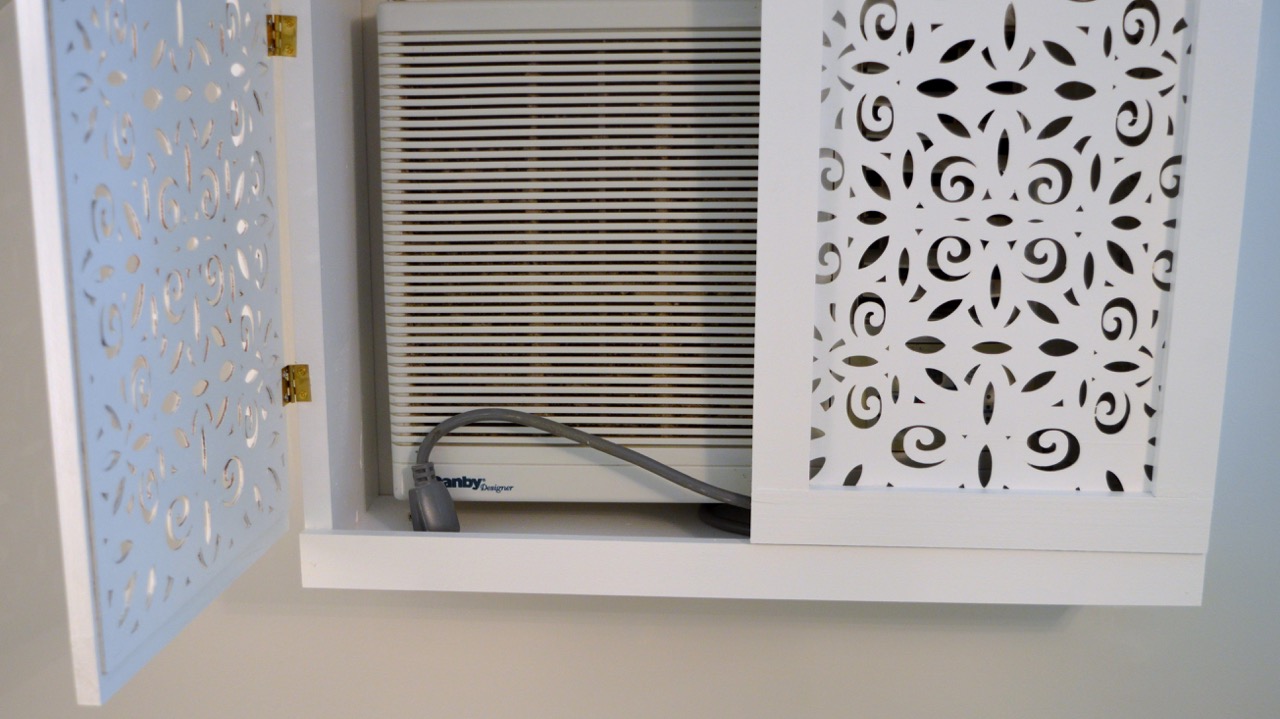
Step 7: Covering and Securing the AC Unit
After placing your window AC unit in storage, it’s important to properly cover and secure it to provide an extra layer of protection. This will help shield the unit from dust, debris, and potential damage. Follow these steps to cover and secure your AC unit:
- Use a protective cover: Use a specialized AC unit cover or a large plastic sheet to cover the entire unit. Make sure the cover fits securely and is fastened tightly to prevent it from being blown away by air drafts.
- Avoid plastic traps: While covering the unit, make sure that you do not create a tight seal that traps moisture inside. This can lead to condensation and cause damage to the AC unit. Allow for proper ventilation within the cover.
- Secure with straps or cords: Use straps or cords to secure the cover in place. This will prevent it from getting dislodged or blown away by strong winds.
- Protect the electrical cord: Wrap the electrical cord with a plastic bag or cover to keep it clean and prevent moisture or dust from entering the connection point.
- Label and document: Label the AC unit with any relevant information such as model number, maintenance history, or storage date. Additionally, keep a record of this information in your documentation or storage inventory.
By following these steps, you can ensure that your window AC unit is covered and secured in storage, protected from potential damage and ready for future use.
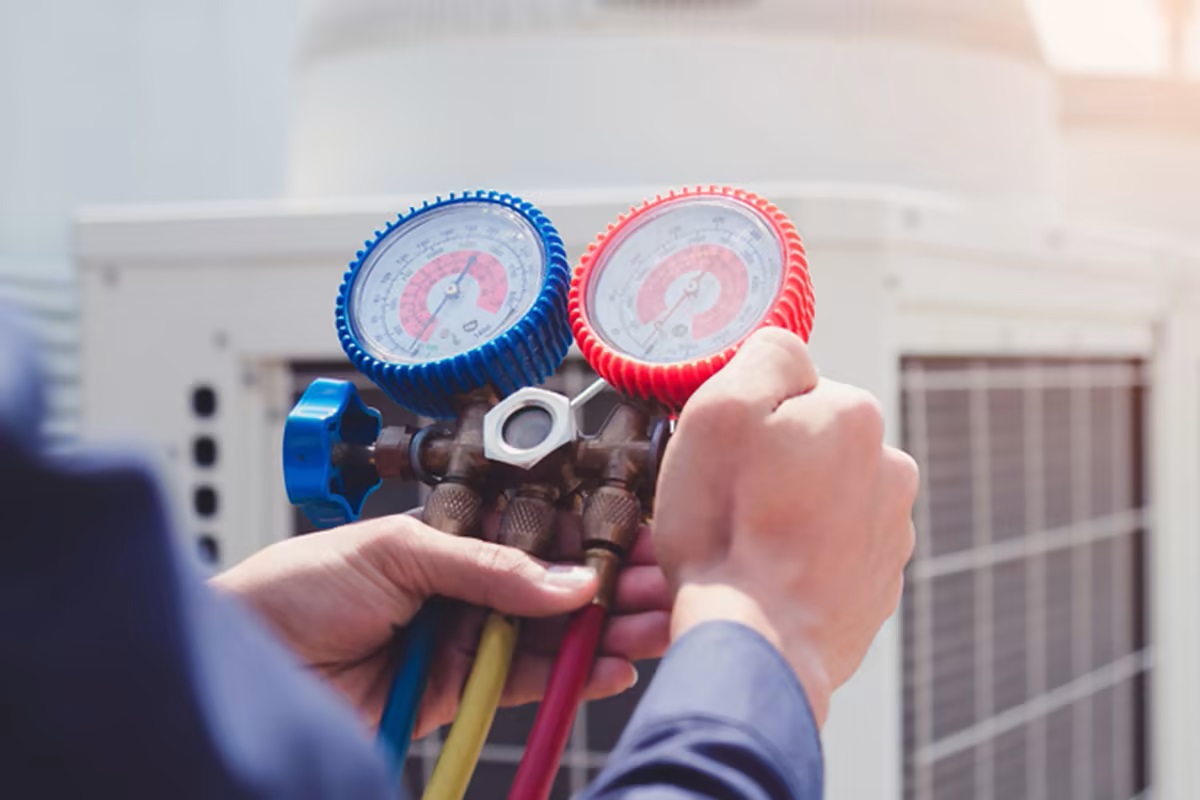
Step 8: Regular Maintenance Checks during Storage
While your window AC unit is in storage, it’s important to perform regular maintenance checks to ensure its condition and to prevent any issues that may arise. Regular maintenance will help identify any potential problems early on and allow for timely repairs. Follow these steps for regular maintenance checks during storage:
- Inspect for physical damage: Periodically check the exterior of the AC unit for any signs of physical damage such as cracks, dents, or corrosion. If any damage is detected, note it down and consider contacting a professional for repair or evaluation.
- Check for any pest activity: Look for signs of pest activity like droppings or nesting materials near or on the AC unit. Pests can cause damage to the unit’s wiring or components. If any signs of pests are found, take appropriate measures to address the issue.
- Monitor moisture levels: Check for any signs of moisture buildup or excessive humidity in the storage area. This can cause damage to the AC unit. Use a dehumidifier or moisture absorber if necessary to maintain proper humidity levels.
- Inspect the cover: Regularly inspect the cover of the AC unit for any signs of wear or damage. Ensure that it is still securely fastened and providing effective protection. Replace the cover if needed.
- Review manufacturer’s recommendations: Refer to the manufacturer’s guidelines or user manual for any specific maintenance instructions during storage. These recommendations may include certain cleaning routines or inspections.
By performing these regular maintenance checks, you can keep your window AC unit in good condition while it is in storage. This will help ensure that it remains functional and ready for use when you need it again.
Read more: How Does Window AC Work
Conclusion
Properly storing your window AC unit during the off-season is essential to protect your investment and ensure its longevity. By following the steps outlined in this article, you can store your AC unit with confidence, knowing that it will be ready to keep you cool and comfortable when the next summer rolls around.
From disconnecting the unit and cleaning it, to removing it from the window and choosing an appropriate storage space, each step plays a crucial role in maintaining the AC unit’s performance and preventing any potential damage.
Remember to disconnect the unit properly, cleaning it from dirt and debris, and carefully removing it from the window. Choose an appropriate storage space that is climate-controlled, well-ventilated, and away from direct sunlight. Prepare the storage space by cleaning and providing cushioning, and secure the unit by covering it with a protective cover.
During storage, perform regular maintenance checks to monitor the unit’s condition, inspect for any damage, and ensure proper humidity levels. By taking these preventive measures, you can prolong the lifespan of your window AC unit and avoid any unnecessary repairs or replacements.
So, when it’s time to store your window AC unit, follow these steps, and rest assured that you’ve taken the necessary precautions to keep it in optimal condition. When the scorching summer heat returns, you’ll be ready to reinstall your AC unit and enjoy the cooling relief it provides.
Frequently Asked Questions about How To Store A Window Ac Unit
Was this page helpful?
At Storables.com, we guarantee accurate and reliable information. Our content, validated by Expert Board Contributors, is crafted following stringent Editorial Policies. We're committed to providing you with well-researched, expert-backed insights for all your informational needs.

0 thoughts on “How To Store A Window Ac Unit”