Home>Gardening & Outdoor>Outdoor Structures>How To Install A Shed Window
Outdoor Structures
How To Install A Shed Window
Modified: August 28, 2024
Learn how to install a shed window with our step-by-step guide for outdoor structures. Get expert tips for a seamless installation process.
(Many of the links in this article redirect to a specific reviewed product. Your purchase of these products through affiliate links helps to generate commission for Storables.com, at no extra cost. Learn more)
Introduction
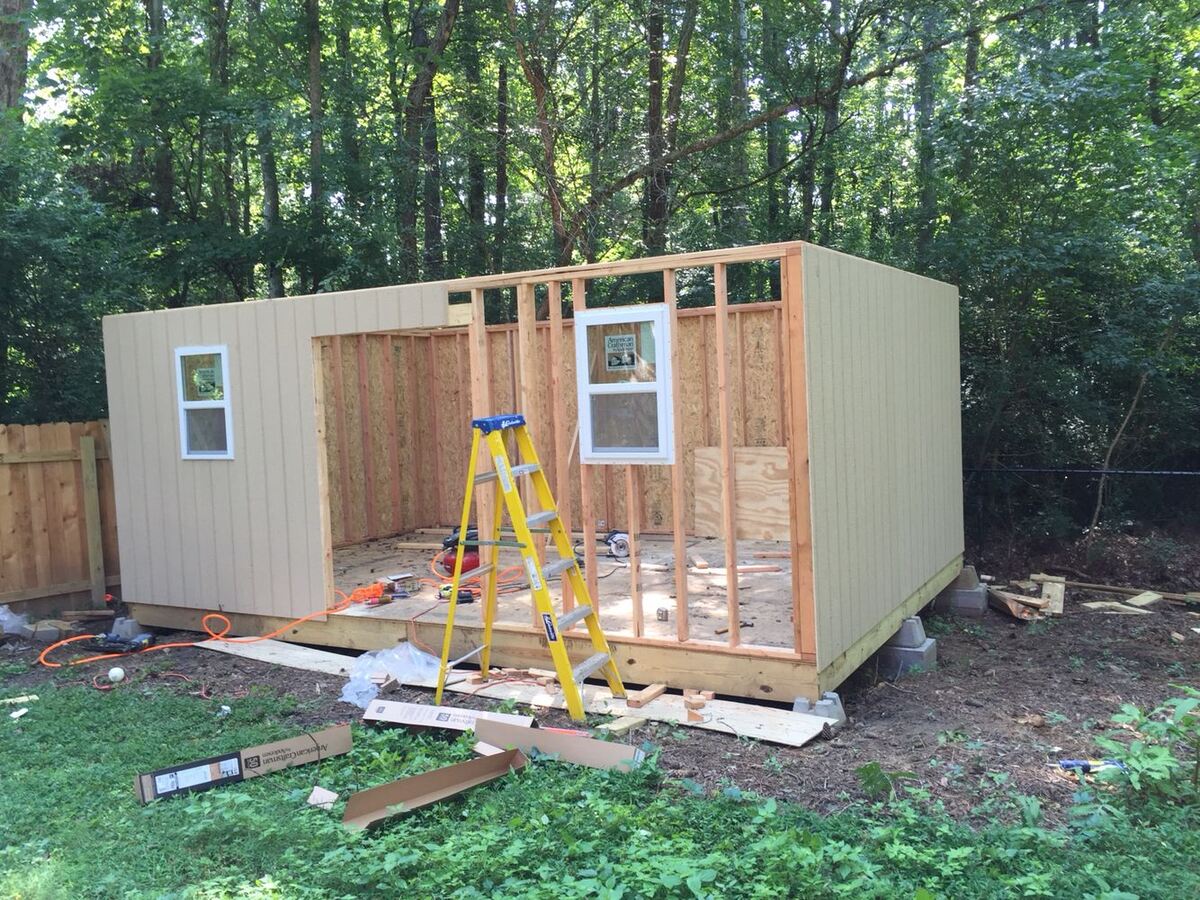
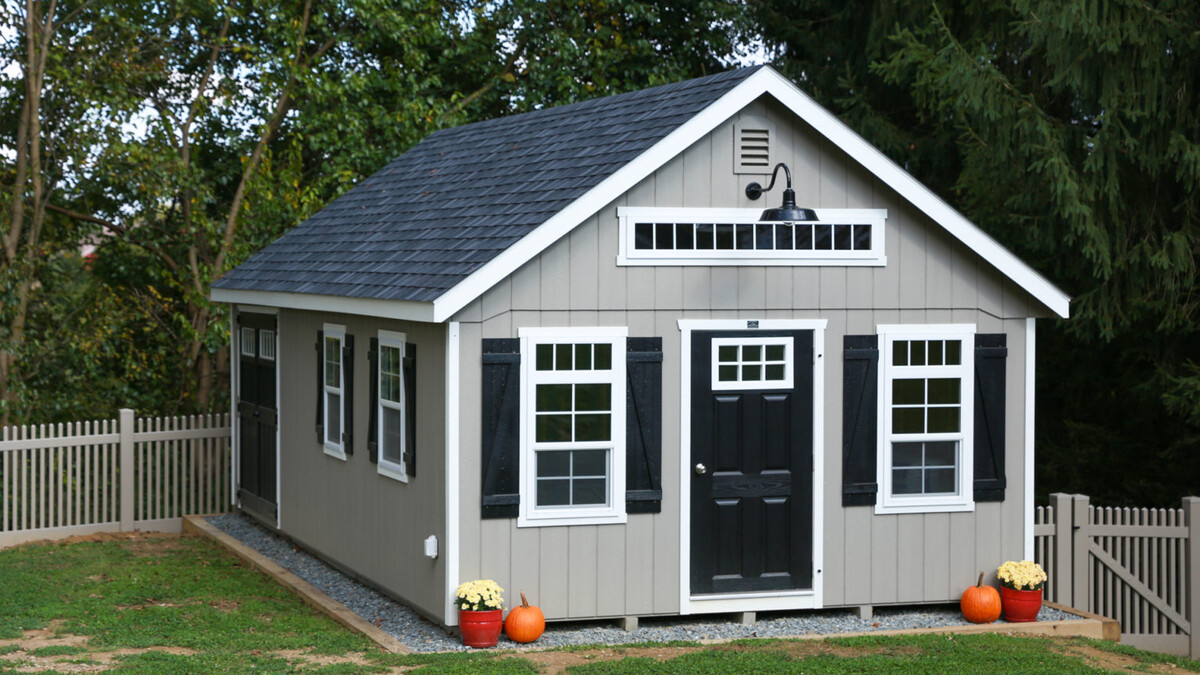
Adding a window to your shed not only enhances its aesthetic appeal but also allows natural light and ventilation to brighten and freshen up the interior. Whether you're using the shed as a workspace, storage area, or a cozy retreat, a well-installed window can transform the space.
In this guide, we'll walk you through the step-by-step process of installing a shed window. From measuring and marking the window opening to sealing and finishing, we'll cover everything you need to know to successfully complete this project. By following these instructions and using the right tools and materials, you can ensure a professional-looking and functional window installation that will elevate the functionality and charm of your shed.
So, roll up your sleeves, gather your tools, and let's get started on transforming your shed with a beautiful new window!
Key Takeaways:
- Transform your shed with natural light and ventilation by following our step-by-step guide to installing a shed window. Elevate the functionality and charm of your shed with a professional-looking and functional window installation.
- From measuring and marking the window opening to sealing and finishing, each step contributes to a successful shed window installation. Enjoy the benefits of enhanced natural light, ventilation, and visual appeal within your shed.
Read more: How To Put A Window In A Shed
Tools and Materials Needed
Before embarking on the shed window installation, it’s essential to gather the necessary tools and materials. Here’s a comprehensive list to ensure you have everything at your disposal:
Tools:
- Tape measure
- Pencil or marker
- Circular saw or jigsaw
- Screwdriver
- Level
- Clamps
- Hammer
- Putty knife
- Caulking gun
Materials:
- Window kit or pre-fabricated shed window
- Exterior-grade plywood or trim boards
- Exterior-grade caulk
- Wood screws
- Shims
- Paint or stain (optional)
- Window insulation kit (optional)
Ensuring that you have all the necessary tools and materials before starting the installation process will streamline the project and minimize interruptions. With these items at hand, you’ll be well-prepared to tackle each step with confidence and precision.
Step 1: Measure and Mark the Window Opening
Precision is paramount when it comes to installing a shed window. To begin, carefully measure and mark the area where the window will be installed. Here’s a detailed guide to help you through this crucial first step:
1. Assess the Placement: Consider the shed’s layout and functionality to determine the ideal location for the window. Take into account factors such as natural light, interior layout, and exterior aesthetics.
2. Measure the Opening: Use a tape measure to determine the dimensions of the window opening. Take accurate measurements of the height and width, ensuring that the opening will accommodate the chosen window size.
3. Mark the Cut Lines: With the measurements in hand, use a pencil or marker to outline the cut lines on the shed wall. Double-check the markings to guarantee that they align with the window’s dimensions and are level and square.
4. Account for Framing: If the shed walls are framed with studs, consider their placement when marking the window opening. Ensure that the cut lines align with the space between the studs for a structurally sound installation.
5. Double-Check the Measurements: Before proceeding to cut the opening, reconfirm the accuracy of the measurements and markings. Taking the time to verify these details will prevent errors and ensure a seamless transition to the next phase of the installation.
By meticulously measuring and marking the window opening, you’ll lay a solid foundation for the subsequent steps, setting the stage for a successful and visually appealing window installation.
Read more: How To Install A Metal Shed
Step 2: Cut the Opening
With the window opening marked and the measurements confirmed, it’s time to cut the opening in the shed wall to accommodate the window. This step requires precision and attention to detail to ensure a clean and accurate cut. Here’s a detailed guide to help you navigate this crucial phase of the installation:
1. Prepare the Work Area: Clear the area around the marked window opening, removing any obstacles or debris that could hinder the cutting process. This will create a safe and unobstructed workspace for the next steps.
2. Select the Cutting Tool: Depending on the shed wall’s material and your familiarity with different tools, choose a suitable cutting instrument. A circular saw or jigsaw is commonly used for this task, offering precision and maneuverability.
3. Use Safety Precautions: Prioritize safety by wearing appropriate protective gear, including goggles, gloves, and hearing protection. Additionally, ensure that the cutting tool is in good working condition and follow all safety guidelines provided by the manufacturer.
4. Make the Cut: Position the cutting tool at the edge of the marked lines and begin cutting along the perimeter of the window opening. Exercise caution and proceed slowly to maintain control and achieve clean, straight cuts.
5. Verify the Fit: Once the cut is complete, assess the opening’s dimensions and smoothness. Check that the window frame will fit snugly within the cutout, making any necessary adjustments to ensure a precise fit.
6. Remove Excess Material: If there are any rough edges or protruding material around the opening, use a file or sandpaper to smoothen and refine the edges. This will facilitate a seamless installation of the window frame.
By approaching the cutting process with care and precision, you’ll create a well-defined and accurately sized opening for the window, laying the groundwork for the subsequent stages of the installation.
Step 3: Install the Window Frame
With the window opening cut to the appropriate dimensions, the next crucial step is to install the window frame. This foundational element provides structural support and ensures a secure and stable mounting for the window. Here’s a comprehensive guide to help you navigate this pivotal phase of the installation:
1. Assess the Frame Components: If you’re using a pre-fabricated window, familiarize yourself with its frame components and any accompanying installation instructions. Alternatively, if you’re constructing a custom frame, ensure that all necessary materials are readily available.
2. Position the Frame: Carefully place the window frame within the opening, ensuring that it fits snugly and aligns evenly with the shed wall. Use a level to confirm that the frame is perfectly horizontal and vertical, making any adjustments as needed.
3. Secure the Frame: Once the frame is properly positioned, use clamps to hold it in place. Subsequently, drive wood screws through the frame and into the shed wall, anchoring the frame securely. Ensure that the screws are driven flush with the frame to prevent interference with the window installation.
4. Check for Stability: Test the stability of the installed frame by gently applying pressure and verifying that it remains firmly in place. Address any instability or misalignment promptly to prevent complications during the subsequent steps of the installation.
5. Inspect for Gaps: Examine the edges of the frame to identify any gaps between the frame and the shed wall. If gaps are present, use shims to fill them, ensuring a tight and uniform fit that will support the window securely.
6. Apply Exterior-Grade Caulk: To reinforce the seal and weatherproofing, apply exterior-grade caulk around the perimeter of the frame where it meets the shed wall. This will prevent moisture infiltration and enhance the durability of the installation.
By meticulously installing the window frame with precision and attention to detail, you’ll establish a sturdy and reliable foundation for seamlessly integrating the window into your shed, bringing you one step closer to completing the installation.
When installing a shed window, make sure to measure the window opening accurately before purchasing the window. This will ensure a proper fit and make the installation process much smoother.
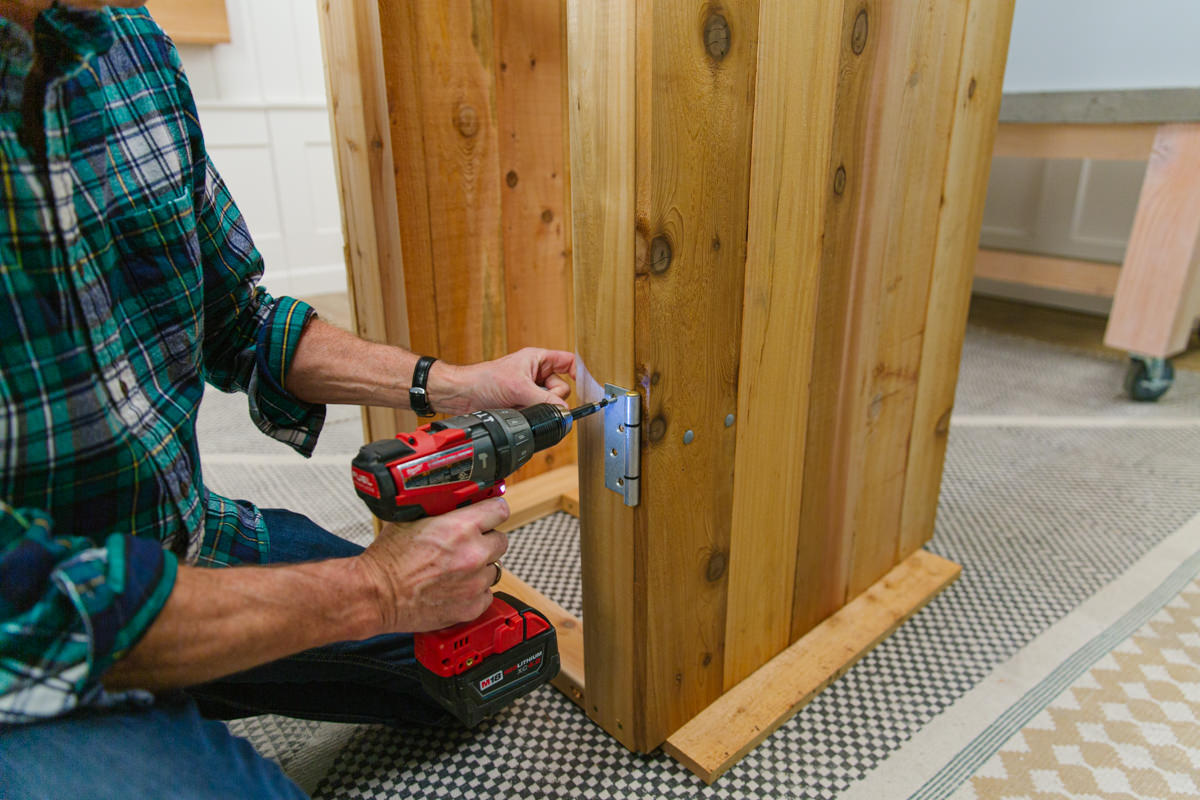
Step 4: Attach the Window
As you progress through the shed window installation process, the next critical step is to attach the window securely within the installed frame. Properly securing the window ensures stability, functionality, and a professional finish. Here’s a detailed guide to help you navigate this pivotal phase of the installation:
1. Position the Window: Carefully place the window within the installed frame, ensuring that it rests evenly and securely. Verify that the window aligns properly with the frame and the shed wall, making any necessary adjustments to achieve a precise fit.
2. Secure the Window: Using the designated attachment points provided by the window manufacturer, drive screws or fasteners through the window frame and into the corresponding locations on the shed wall. Ensure that the window is anchored firmly and evenly to prevent shifting or instability.
3. Test the Operation: Once the window is secured, test its operation by opening and closing it to verify smooth functionality. Address any stiffness or resistance to ensure that the window operates effortlessly, providing convenient access to ventilation and natural light.
4. Inspect the Seal: Examine the perimeter of the installed window to ensure a tight seal between the window frame and the shed wall. Address any gaps or inconsistencies by applying additional caulking as needed to fortify the weatherproofing and insulation.
5. Verify Alignment: Confirm that the window is aligned uniformly within the frame and that it sits level and square. Adjust the window’s position if necessary to achieve a balanced and visually appealing installation.
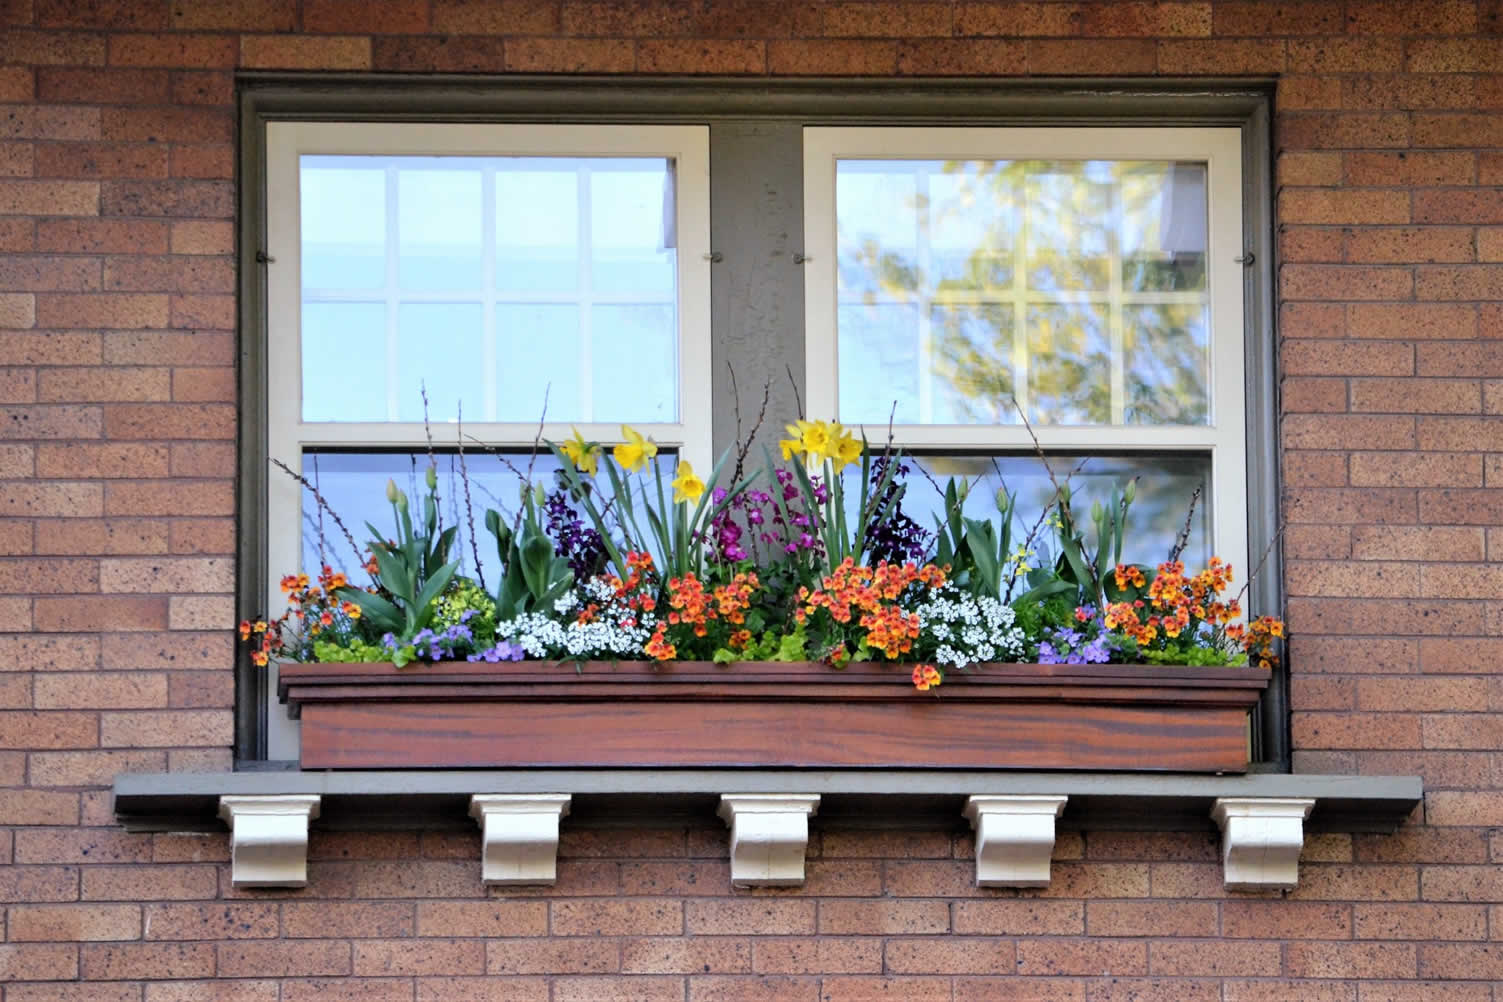
6. Consider Additional Enhancements: Depending on your preferences and the intended function of the shed, consider adding window treatments or accessories to enhance the aesthetics and functionality of the installed window, such as latches, shutters, or decorative trim.
By attaching the window with precision and care, you’ll complete a significant phase of the installation, bringing you closer to enjoying the benefits of enhanced natural light, ventilation, and visual appeal within your shed.
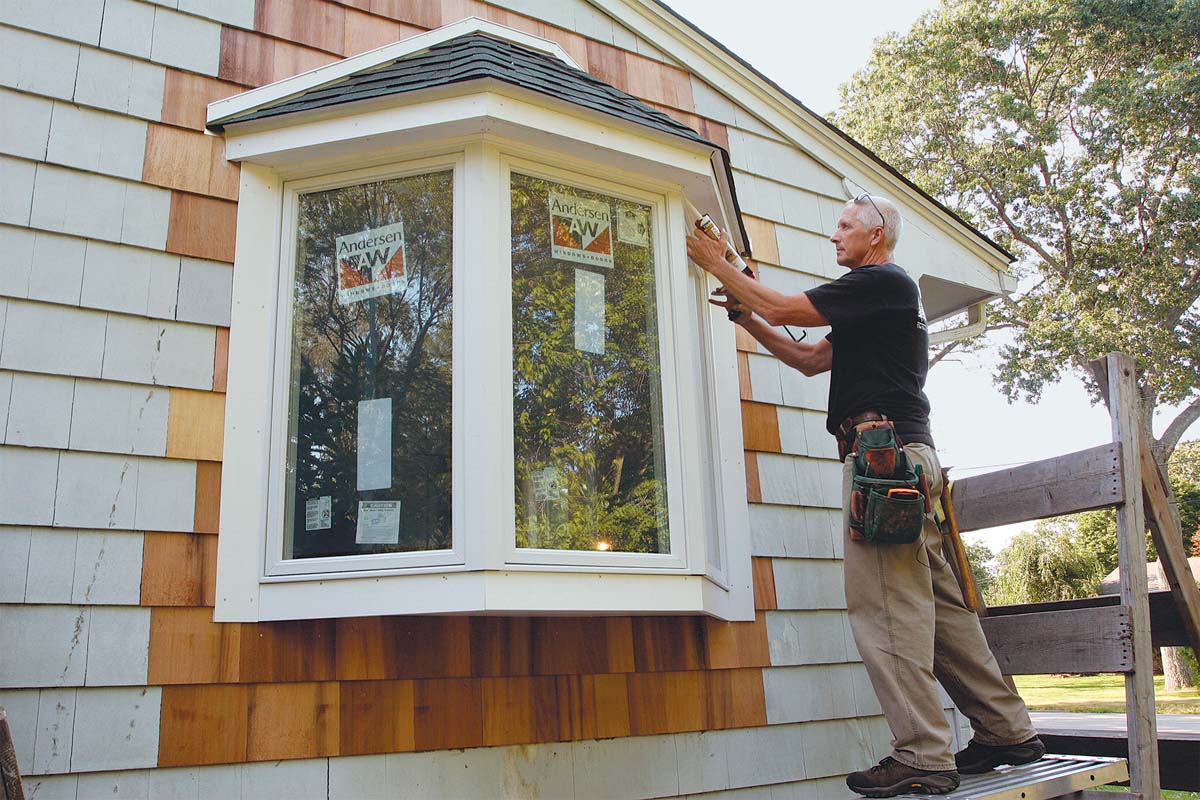
Step 5: Seal and Finish
As you near the completion of the shed window installation, it’s essential to focus on sealing and finishing the surrounding areas to ensure optimal functionality and aesthetic appeal. Proper sealing safeguards against moisture infiltration, while finishing touches enhance the overall visual impact. Here’s a comprehensive guide to help you navigate this crucial final step:
1. Apply Exterior-Grade Caulk: Thoroughly inspect the perimeter where the window frame meets the shed wall and apply a continuous bead of exterior-grade caulk. This will create a weatherproof seal, preventing water intrusion and enhancing the durability of the installation.
2. Address Exterior Trim: If using exterior trim boards, ensure that they are securely attached around the window frame. Seal any gaps between the trim and the shed wall with caulk to maintain a seamless and weather-resistant exterior appearance.
3. Consider Insulation: If desired, install a window insulation kit to enhance energy efficiency and climate control within the shed. This additional step can improve insulation and minimize heat loss during colder months.
4. Apply Finishing Touches: Consider painting or staining the window frame and surrounding trim to complement the shed’s exterior aesthetic. Choose a high-quality exterior paint or stain that provides both protection and visual appeal.
5. Clean and Inspect: Thoroughly clean the installed window and surrounding areas, removing any debris, dust, or excess caulk. Inspect the completed installation to ensure that all components are secure, sealed, and visually appealing.
6. Test for Functionality: Verify that the window operates smoothly and efficiently, opening and closing without resistance. Confirm that the seal is intact and that the finished appearance meets your expectations.
By focusing on sealing and finishing with meticulous attention to detail, you’ll complete the shed window installation with a professional and polished result. The sealed and finished window will not only enhance the shed’s functionality but also contribute to its overall visual appeal and longevity.
Read more: How To Install A Toilet In A Shed
Conclusion
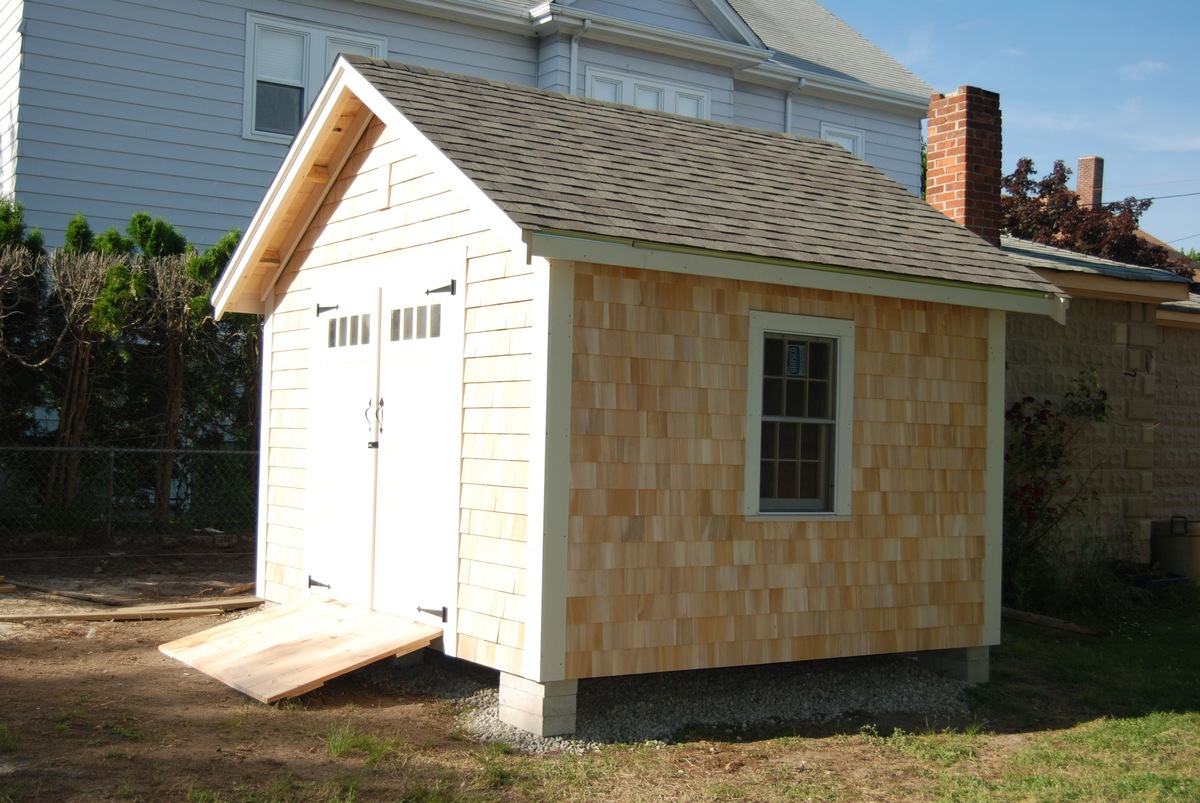
Congratulations on successfully completing the installation of a window in your shed! By following the step-by-step process outlined in this guide and using the appropriate tools and materials, you’ve transformed your shed into a more functional, inviting, and aesthetically pleasing space. The newly installed window will bring in natural light, allow for ventilation, and elevate the overall ambiance of the shed.
Throughout the installation journey, you’ve demonstrated precision, attention to detail, and a commitment to quality, resulting in a professionally executed project. As you stand back and admire the finished installation, take pride in the tangible difference this enhancement has made to your shed.
Not only does the installed window contribute to the shed’s functionality, but it also adds value to your property and enriches your everyday experience within the space. Whether you’re using the shed as a workspace, a storage area, or a peaceful retreat, the addition of a well-installed window enhances its versatility and charm.
As you enjoy the benefits of the newly installed window, take a moment to appreciate the skills and craftsmanship you’ve applied throughout the process. From measuring and marking the window opening to sealing and finishing, each step has contributed to the successful realization of this project.
With the shed window installation now complete, take the time to relish the transformation and the sense of accomplishment that comes with undertaking and completing a hands-on project. Whether it’s basking in the natural light that now fills the shed or simply admiring the enhanced visual appeal, the impact of this installation will be felt and appreciated for years to come.
As you embark on future projects and endeavors, may the skills and knowledge gained from this experience continue to inspire and empower you. Your shed window installation stands as a testament to your dedication to improvement and your ability to bring positive change to your surroundings.
Now, with a newly installed window gracing your shed, it’s time to embrace the enhanced functionality and visual appeal that this transformation has brought. Step back, take it all in, and savor the satisfaction of a job well done.
Frequently Asked Questions about How To Install A Shed Window
Was this page helpful?
At Storables.com, we guarantee accurate and reliable information. Our content, validated by Expert Board Contributors, is crafted following stringent Editorial Policies. We're committed to providing you with well-researched, expert-backed insights for all your informational needs.


0 thoughts on “How To Install A Shed Window”